Formatting/Editing Notices
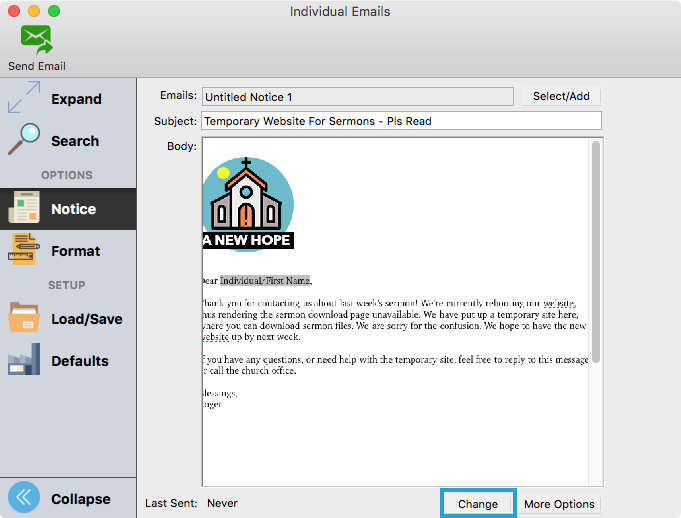
To edit and format a notice, you will need to open the editing window. To do this, click the Change button in the bottom right hand corner of the notice window.

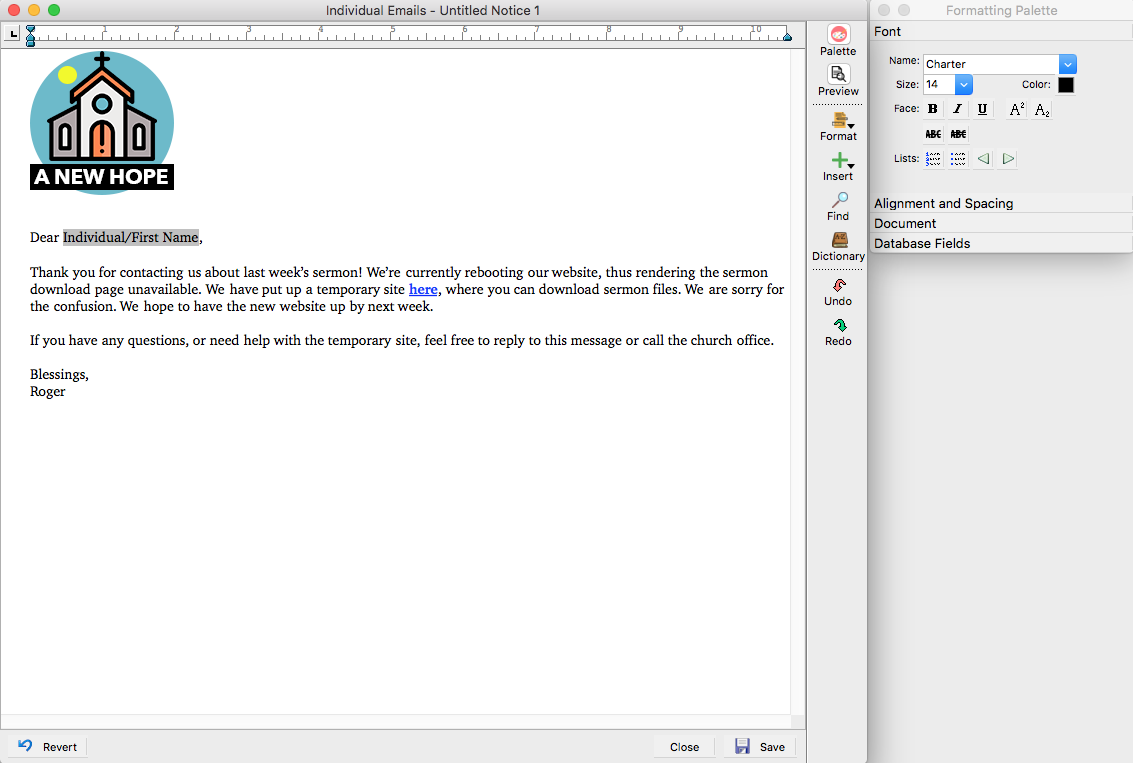
The notice editor window will open, along with the Formatting Palette.

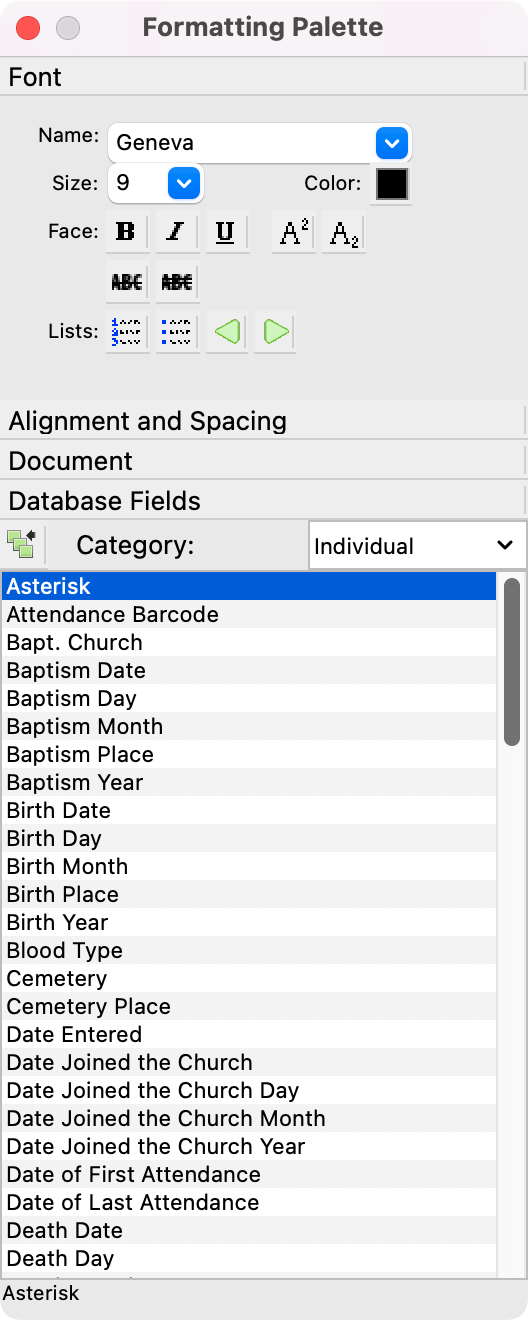
There are two ways to style the text in the notices editor window. First, the Formatting Palette automatically opens with the notice editor window. This palette contains a number of sections that should be familiar to anyone who has used a word-processing program. The Database Fields section allows you to quickly insert information from CDM+ in your letter. Click on the name of a palette section to expand it. If you move or resize the editor window, the palette will automatically position itself to the right edge of the editor window.
You can use the Palette to style existing text or to set the defaults for text you will enter. When you highlight text in the editor window, the palette will display the font, font size, color, etc., of the highlighted text. If you wish to set the style for text you’re about to type, click in the document at the point you’d like to begin typing, then chose your styling options in the Palette.
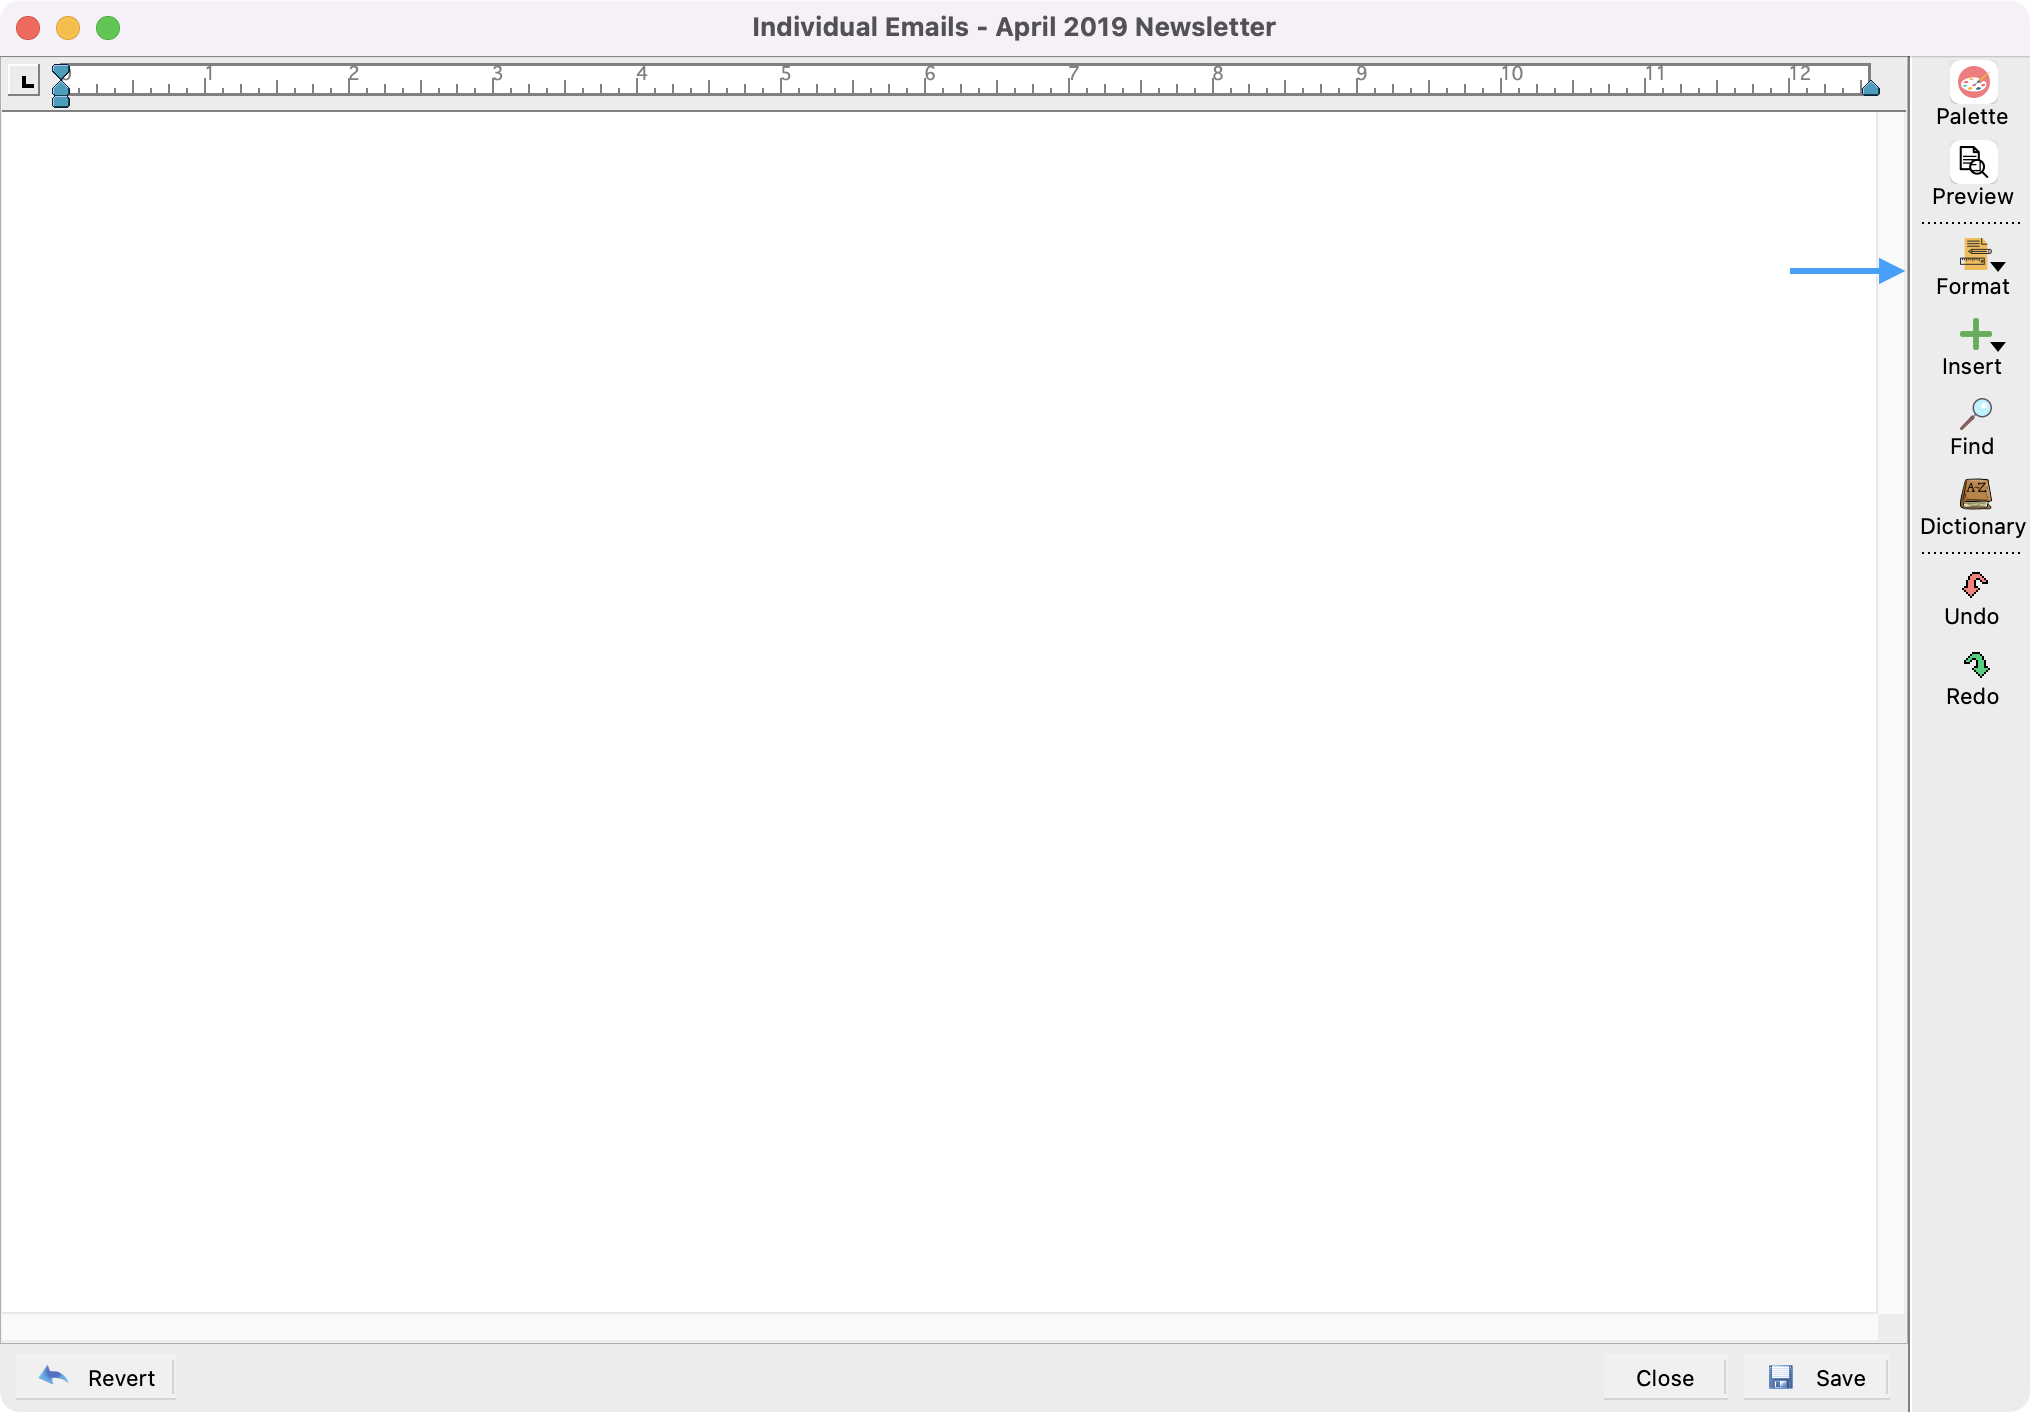
An alternate way to style text is to highlight it and click Format button on the right sidebar of the notice editor window. Here you will find options to style the Font, Paragraph, Document, and more. Selecting one of these choices will open a new window with styling options. There is no difference between using the Palette or the Formatting windows to style text in your document.


The topics below describe each section of the Palette, and its corresponding formatting window, in detail.
