
Notices have the ability to insert page breaks, files (text and graphics) and text borders in the body of the notice.
Page Break
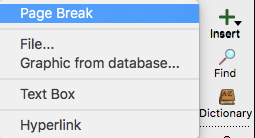
Place your cursor where you want to add a page break, click the Insert button on the side of the Notice window and click on Page Break in the pop-up window.

To remove a Page Break, highlight it and press Delete on your keyboard.
It is possible to insert Page Breaks into card and e-mail notices, but they have no meaning for those reports. It is recommended you only use Page Breaks in letter notices.
Files
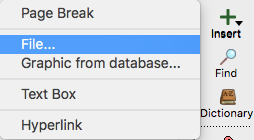
Place your cursor where you want to add either a graphic (.jpg, .png, or .pcx) or text (.txt or .rtf) file and click the Insert button on the sidebar of the notice. Click File.
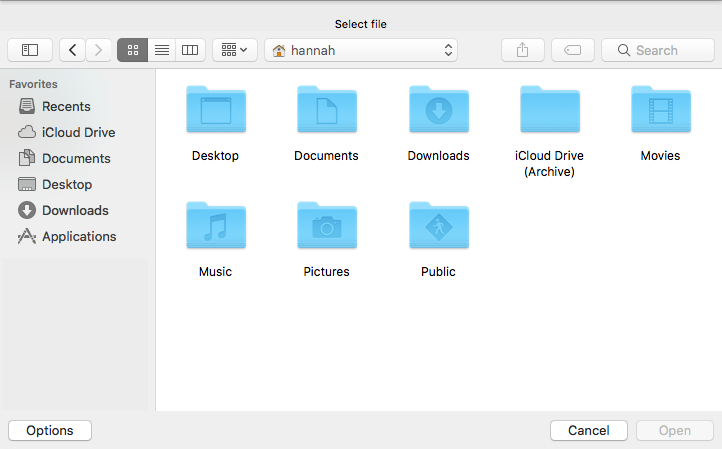
Browse your files, click once on the item you wish to insert, and click Open.
Graphics from Database
You can add as many graphic files in the Graphic Browser as you like so that they are always readily at hand for use. For example, you might want to add a scan of the pastor’s signature to insert into notices when hand-signed letters are impossible or impractical. The Graphic Browser is also used in name badges, checks, and the yearbook directory. Images added to the graphic browser are available in all these locations.
More graphics formats are available by clicking Insert > Graphic from Database (via the Graphic Browser) than are available directly by clicking Insert > File. Graphics formats available through "Graphic from Database" include: .jpg, .png, .pdf and .tif
Insert a Graphic
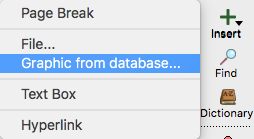
To insert a graphic from your CDM+ database, place your cursor where you want to add the graphic, click the Insert button on the sidebar of the notice, and click Graphic from database....
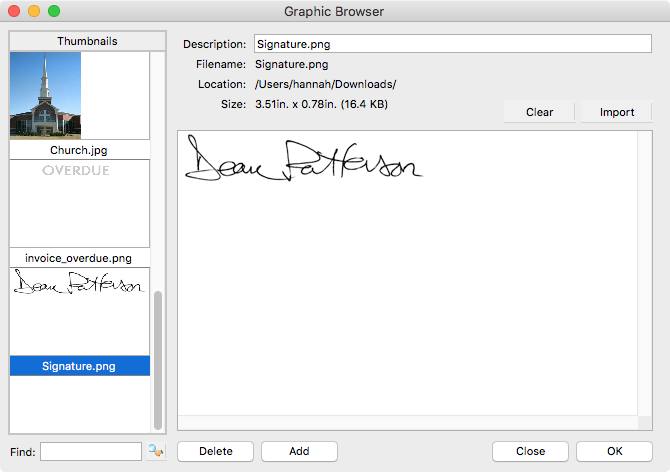
Click on the desired graphic in the list on the left. It will appear in the larger space on the window. Click OK and the graphic will be inserted into the notice.
Adding a Graphic
You may choose an existing graphic from the Thumbnails on the left side of the window or add a new graphic to the database.
To add a graphic file to the CDM+ Graphic Browser, click the Add button on the bottom of the window. Type a Description of the graphic. Click on the Import button, browse to find the graphic file, and select it. Click OK.
CDM+ will import all graphics at 96 dpi. If your original graphic was at a higher resolution, such as 300 dpi, you will notice the Size indicated on the Graphic Browser window after importing will be larger than the original. Re-sizing the graphic back to the original size once you have placed it will return it to a print-quality resolution of 300 dpi.
Deleting a Graphic
To remove a graphic from the Graphic Browser, select the thumbnail on the left and click the Delete button at the bottom of the window.