Once you have inserted a graphic in the notice, either from a file or the database, you may format that graphic.
Click the graphic once to highlight it. Click the Format button on the side of the notice window and choose Picture from the drop list. This opens the Format Picture window. You can also double-click the graphic to open this window.
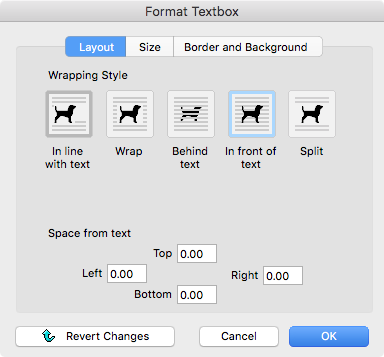
Layout Tab
Choose the Wrapping Style for your graphic by clicking on the appropriate icon.
If you choose to keep the graphic in line with the text of your notice, select the proper button under In line alignment.
The four fields under Space from text allow you to set a margin between your graphic and the surrounding text.
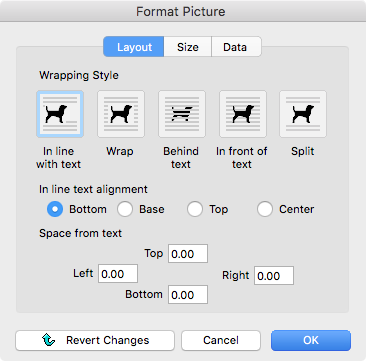
If the graphic is set to In line with text, you cannot drag it. Instead, highlight, cut, and paste the graphic as if it were a piece of text. For all other wrapping options, you can drag the graphic using the (left) mouse button.
If the graphic is set to Behind text, then you will be unable to click on it once you've hit OK and exited the Format Picture window. If you wish to edit, move, or delete the graphic, hold down the command (macOS) or control (Windows) key, and click on the graphic as you would normally. Be sure to hold the key down the entire time.
Size Tab
You can adjust the sizing of the inserted graphic. You may either type a Height and Width (in inches), or type a percentage to reduce or enlarge the graphic.
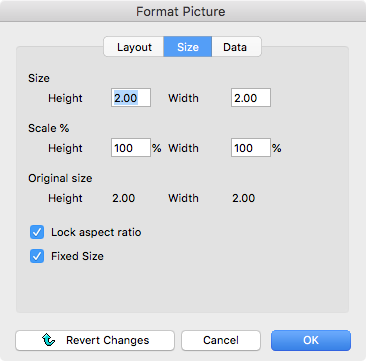
Enlarging a graphic may result in poor quality, depending on the resolution (dpi) of the original graphic file. 300 dpi is the ideal resolution for printing graphics, though slightly lower resolution graphics may be acceptable.
Clicking the checkbox next to Lock aspect ratio will prevent you from changing the proportions of the graphic when you resize it. If you check this box and type a number in the Height or Width fields and press tab, CDM+ will automatically enter the other proportionate dimension. This is a good way to make sure you don’t stretch photos and end up with distorted faces!
Toggling the checkbox next to Fixed size will reset the dimensions to the graphic's original size.
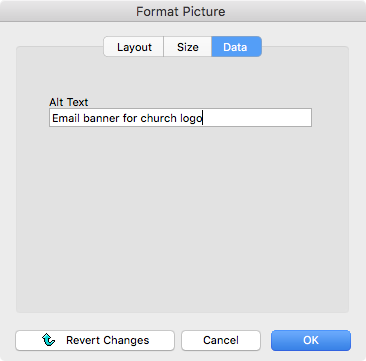
Data Tab
Images in email notices have the HTML alt tag set to an empty string by default. This will improve deliverability for some mail servers. Alt tags are also valuable for screen readers and search indexing.
Text Box
To insert a Text Box in your notice, place the cursor in the desired location, click the Insert button on the right of the notice editor window, and select Text Box.
Layout Tab
This tab is identical to, and functions the same as the Layout tab of the Format Picture window (see above).
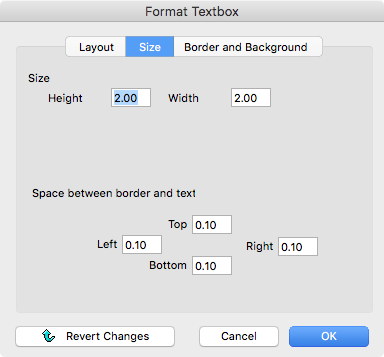
Size Tab
Set the size of the text box in the top half of this tab. You can also manually change the size of a text box by clicking once on the edges of the text box, and then dragging either the little now-visible squares, or dragging the corners of the text box.
The remaining four fields on this window set the amount the text is inset from the edges of a text box.
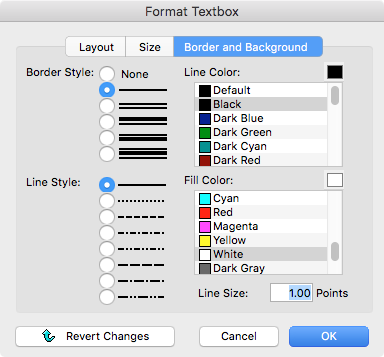
Border and Background Tab
Use the buttons to select a Border Style and Line Style. If you wish to create a text box with no border, (i.e. to place a caption under a photo,) leave the Border Style as None. With no Border Style chosen, the Line Style selected is immaterial.
Choose a color for the lines in the border by highlighting one of the color swatches in the Line Color list. The Line Size sets the width of the lines in the border.
Highlight a color swatch and name in the Fill Color list to set the color of the text box fill (background).
Adding Text
Place your cursor inside the text box and type or copy and paste to add text to the box. Text inside a Text Box may be formatted in the same manner as other text in the Notice.