Database Fields
This section of the Formatting Palette contains a feature which sets apart CDM+ Notices from a word processor. Instead of exporting a file and doing a merge in a word processor, you simply select information found in CDM+ to insert in your letter, card, or email notice.
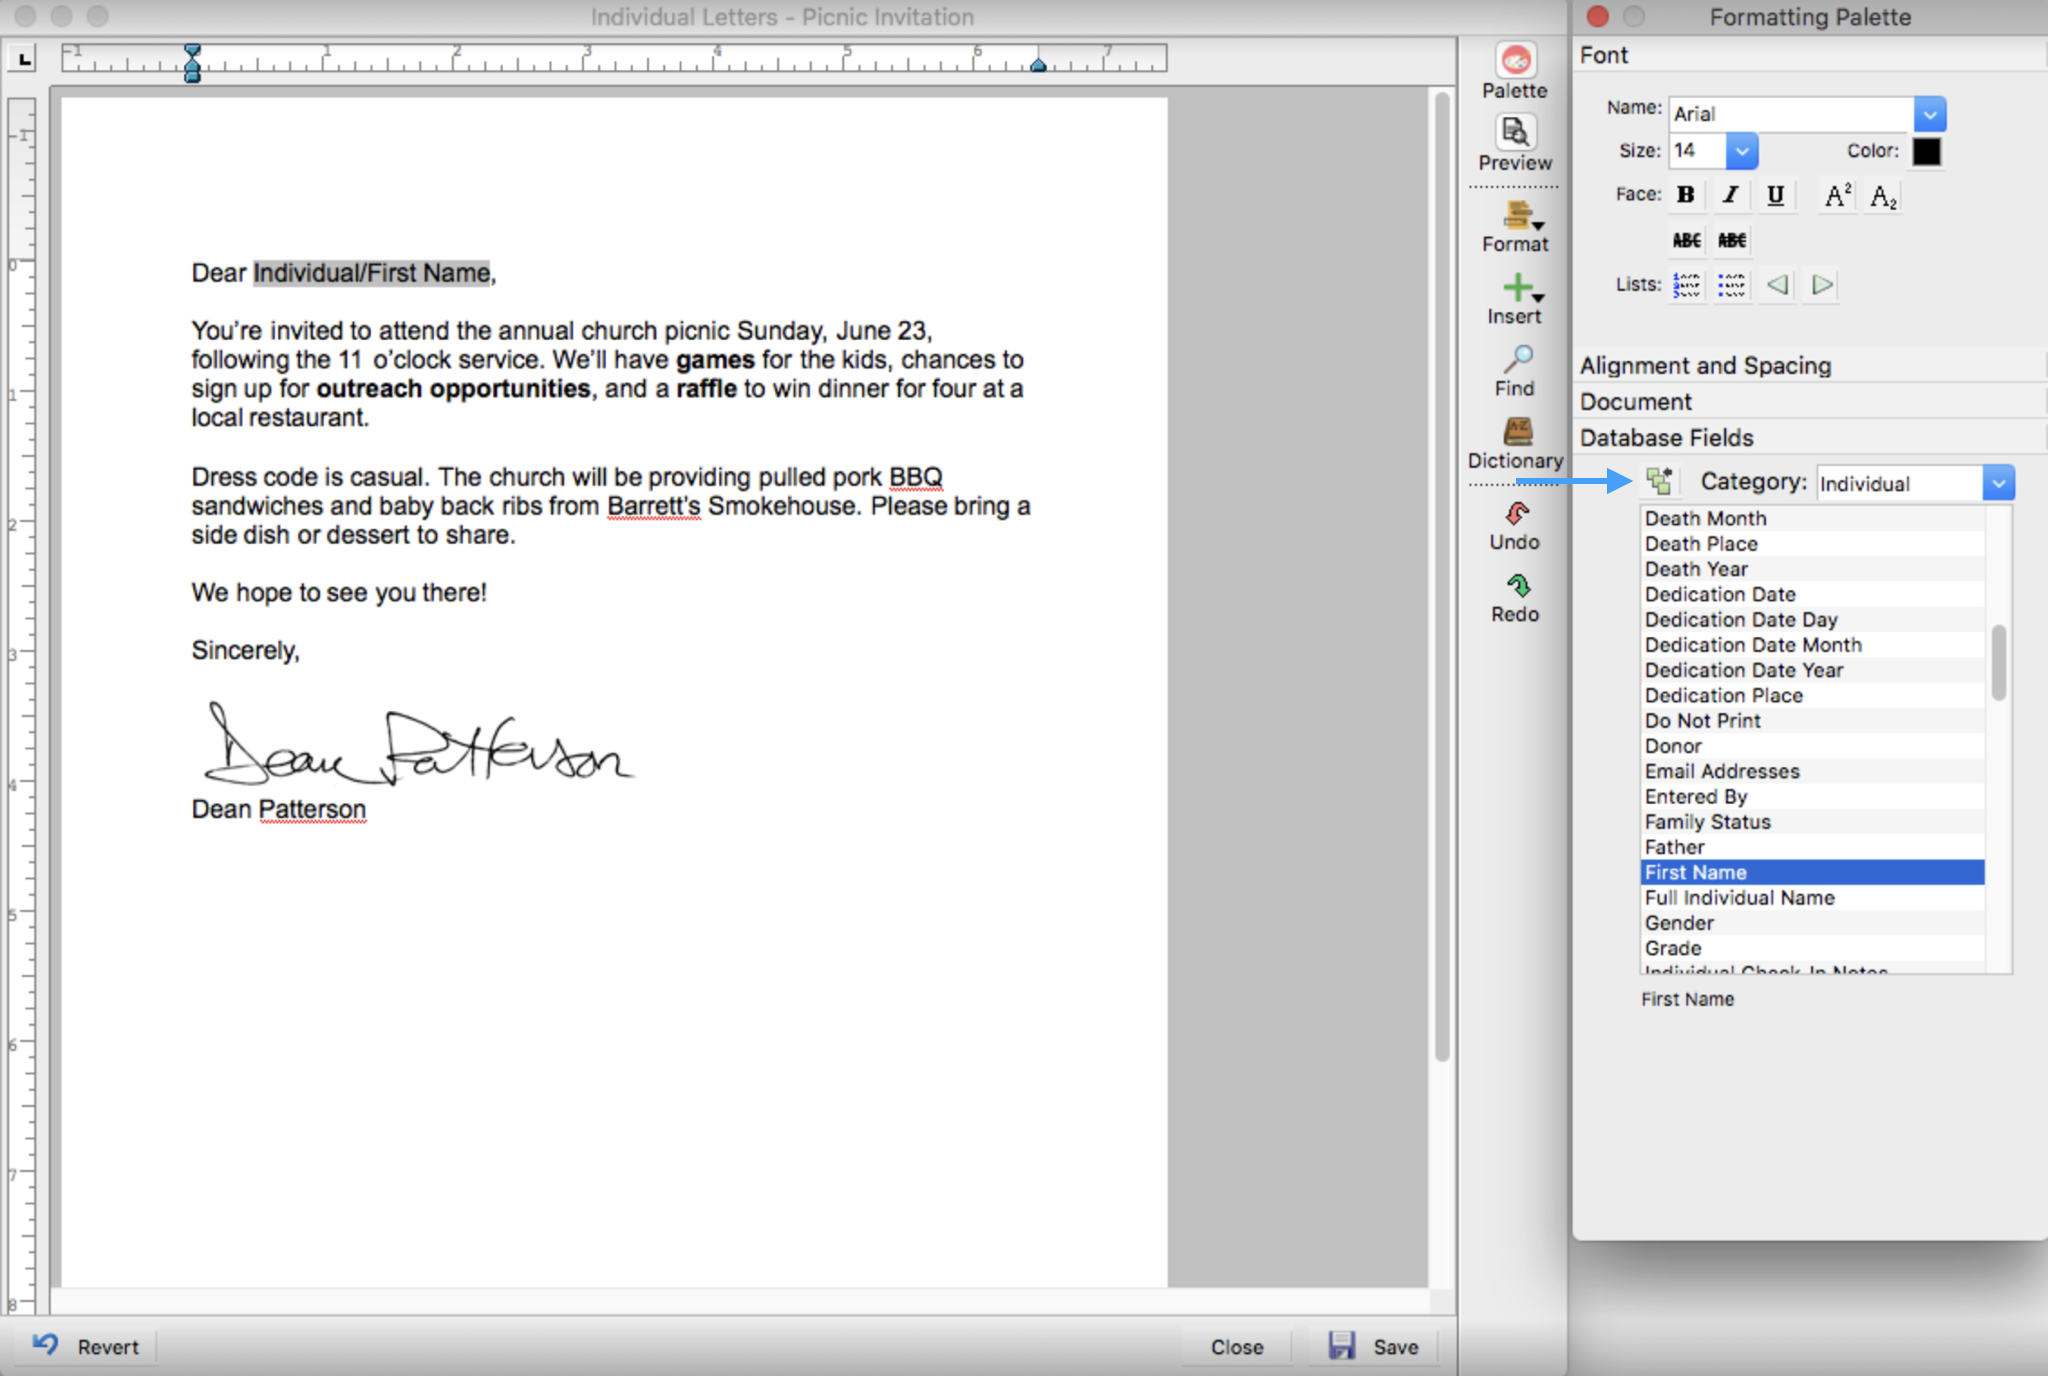
Click on the drop list to see a Category of database fields. Select a Category to see a list of available fields to insert in your letter.
Place your cursor in the letter at the point you want to insert the name of each individual’s Sunday School Class in a letter and either double-click “Individual/First Name” in the list of fields or highlight it and click on the insert field icon. The selected field will be added to your letter.

If you click the Preview button at the side of the notice window, you will see an example of the result. Clicking the Preview button again will return you to the notice entry mode.
Inserted Database Fields may be formatted just like any other text in a notice. Highlight the field name and choose the font, size, color, etc.
To avoid blank lines in addresses, use either the Address Block field or the Address Lines 1 and 2 from the Address
database field list, instead of:
Address Line 1
Address Line 2
City, State and Zip
The above format will result in a blank line in the address if one of the Address Line fields is empty.
Some fields, such as Full Individual Name, have options that can be controlled from the Format tab on the report window.
Date
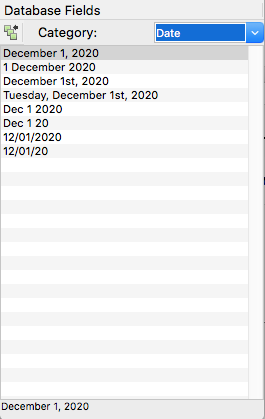
The Date category in the Database Fields section of the Formatting Palette is unique from the others. Instead of pulling information from CDM+, it simply inserts the current date in a notice. Choose one of the available date formats and insert it in the notice just as any other field.

If you use a Date field in a notice and then reuse the notice on another date, it will print the current date. If you want a specific date printed on the notice, do not use the Date field, but rather type it in the notice.
