-
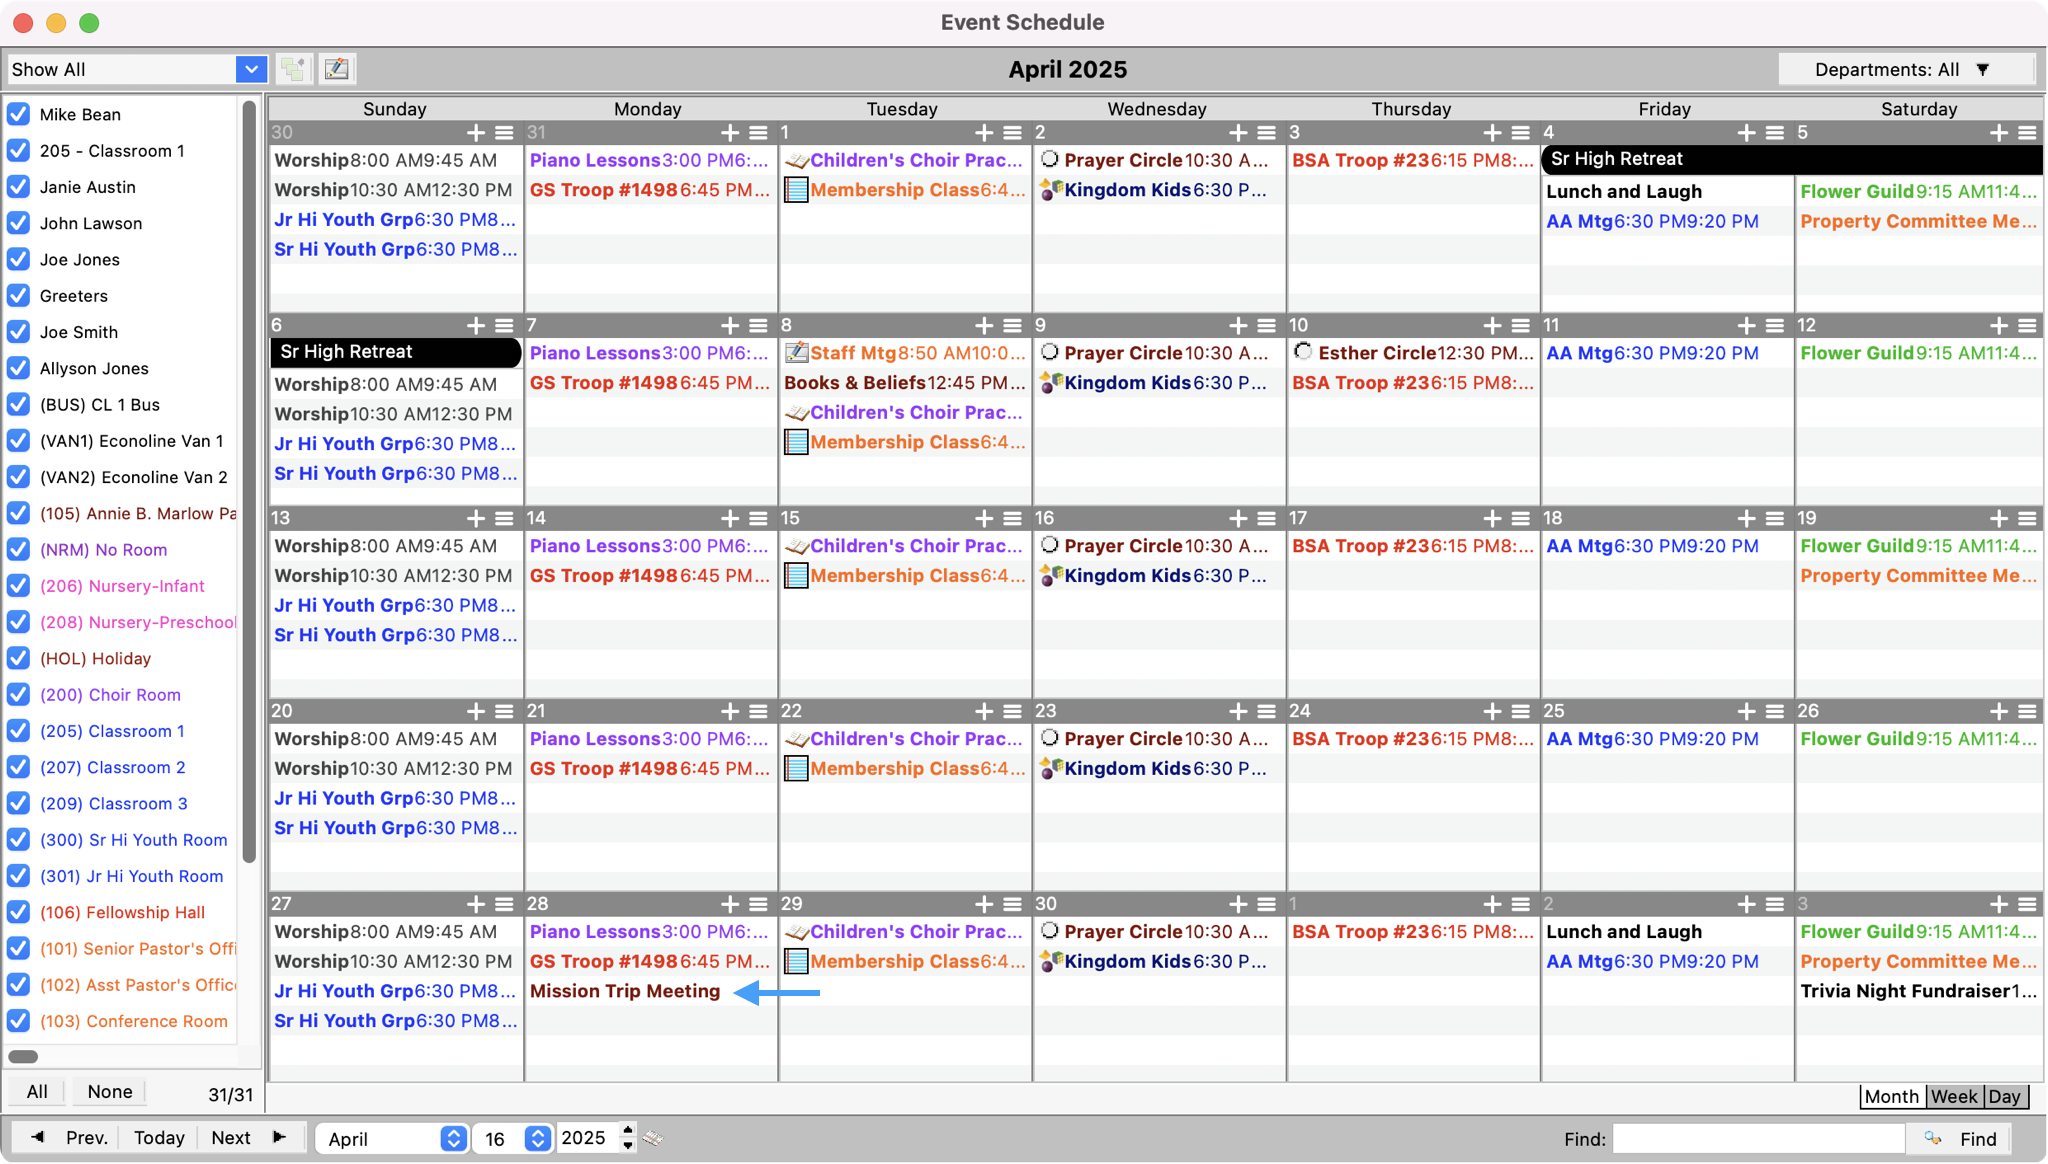
To add a new event, double-click in a day of the Event Schedule Window, click the + in the right-hand corner of a date, or click Add in the Inspector.
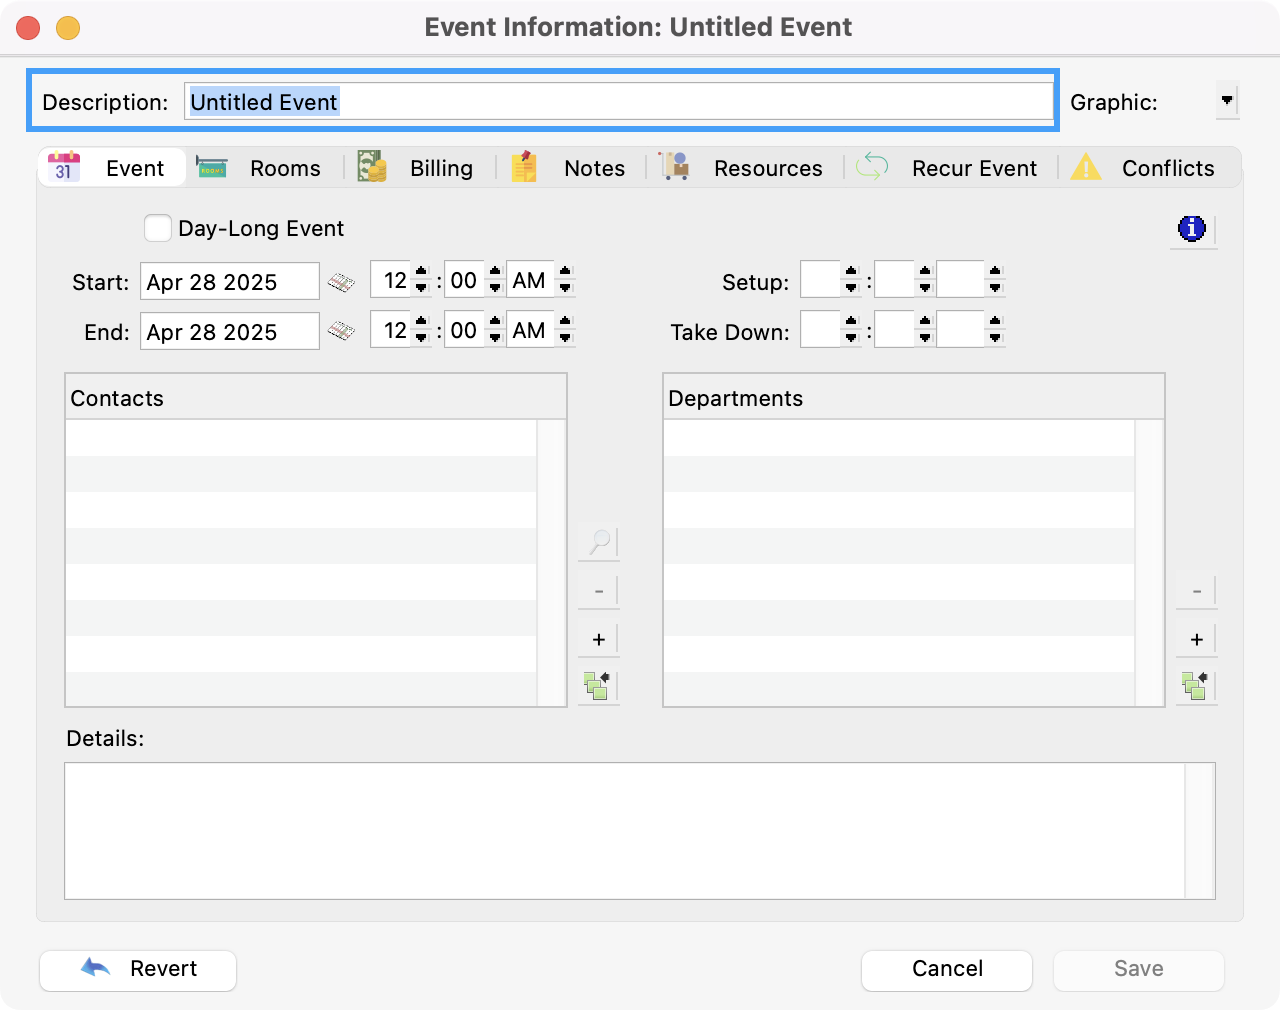
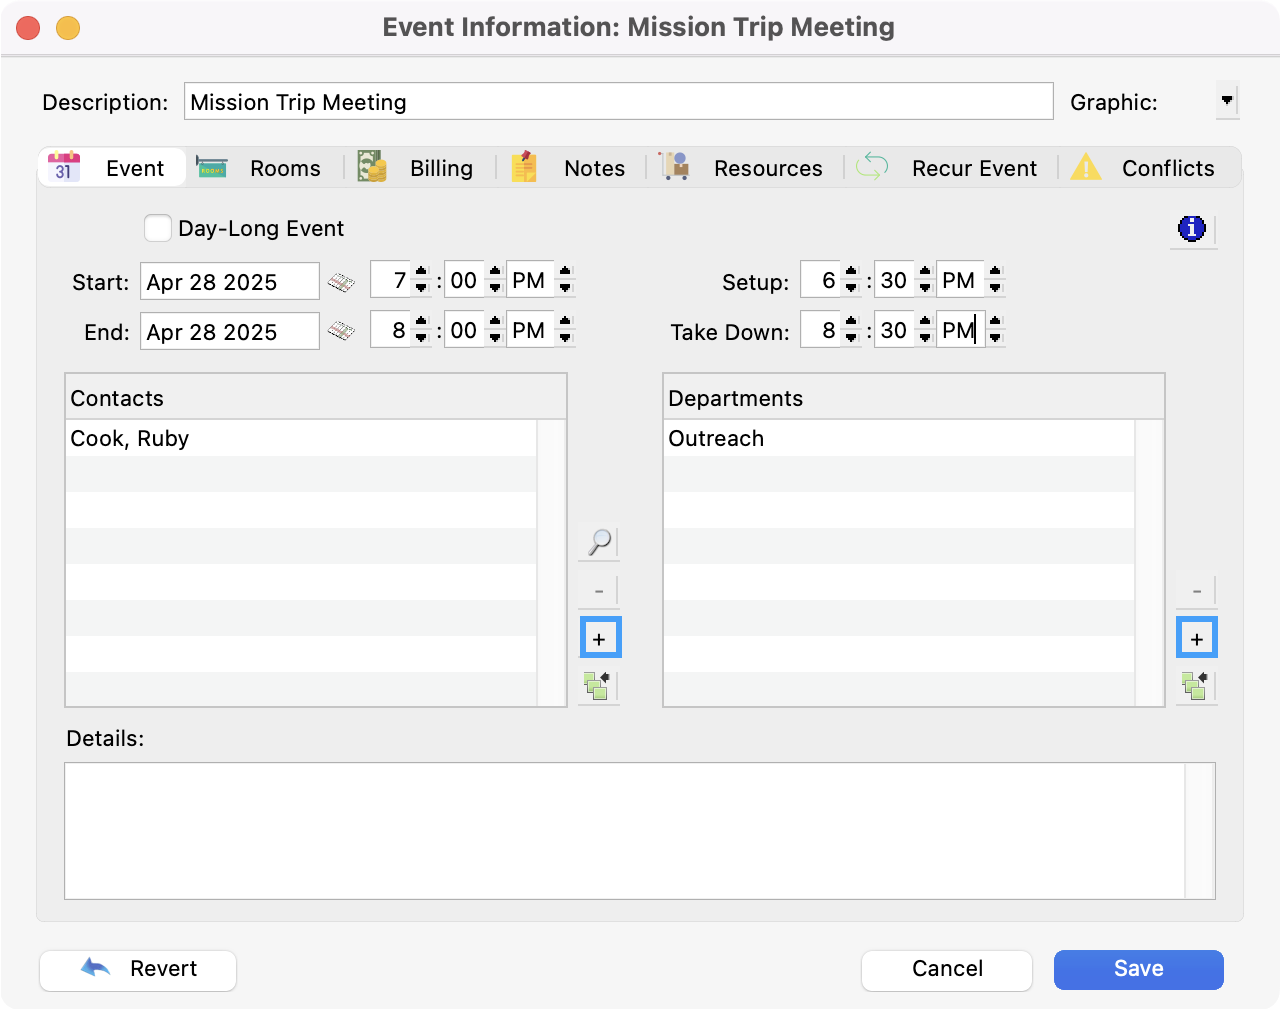
Of all the information you can enter in for an event on the various tabs on this window, only the time, date, and room are required. At any point that you are done filling in your event details you can save your event.
Event Tab
-
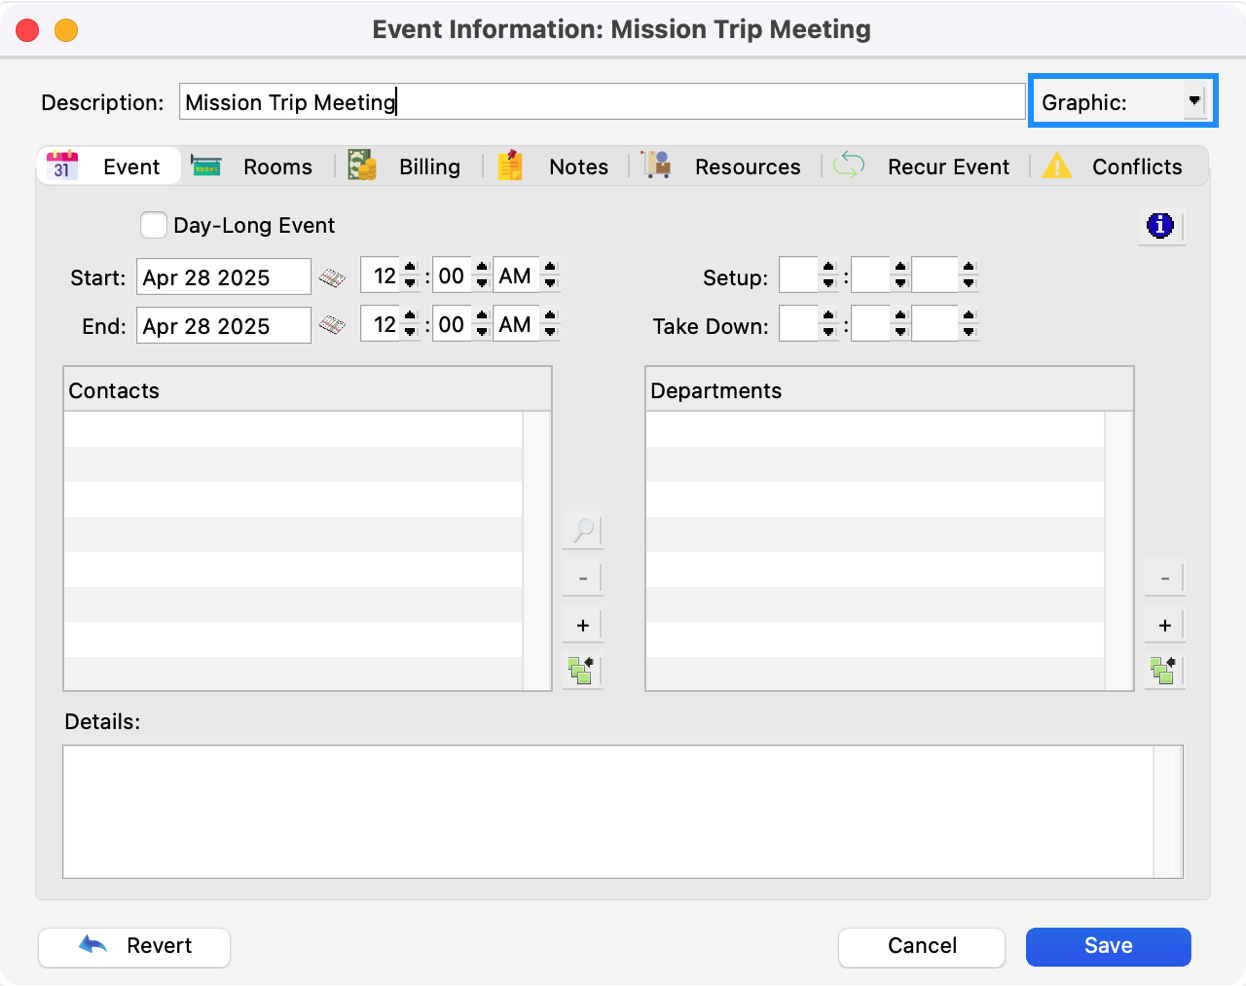
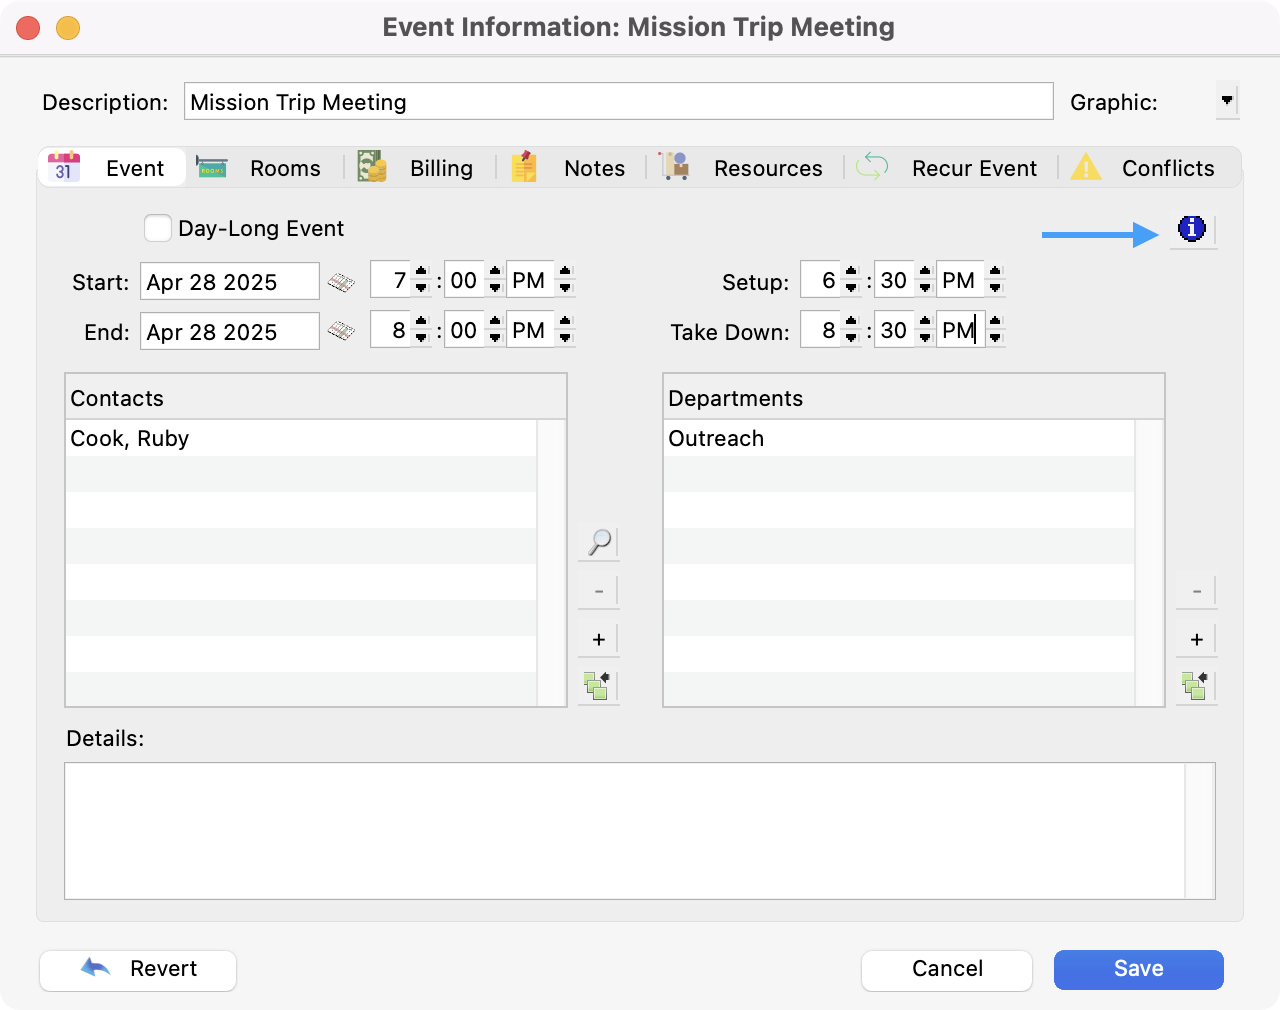
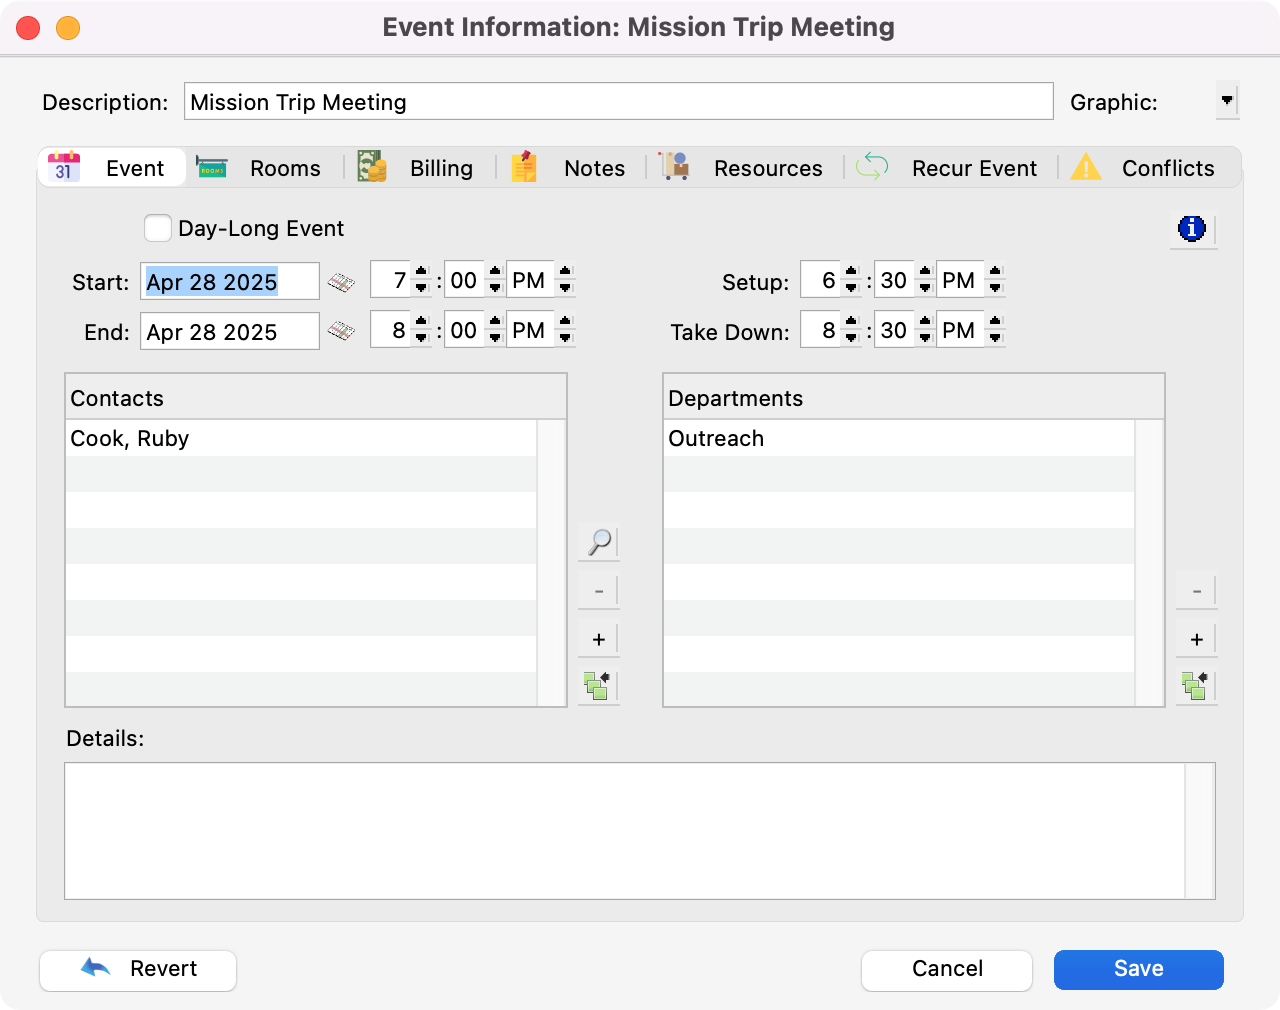
When creating an event, the Description defaults to Untitled Event. Type the name of your event in the Description field to overwrite the highlighted text. Press tab to move through the fields and change or enter the appropriate information.
-
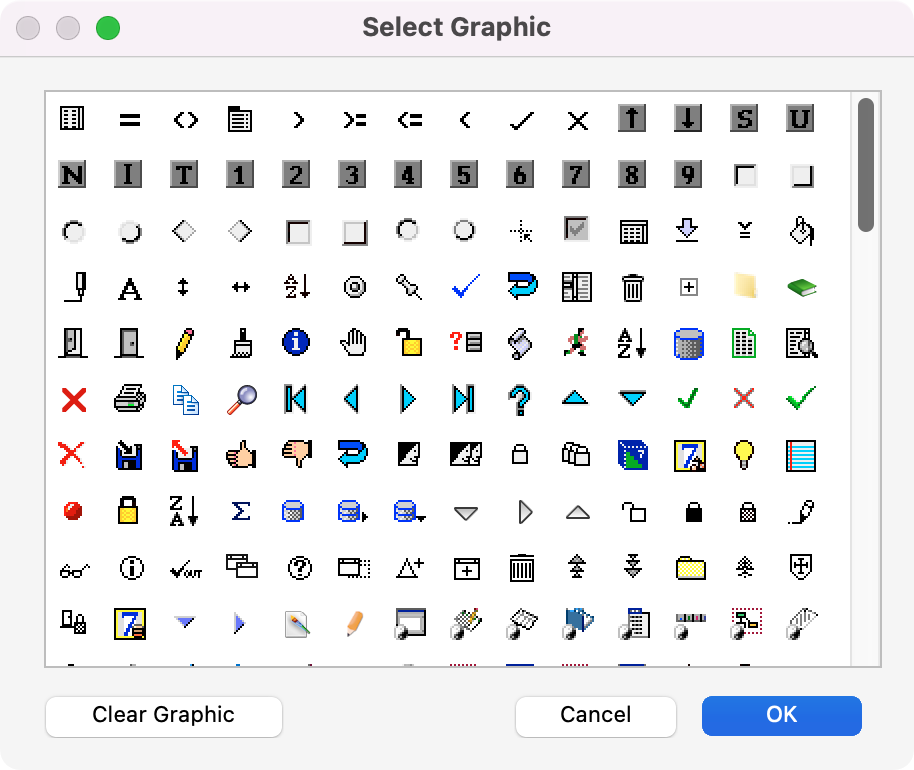
CDM+ Roommate allows you to dress up your schedule with event graphics. To set the graphic for an event, click the down arrow next to Graphic.
3. The Select Graphic window will appear. Choose the graphic you’d like to use and click OK. Click Cancel to close this window without setting the event graphic. Click Clear Graphic to remove the event graphic from this event.
-
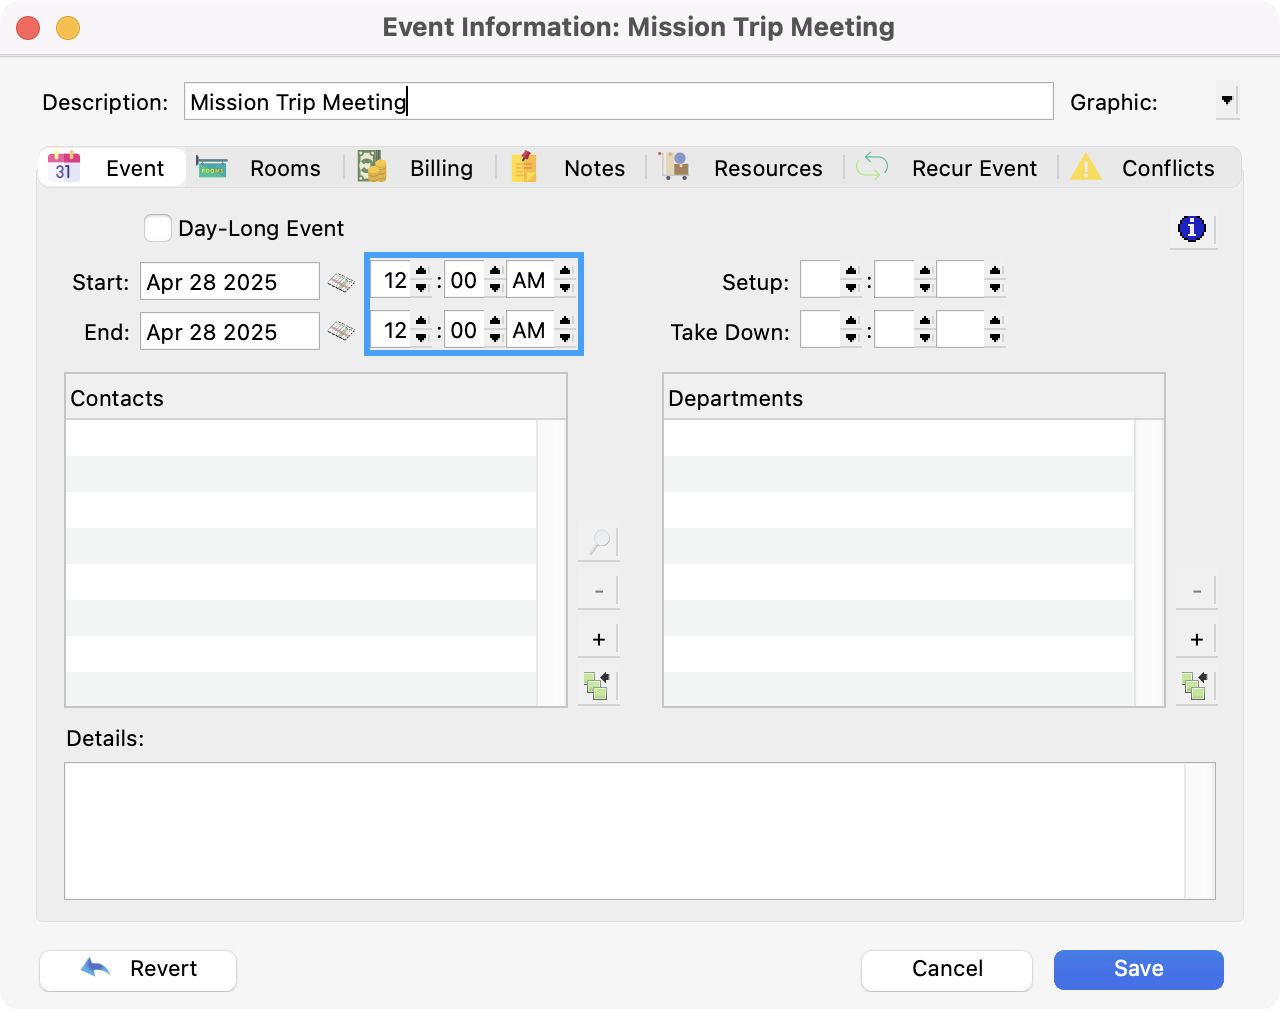
The Start Date and End Date default to the date you create the event. If this event lasts all day or has no time, check Day-Long event. This will cause the event to appear with a banner on the event schedule. To change these items, tab until they are highlighted and type in the correct information.

-
When a new event is created, the default Start and End Times are both 12:00 AM. To change either time, just highlight the field and type in the correct time or use the up and down arrows.
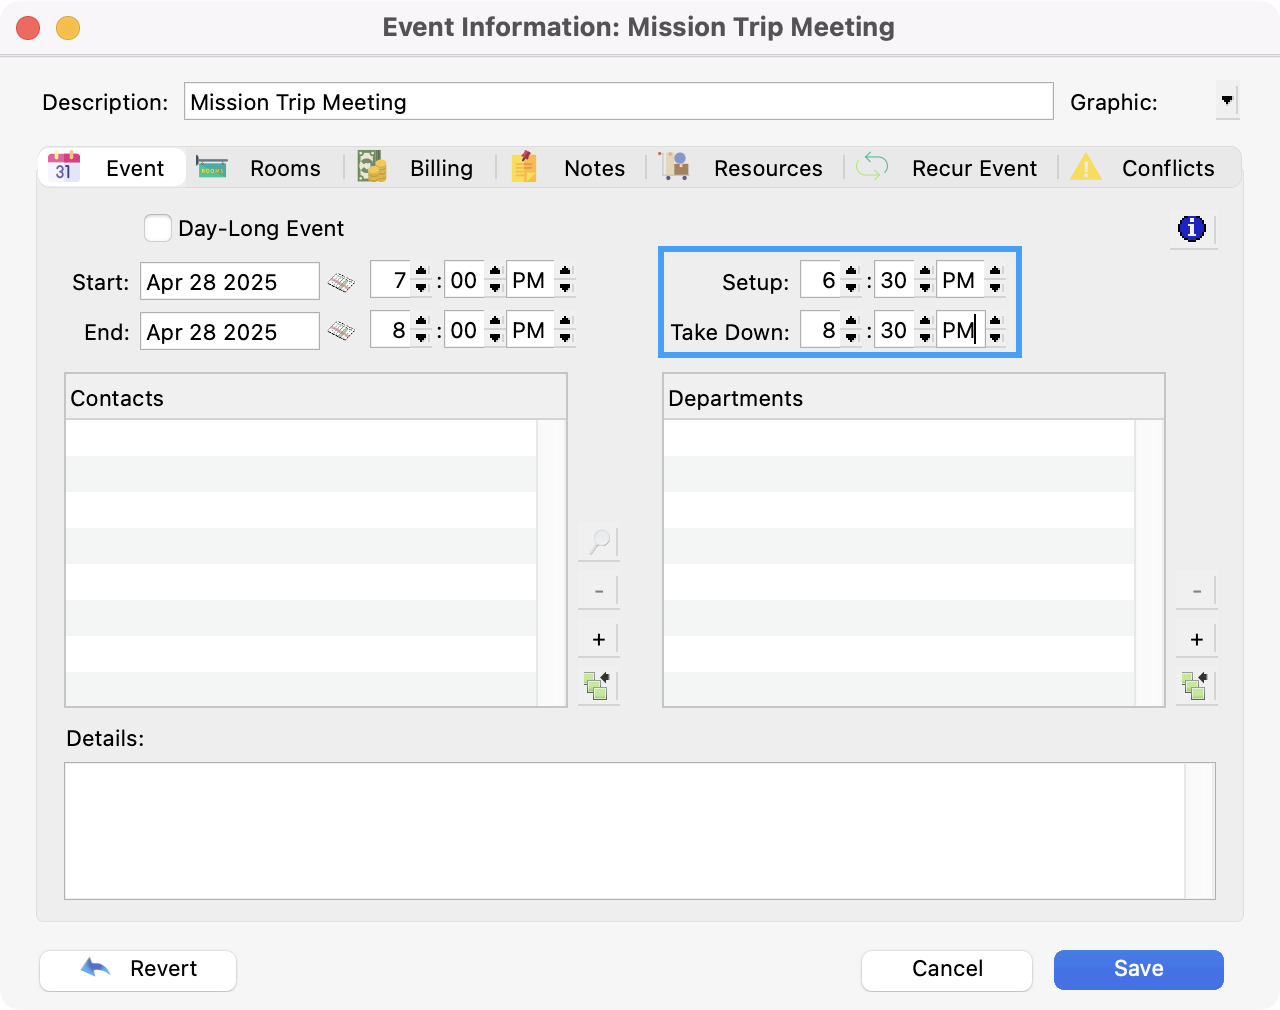
6. Next, you can enter the Setup Time and Take Down Time by highlighting the fields and typing in the correct time, or use the up and down arrows.
-
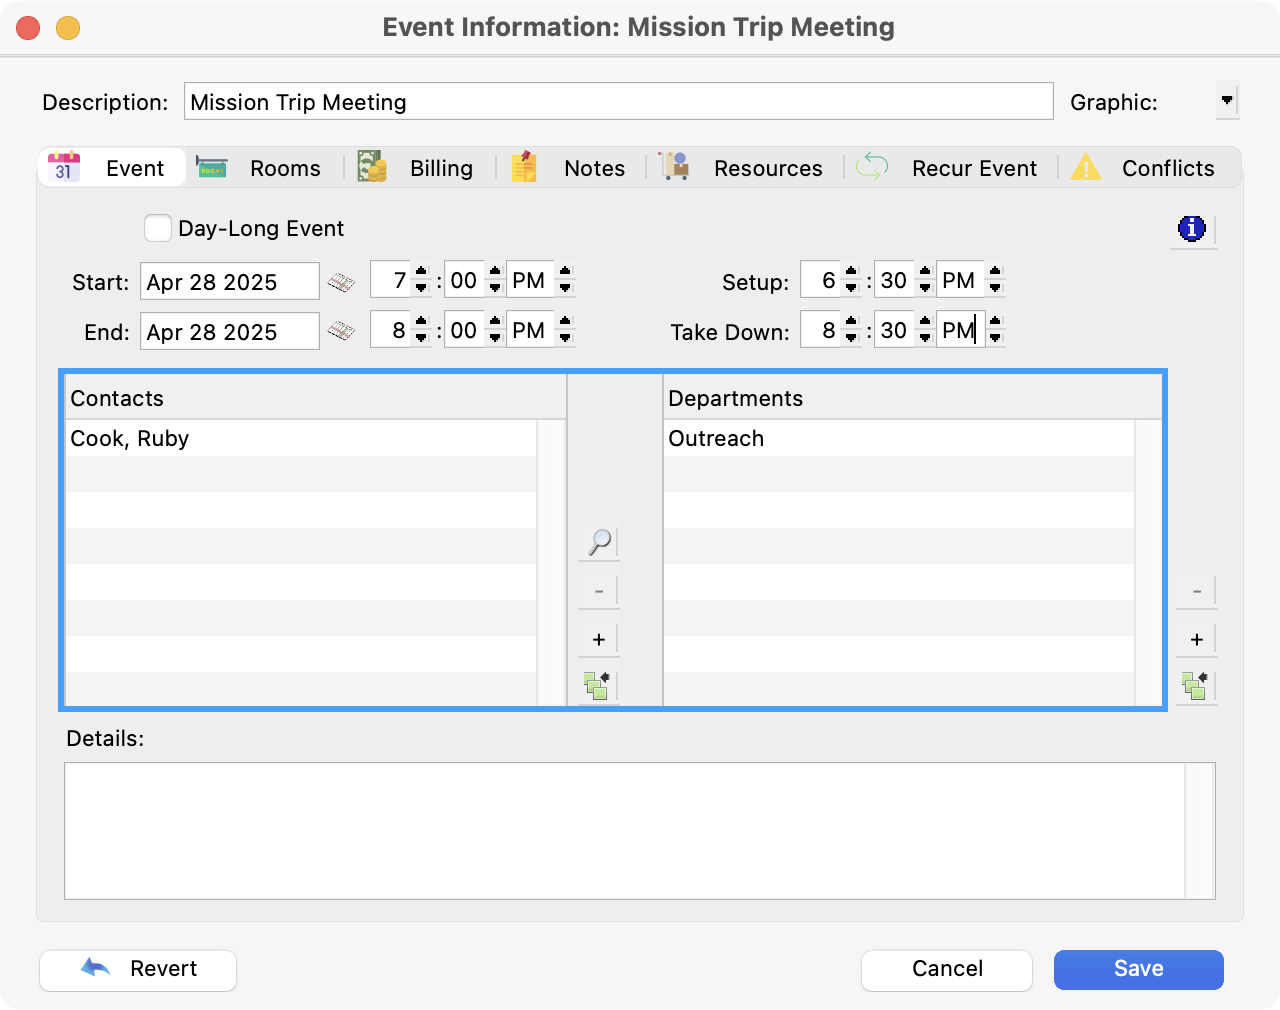
CDM+ Roommate allows you to assign an unlimited number of Contacts and Departments to an event.
-
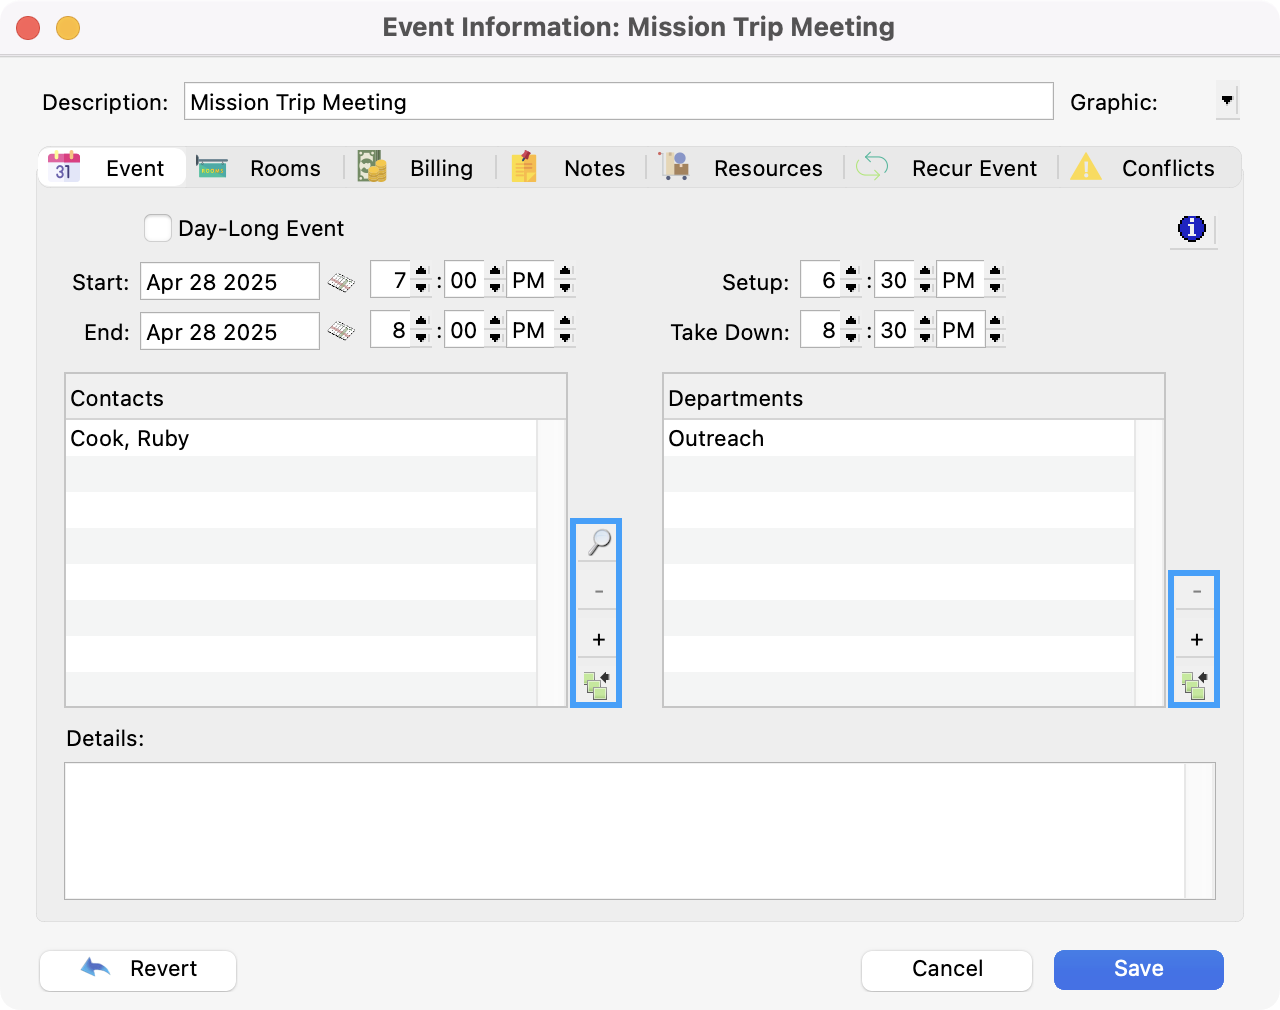
To add a contact or department, click the Plus button. Check the contact(s) and/or department(s) to add and click OK.
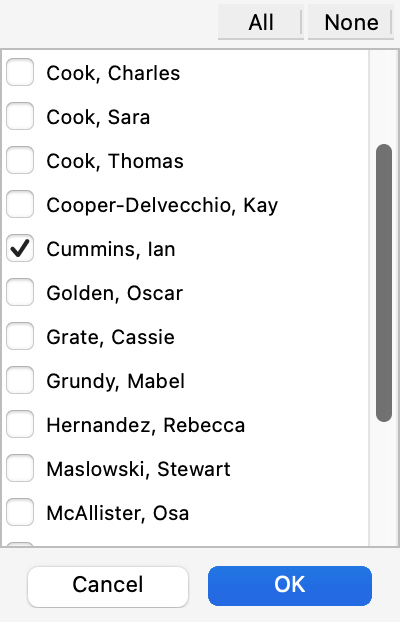
Note that contacts and departments already assigned to the event will not show in the pop-up list. To remove a contact or department from the event, select it and click the Minus button. You can also press the delete to backspace key, and can select multiple contacts or departments and remove them all at once. To create a new contact or department, click the New button. For departments, enter the description and press OK. For contacts, fill in the contact’s information and click OK. After creating a contact or department, it will be automatically added to the event. You can easily view all the contacts for an event in the Contacts window by clicking the View Contacts magnifying glass icon.
-
Below the lists of Contacts and Departments is a field where you may type in Details for the event. This is a very flexible feature that allows you to describe the event and/or convey information that potential attendees might need to know.
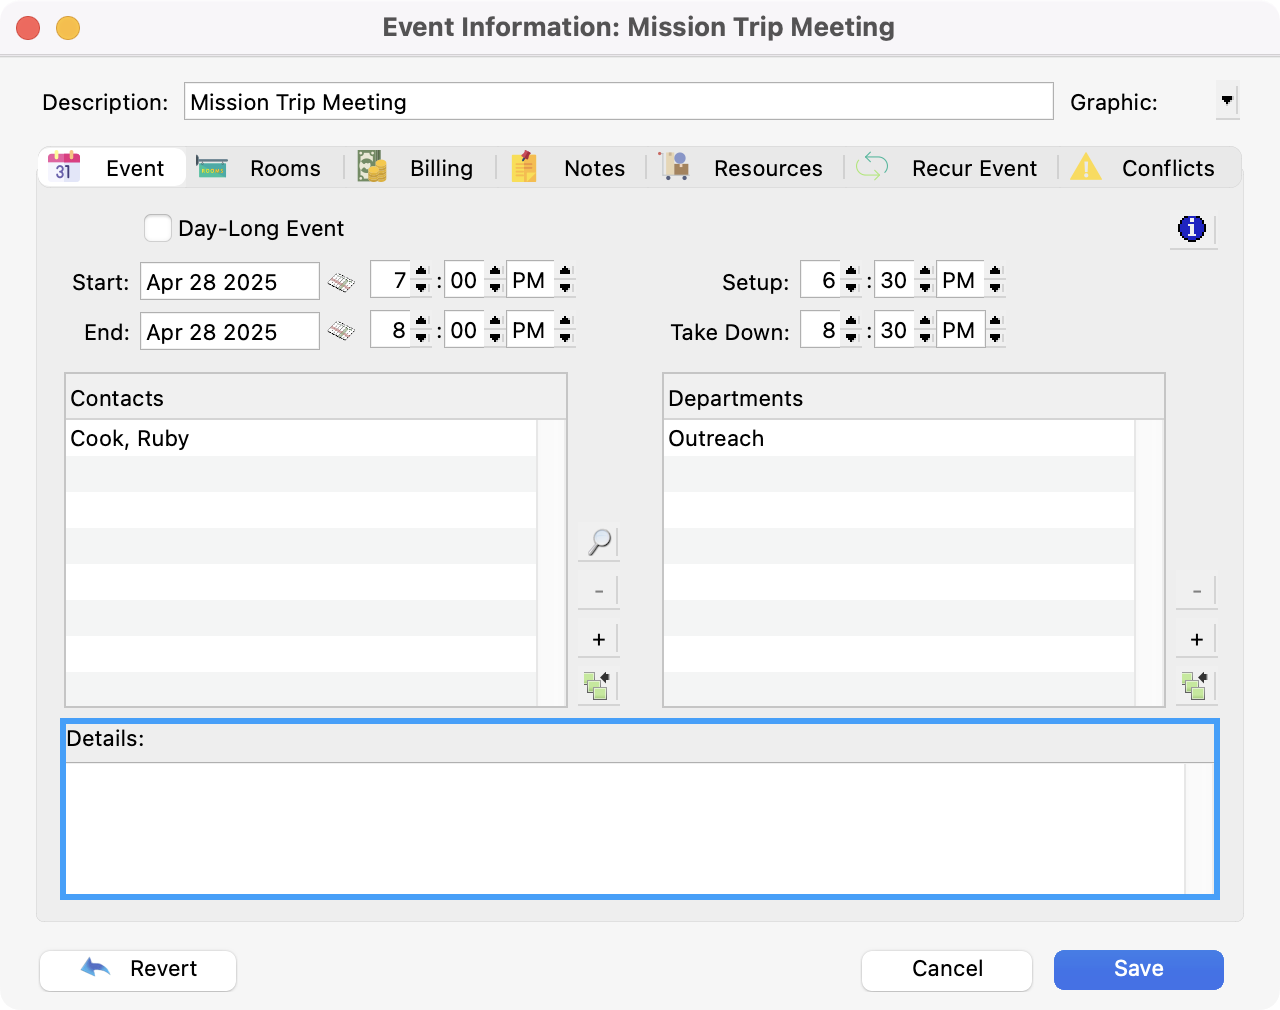
Details entered in this field are visible on your website when you publish your calendar online. You will also have the option to create calendars based on the Departments or Rooms selected.
-
You can see the date and time an event was entered and last modified, along with who entered and last modified the event, by clicking the blue “i” button on the Event tab.
Rooms Tab
-
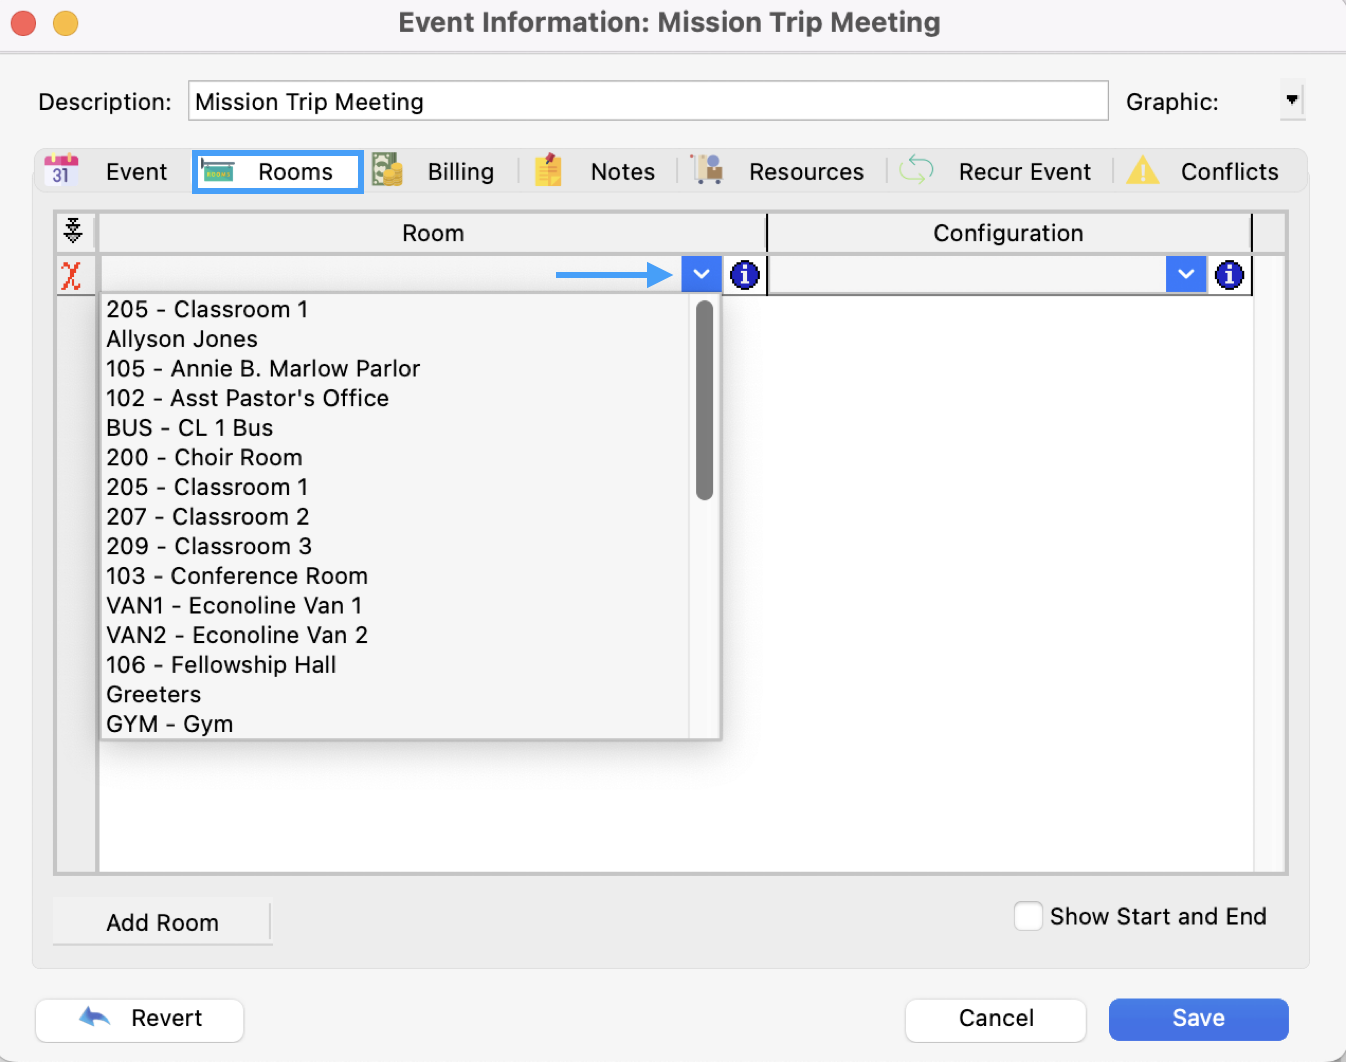
After entering the main details of your event, click the Rooms tab. This is where you can add an unlimited number of Rooms to use for an event. Use the drop-down field to select the needed rooms.
-
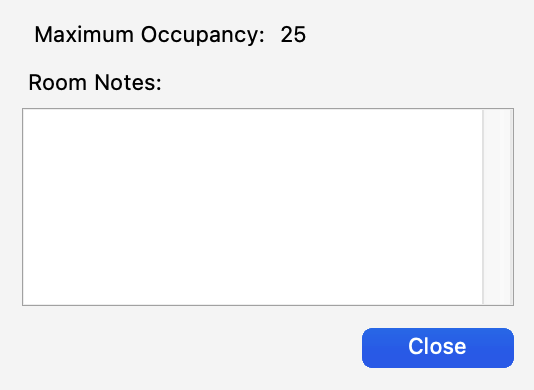
When you select a room on the room list, a list of available configurations appears to the right of the room. Next to the room and the configuration list is an info button that displays notes and capacities for the selected room and configuration.
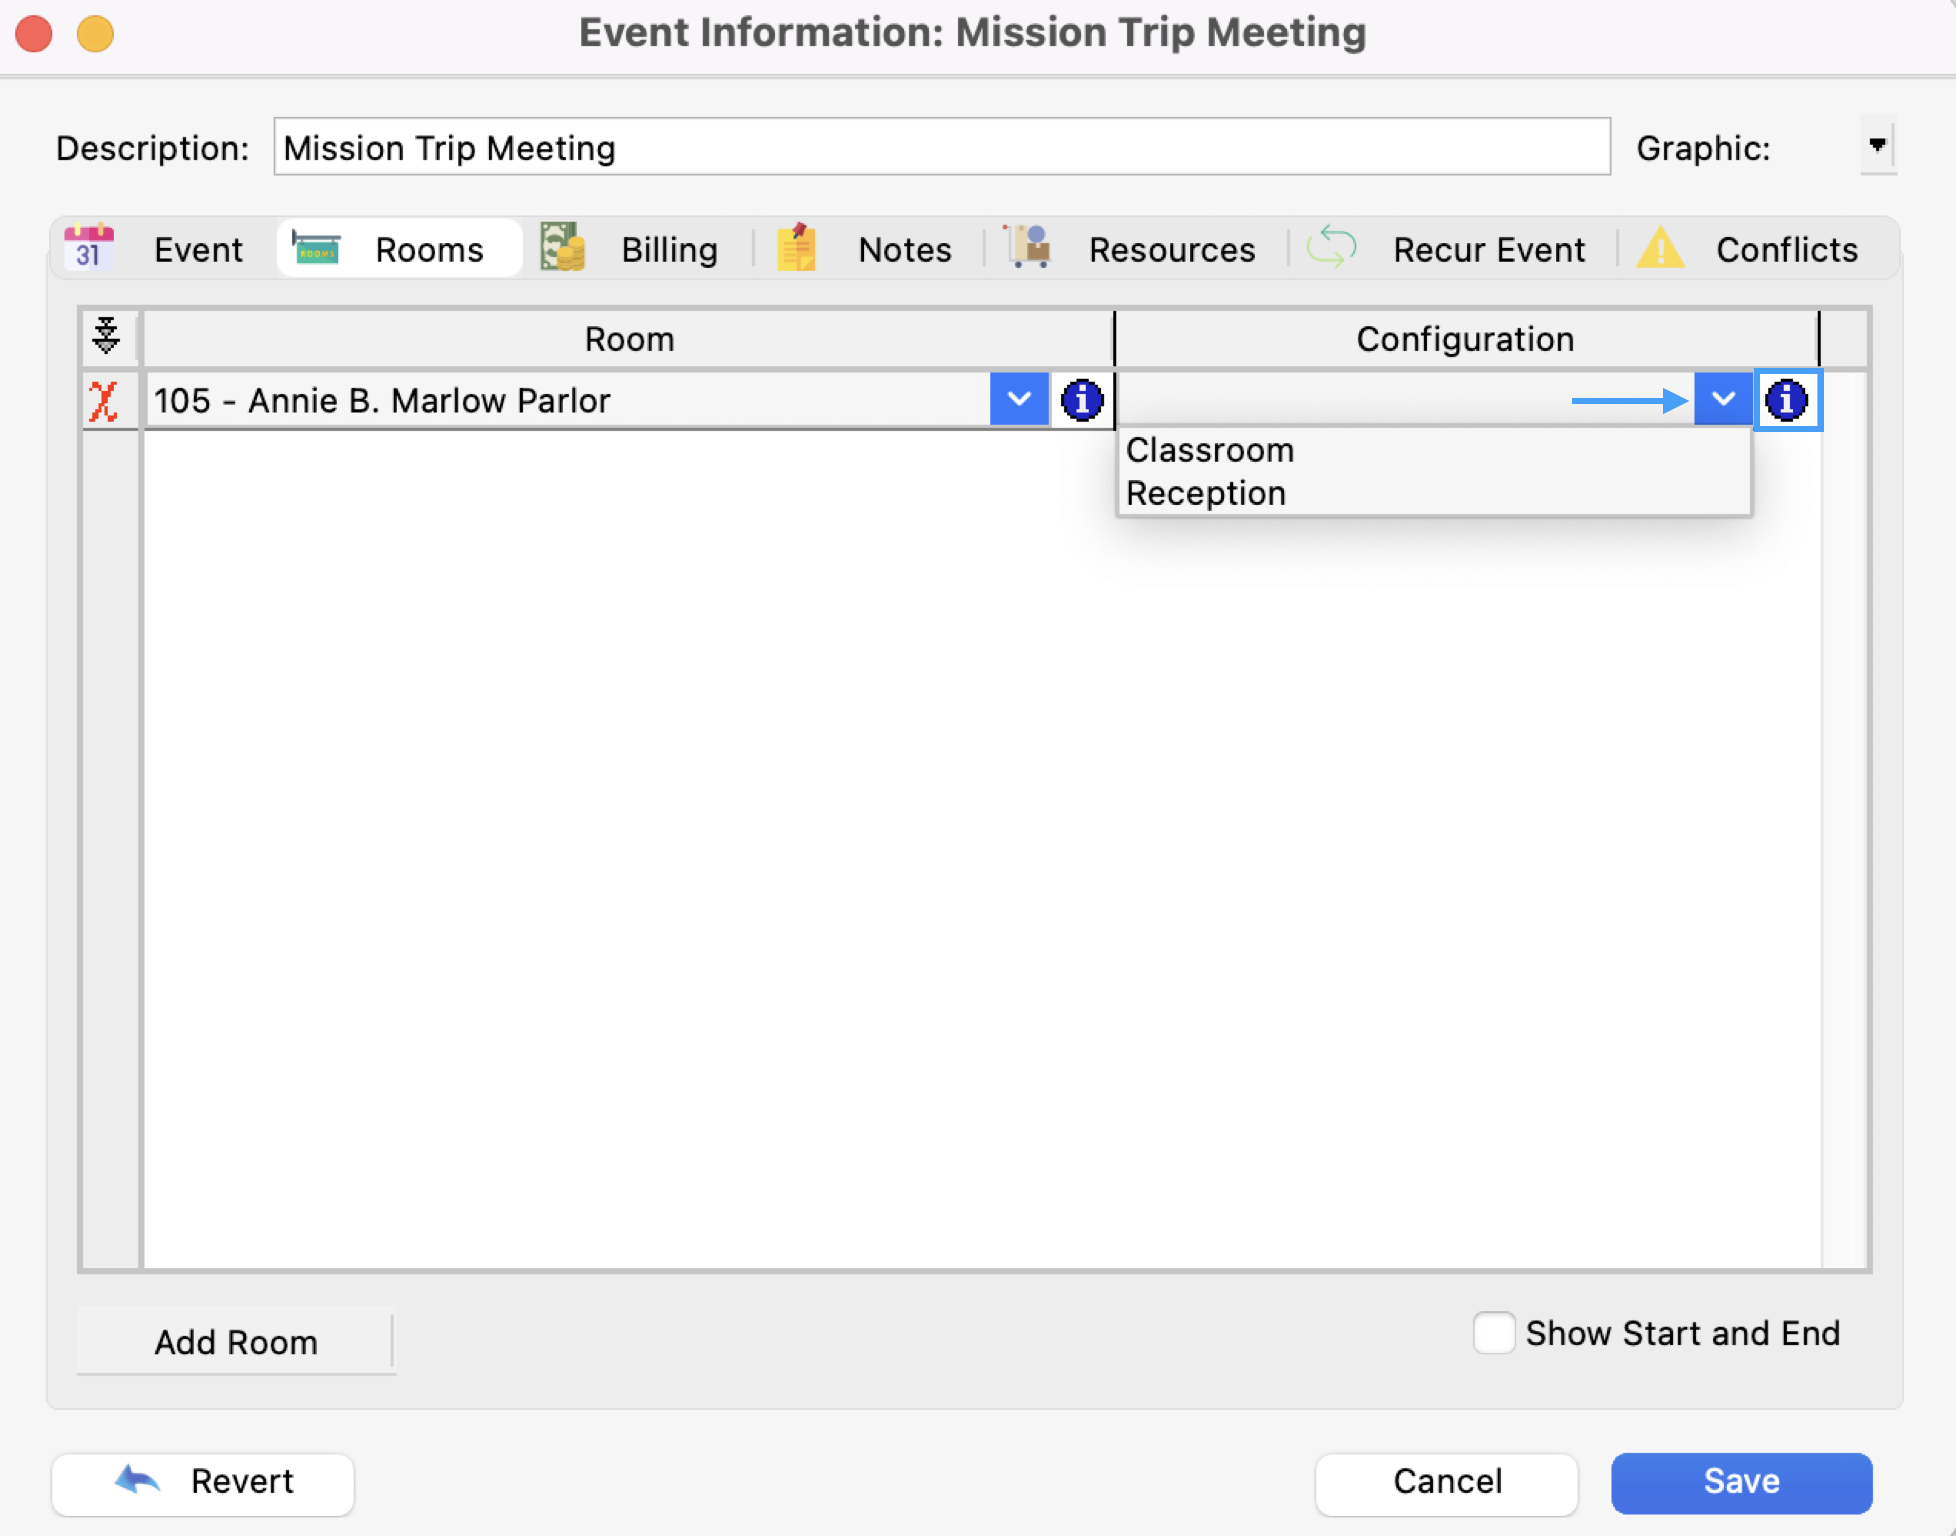
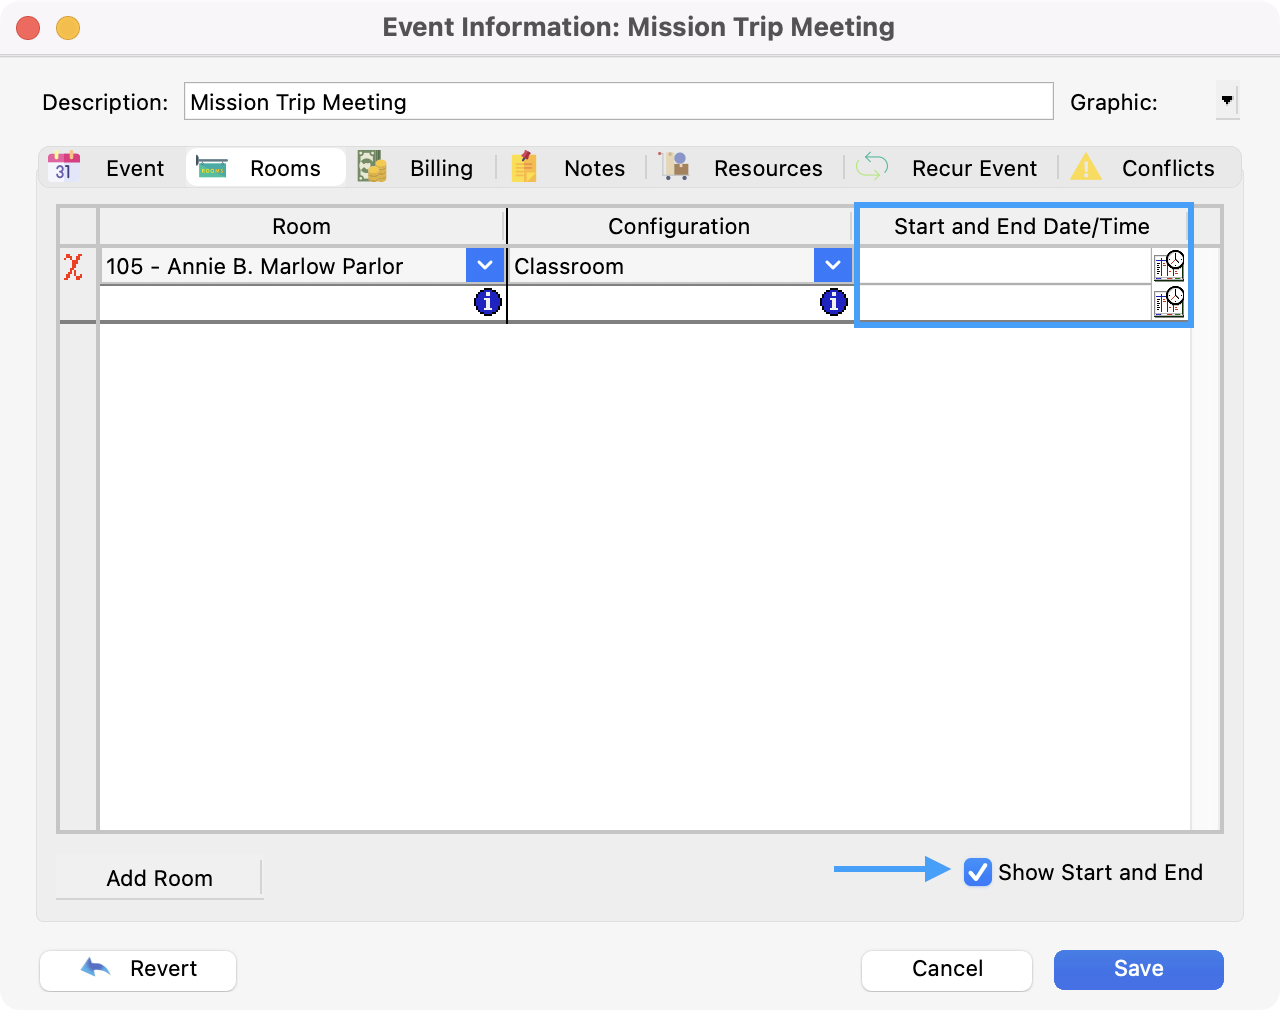
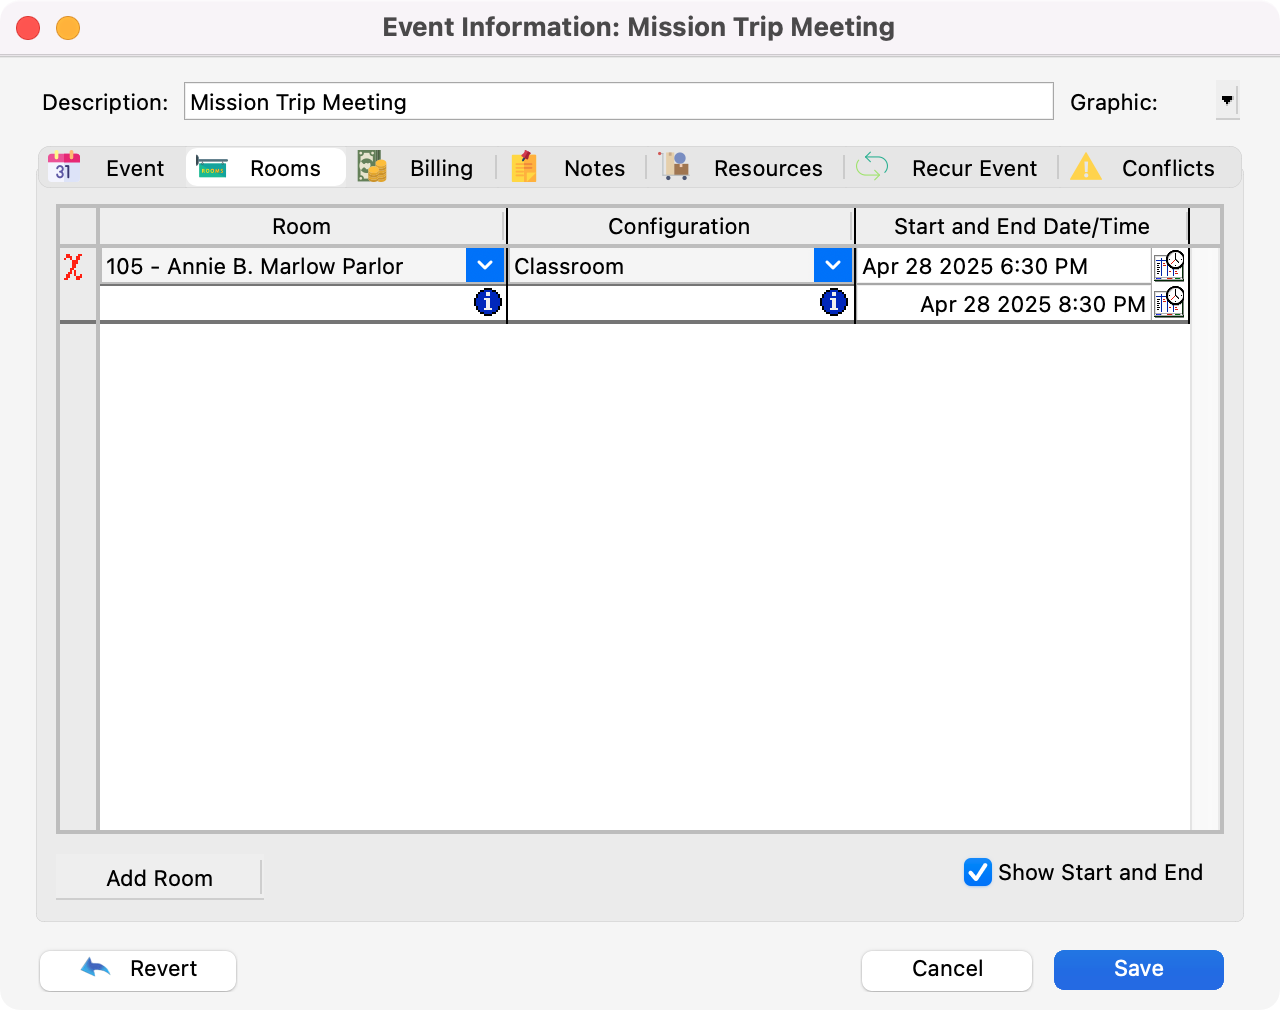
When using multiple rooms, you can specify separate start and end dates and times on a per-room basis. In addition, you can assign a room to an event more than once, so if you have a playground and meeting area used for VBS, you can track when children move between the meeting area and the playground.
-
To specify separate start and end dates and times for rooms, check the “Show Start and End” box. To change the start or end date/time for a room, click the clock icon in the Start and End Date/Time field. Start dates/times appear next to the room configurations, and end dates/times appear just below.
Please note that when assigning multiple rooms to an event and the rooms have different colors, there is currently no way to guarantee that the event will display in a consistent color.
Billing Tab
-
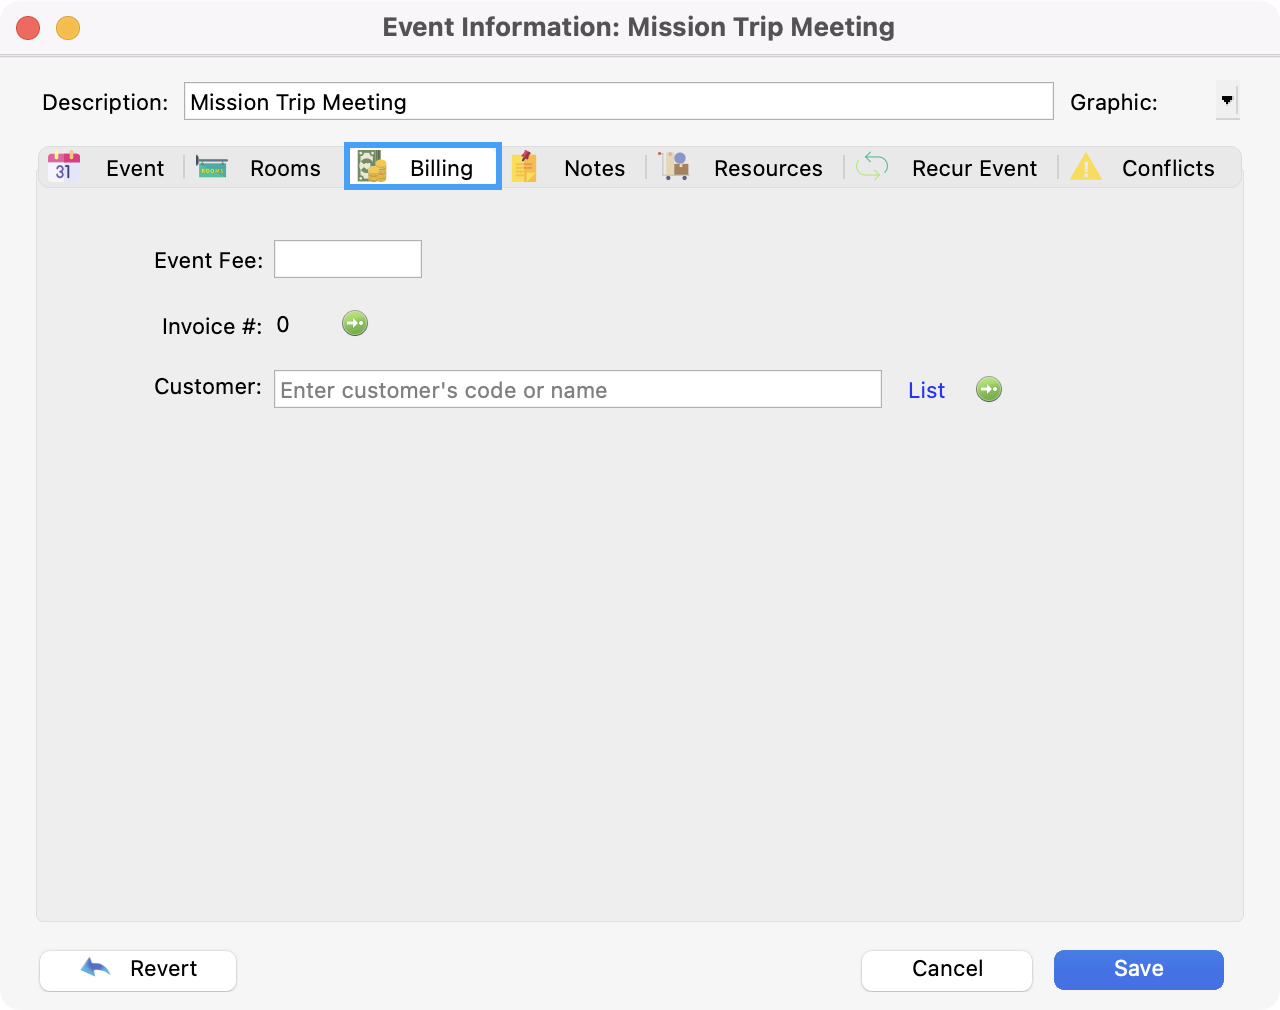
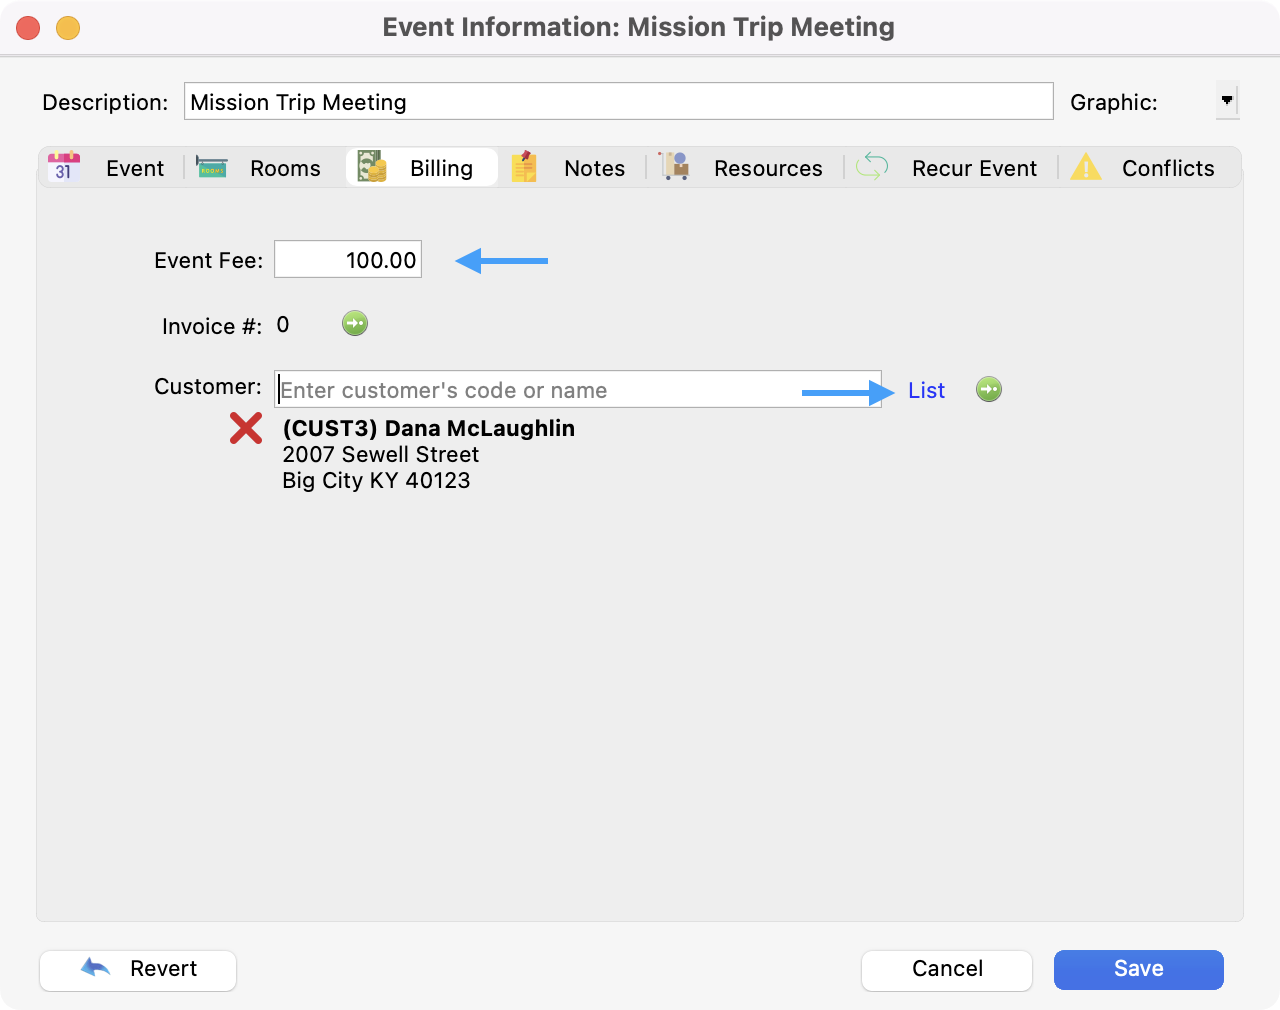
Next, after adding Rooms to your event, you can click the Billing tab. This is where you can enter payment information, if any, for this event.
-
Enter the Event Fee and search or use List to select your customer.
Notes
-
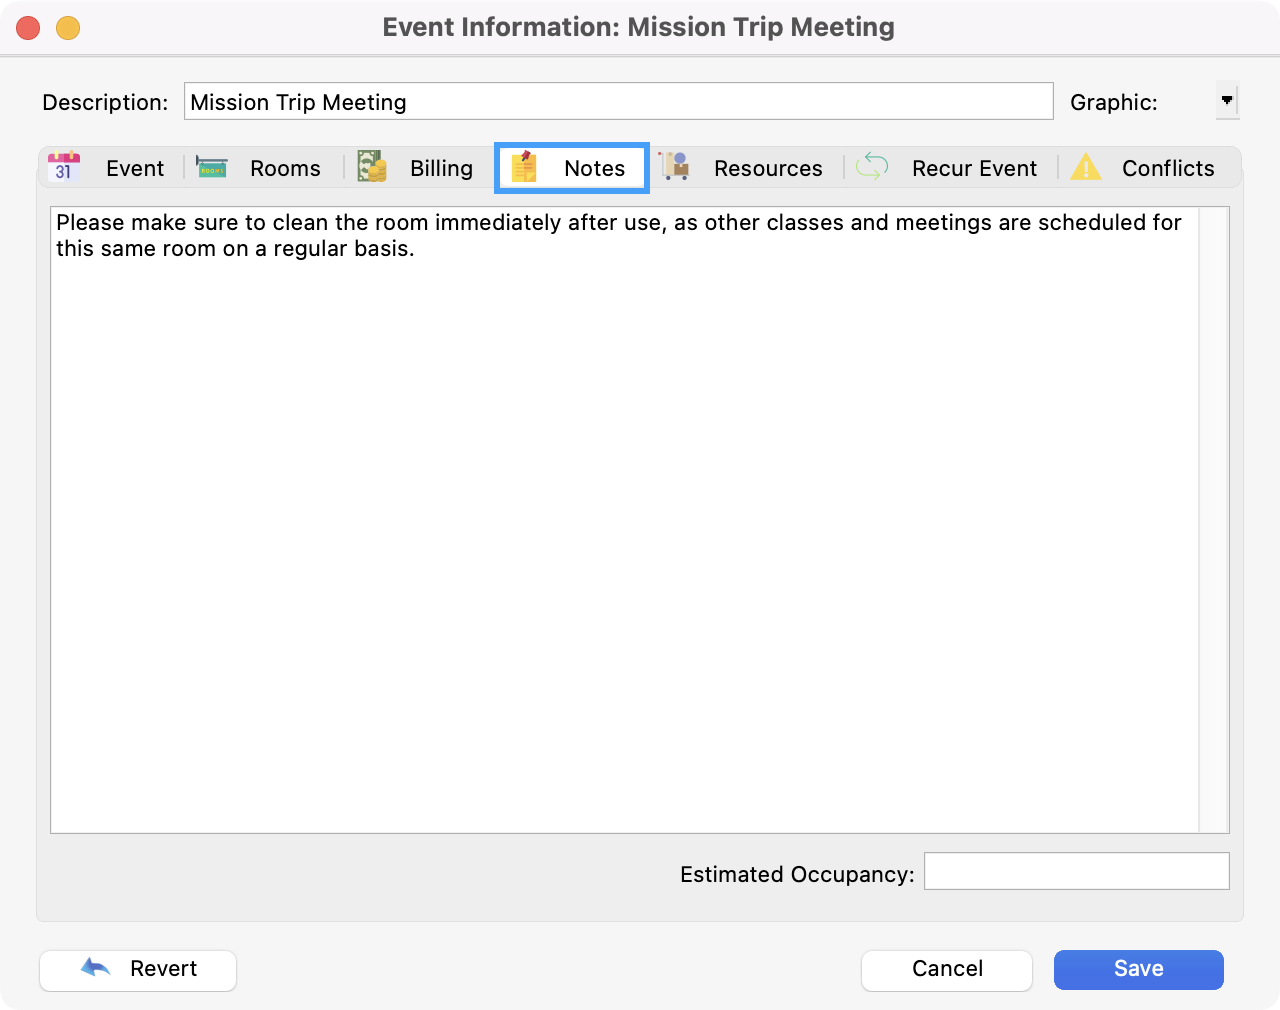
Next, click the Notes tab. Here you may add notes particular to this event.
-
Below the notes field, you may enter the expected occupancy of the room for this event.
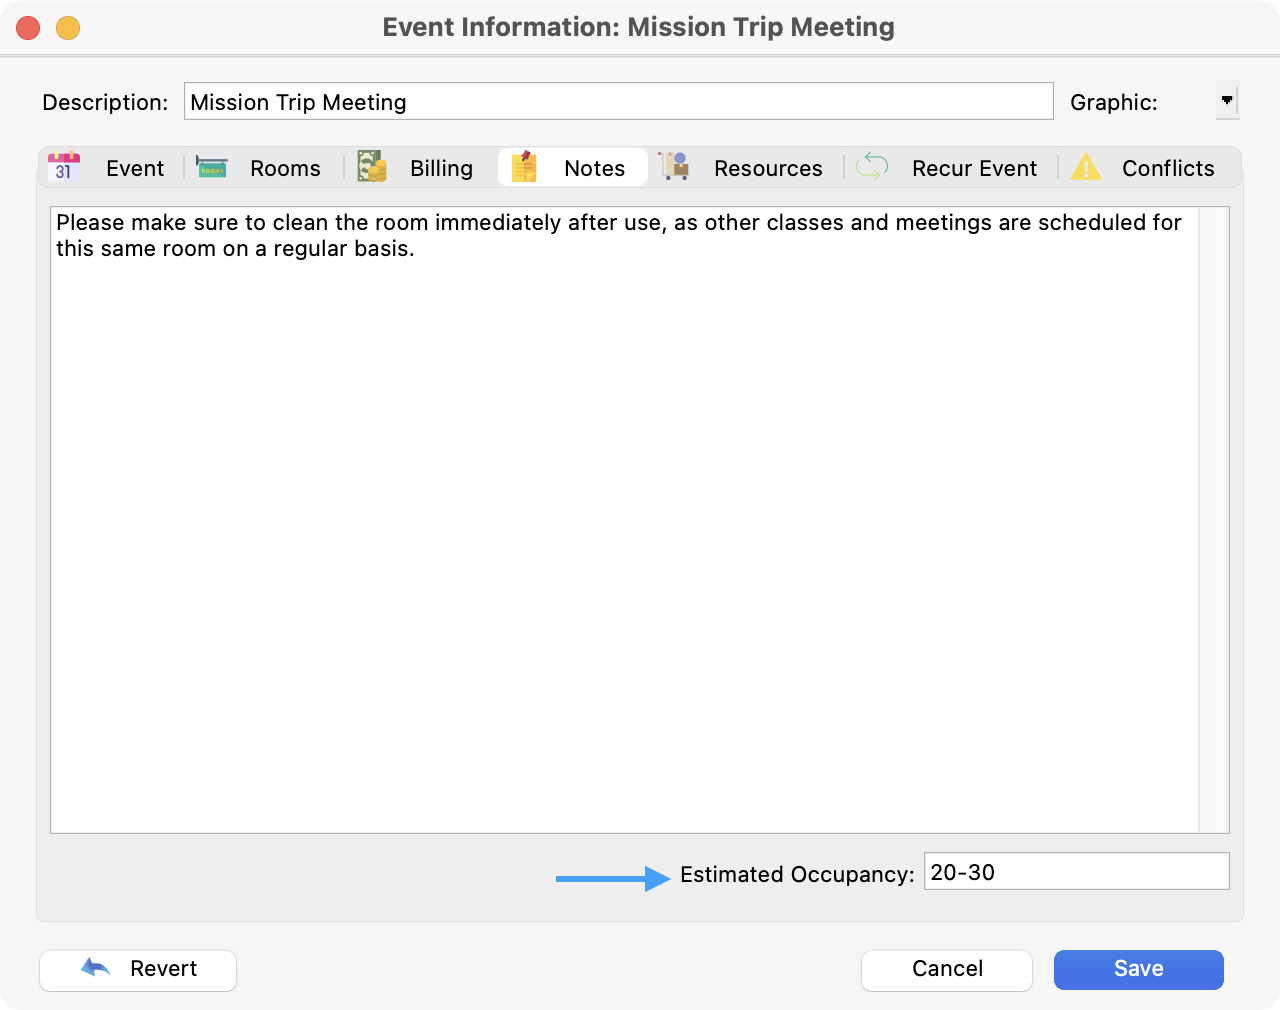
Note that the occupancy field allows for characters, so if you expect between 25 to 30 people, you can enter “25-30”.
Event notes can appear on Event Reports, be queried from the Advanced Find, and appear on the Inspector.
Resources Tab
-
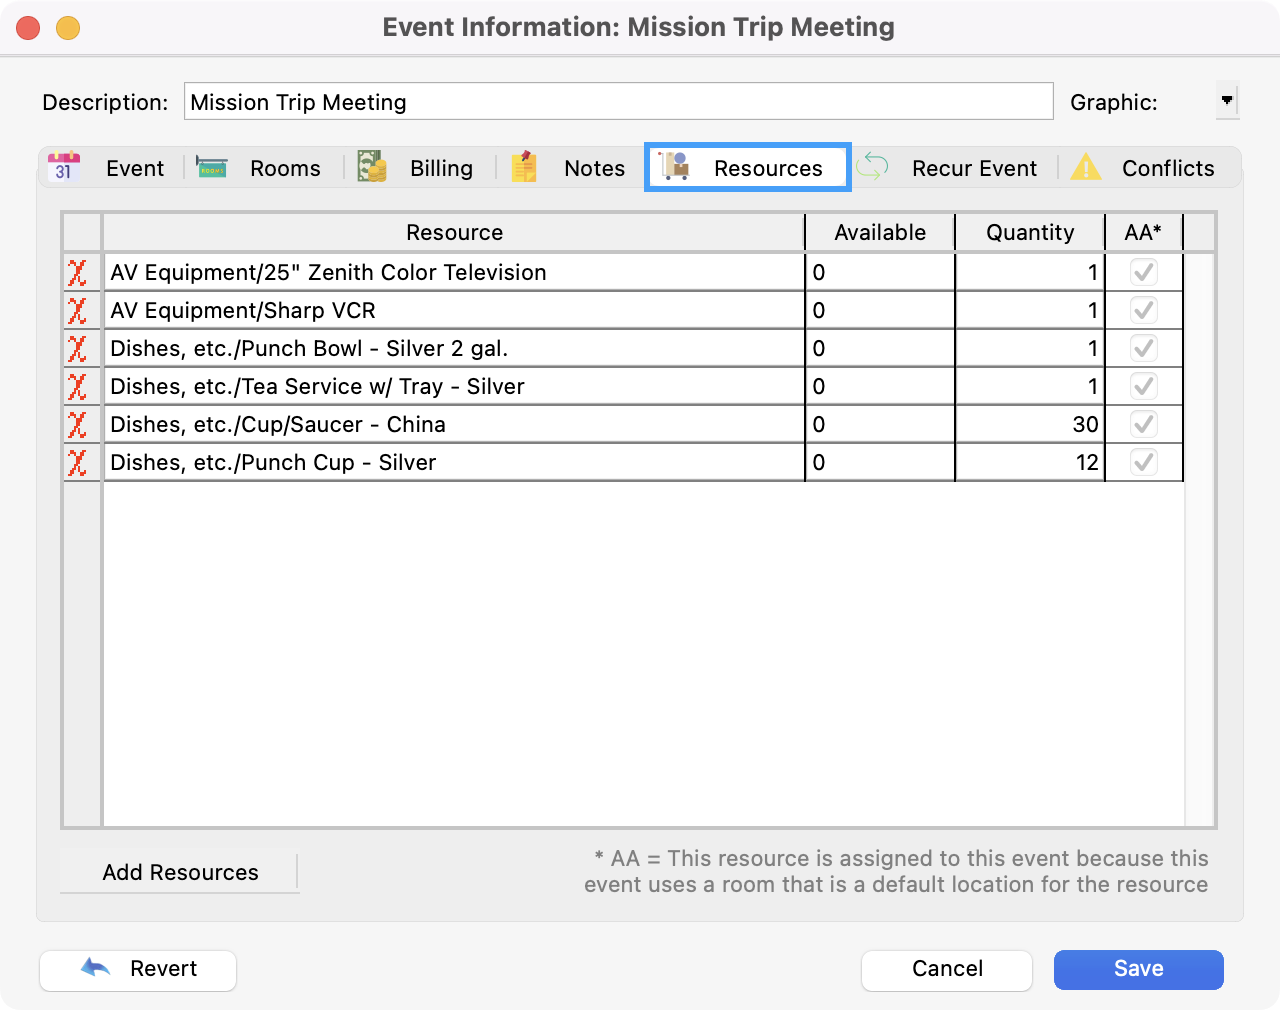
Next, click the Resources tab. Here you have the opportunity to assign available resources to this event. If you’ve already selected rooms for this event, any resources with those rooms as a default location and marked auto-assign will already be listed here.
-
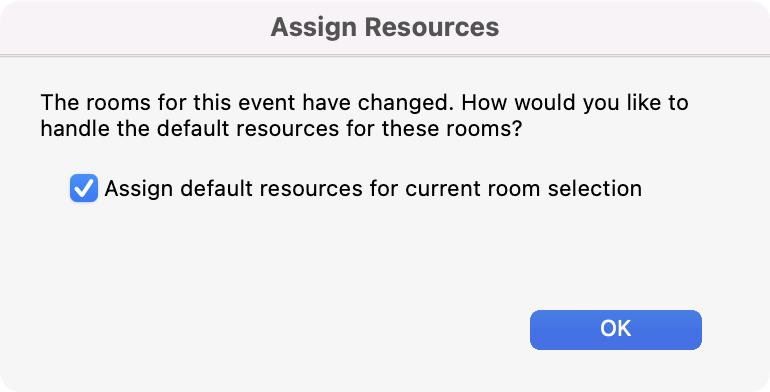
When changing the rooms for this event and saving or accessing the Resources tab, you will be prompted as to how to handle default resources for the rooms.
-
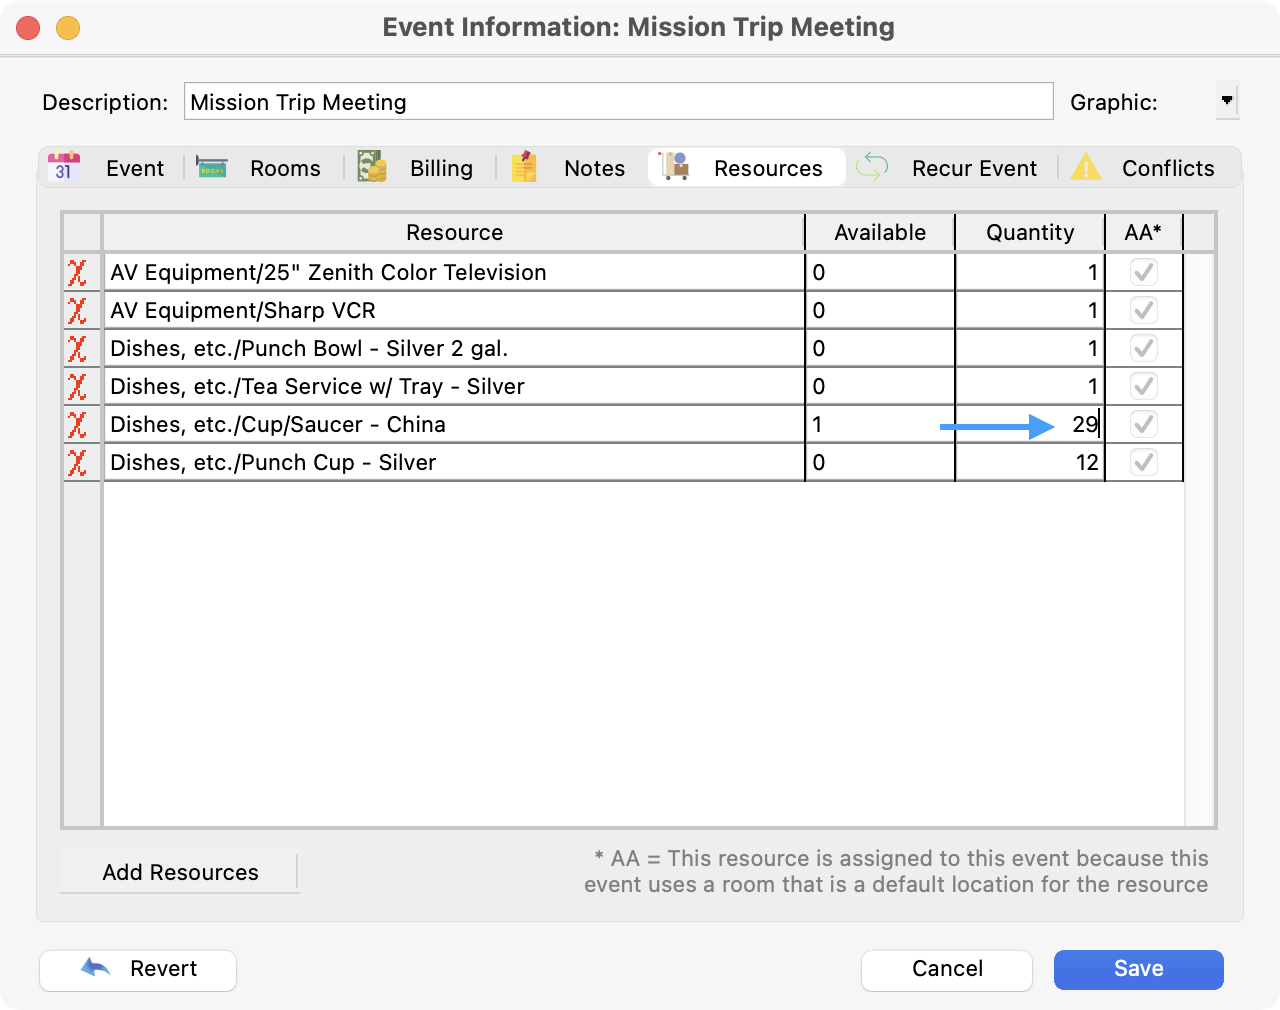
You may change the quantity of a particular resource assigned to this event by changing the number in the Quantity column.
-
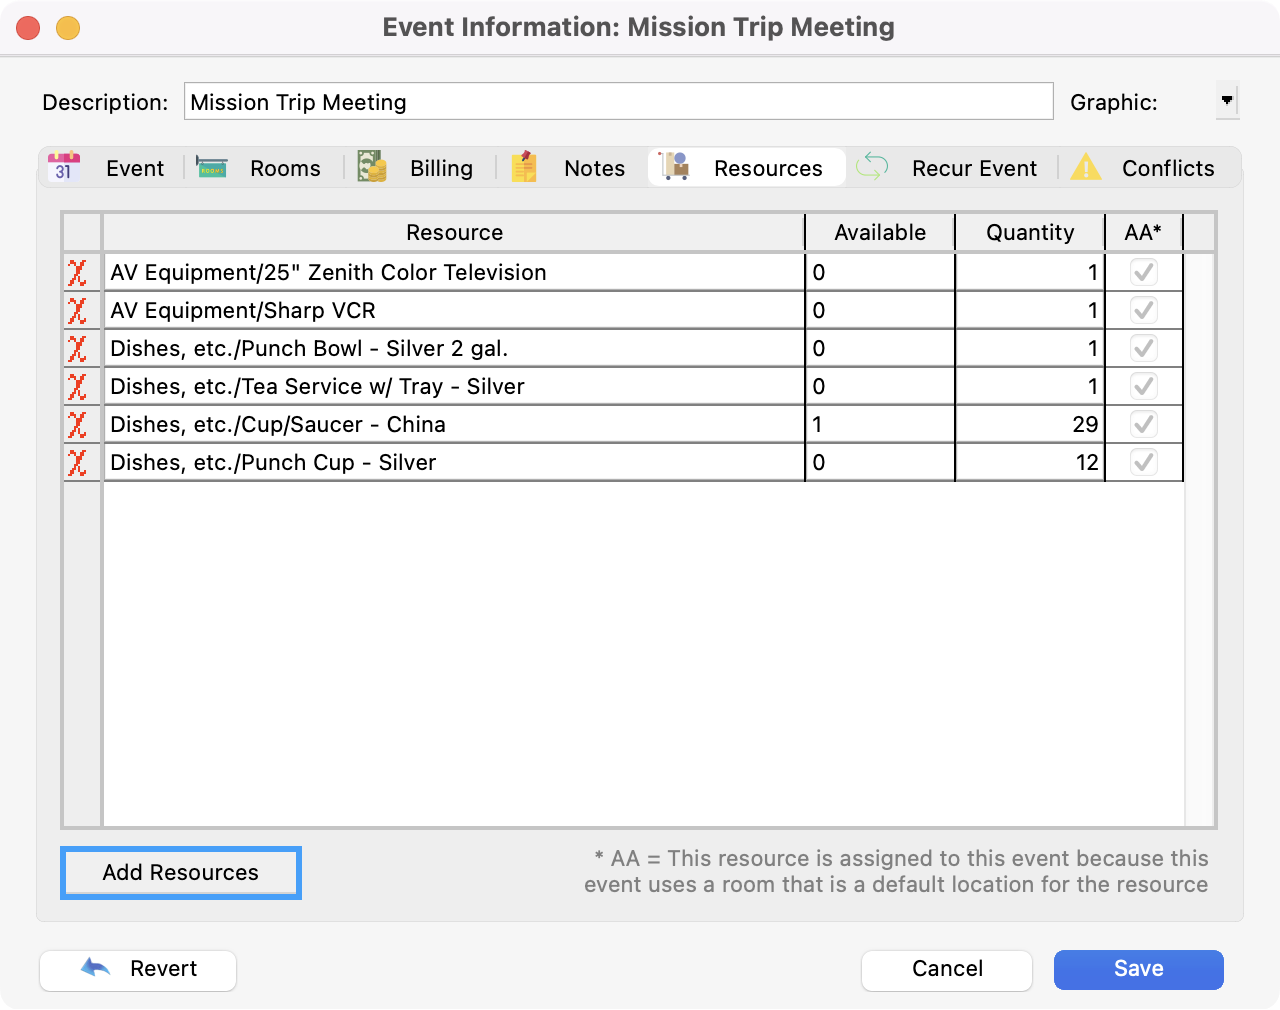
To schedule additional resources for this event, click Add Resources.
-
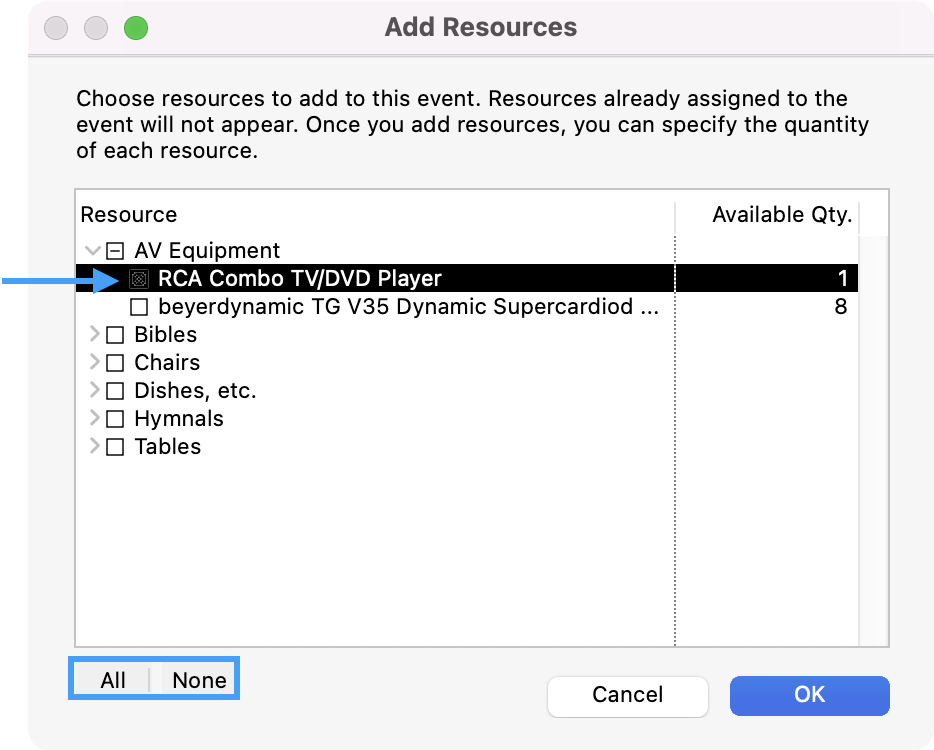
A list of available resources, grouped by type, will appear (resources already assigned to the event will not appear on this list). Check the resources you wish to add. All and None buttons allow you to quickly check and uncheck every resource. The number of resources available will be sensitive to the date and time of the event. Click OK to add the checked resources to the event, or Cancel to return to the Event Information window without adding resources.
-
Once resources are assigned to the event, you can edit the quantity of that resource used. The available quantity is influenced by assigned resources for concurrent events. For example, if 12 of the 30 china cup and saucer sets owned by the church have been scheduled for use from 10:00 AM–12:00 PM on February 25th, only the 18 remaining cup/saucer sets will show as available for any events scheduled during that time.
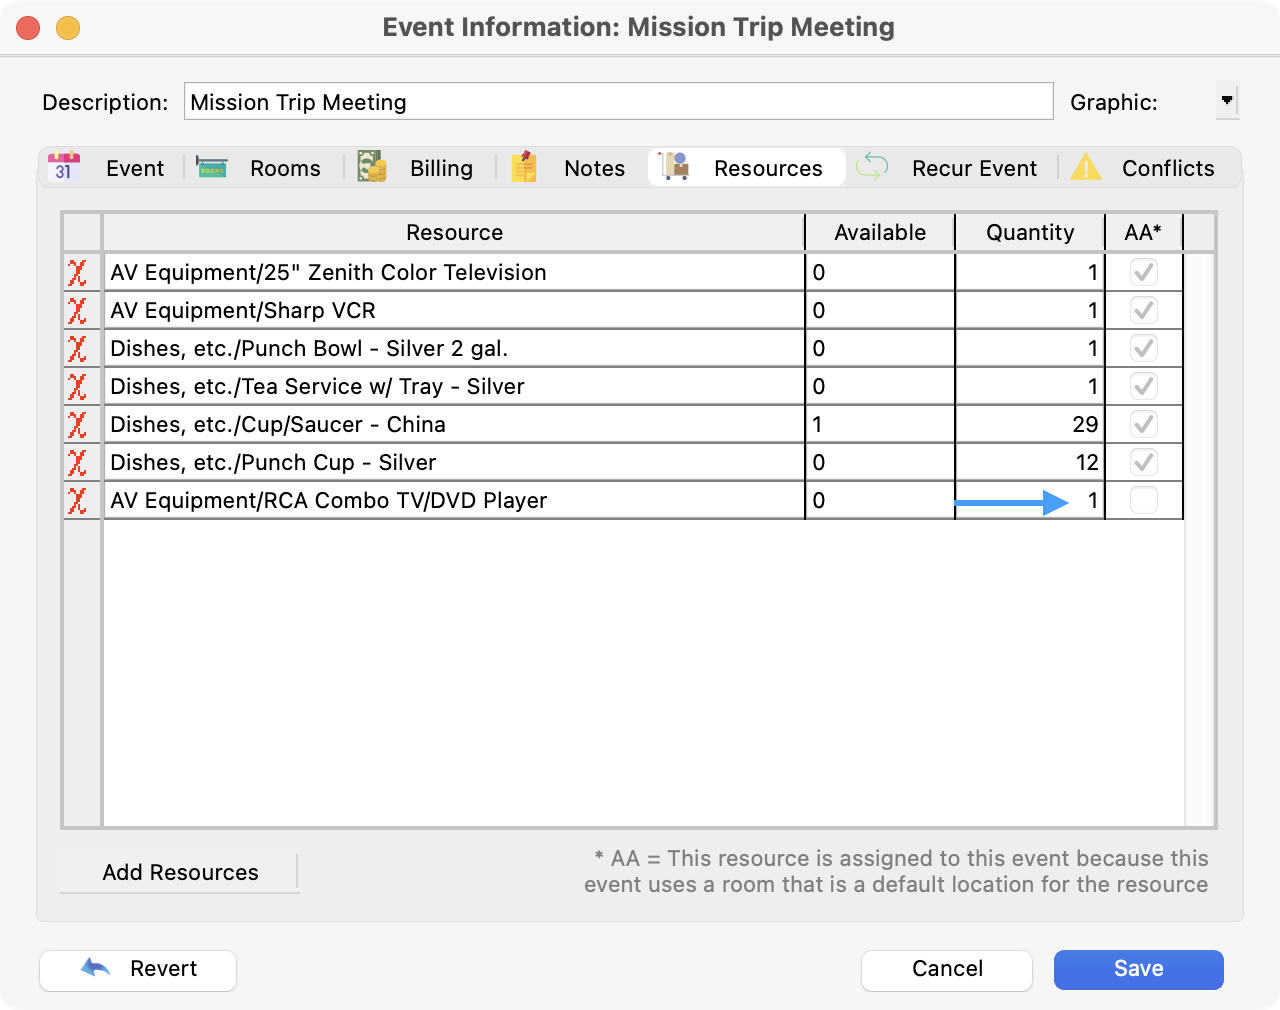
It is possible to overschedule Resources by entering a number in the Assigned column that exceeds the number in the Available column. To avoid overscheduling, change the quantity of assigned resources. Overscheduled resources will appear on the Conflicts tab (see elsewhere in this manual for help with the Conflicts tab).
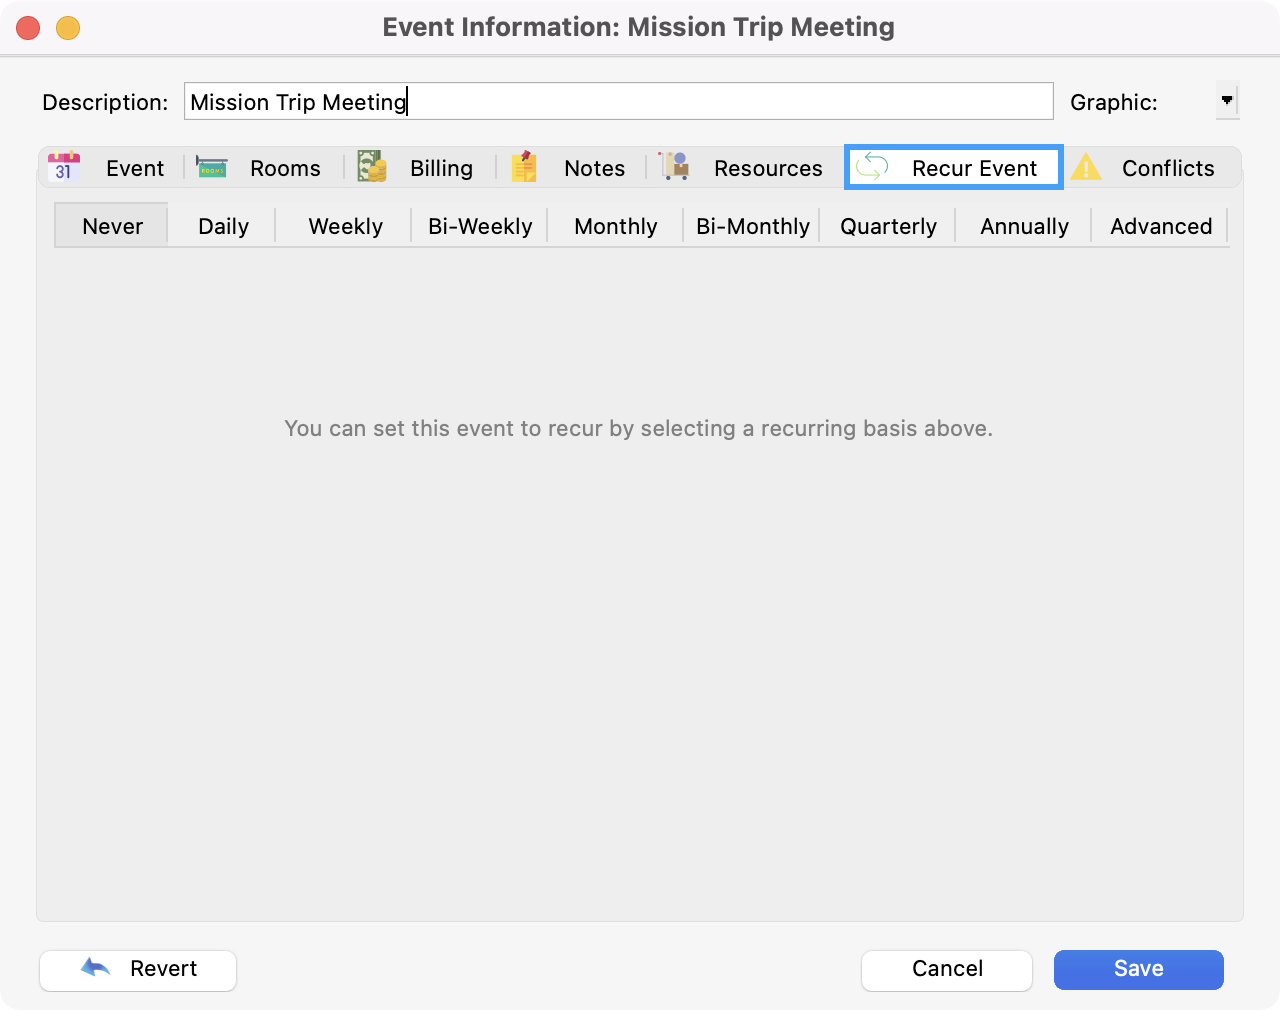
Recur Event
-
Now, click the Recur Event tab. CDM+ Roommate allows you to set an event to recur on a particular basis, either ending on a specified date or recurring indefinitely.
Basic
-
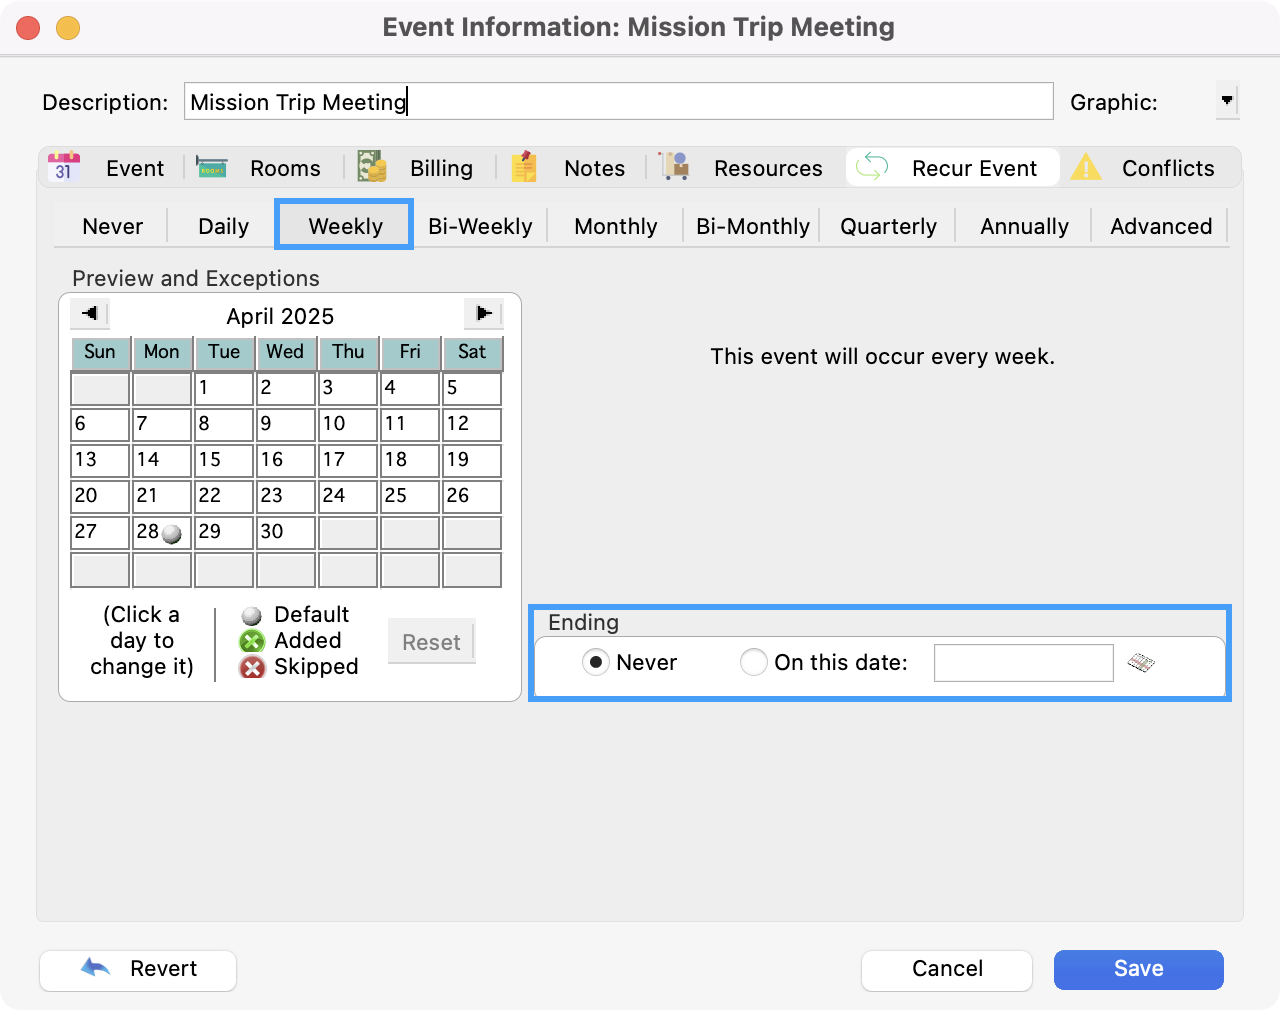
To set an event to recur, select a basis (e.g., Weekly) and either enter an Ending date or select Never.
-
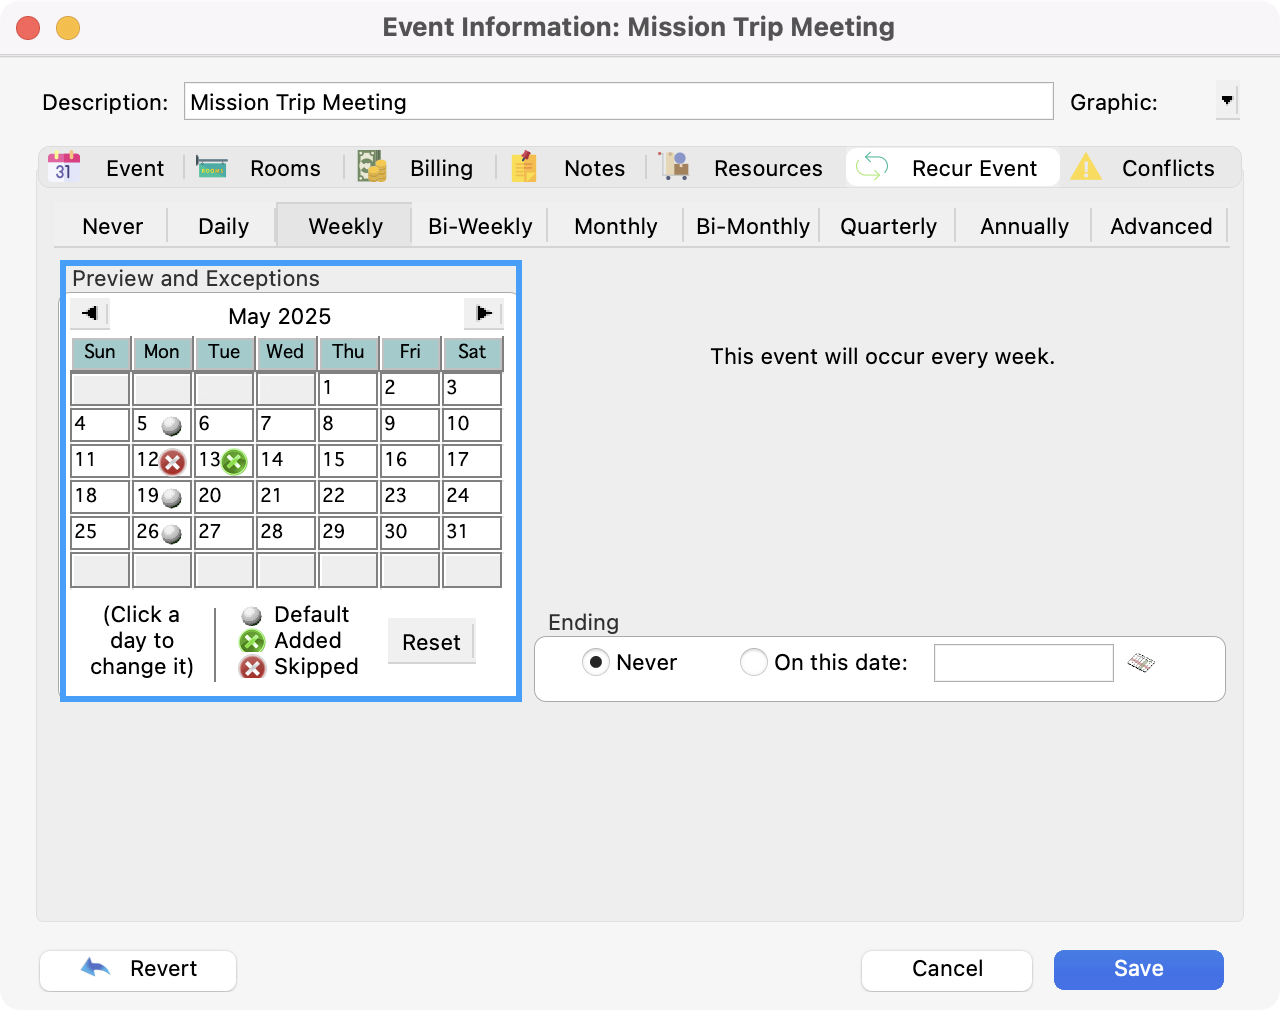
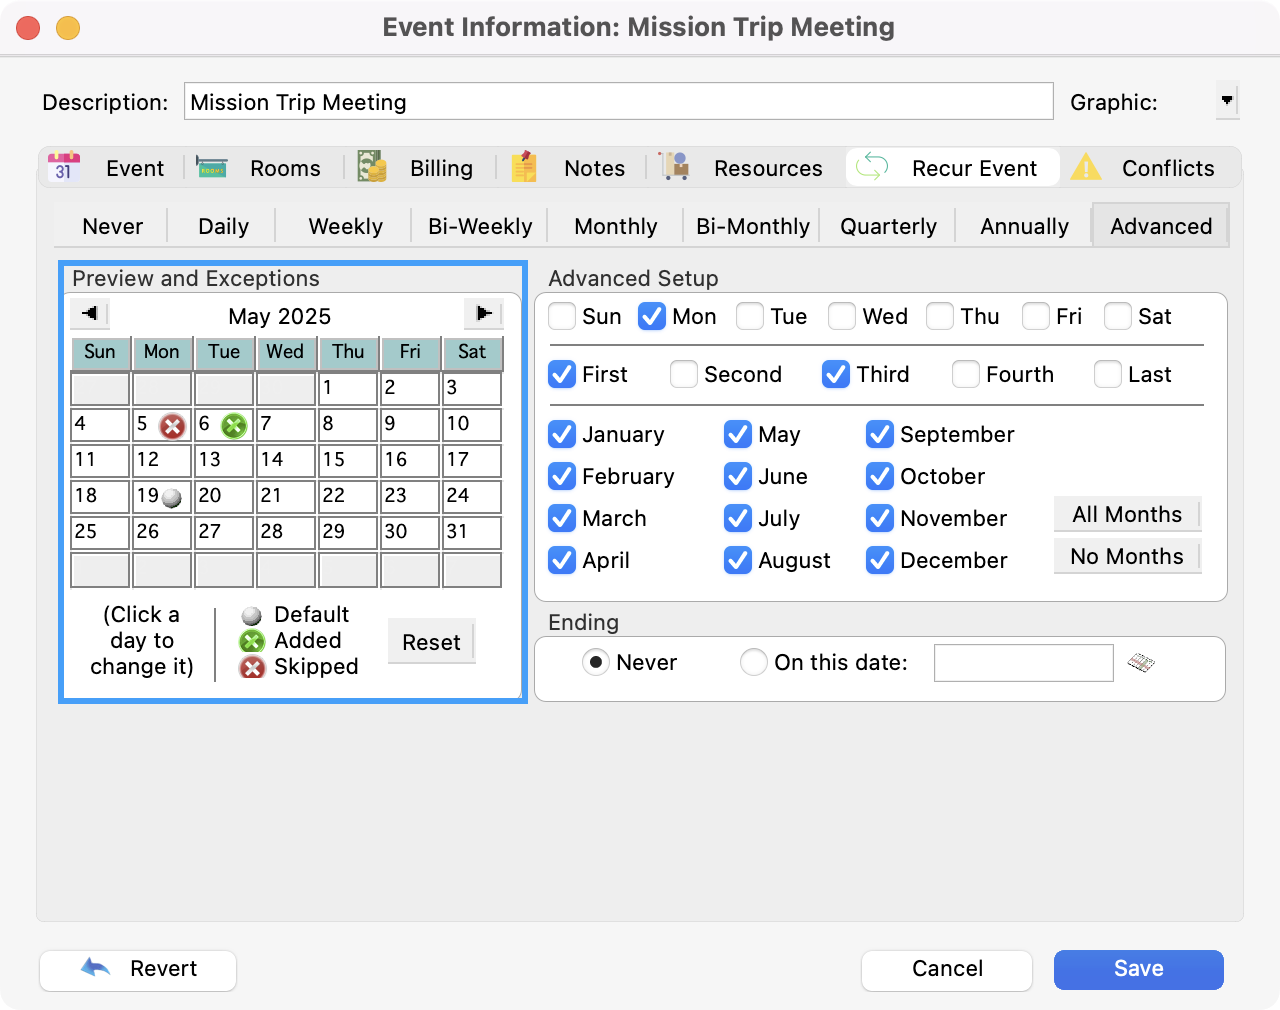
The Preview and Exceptions Calendar on the left will give you a preview of the dates on which this event will recur. If you want to add an occurrence of this event that is outside the standard occurrences, simply click that day on the Preview and Exceptions calendar, and a green dot will appear, indicating your addition. To remove the addition, click the green dot, and it will disappear. To skip an occurrence on the standard occurrence, simply click on that date and you will see a red dot appear, indicating the skipped day. Simply click the red dot again if you wish to meet on the default day and remove the skip.
Advanced
-
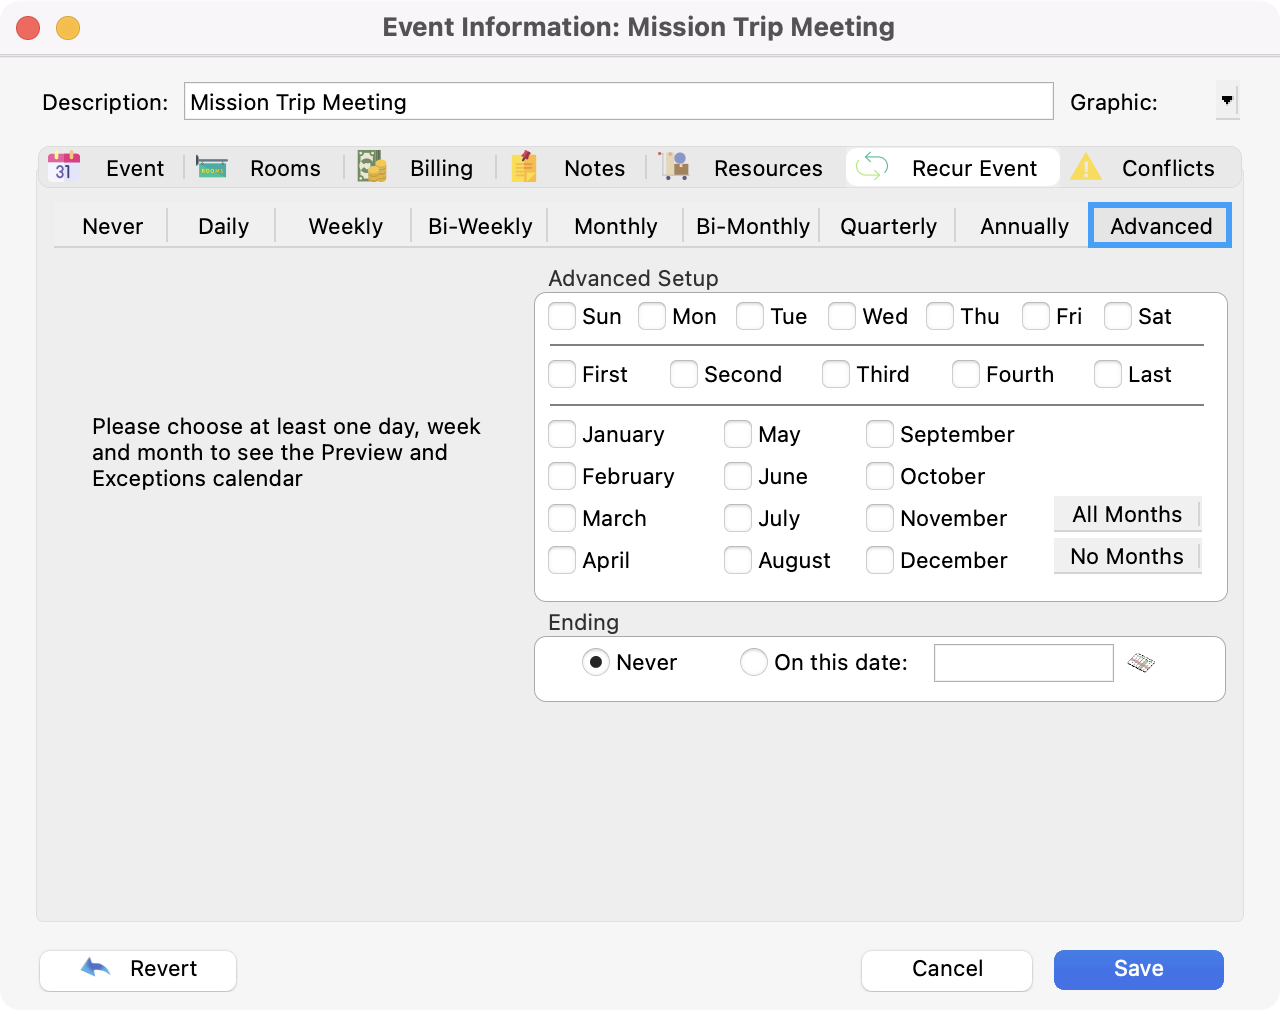
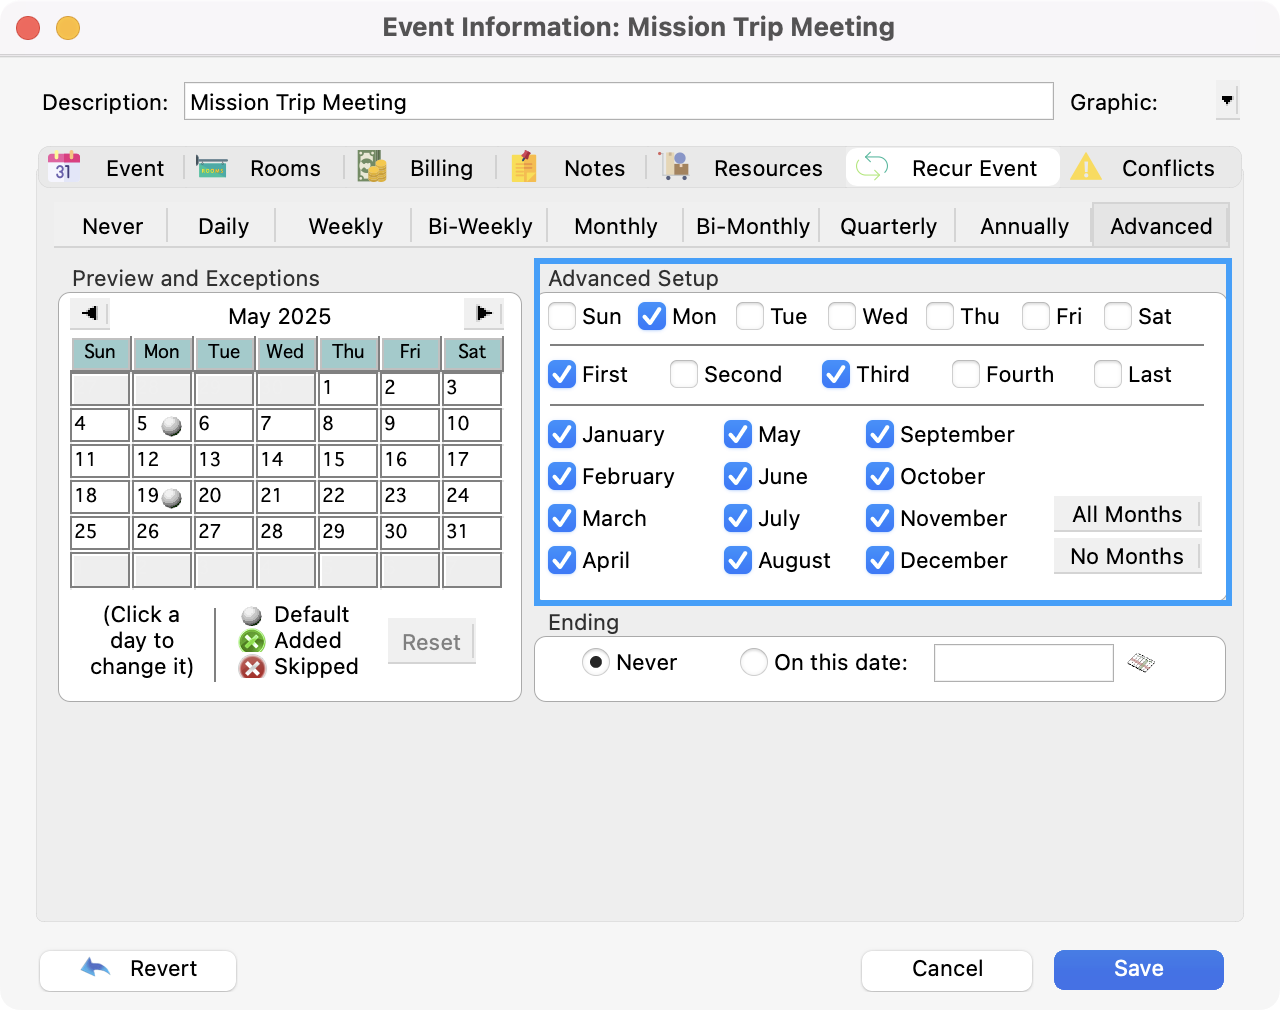
If your event does not recur on a simple Daily, Weekly, Bi-Weekly, Monthly, Bi-Monthly, Quarterly, or Annual basis, select the Advanced option.
-
Here you can create complex recurring event schedules. Check the days, weeks, and months on which this event recurs. The preview calendar will update as you choose options to show you when the event will occur.
For example, the simple Monthly option will recur an event on a date basis, e.g., the 15th of the month. To recur monthly based on a day and week of the month, e.g., the second Saturday of the month, choose the Advanced option, enter a frequency of 1, check Sat, second, and all desired months (as shown in the illustration to the right).
3. The Preview and Exceptions Calendar on the left will give you a preview of the dates on which this event will recur. If you want to add an occurrence of this event that is outside the standard occurrences, simply click that day on the Preview and Exceptions calendar, and a green dot will appear, indicating your addition. To remove the addition, click the green dot, and it will disappear. To skip an occurrence on the standard occurrence, simply click on that date and you will see a red dot appear, indicating the skipped day. Simply click the red dot again if you wish to meet on the default day and remove the skip.
-
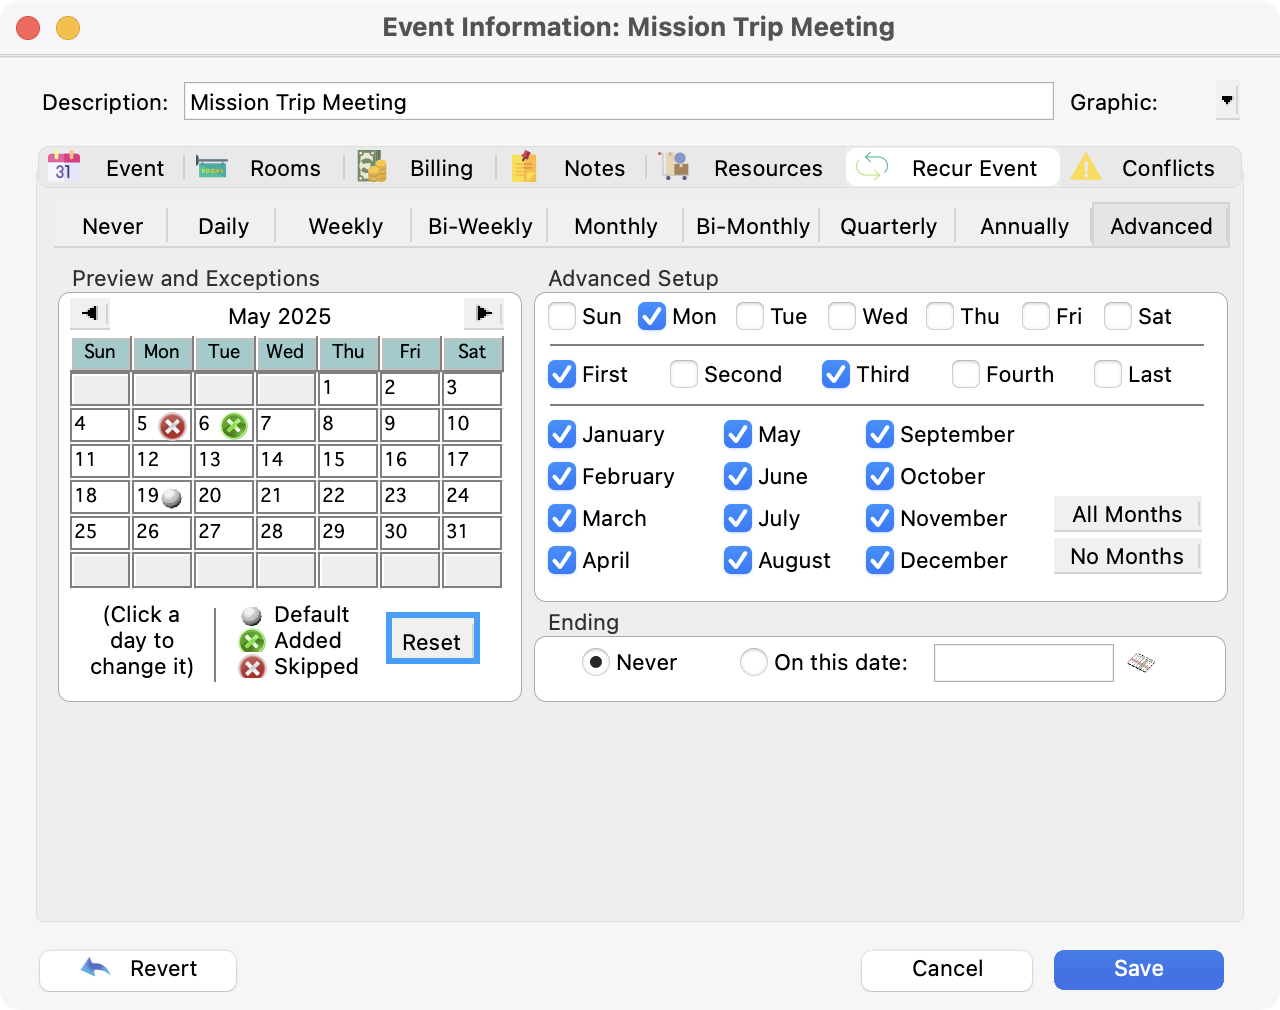
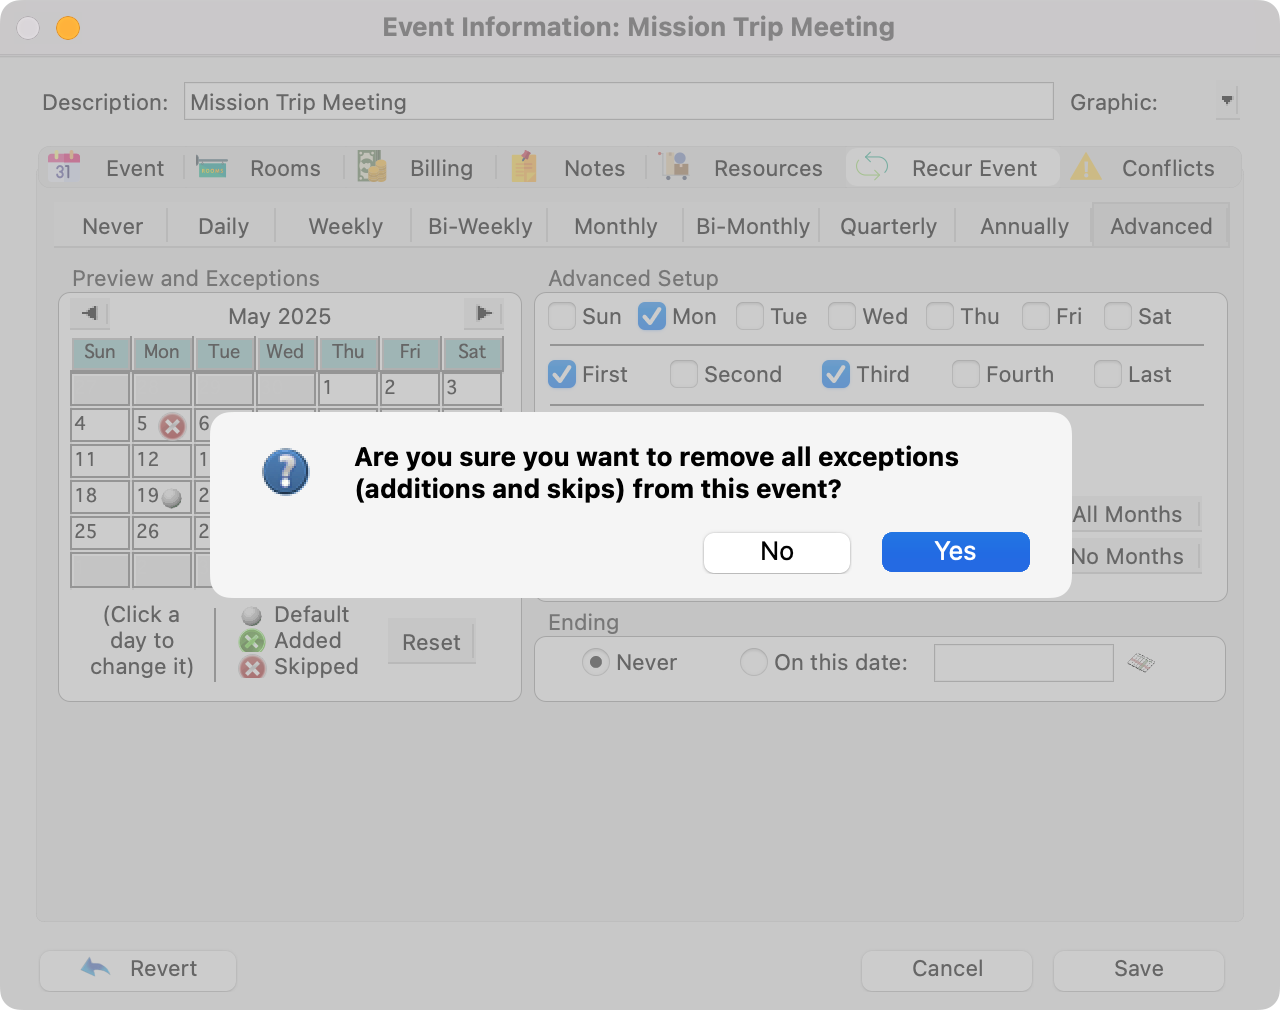
If you want to remove all skips and additions, returning the event to the standard recurrences, click the Reset button. You will get a pop-up warning, click Yes to proceed or No to keep the exceptions.
Conflicts
-
The conflicts tab displays any room conflicts and resource over-bookings. Every time you switch to this tab, CDM+ Roommate re-checks for conflicts.
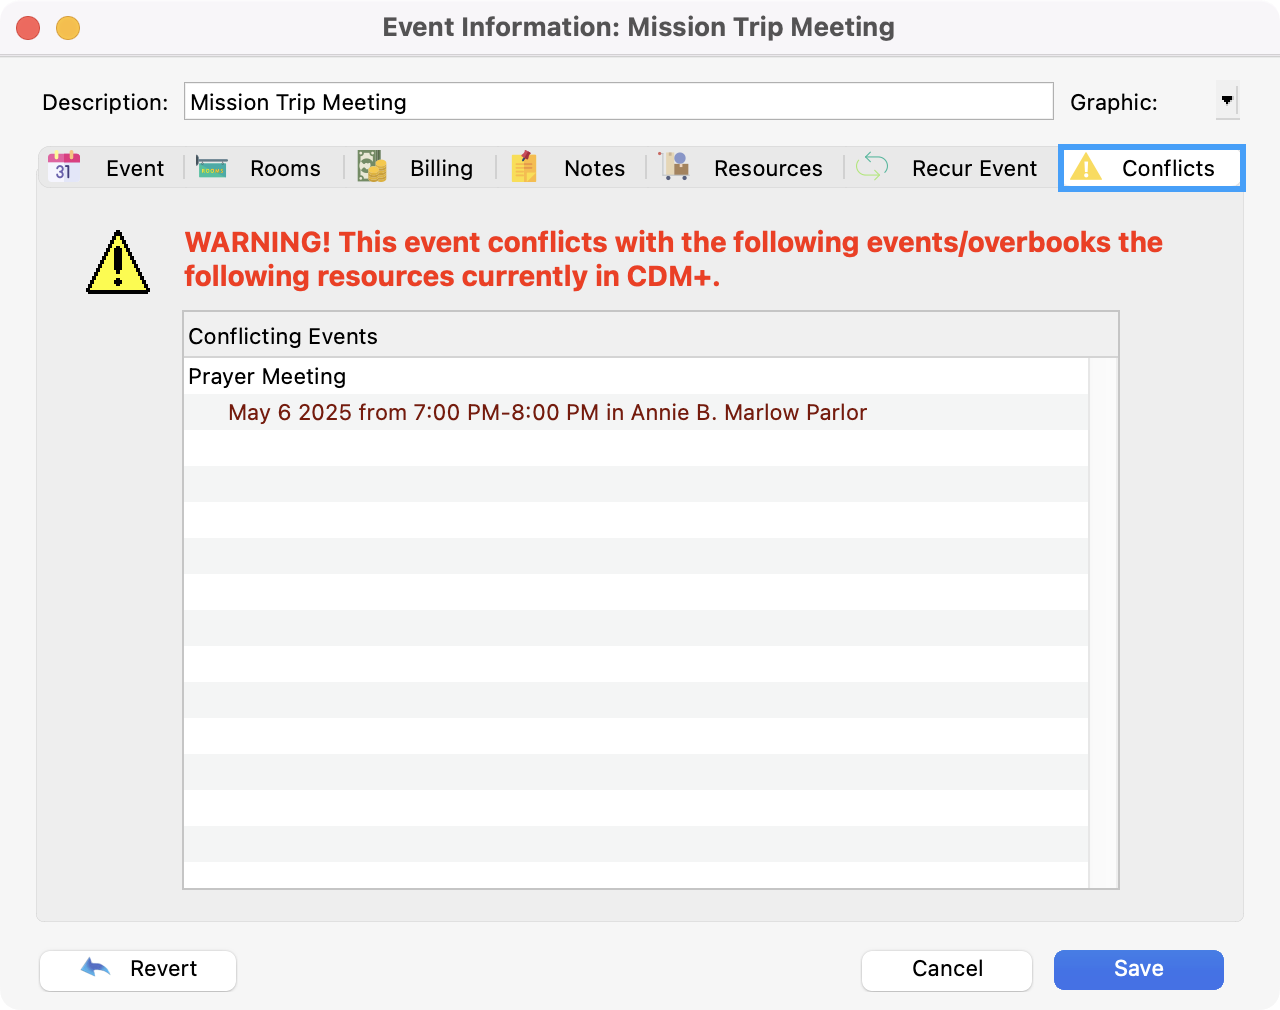
-
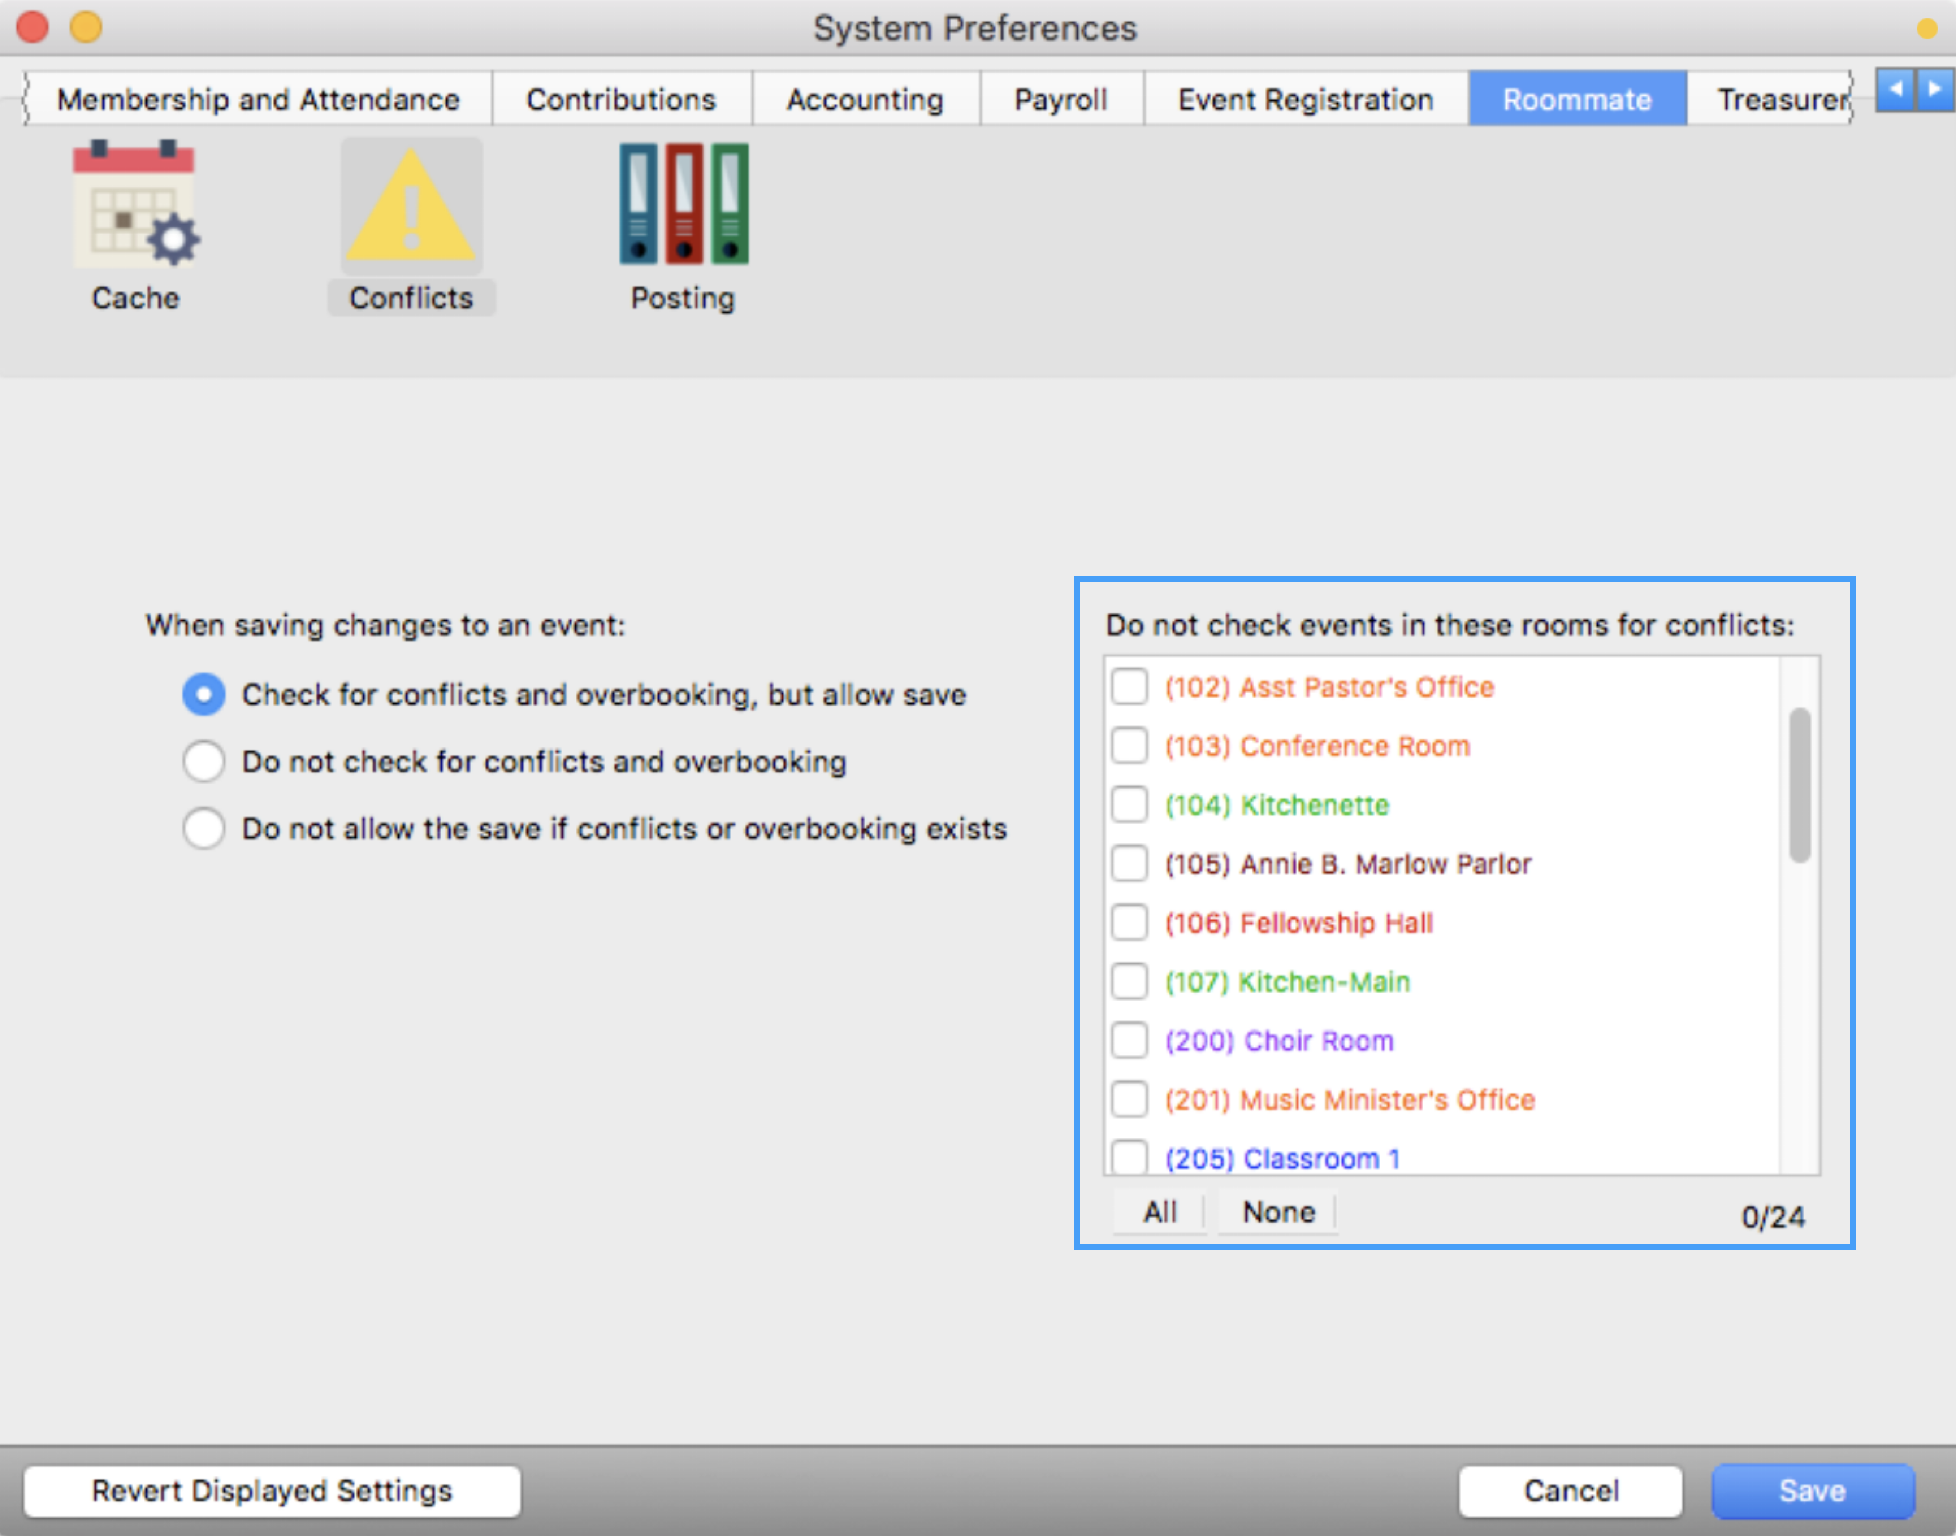
A system preference allows you to control how CDM+ Roommate deals with conflicts. You can choose to
-
Check for conflicts and overbooking, but allow the save
-
Do not check for conflicts or overbookings
-
Do not allow the save if conflicts or overbooking exists.

-
-
You can also choose to exclude certain rooms from conflict checks. This works very well for rooms that represent holidays, off-site events, etc.
Saving Your Event
-
Once you have filled in all the needed details of your event, you can click Save.
-
You will see your event displayed on the Event Schedule.