
With Private groups, you can give users two options. You can allow them to access all groups that they are assigned to in CDM+ or only allow access to the groups you select to be visible.
Creating Access to Private Groups
-
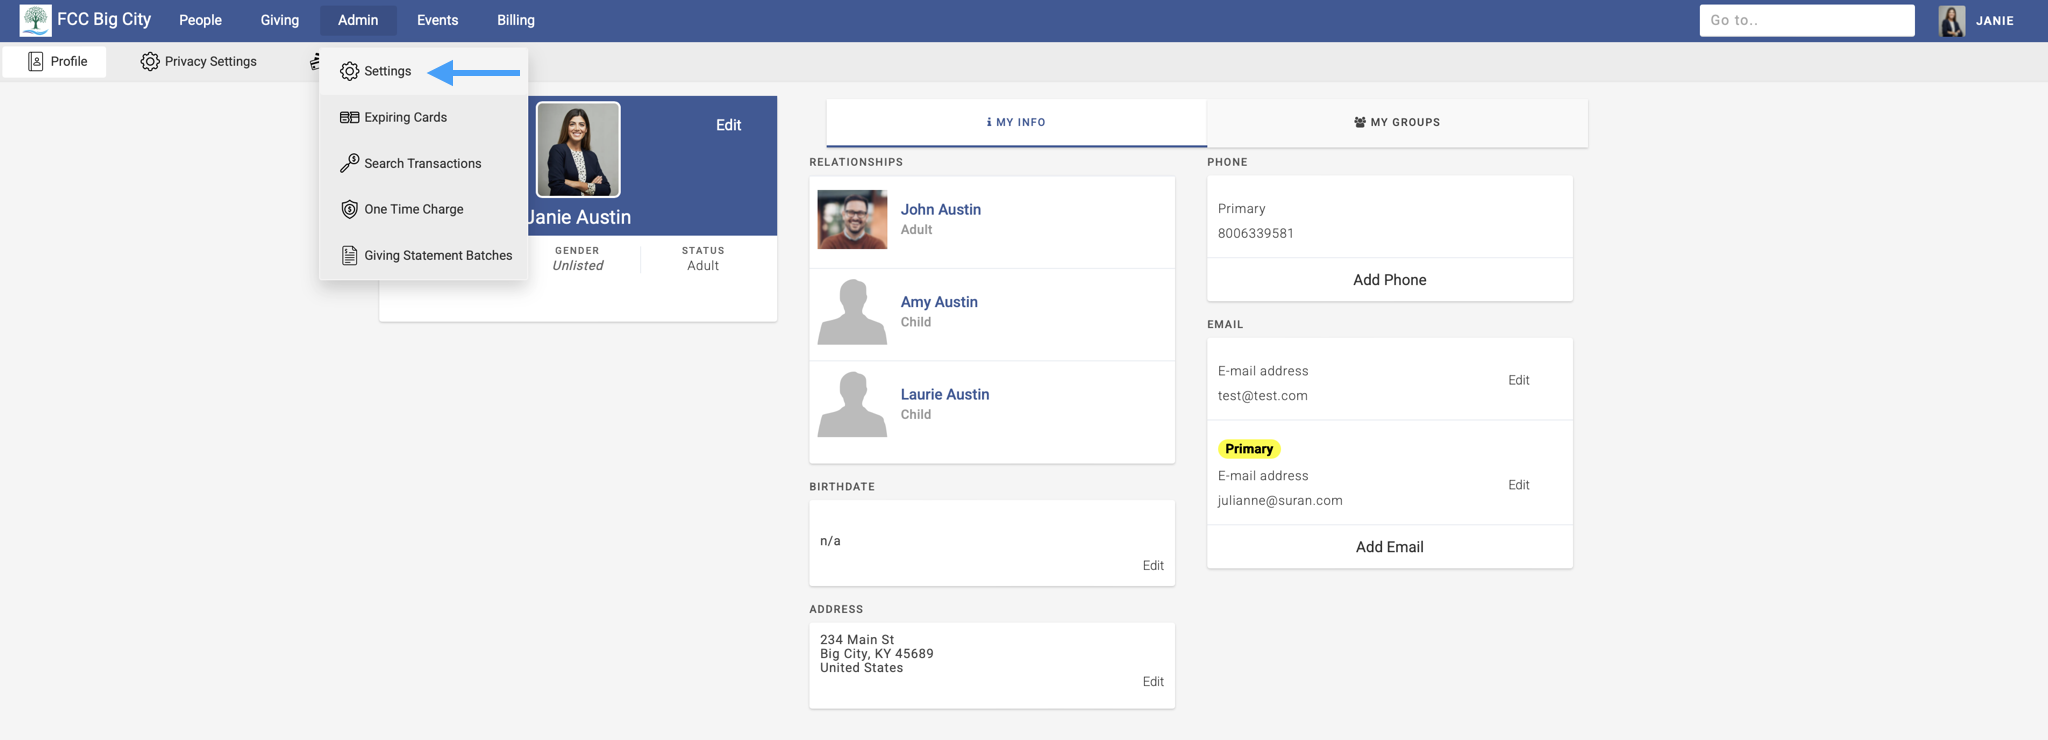
First, sign in to Engage as an Engage Administrator.
-
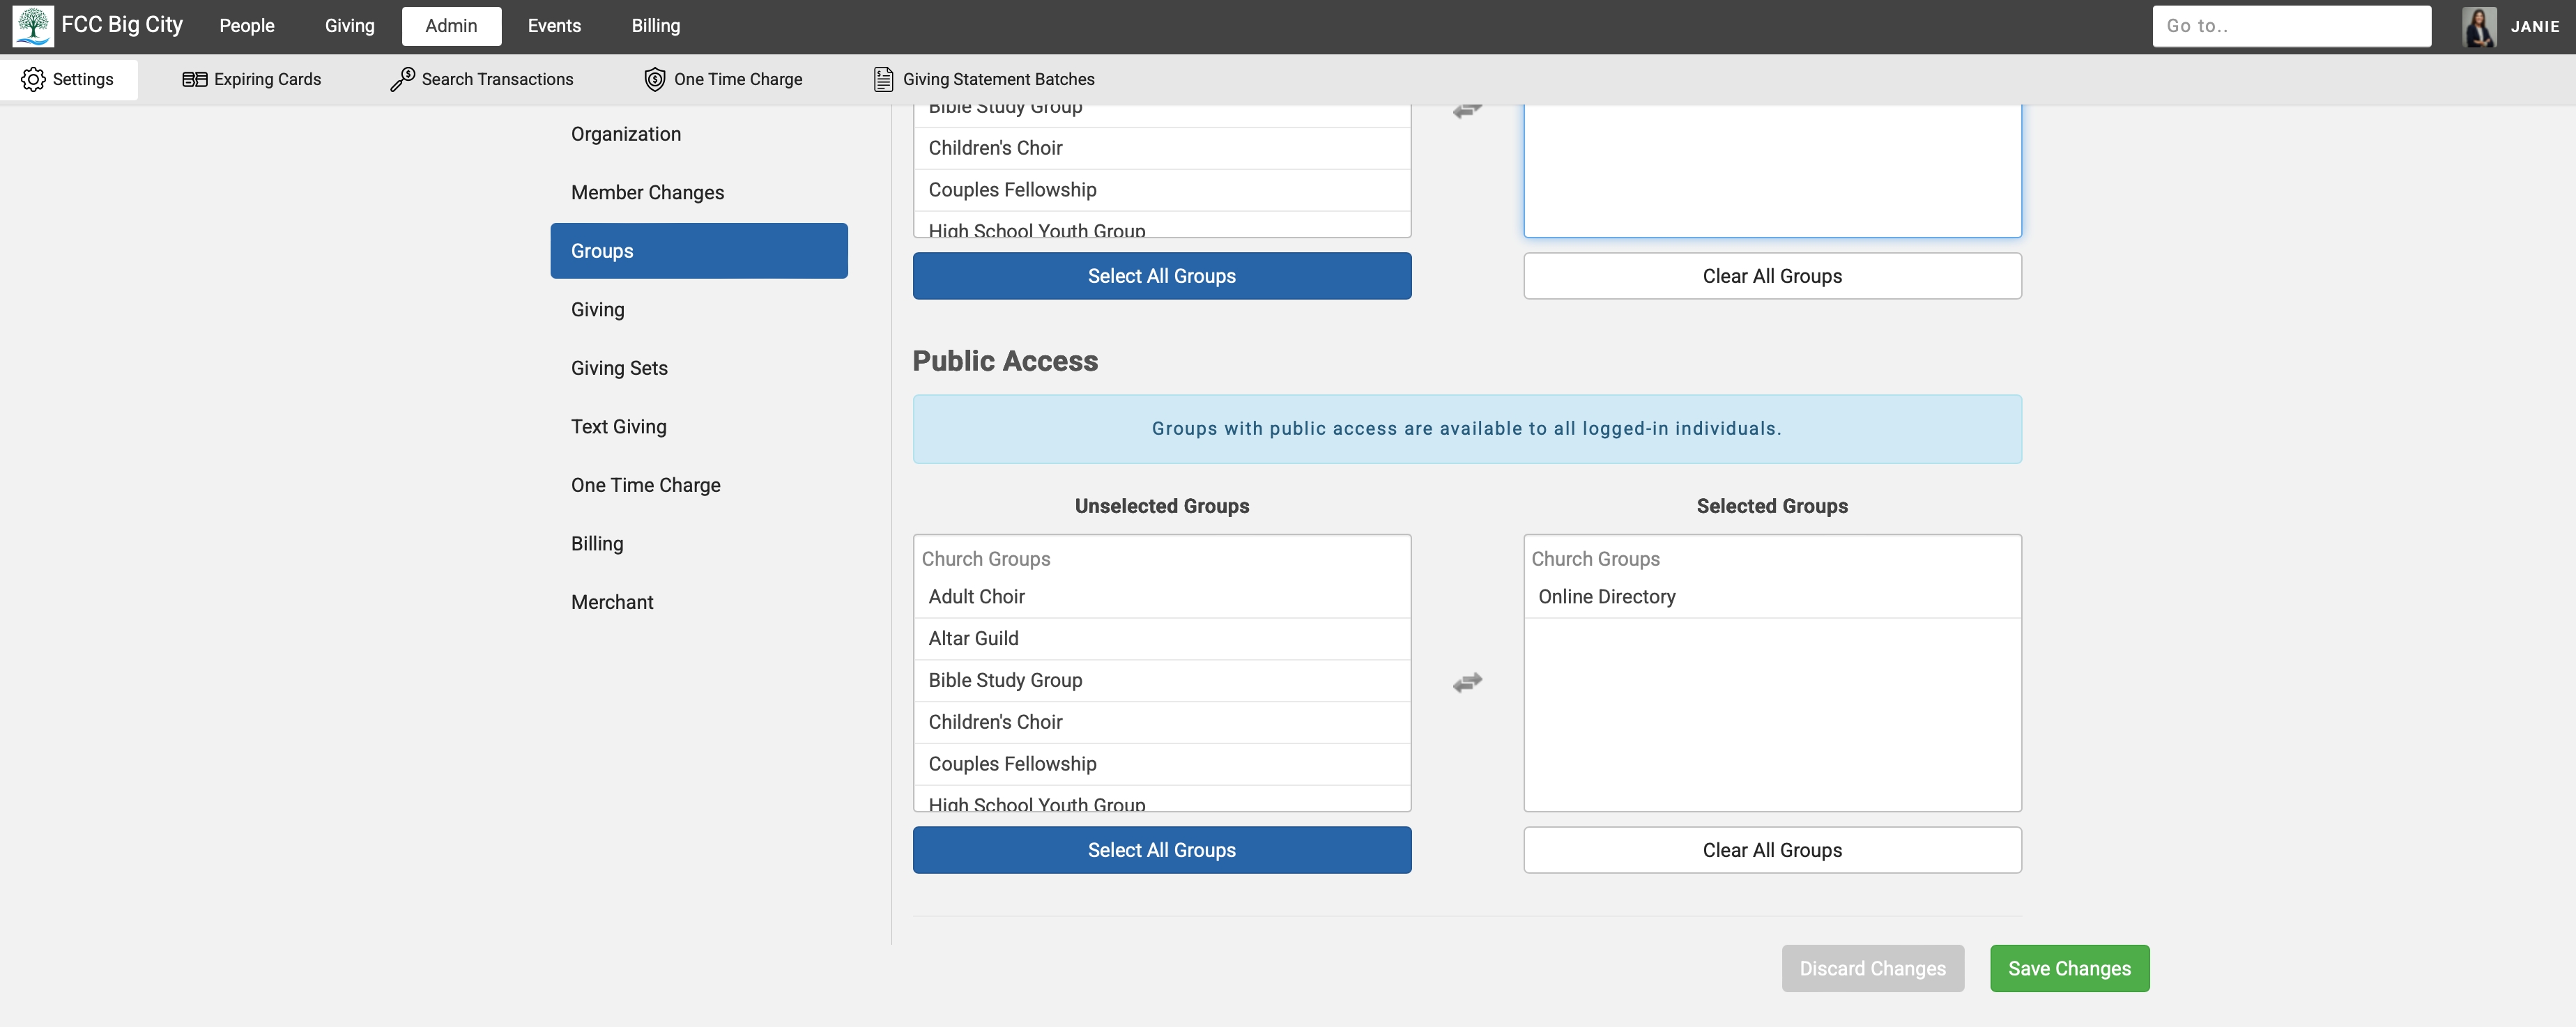
In the top menu, click Admin → Settings.
-
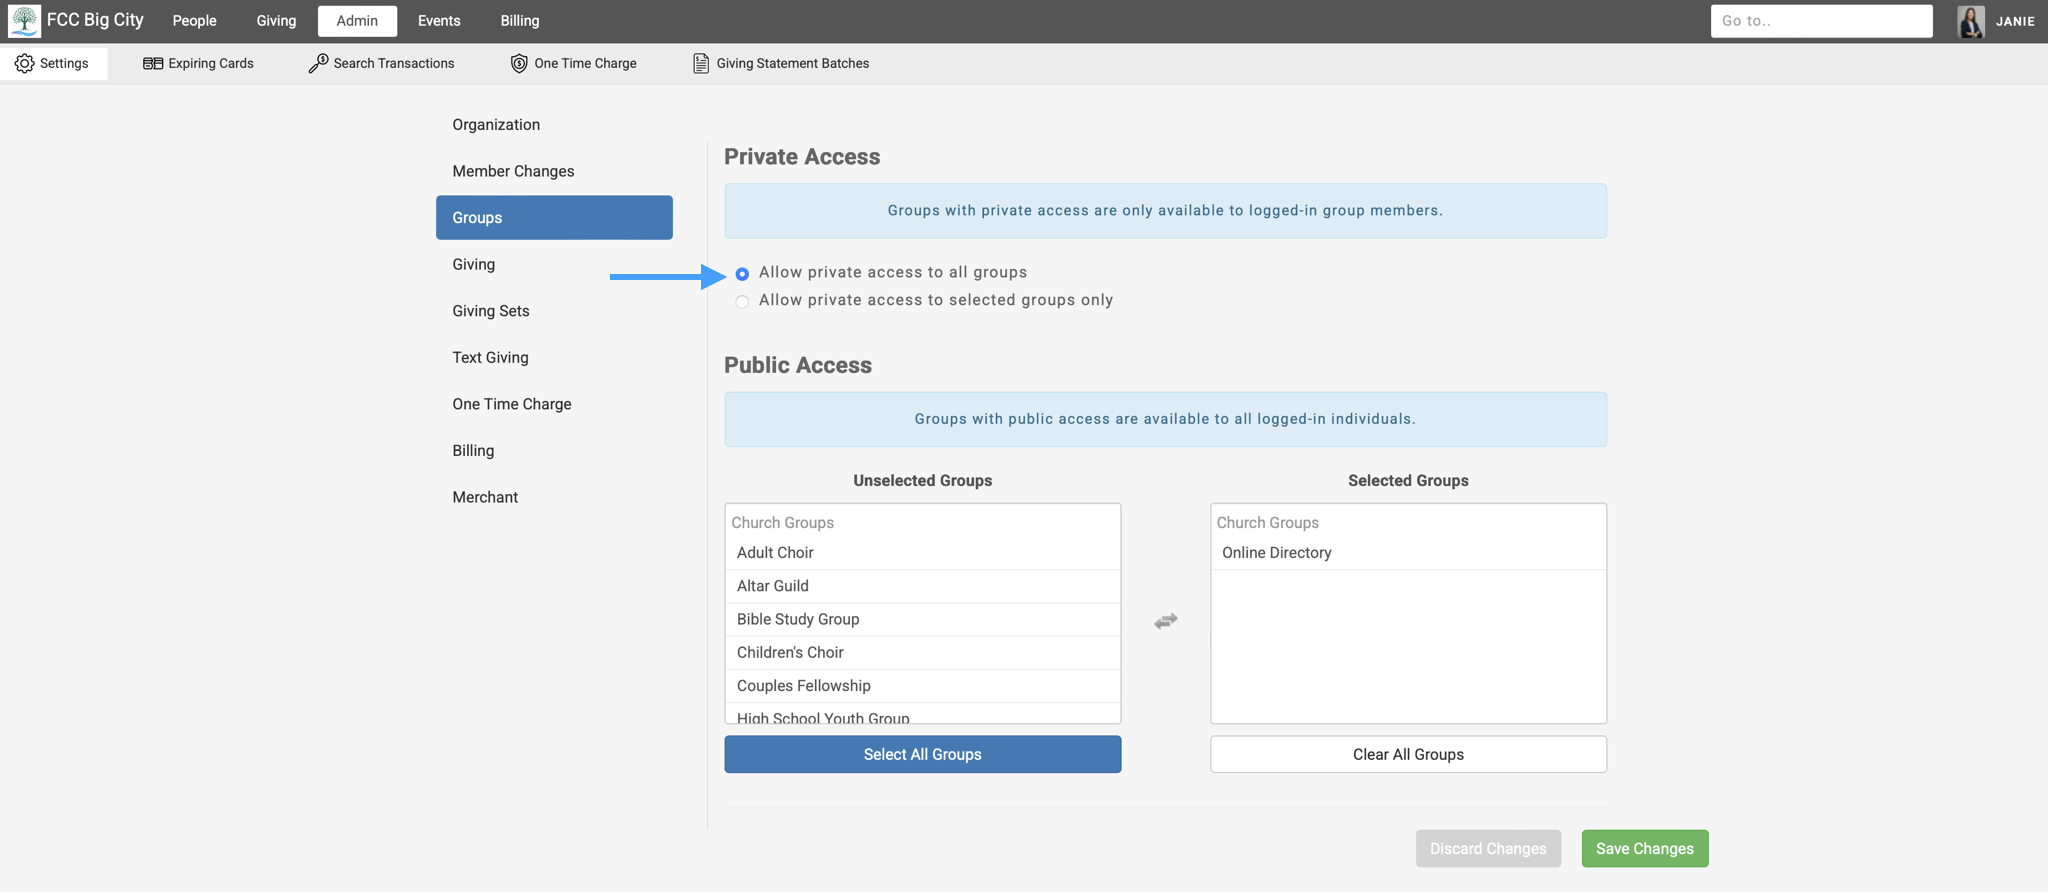
On the sidebar menu, click Groups.

-
Under the Private Access section, you can see your two options. To let users see all the groups they are assigned to in CDM+, choose the first radio button, Allow private access to all groups.
-
To select the groups users can see that they are assigned too, click the second radion button, Allow private access to selected groups only.
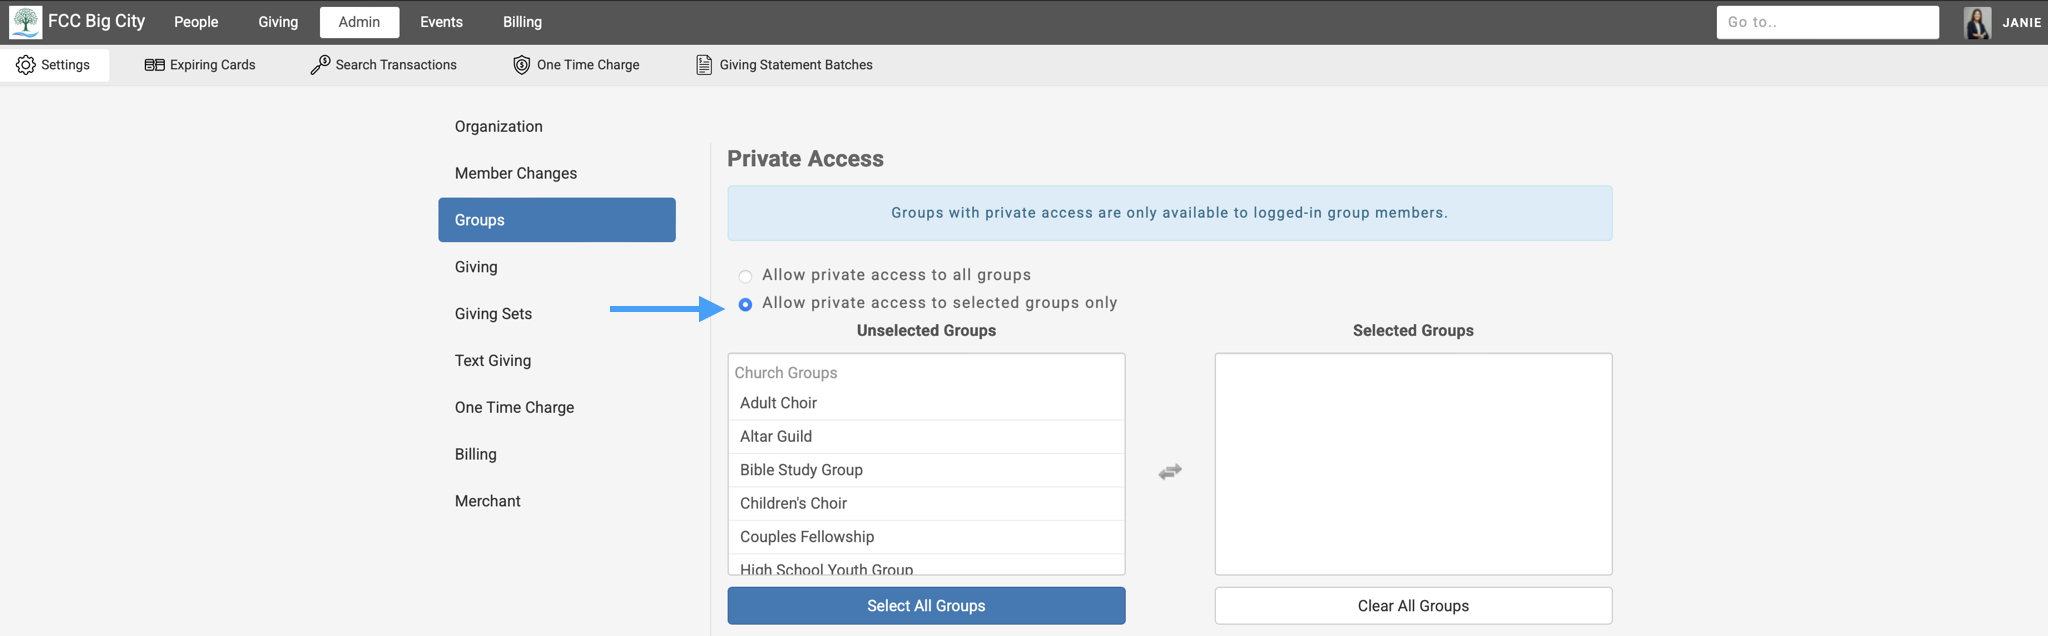
Depending on how you utilize groups, some groups may be used for internal purposes only. By using the option to allow private access to selected groups only, you give users the ability to see the details they need while keeping internal groups private.
-
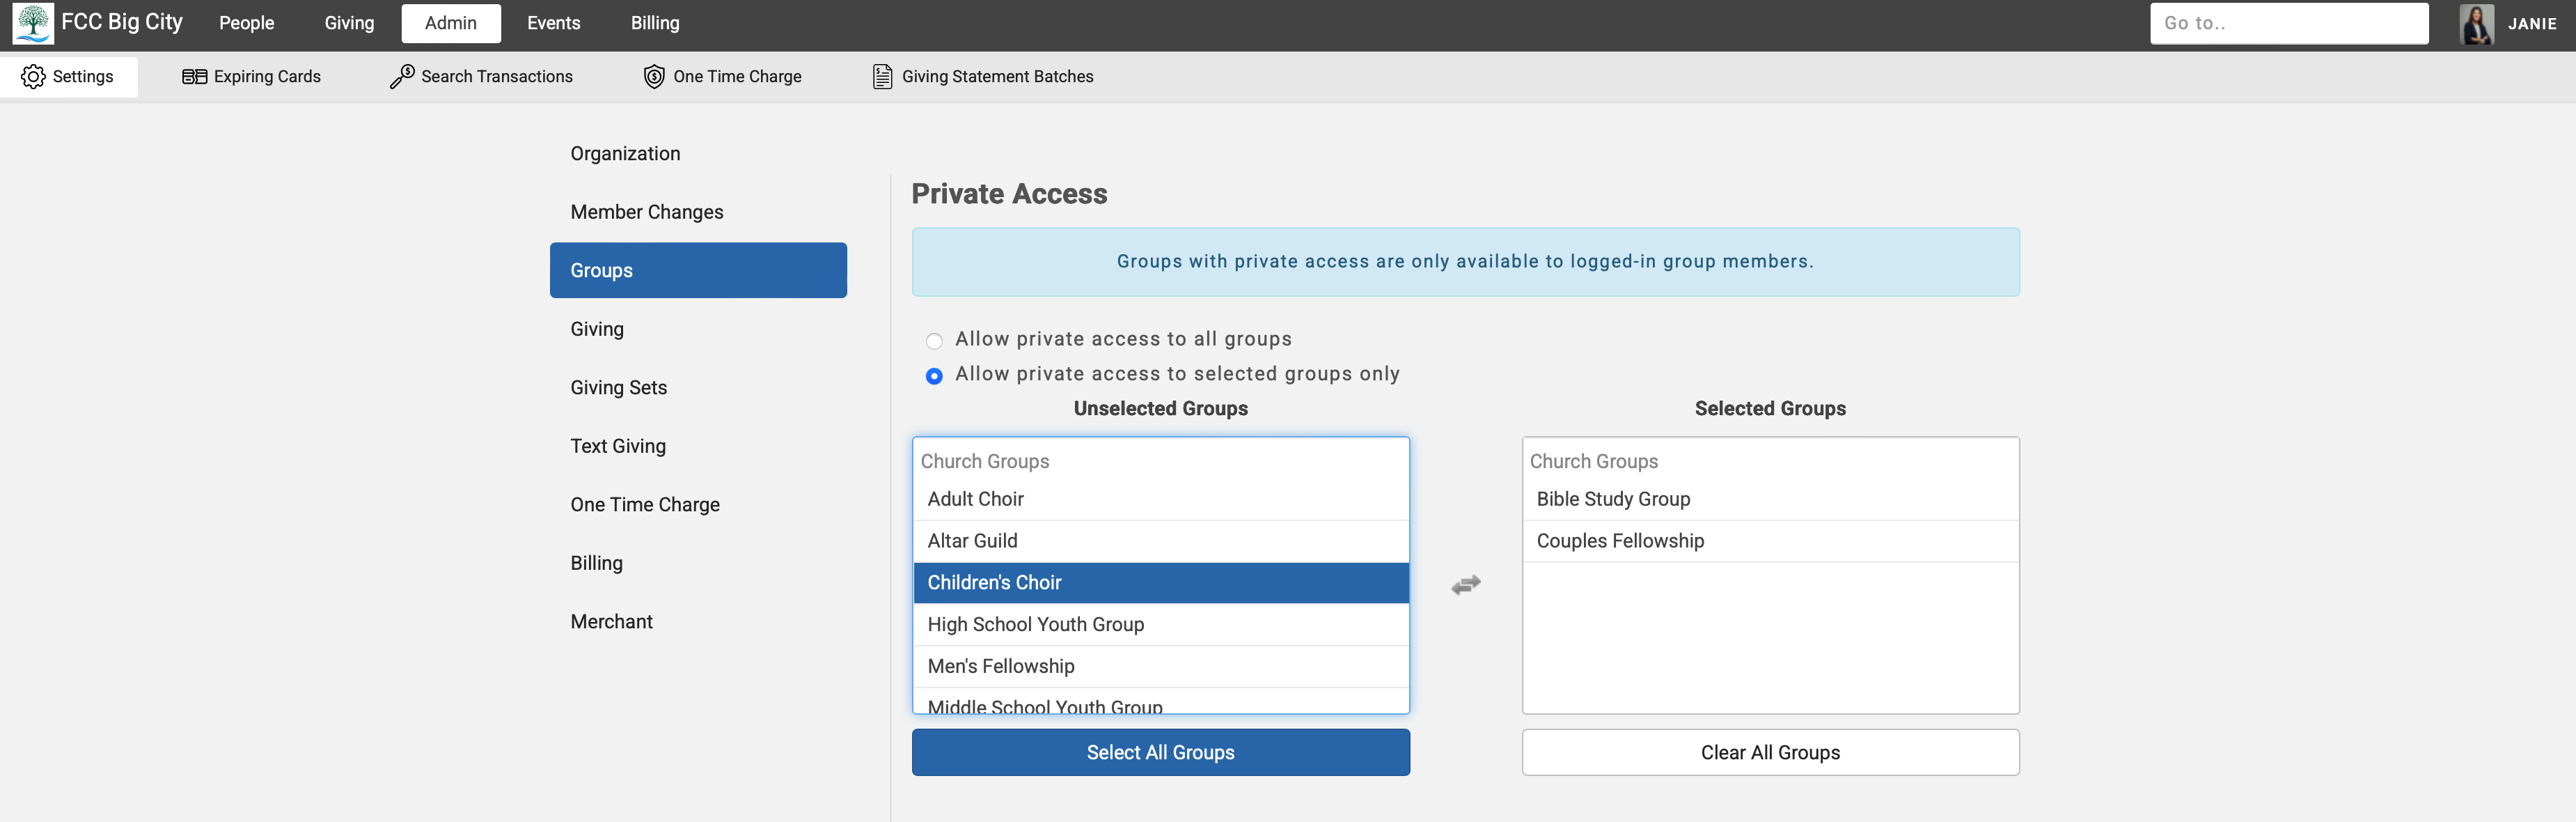
Click the name of the group in the Unselected Groups column to transfer it to the Selected Groups column. To move a group from the Selected Groups column to the Unselected Groups column, simply click the name of the group. You can also use the Select All Groups and Clear All Groups buttons to help move groups from one column to the other.
-
Once finished, scroll to the bottom of the page and click Save Changes.
-
The groups selected will then be visible to the user when they view their personal groups.
