Public Groups enable people to view groups they are not members of. For example, suppose you want to enable people to view the Deacons group. This will enable anyone with an Engage account for your organization to have the ability to see the members of the Deacons group, as well as ways to contact them.
Creating a Public Group
-
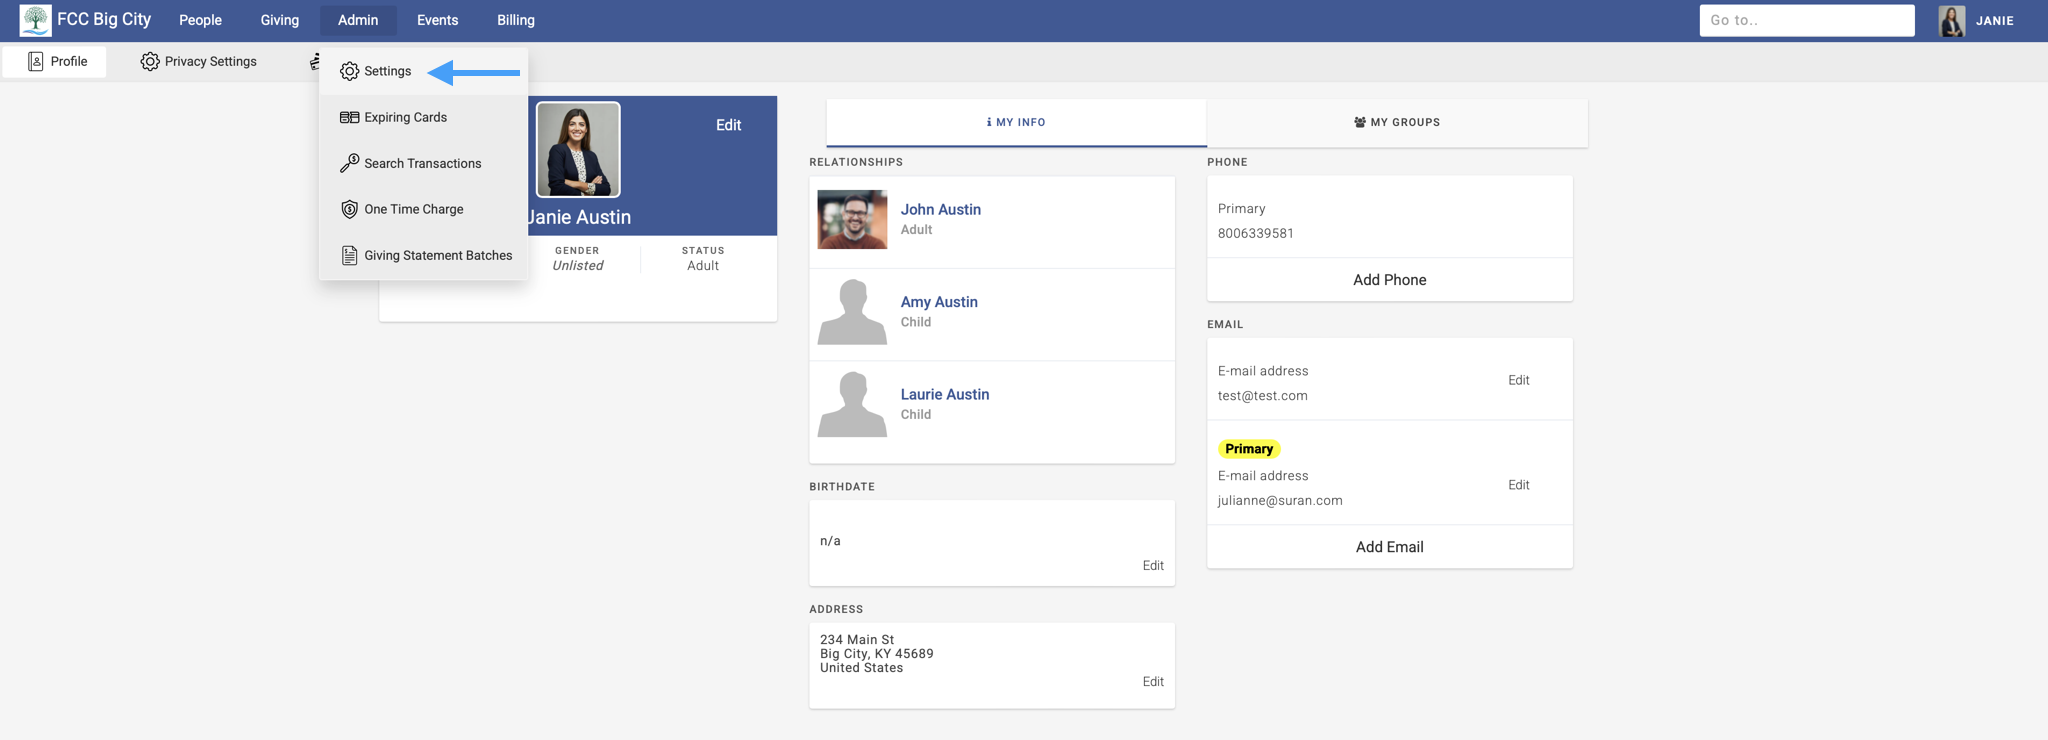
Sign in to Engage as an Engage Administrator.
-
In the top menu, click Admin → Settings.
-
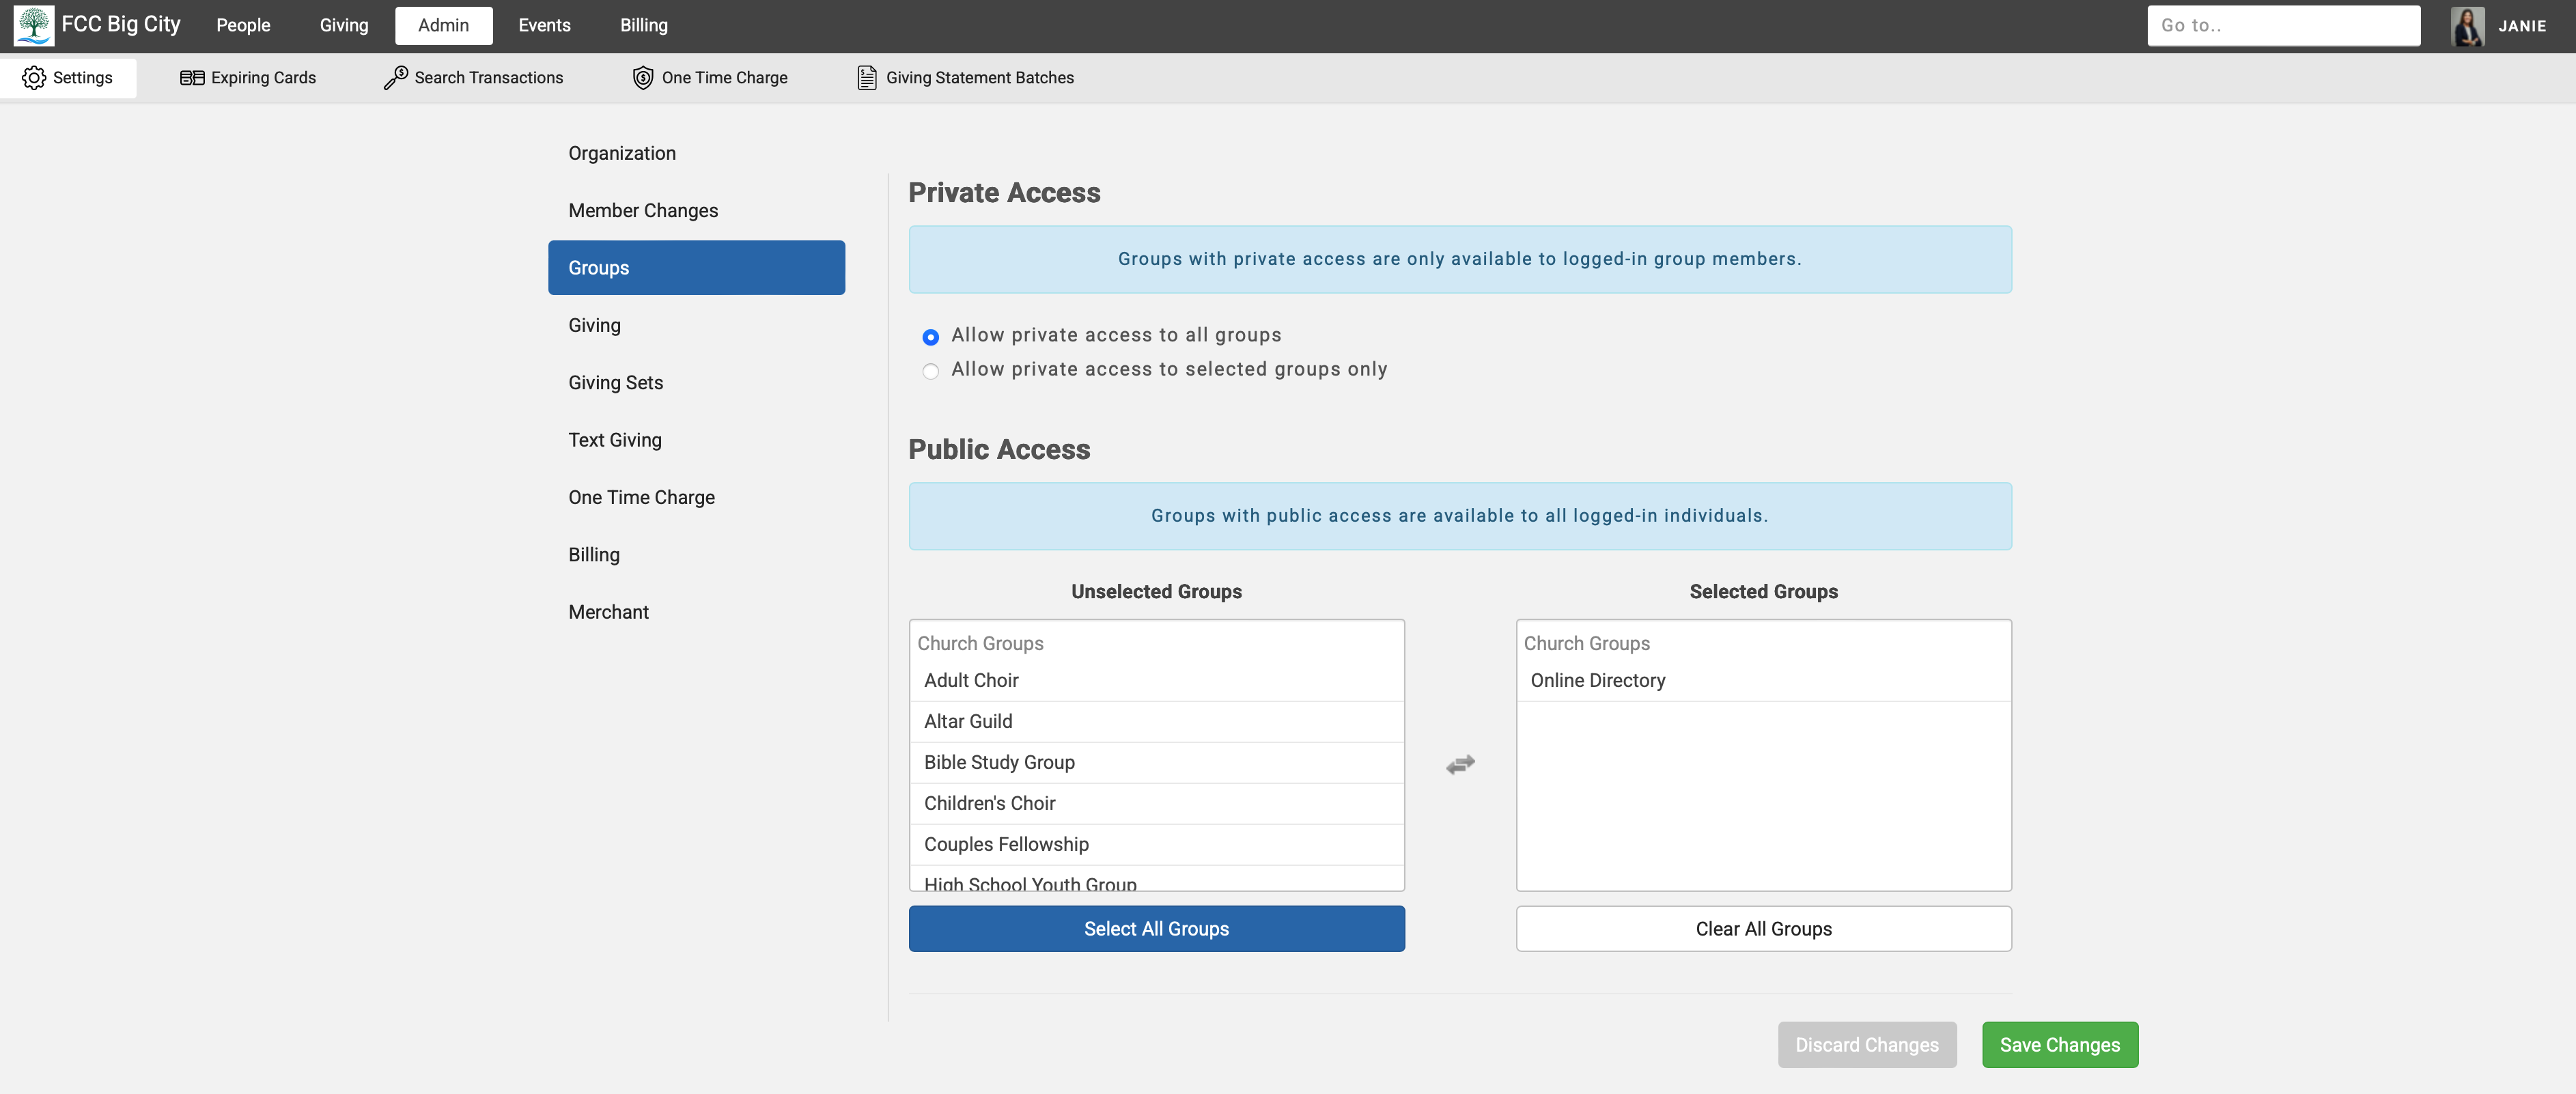
On the sidebar menu, click Groups.
-
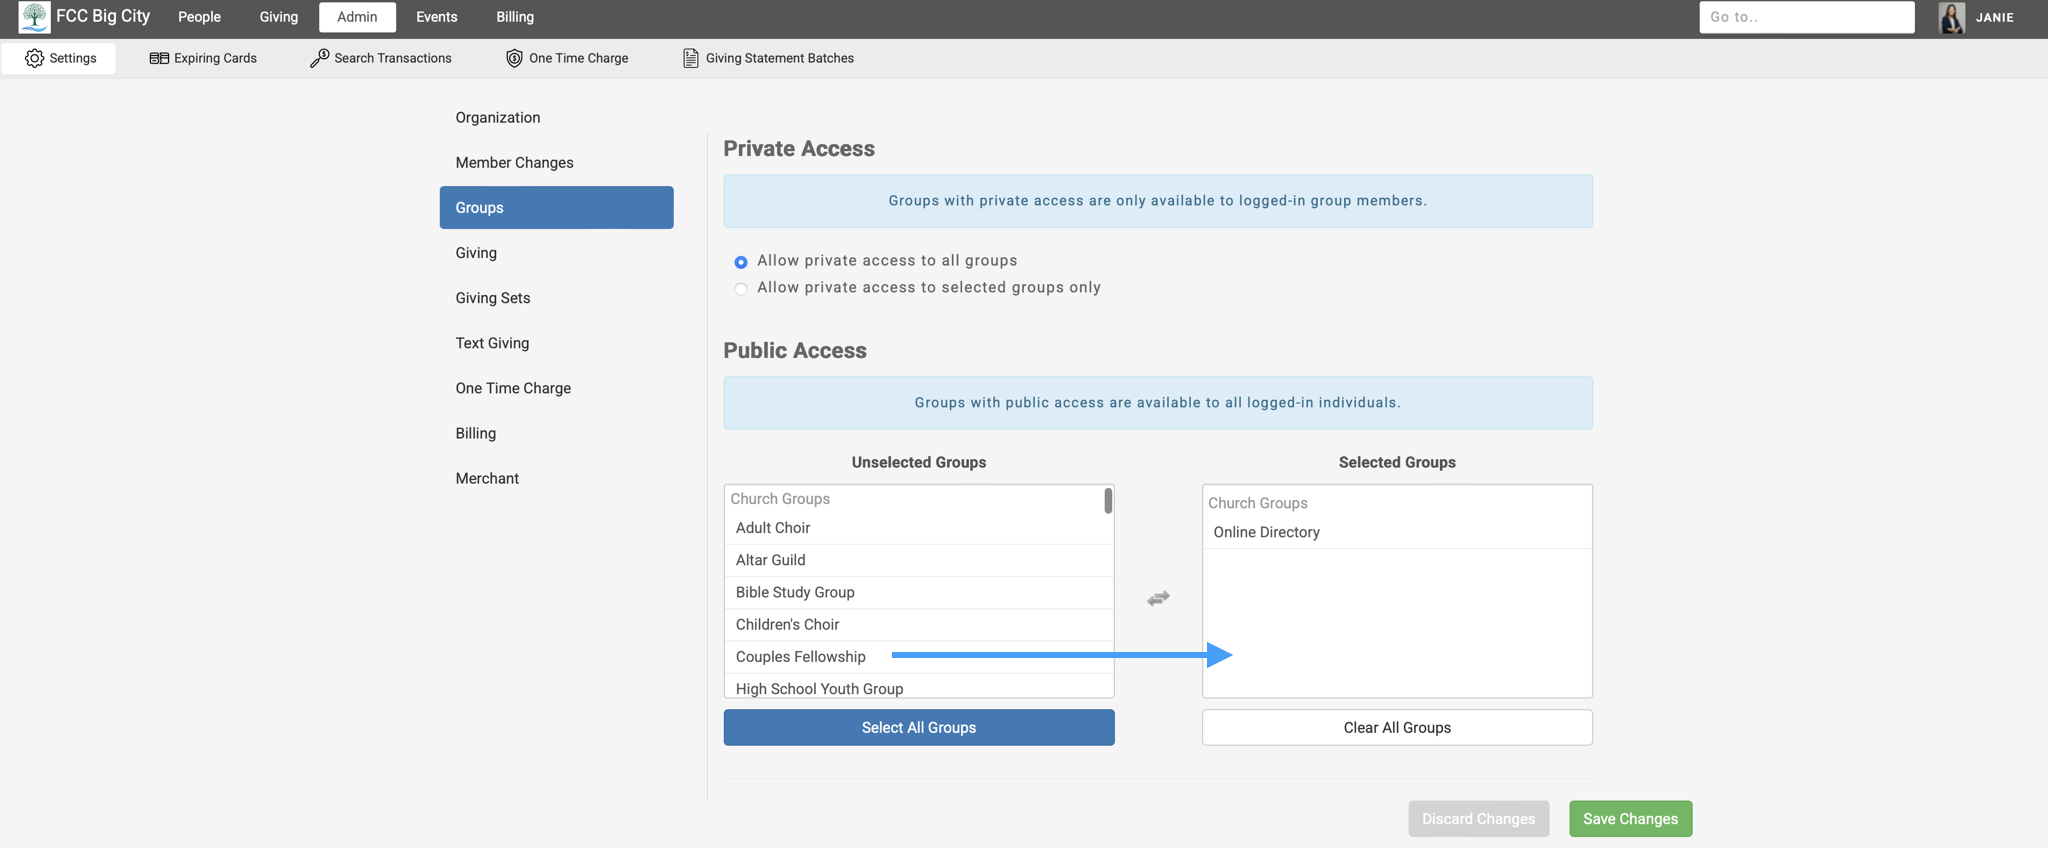
Under the heading Public Access, scroll through the Unselected Groups and double-click on the group(s) you want to make public, and Save Changes.
-
A pop-up window will appear. Click OK

-
The window will automatically refresh, and the selected group(s) will now be public.
Viewing a Public Group
-
Sign in to Engage.
-
In the top menu, click People → Groups. Here you can see all public groups and private groups that a person is a member of.
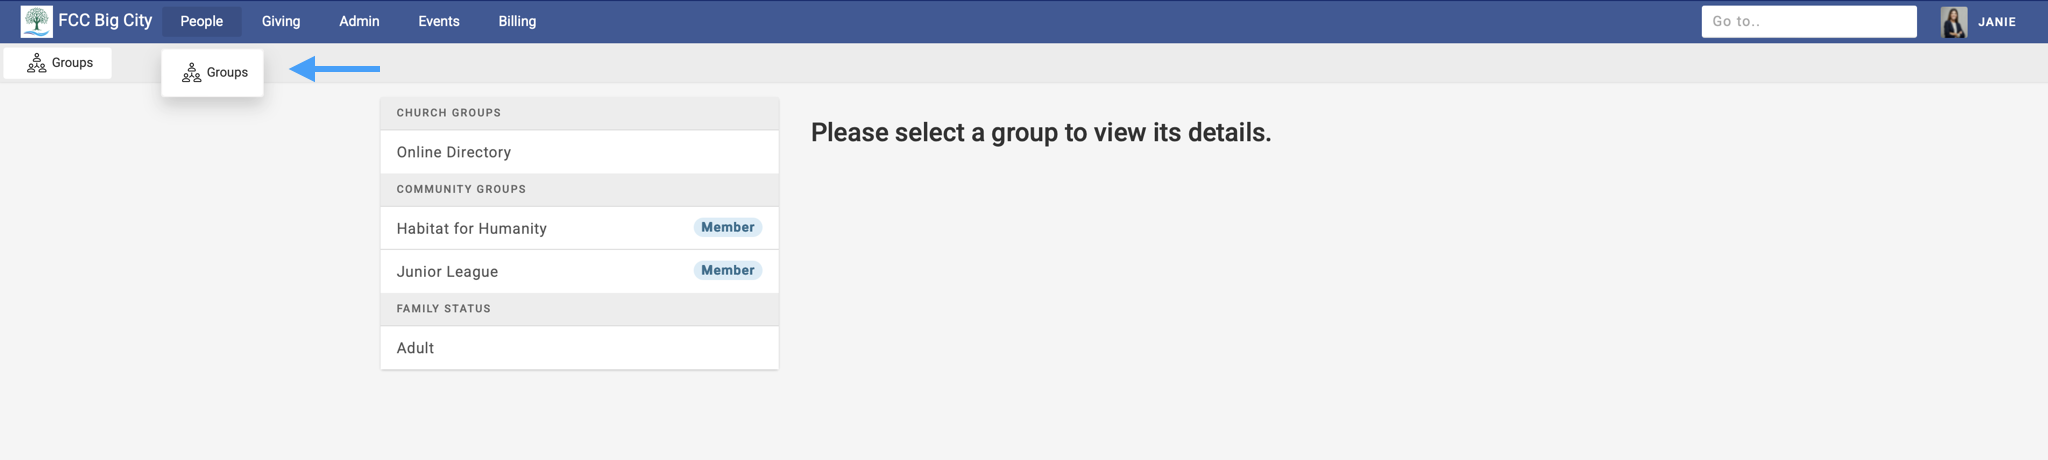
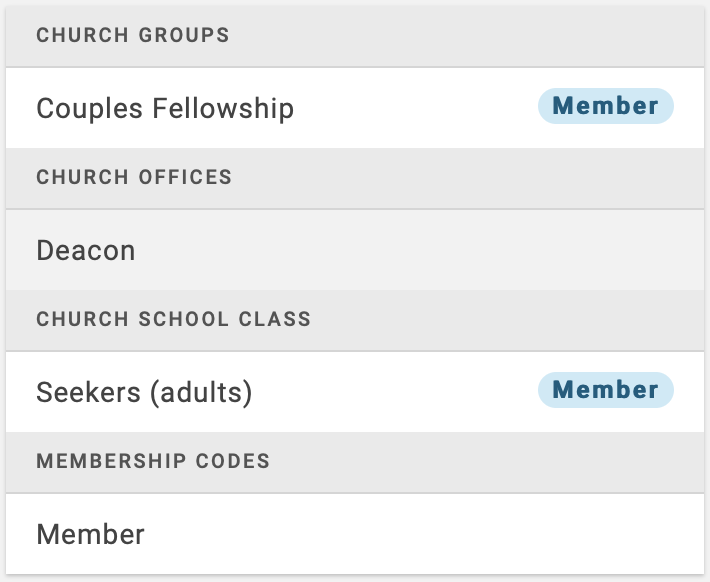
Private groups are the ones with the tag of Member. Public groups do not have the tag.