
Administering Engage is performed from two locations:
-
In CDM+
-
Within Engage itself
You will need to configure administrators in both locations—CDM+ and Engage.
Configure CDM+ Users
You can grant one or more CDM+ users rights to administrate Engage credentials. These CDM+ users can:
Create/Verify Individual Record
The first step is to link your CDM+ user to an individual record. This individual will be used to:
-
Access Engage when administering member giving
-
Log in to Engage to access administrative features
To verify or create an individual record:
-
Log in to CDM+
-
Go to Program → Membership → Individual Records
-
Ensure you can find an individual record for the CDM+ user
-
If no individual record exists, add one
Consider creating distinct codes for staff to separate them from members/visitors:
-
Mailing Code
-
Care Group
-
Membership Code
-
Membership Status
-
User-defined Group
Configure CDM+ User
Link your CDM+ user to your individual and grant appropriate permissions.
-
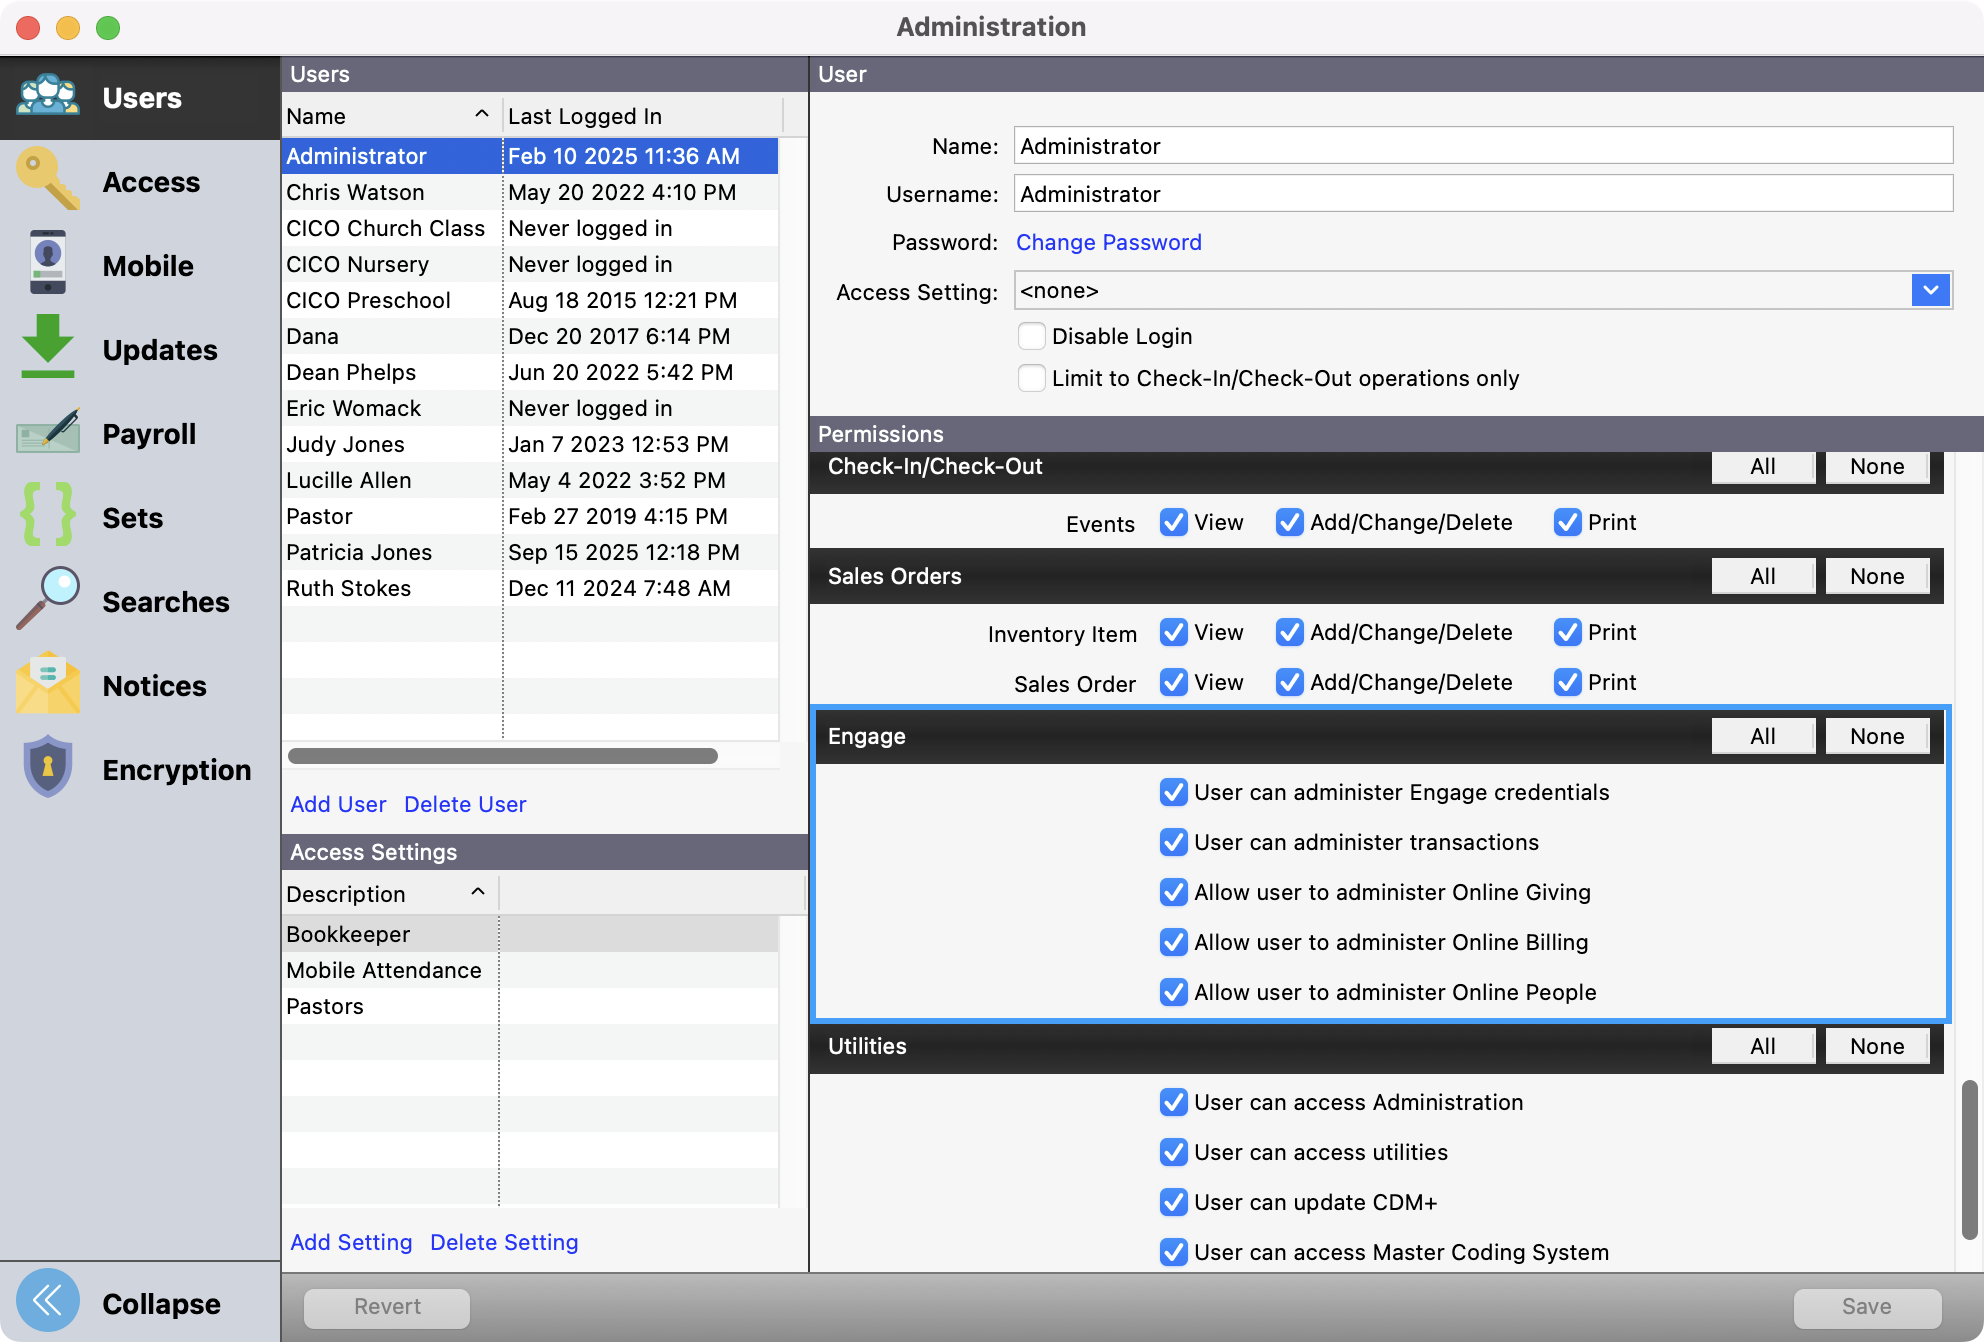
Go to File → Administration
-
Select the CDM+ user to configure
-
Check the following permissions in the Engage section:
-
User can administer Engage credentials
-
User can administer transactions
-
Allow user to administer Online Giving
-
Allow user to administer Online Billing
-
Allow user to administer Online People
-
-
Click Save
The option Allow user to administer member giving allows this CDM+ user to view, create, change, cancel gifts, and make other changes to a member's giving on their behalf.
Ensure only authorized personnel are granted this permission.
Create Engage Administrator(s)
Individuals in Engage can have different roles, one of which is the Administrator role. Engage administrators can access all parts of Engage, including electronic transaction functions.
You need at least one administrator to configure Engage. You can designate additional administrators for additional staff or to provide redundancy if your primary administrator is unavailable.
-
Log in to CDM+ as a user with permission to administer Engage/WMT credentials
-
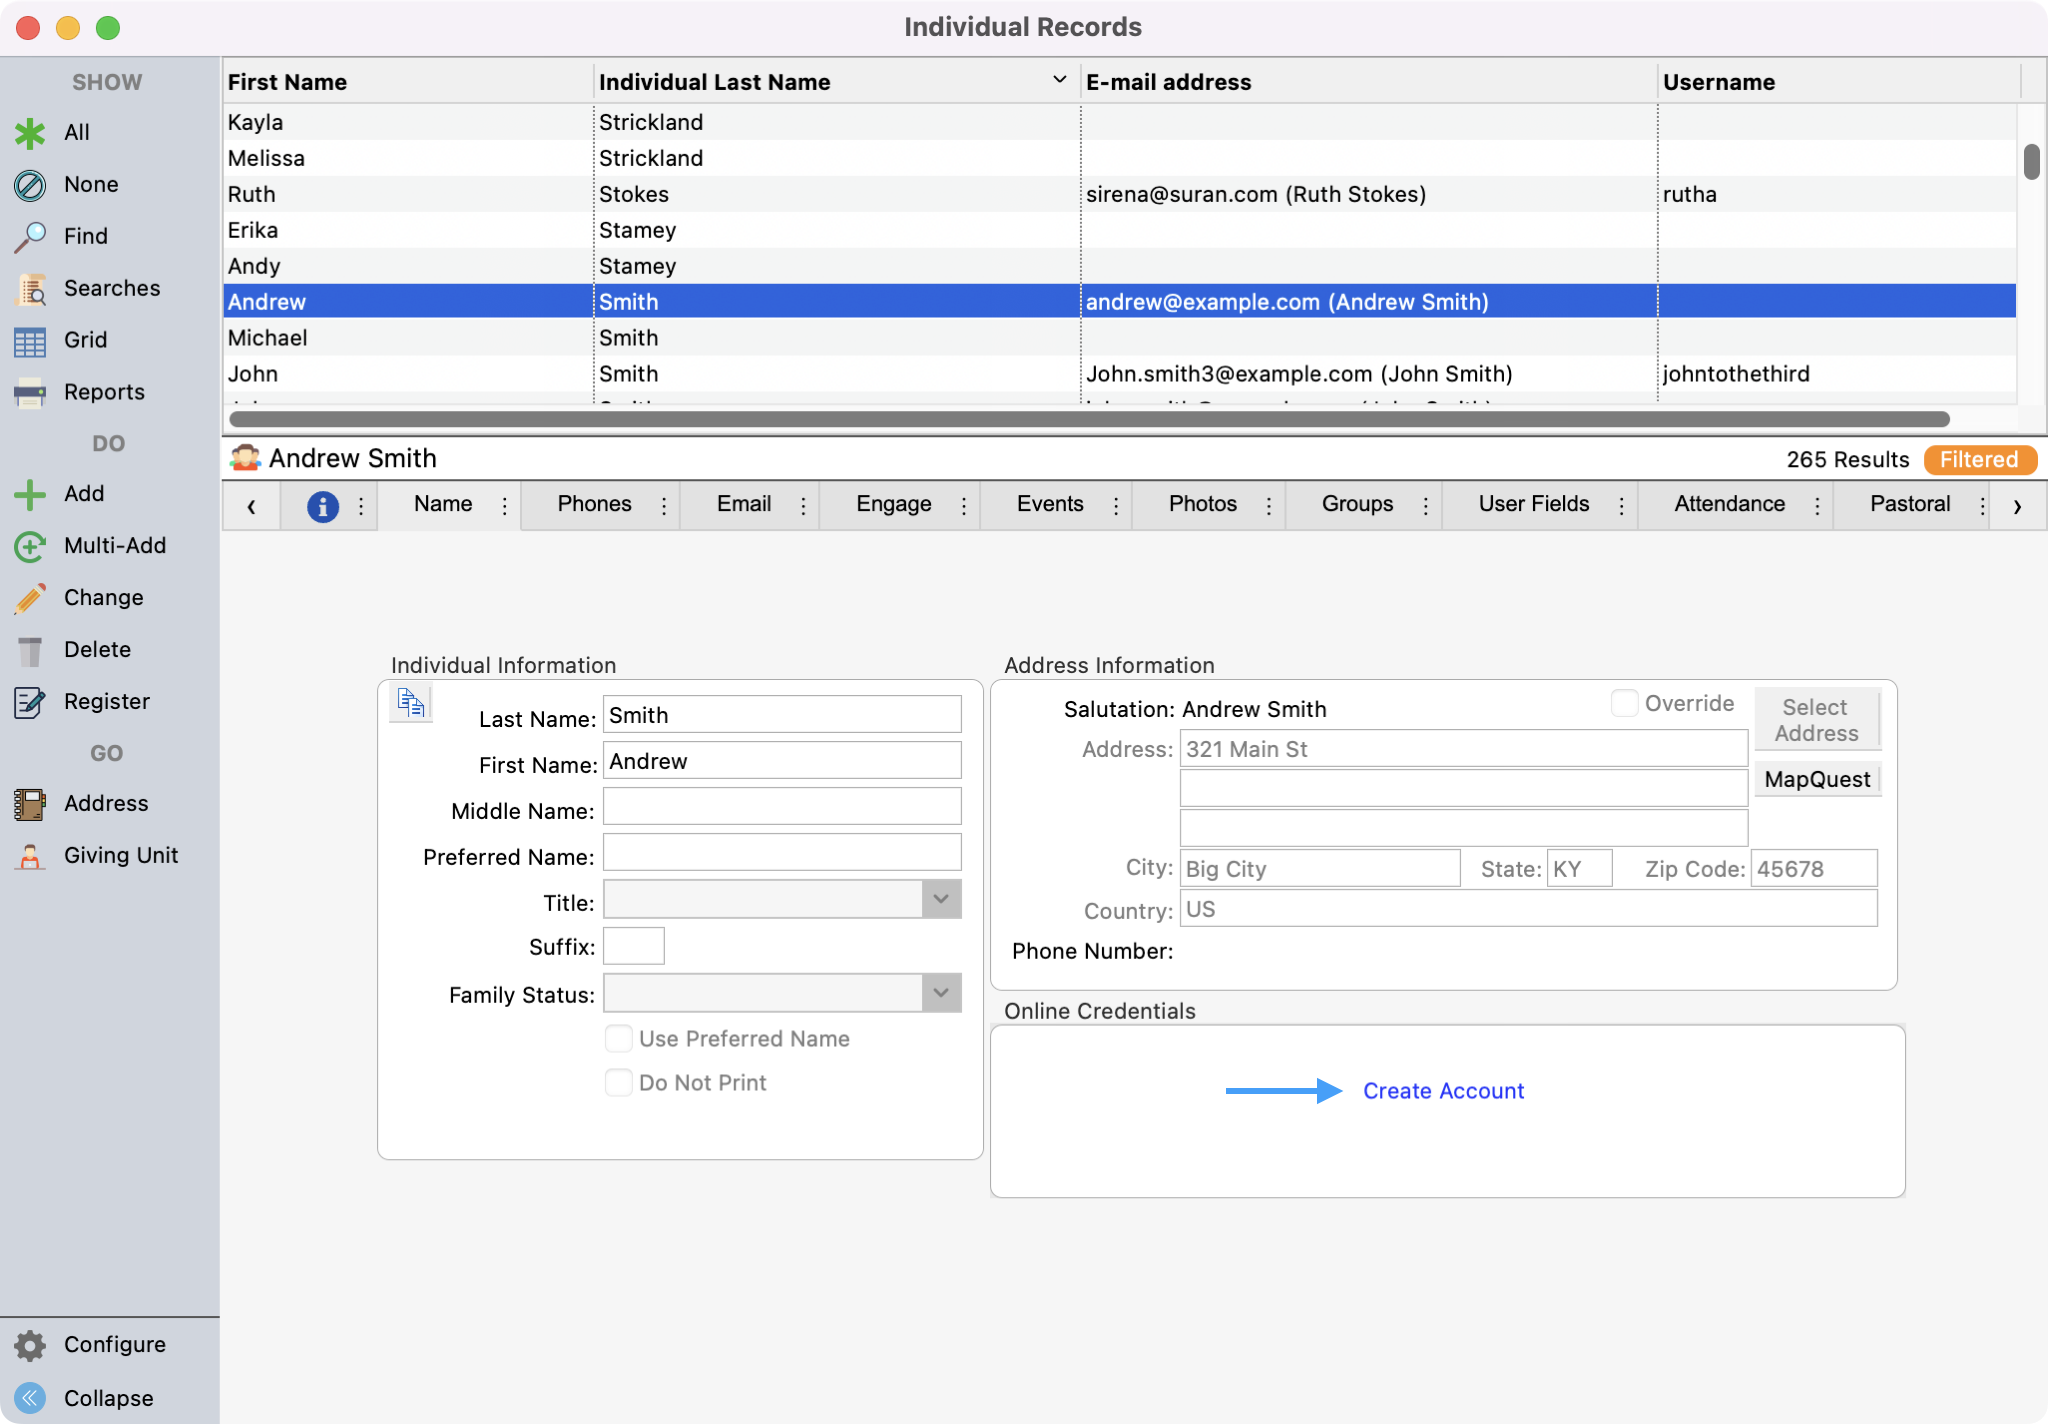
Go to Program → Membership → Individual Records
-
Find or create an individual record for your administrator
-
Ensure you are in View mode (do not click Change)
-
If the option to Create Account appears under Online Credentials:
-
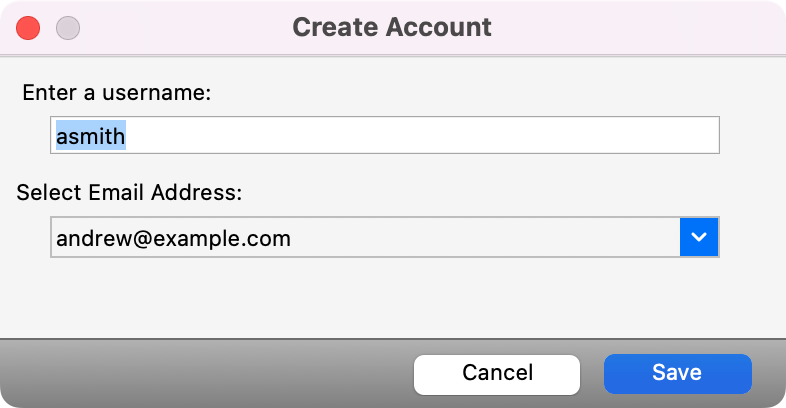
Click Create Account
-
Enter a username and select an email address to receive a password reset email. Click Save.
-
-
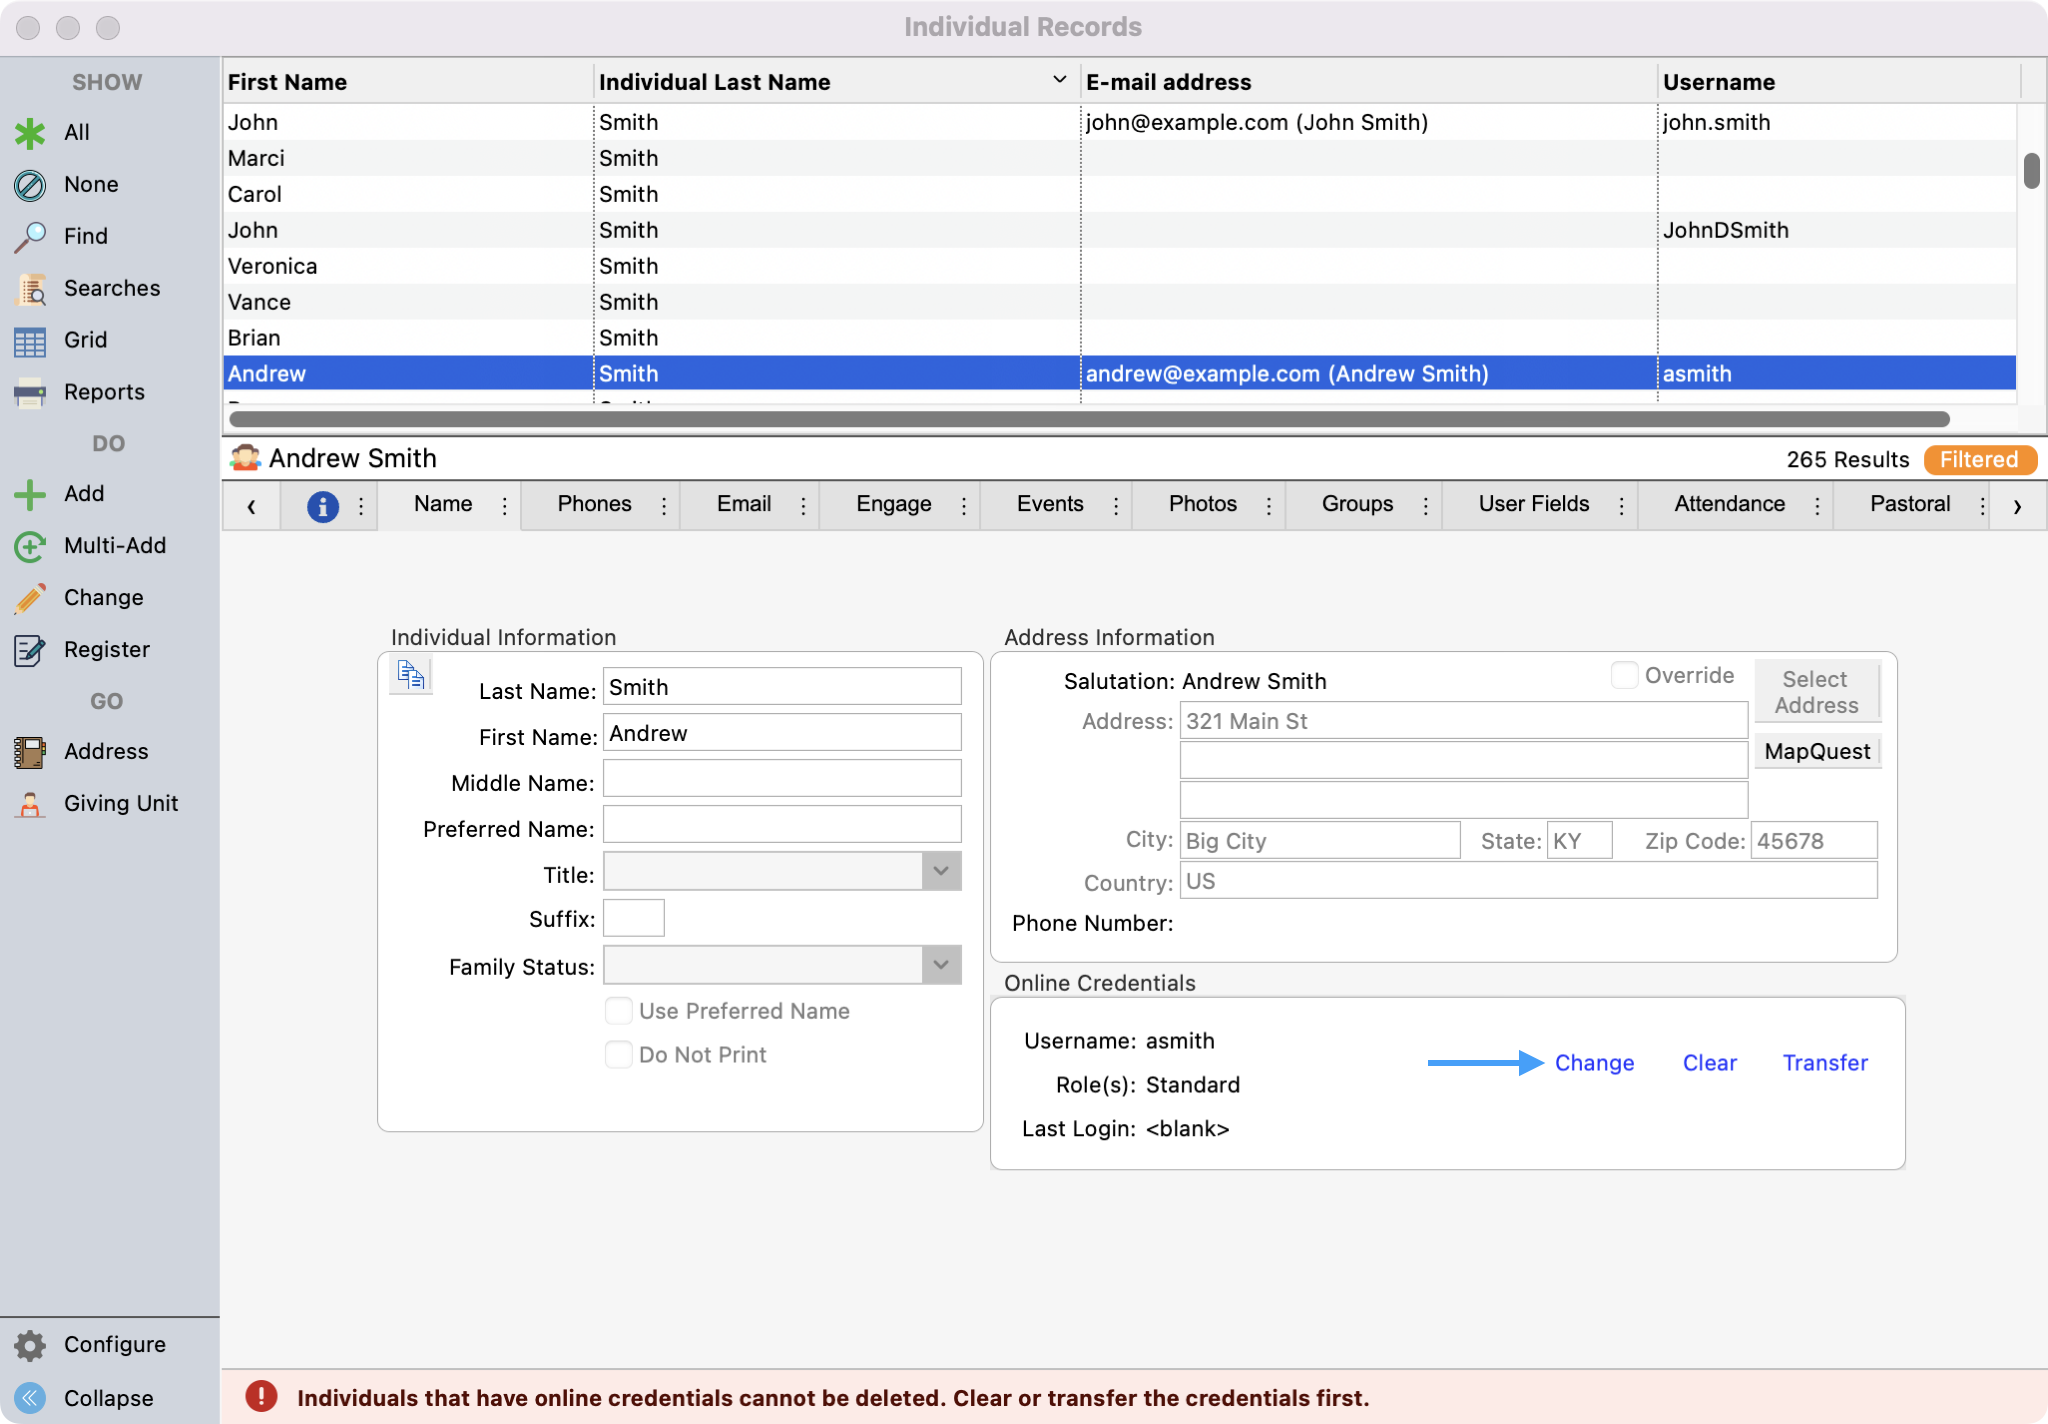
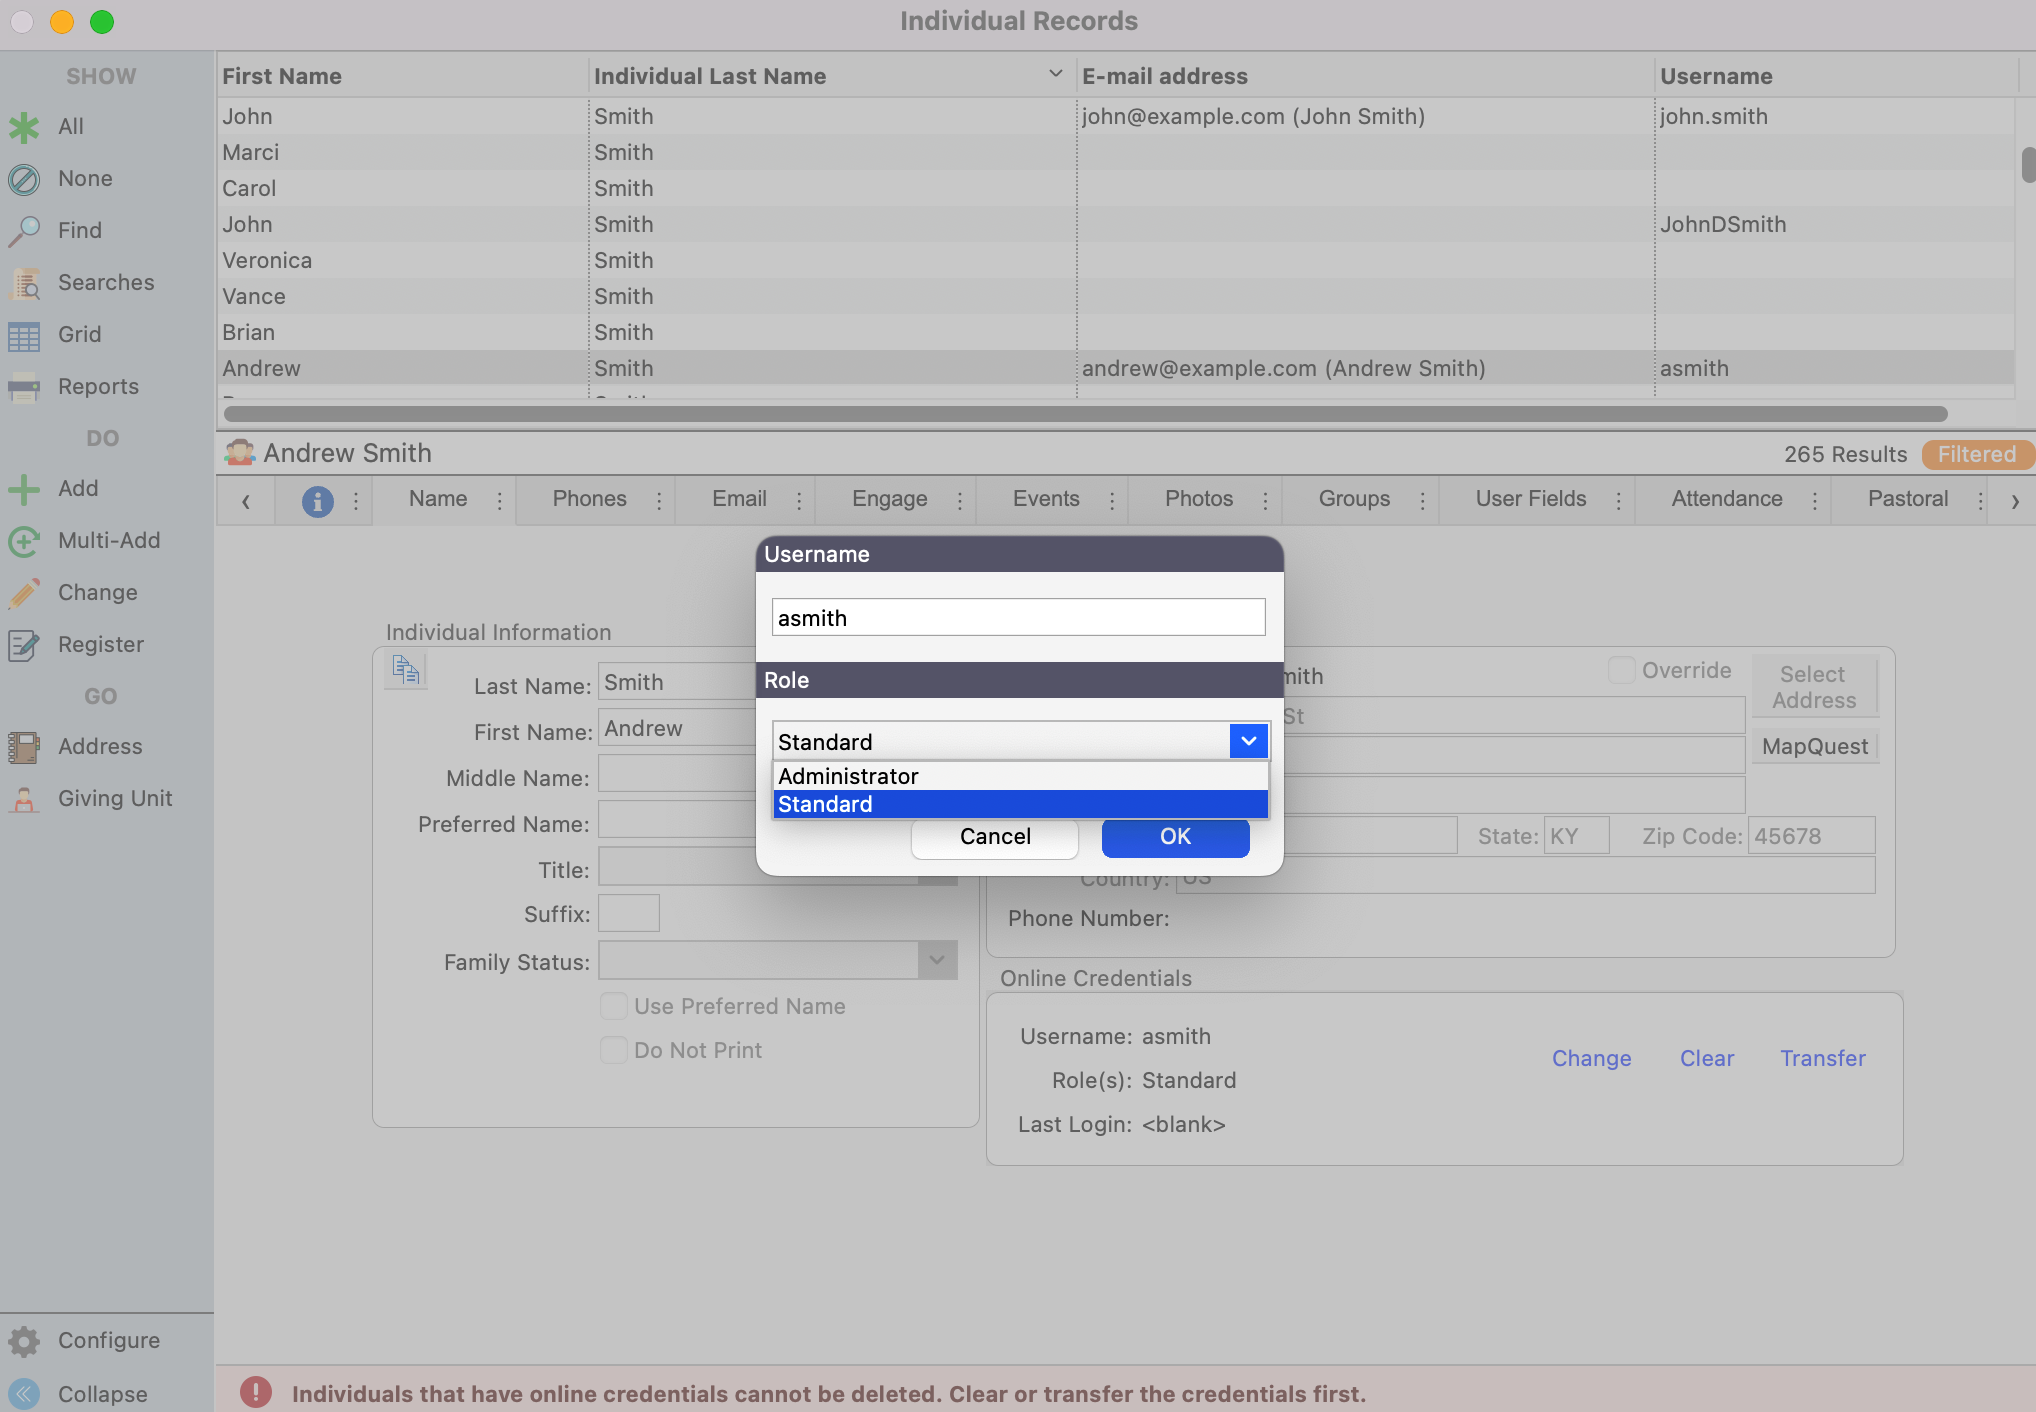
Click Change next to the credentials.
-
Select Administrator for the role and click OK.
See Online Credentials for more information about working with Engage credentials and roles.
Administrators have full access to Engage setup, transaction administration, and more. Ensure only authorized individuals are granted administrator access.