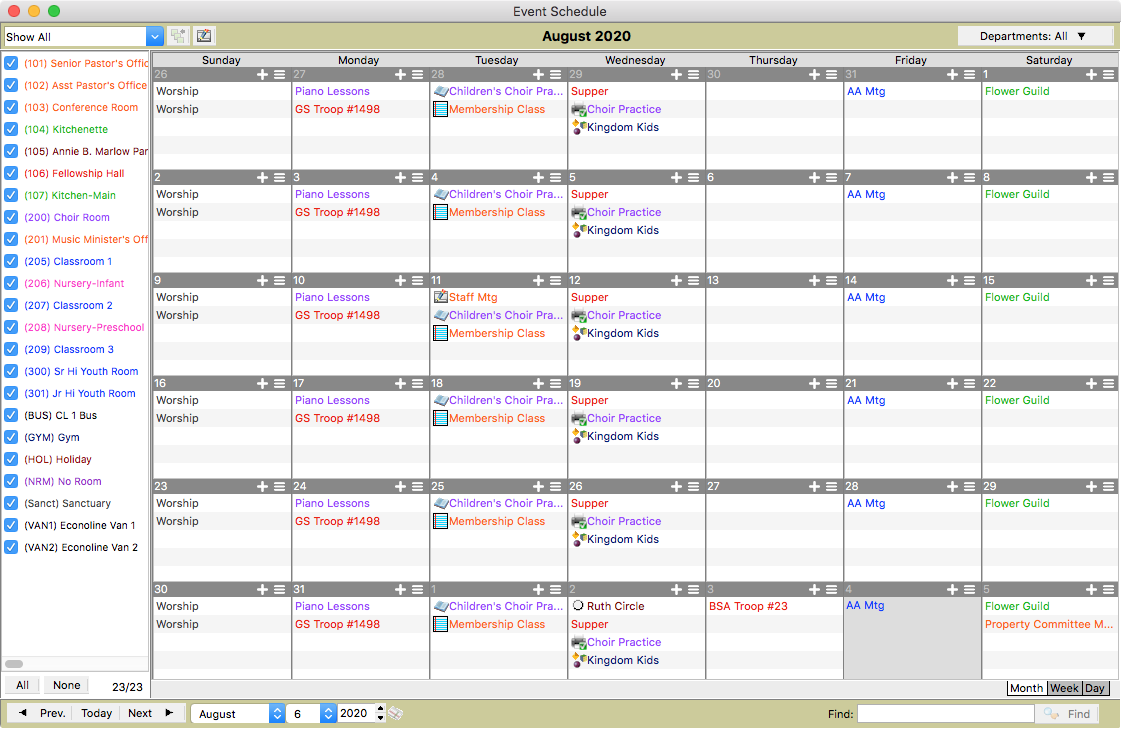
Skip table of contents

Month Schedule

Month Schedule

This Schedule is ideal for seeing activity on a per room basis for a month. Also, if you have recurring events, daylong events or multiple day events, this Schedule shows them best.

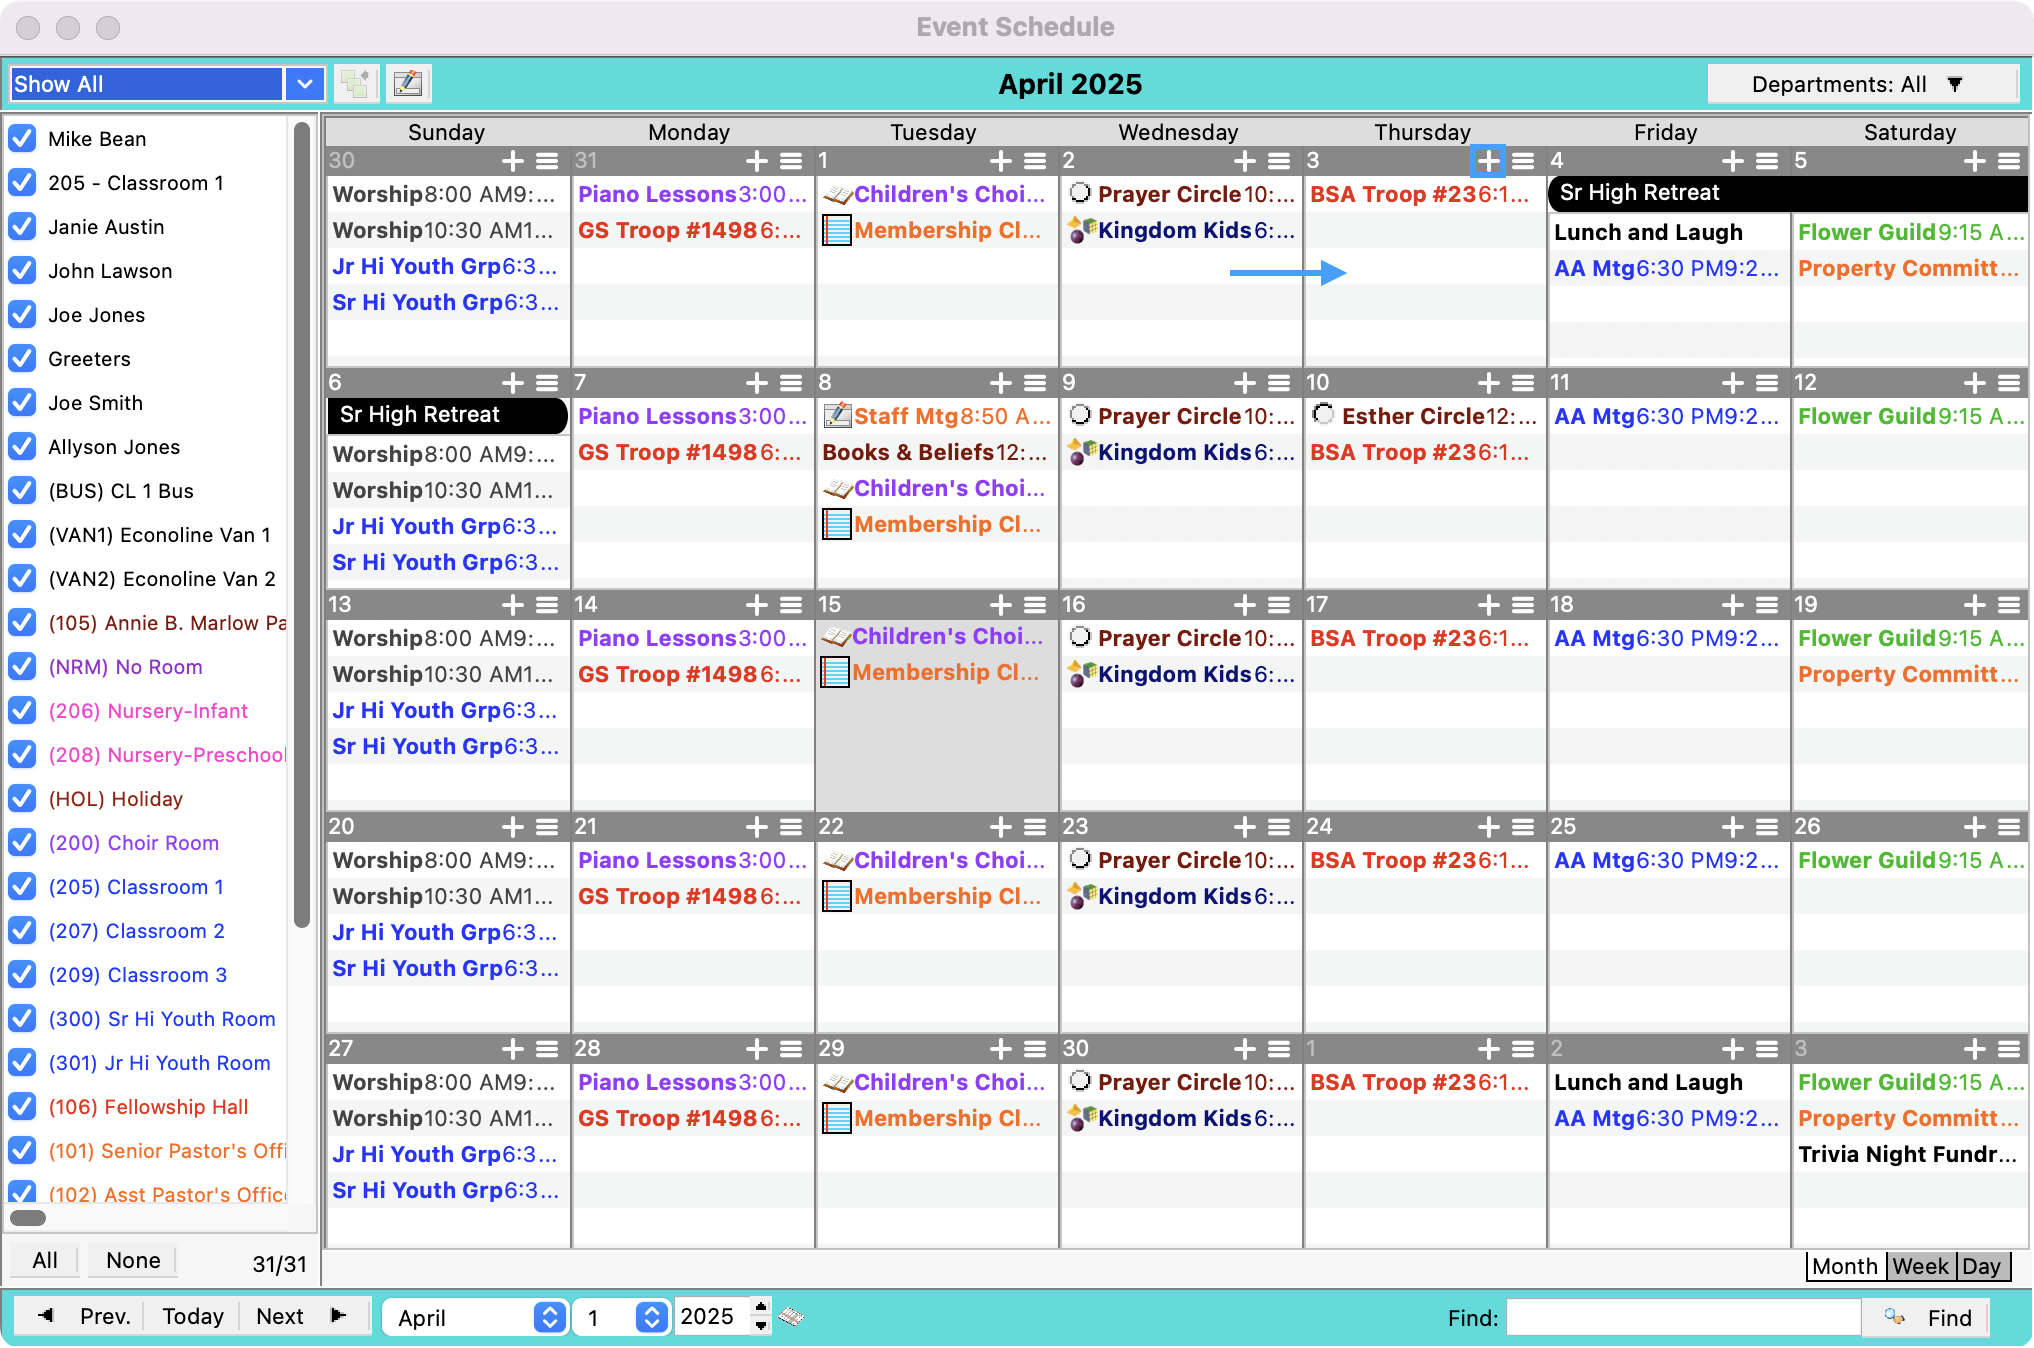
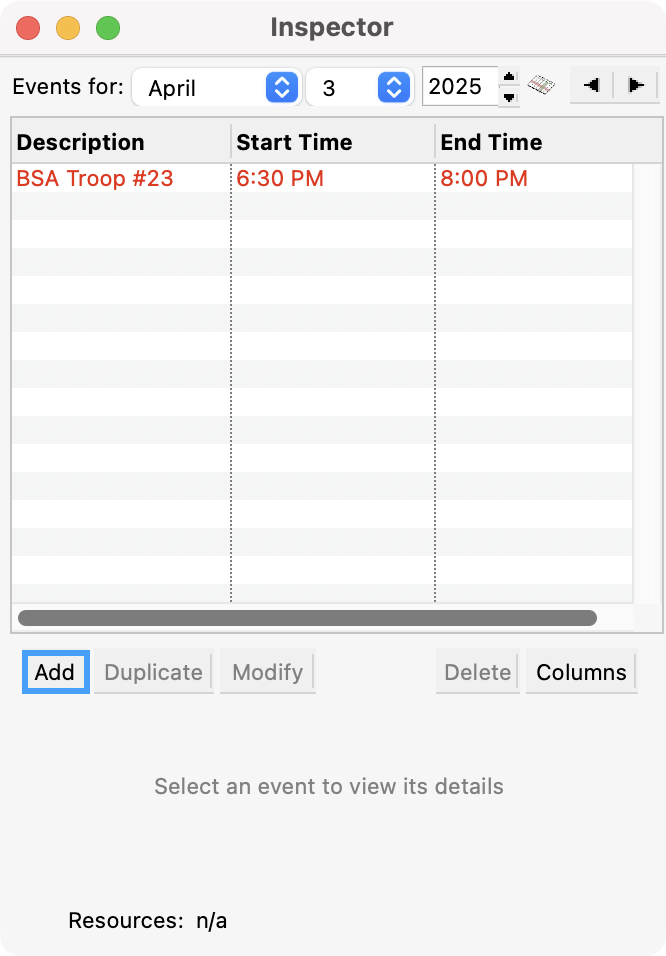
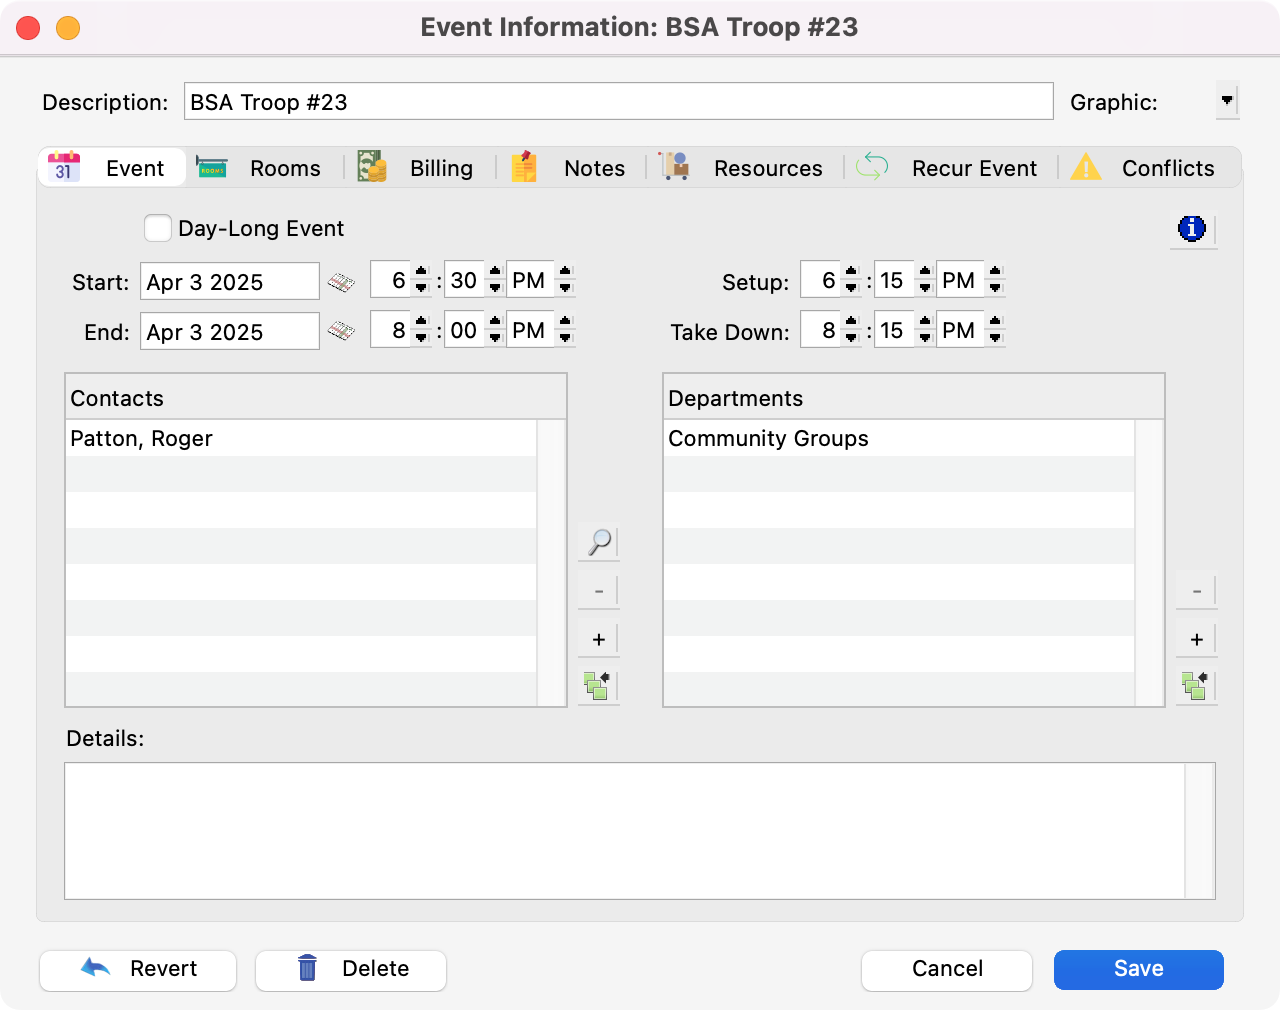
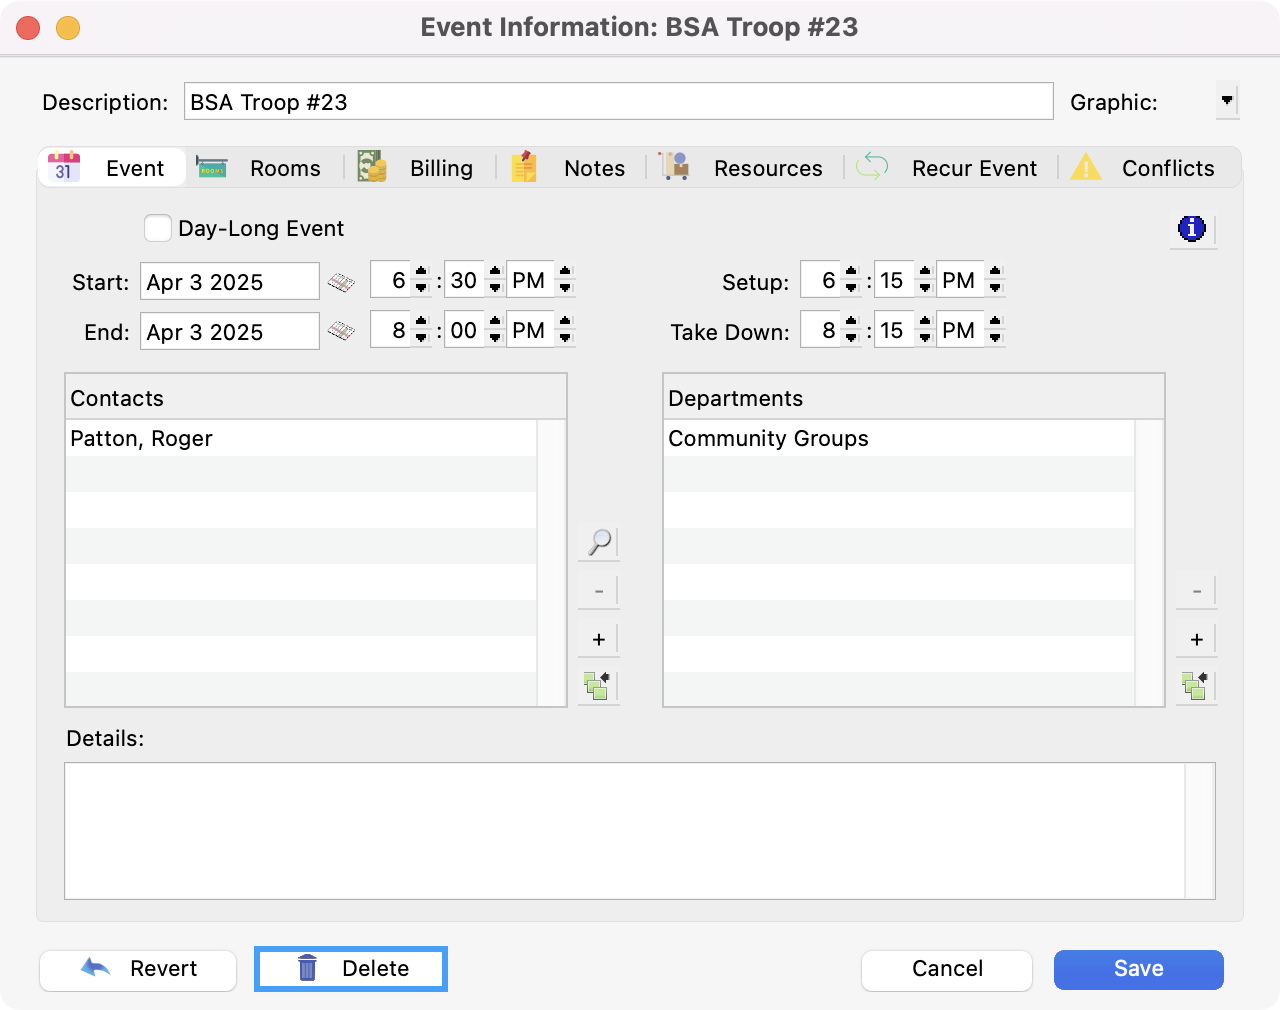
To place an event on the Schedule while in the Month Schedule, double-click an open area on the day on which you’d like to create the event, click the Add button

, or click Add on the Inspector (see below for more info). The Event Information window will open.

To change an event, open the Event Information window (see below for more info).

To delete an event, select it and press the Delete or Backspace key. You can also delete an event using the contextual menu, the Inspector or the Event Information window. Instructions for using the contextual menu are covered in the Event Contextual Menu section of this manual.

Click on the small up and down arrows at the top of each day to scroll through the list of events for that day.

Inspector

Click on the Inspector icon

 at the top of a day to open the Inspector window—a handy listing of that day’s events.

Double-click on an event in the list or highlight one and click Modify to open the Event Information window where you can add or change the details of the event.

Highlight an event and click Duplicate to create a copy of the event and open a new Event Information window where you can rename, reassign or change other details of the event. Highlight an event and click on Delete to remove the event from the schedule.

You may also add an event from the Inspector window. Click on Add to open a new untitled Event Information window.

Clicking on Columns opens a new window which allows you to specify the columns of information on view in the Inspector window. To change the order of the columns, drag the items in the list (top to bottom corresponds to left to right). You can resize the Inspector window to more easily see multiple columns.

Schedule Formatting

The Month Schedule of the Event Schedule can be further formatted. Select CDM+ User preferences from the CDM+ menu and click on the Roommate tab.

Click on the Monthly Cal. icon. Here you can specify what information is displayed for events on the Month Schedule. The available Elements are listed on the left. Drag desired elements, such as Room Number, to the Formatting list. To change the order of the columns, drag the items in the list (top to bottom corresponds to left to right).

The last several items on the Elements list are “cosmetic” items, such as Space, Colon, Dash, etc. Use these to make the Event listing more readable. In the above example, you will note there is a space between the Description and the Room Number.

The Element Options allow you to enclose any element with formatting characters. Choose the format of the enclosure by clicking on one of the radio buttons.

All changes you make to the formatting are reflected in the Example on this window.

When you are finished, click Save. Click Revert Displayed Settings to return the settings to the last saved state. You may change these settings at any time by returning to this window.

JavaScript errors detected

Please note, these errors can depend on your browser setup.

If this problem persists, please contact our support.