Write Payroll Checks
-
To navigate to Write Payroll Checks, go to Program → Payroll → Write Payroll Checks.
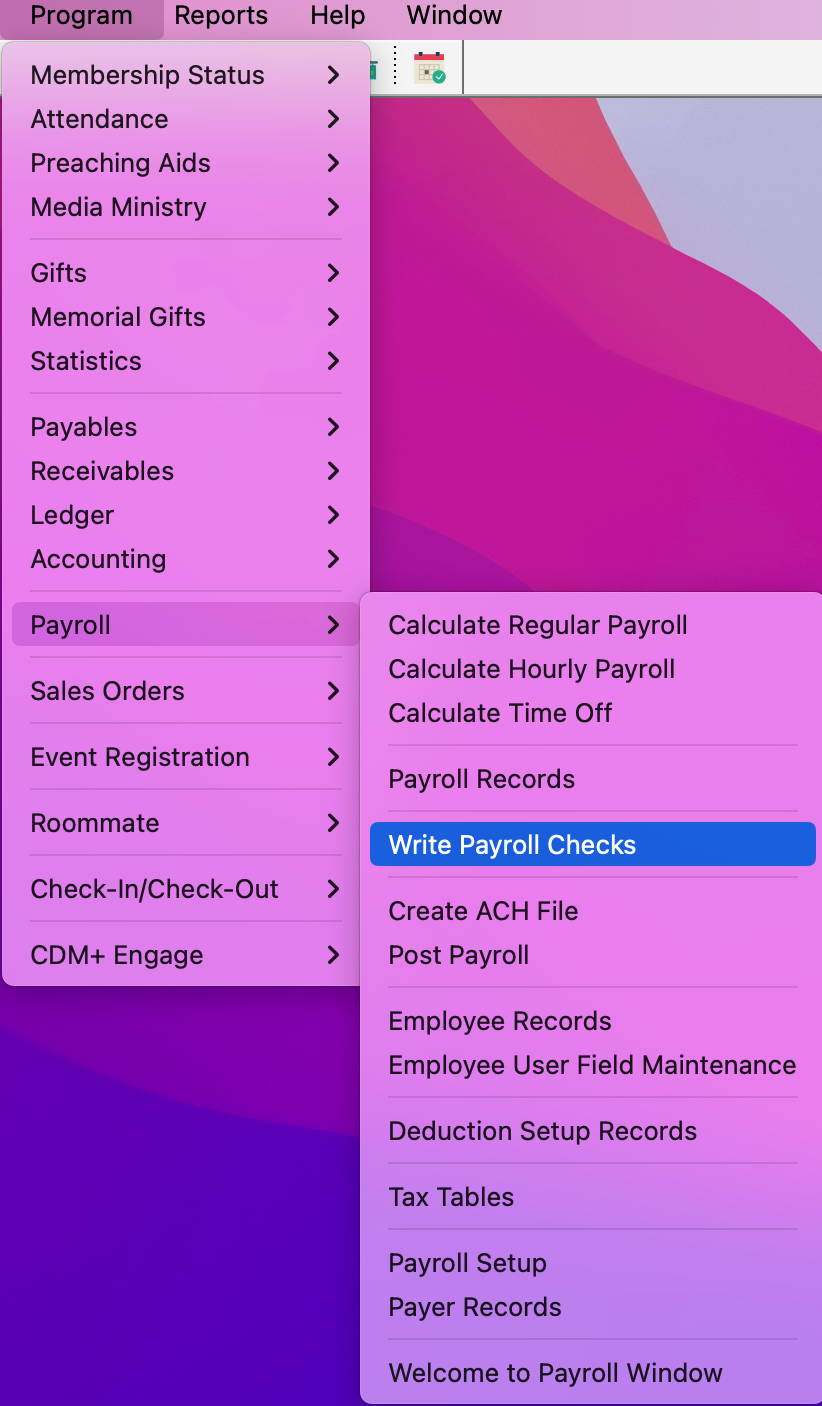
If you have chosen under Preferences-Toolbars to show the Payroll toolbar, you may click the Write Payroll Checks icon.
-
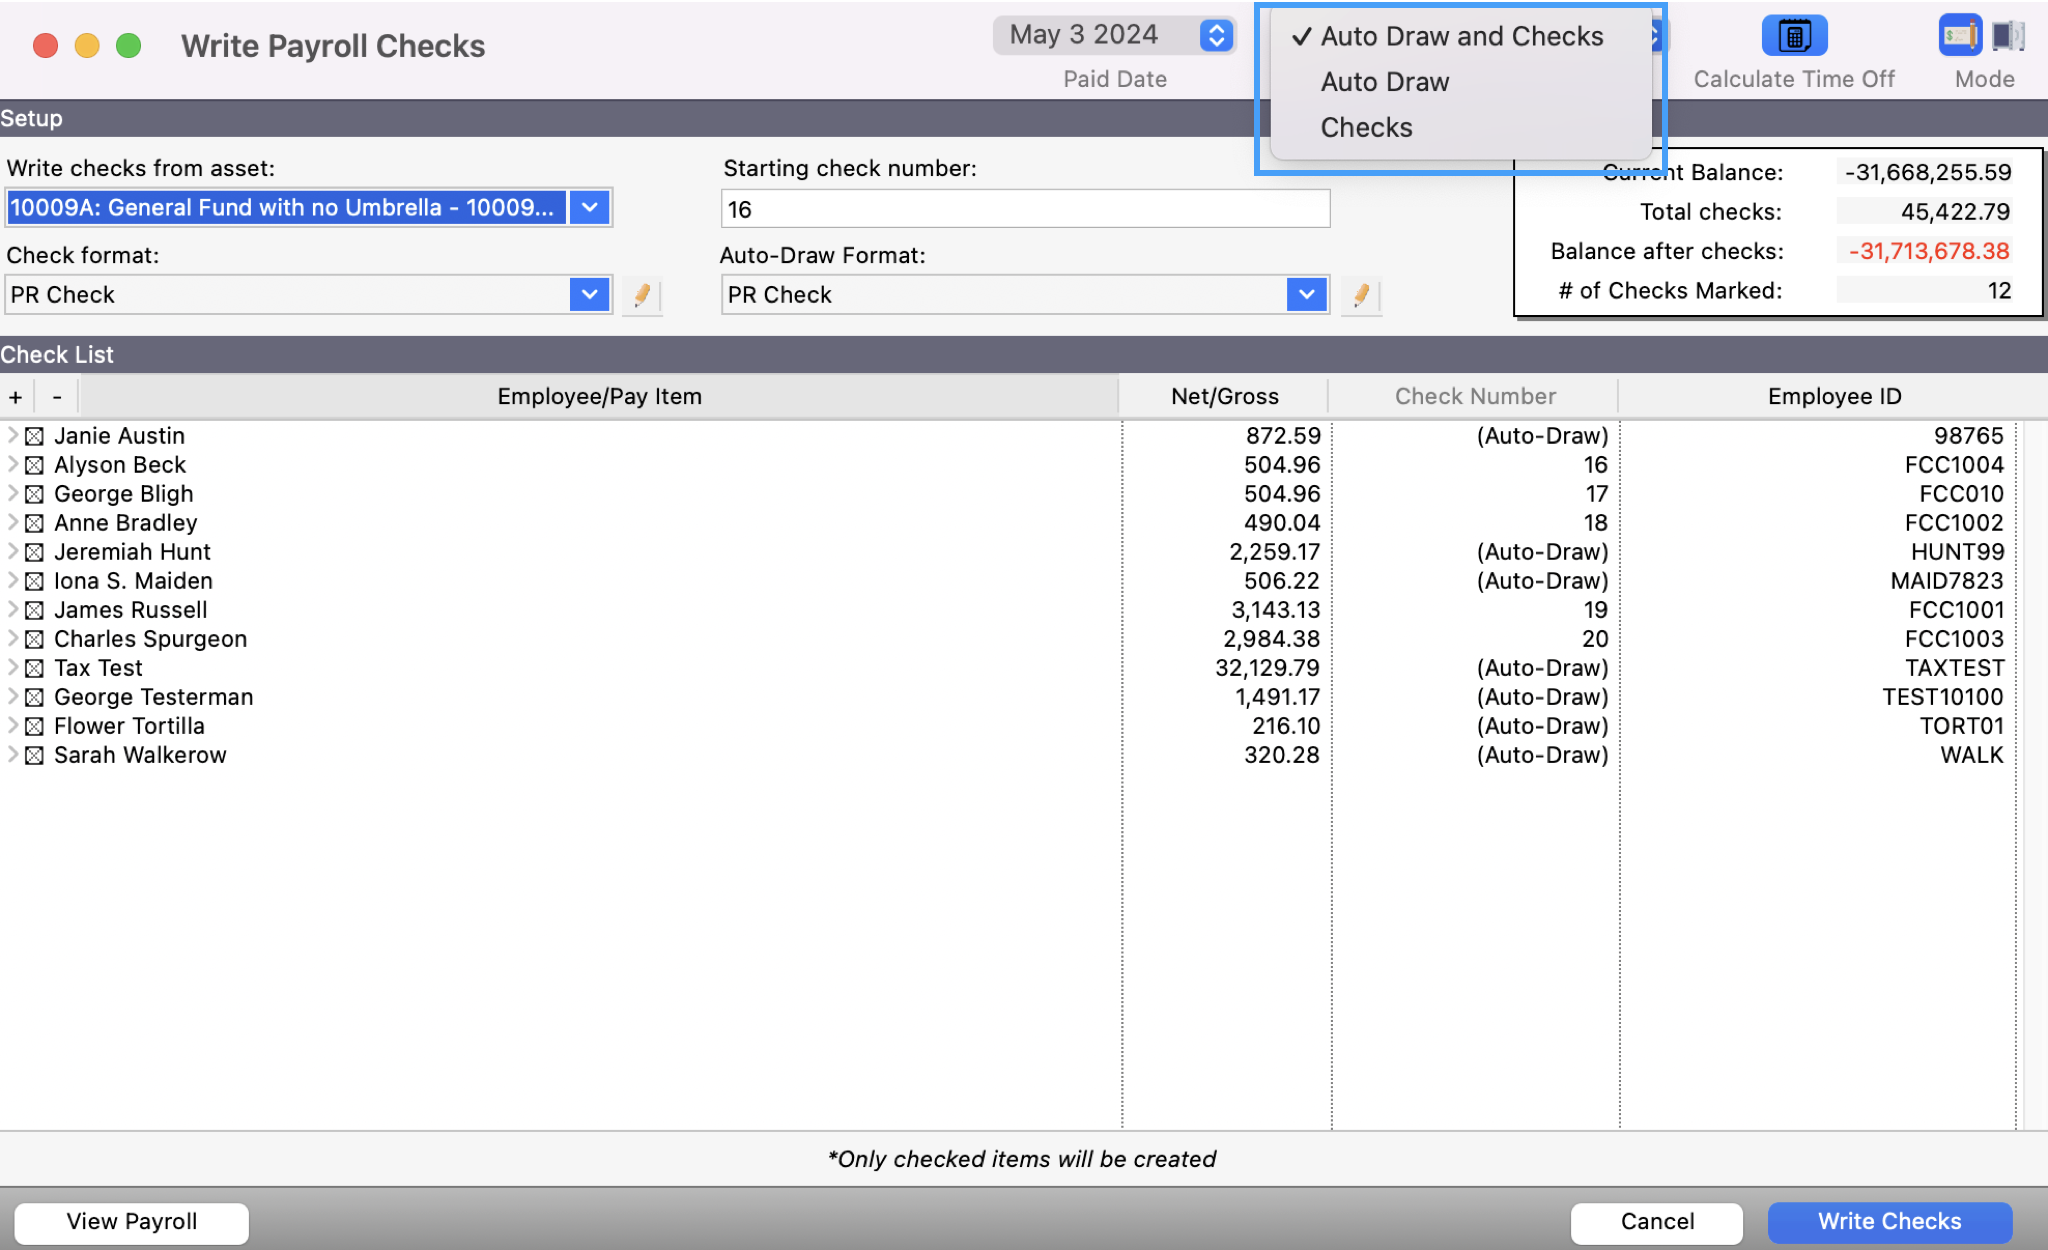
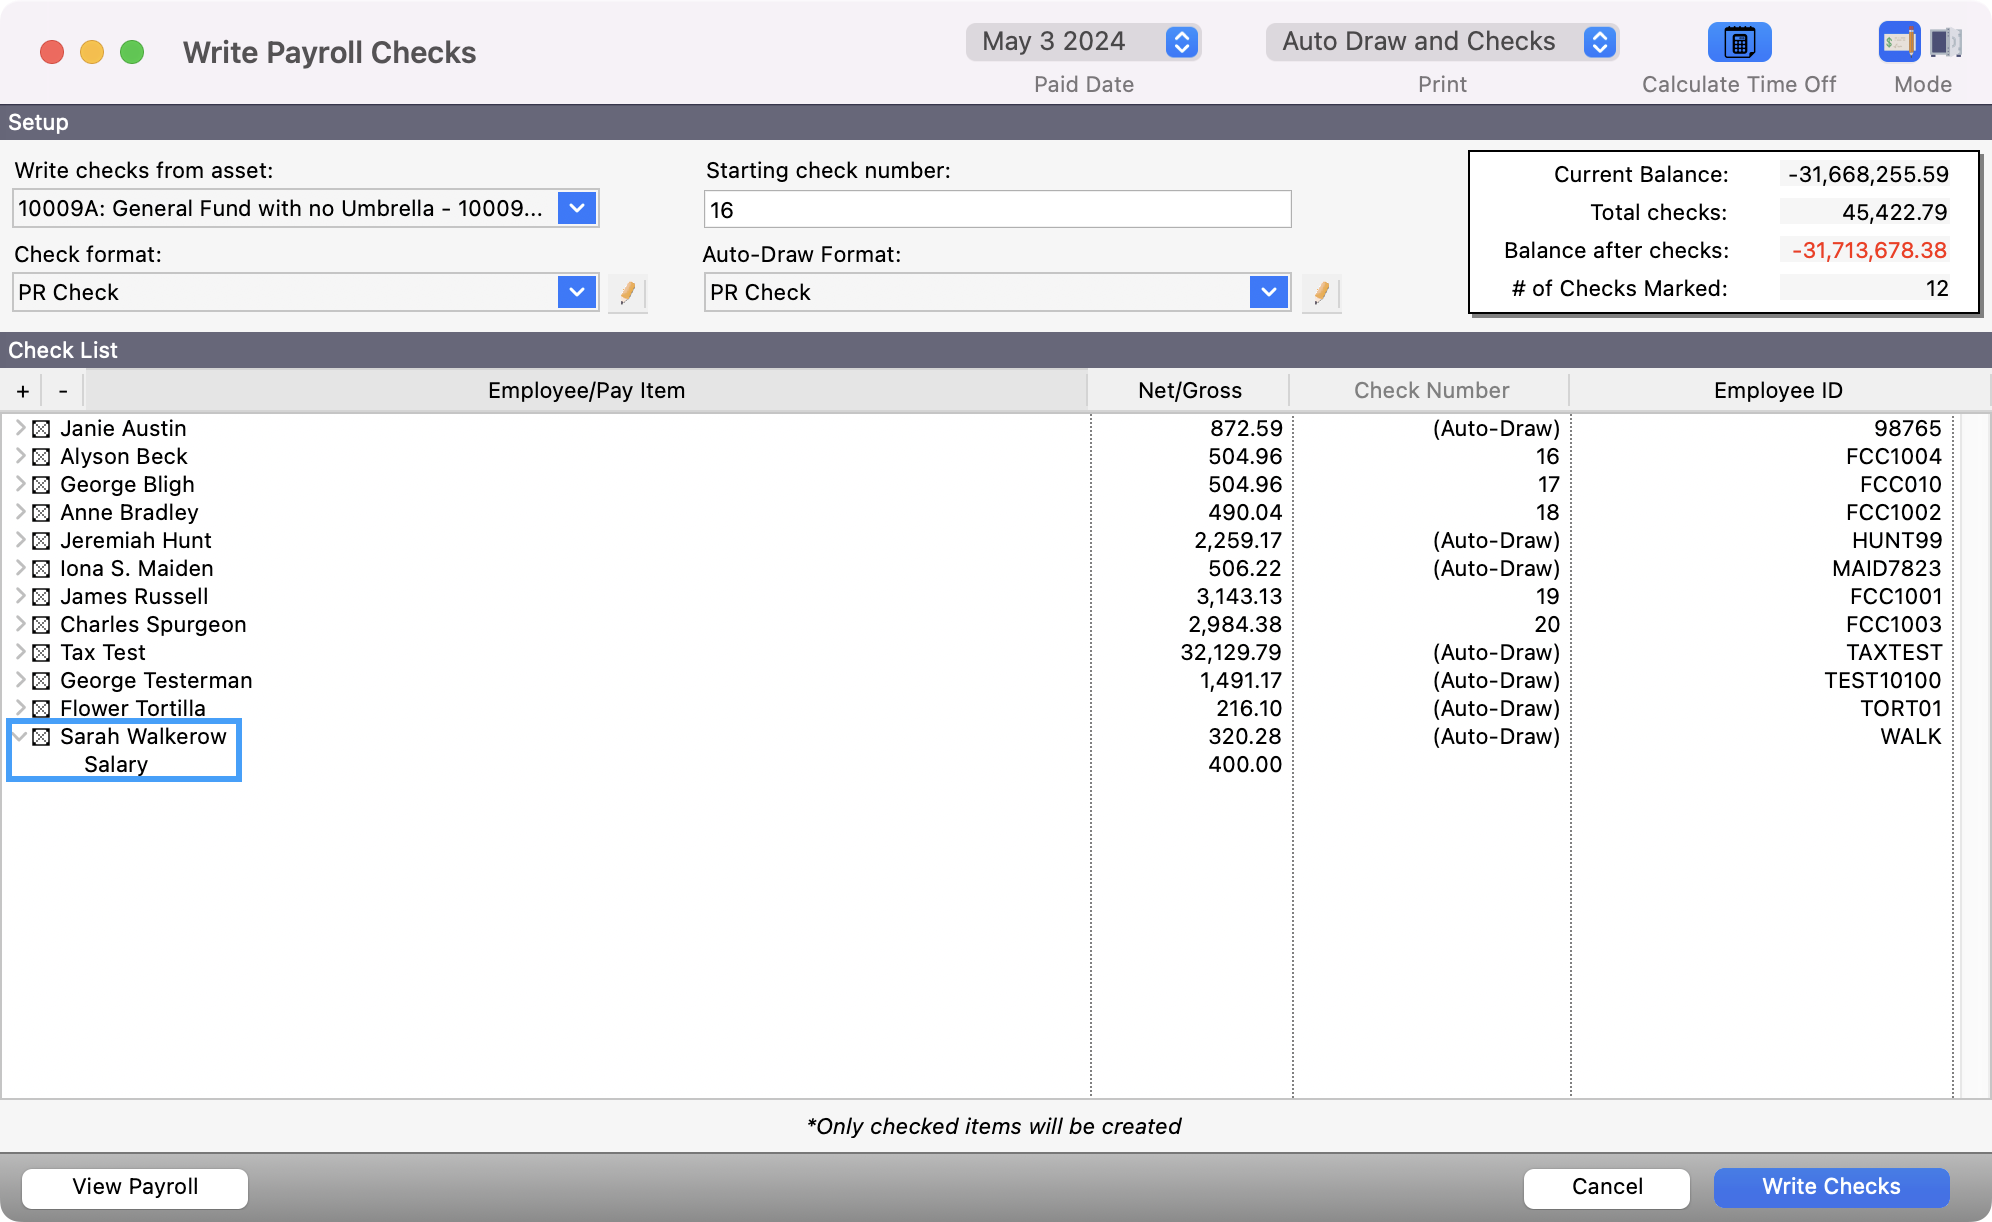
Select the Paid Date from the drop list at the top of the window. This will be the date printed on the checks.

-
Choose from the drop list to print Auto Draw and Checks, Auto Draw only, or Checks only. When Auto Draw and Checks is selected, CDM+ will pause between these two types and prompt you to change the paper in the printer if necessary. Checks are the most common choice.
-
Click the Calculate Time Off button, if employees have taken paid sick leave, vacation, or other time off during this pay period. This will cause the Time Off Calculations window to open when you click the Write Checks button.
Please note if you have already calculated time off before going to the Write Payroll Check window you will want to make sure the Calculate Time Off is deselected. Otherwise, you run the risk of calculating Time Off twice.

-
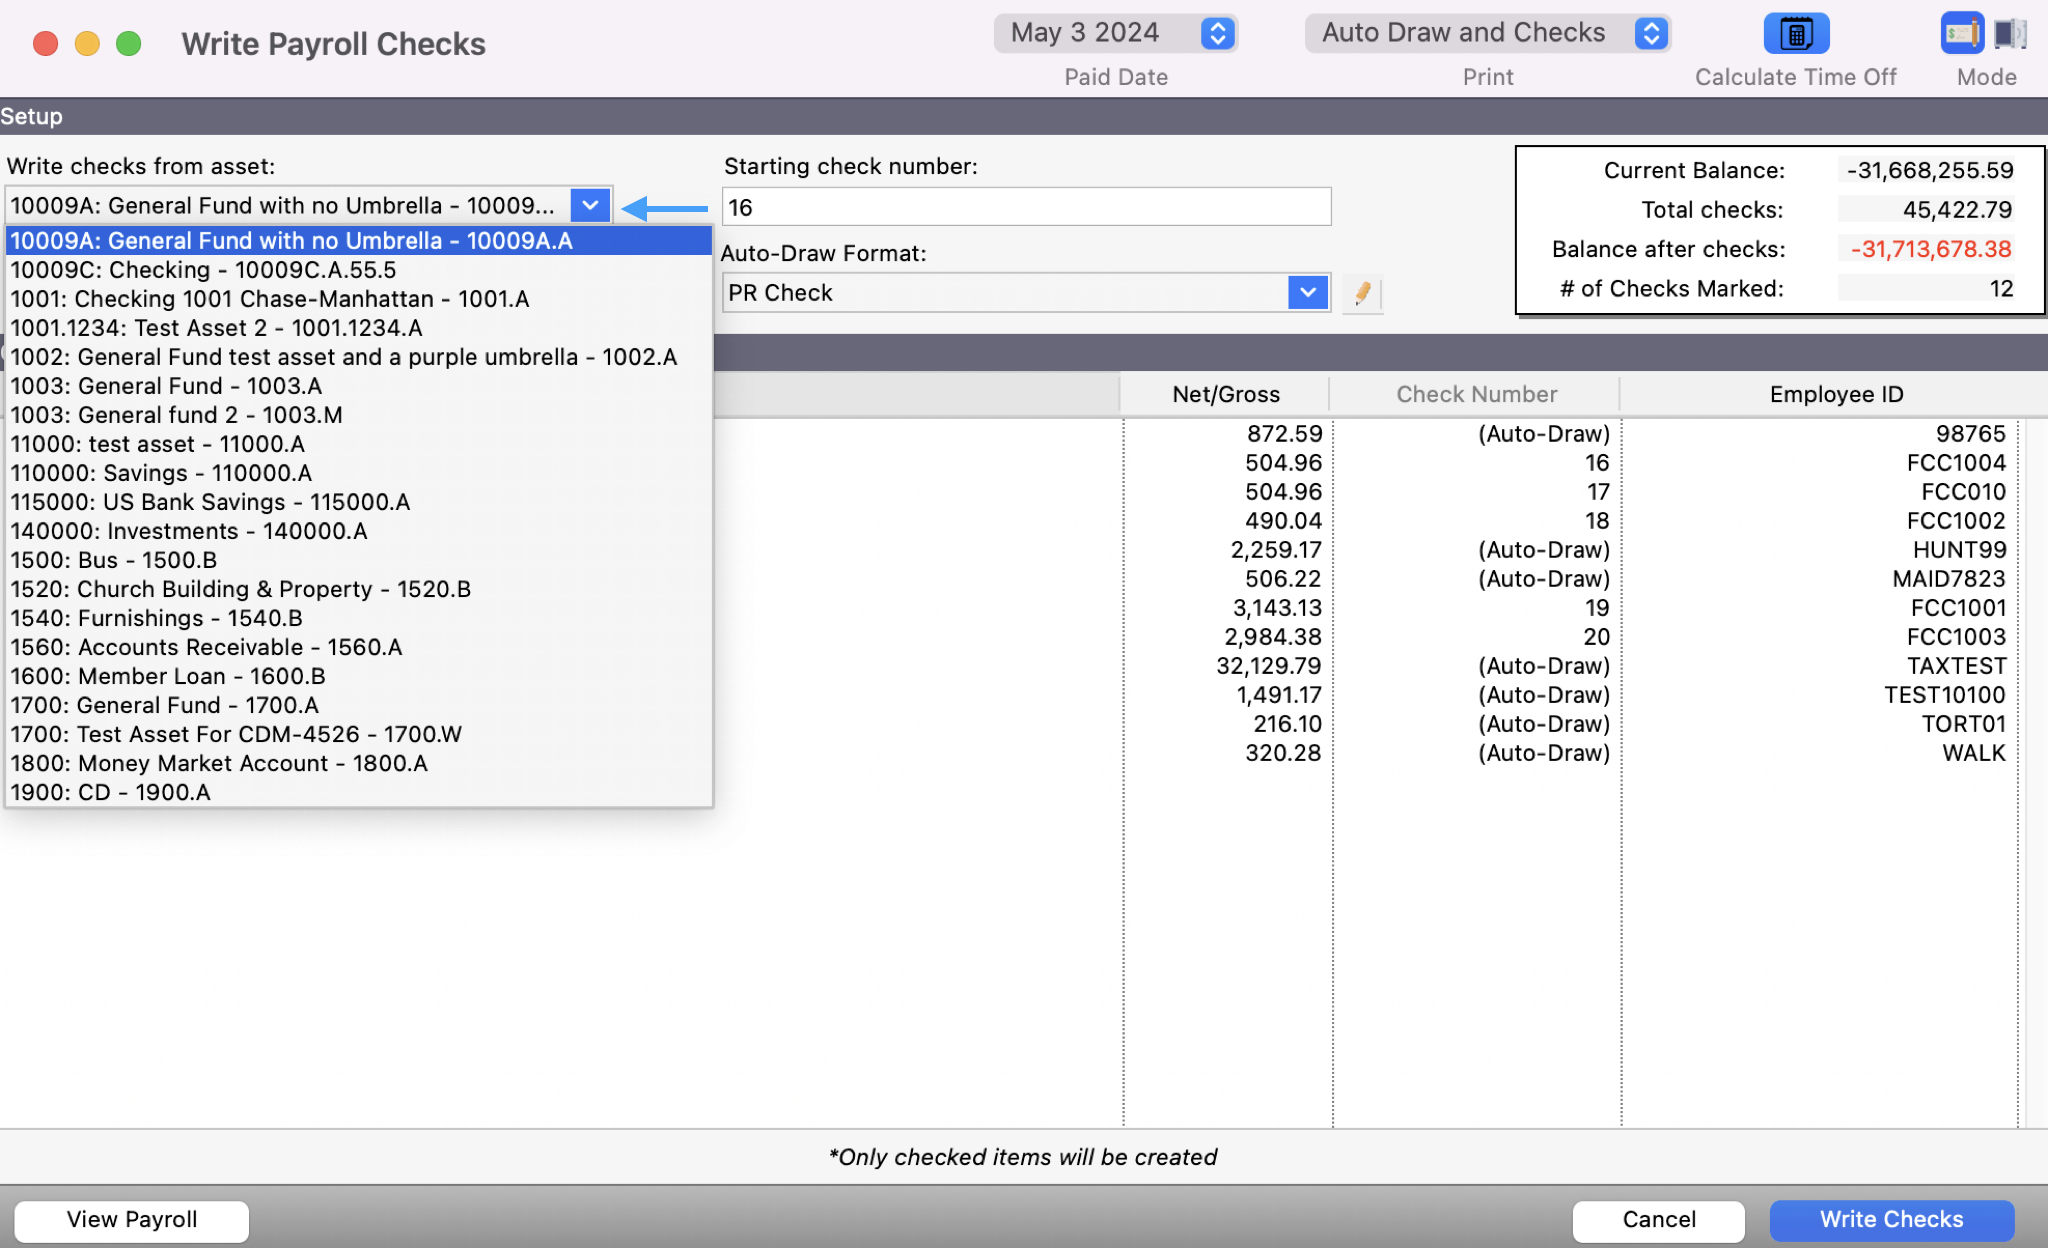
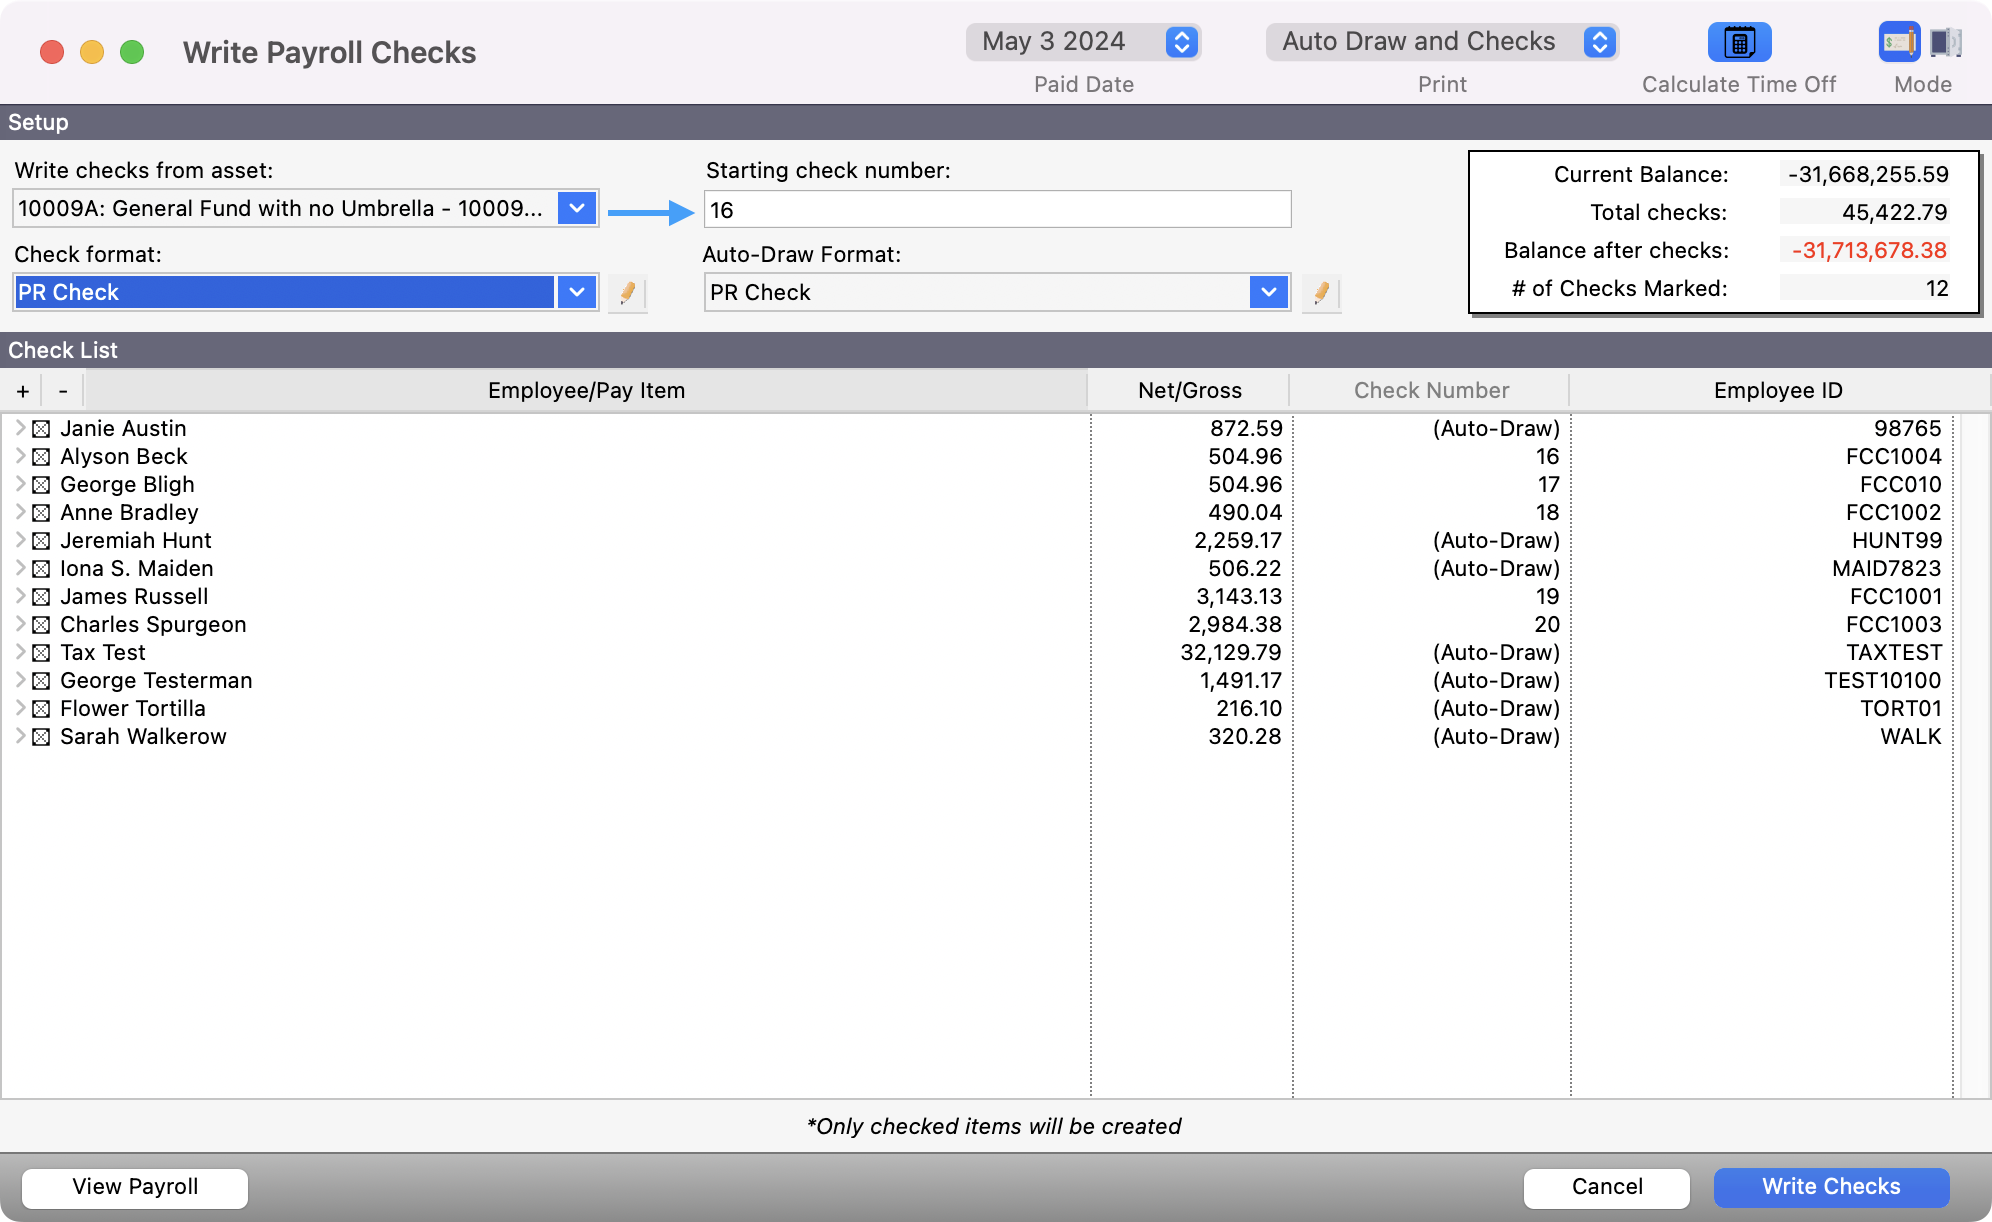
Select the asset out of which the payroll checks are written from the Write checks from asset drop list.
-
The Starting check number will default to the next unused number. Change it, if necessary.
-
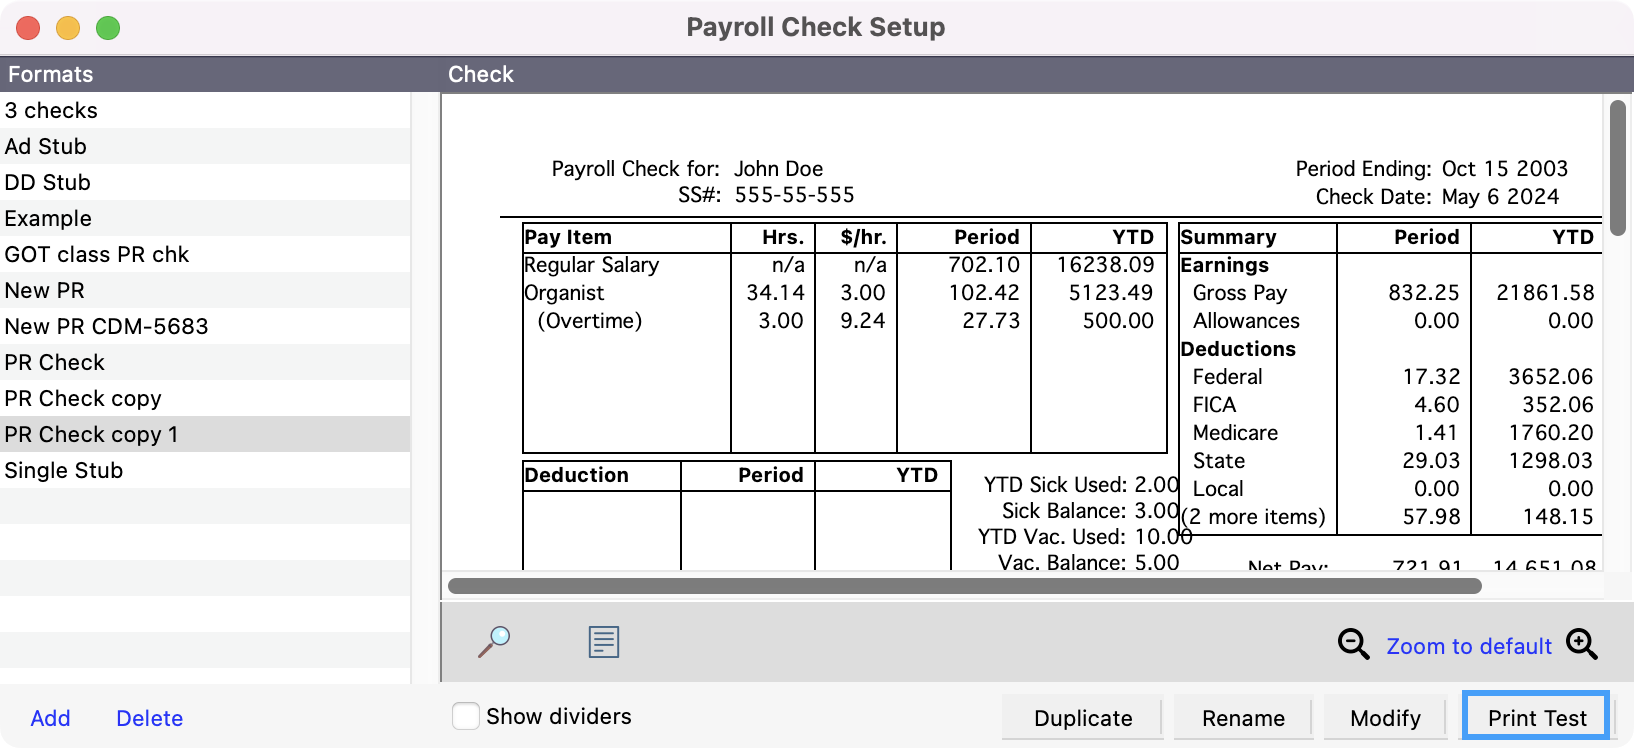
Select both the Check format and if applicable, Auto-Draw Format, from the drop lists. If you need to add a payroll check format, click on the pencil icon to open the Checks pane of the Payroll Setup window and the Modify Check Section window. See Adding a Check Format for more information on adding check formats.
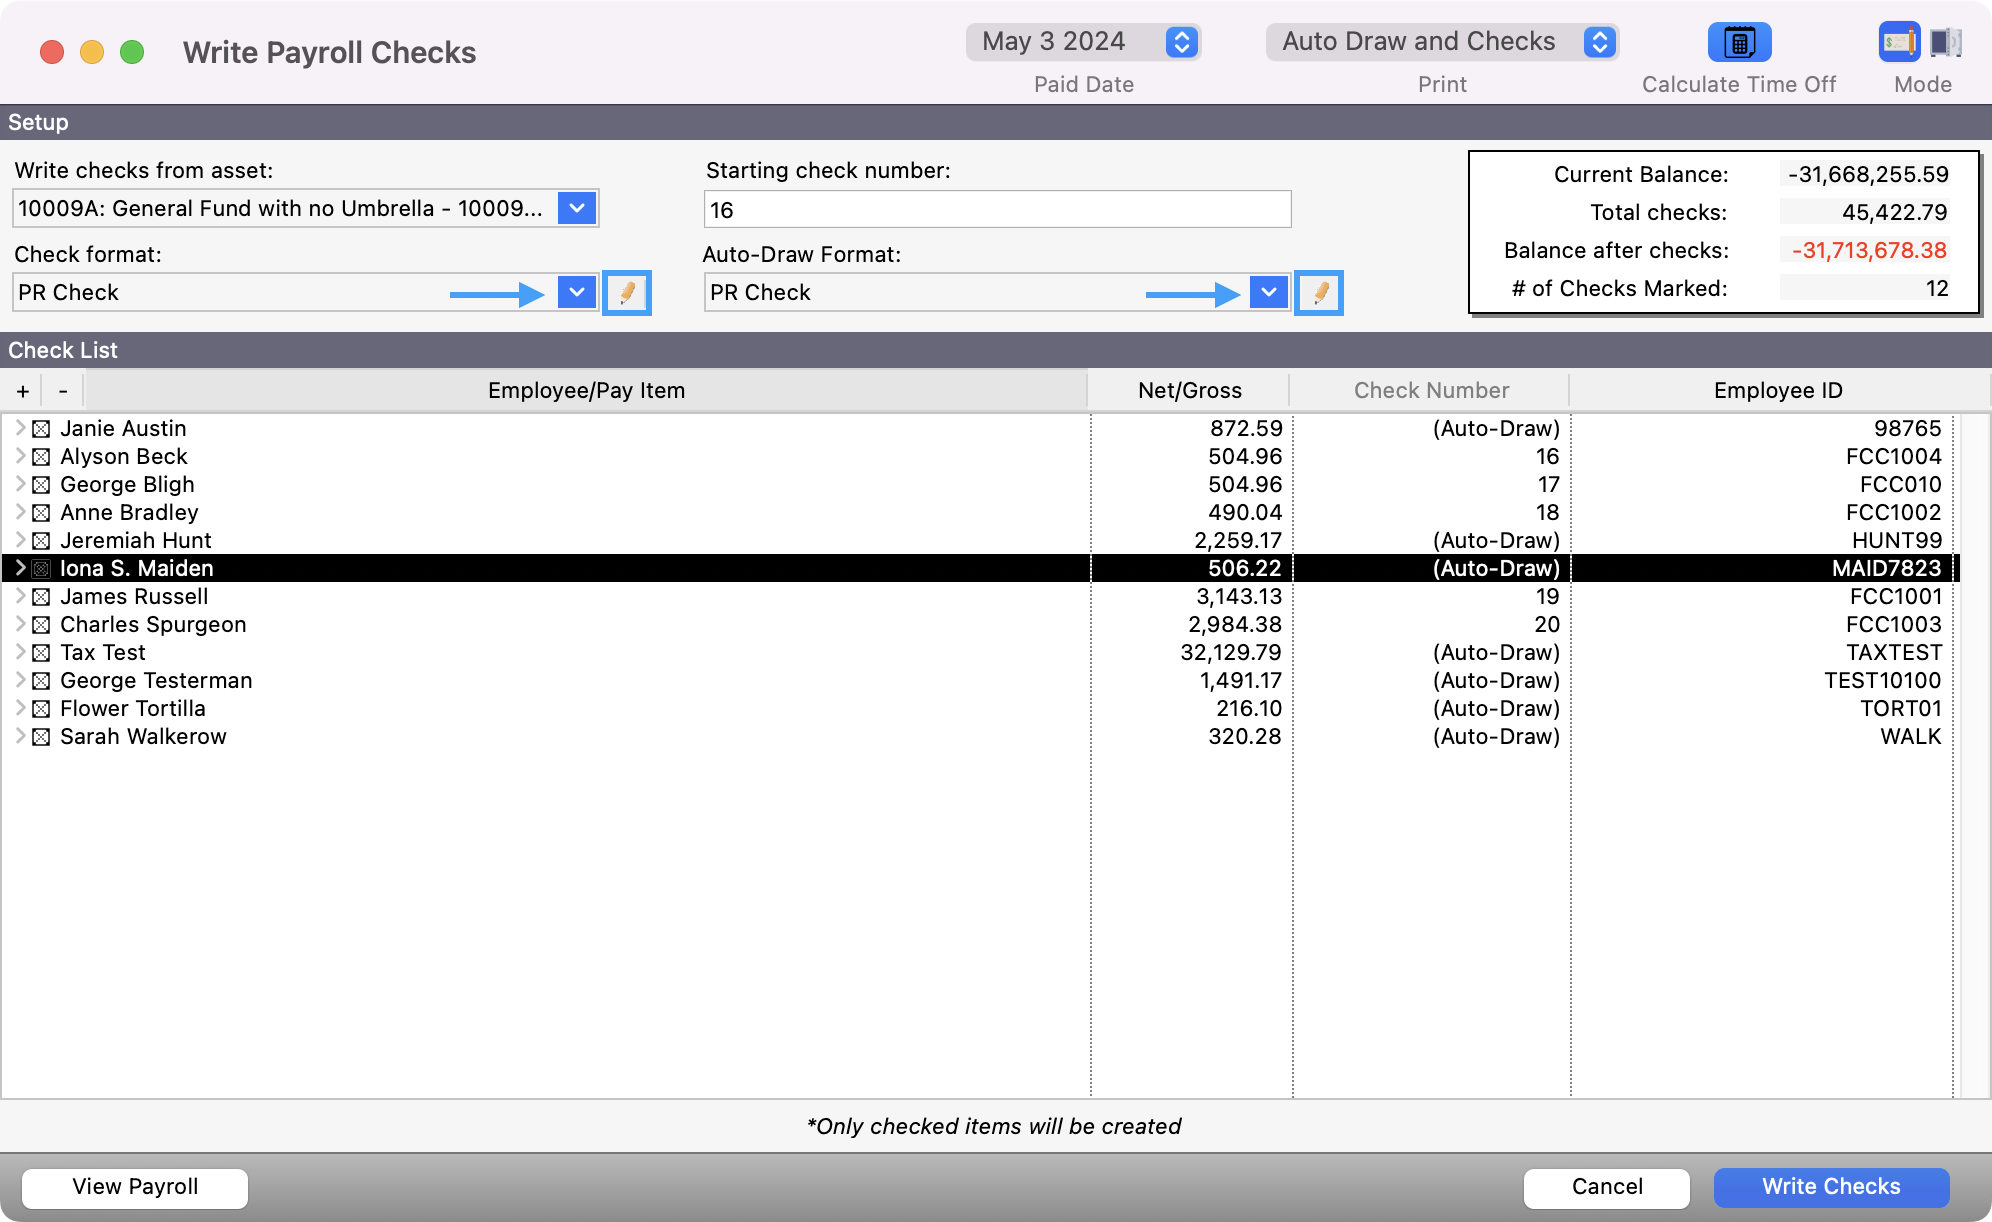
If you have never printed this Check Format before, you may wish to print a check alignment test now. Click the pencil icon next to the check format box, and select Print Test to print a check on plain paper which you can then compare to a blank check. If the alignment needs to be adjusted, click on the Page Setup button on the Modify Check Section window to adjust the page size and margins. Once a check format prints correctly, you will not have to do an alignment test again; the setup will stay the same. (Possible exception—some printers have built-in margins which may affect how the check prints. You may want to do a Print Test if you change printers.)

-
Check all boxes next to the names of employees for which you wish to write payroll checks. You can use the + or - to check all or none of the employee boxes.
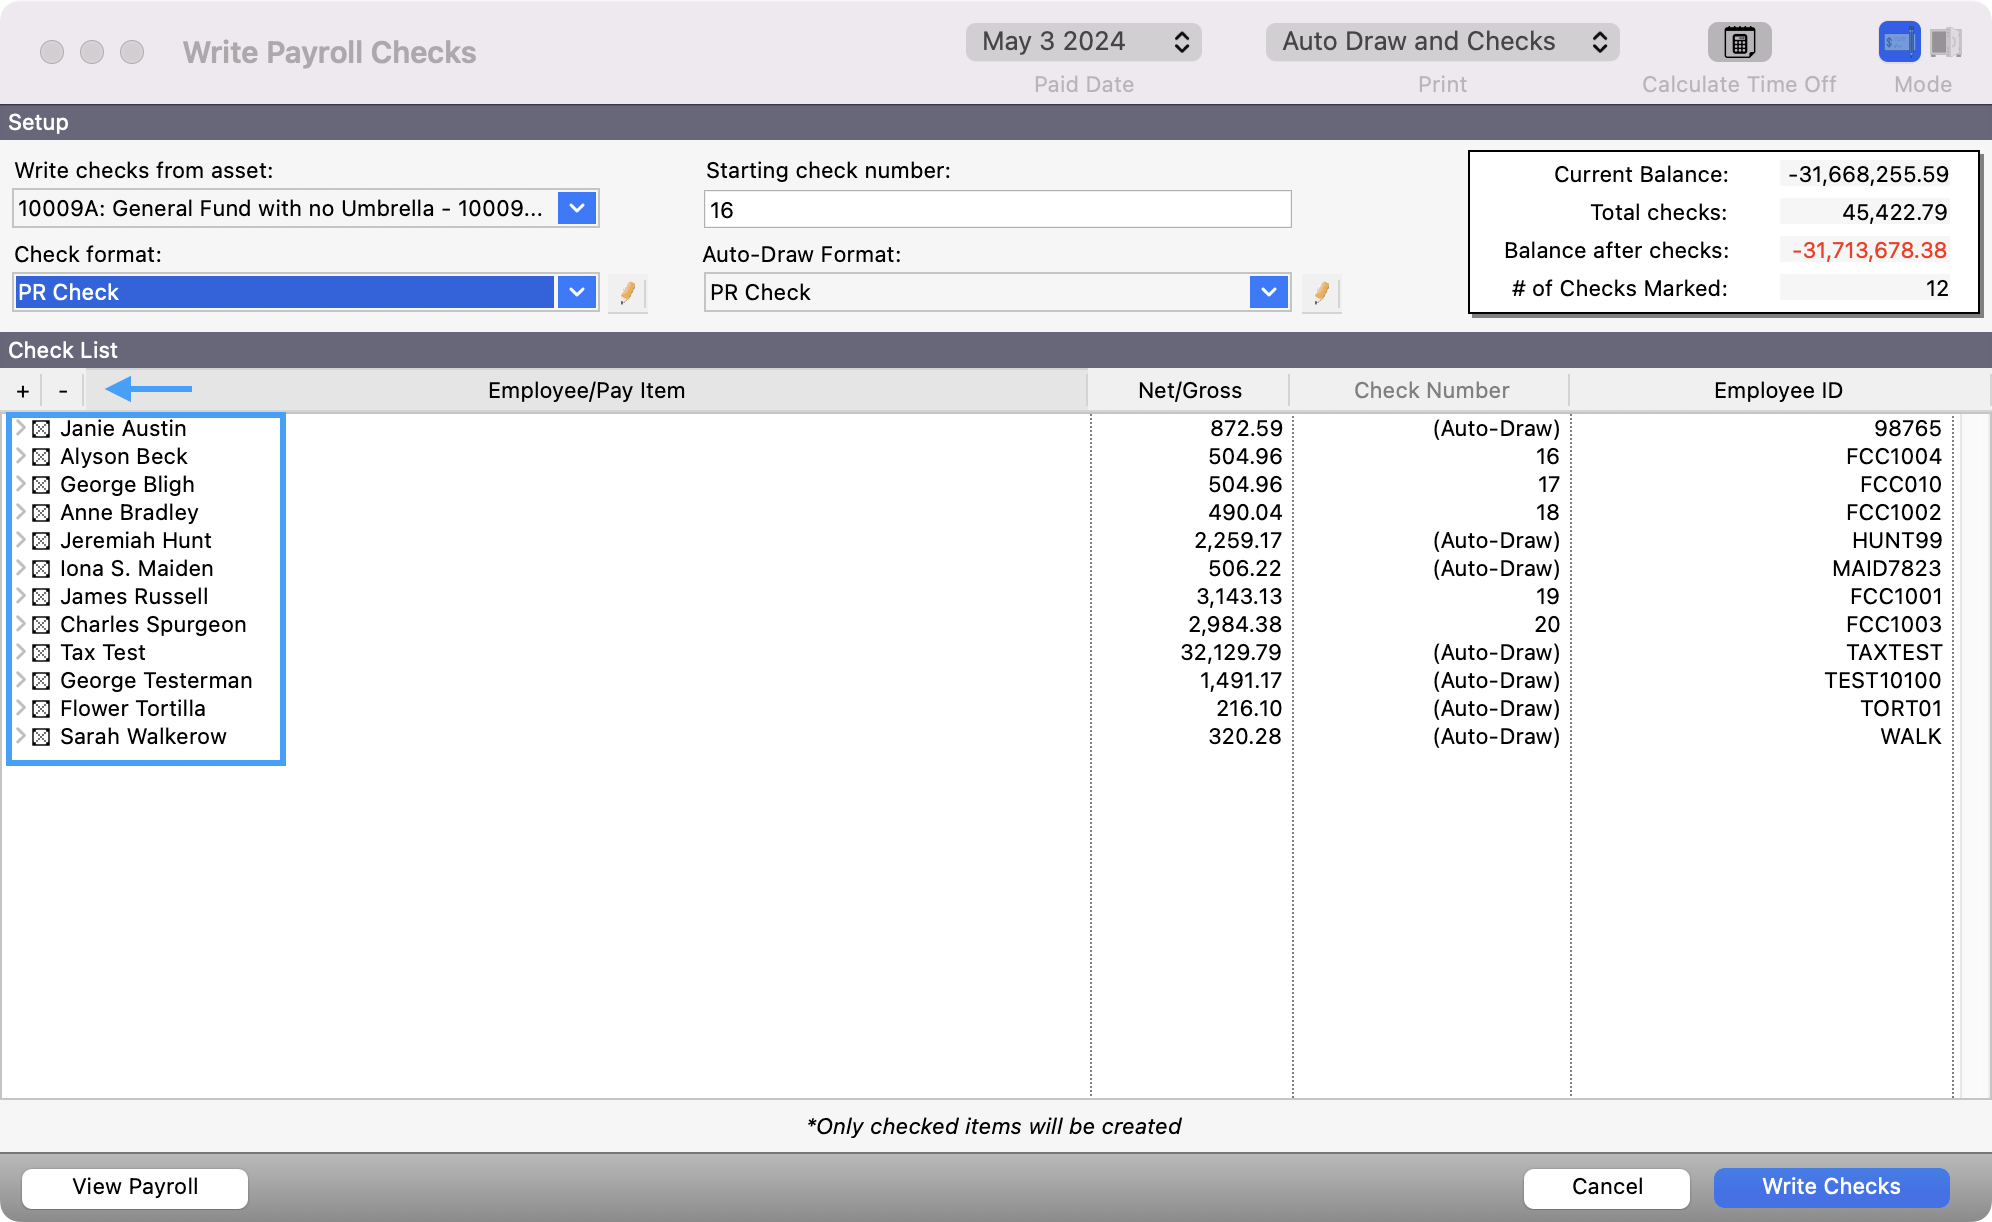
Click on the small triangle to the left of an employee's name to show all pay items included in this check.
-
Now click Write Checks.

-
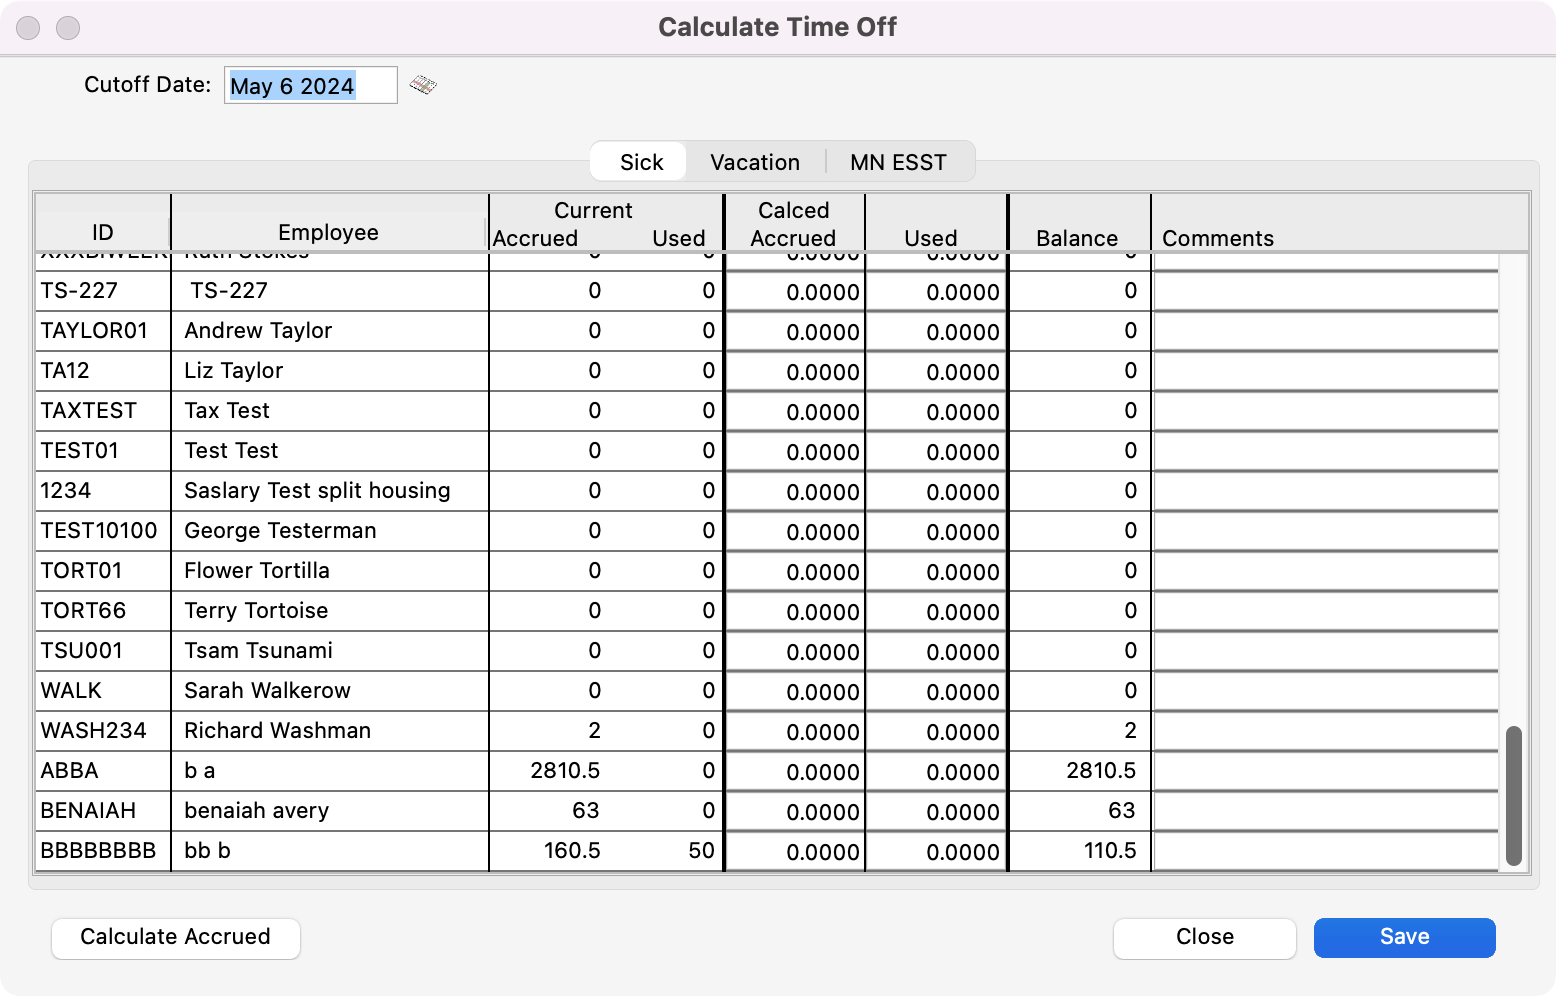
If you choose to Calculate Time Off in step #4, you will see the Calculate Time Off window open. Review the Sick, Vacation, and other time off tabs and click Save. If not, go directly to step #13.
-
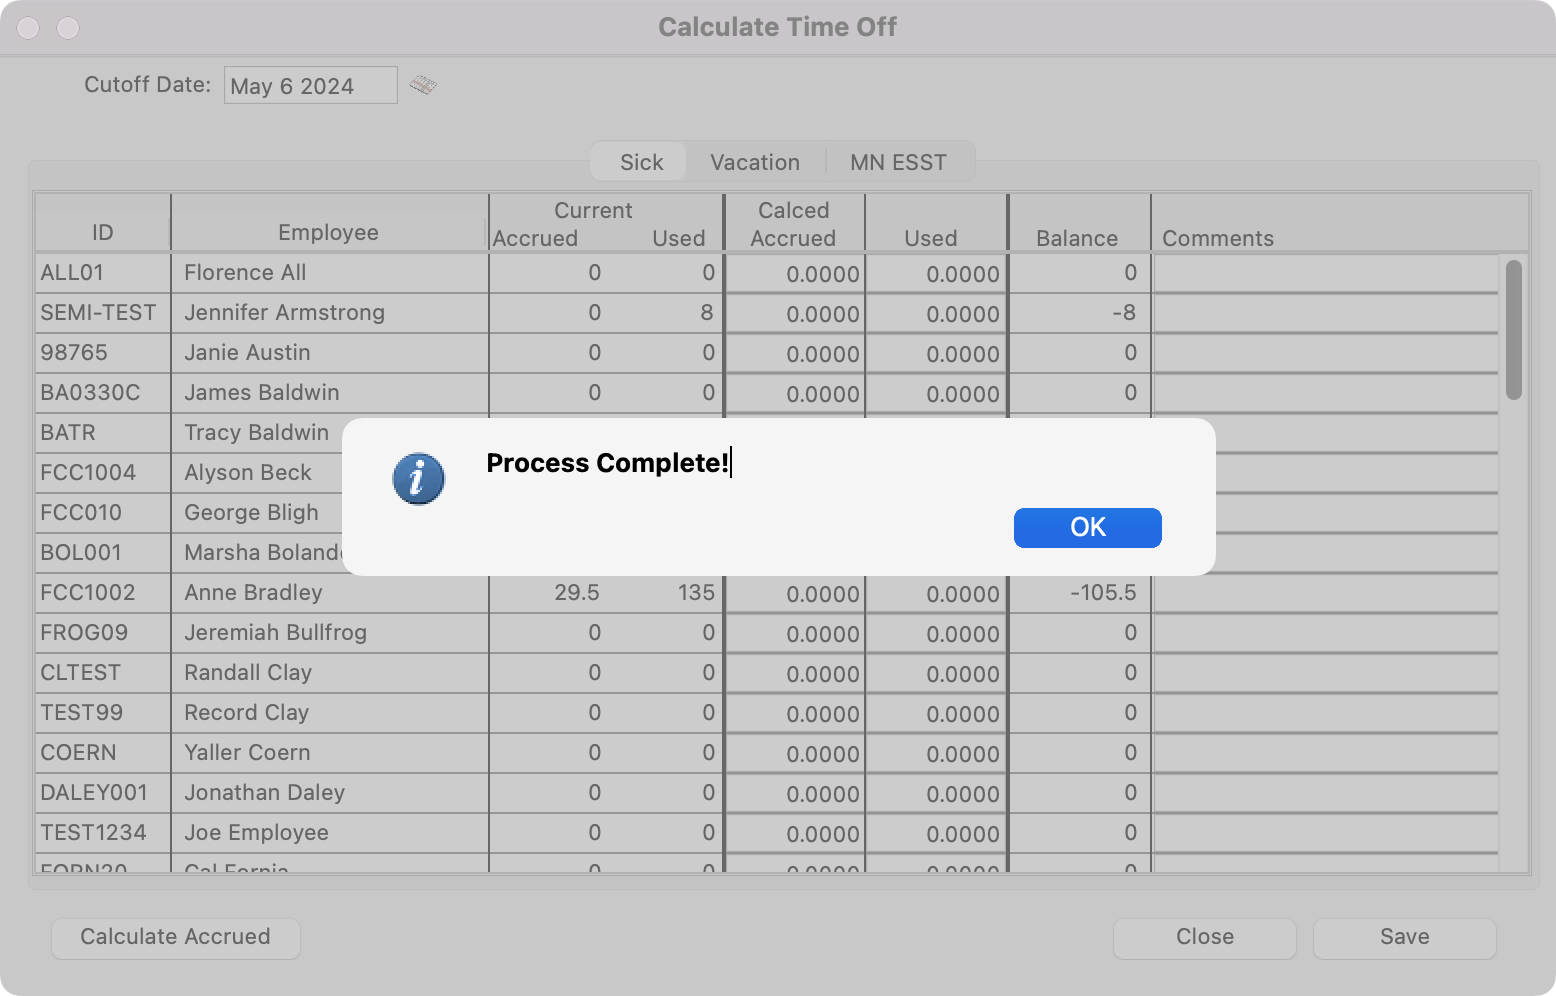
You’ll receive a pop-up letting you know the process is complete. Click OK.
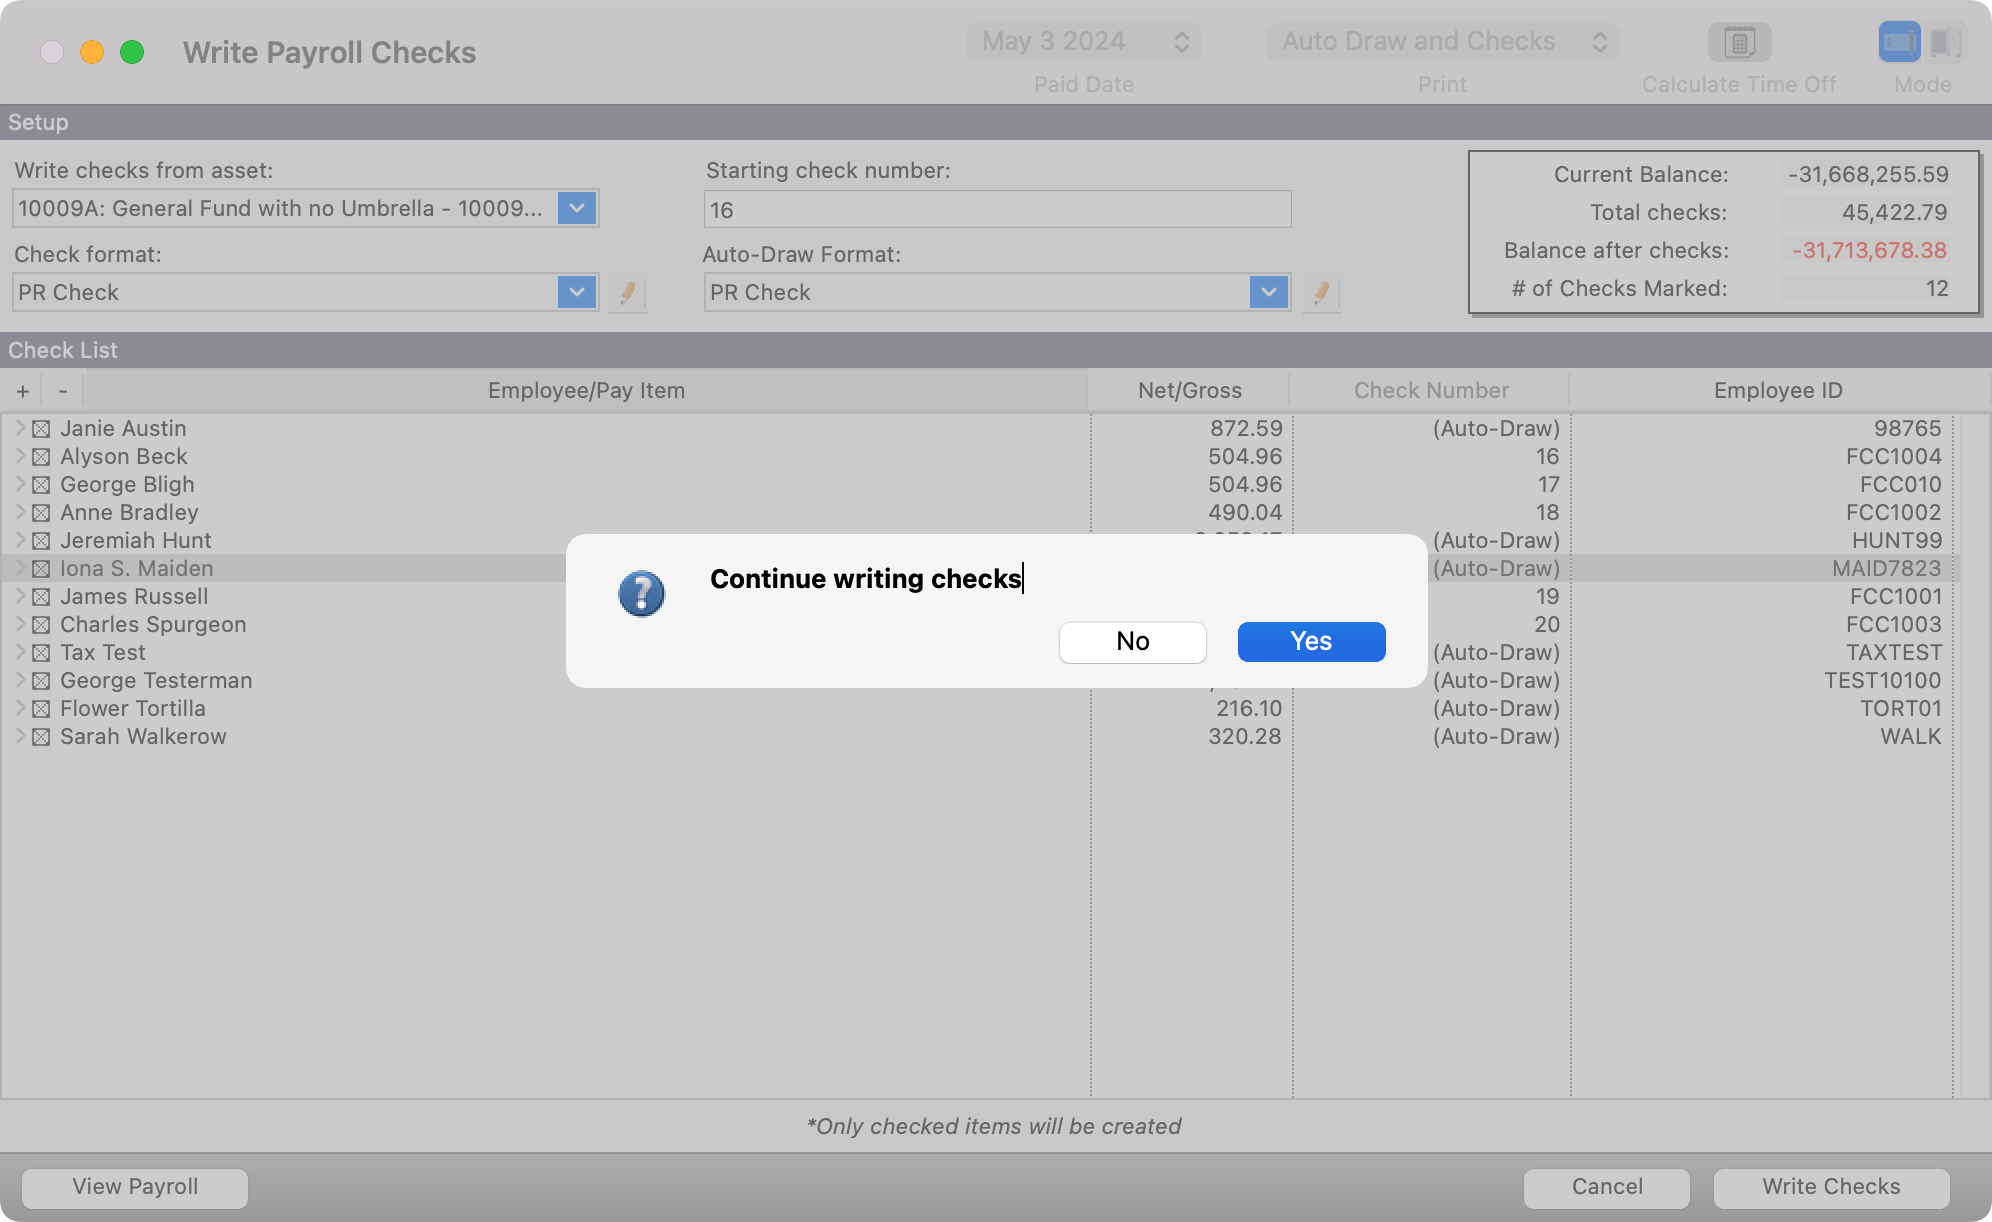
12. You’ll then be asked if you want to continue writing checks. Click Yes.
-
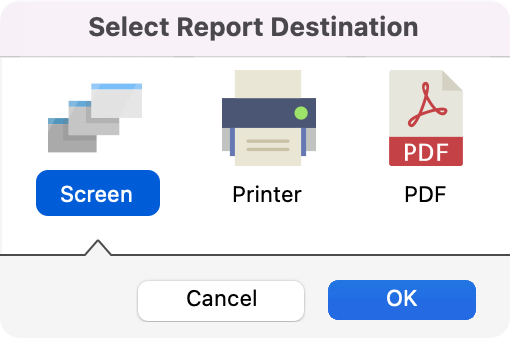
Choose your printer in the Select Report Destination window and payroll checks will be printed. If you choose to print both Auto Draw and Checks, after printing the checks, CDM+ will ask you to confirm you are ready to print Auto-Draw Stubs.

Before moving to the next step it’s important to confirm that your checks have been printed properly. If there is a problem with your checks, see the troubleshooting article for steps on how to reprint your checks.
-
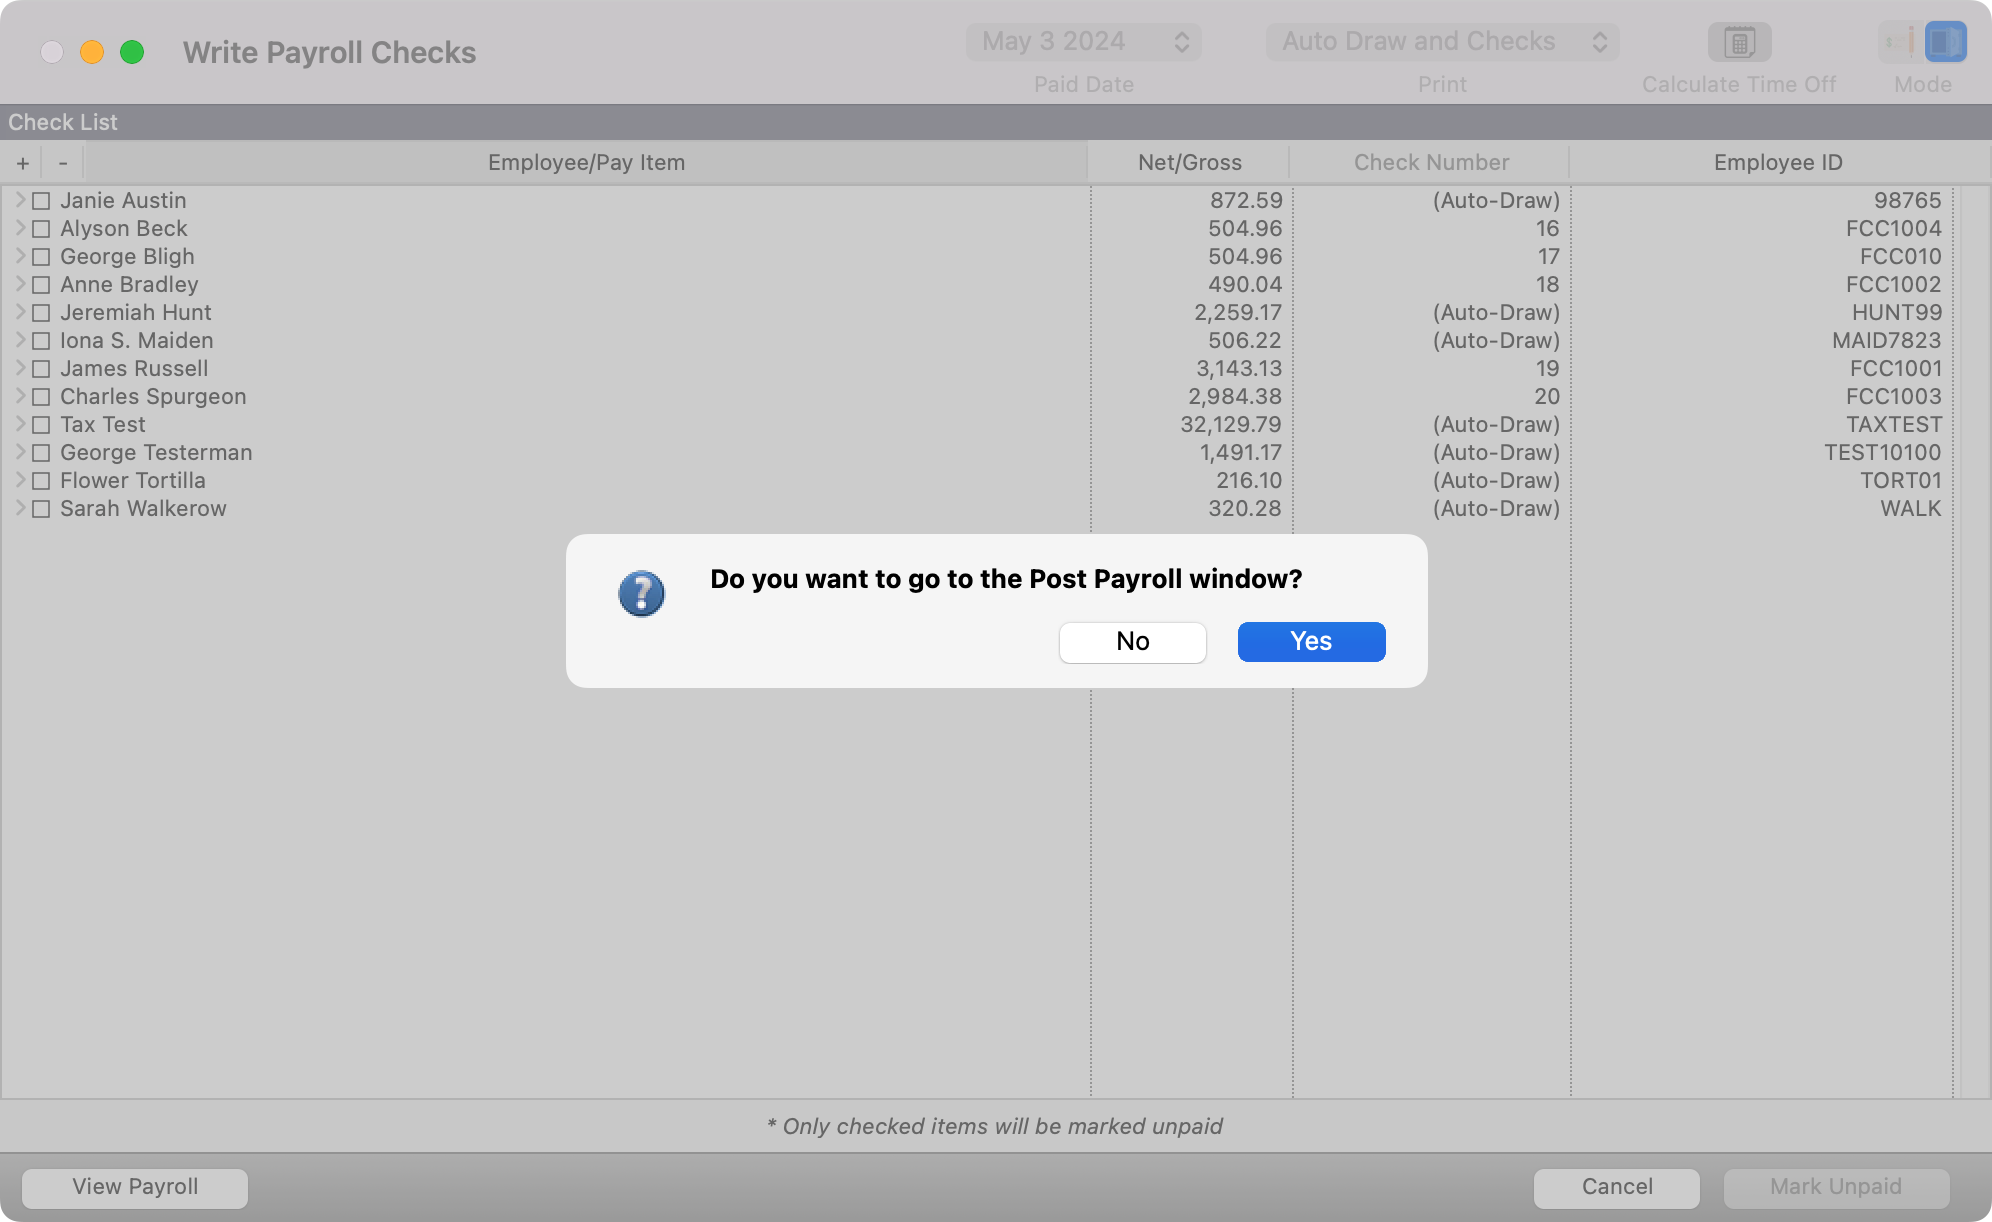
After the payroll checks have been printed, a dialog box appears, Do you want to go to the Post Payroll window? If you are ready to post these checks to the ledger, press Return/Enter or click Yes. Otherwise, click No.
Post Payroll
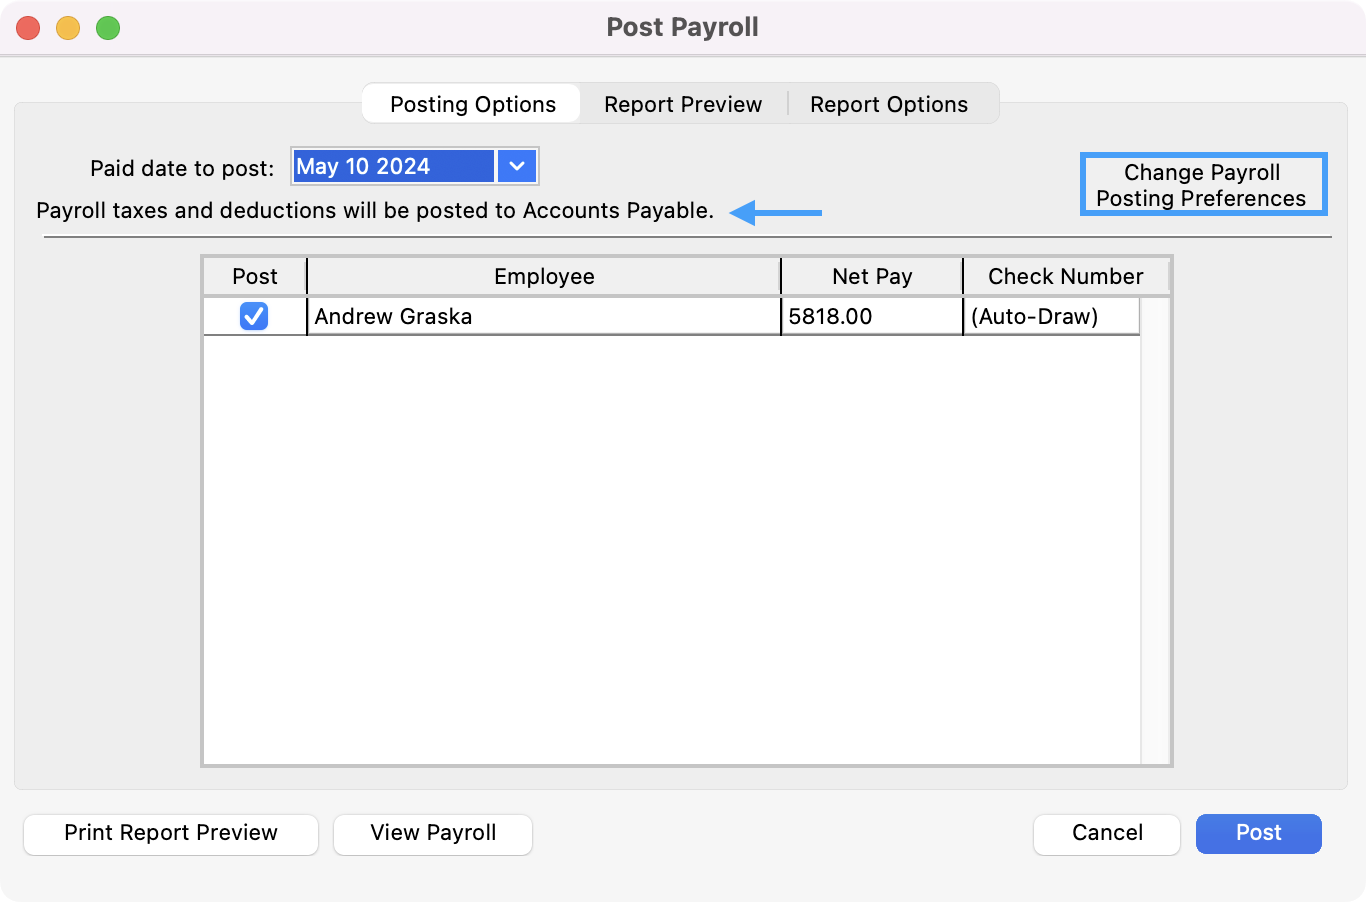
1. To post your payroll, select Paid Date to Post from the drop list.

-
You will see your selected preference from the Preferences-Payroll window under the Paid date to post. Depending on your selection you will see Payroll taxes and other deductions will be posted to Accounts Payable or Payroll taxes and other deductions will not be posted to Accounts Payable. If the displayed statement is not what you desire, click the Change Payroll Posting Preferences button to the right.
-
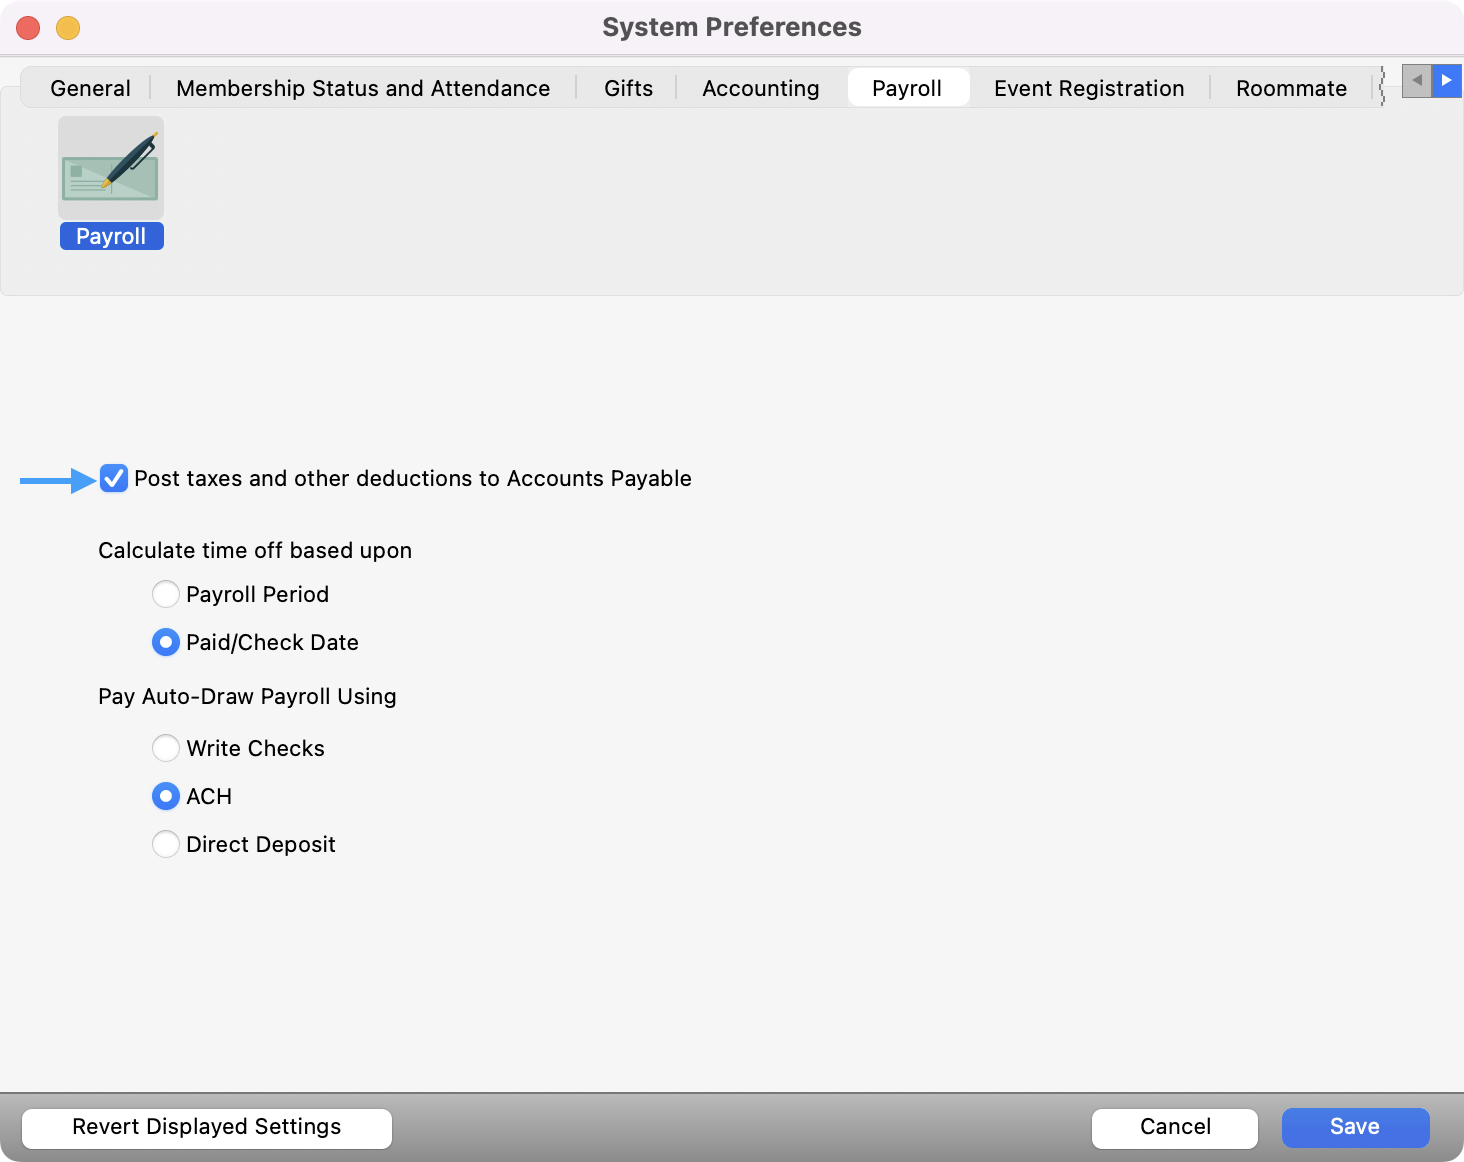
If selected you will see the Preferences-Payroll window open. Check (or un-check) the Post taxes and other deductions to Accounts Payable box depending on your need and preference. Click Save and the changes will be reflected on the Posting Options pane of the Post Payroll window.
-
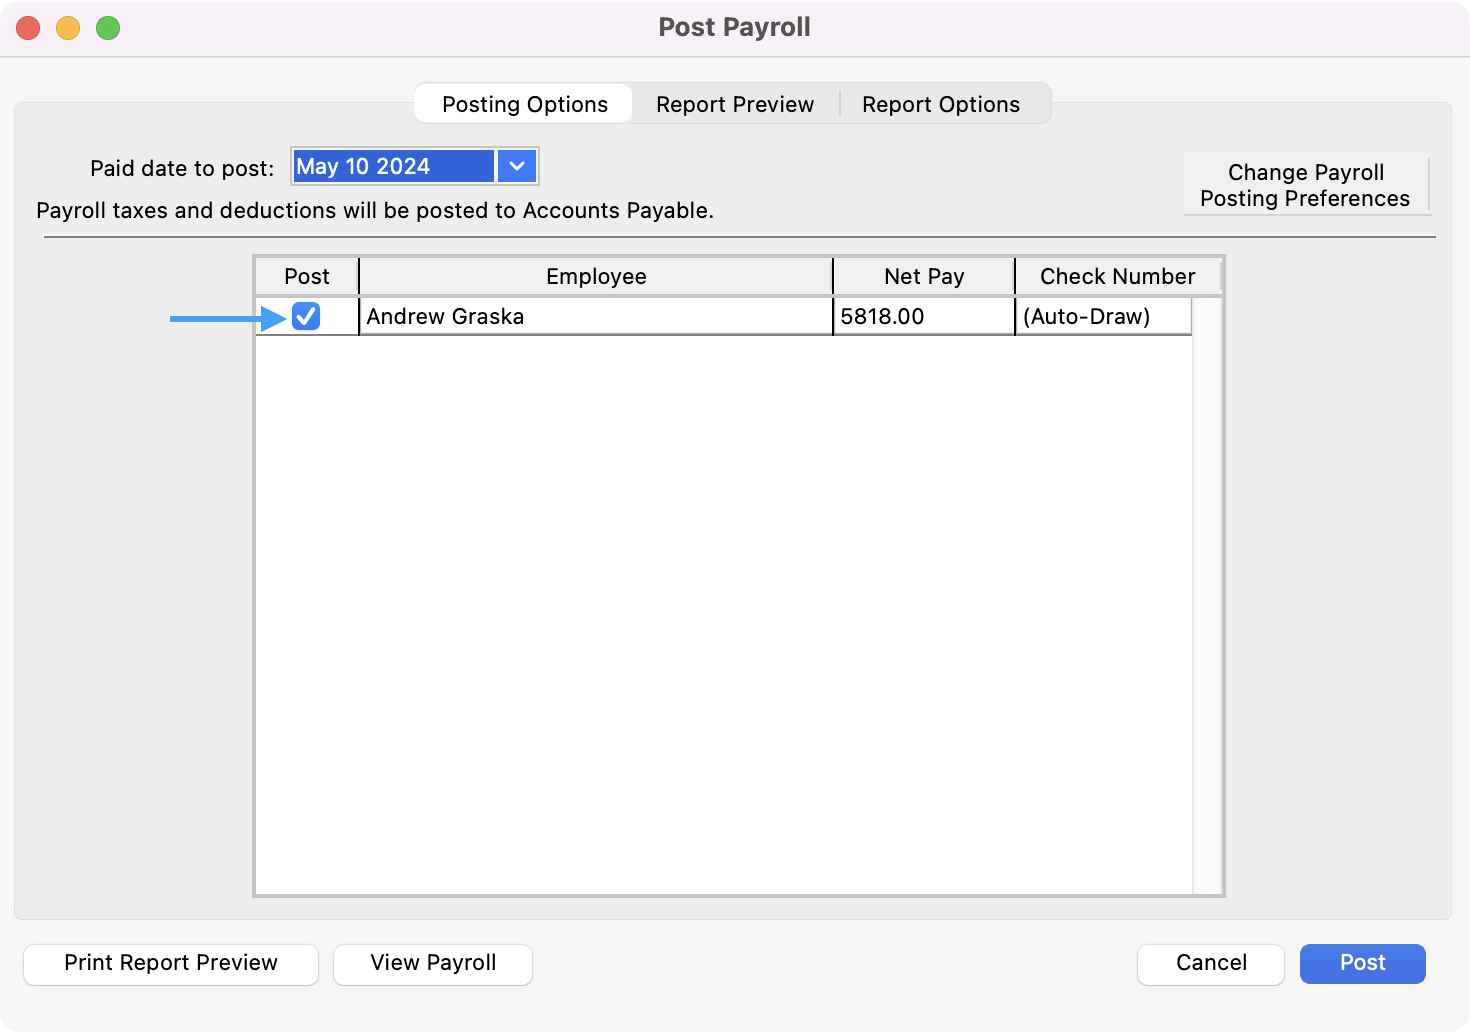
Check the box under Post for all employees whose payroll you wish to post.
-
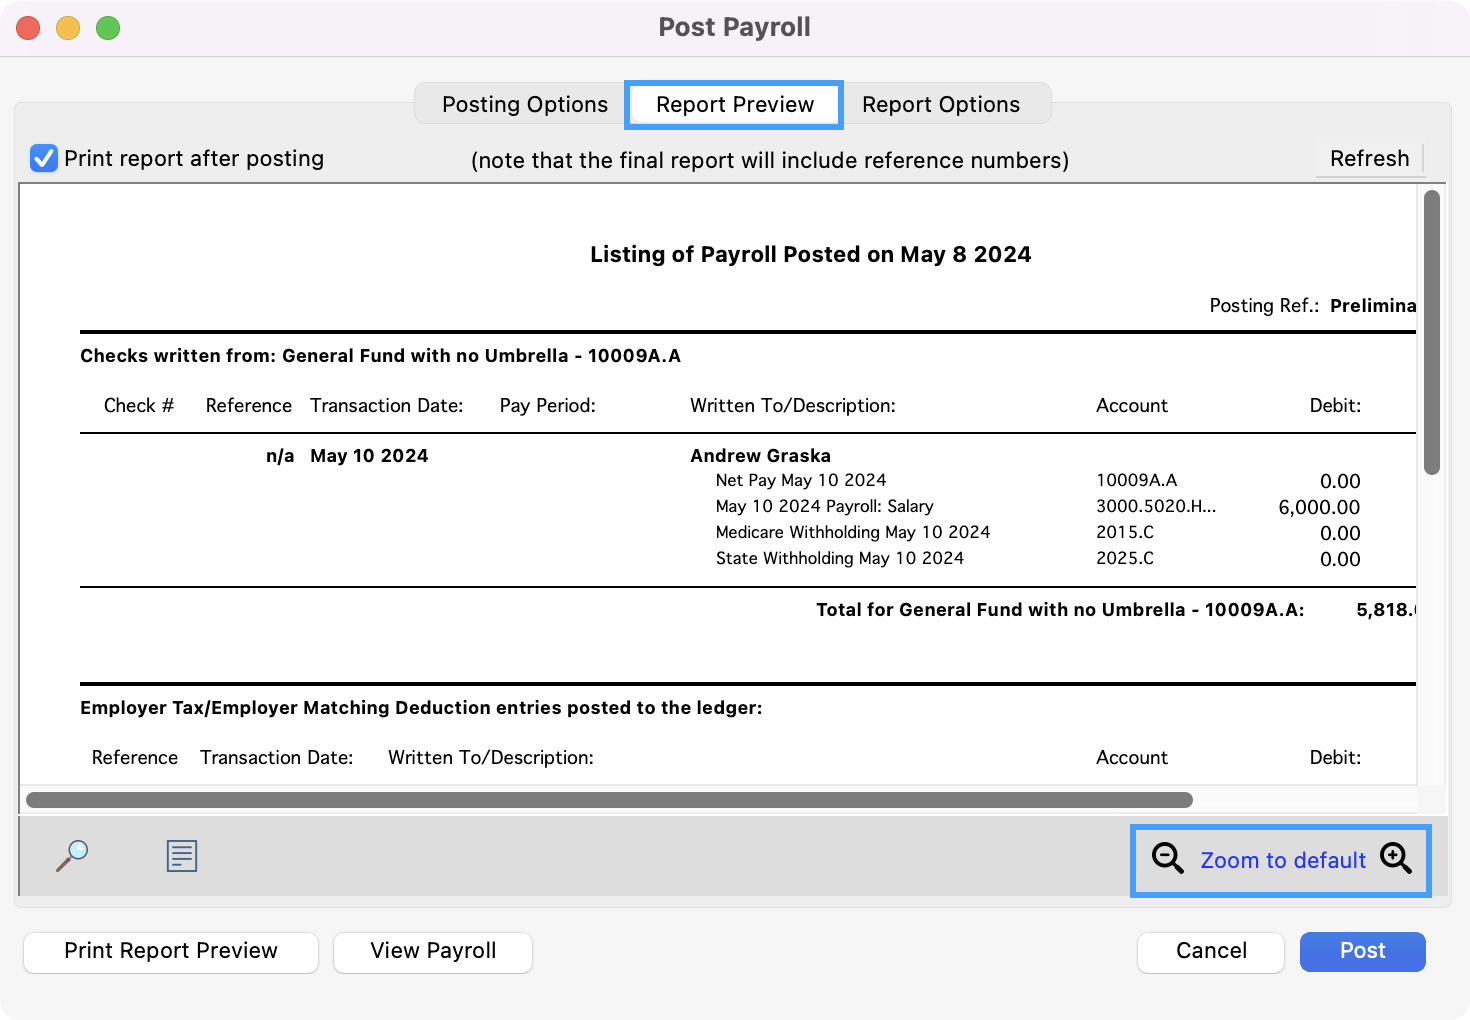
Next, click the Report Preview tab at the top of the window. The Report Preview pane of the Post Payroll window displays a preliminary posting report which you can review before actually posting the payroll. Use the scroll bars to view the report, checking to make sure amounts and account numbers are correct. You may use the zoom tool to more easily see the content.
-
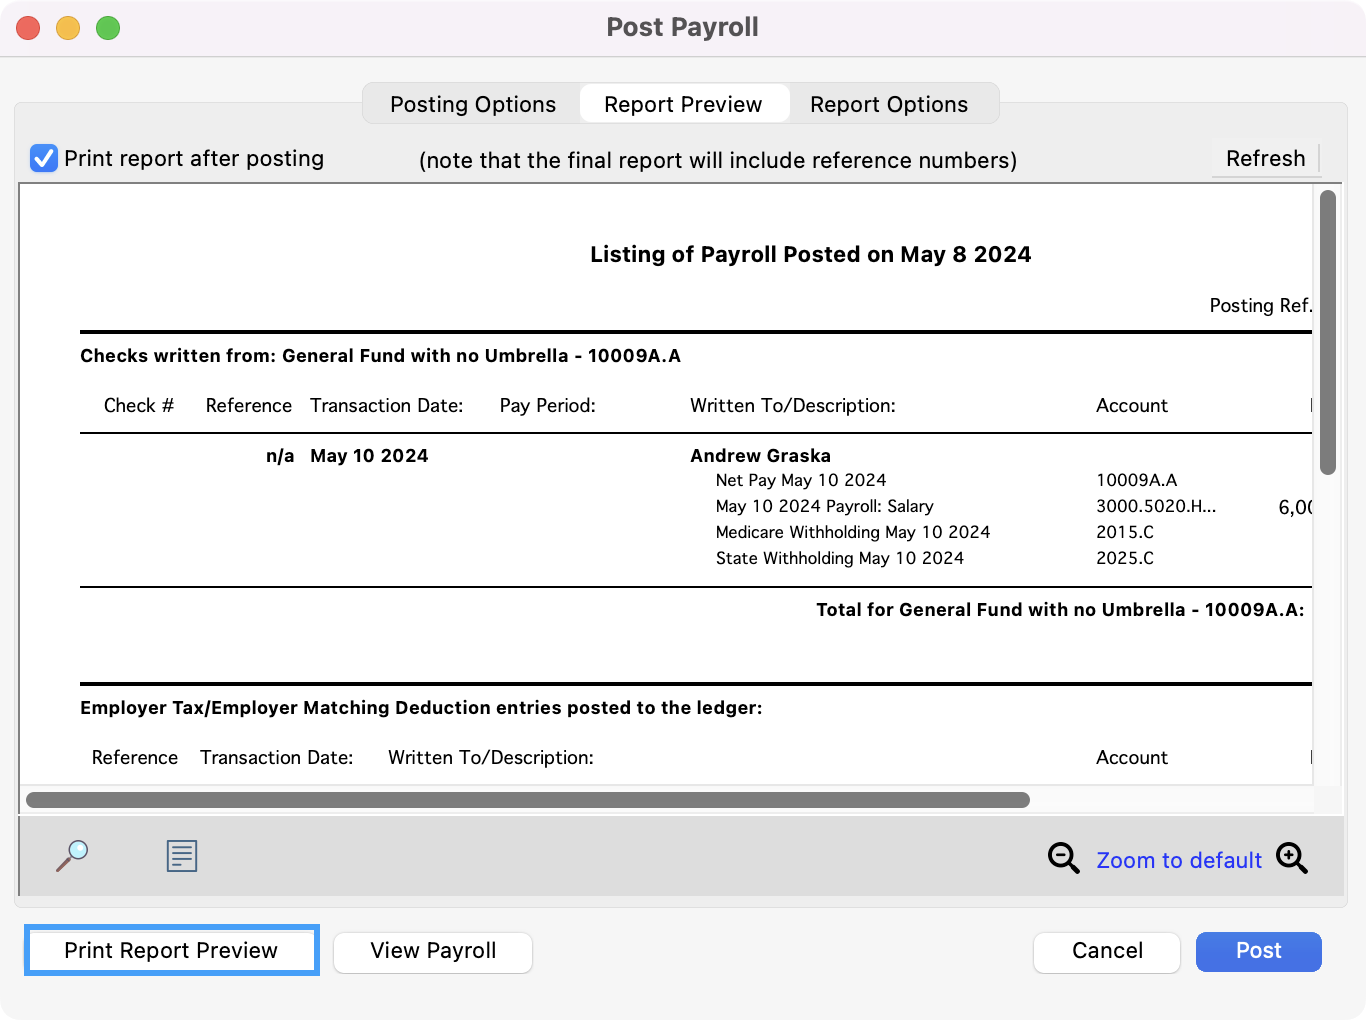
To print this preliminary report, click on the Print Report Preview button at the bottom of the window. Make your selection from the Select Report Destination window and click OK.

-
If you would like to change the formatting of the report before printing it, click on the Report Options tab to make your changes.

-
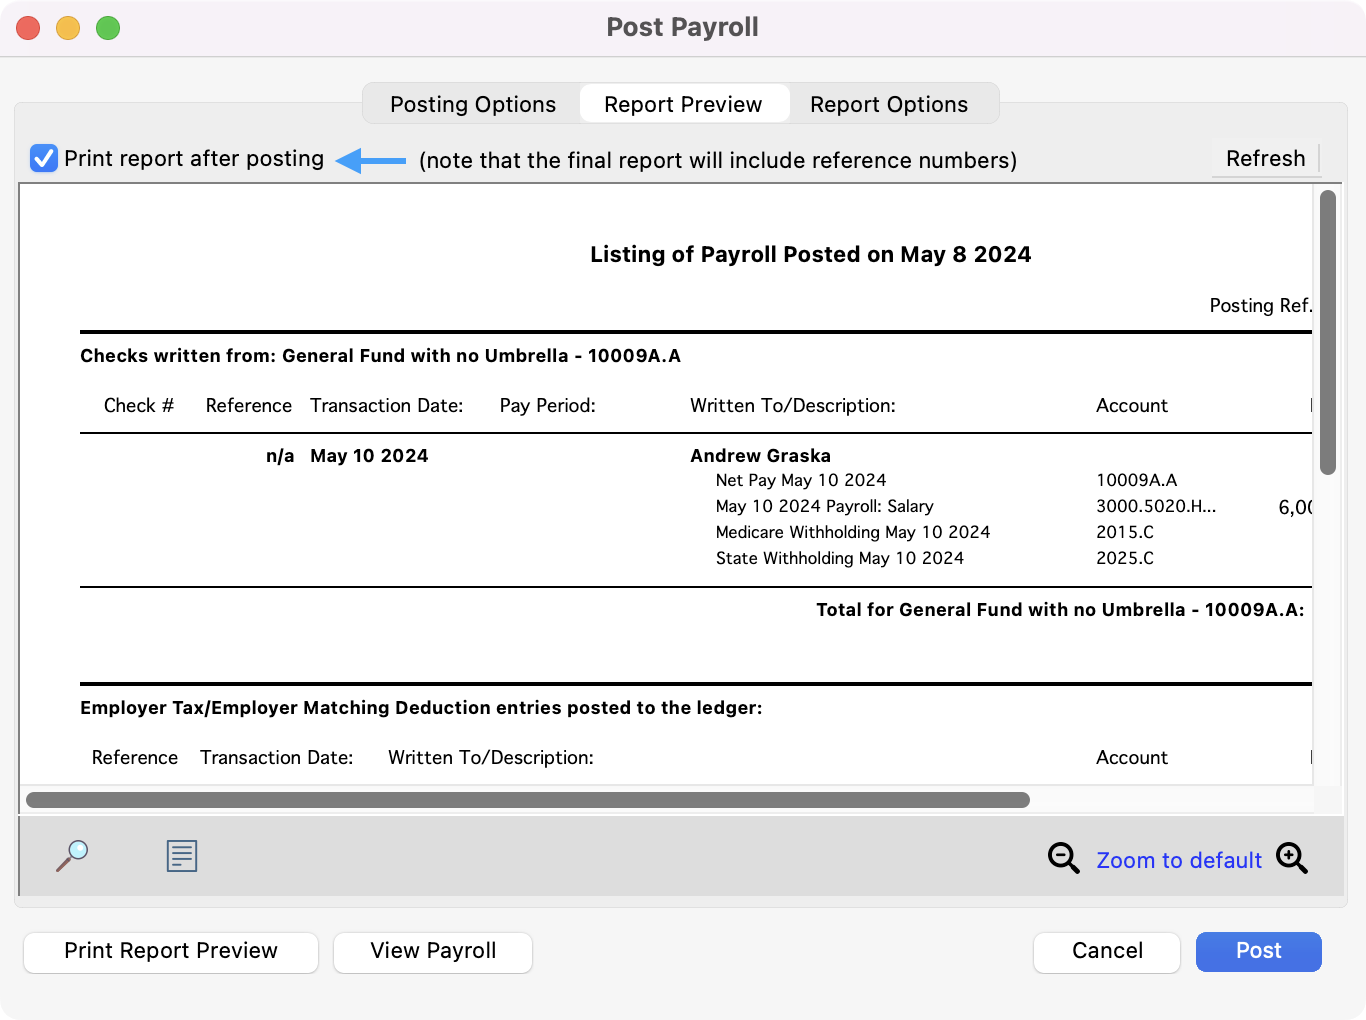
Back under the Report Preview Menu, check the Print report after posting box at the top of the pane if you want to automatically print the payroll posting report after posting.
-
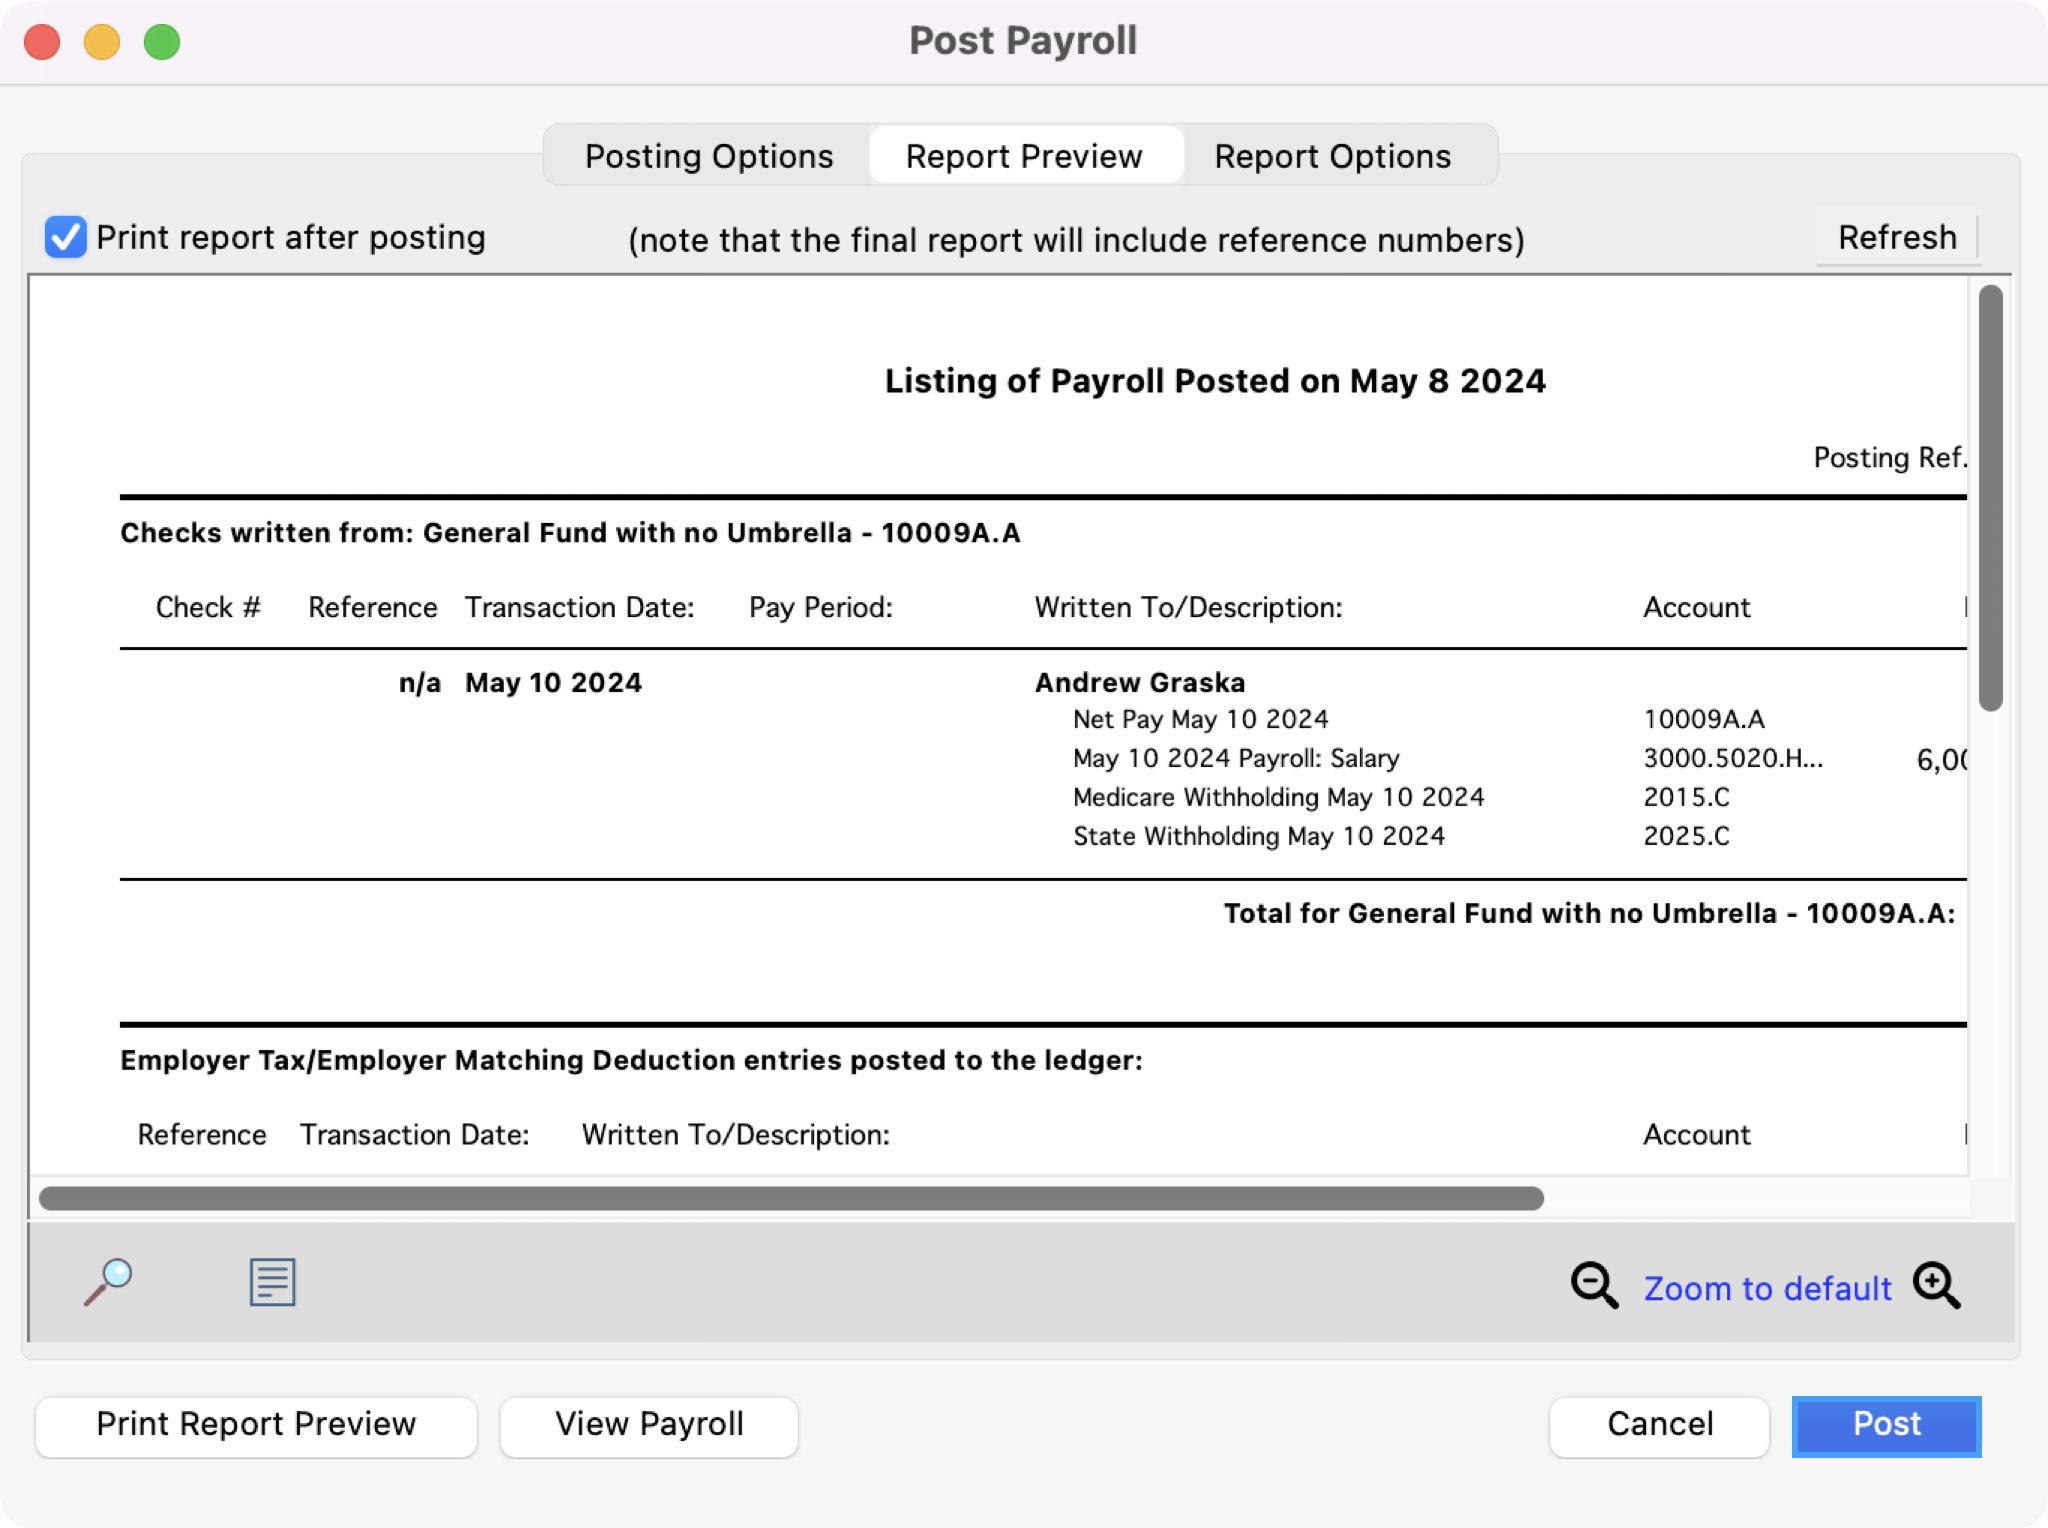
When you are satisfied with the preliminary posting report preview, click on the Post button at the bottom of the window.
-
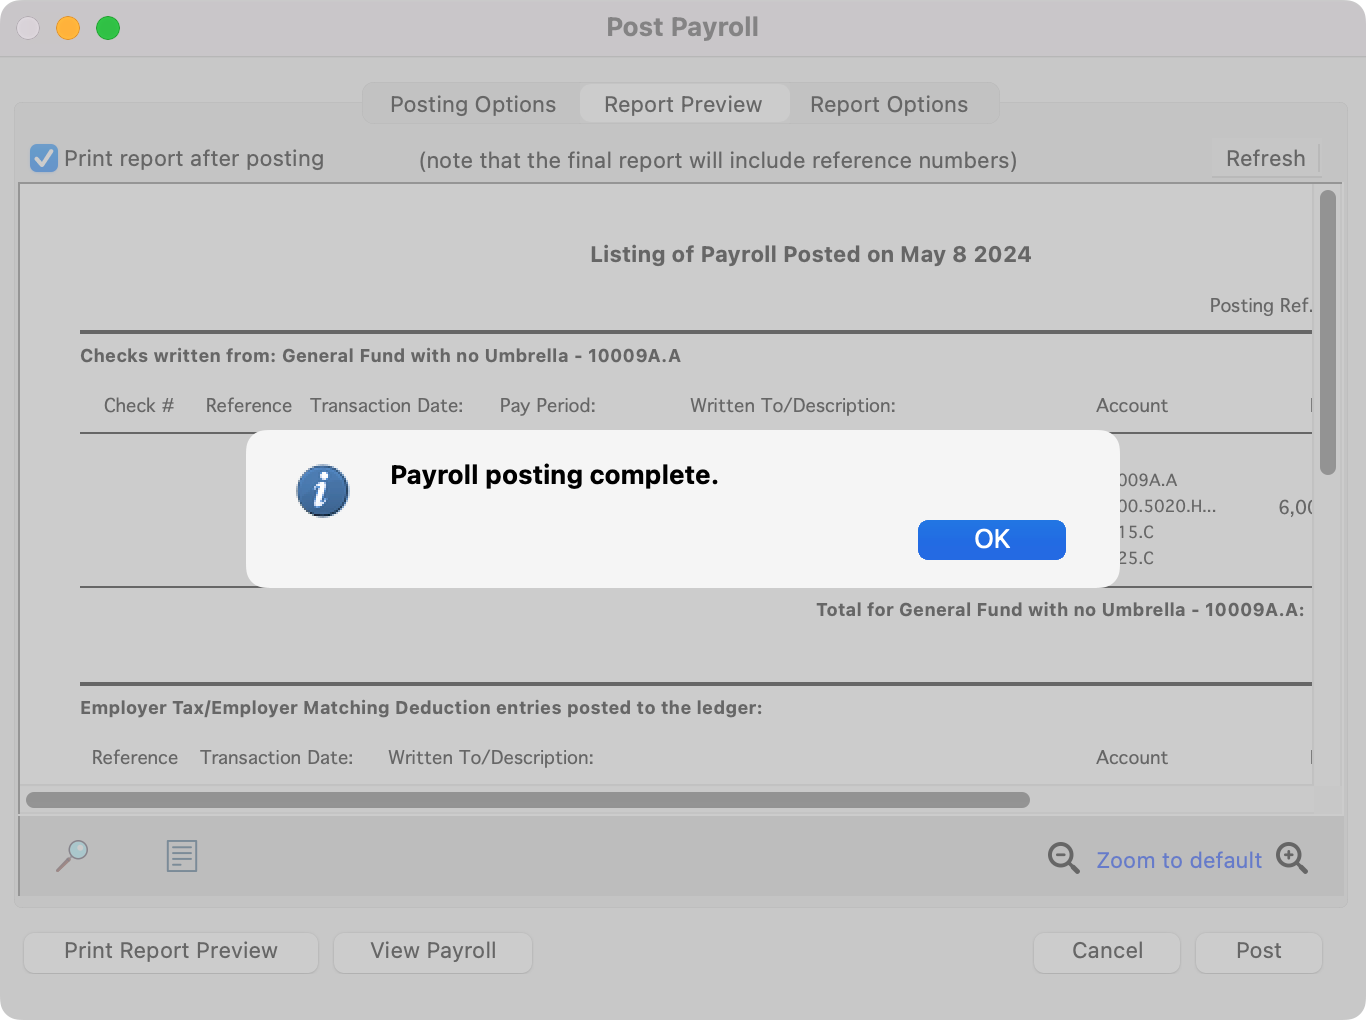
If you checked to Print report after posting box, the Select Report Destination window will open. Choose to print the report to the screen or your printer. Click OK and the final posting report (including reference numbers) will print.
-
You will get a message "Payroll posting is complete." Press Return/Enter or click OK.