Adding a Check Format
In CDM+ you can format check stub(s) and position information on checks. You can save multiple formats—for example, AP checks and Payroll Checks. The Payroll Setup window is where you create new payroll check formats or make adjustments to existing formats. You can also alter a check format “on the fly” from the Write Checks window by clicking on the Modify button next to the check format drop list. In this section, we will explain adding and modifying payroll check formats from Payroll Setup.
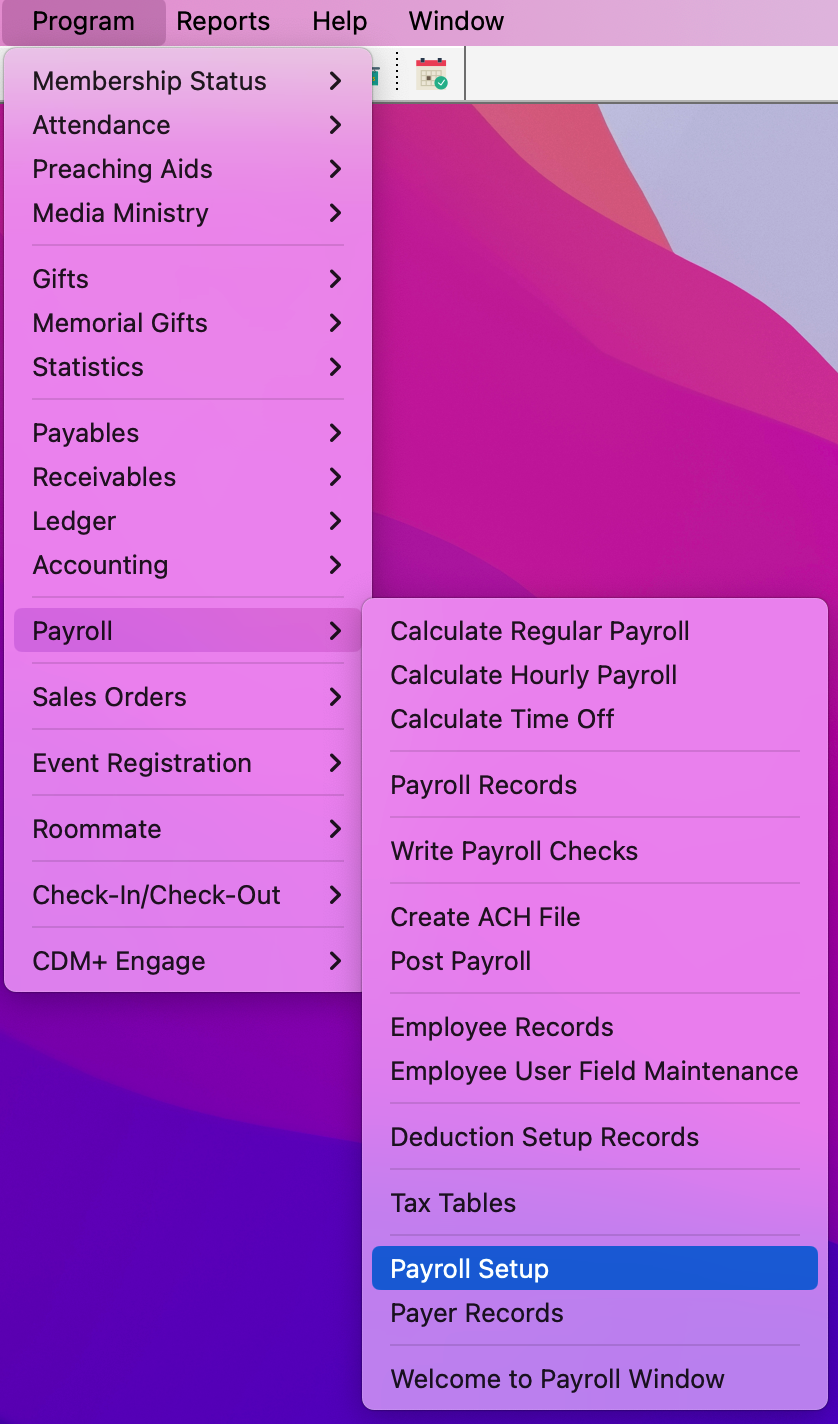
To navigate to Payroll Setup, go to Program → Payroll → Payroll Setup
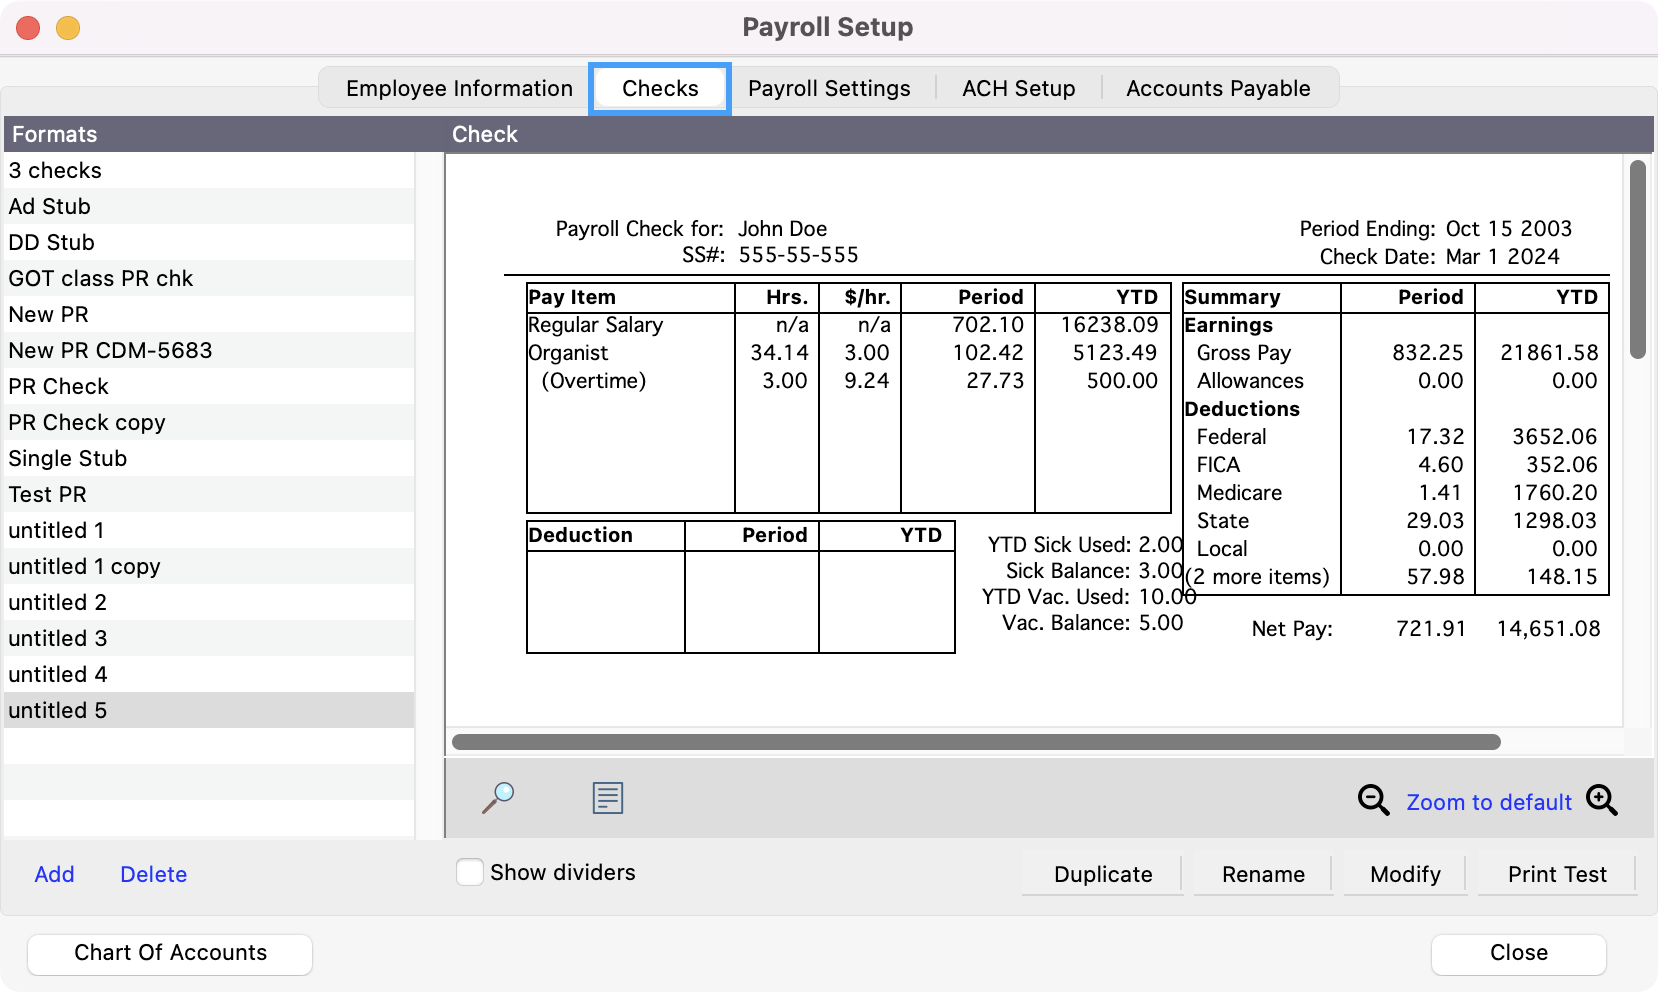
In the Payroll Setup window click on the Checks tab.
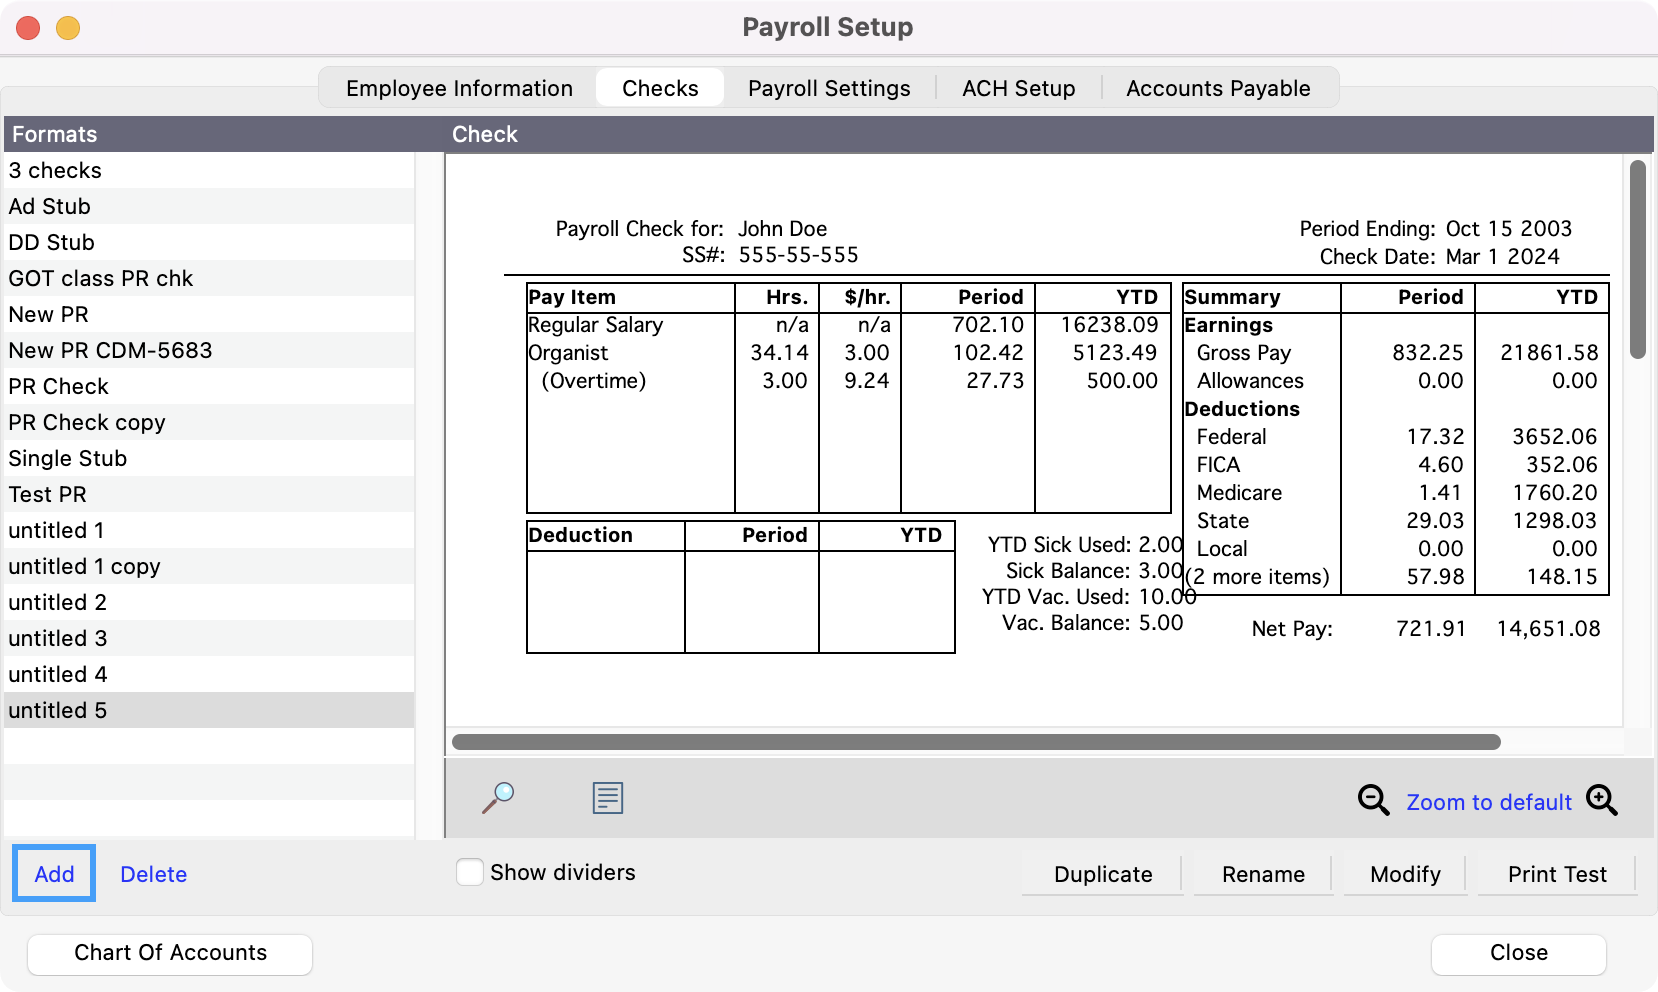
To add a payroll check to the list, click Add at the bottom of the Formats window pane.
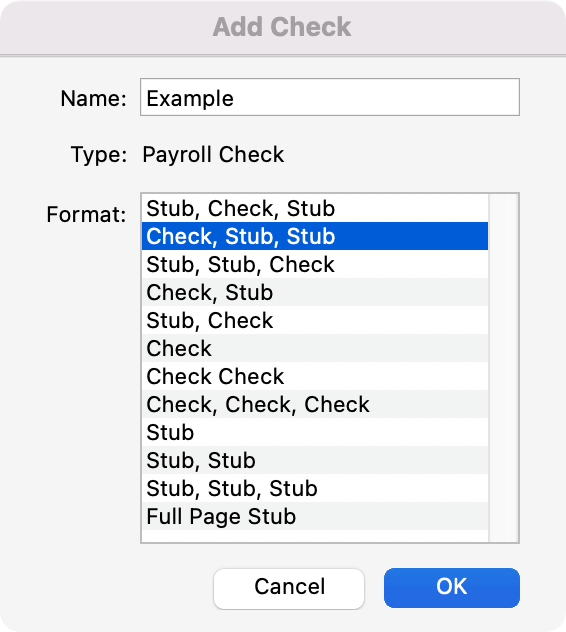
You’ll see a pop-up window that will guide you through the process of adding a check or check stub format. Type a Name for the new payroll check and choose a Format from the list on the pop up window. Click OK.
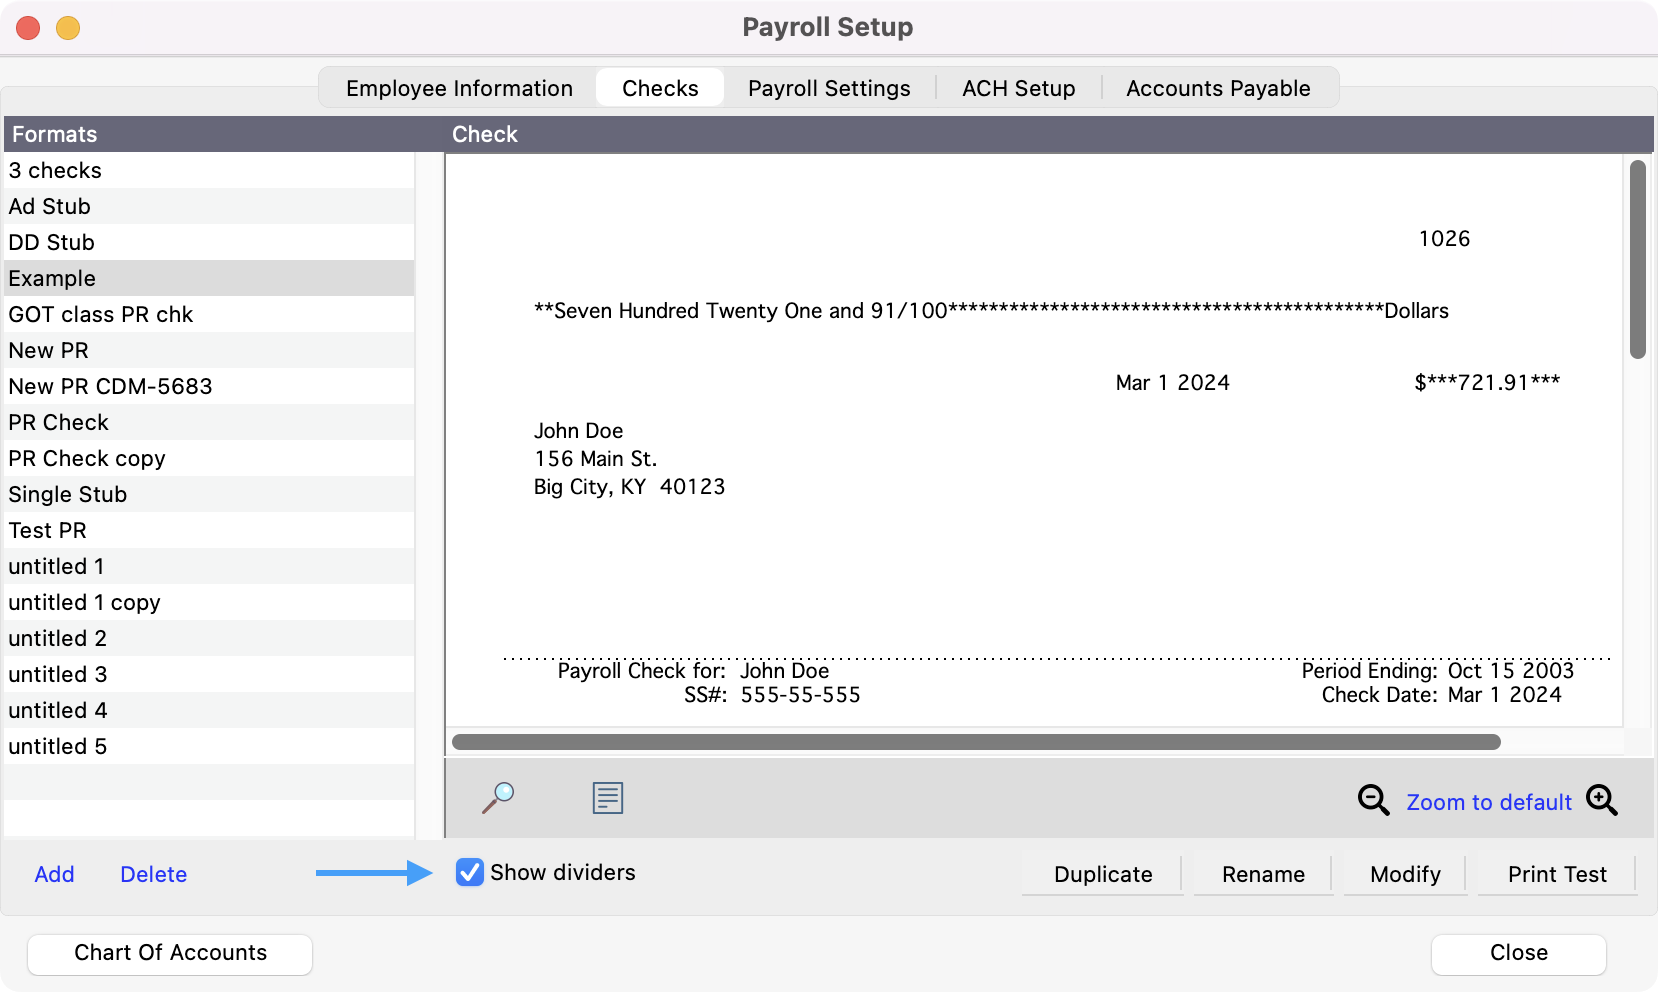
Check the box next to Show dividers to create a dotted line at the places the check is perforated.
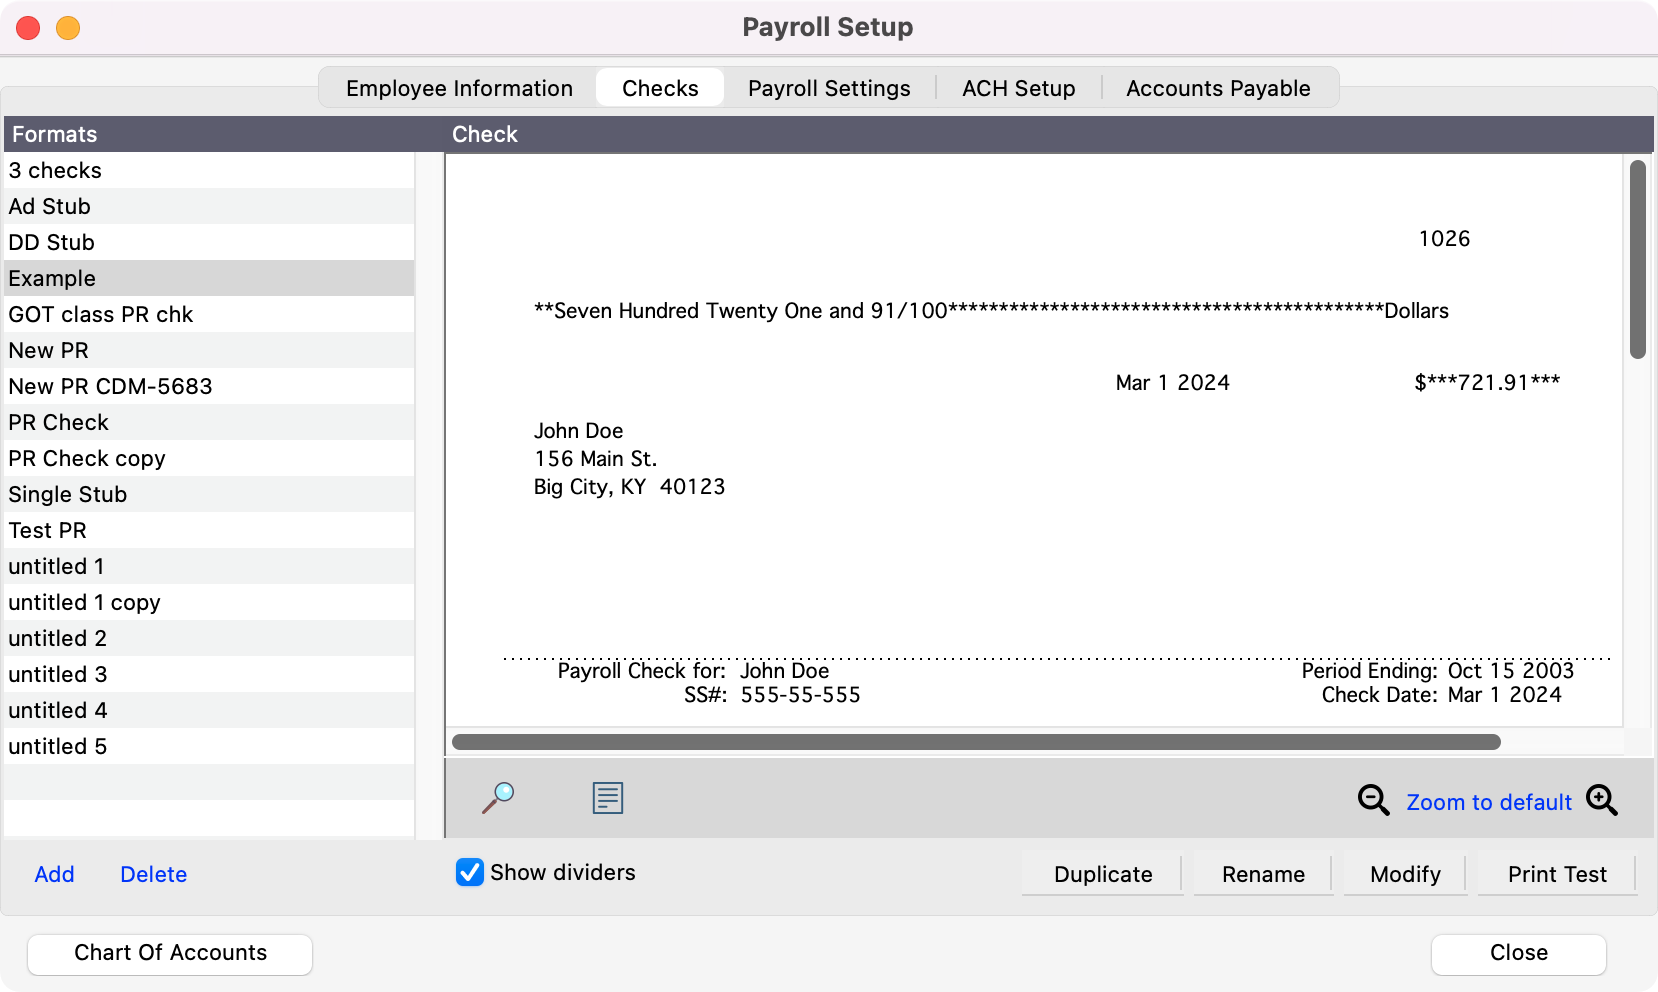
Click on the small Print Test button to print a test check to the screen or printer.
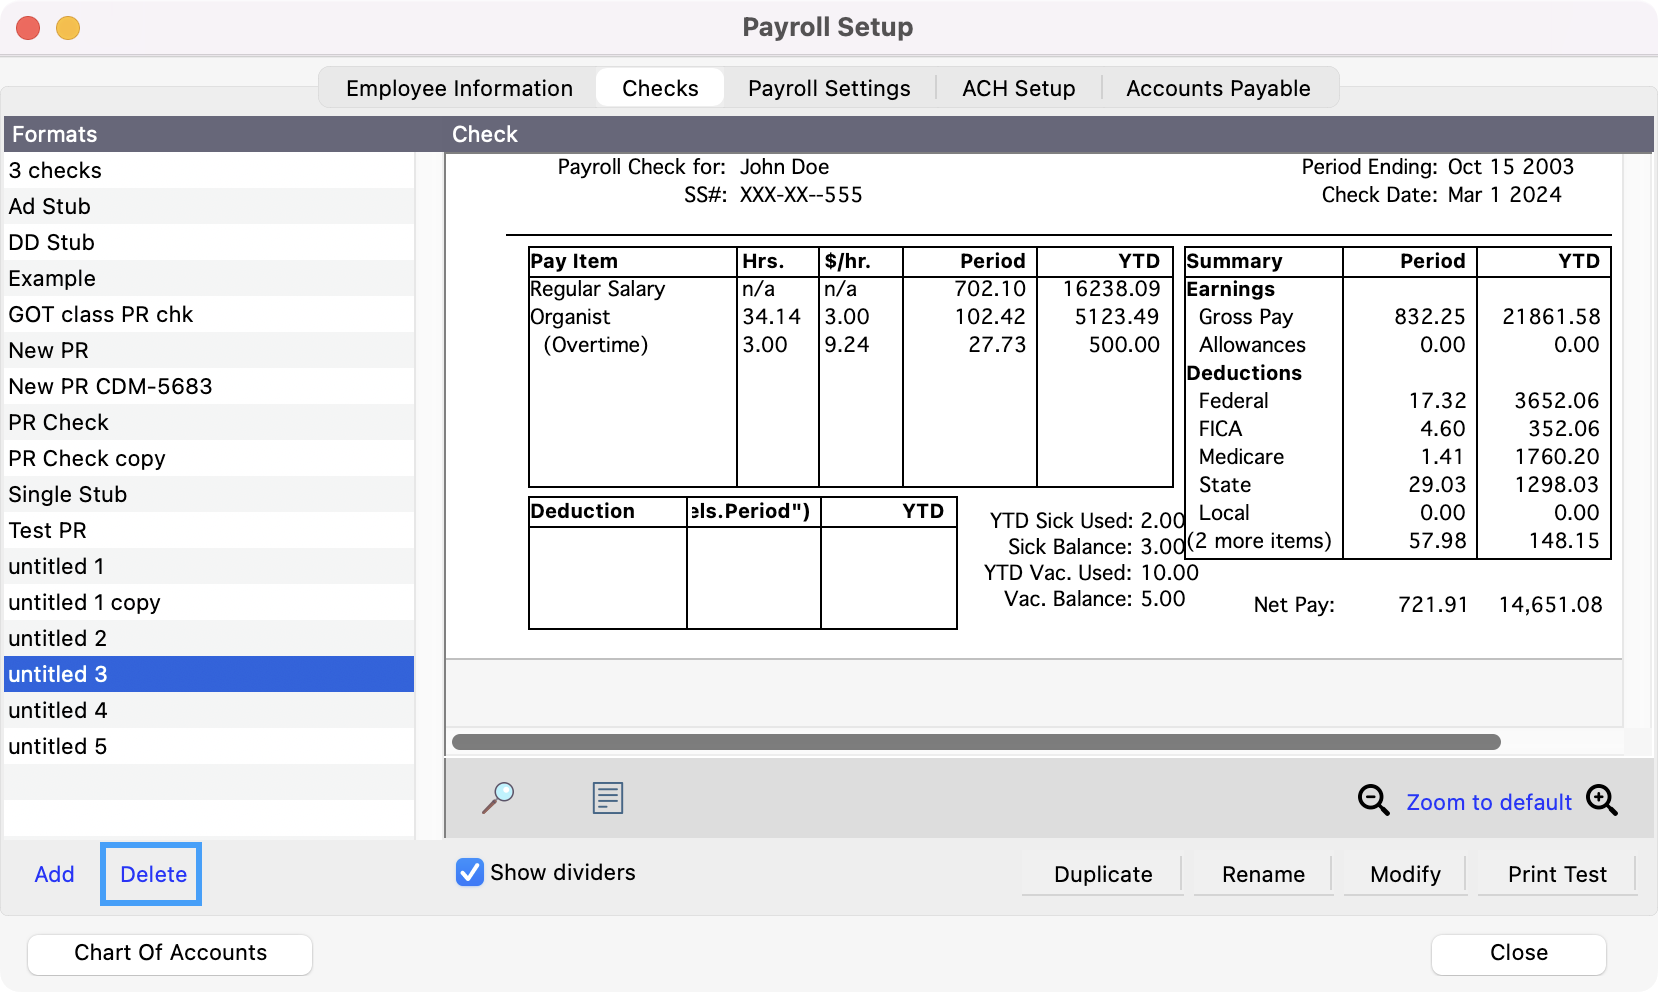
To delete a payroll check setup, click on the name of the format you want to remove and click on Delete at the bottom of the Formats window pane.
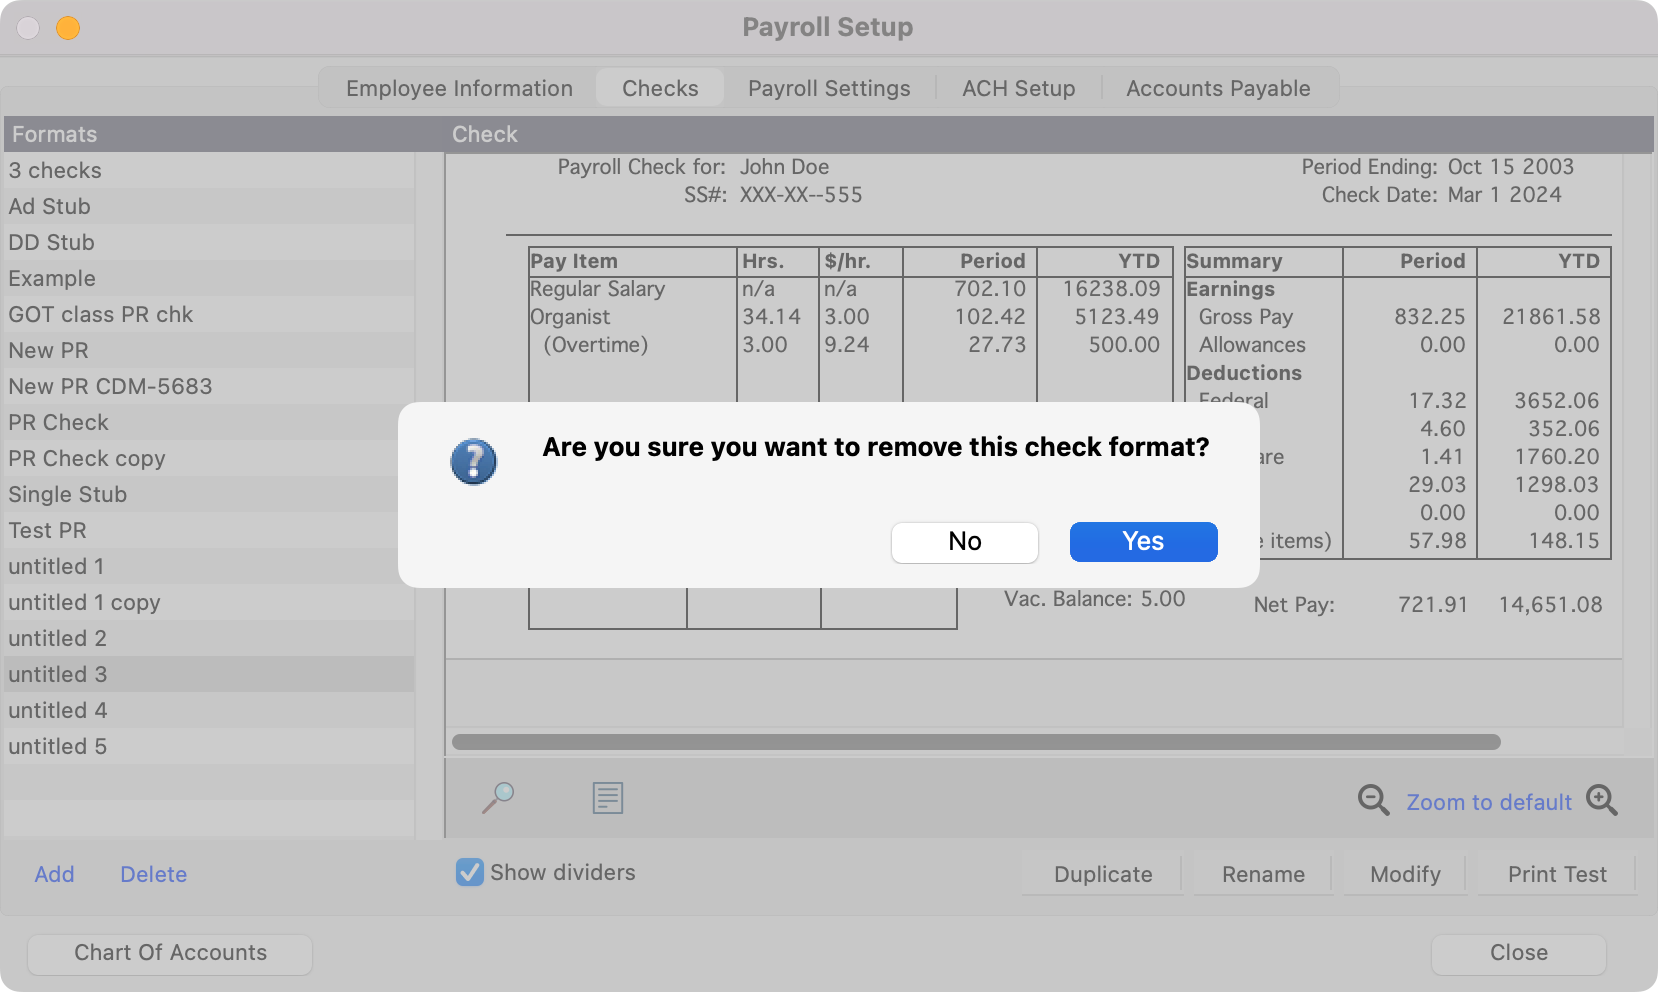
You’ll see a pop-up box asking if you’re sure you want to remove this check format. Click on Yes.
