Payroll Setup Window
In Default Employee Information Setup, you will enter information that applies to most employees of the organization. The default values you enter here under Pay Setup will be loaded for each new employee added. All default settings may be changed, as needed and on an individual basis, during the employee entry process.
Information specified in this window should apply to most employees. Differences for individual employees will be indicated on their individual Employee Information window.
-
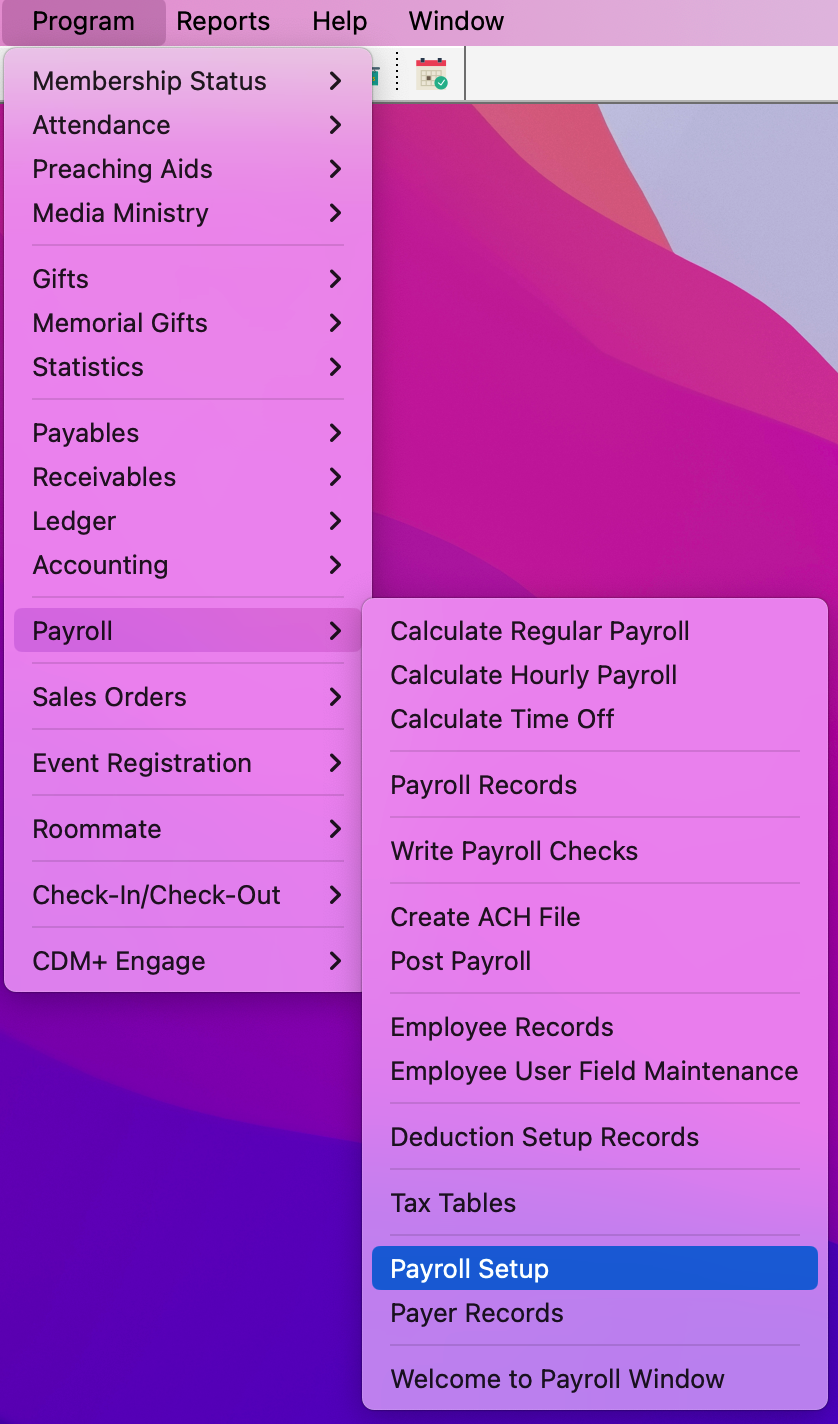
To navigate to Payroll Setup, go to Program → Payroll → Payroll Setup
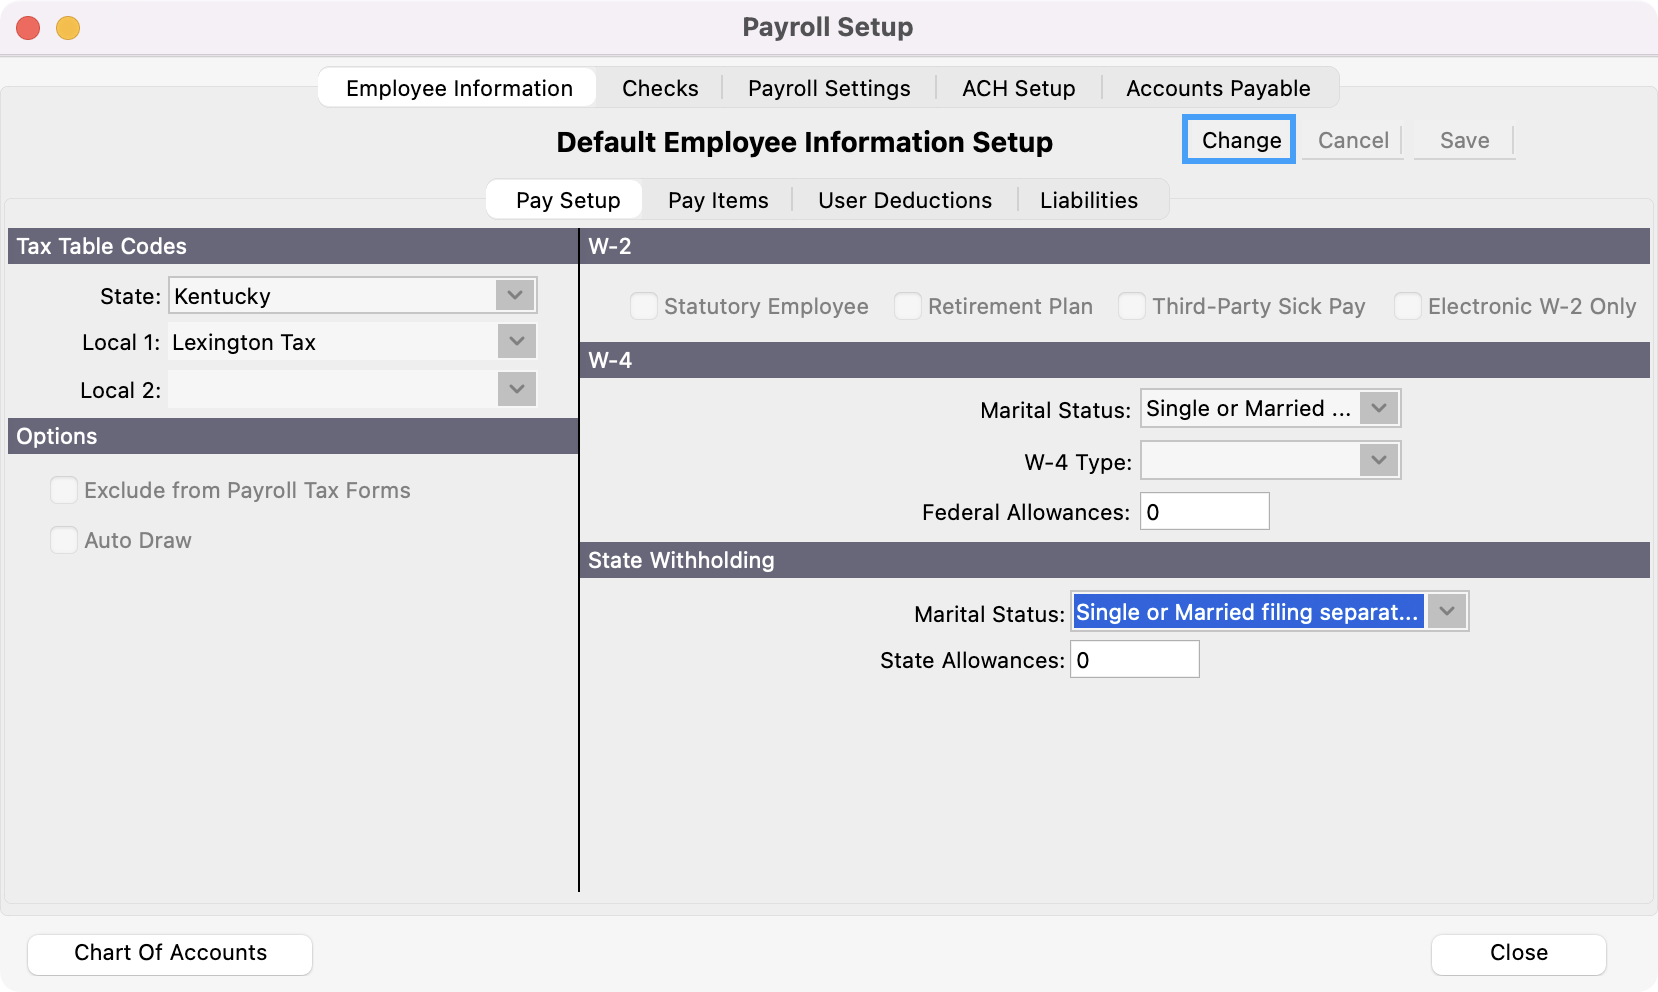
Pay Setup
In this pane of the Payroll Setup window, you will specify the default settings for your Pay Setup.
-
To begin, click Change in the menu to the right of Default Employee Information Setup.
-
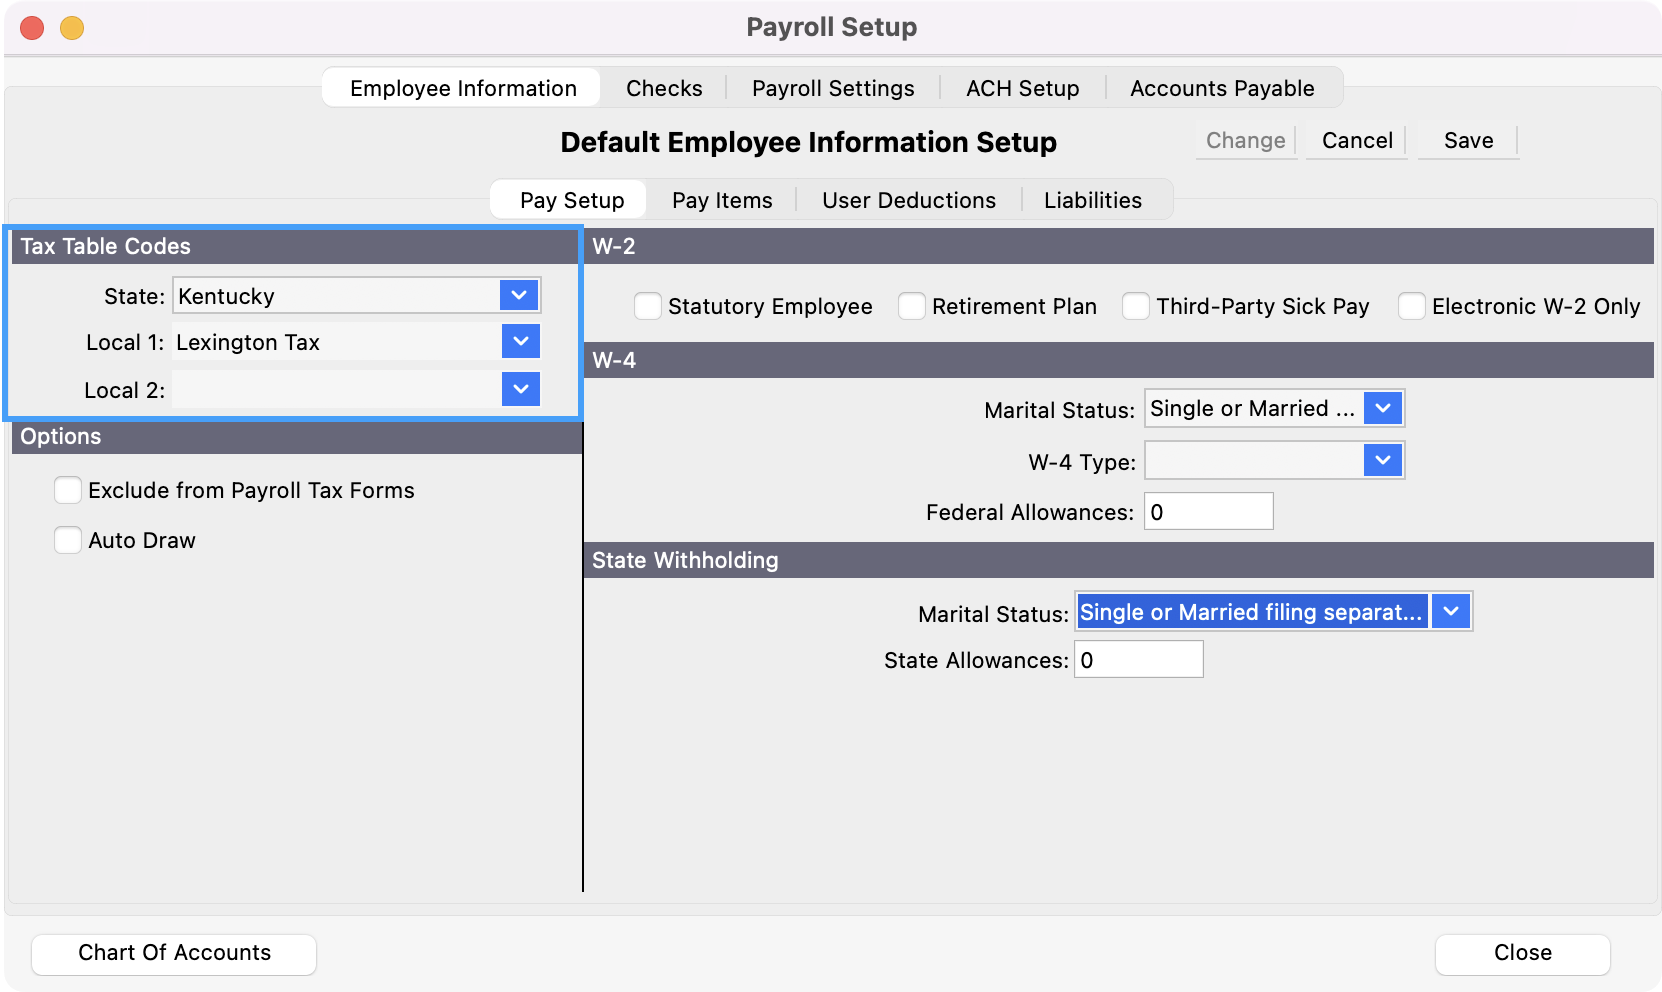
Select your State or Territory from the drop list under Tax Table Codes. Pressing Tab again will place your cursor in the Local 1 field. If you have already set up Local Codes in the Other Deductions window, they will appear in the drop list when you click on the down arrow. Click on a code to select it.
You can place your cursor in the box type a portion of the item you want and press Tab to auto-complete the entry. This search is case-insensitive and works on any portion of the entry, not just the beginning letters. For example, to find County Tax you can type county, press Tab, and you’ll get the first item that contains the words county.
-
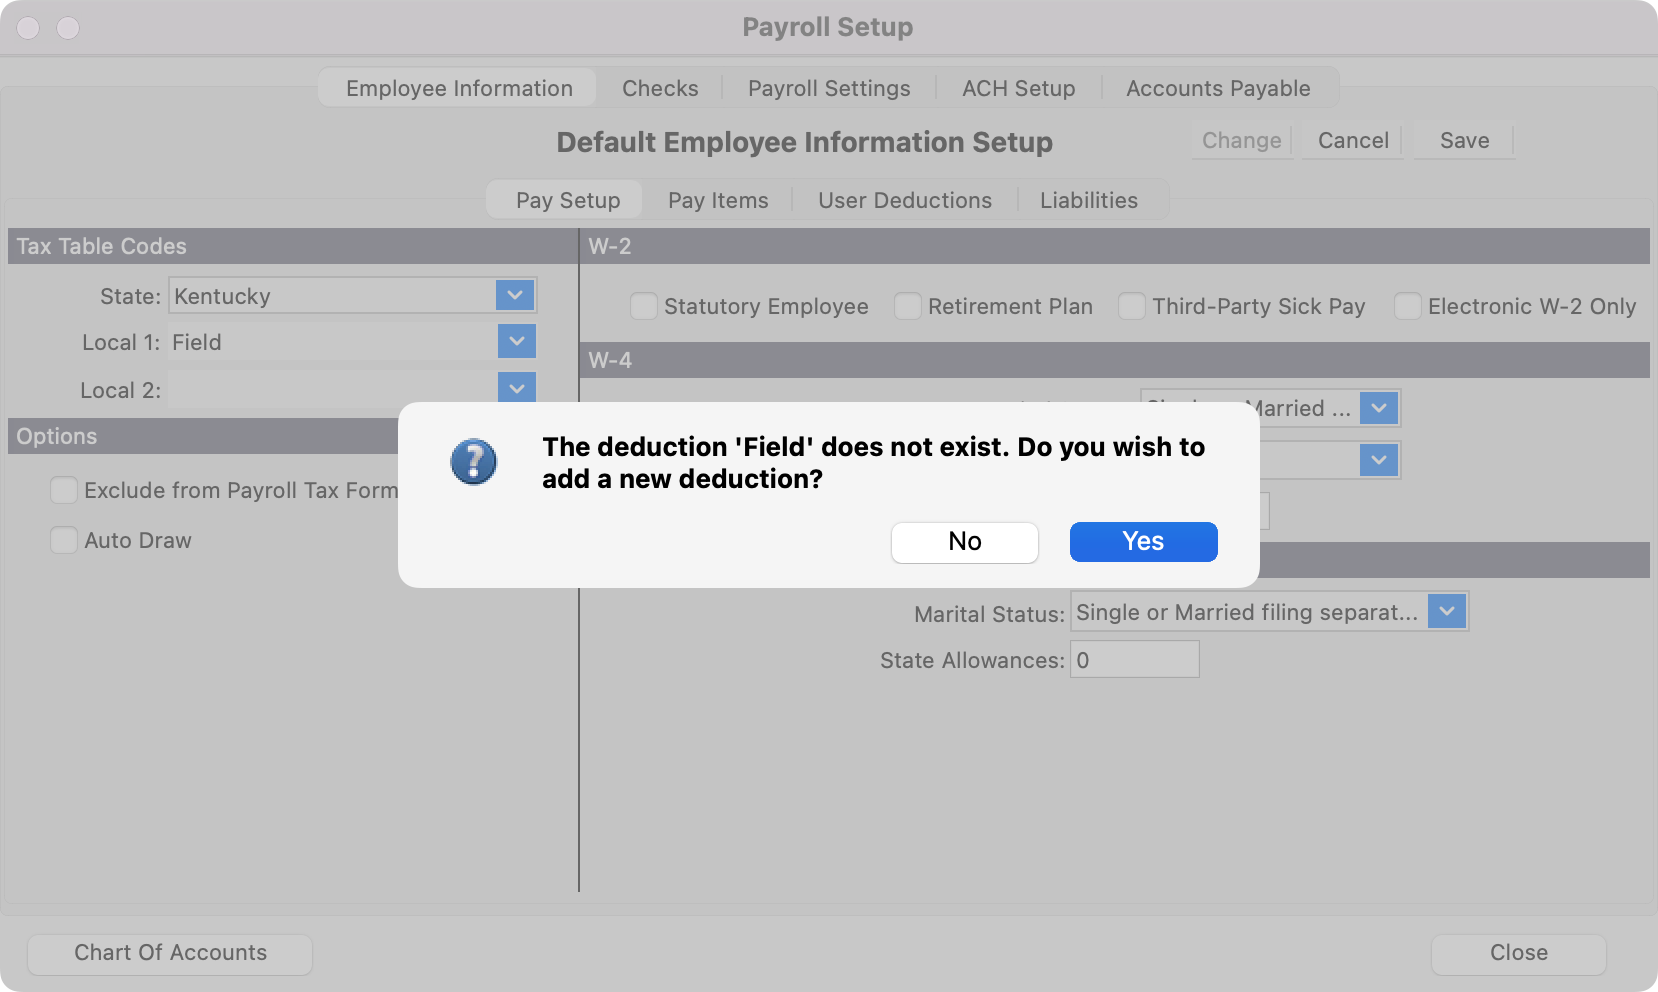
If you have not set up Local Codes or wish to add a new code, type the new Local Code and press Tab. You will see the message below.
-
Click Yes and the Deduction Setup window will open. Enter the new Local Tax Code and complete the Setup and Calculation fields on the Deduction Setup window. Return to the Payroll Setup window to finish entering the Default Employee Information.
-
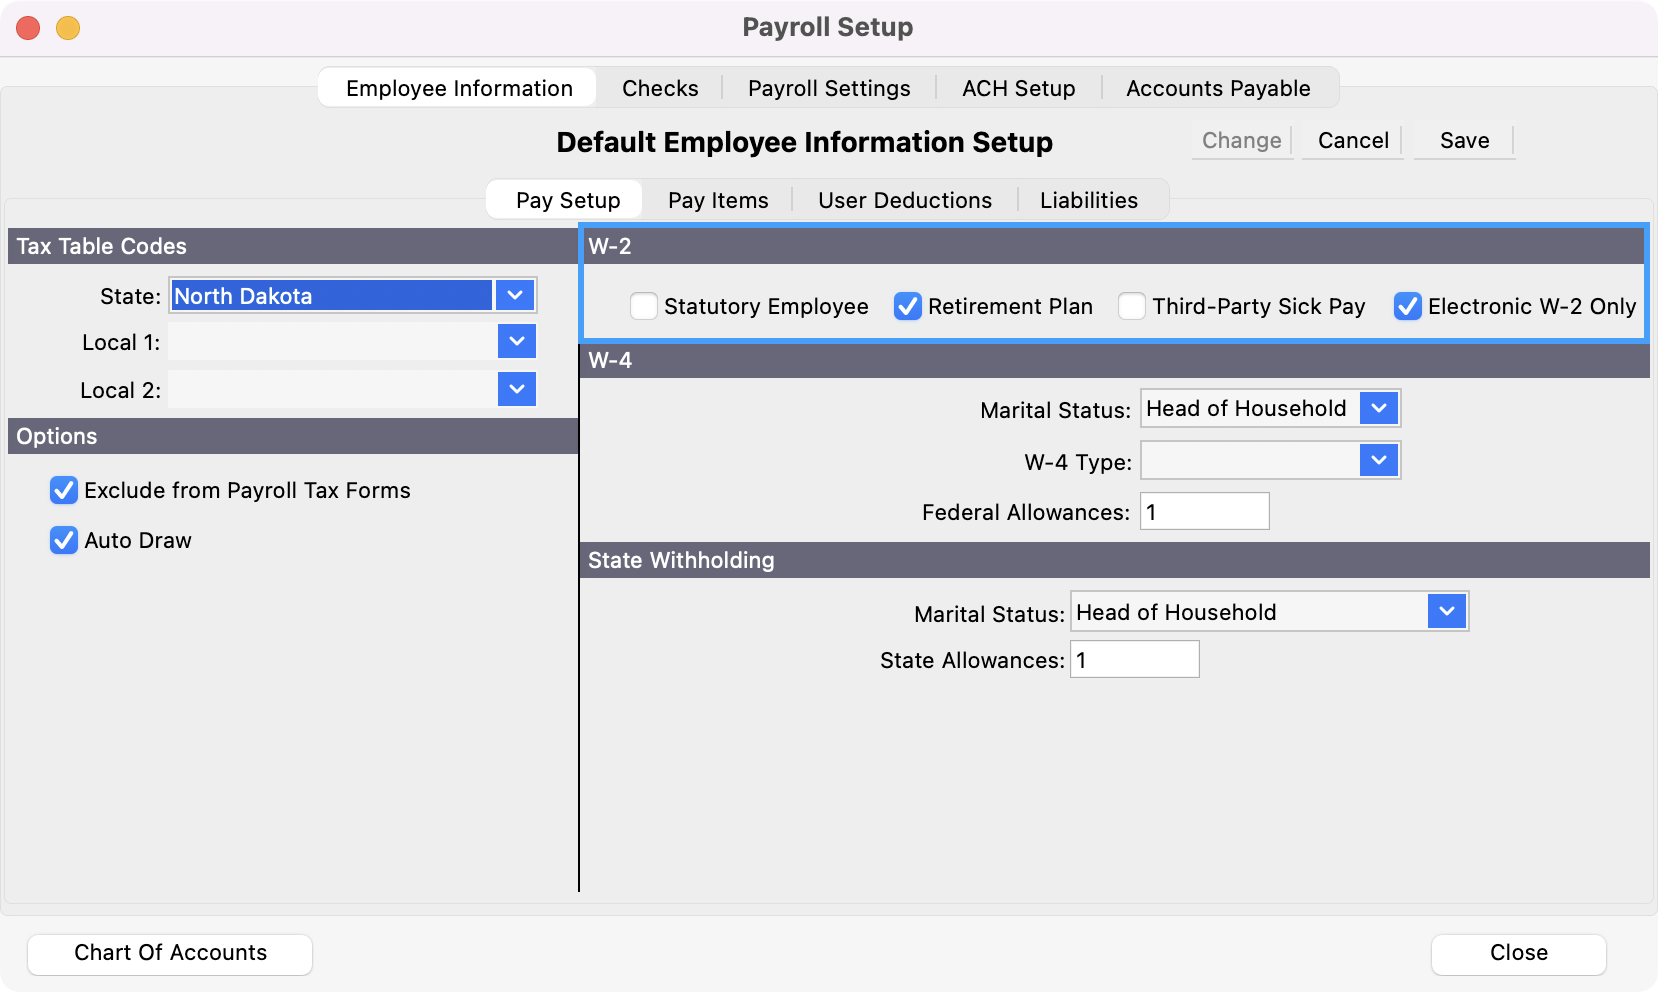
Under W2 Information check the boxes that apply for your organization or leave it blank.
-
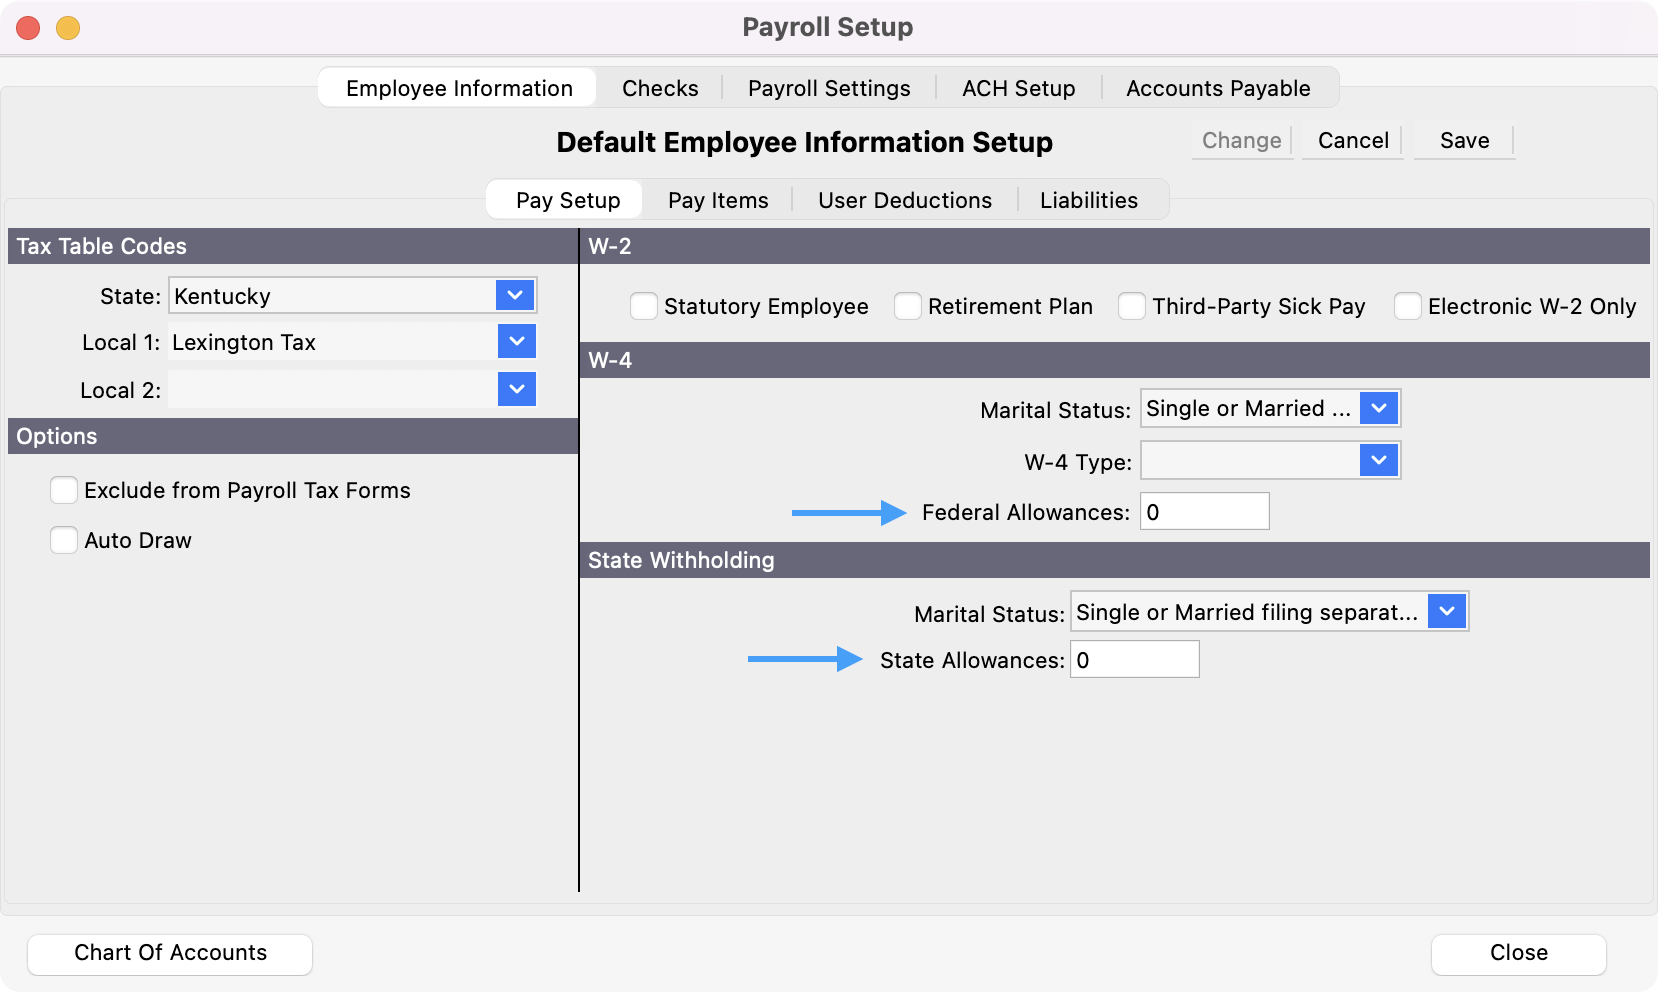
Enter a default number of Withholding Allowances for both Federal and State taxes.
-
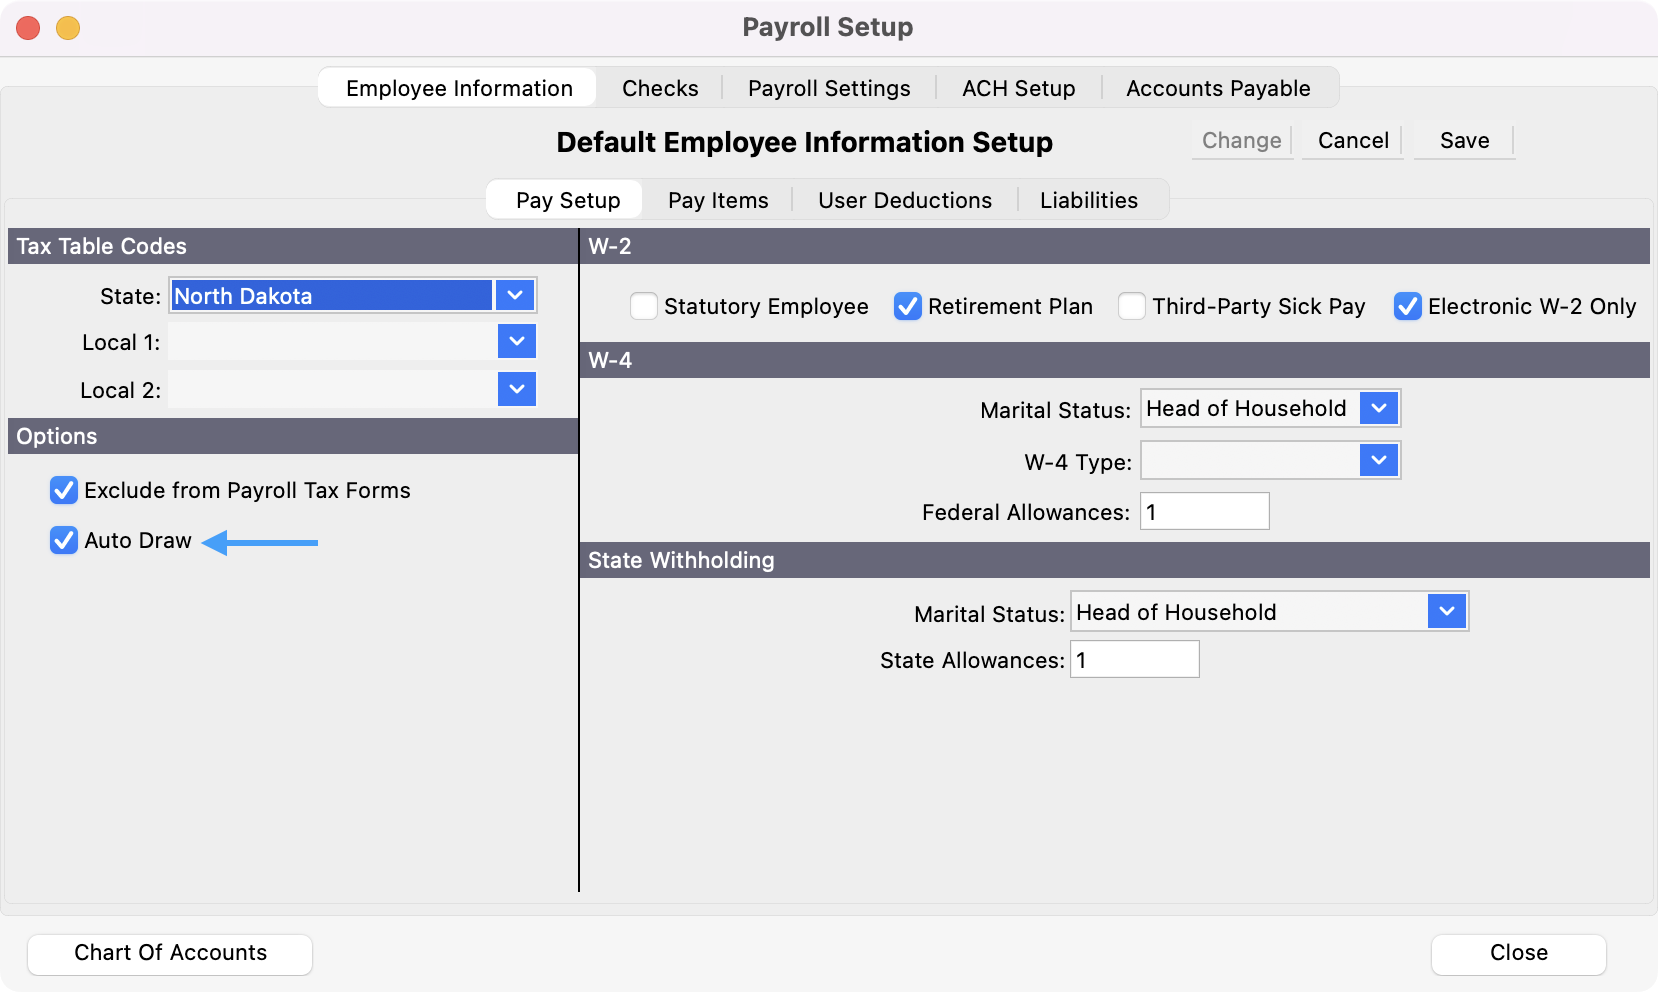
Check the Auto Draw box if employees will be paid by direct deposit.
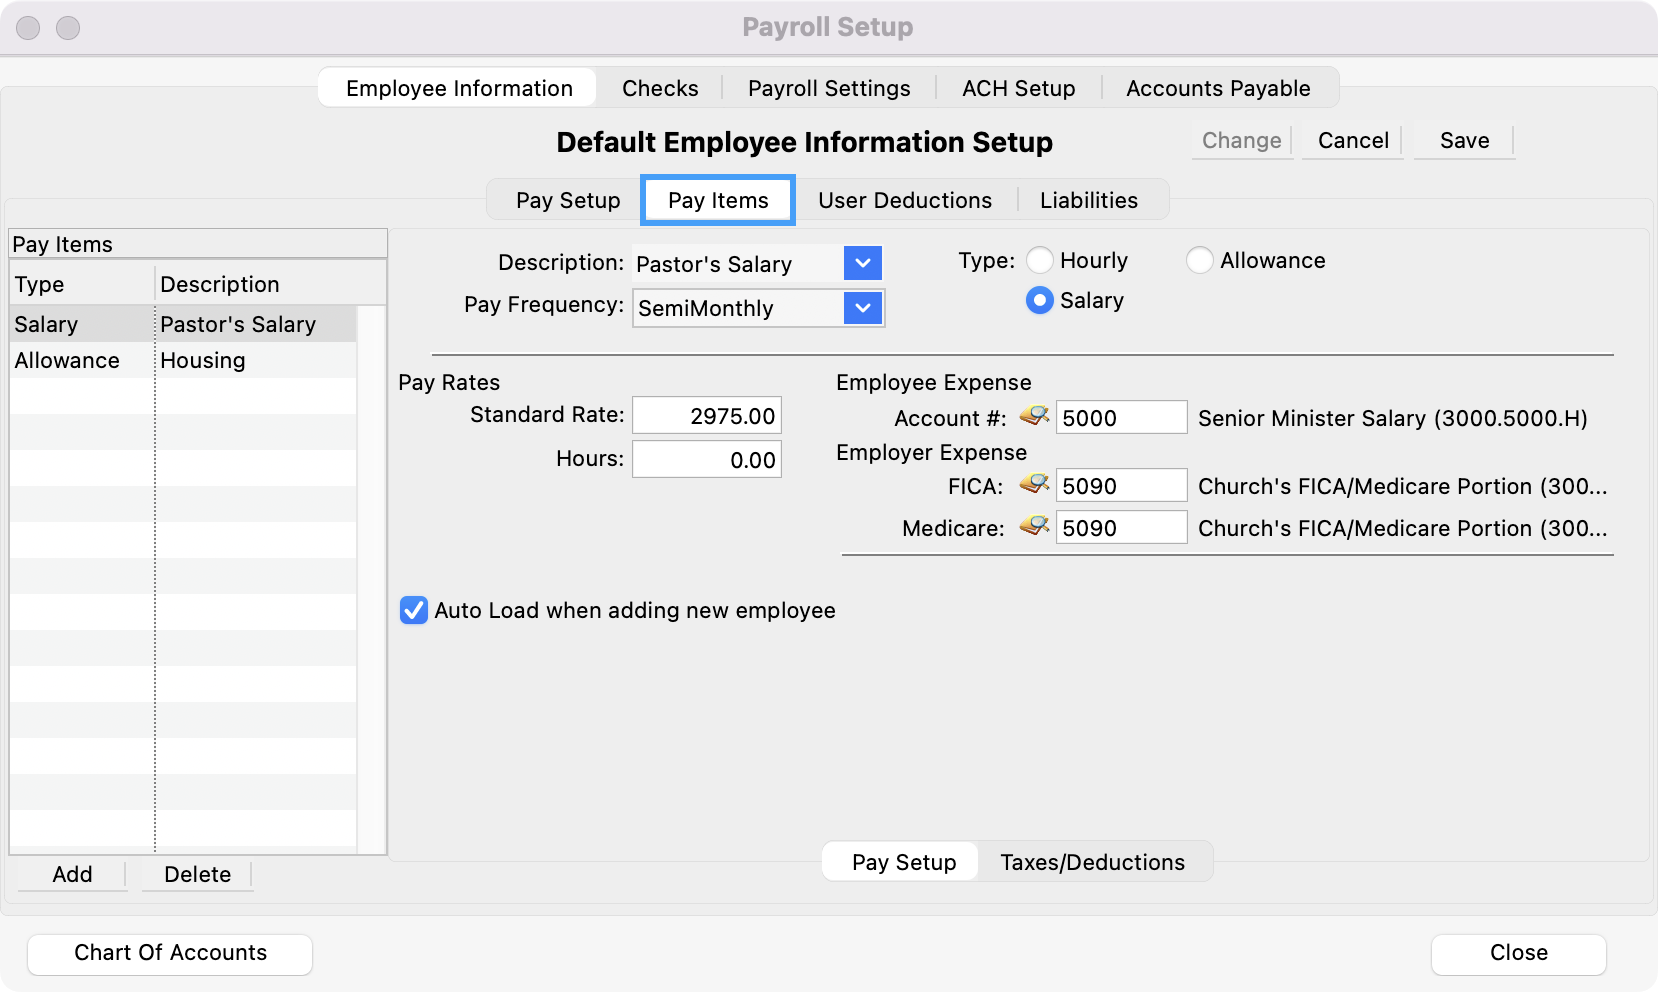
Pay Items
In this pane of the Payroll Setup window, you will specify default settings for different pay items. As you define the Pay Items they will appear in the list on the left side of the window. Pay Items can include hourly, salaried, and contractual pay, but also allowances, such as housing, education, or travel—anything that is included in an employee's paycheck.
You may wish to define all the potential pay items your employees may use, then remove the unneeded items when setting up a new employee.
-
Click the Pay Items tab.
-
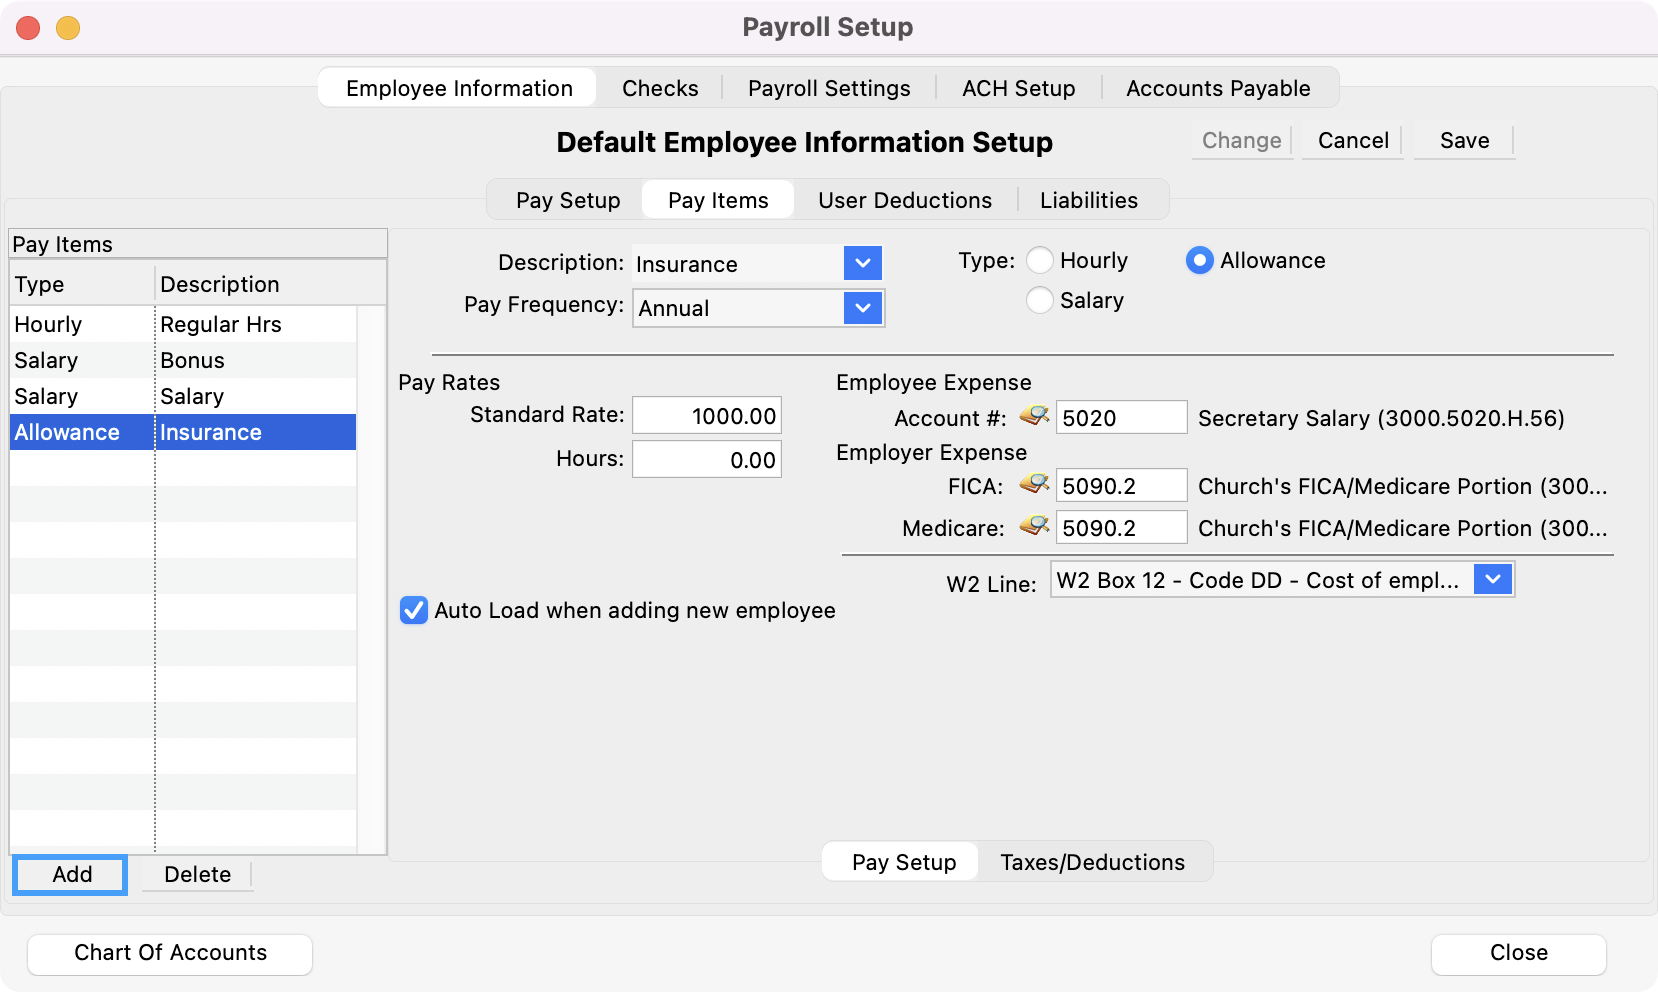
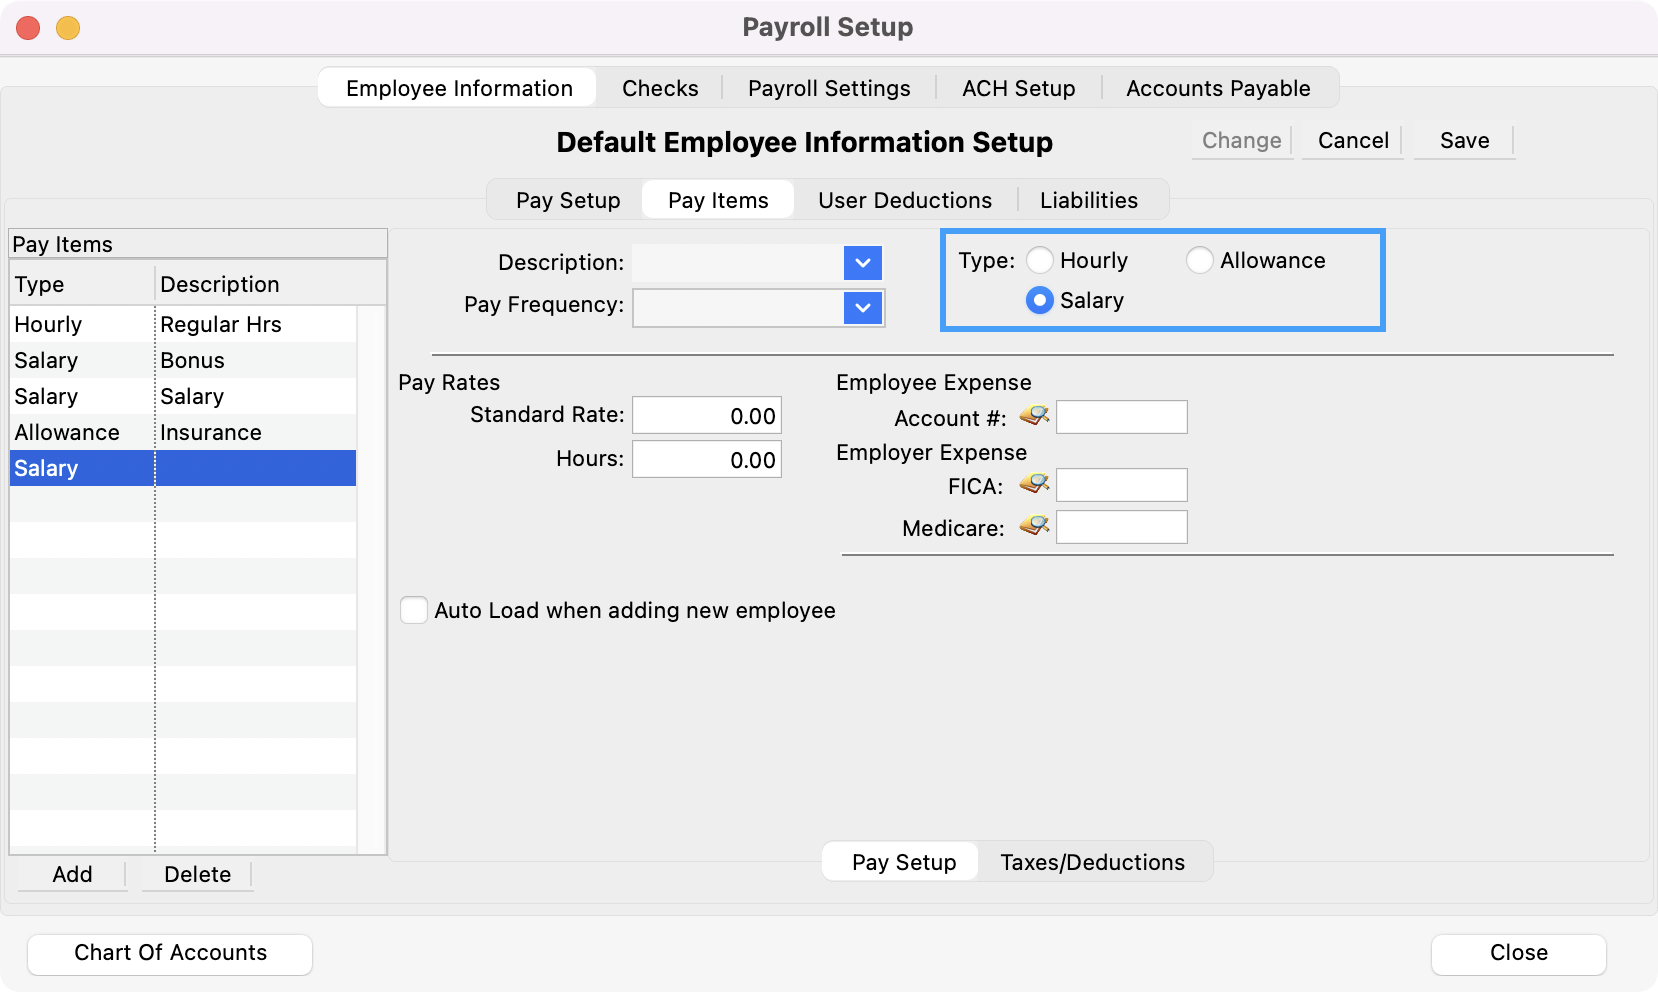
To add a new Pay Item, click the small Add button at the bottom of the Pay Items list.
-
Choose one of the Type radio buttons, e.g. Salary.
-
Tab through the fields on this window, entering the following types of information:
-
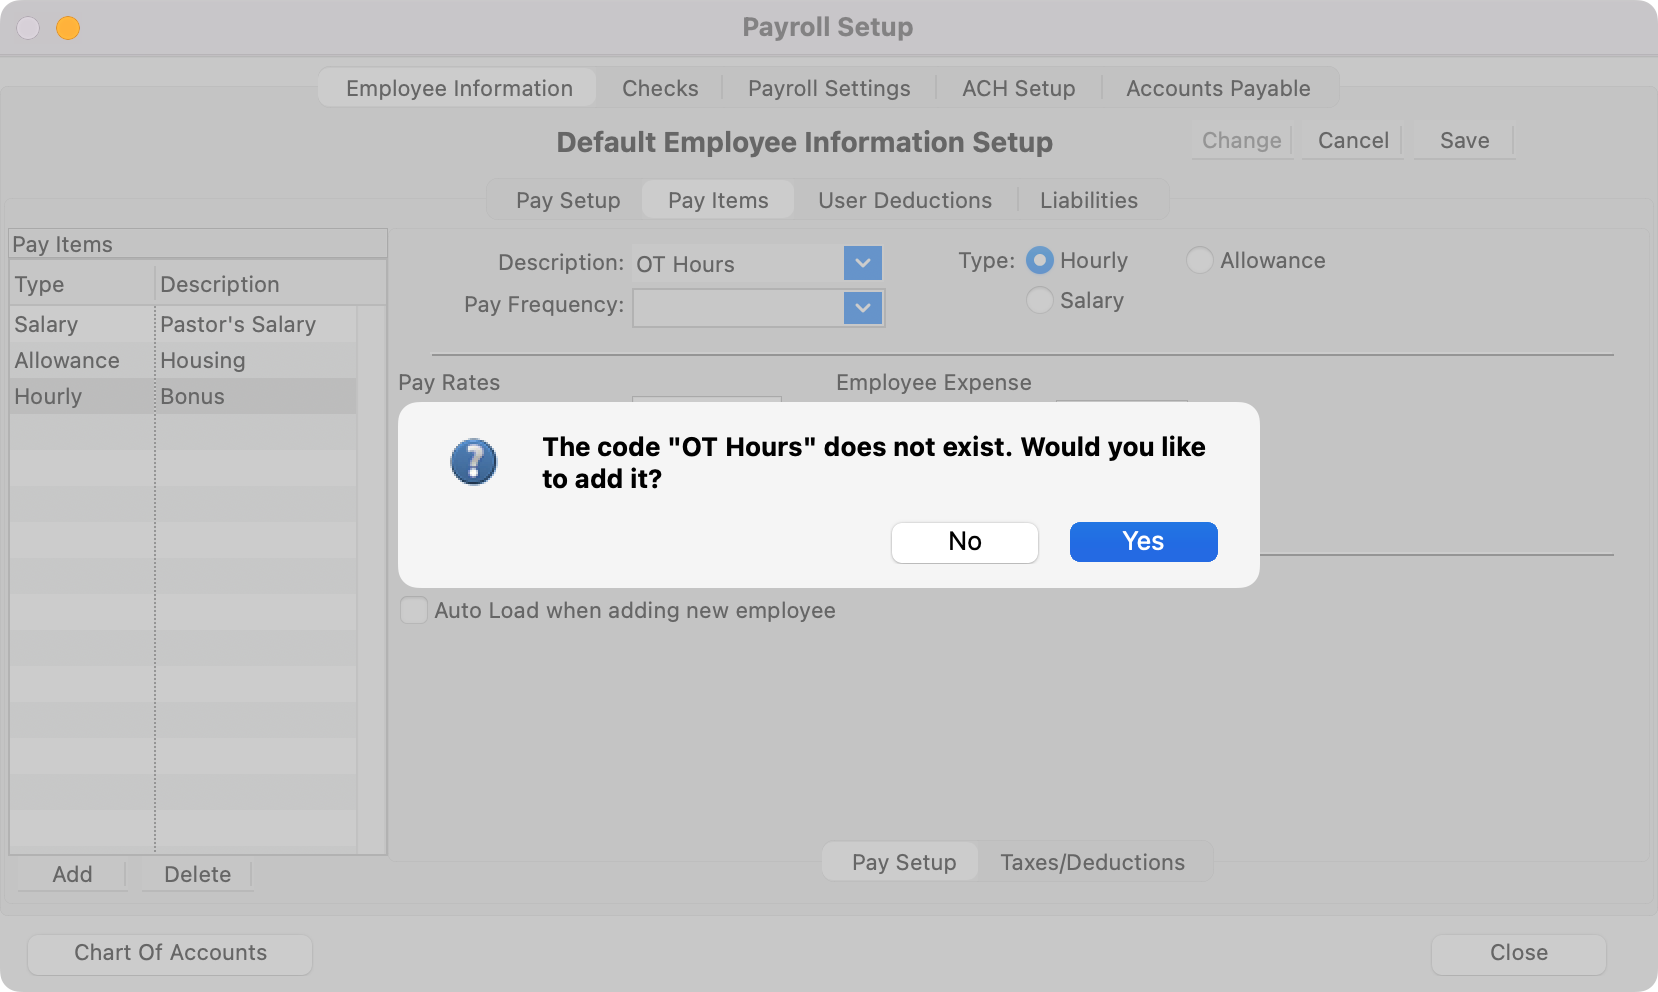
Description - Click on the down arrow to choose an existing description of this pay item or type a description. If you enter a new code, you will be asked if you wish to add it. Click Yes and it will be added to the drop list. For more information on maintaining codes, see Master Coding System.
-
Pay Frequency - Use the drop-down list to select the most common pay frequency for this Pay Item.

-
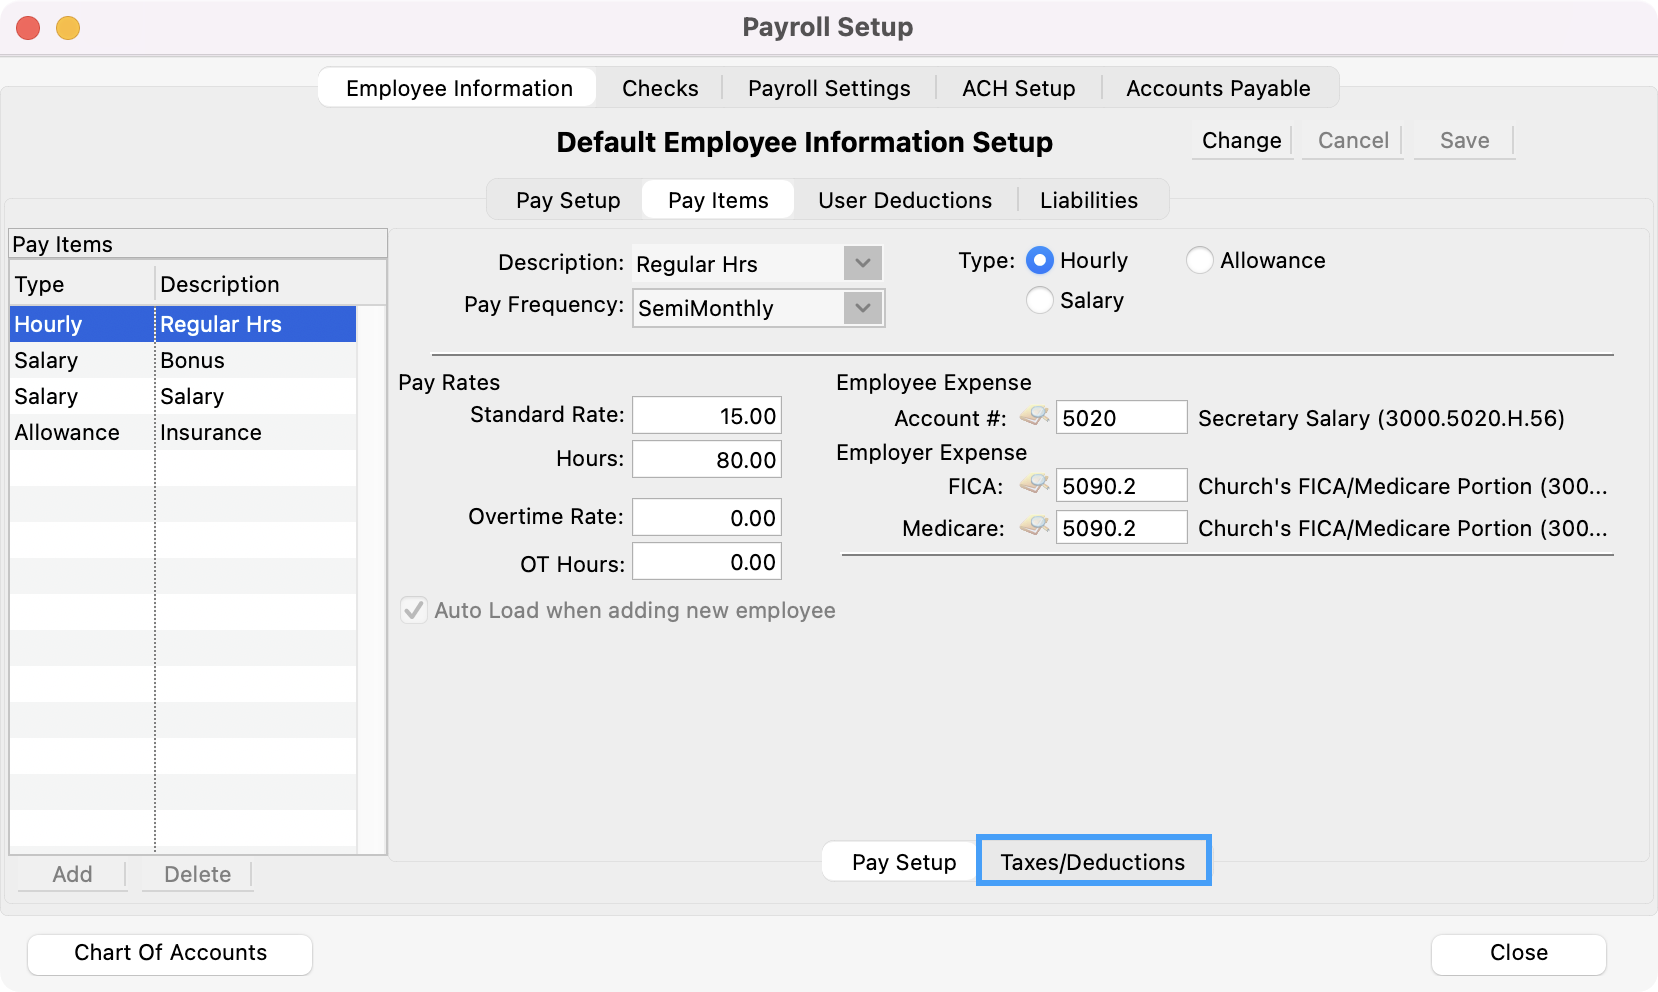
Pay Rates - You may enter default a Standard Rate and Hours and, if applicable, Overtime Rate and OT Hours. If you have a variety of Pay Rates for this Pay Item, you would probably want to leave these fields blank.

-
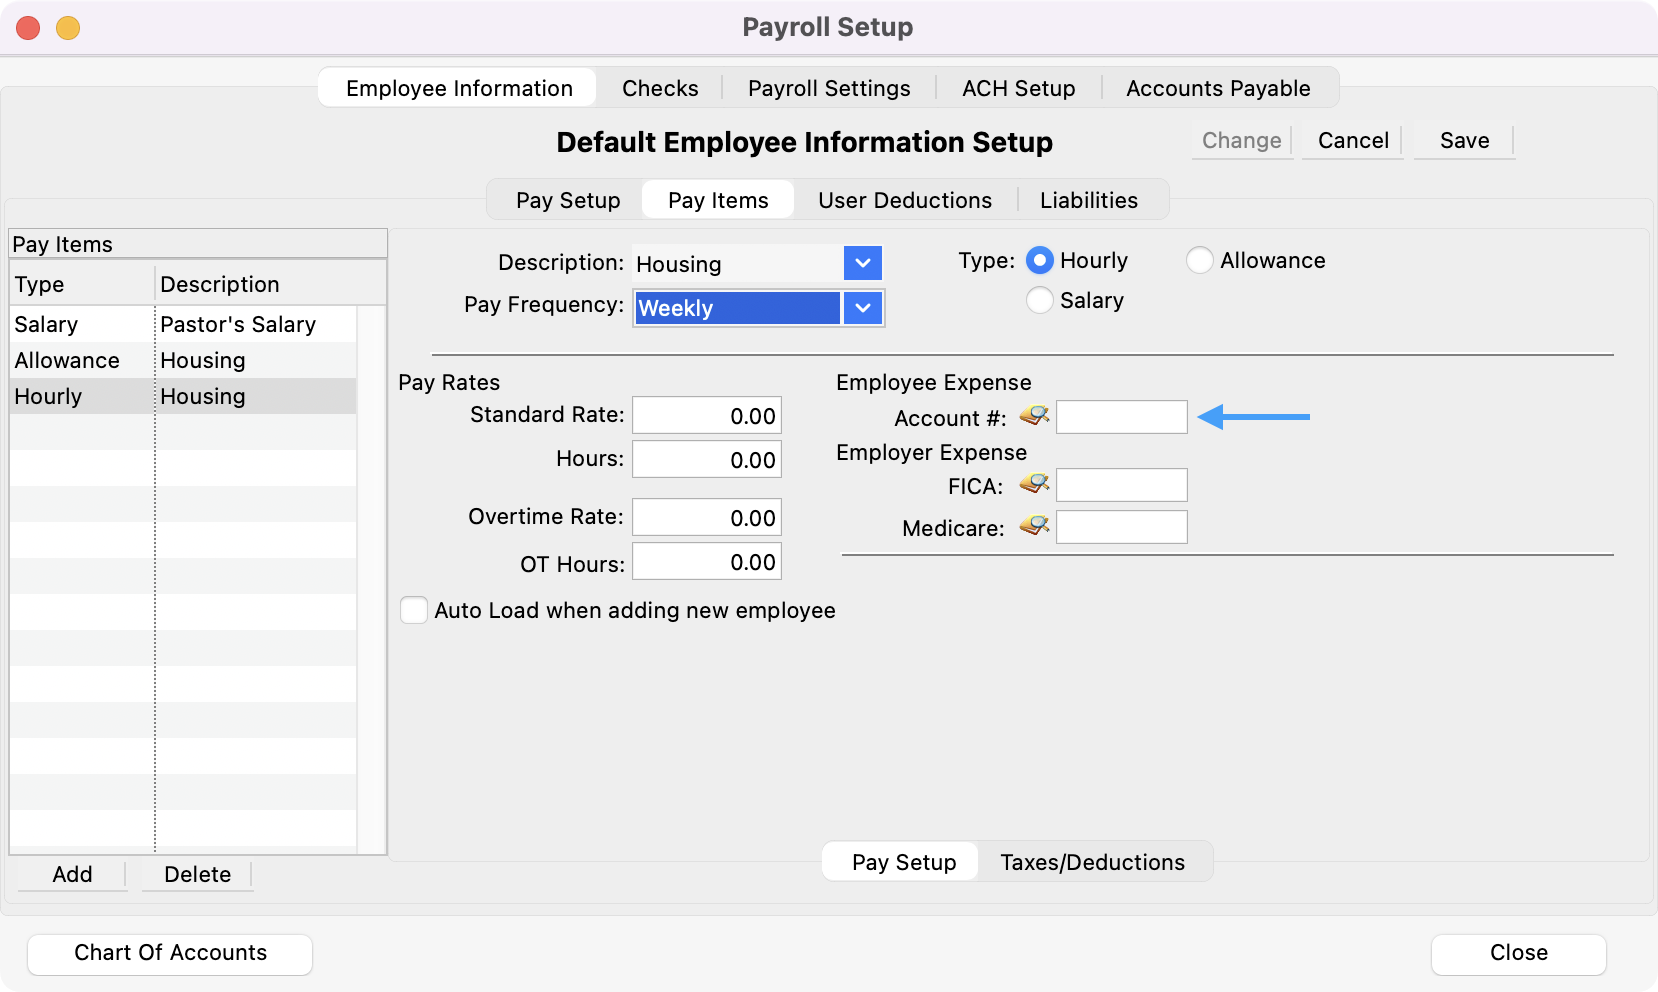
Employee Expense - Chart of accounts number for the expense account for this Pay Item. Click on the magnifying glass icon to select an account number from a list of expense accounts. You may leave this field blank if employees are paid from more than one expense account.
-
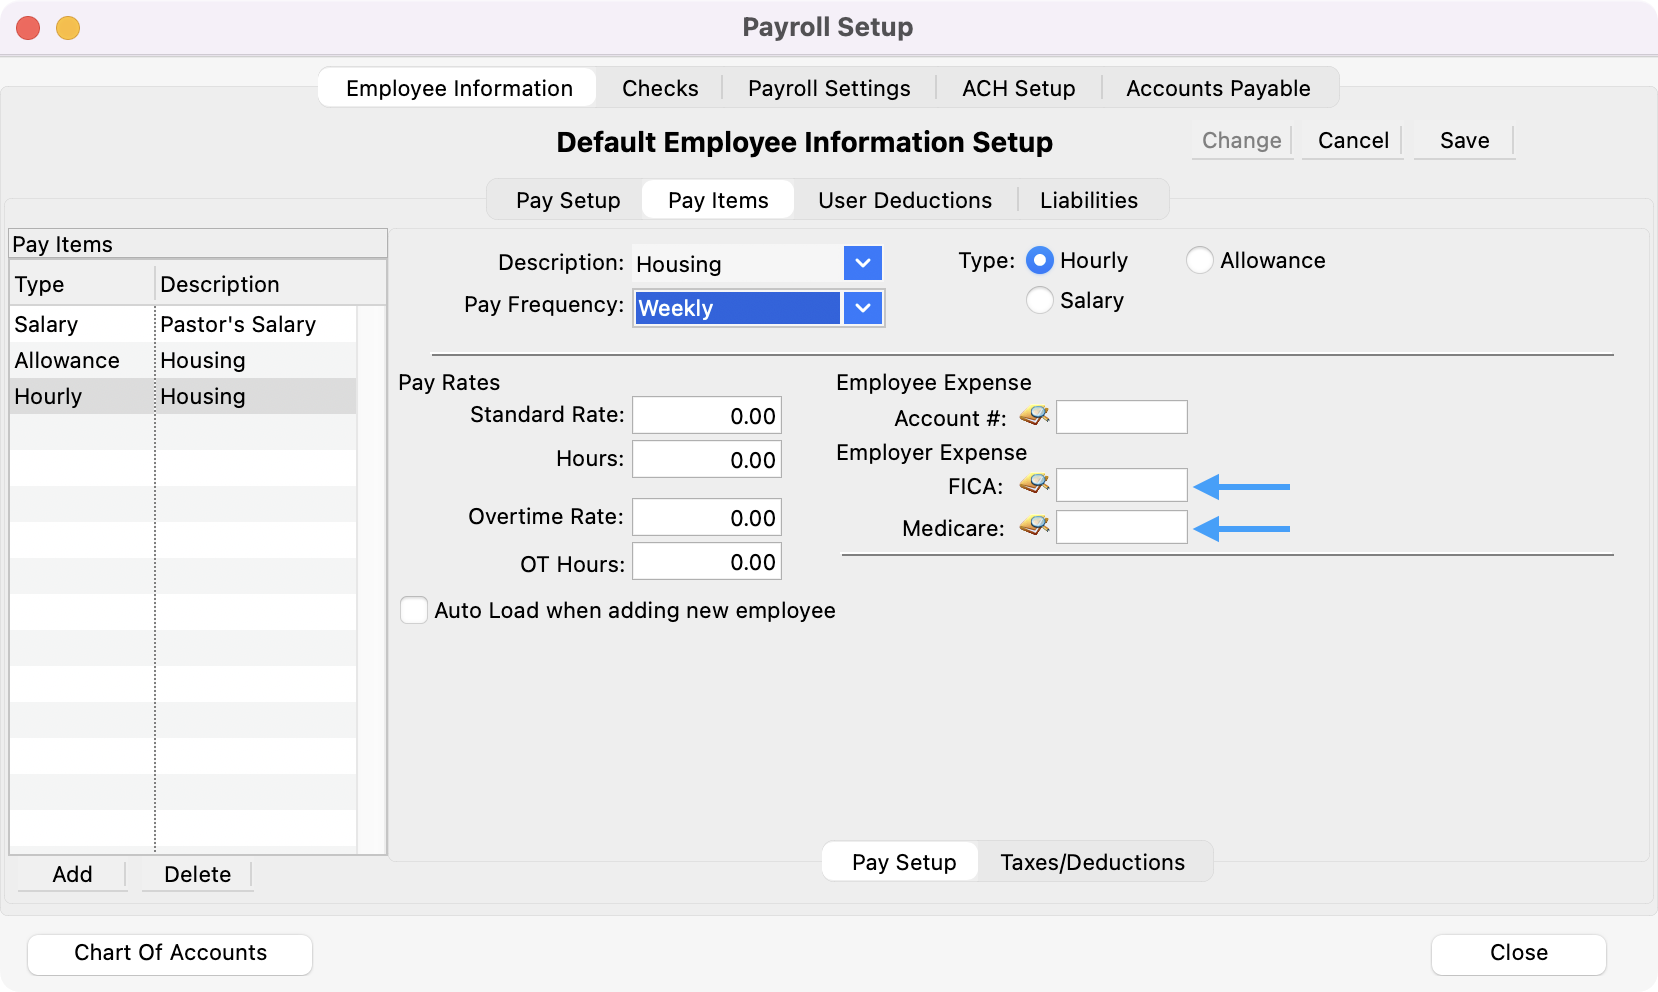
Employer Expense - Chart of accounts expense number(s) out of which the employer's portion of FICA and Medicare are to be paid. Click on the magnifying glass icon to select the account number from a list of expense accounts.
-
-
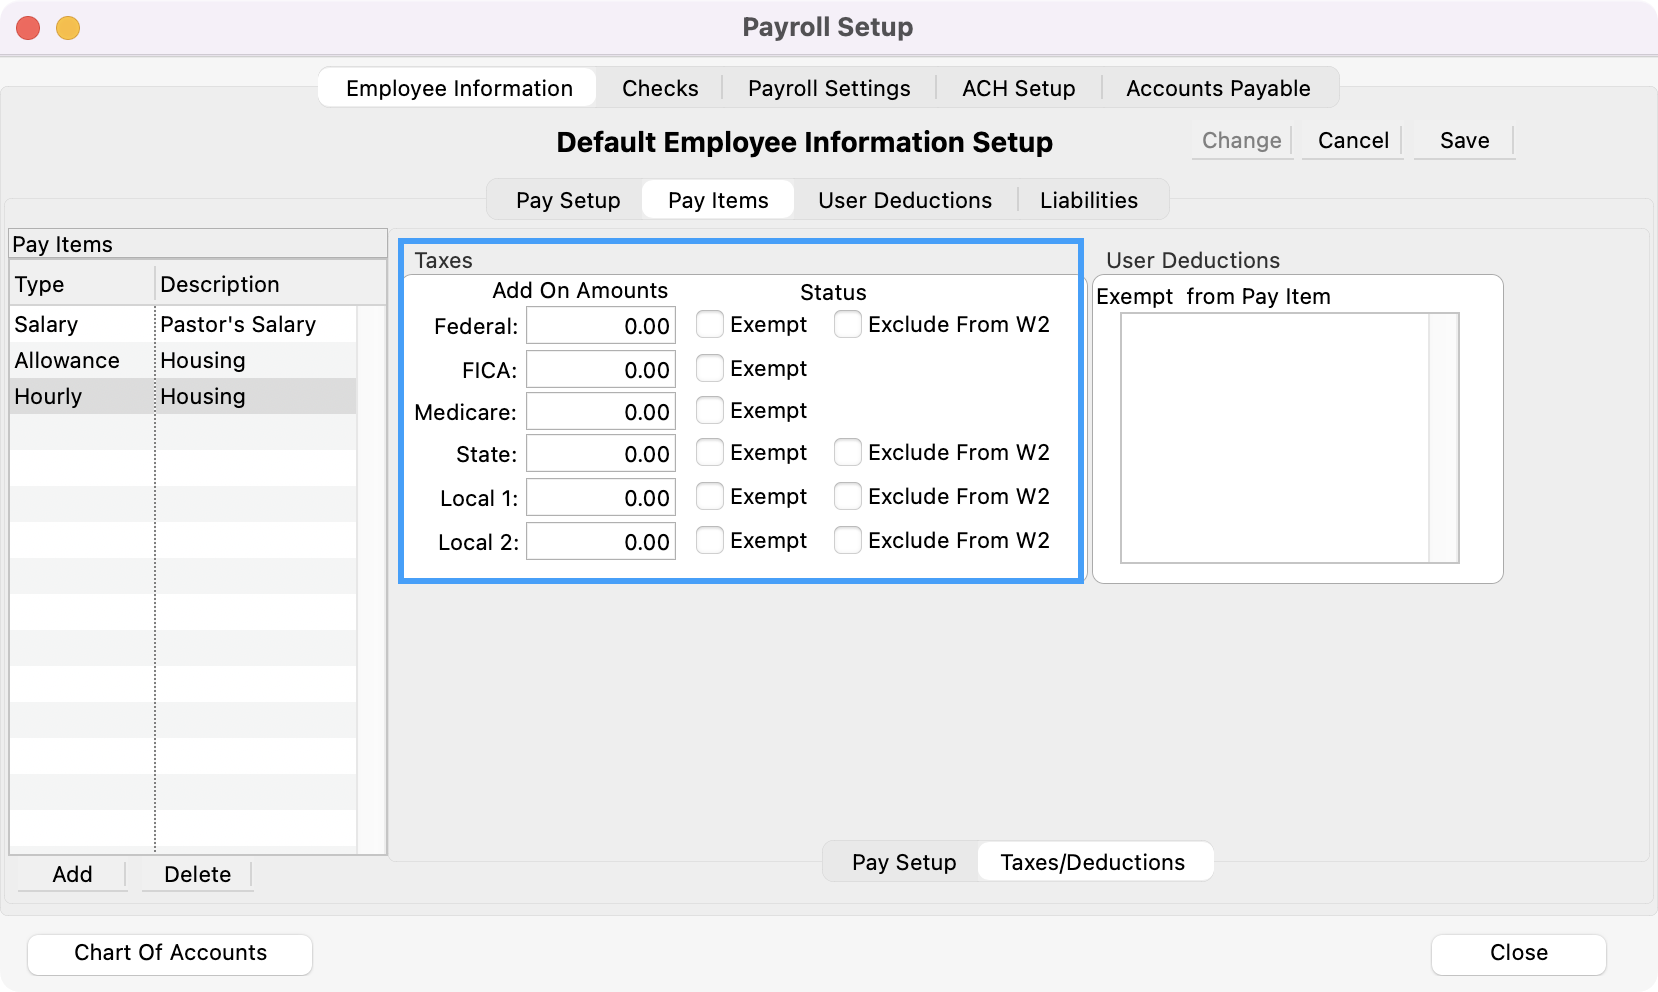
Click the Taxes/Deductions tab at the bottom of the Pay Items pane. Here you may identify line items as tax exempt and specify additional amounts to be withheld.
Payroll deductions are set up on the User Deductions pane of the Default Employee Information Setup window.
-
If a particular Pay Item is exempt from a deduction calculation, click on the appropriate checkbox under Deductions Exempt. For example, a pastor has a 403(b) deduction of 3% of his salary. He also receives housing and travel allowances. He doesn’t want the 403(b) deduction taken from these allowances. Therefore, you would check the 403(b) deduction box on the allowance pay items.
If a deduction is a flat amount, you do not need to mark any Deduction Exemption checkboxes. They only apply to percentage deductions.
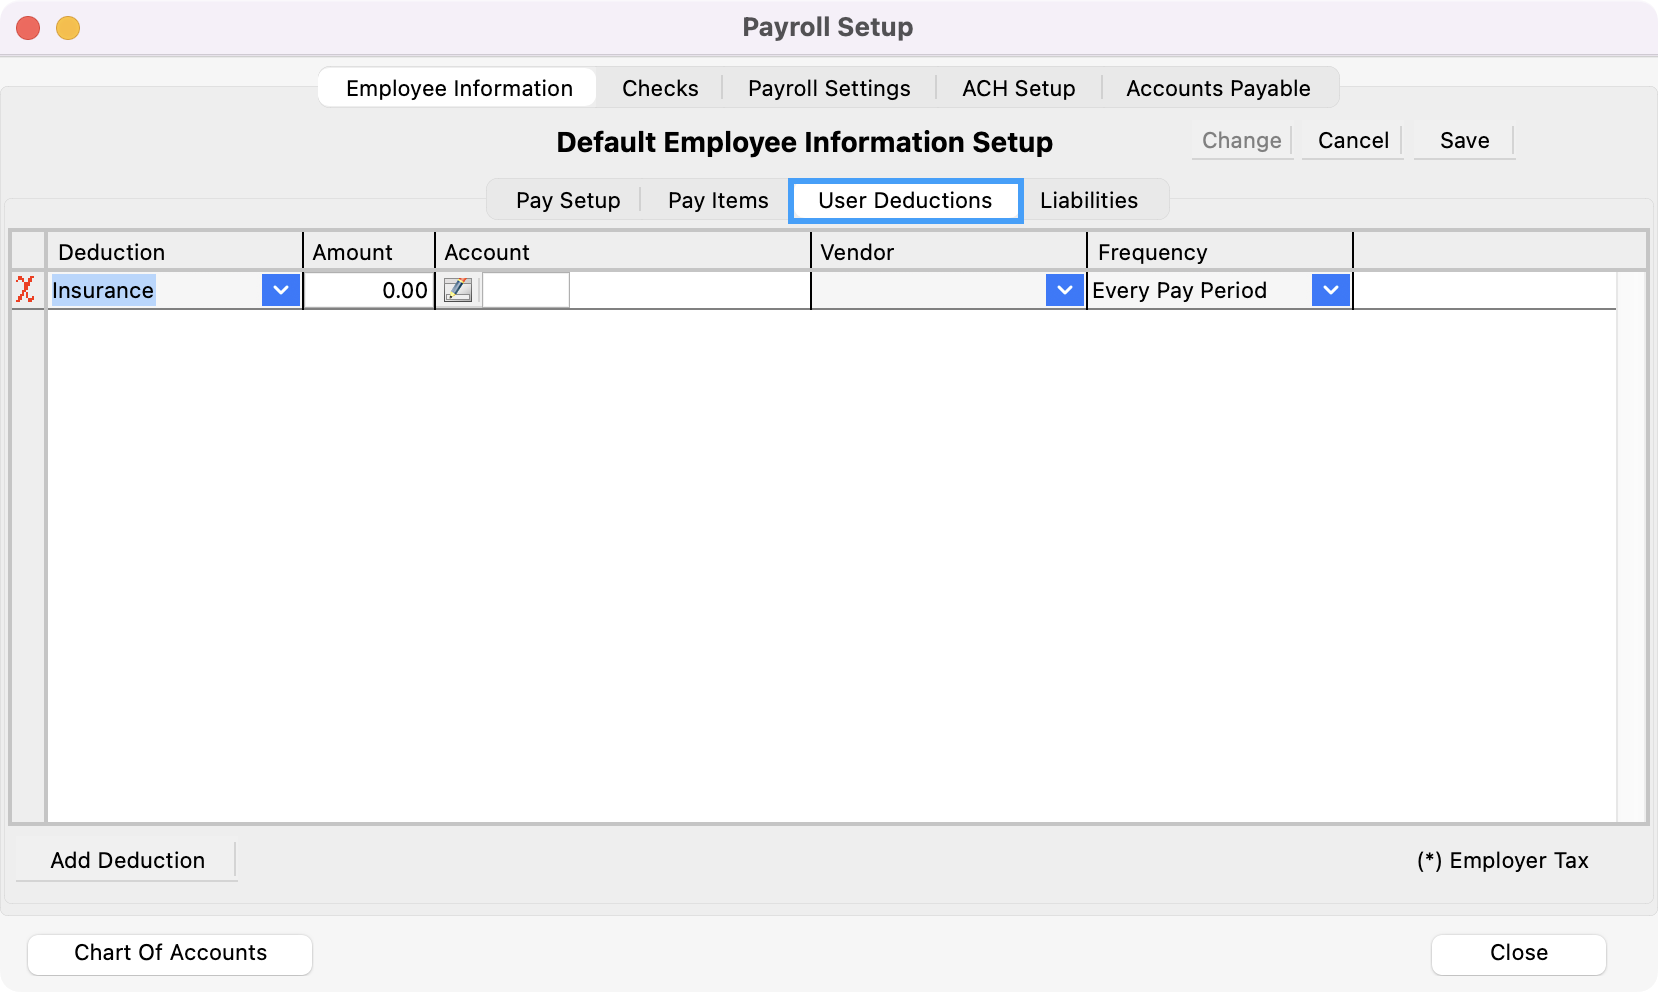
User Deductions
Here you may enter any user-defined deductions that will apply to all employees.
-
Click the User Deductions tab.
-
Click the small Add Deduction button at the bottom of the pane. Choose a Deduction from the drop list.
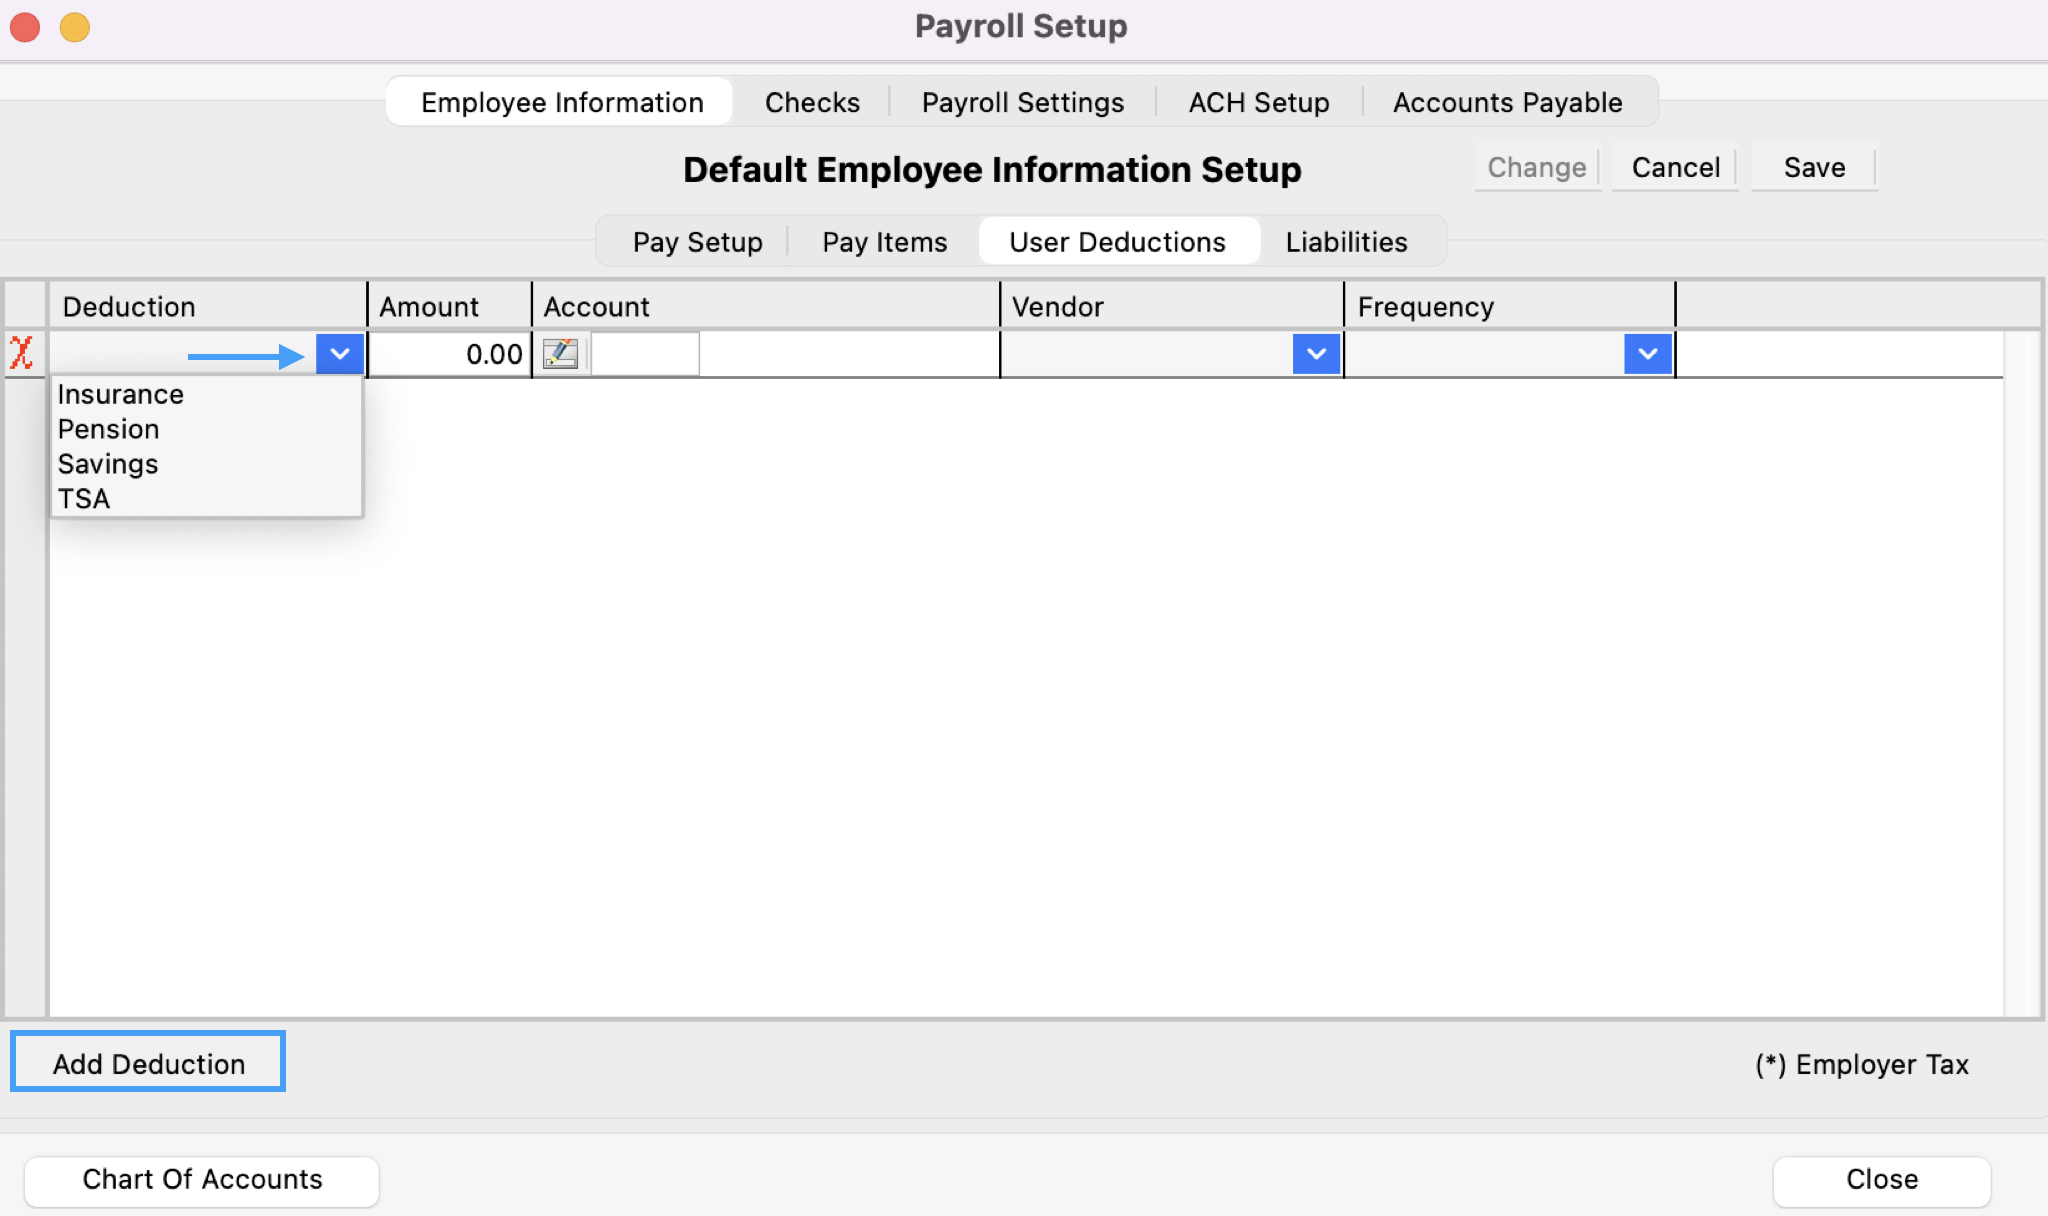
You can place your cursor in the box type a portion of the item you want and press Tab to auto-complete the entry. This search is case-insensitive and works on any portion of the entry, not just the beginning letters. For example, to find 403(b), you can type 403, press Tab, and you’ll get the first item that contains 403.
-
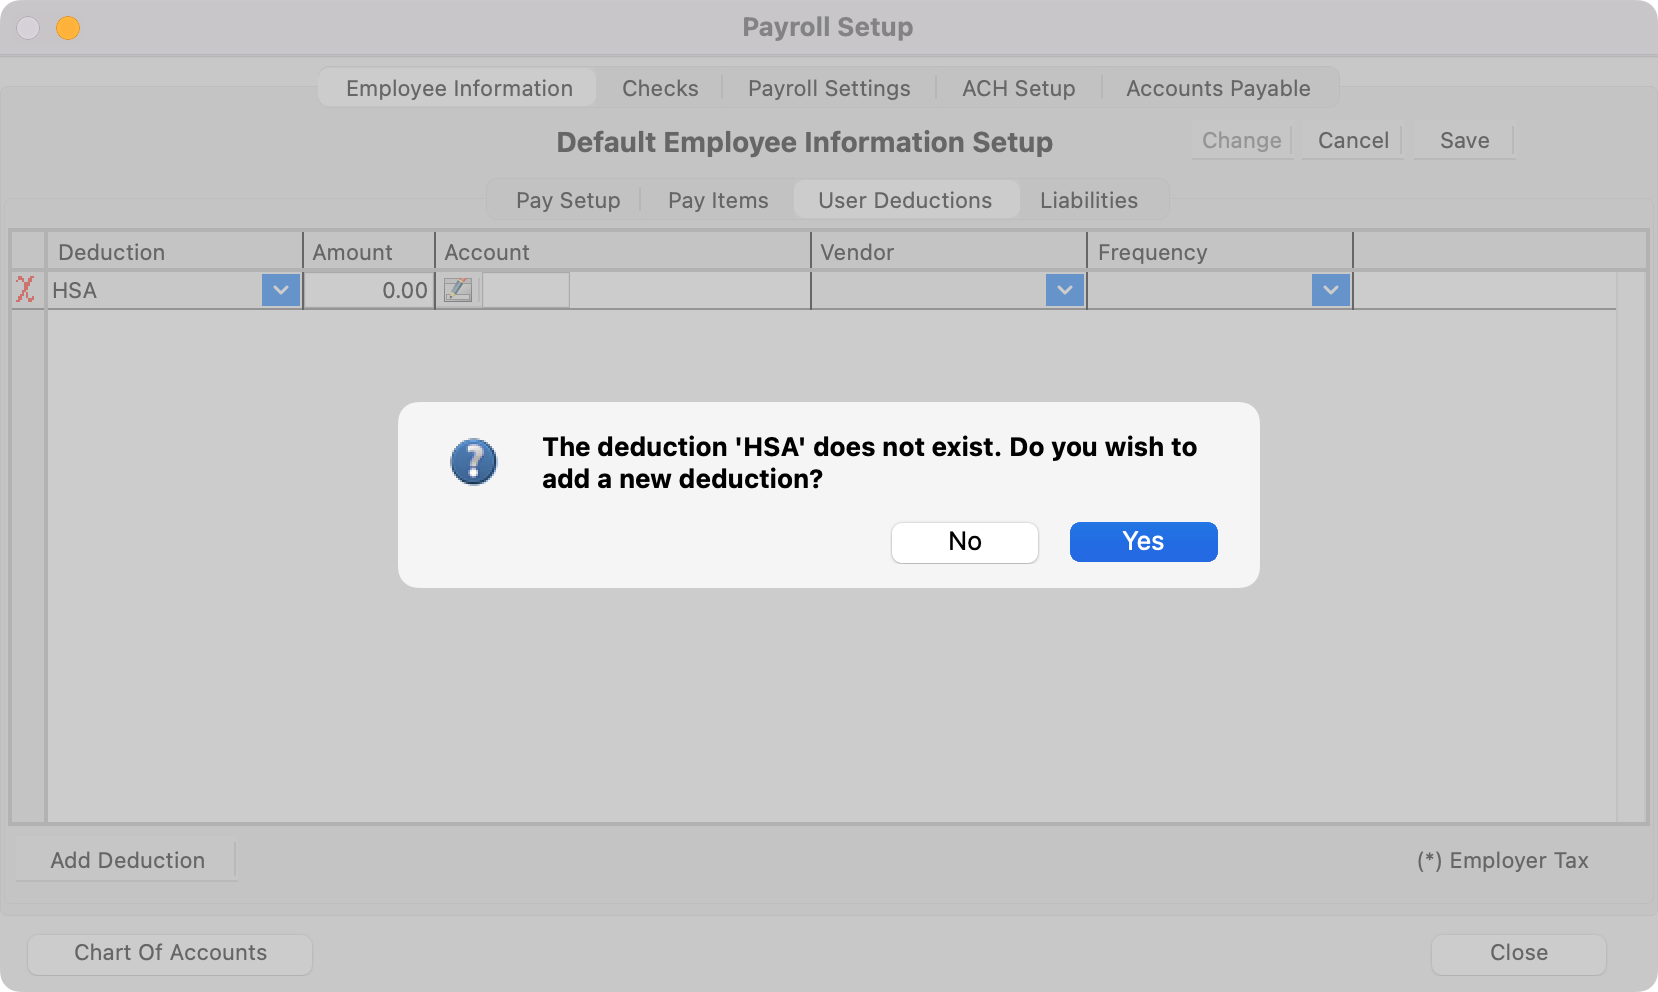
If you have not set up Deductions or wish to add a new deduction, type the new deduction and press Tab. You will see a message similar to the one shown here.
-
Click on Yes and the Deductions window will open.
-
Enter the new Deduction as described in the Creating Deductions section. Return to the Payroll Setup window to finish entering the Default Employee Information.
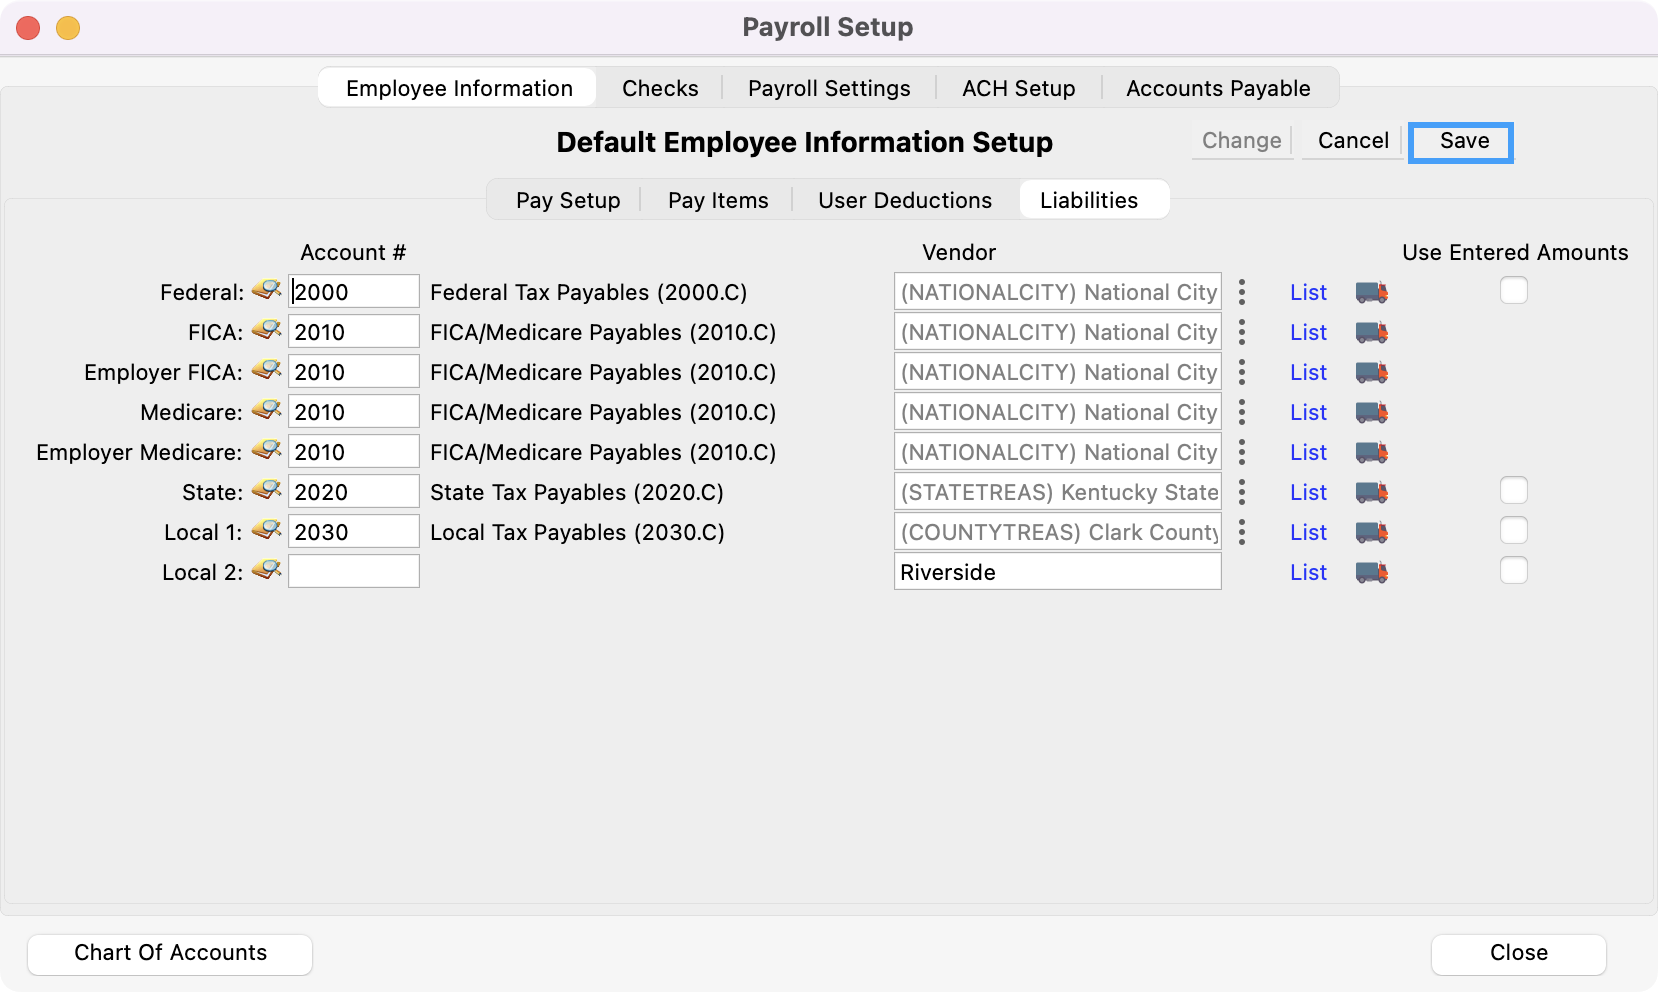
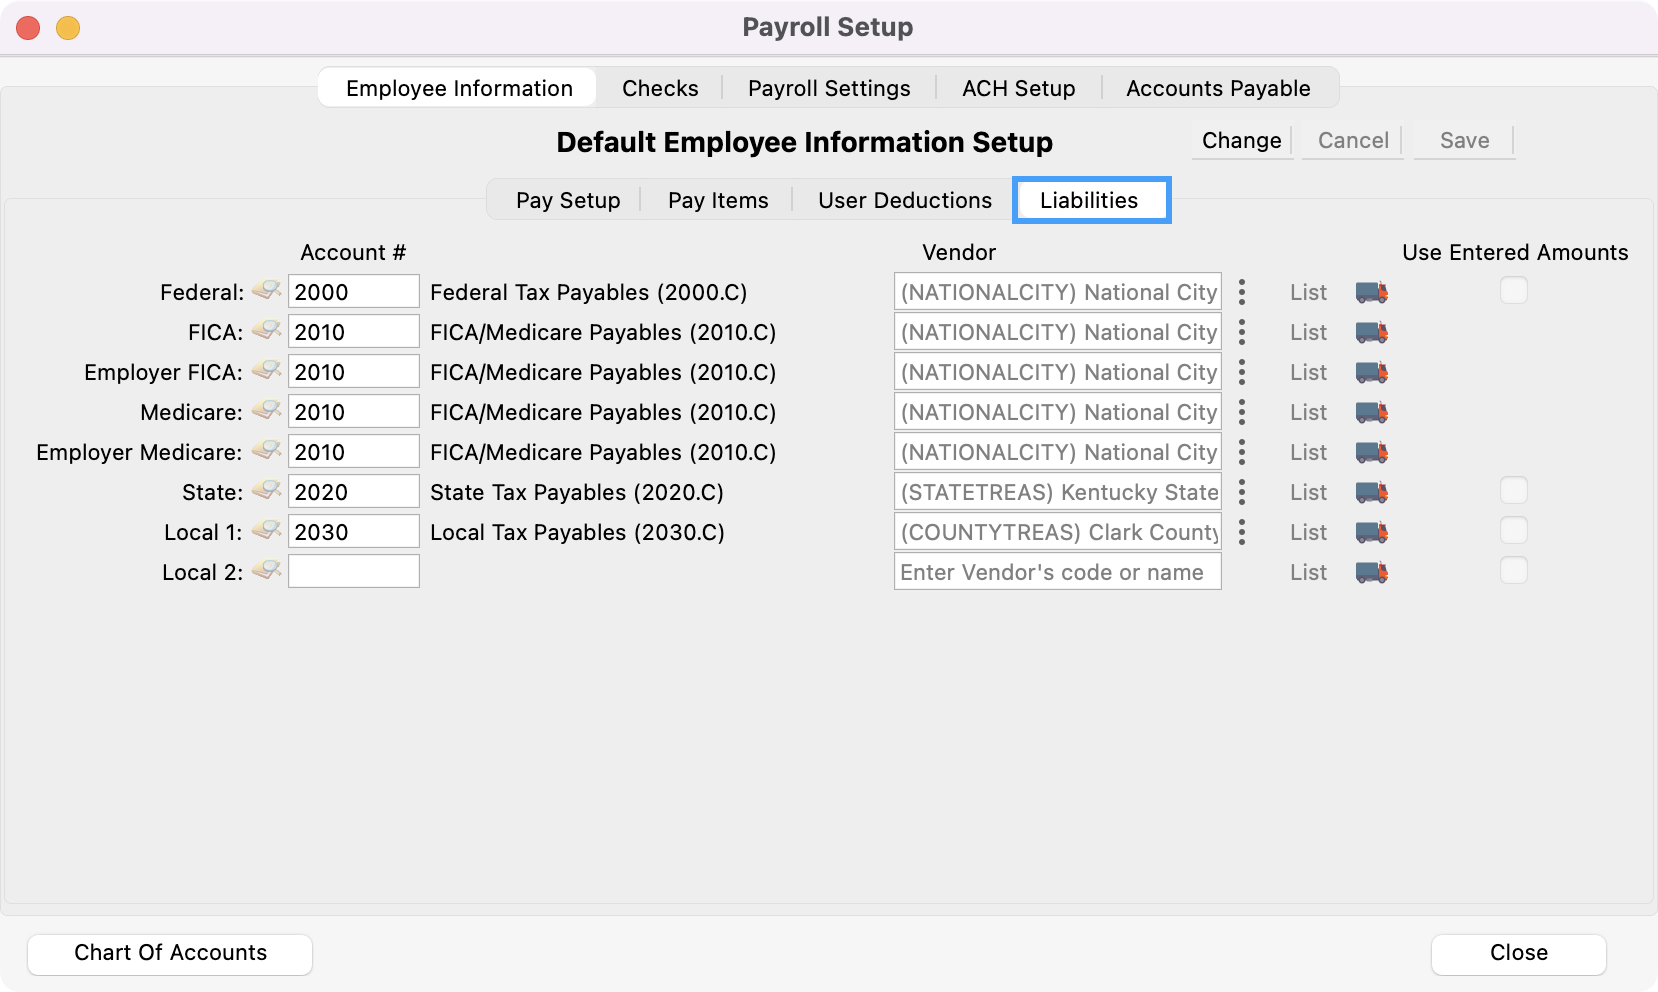
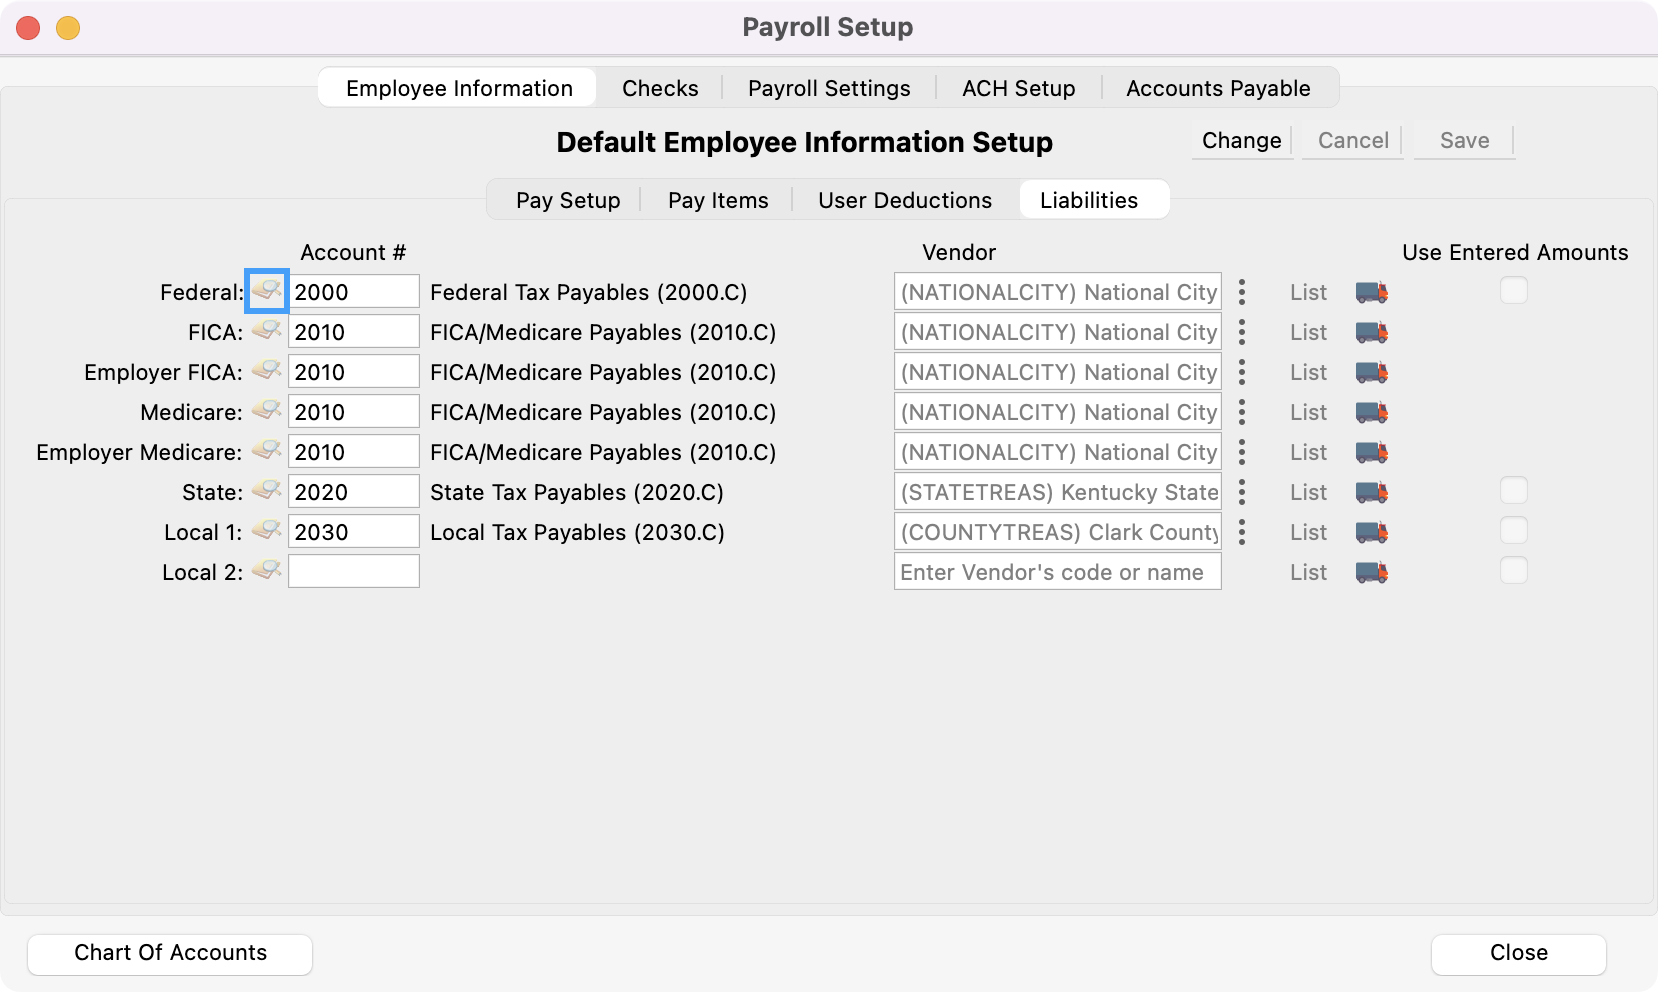
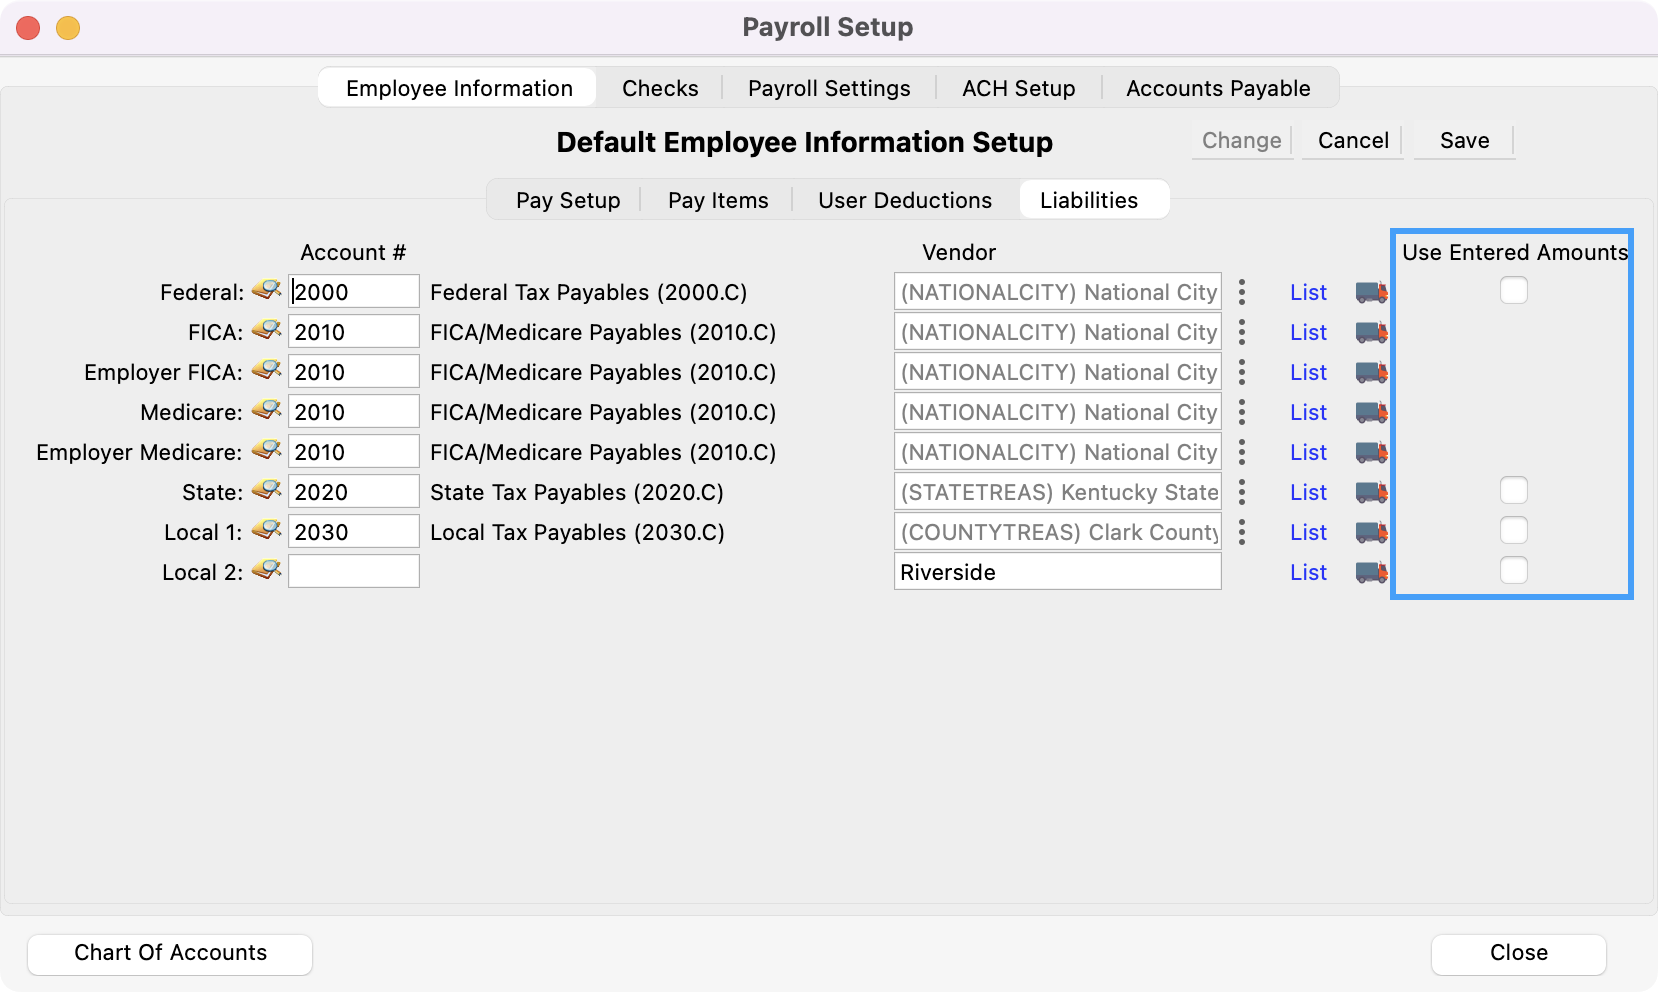
Liabilities
Here you may specify default liability accounts and vendors for all employees.
-
Click the Liabilities tab.
-
Click on the magnifying glass icon to select the account number from a list of Liability Accounts.
-
Use the drop lists to select the Vendor to which the tax is posted.
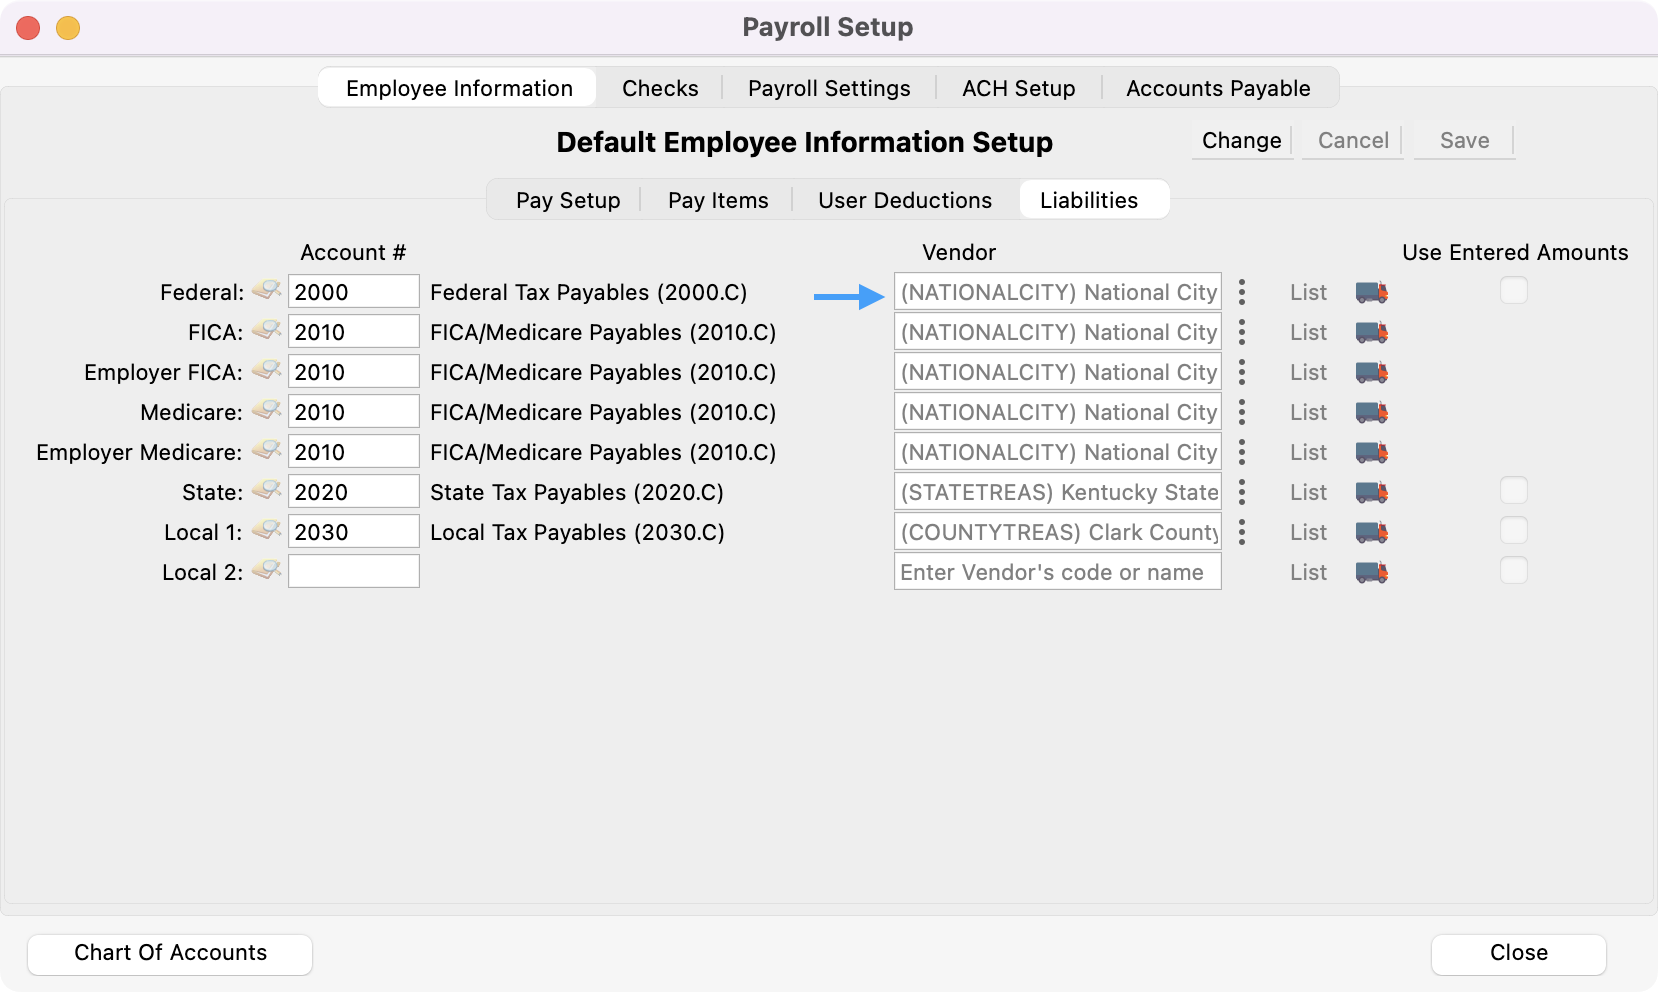
You can place your cursor in the box type a portion of the item you want and press Tab to auto-complete the entry. This search is case-insensitive and works on any portion of the entry, not just the beginning letters. For example, to find Kentucky State Treasurer, you can type state, press Tab, and you’ll get the first item that contains the letters state.
-
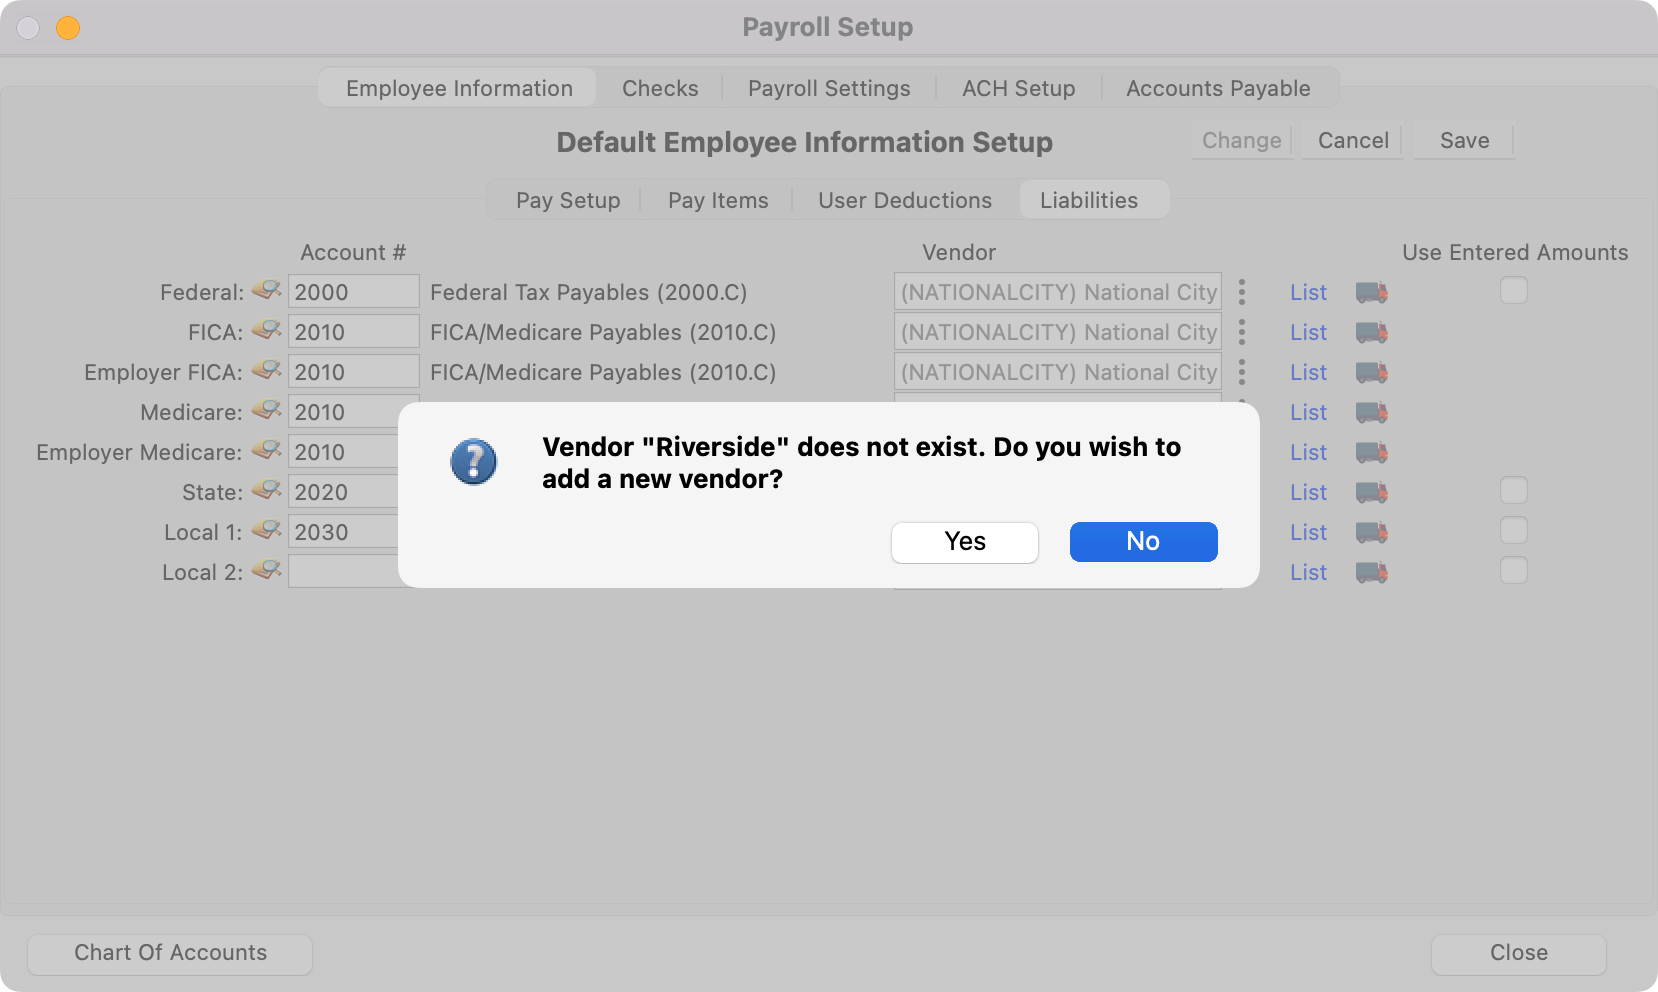
If you have not set up Vendors or wish to add a new vendor, type the new vendor and press Tab. You will see a message similar to this:
-
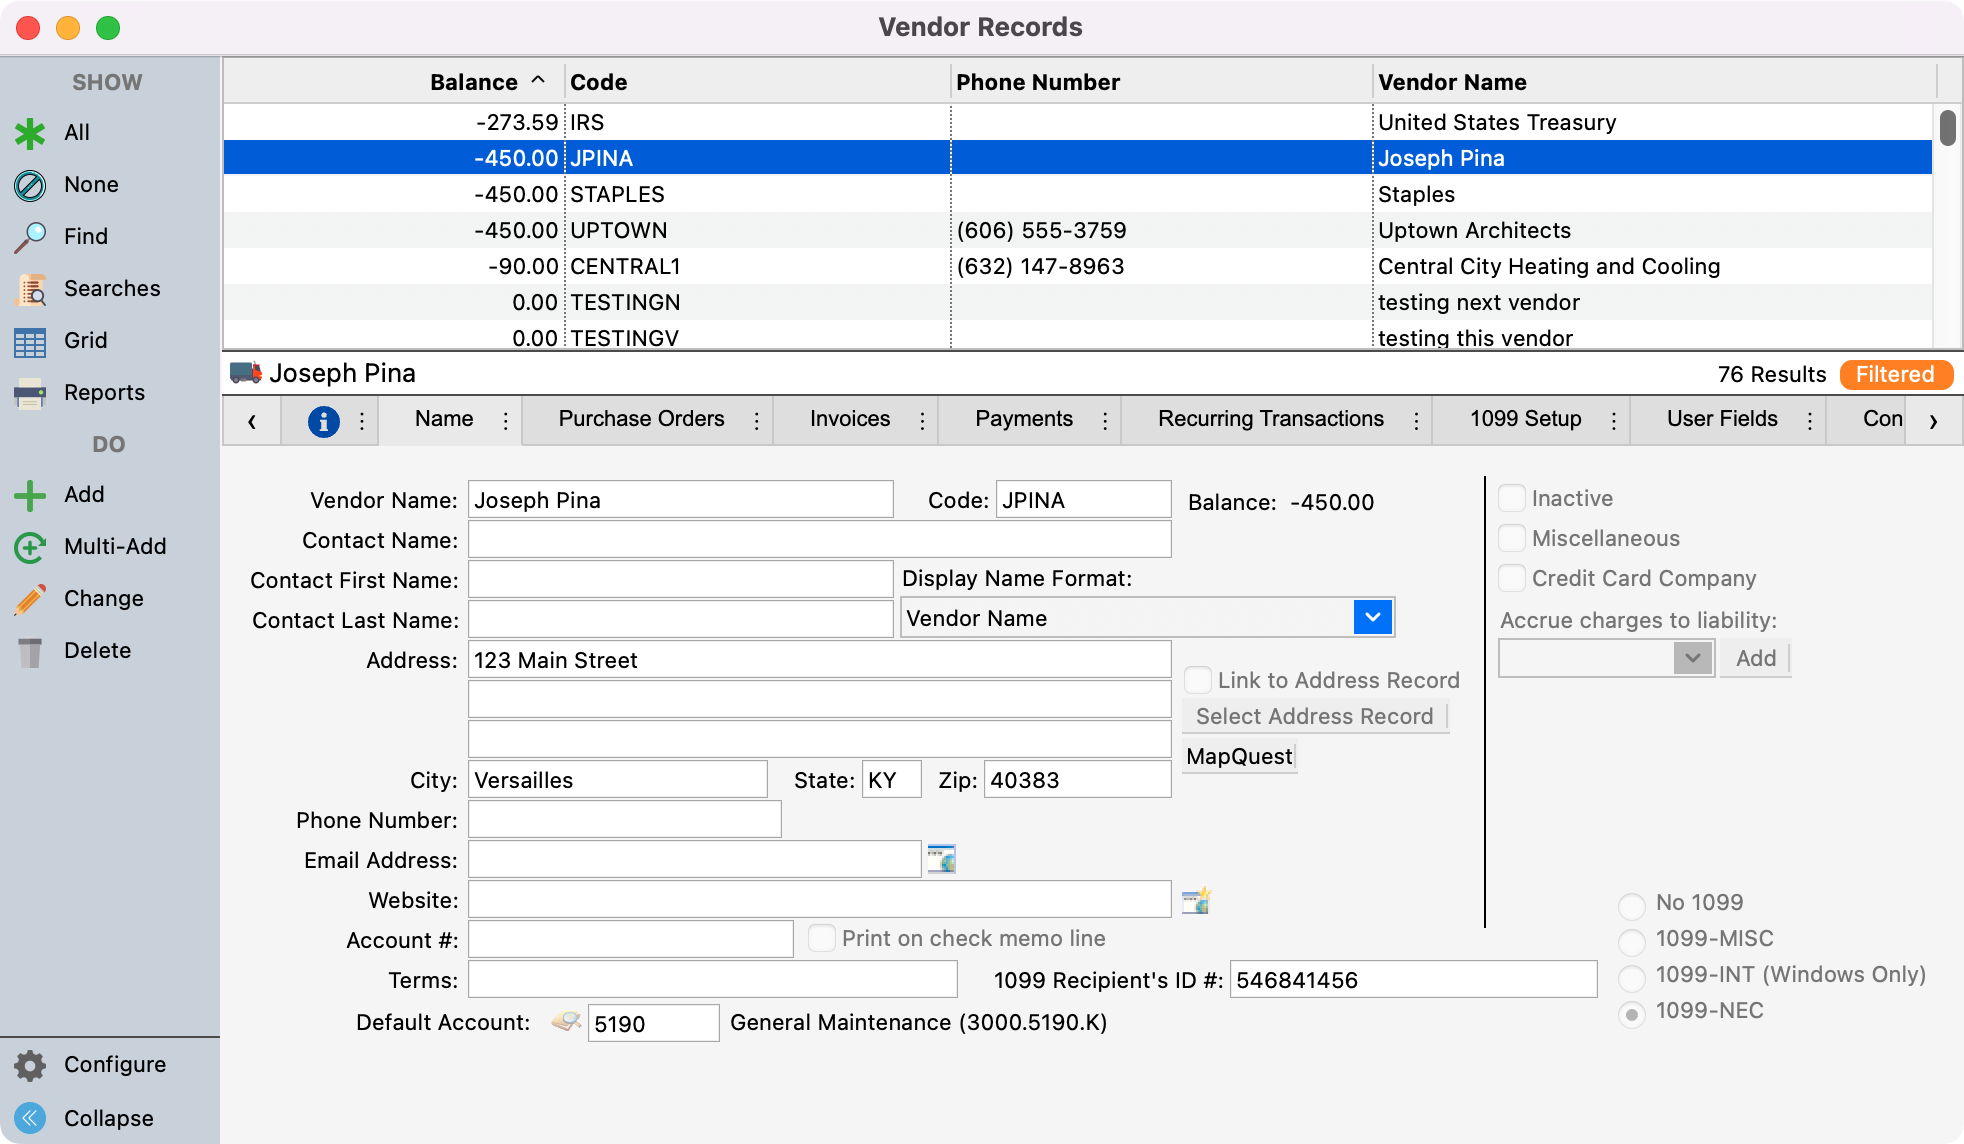
Click on Yes and the Vendor Records window will open.
-
Enter the new Vendor as described in the Setting Up Vendors section under Accounts Payable in the CDM+ Accounting manual. Return to the Payroll Setup window to finish entering the Default Employee Information.
-
If a tax is a set amount, rather than a percentage, click on the Use Entered Amounts Only checkbox. The amount is entered in each employee's record.
CDM+ will automatically calculate taxes for each employee. Entering in a fixed amount for each employee is the exception and should only be done at the direction of the employee.
-
To save all of your changes under the Pay Setup, Pay Items, User Deductions, and Liabilities click Save in the menu to the right of Default Employee Information Setup.