Visitor Address Records
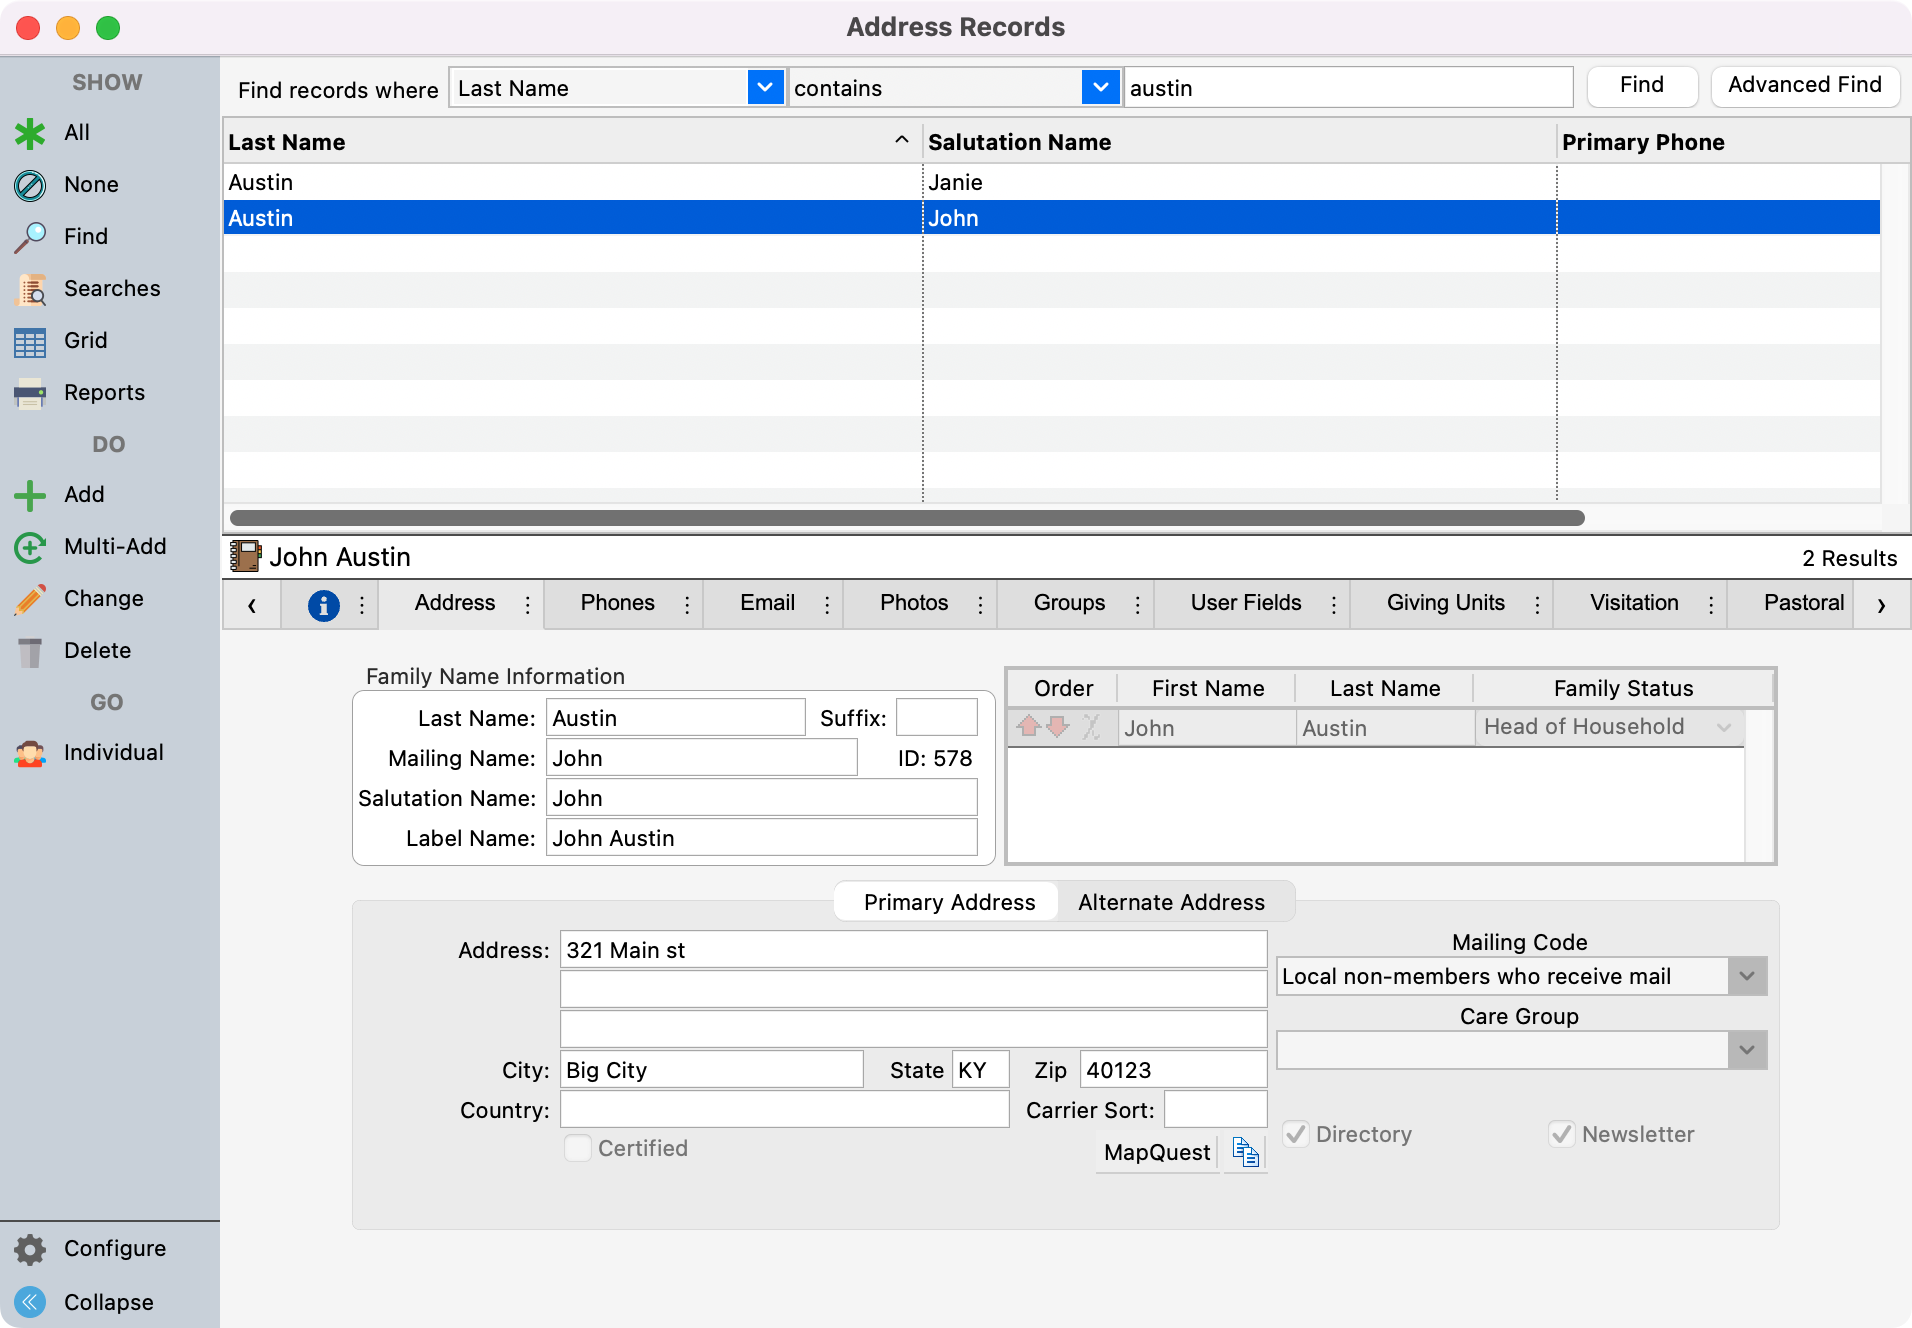
CDM+ provides extensive tracking of visitors to your church and assists in the process of integrating them into the life of your church. The Visitor Records window closely resembles the Address Records window in CDM+ Membership. You add individuals in the same manner. Also note that you have the same Newsletter and Directory checkboxes as you do with Address Records, making it easy to include visitors in your usual mailings.
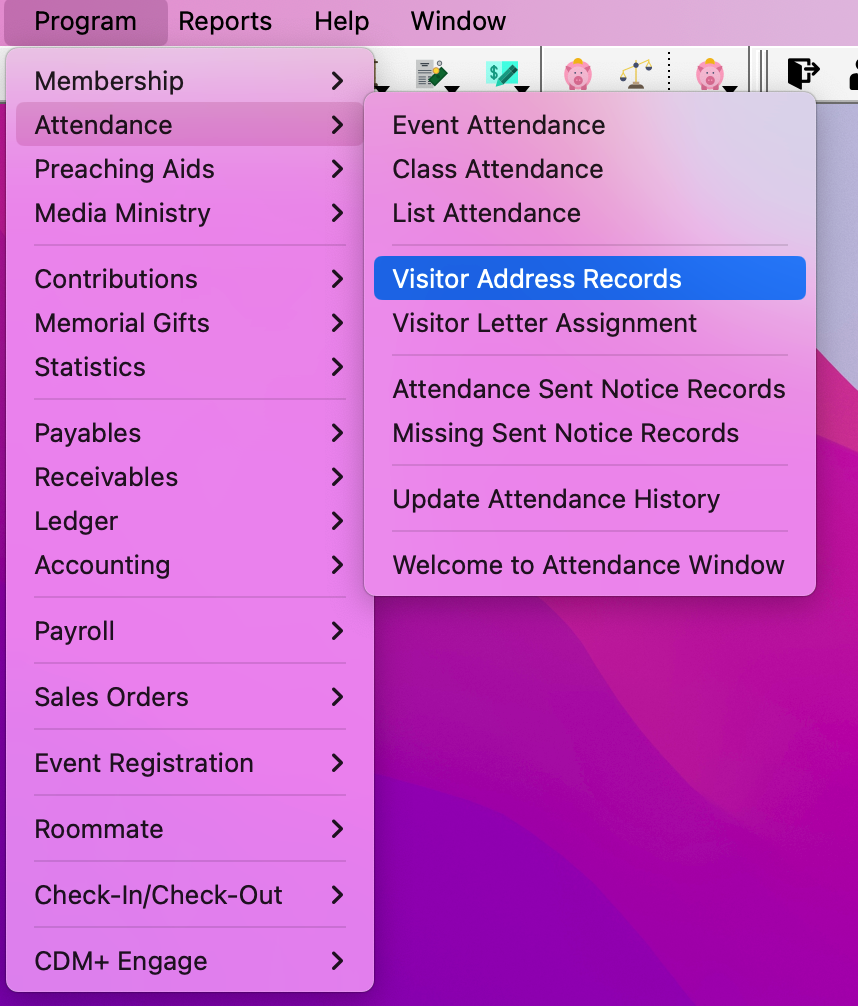
To get to Visitor Records, go to Program → Attendance → Visitor Address Records.
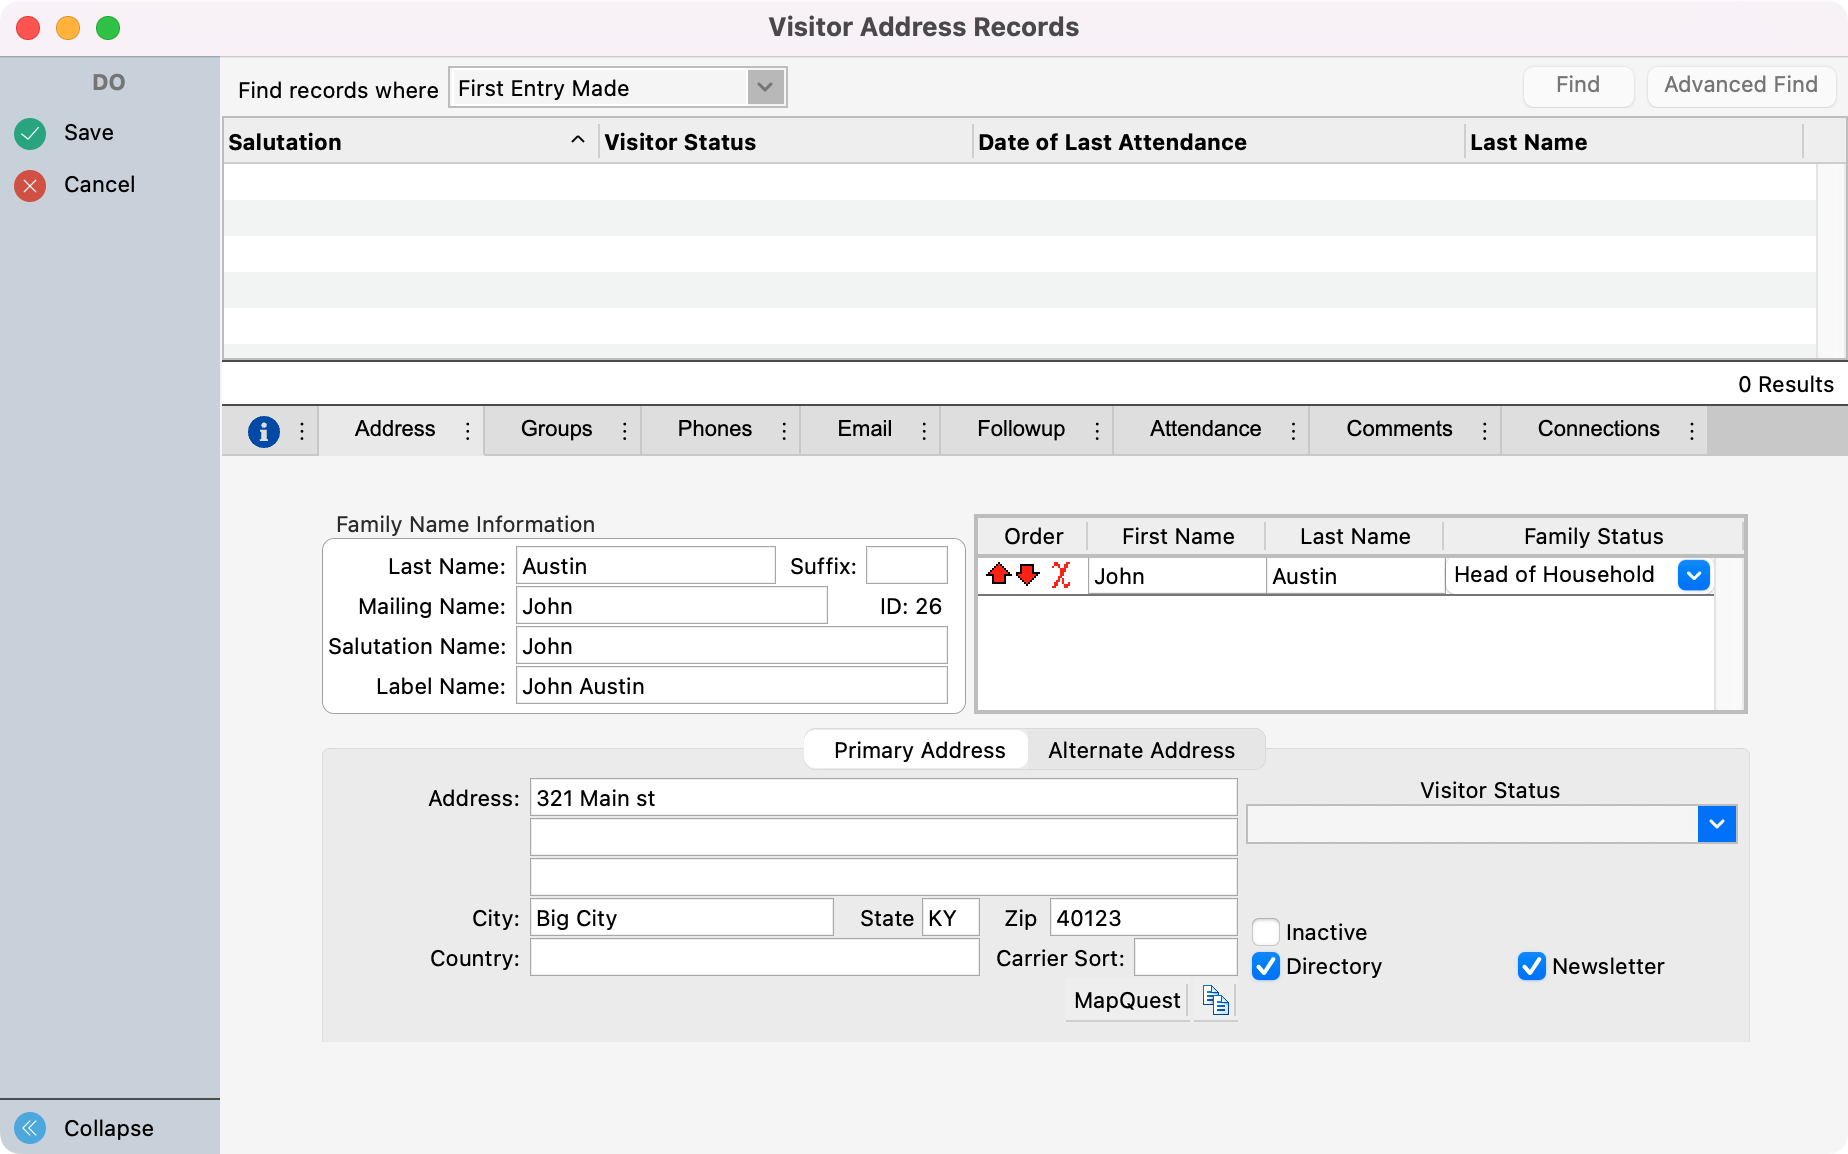
In the Visitor Address Record window, you can create a visitor the same way you would add a new Address Record.
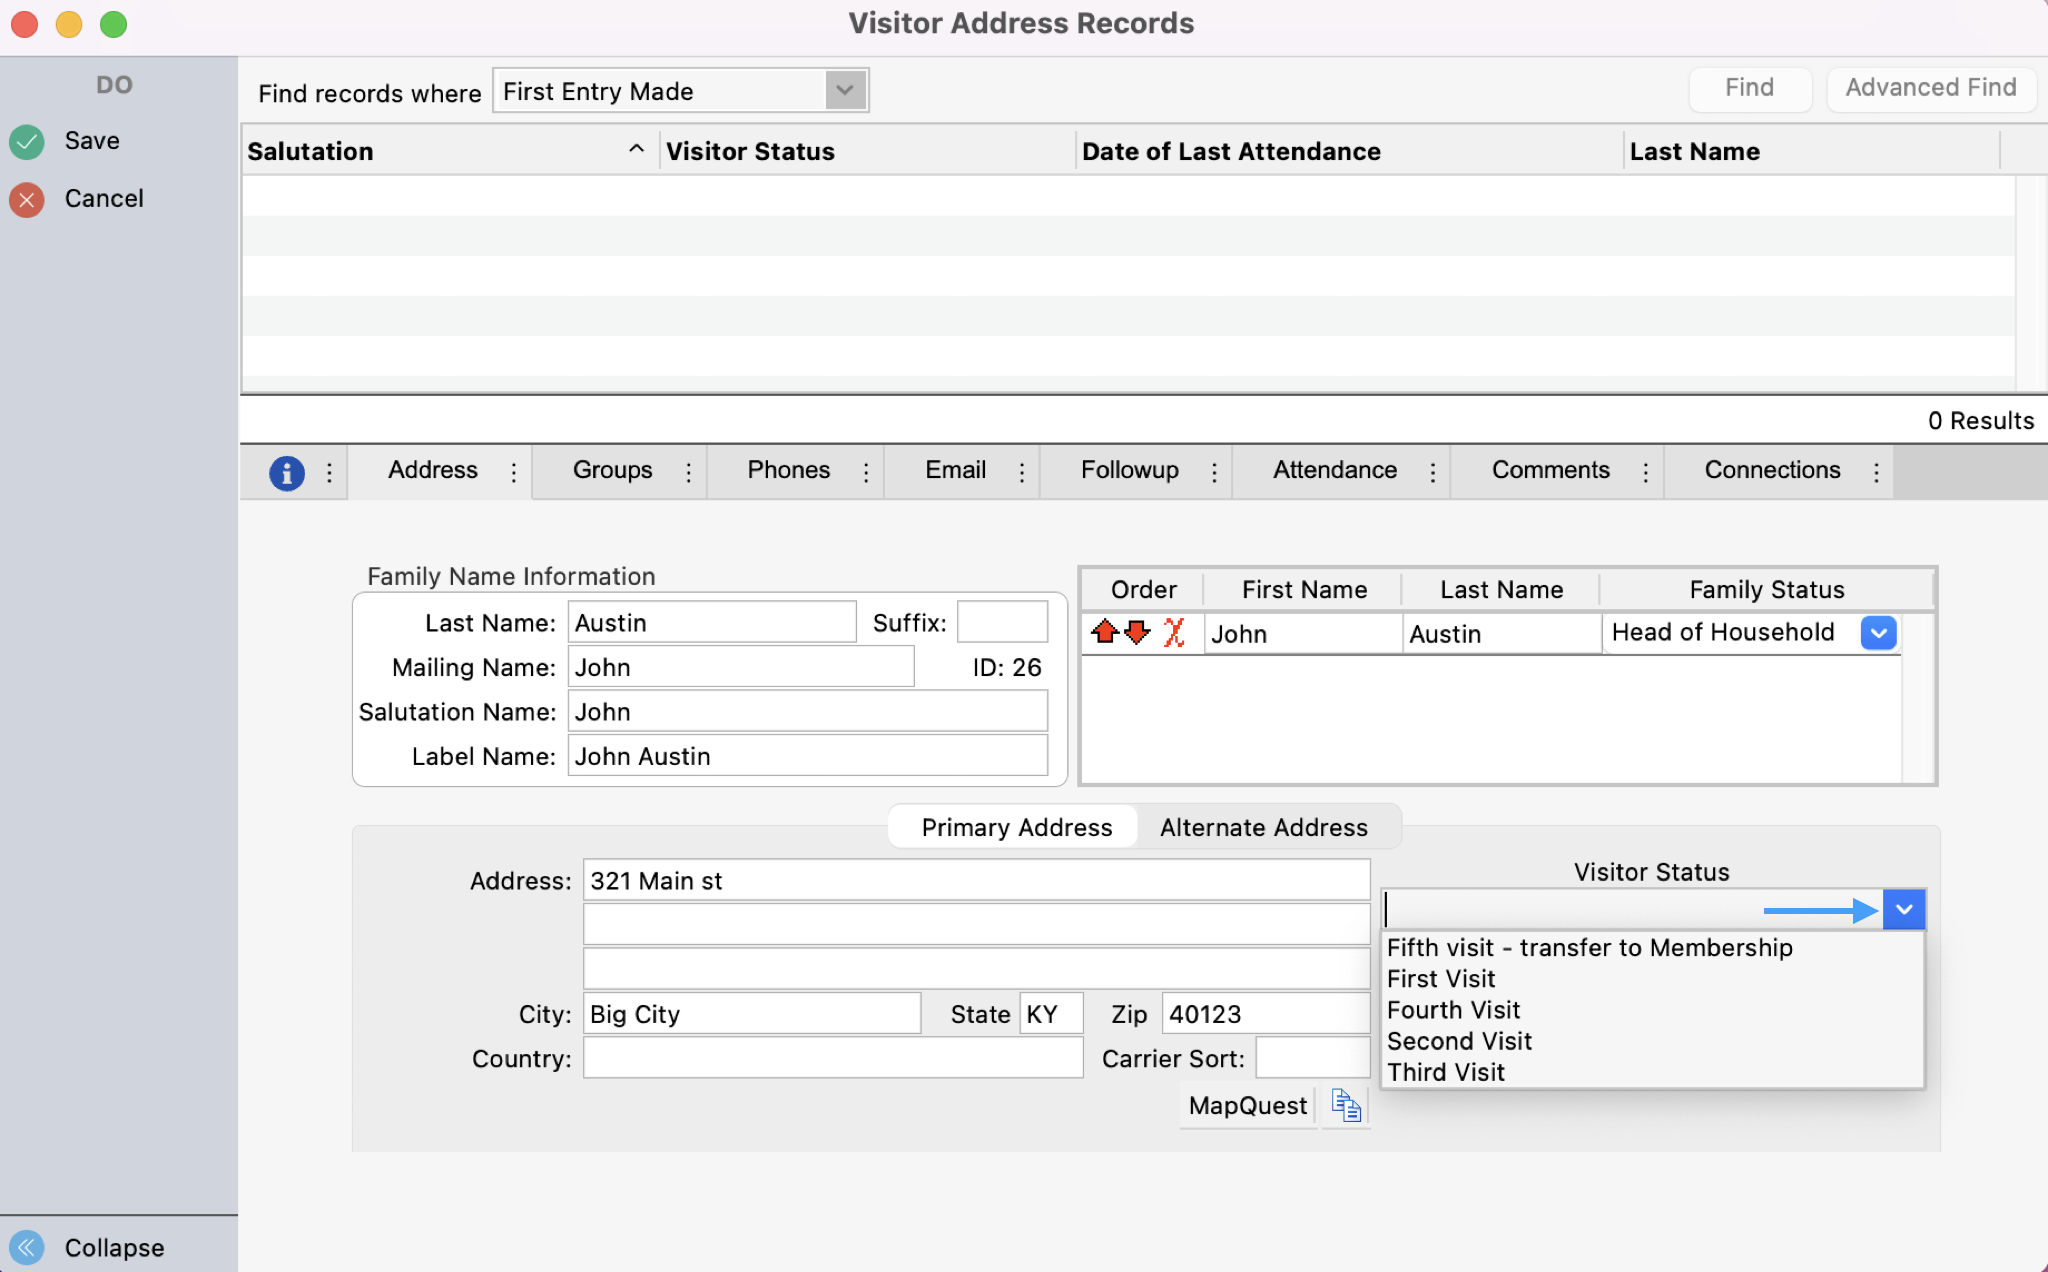
A field unique to the Visitor Address Record window is the Visitor Status field. Here you have the ability to track how many times the visitor has visited. You can customize the options you want to appear in this drop-down list in the Master Coding System.
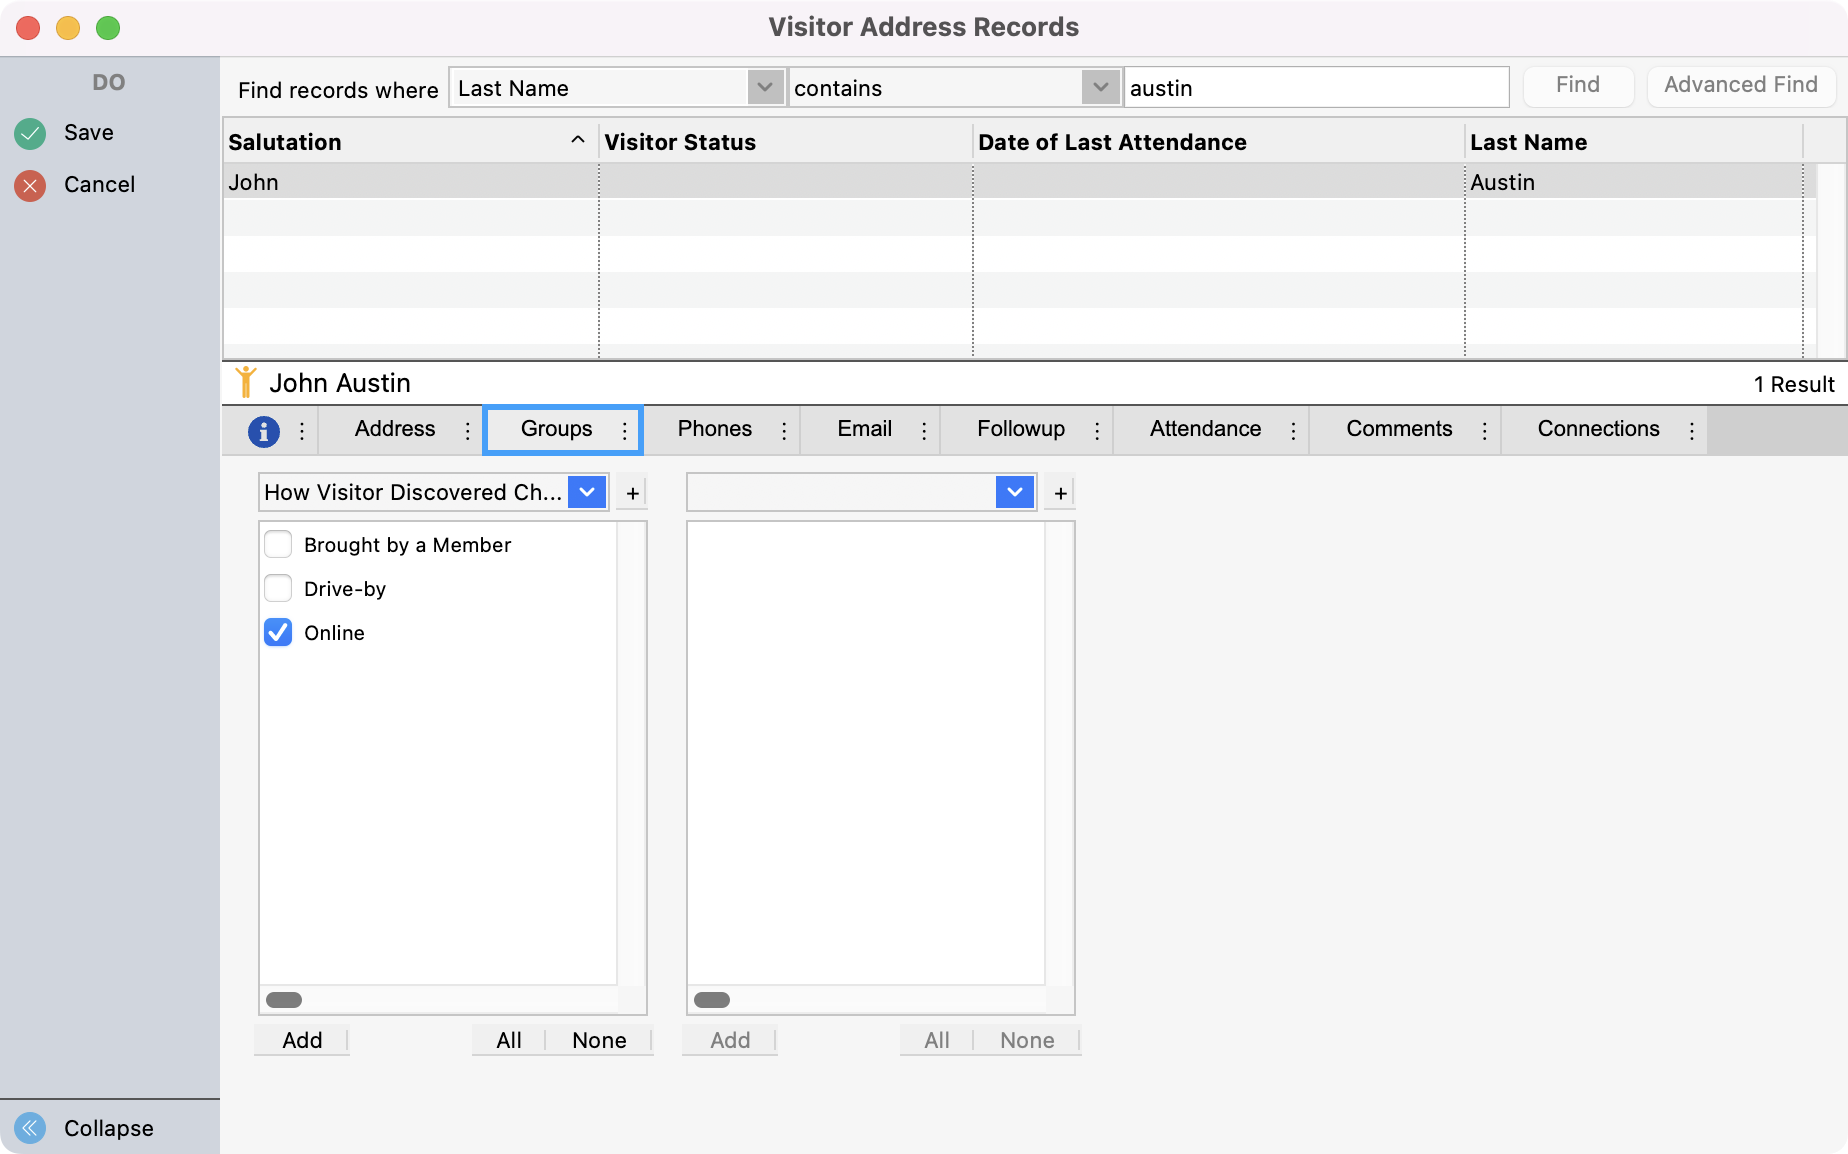
Under the Groups tab, you can create groups specific to the Visitor Address in the Master Coding System. Using groups, you can track different data points that allow you to gather information about your visitors.
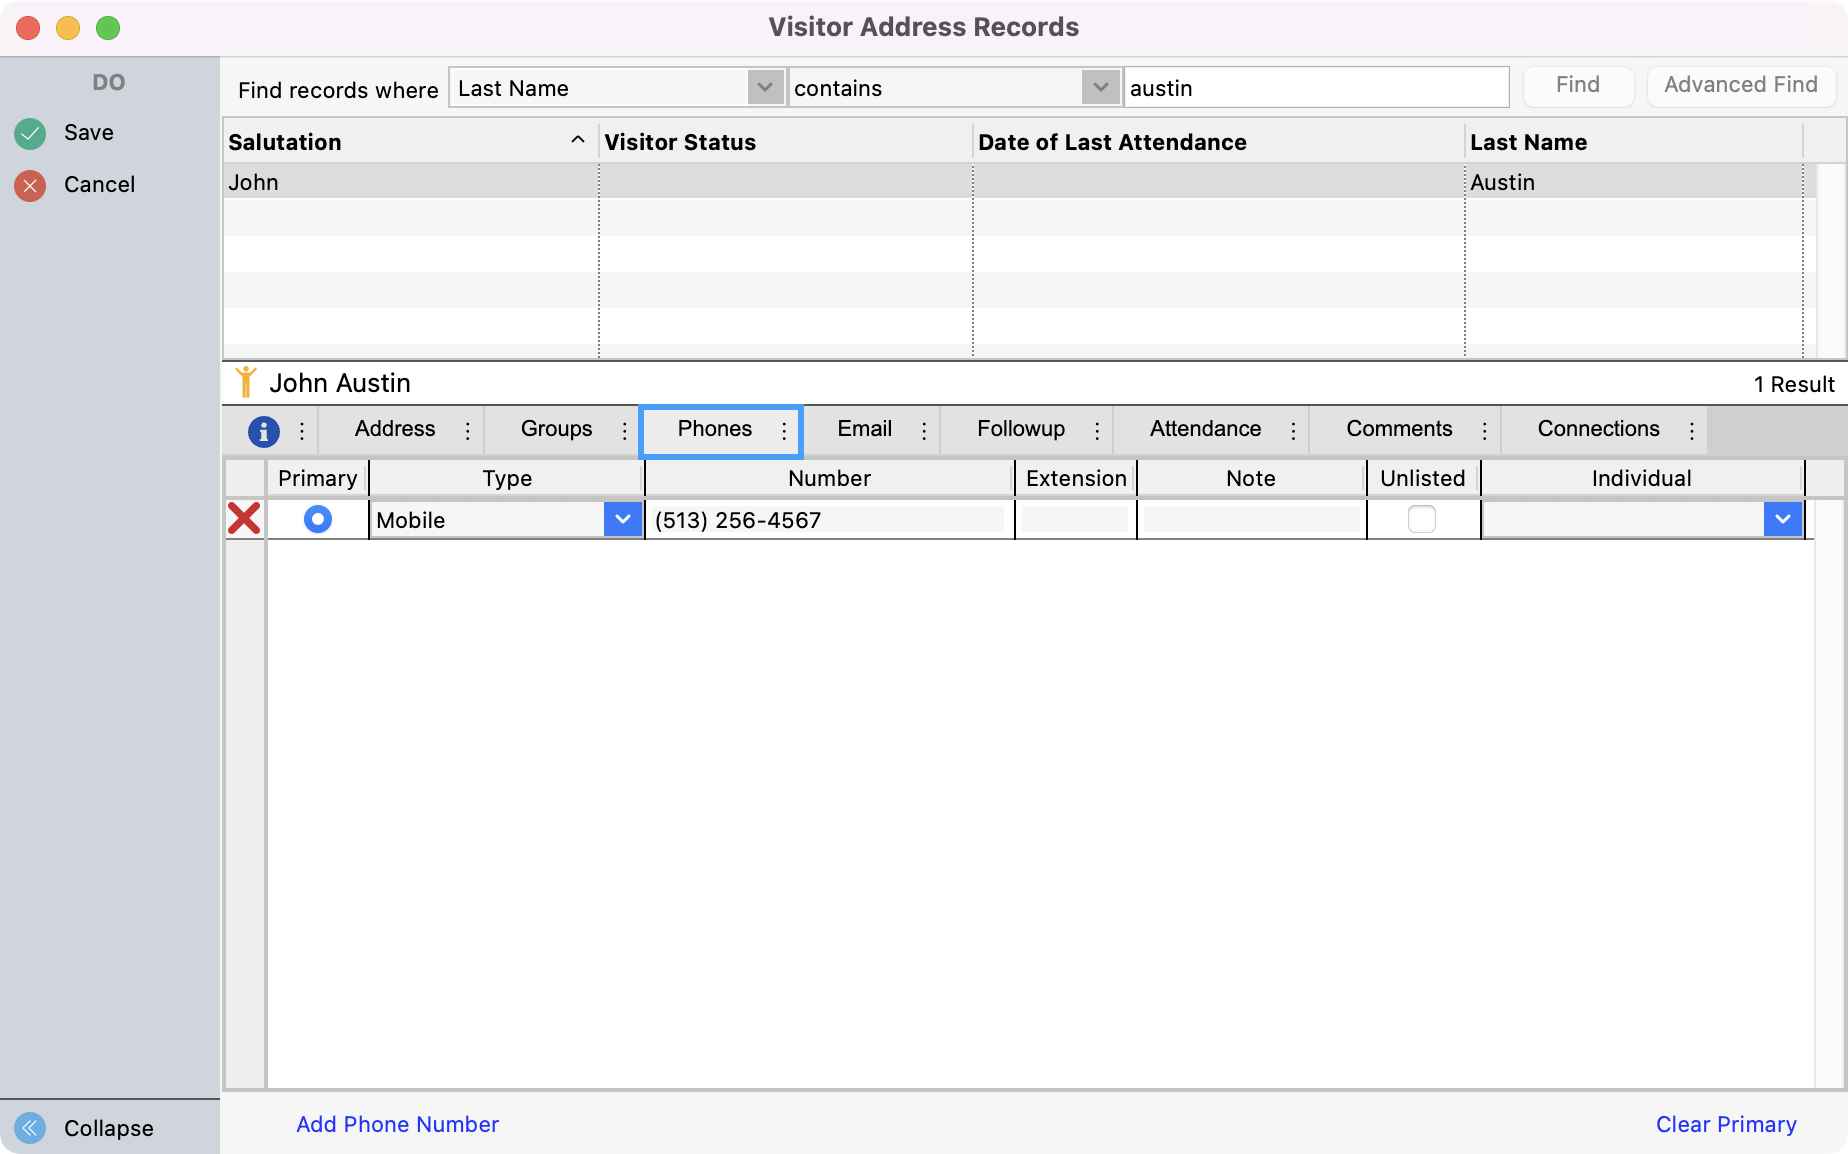
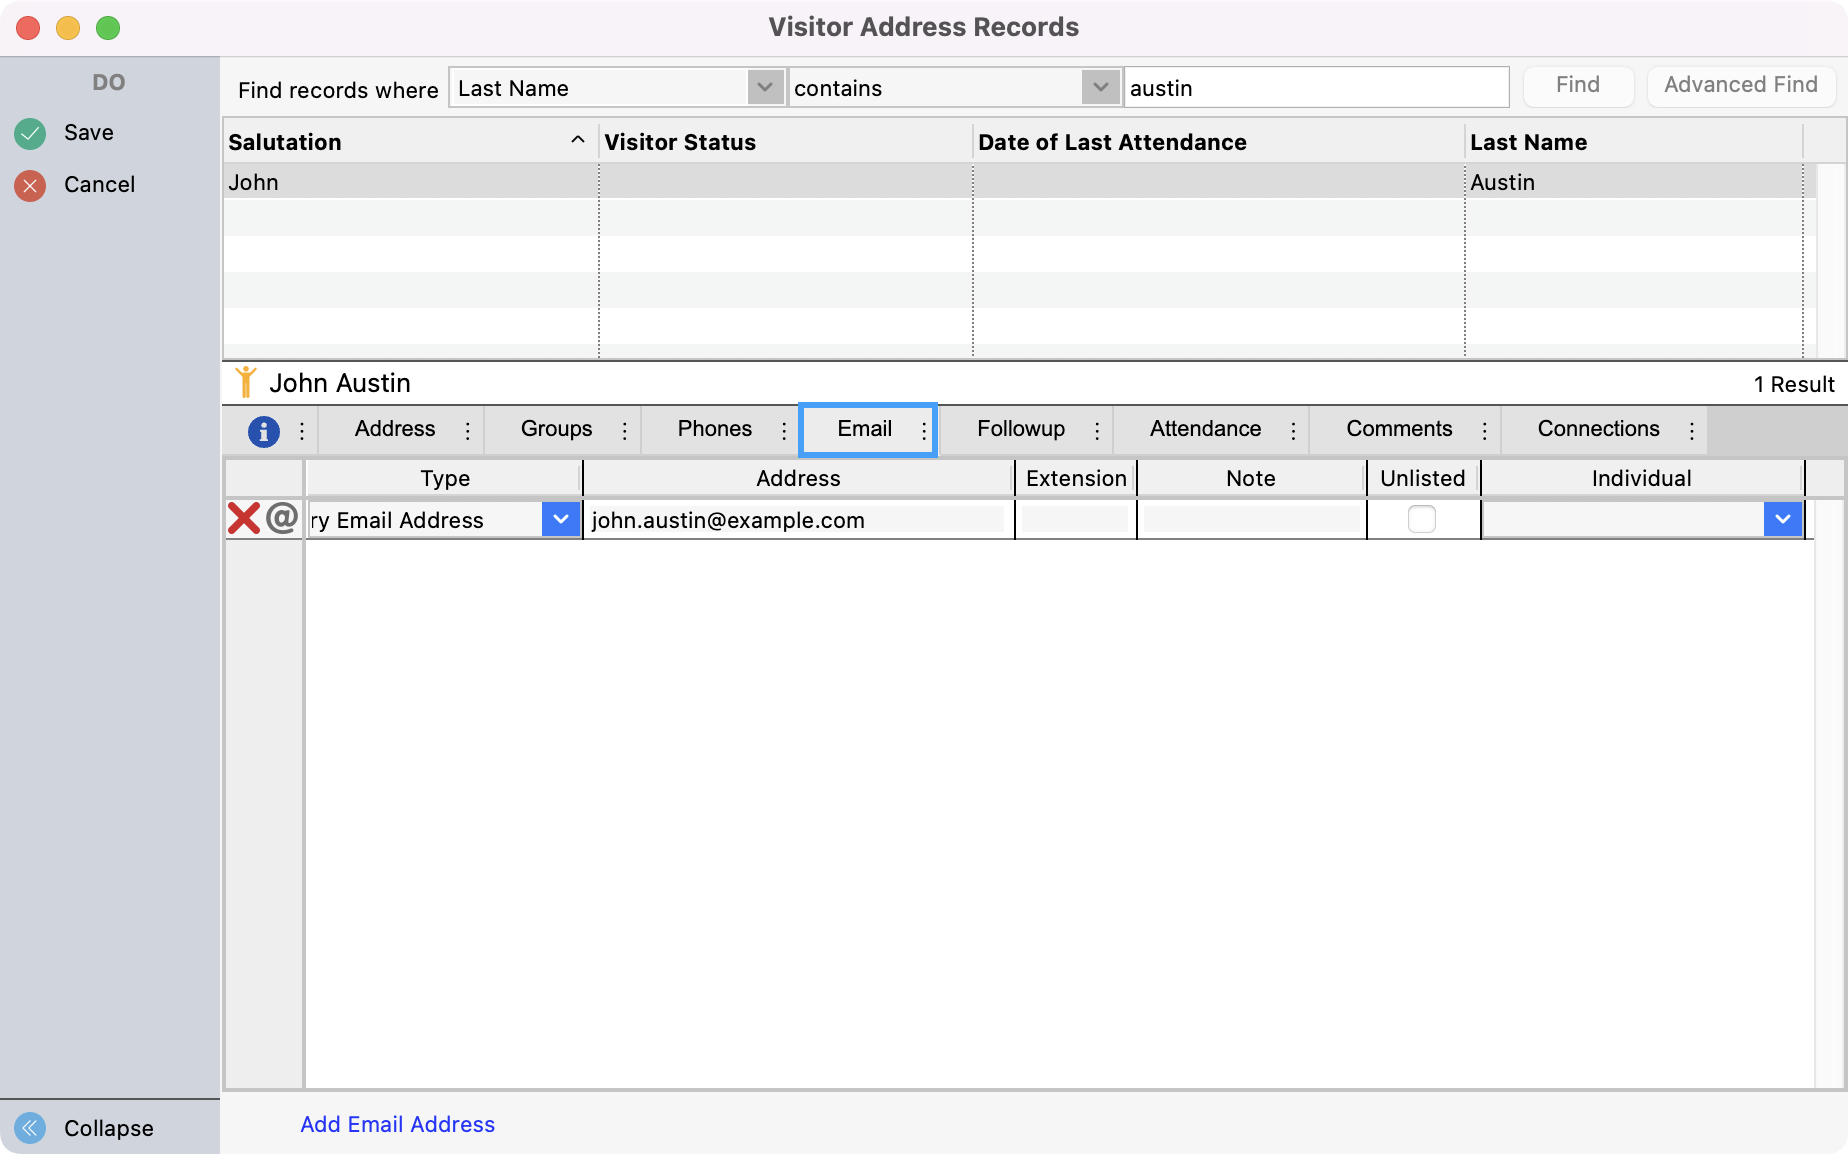
Under the Phone and Email tabs, you can add the visitor’s contact information.
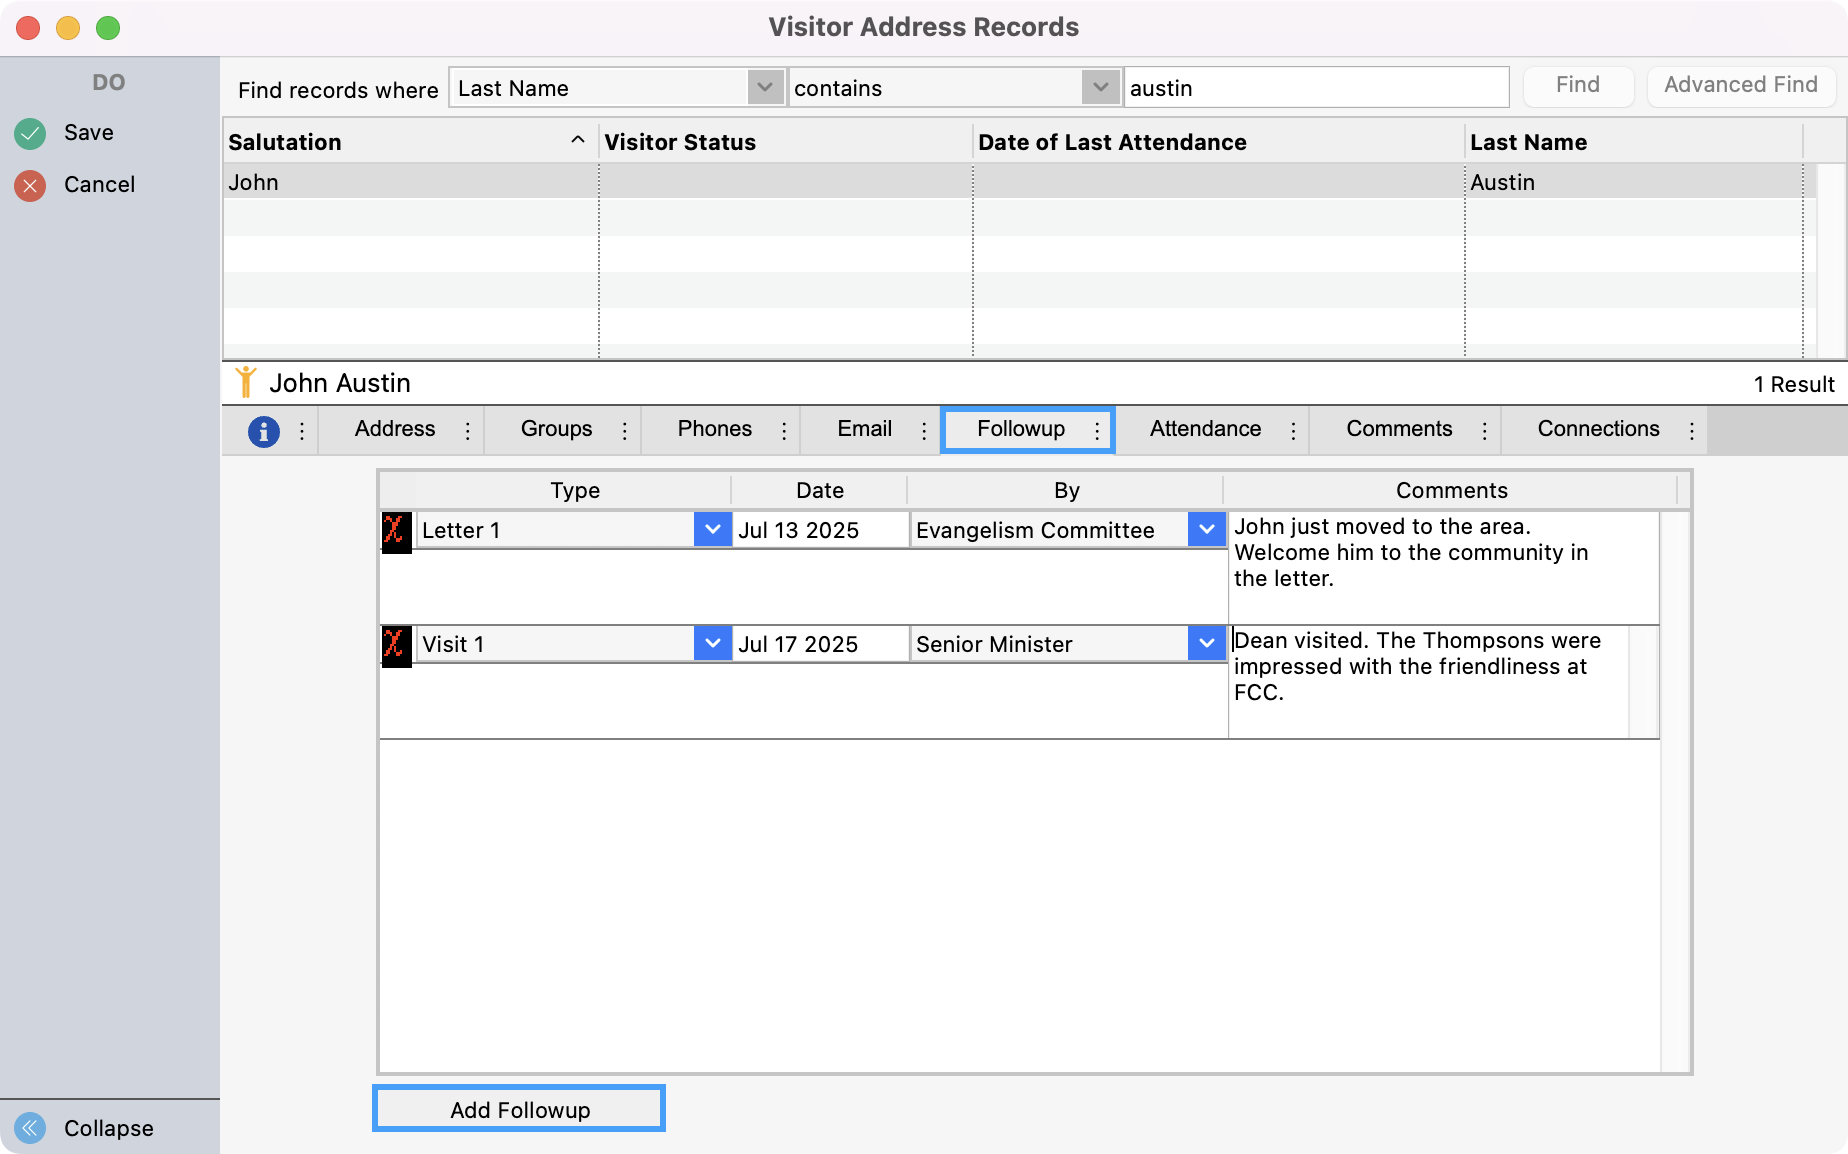
A unique tab to the Visitor Address Record is the Followup tab. Here you can track the different follow-ups that have been made with the visitor. You can customize the Visitor Followup Person and Visitor Followup Type in the Master Coding System.
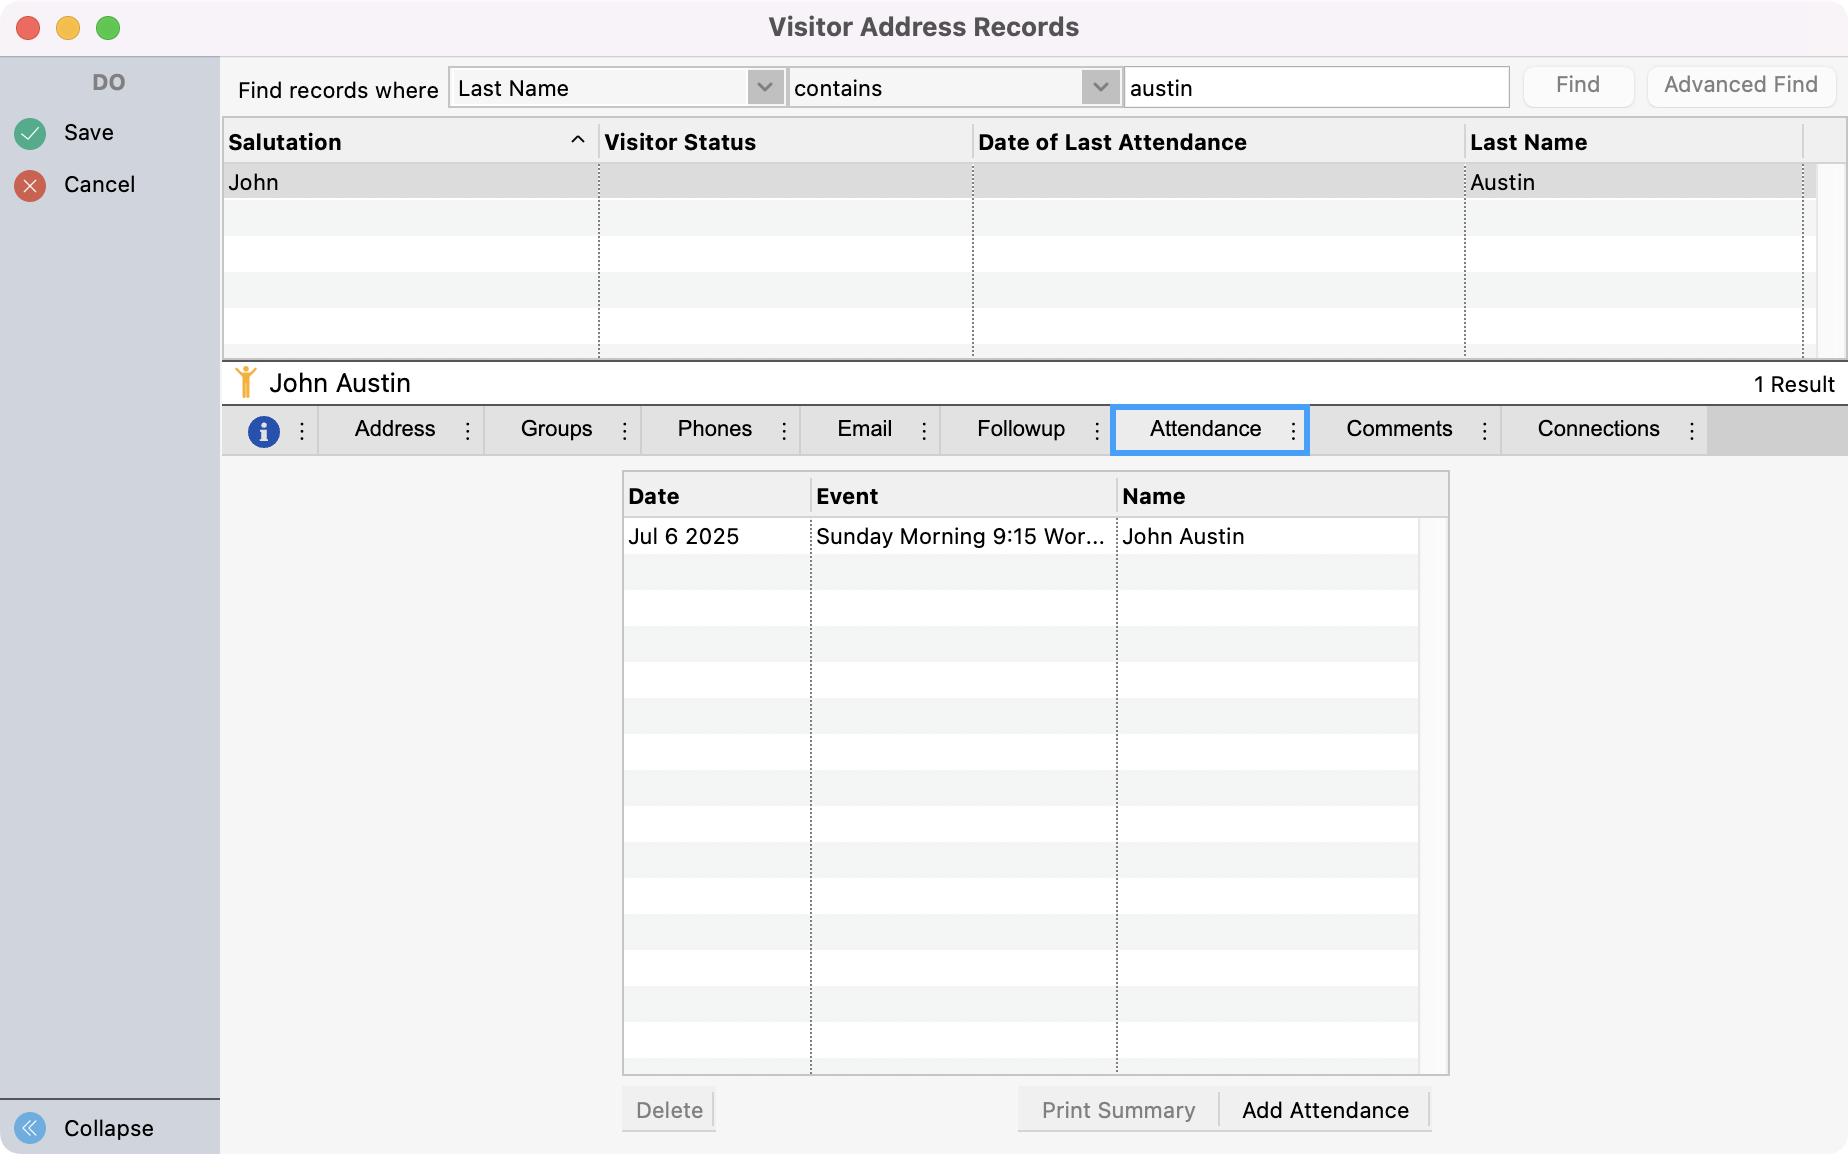
Under the Attendance tab, you can track the visitor’s attendance at different church events.
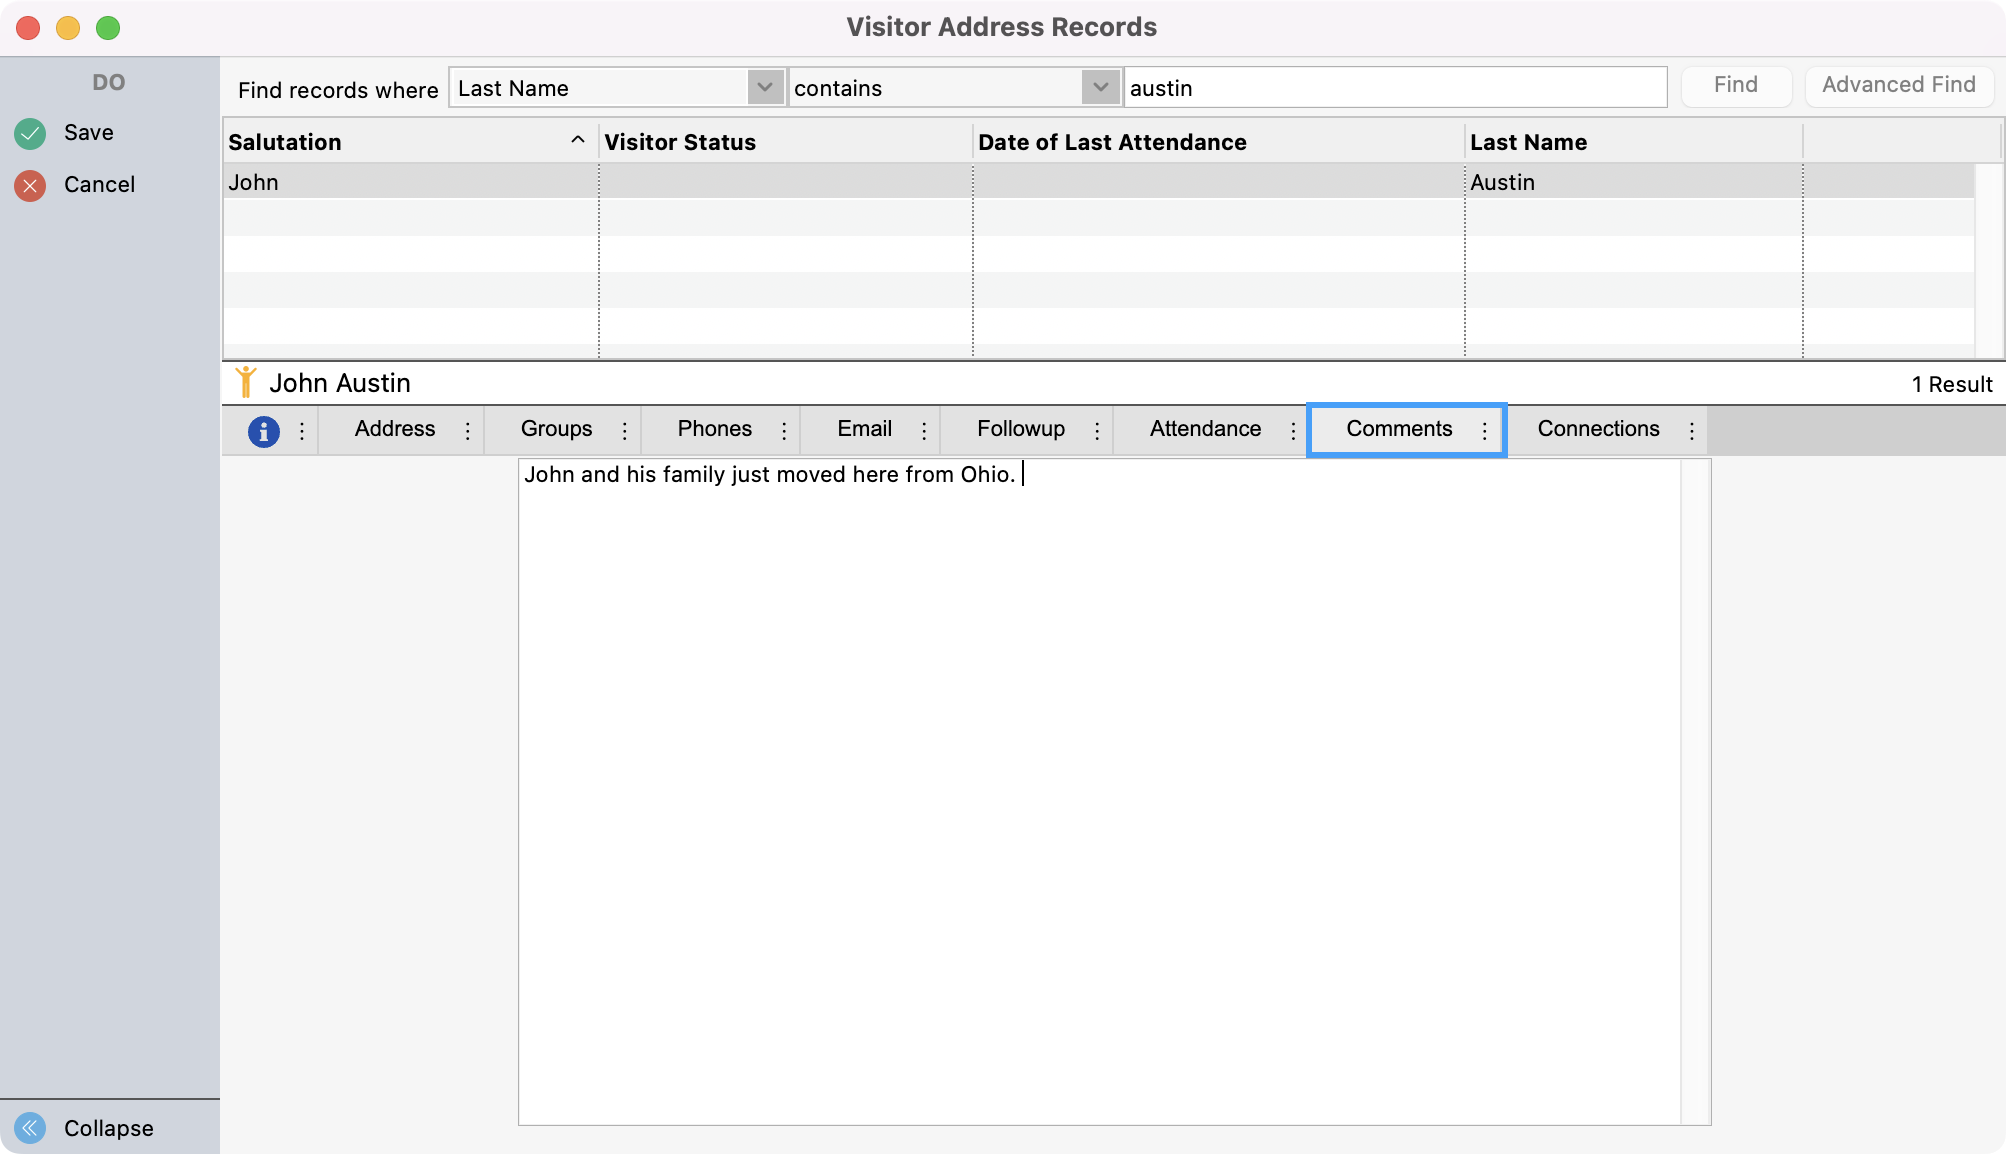
Under the Comments tab, you can type any notes that you may want to refer back to about this Visitor Address Record.
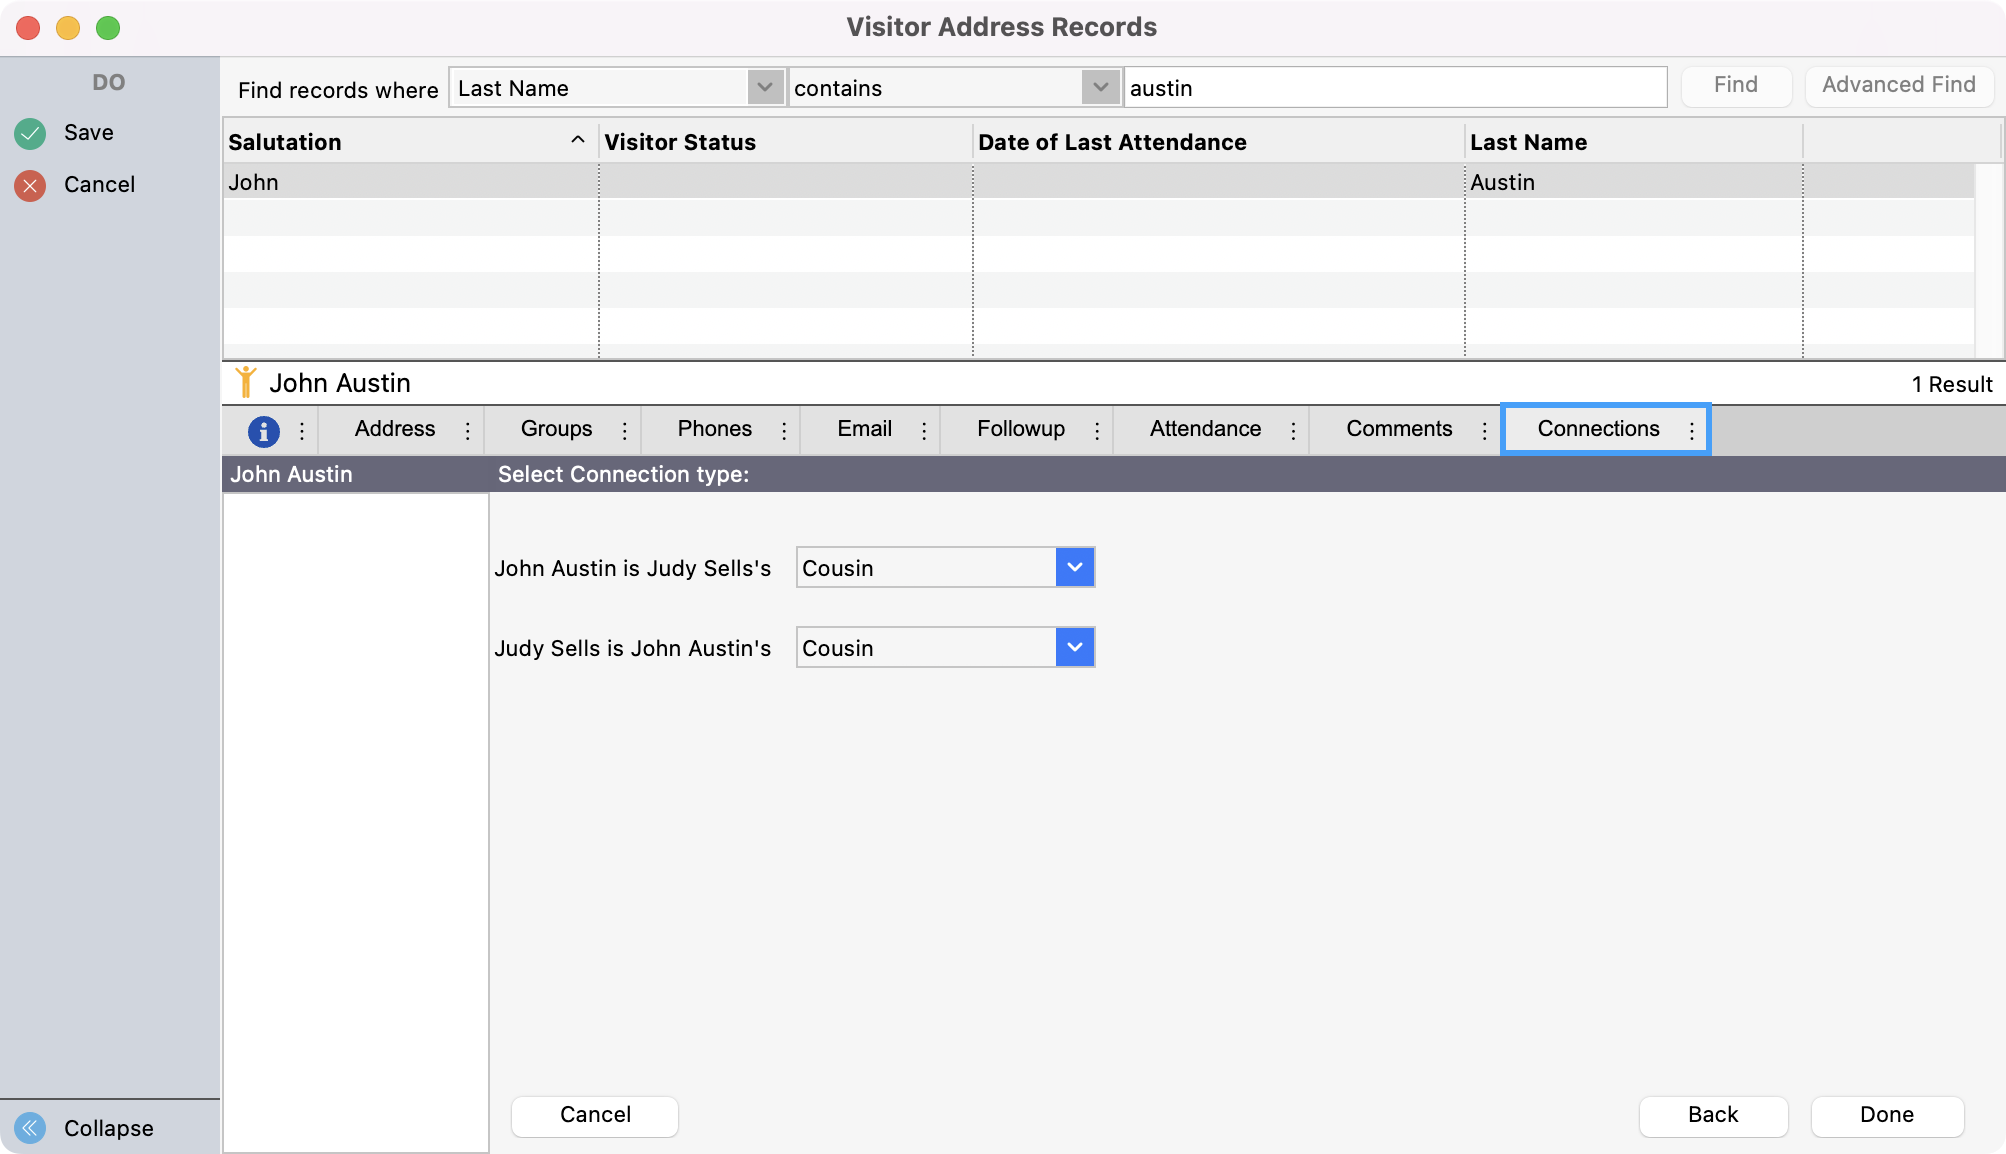
Under the Connections tab, you can add Connections that show relationships between the visitor and different individuals or other records in CDM+.
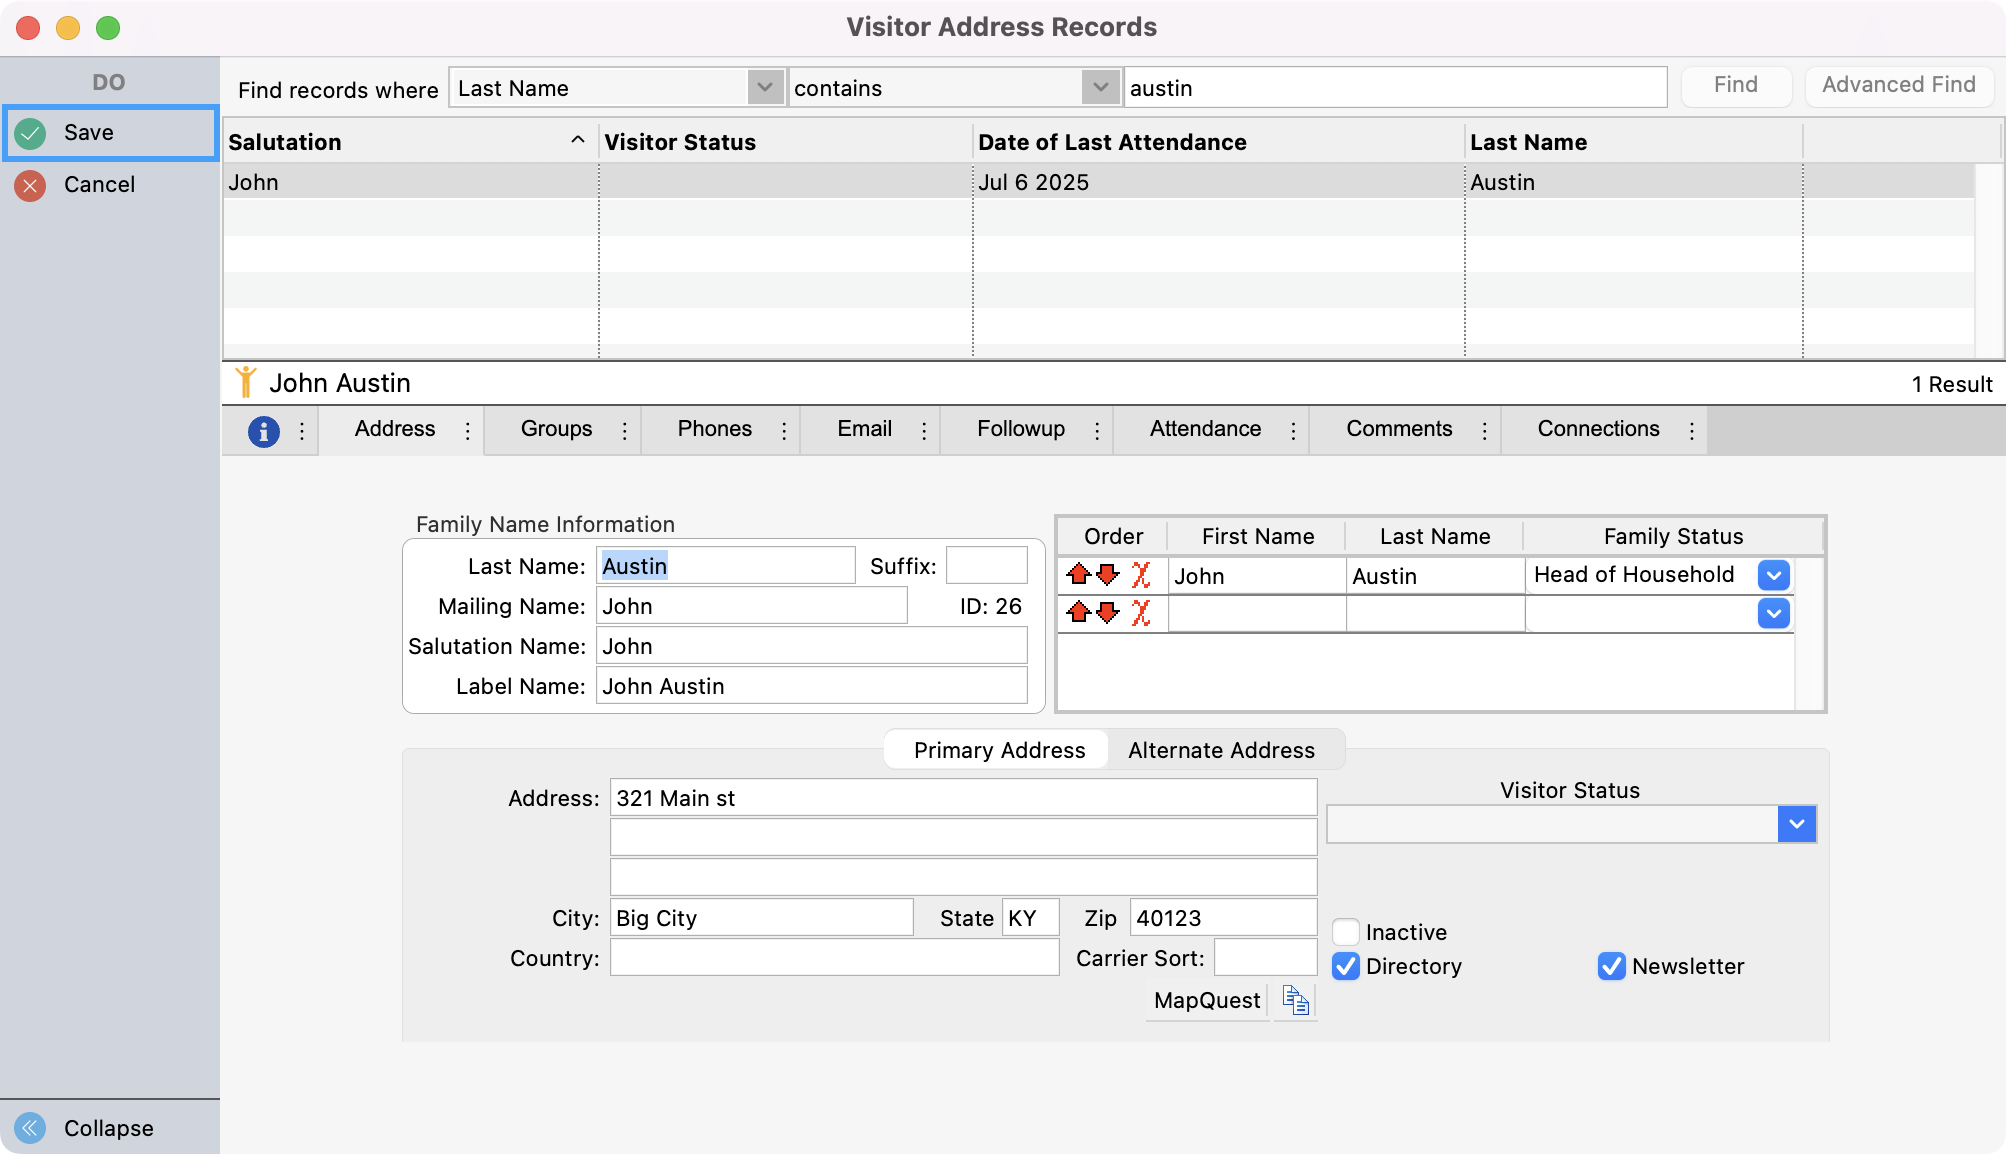
Click Save in the upper left-hand corner when finished.
Transferring a Visitor Address Record to an Address Record
When you’re ready to transition the Visitor Address Record to an Address Record, click Transfer from the left sidebar.
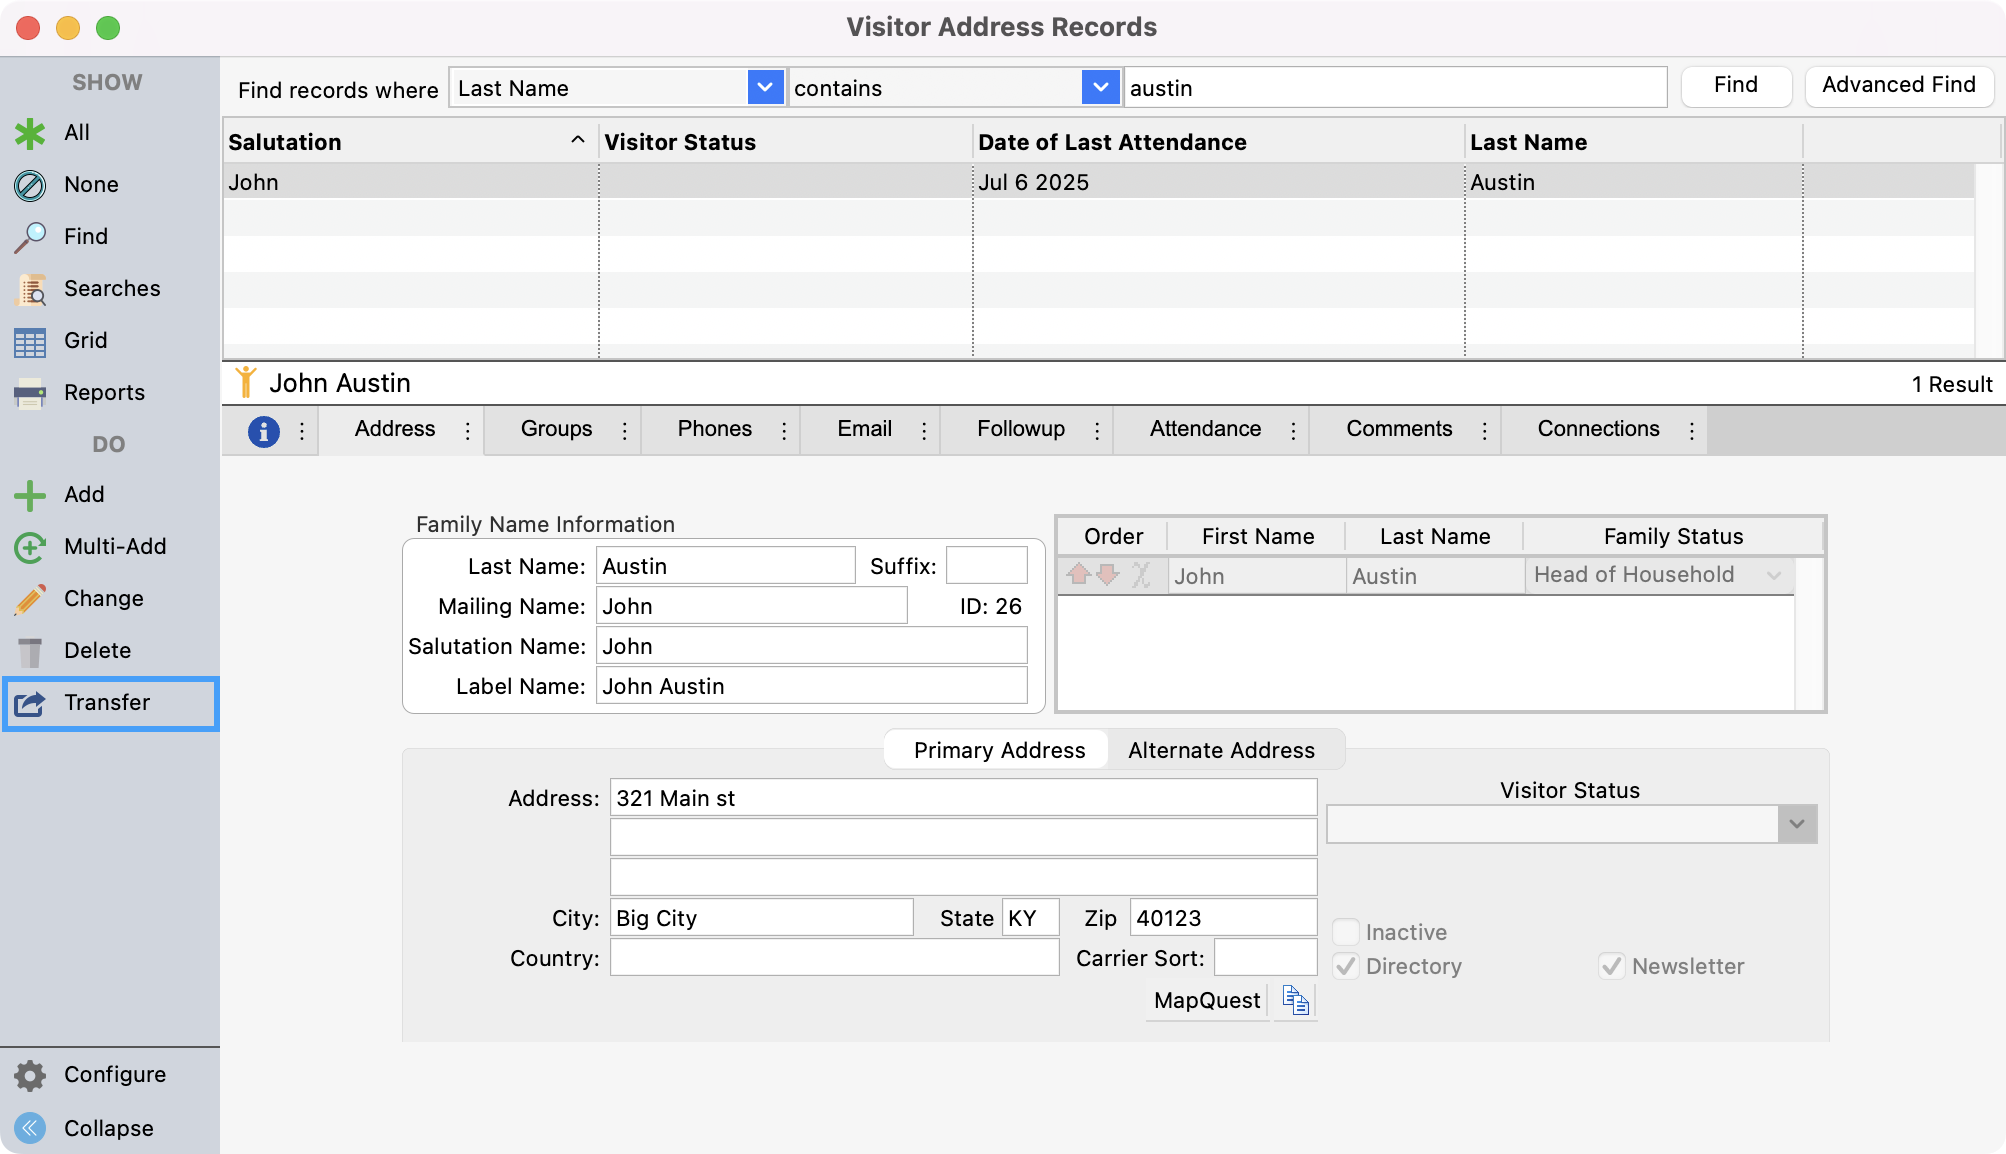
Here you will see a pop-up with several options.
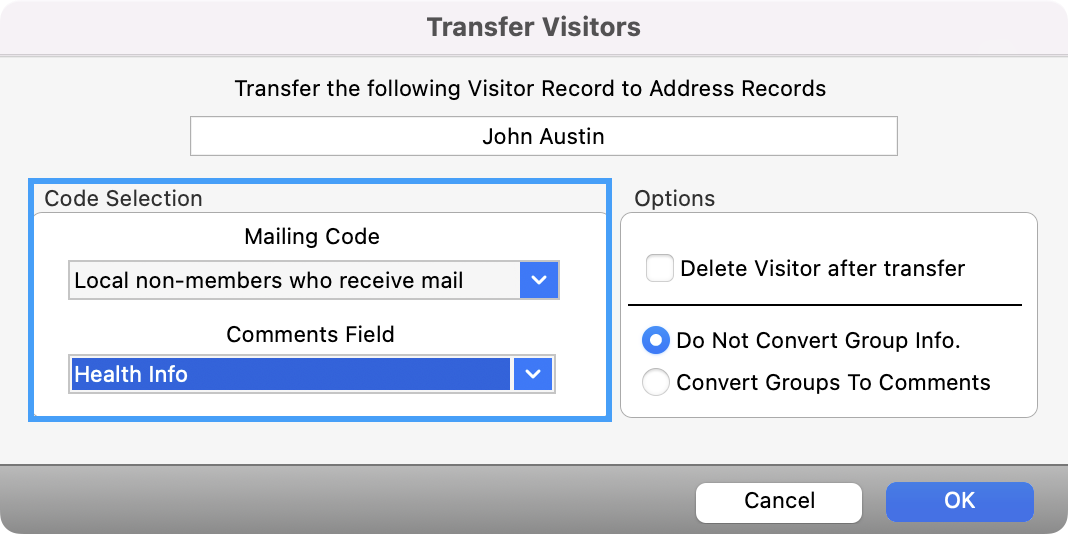
First, you can select a Mailing Code and Comments Field under Code Selection.
b. You will also see options where you can:
Delete Visitor after transfer
Choose to Not Convert Group Info.
Convert Groups to Comments
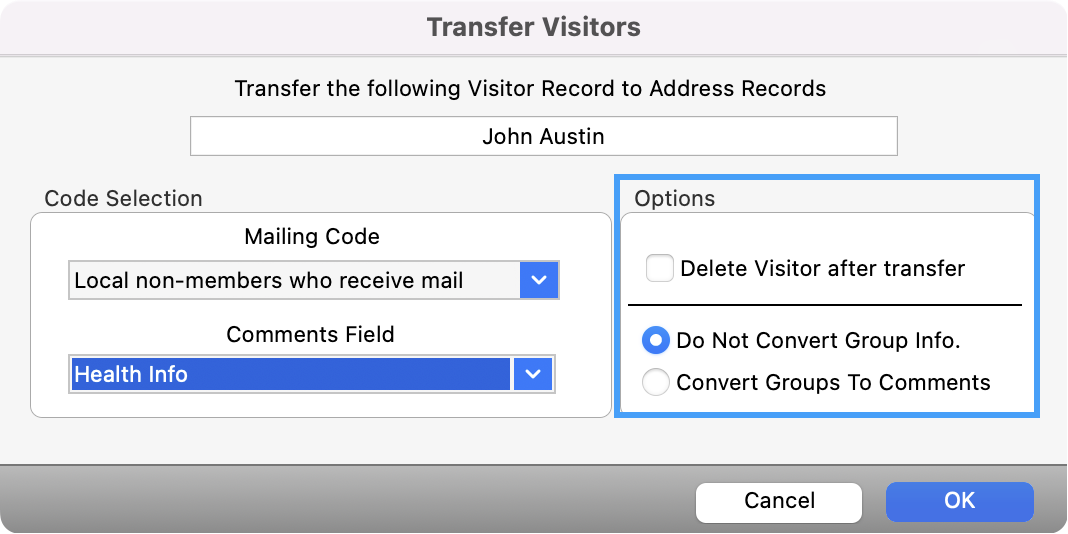
If you track demographic information on visitors using the Group feature, do not mark Delete Visitor after transfer. Instead, mark the visitor as inactive, preventing them from appearing during attendance entry, but still allowing you to run comprehensive reports on your visitors' demographics.
After making your selections, click OK.
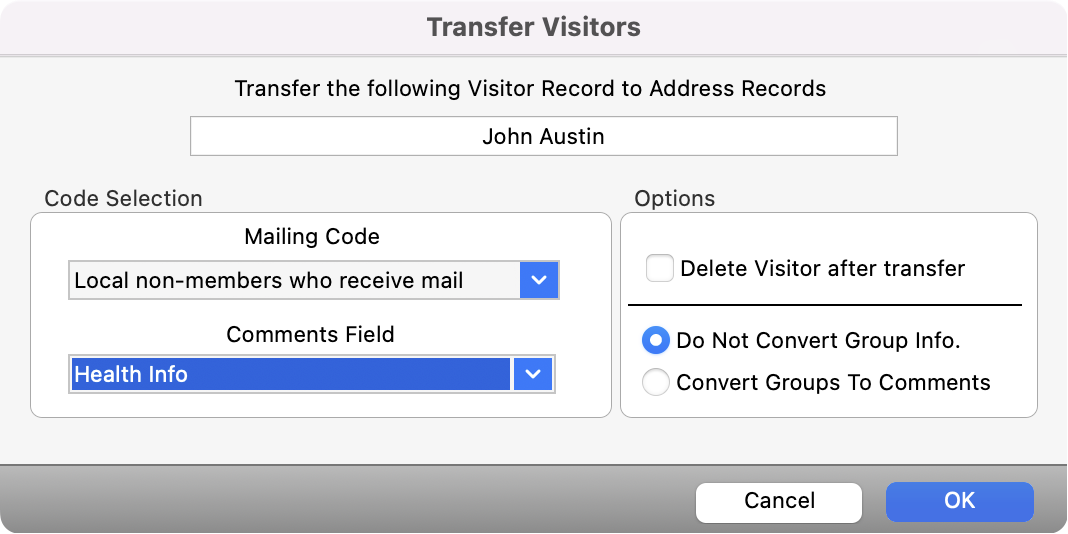
You will now be able to view the visitor in Address Records.
