Views allow you to define a combination of rooms and/or departments and quickly filter the schedule to display just events for those rooms/departments. Views are also used on event-based reports as a search option. Views are owned by a specific user and may optionally be published for read-only use by other users.
-
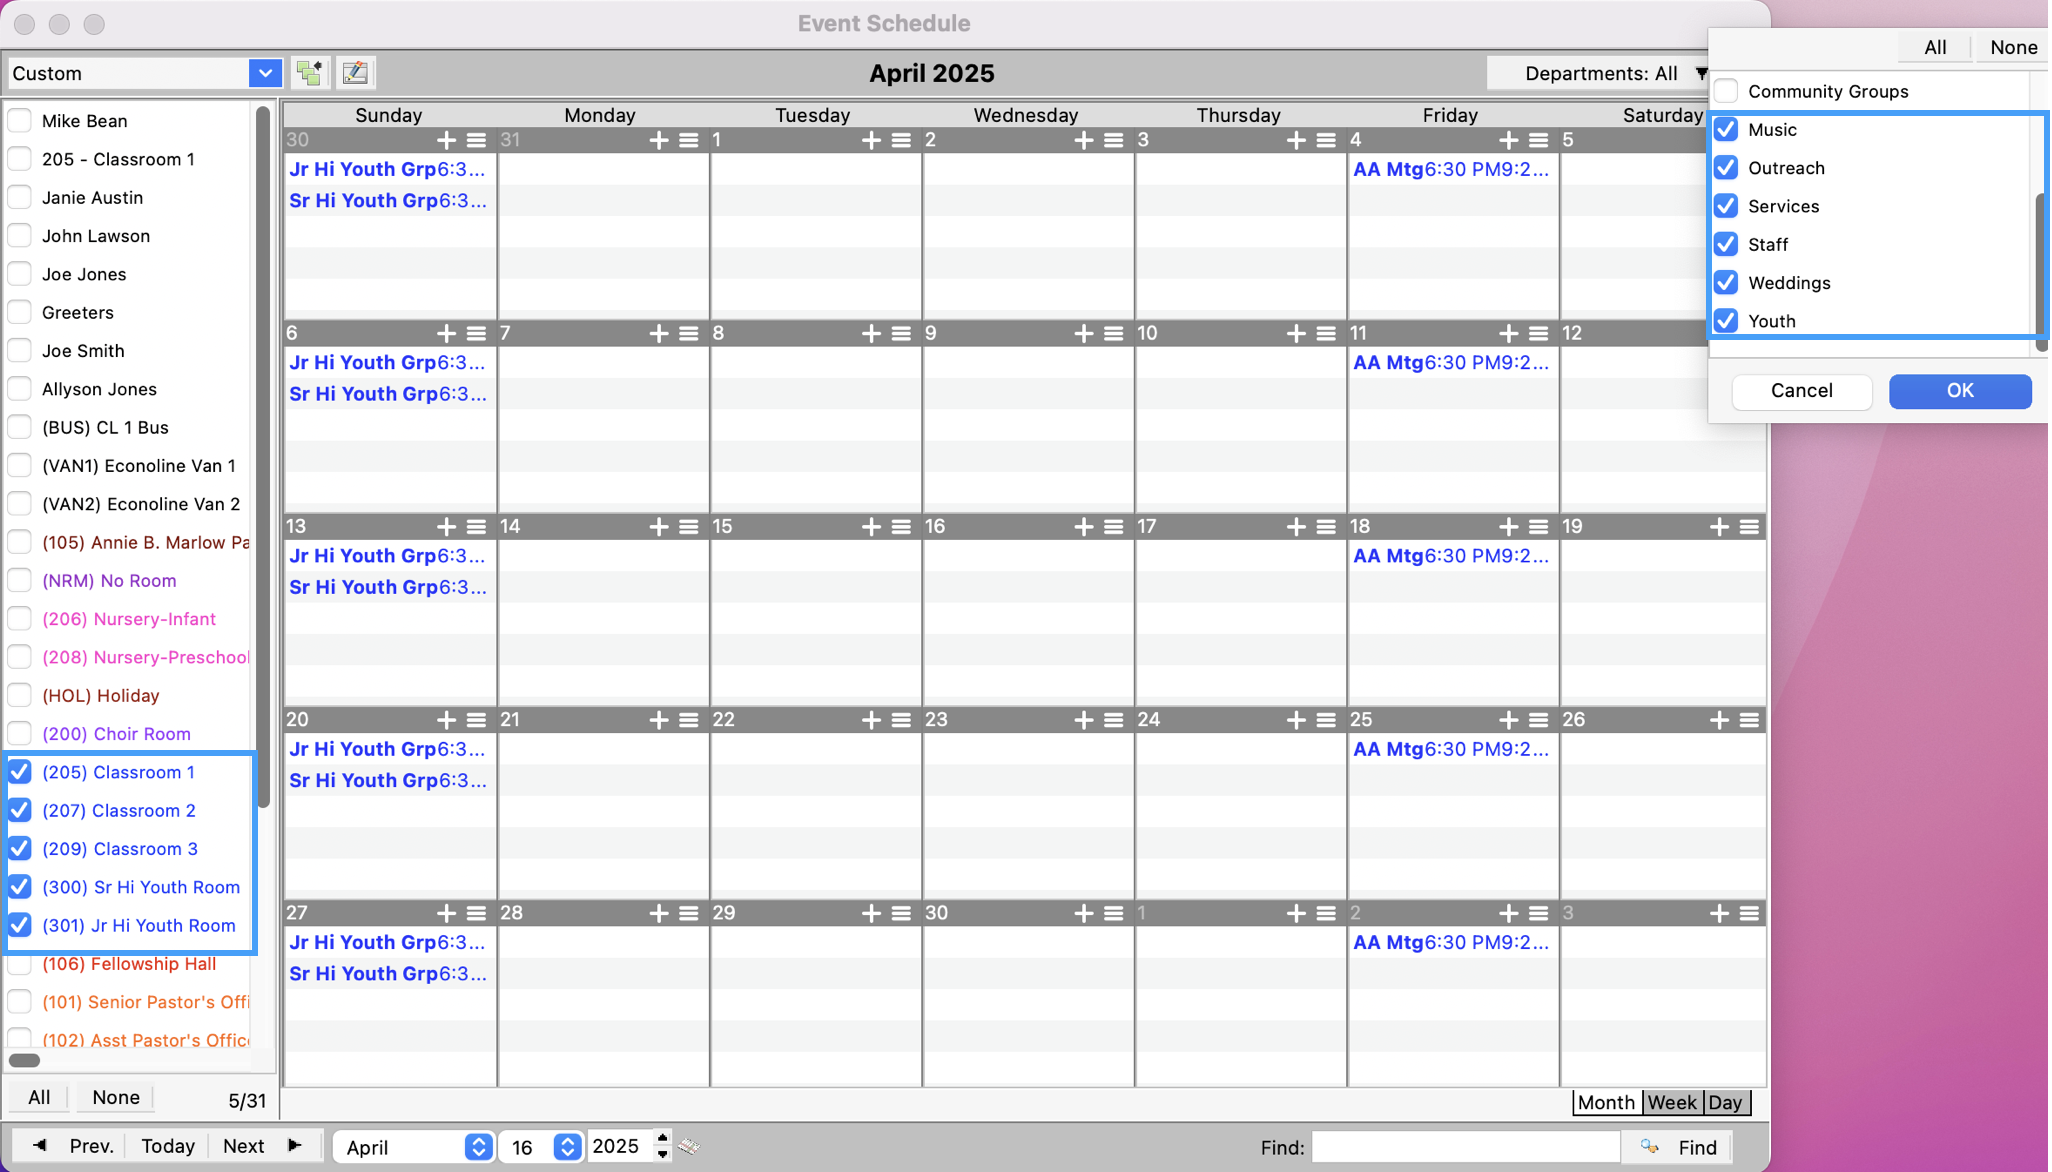
To create a view, from the Event Schedule window, select the rooms and/or departments by which you wish to limit the schedule.
-
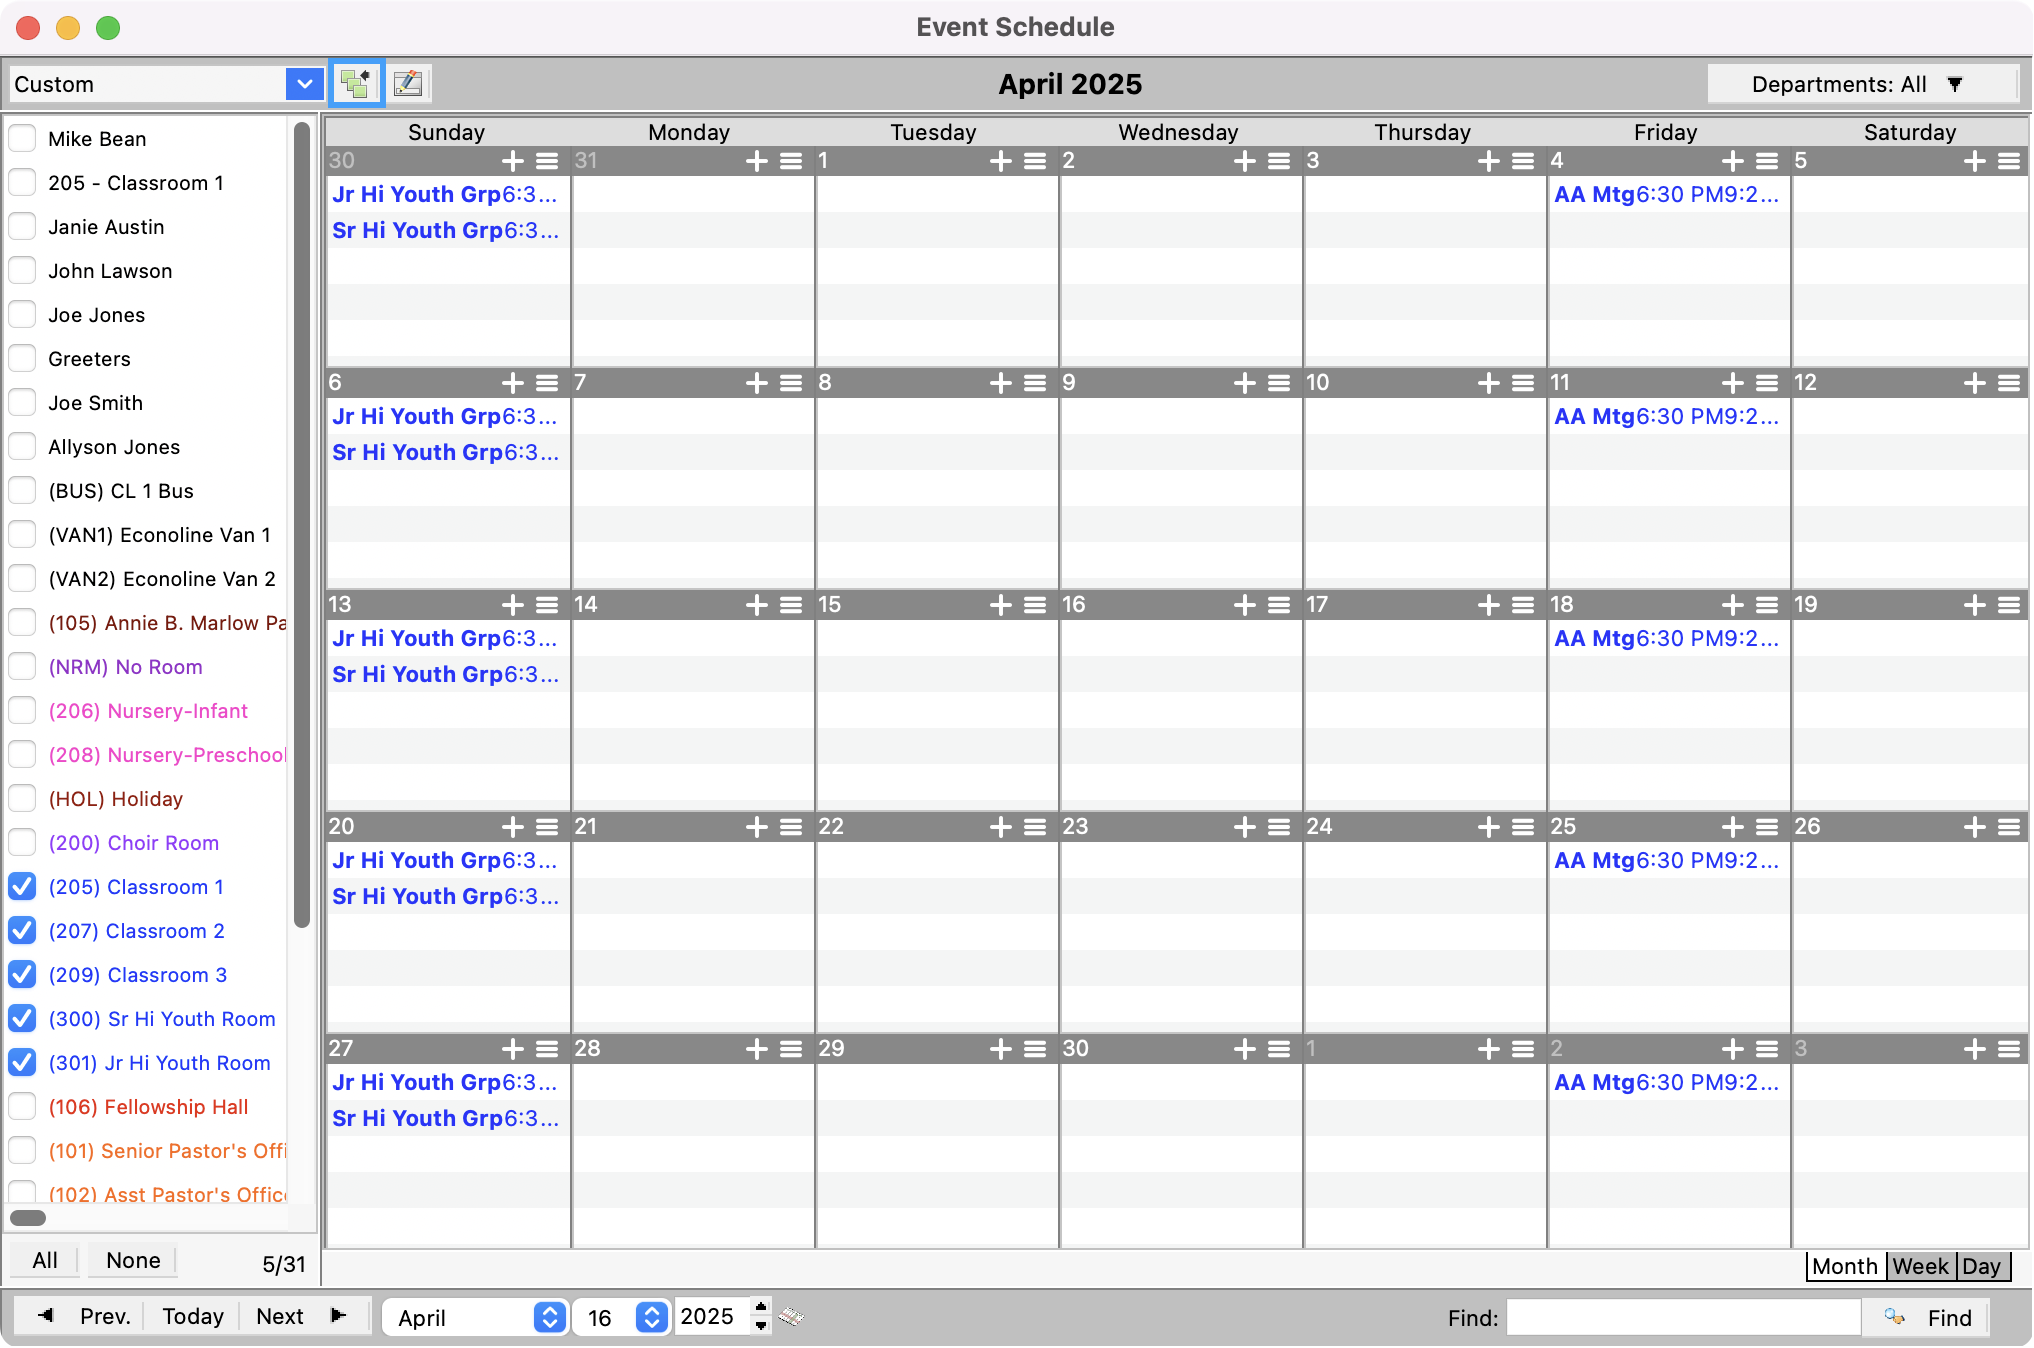
Next, click the Add View button, which is the button with three green squares.
-
Enter a Description for this view and click OK.
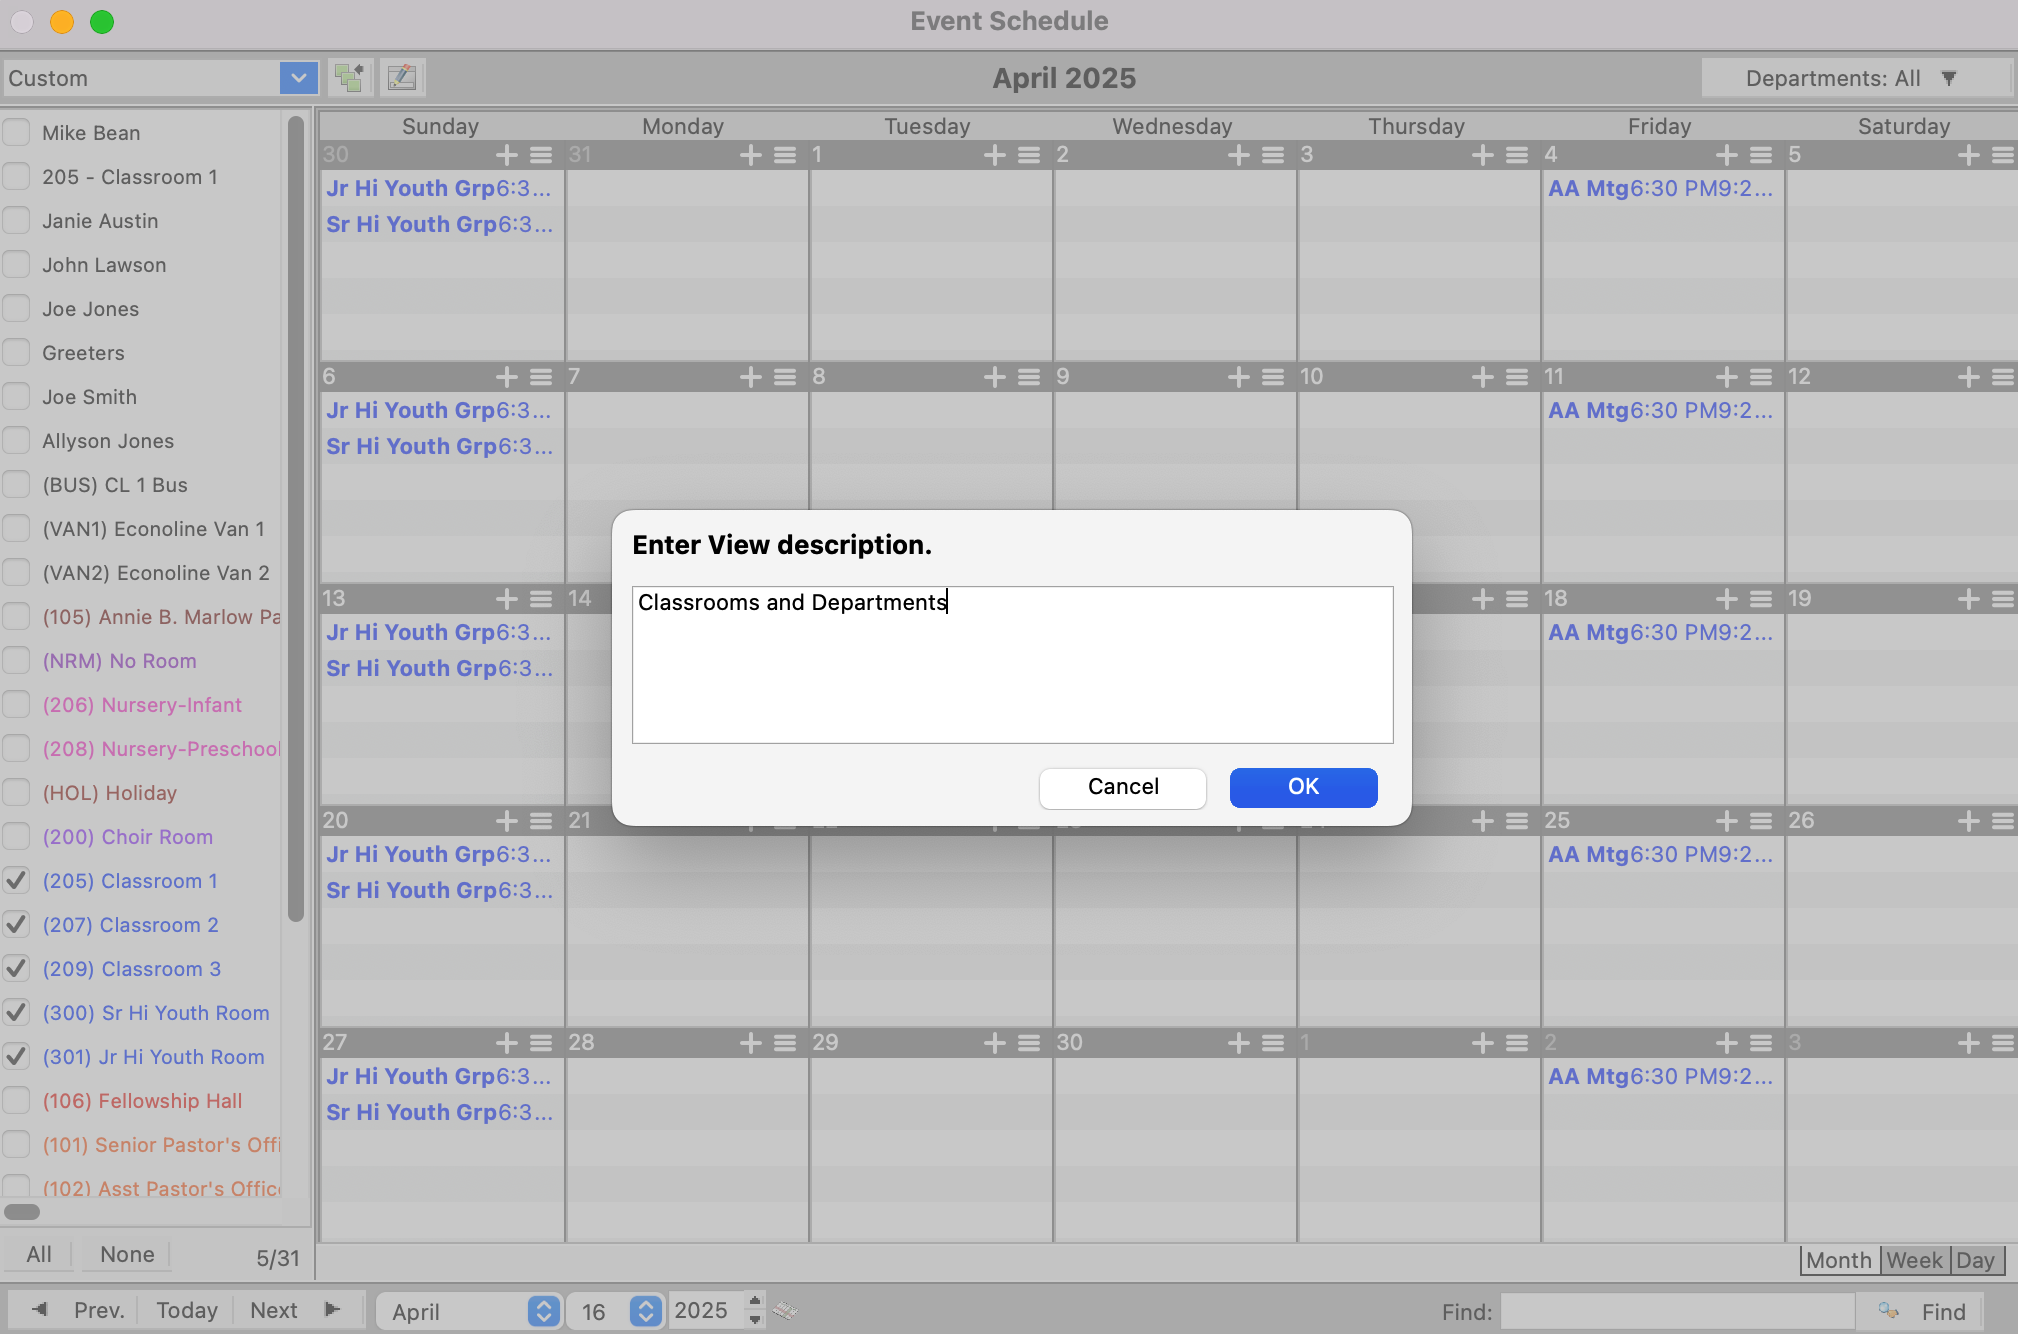
You must use a unique description and view. If you select rooms and/or departments that constitute an existing view that is either yours or public, that view will be selected automatically, and you will not be able to create a new view.
-
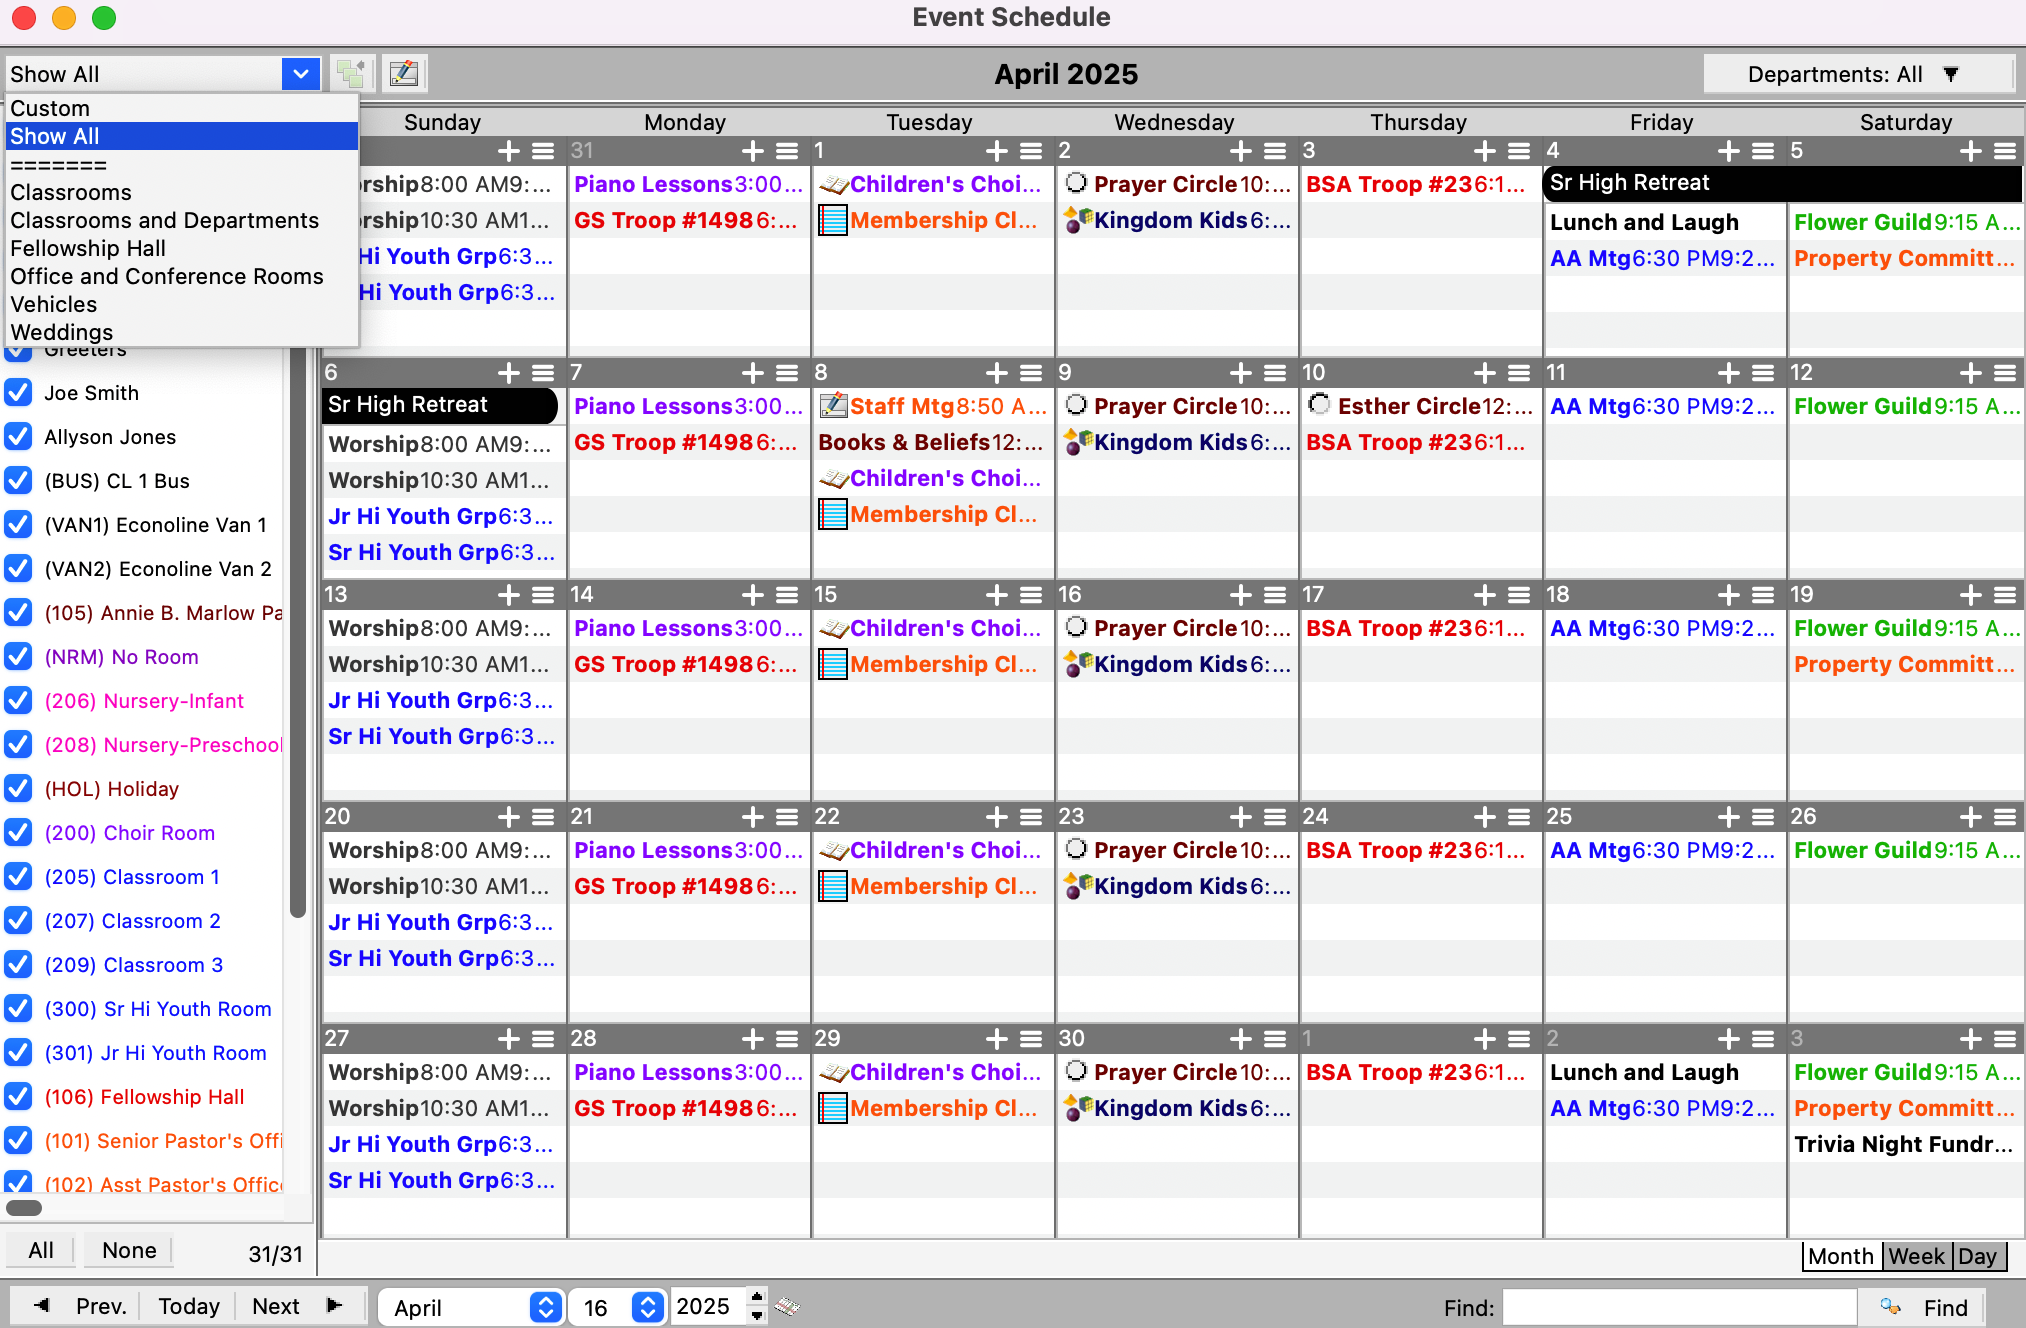
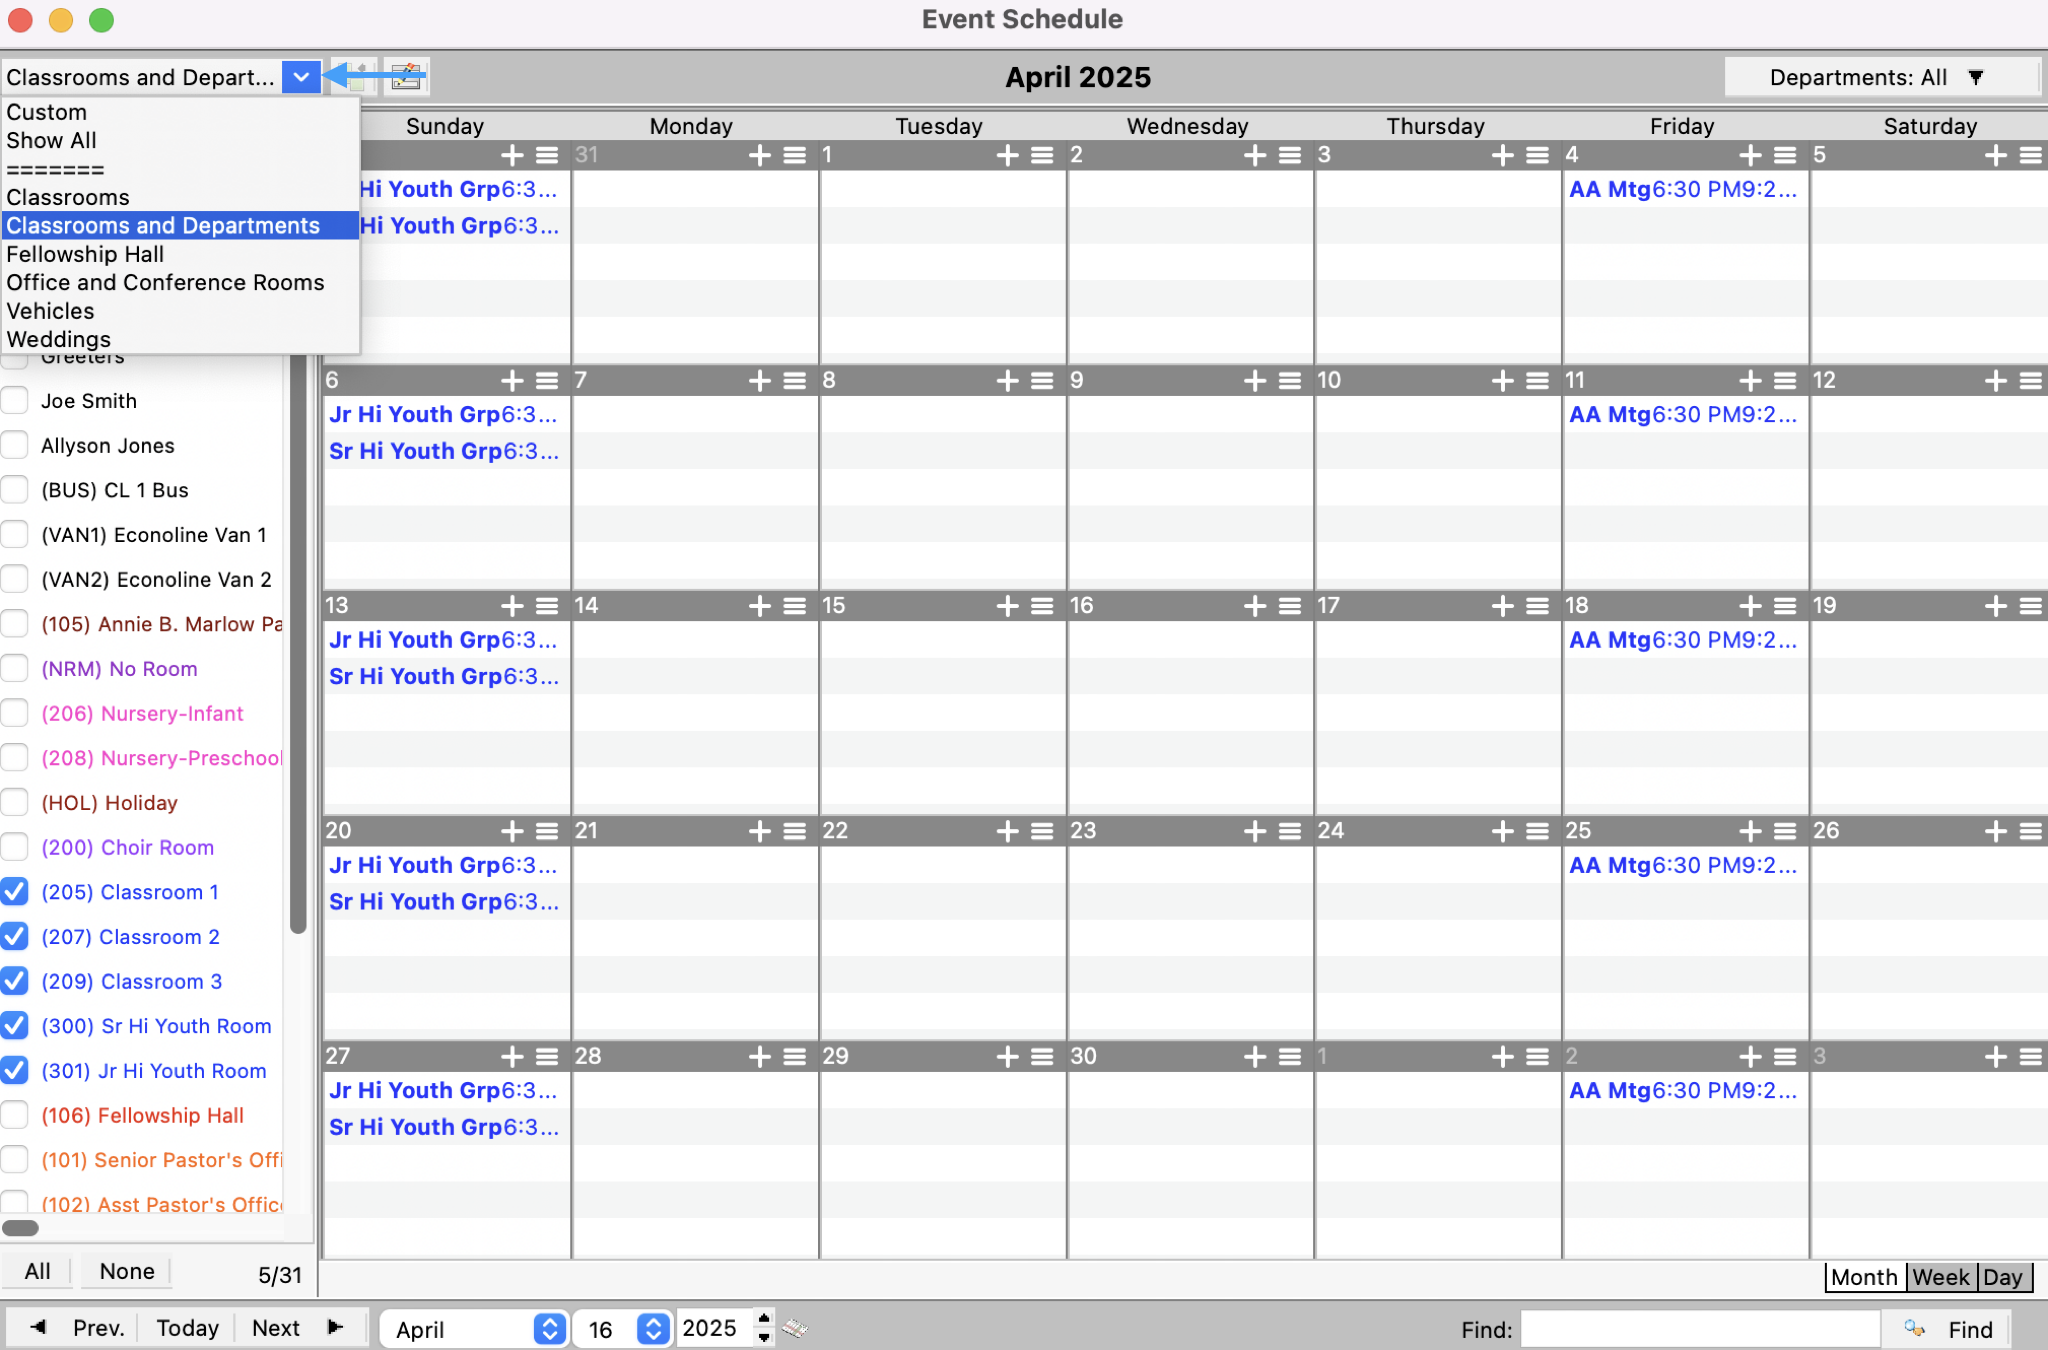
Now, you can use the drop-down field in the upper left-hand corner to select this view. When you select a view, the room and department selections for the schedule will be set to those of the view.
-
To view events for all rooms and departments, choose Show All from the View menu.