-
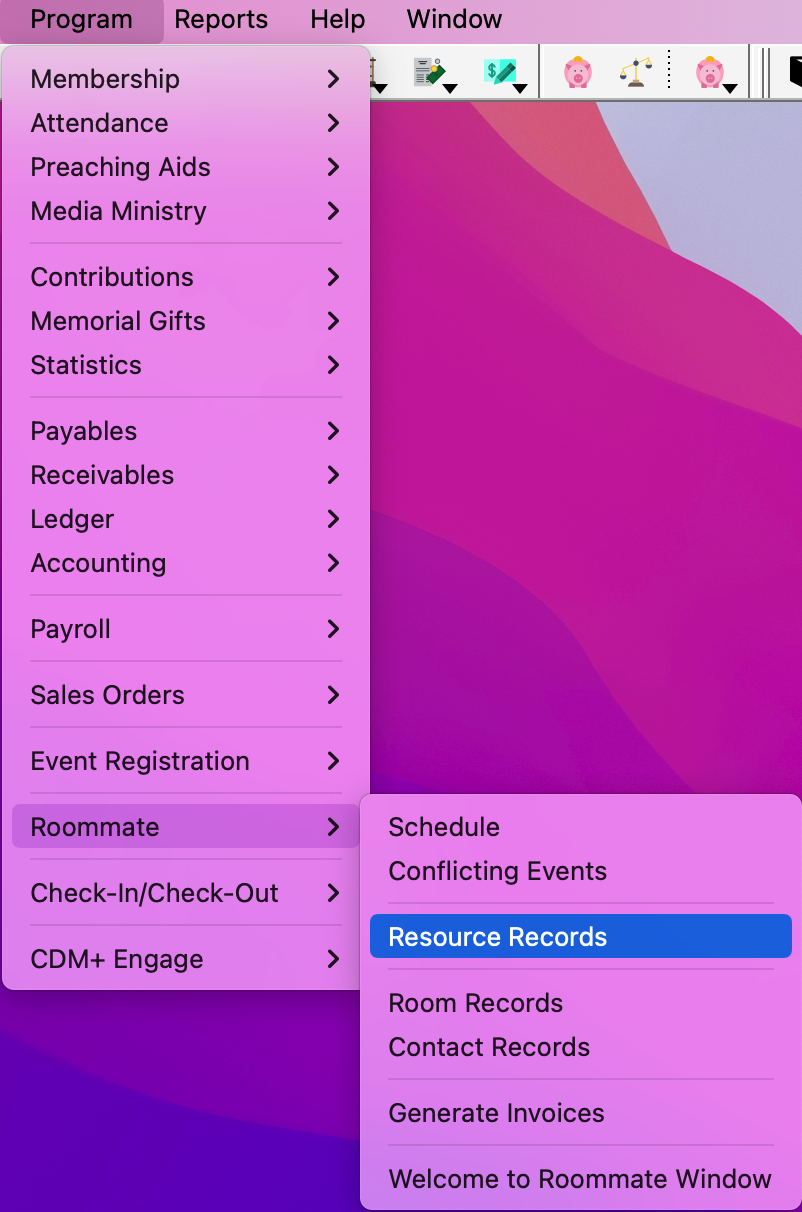
To add a Resource, go to Program → Roommate → Resource Record.
-
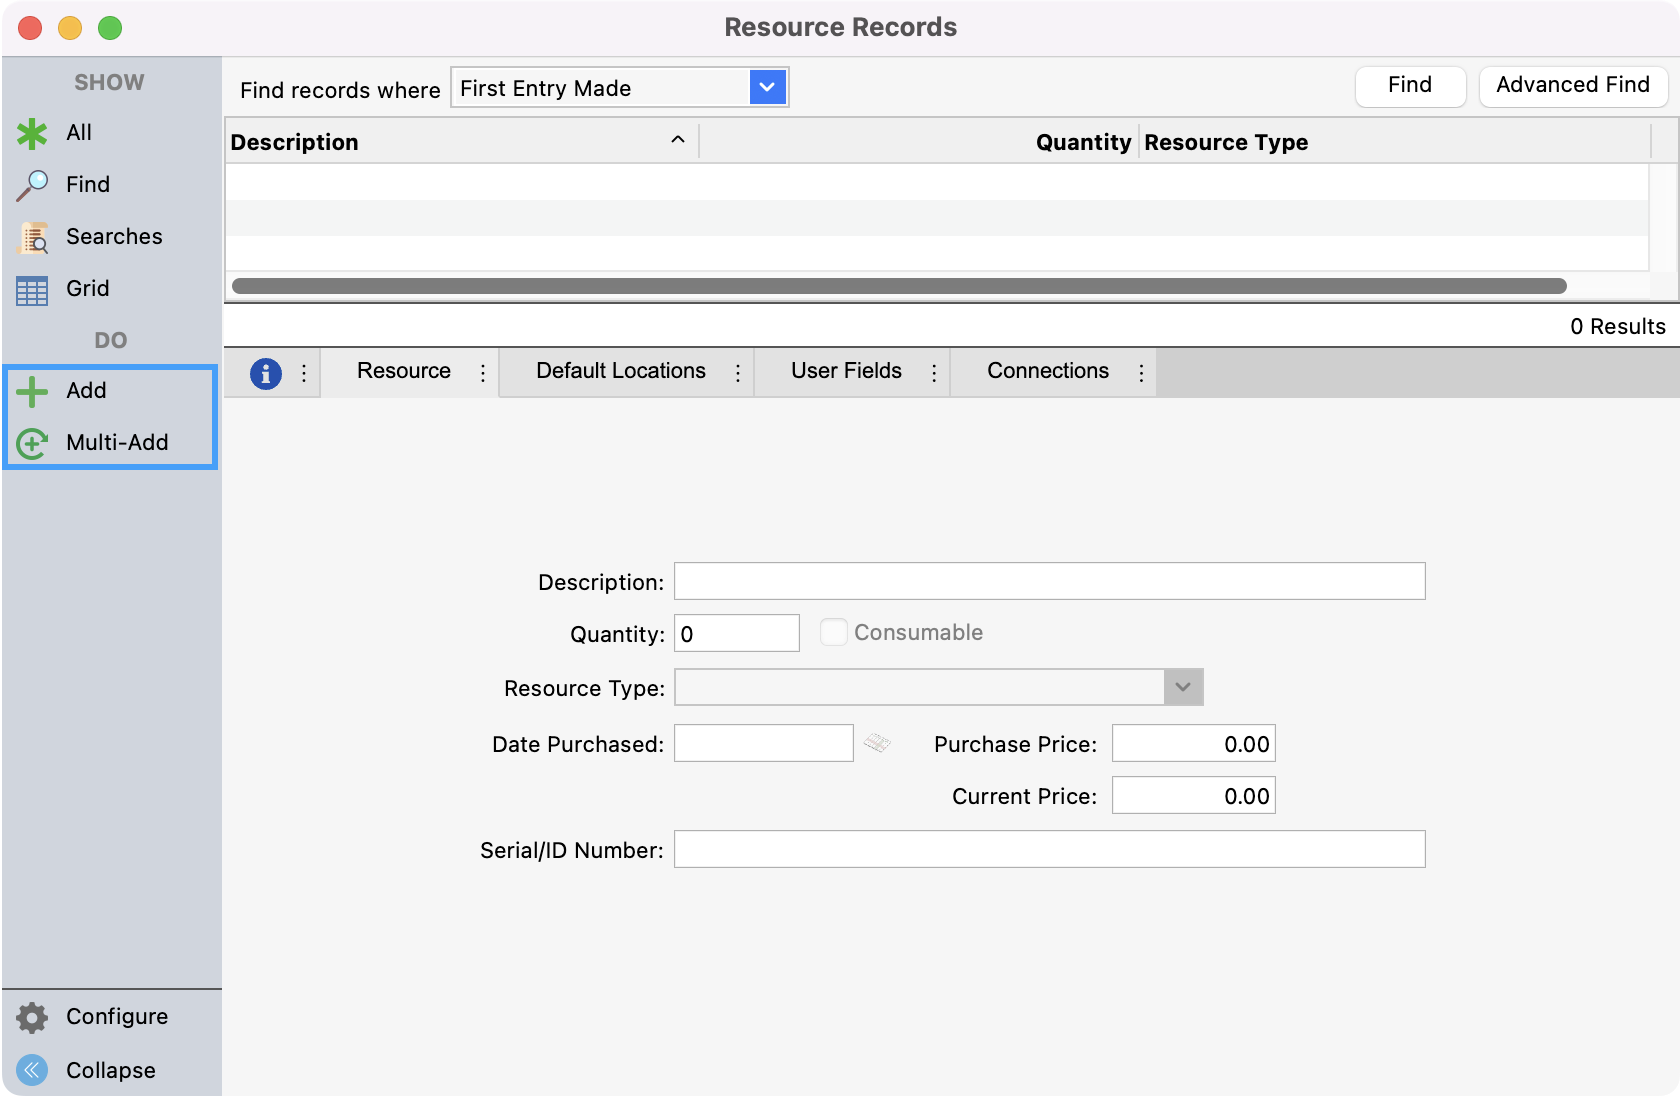
Click on Add or Multi-Add from the left sidebar.
-
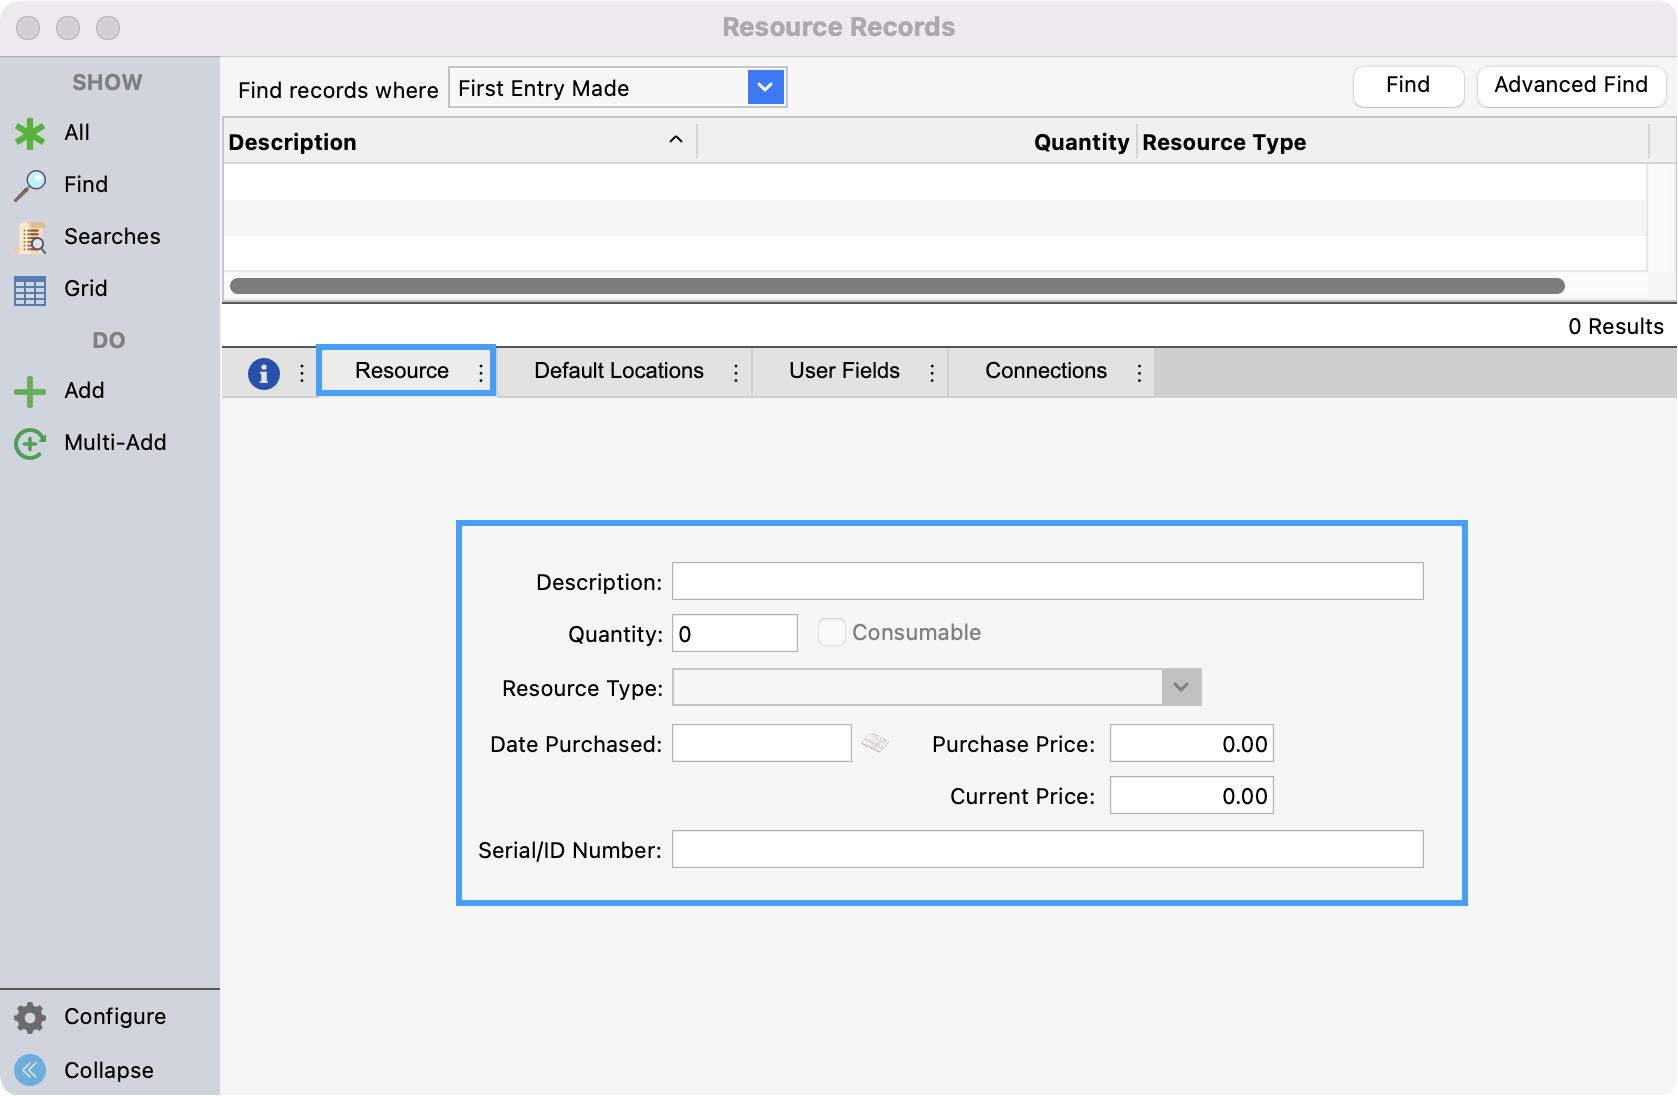
Under the Resource tab, begin entering information, pressing tab to move to the next field.
-
Enter a Description fro the resource.
-
Quantity
-
Date Purchased
-
Purchased Price
-
Current Price
-
Serial/ID Number if applicable.
-
-
Next, select the Default Locations tab. Use the drop-down field under Room to assign the default room for the resource. This is where you specify the normal or base location for the selected resource. Multiple default locations can be tracked for a resource. For example, a group of 500 chairs can be split across multiple rooms.
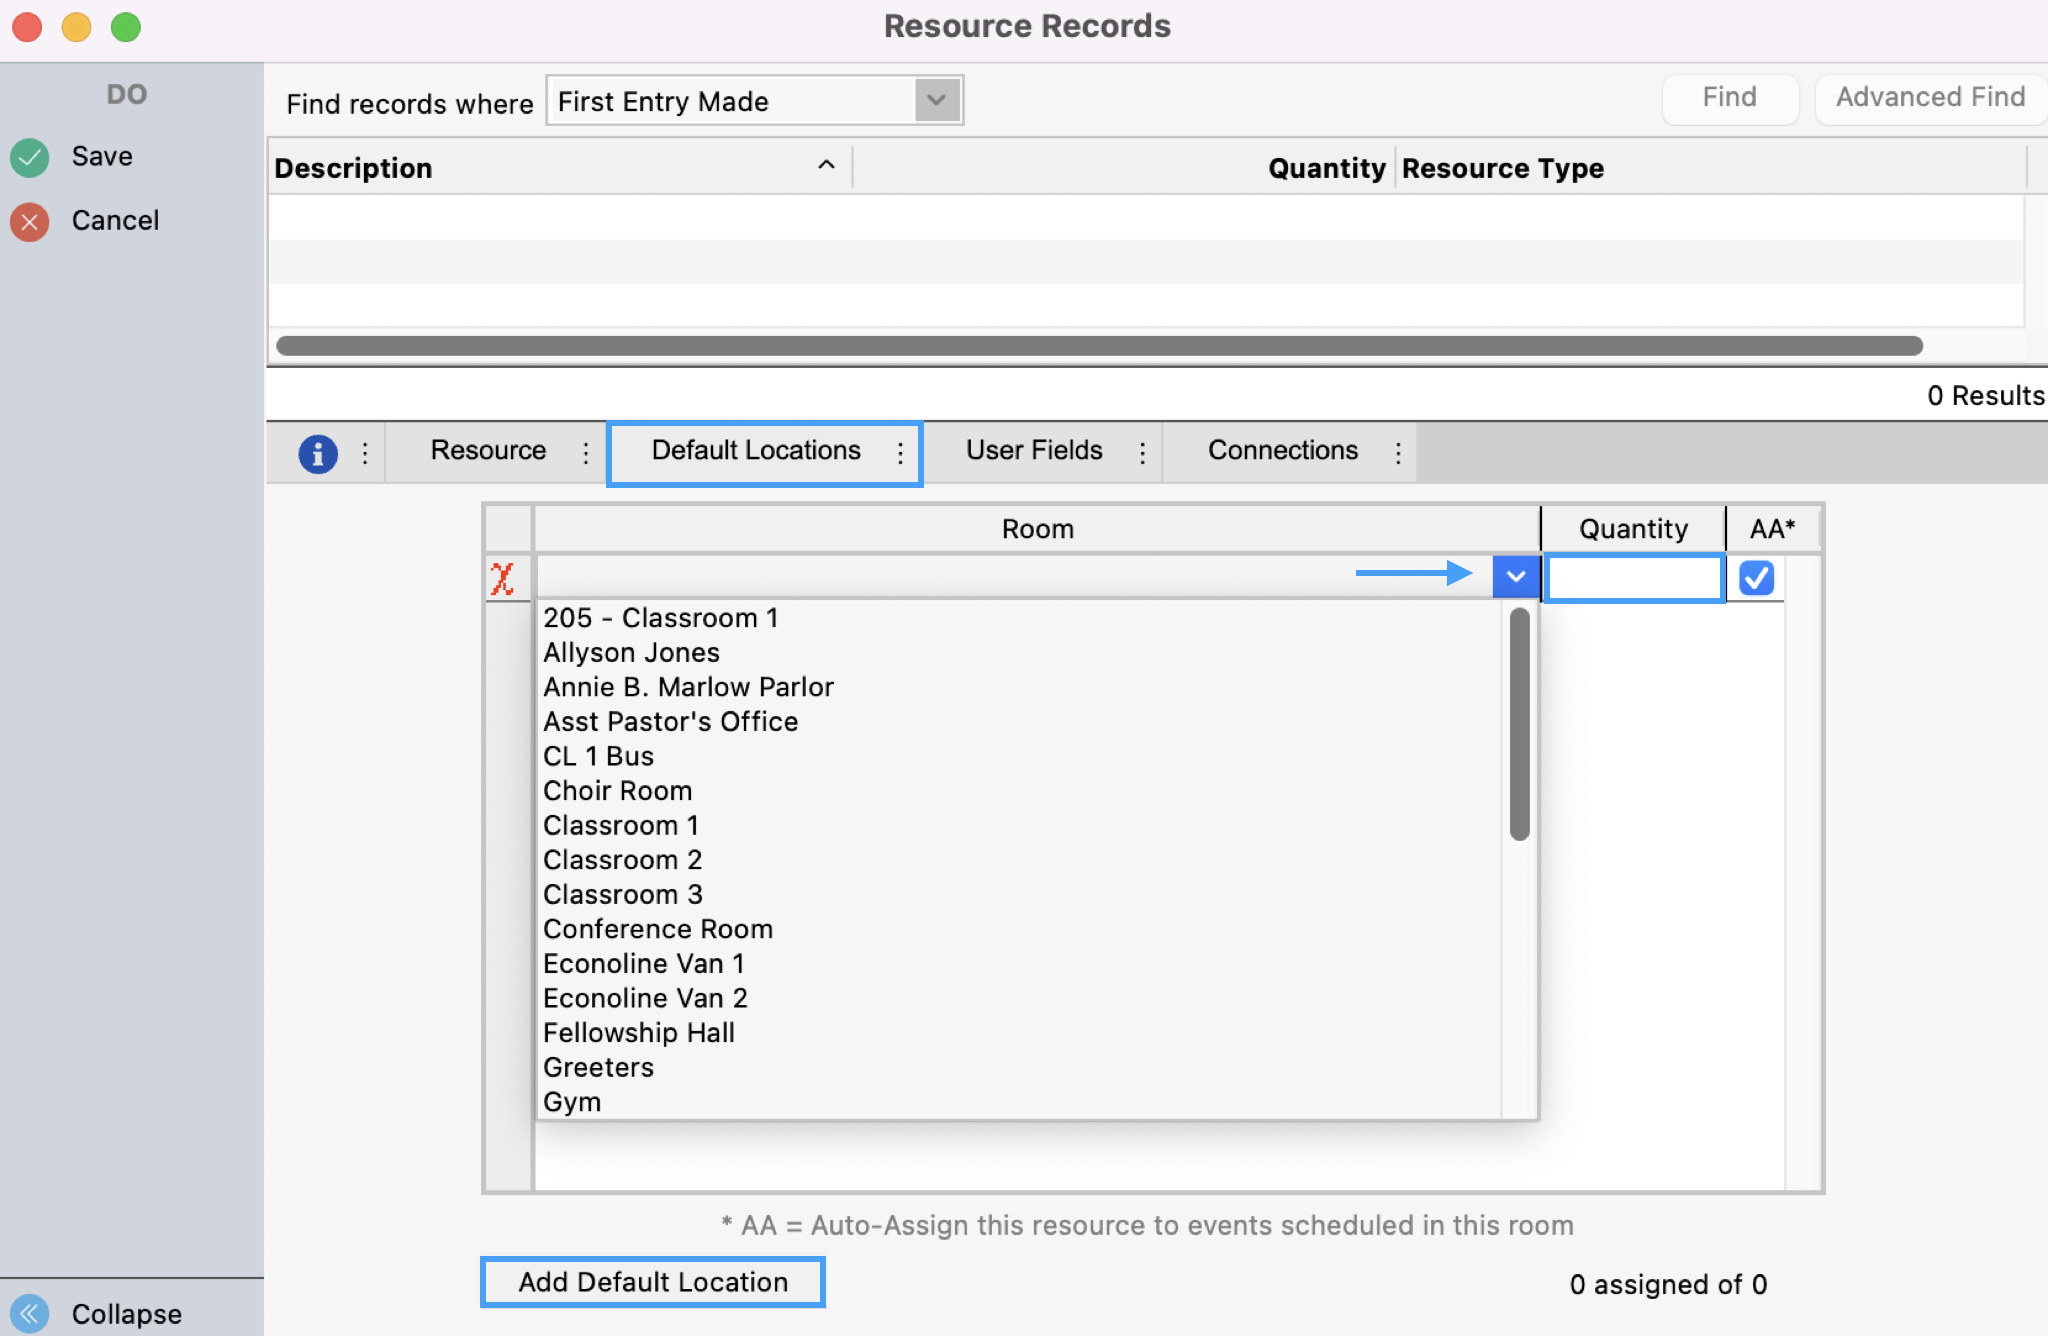
The AA checkbox allows this resource to automatically be assigned to a room when it’s added to the Event Calendar.
-
Next, click the User Field tab. This is where you can add different user fields for your resource. Click the Add User Field button at the bottom of the window to use this field.
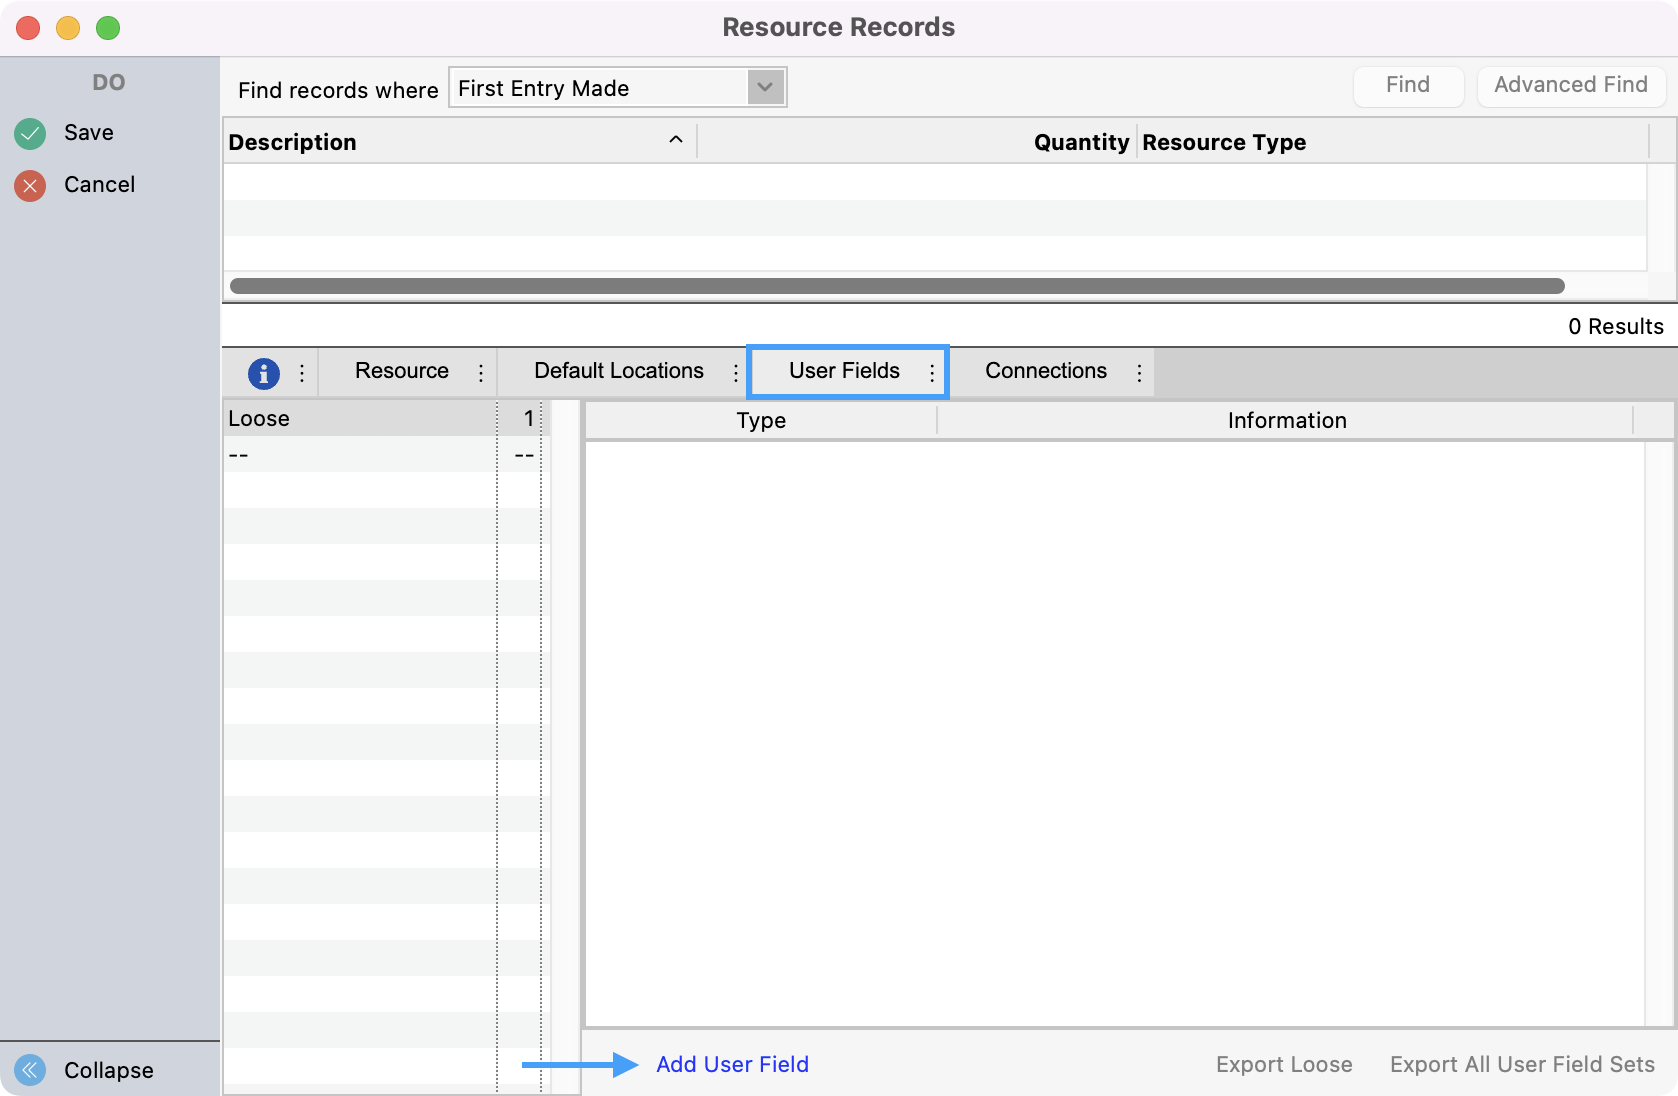
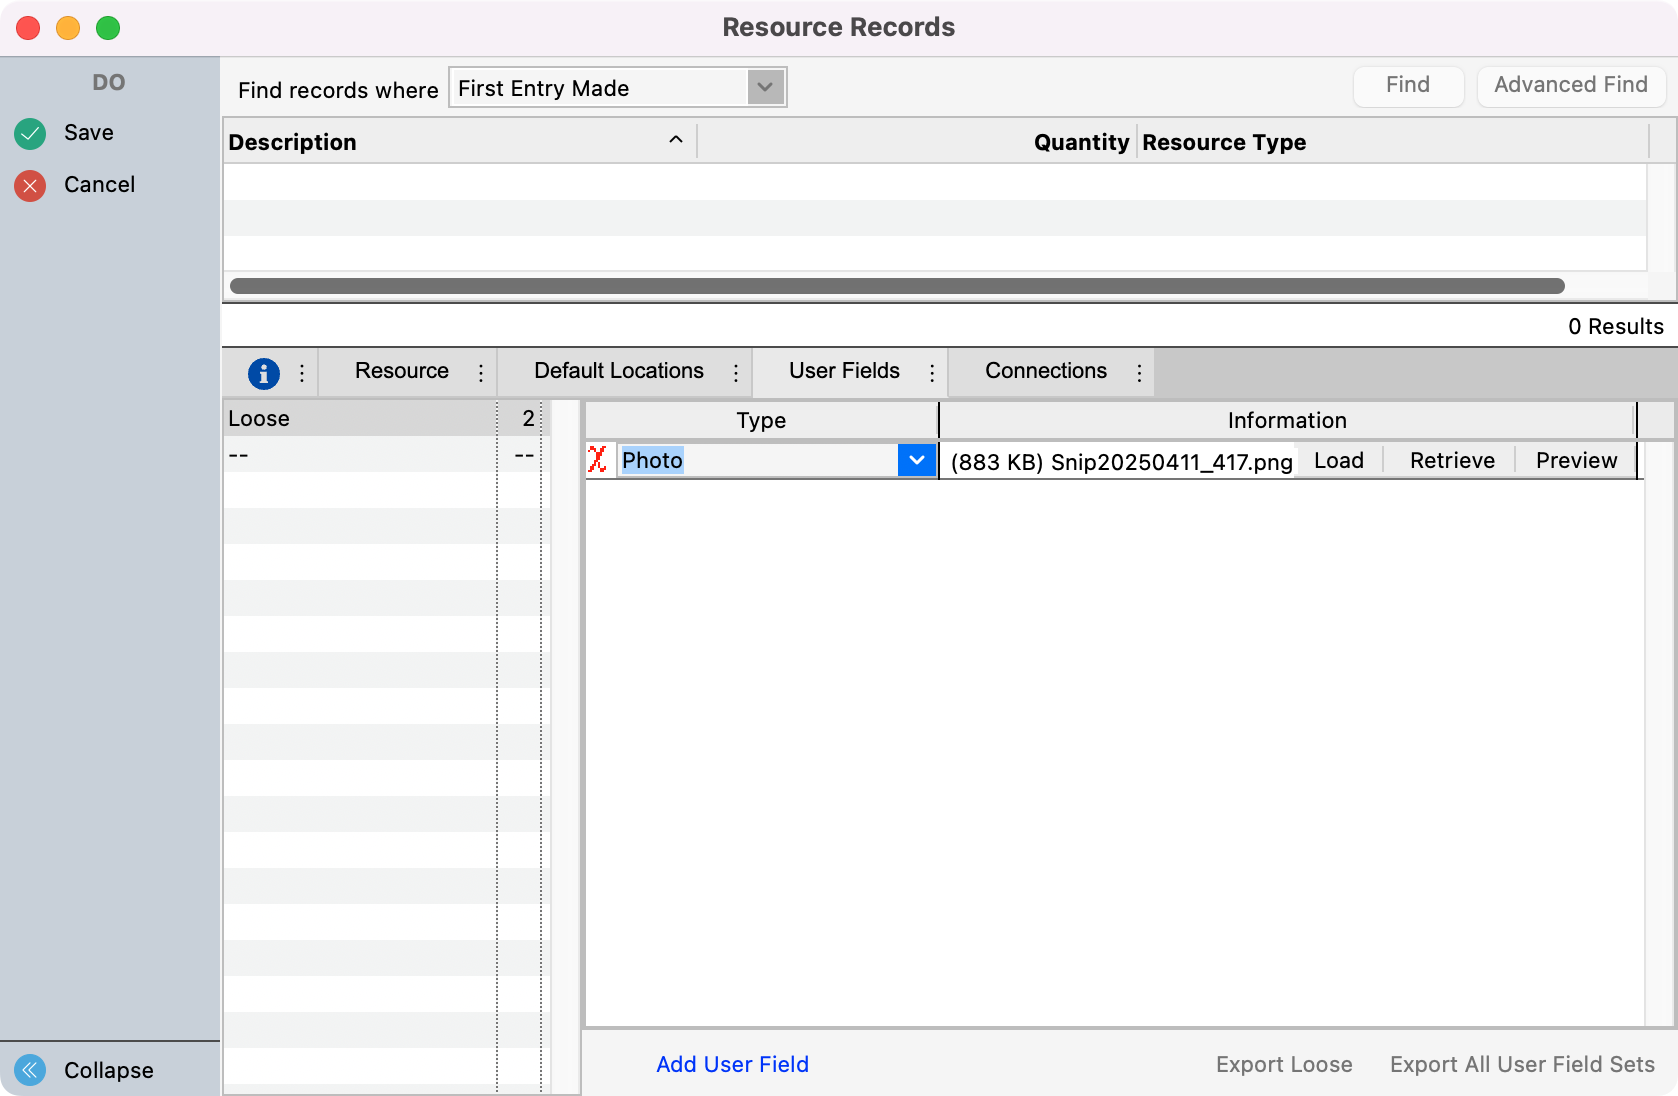
User fields are a great place to add a photo of the resource, a copy of its receipt, or a copy of its warranty. Roommate allows you to store all of this documentation in a single platform!
-
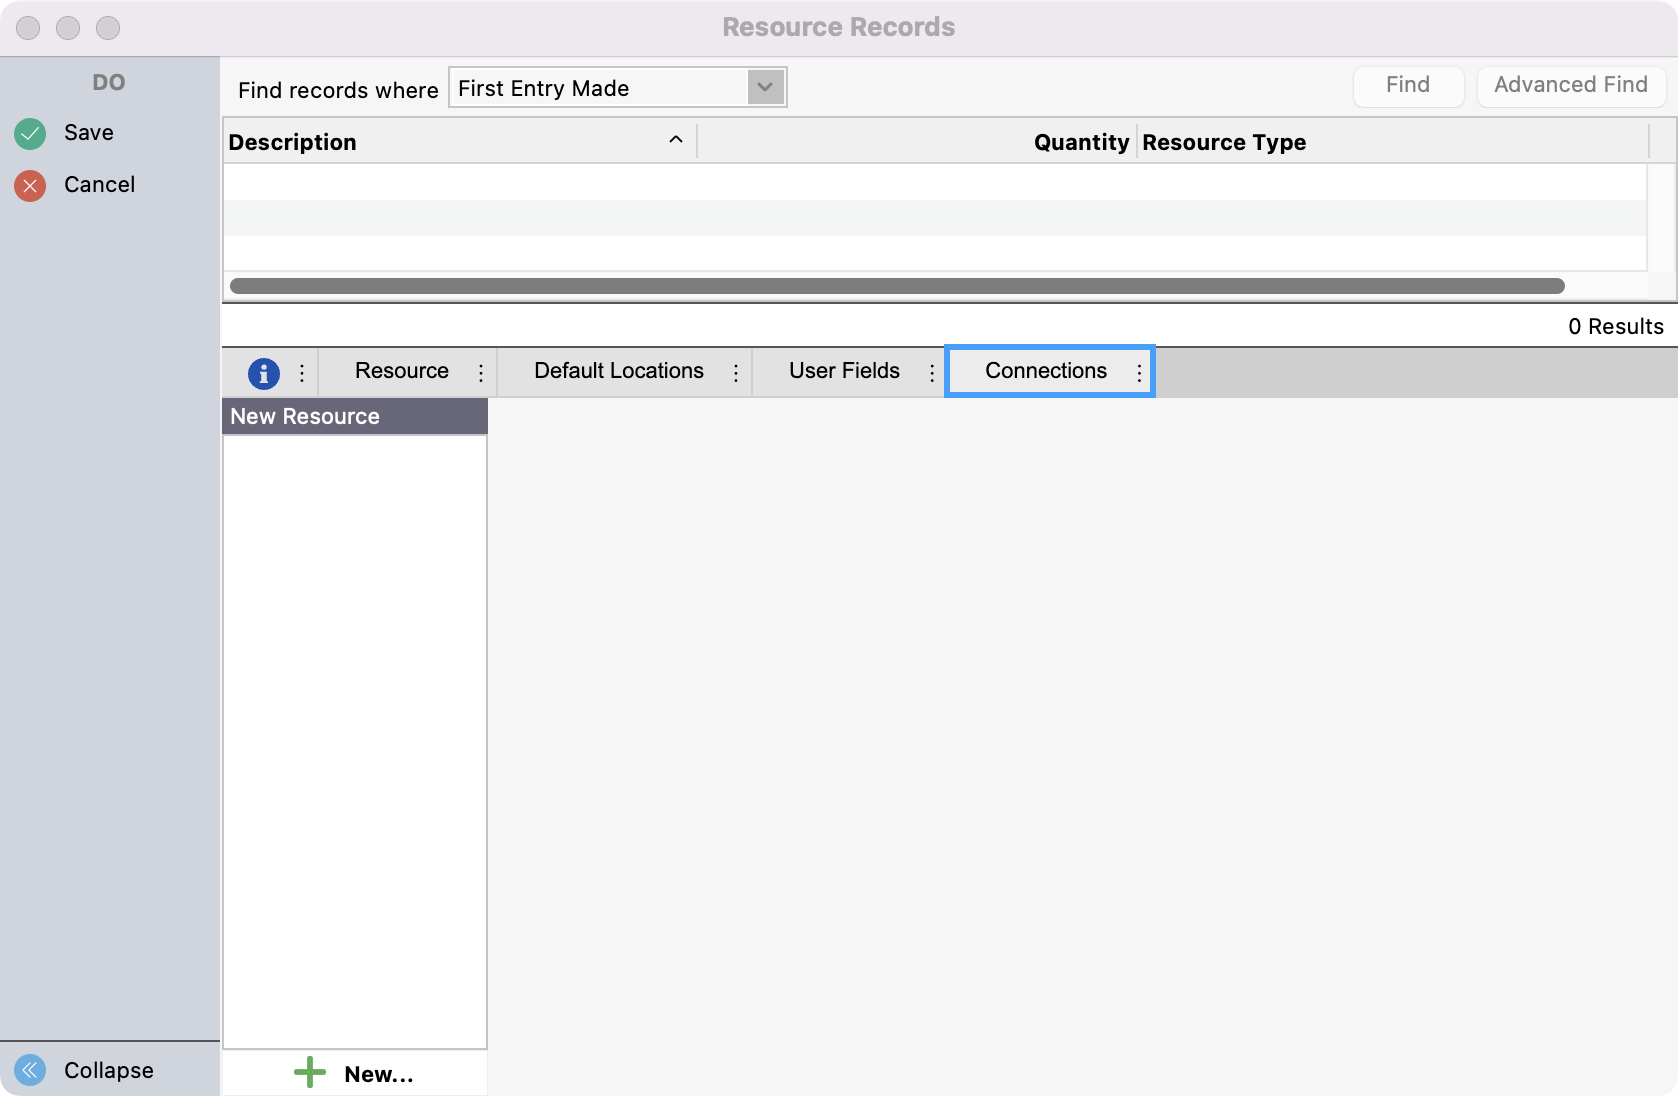
Lastly, you can click the Connections tab and add neccessary connections.
-
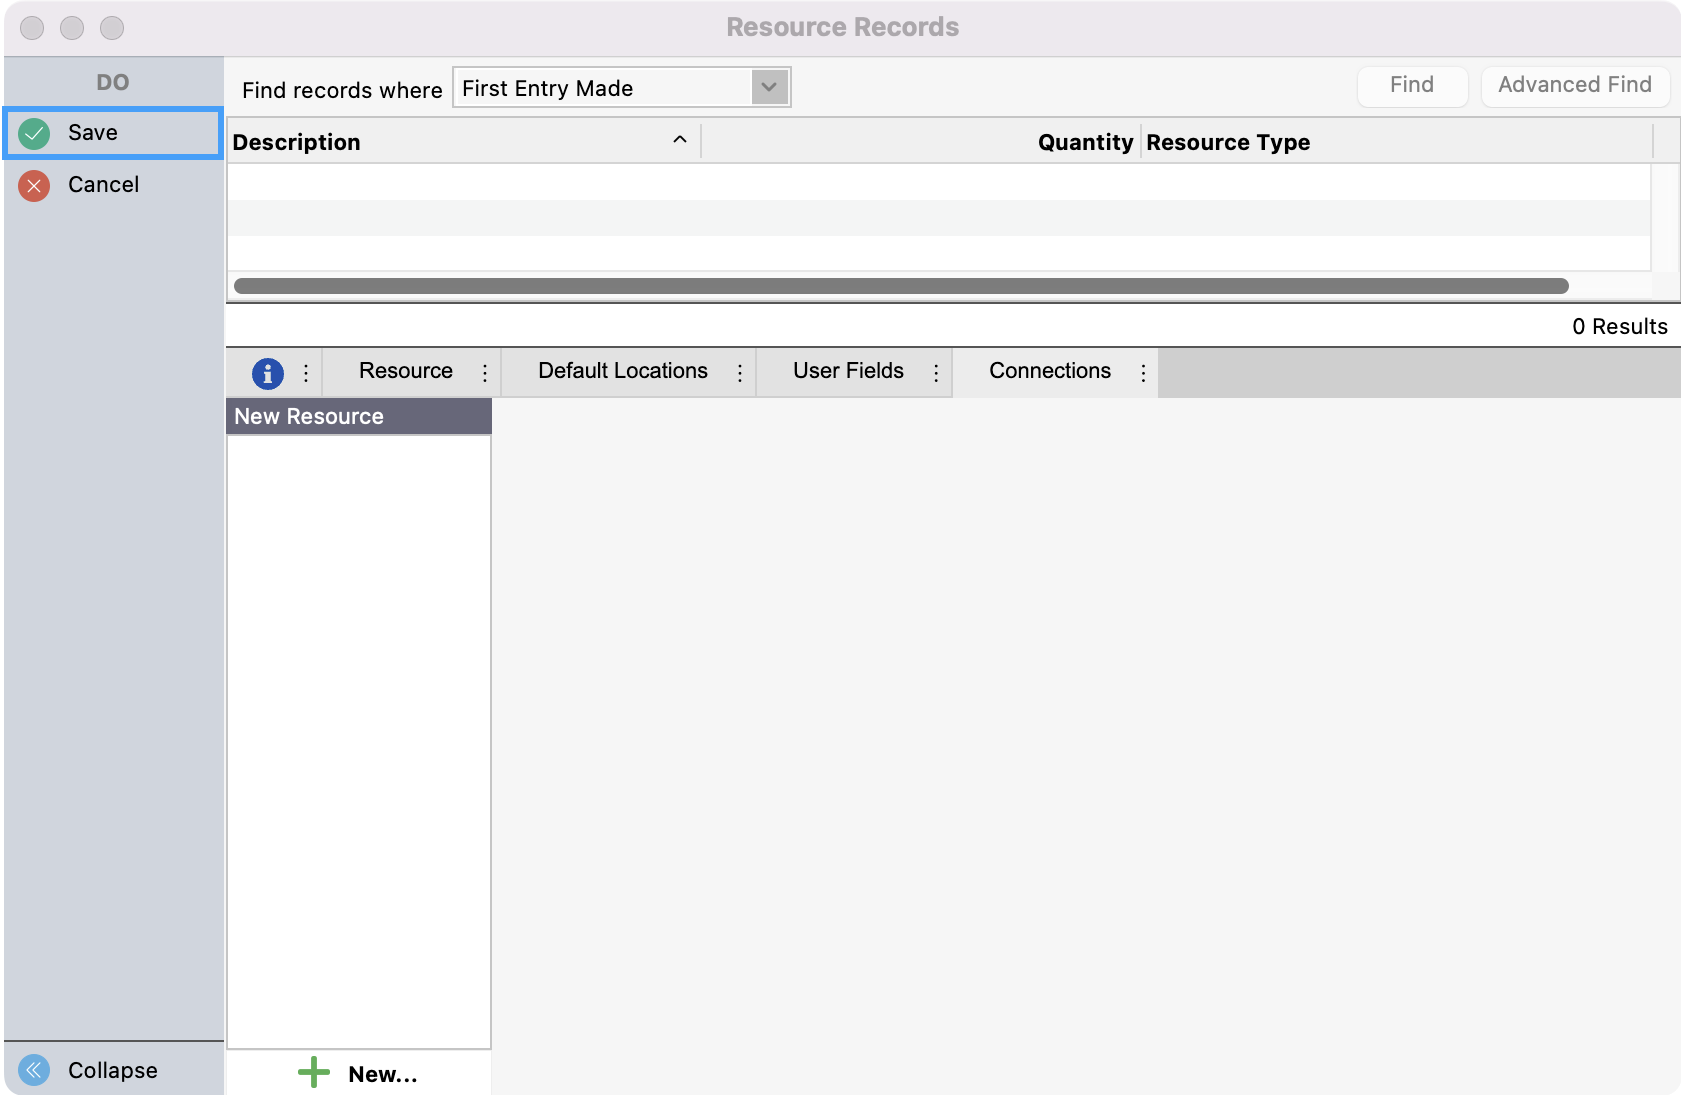
If you clicked Multi-Add you can click Save to go to the next entry and repeat steps 3-6 . Once finished, click Finish. If you clicked Add, simply click Save.