Calendar Tool Setup
-
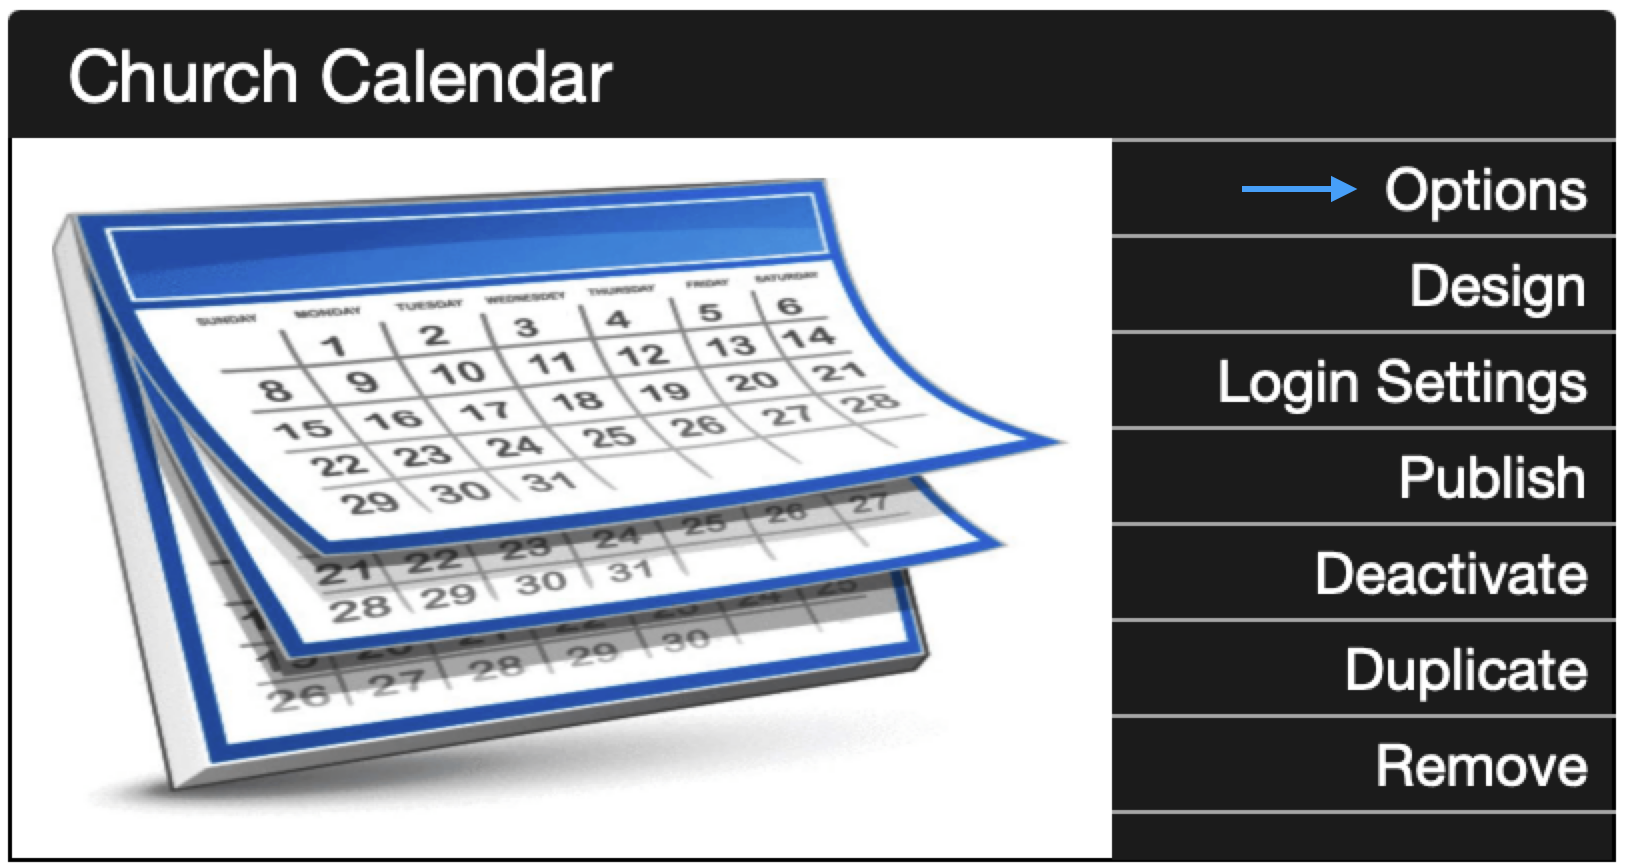
After creating a new Calendar Tool on the WMT website, you will automatically be directed to the tool's Options page. To return this page at any time, go to your WMT home page and click Options to the right of the tool.
In this window, you can:
-
Change the name of the tool
-
Apply filters for Rooms or Departments
-
Choose whether or not to show: Room Information, Contact Information, Set-up and Take-down Times
-
Choose whether or not to display a Day Tab and/or a Week Tab on your Calendar.
-
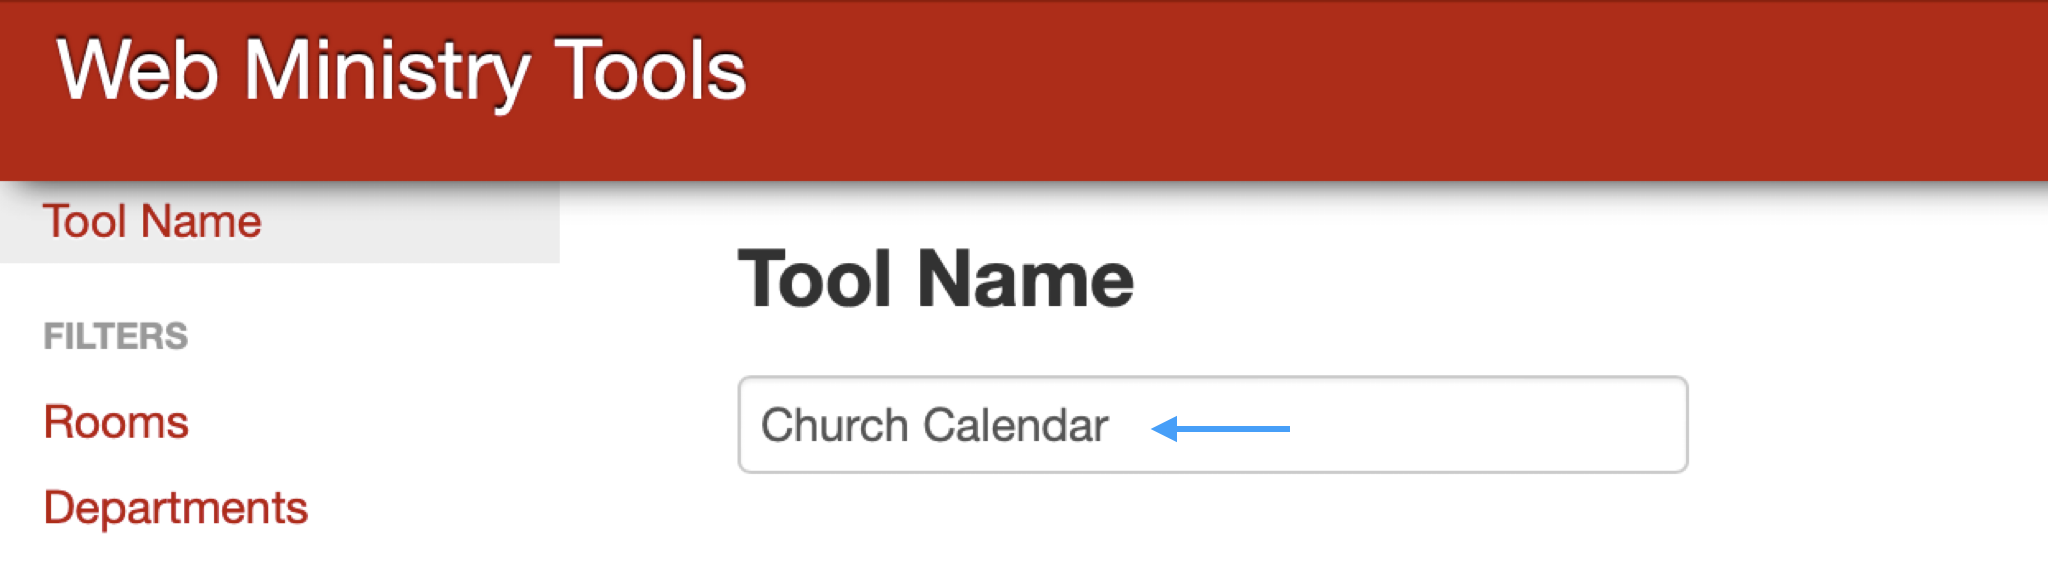
Under the Options page, you will have the option to rename your calendar if you wish.
Rooms and Departments
-
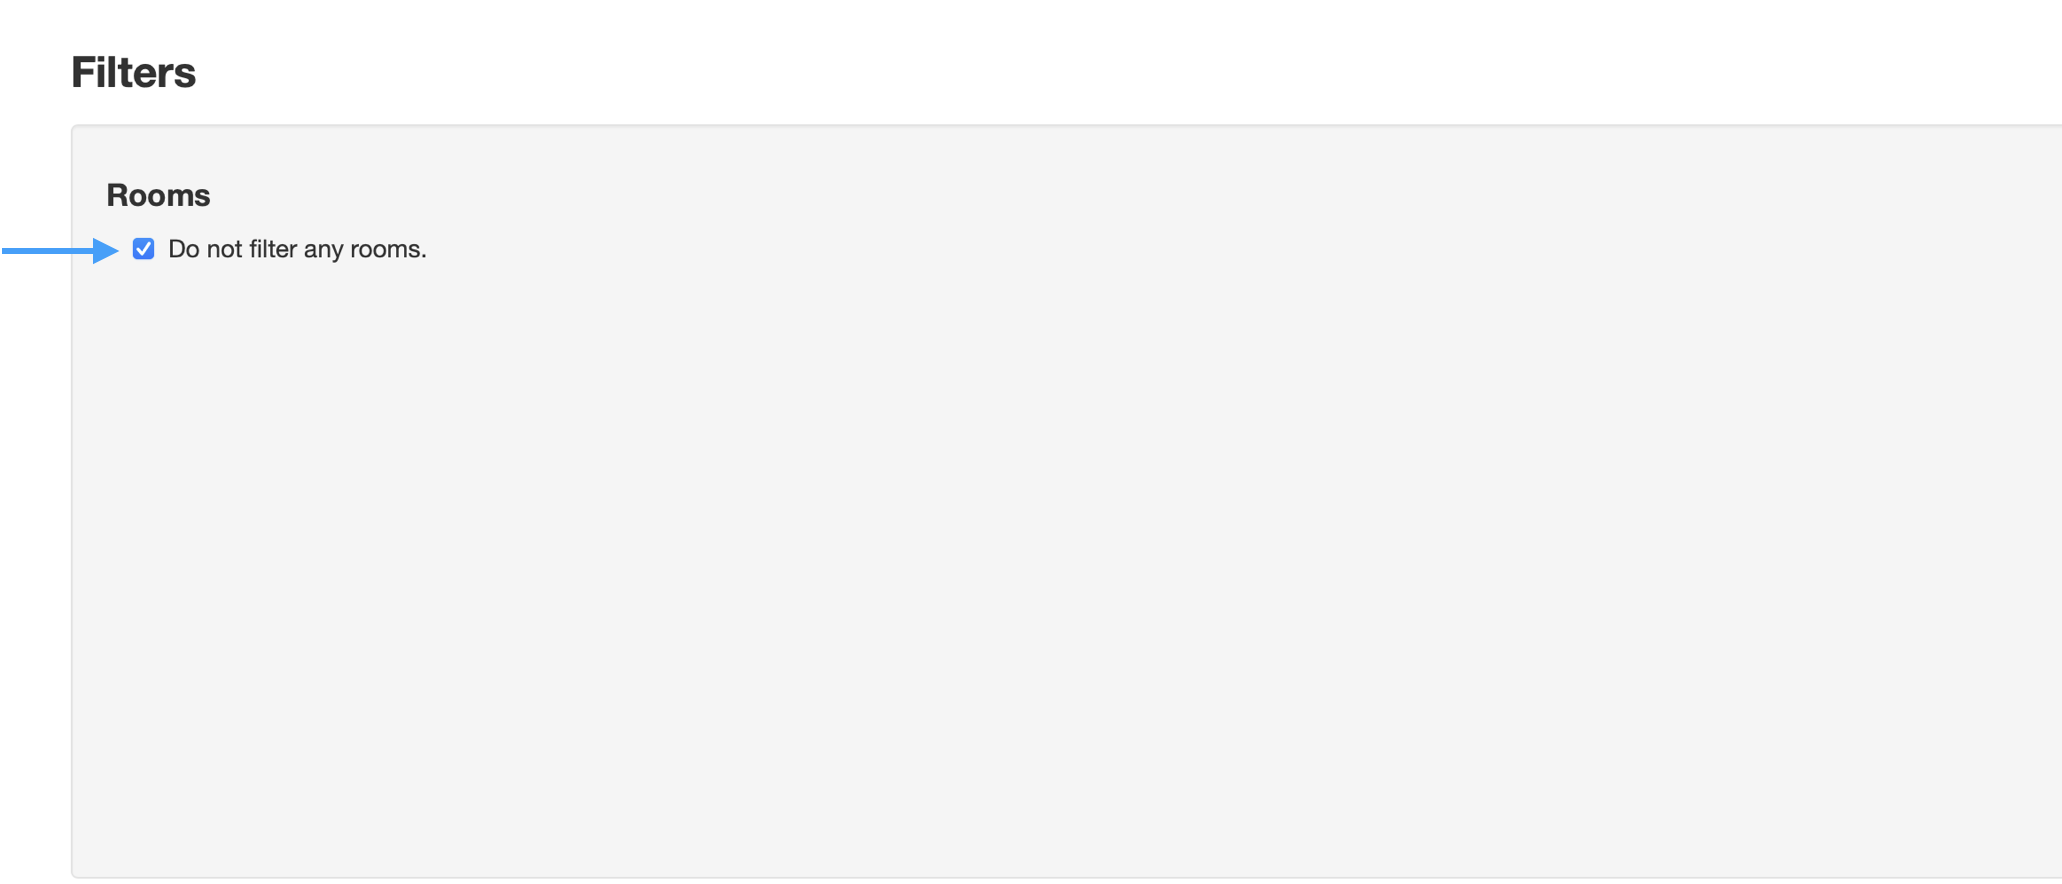
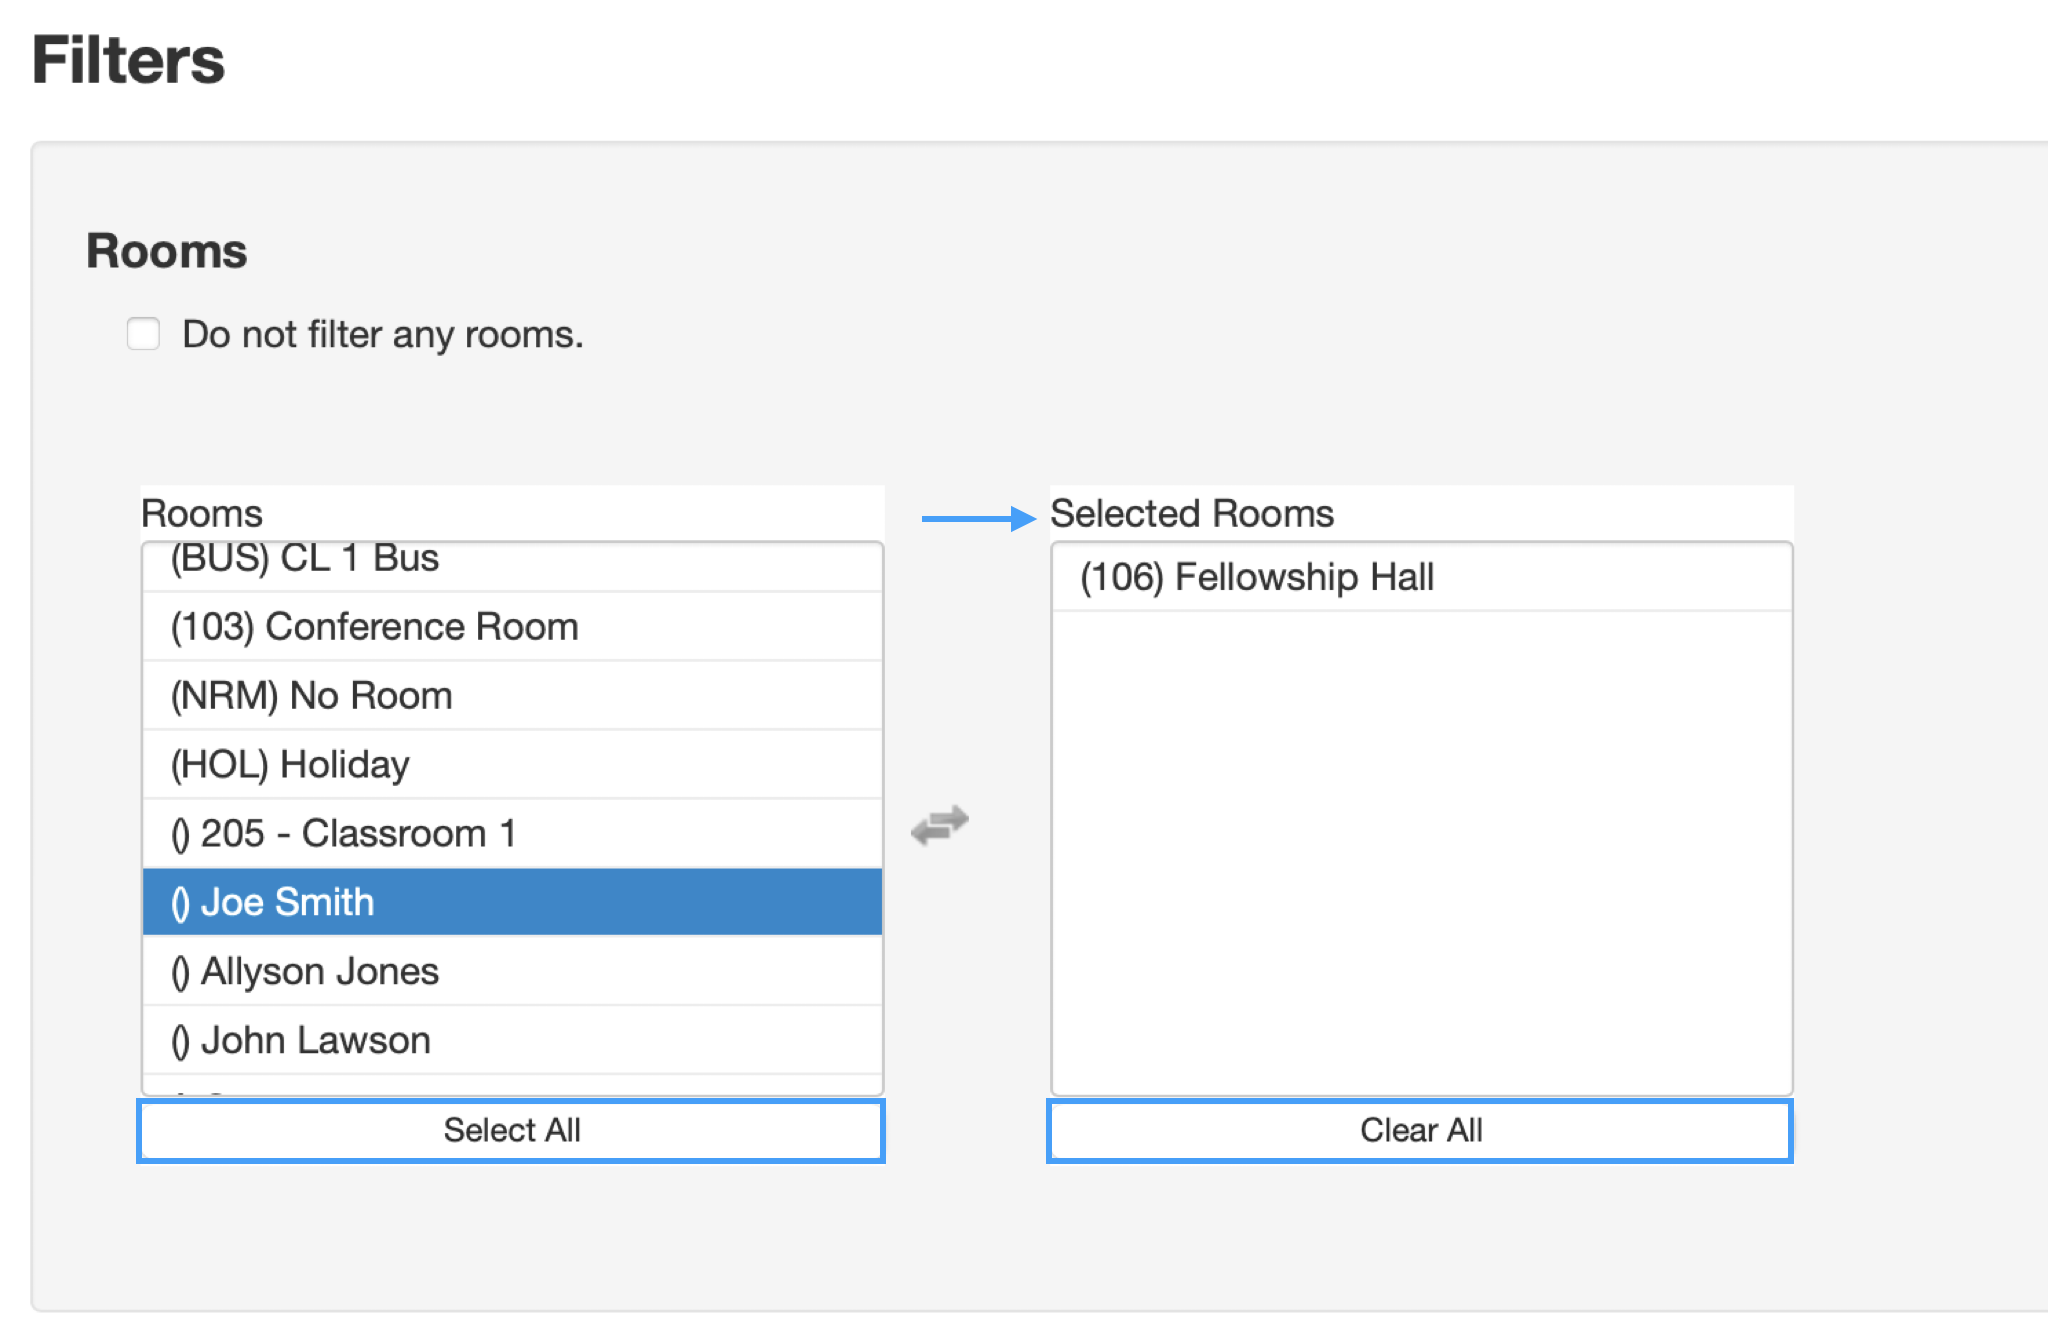
Next, you will have the option to choose which Rooms you want to appear on your calendar. If you check the Do not filter any rooms box, all rooms will appear on your calendar.
-
To filter to rooms you want published, uncheck the Do not filter any rooms box and click the name of the room listed. Any room in the Selected Rooms column will be published. You can also use the Select All and Clear All options.
-
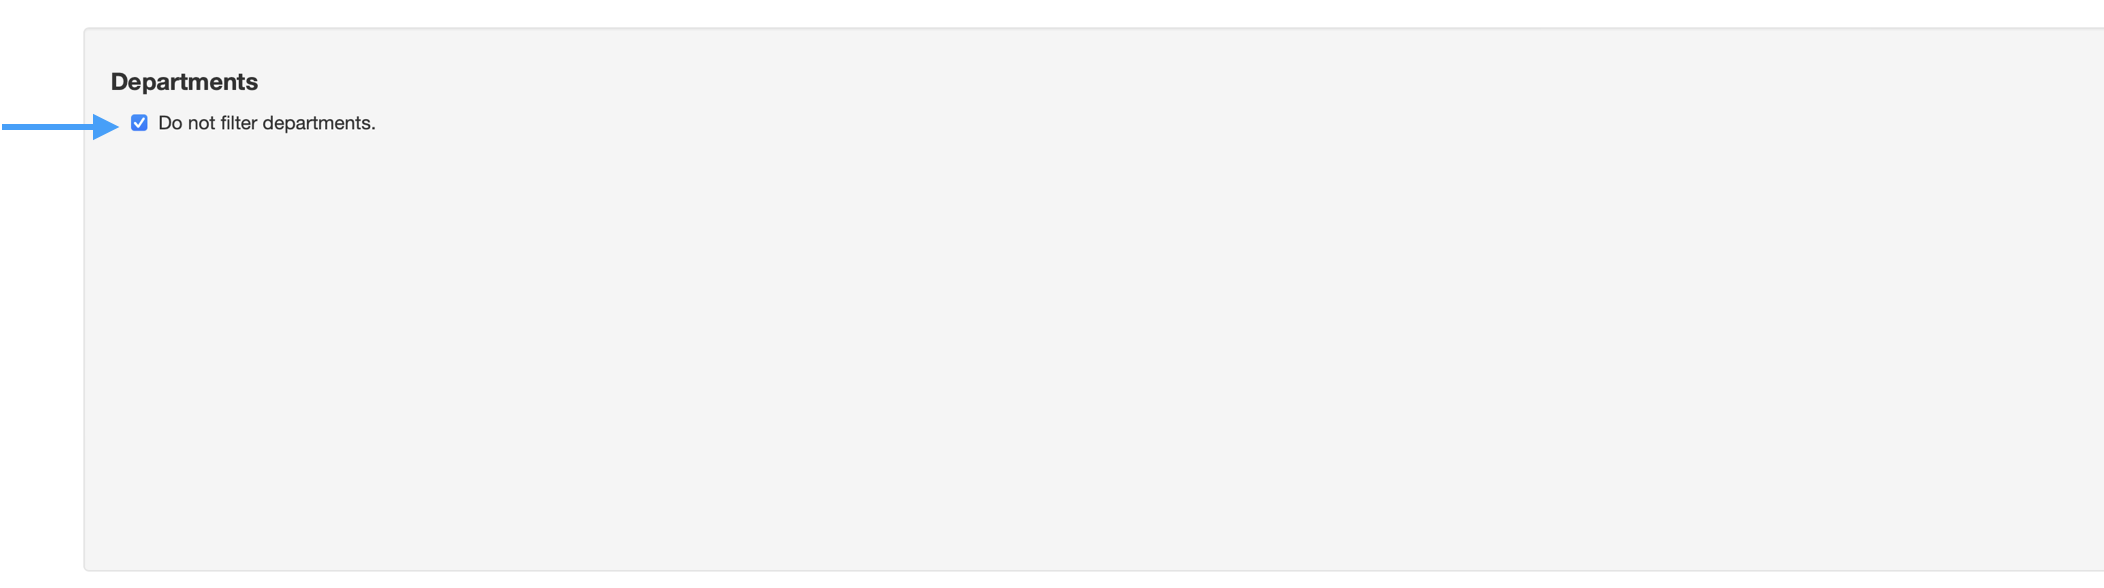
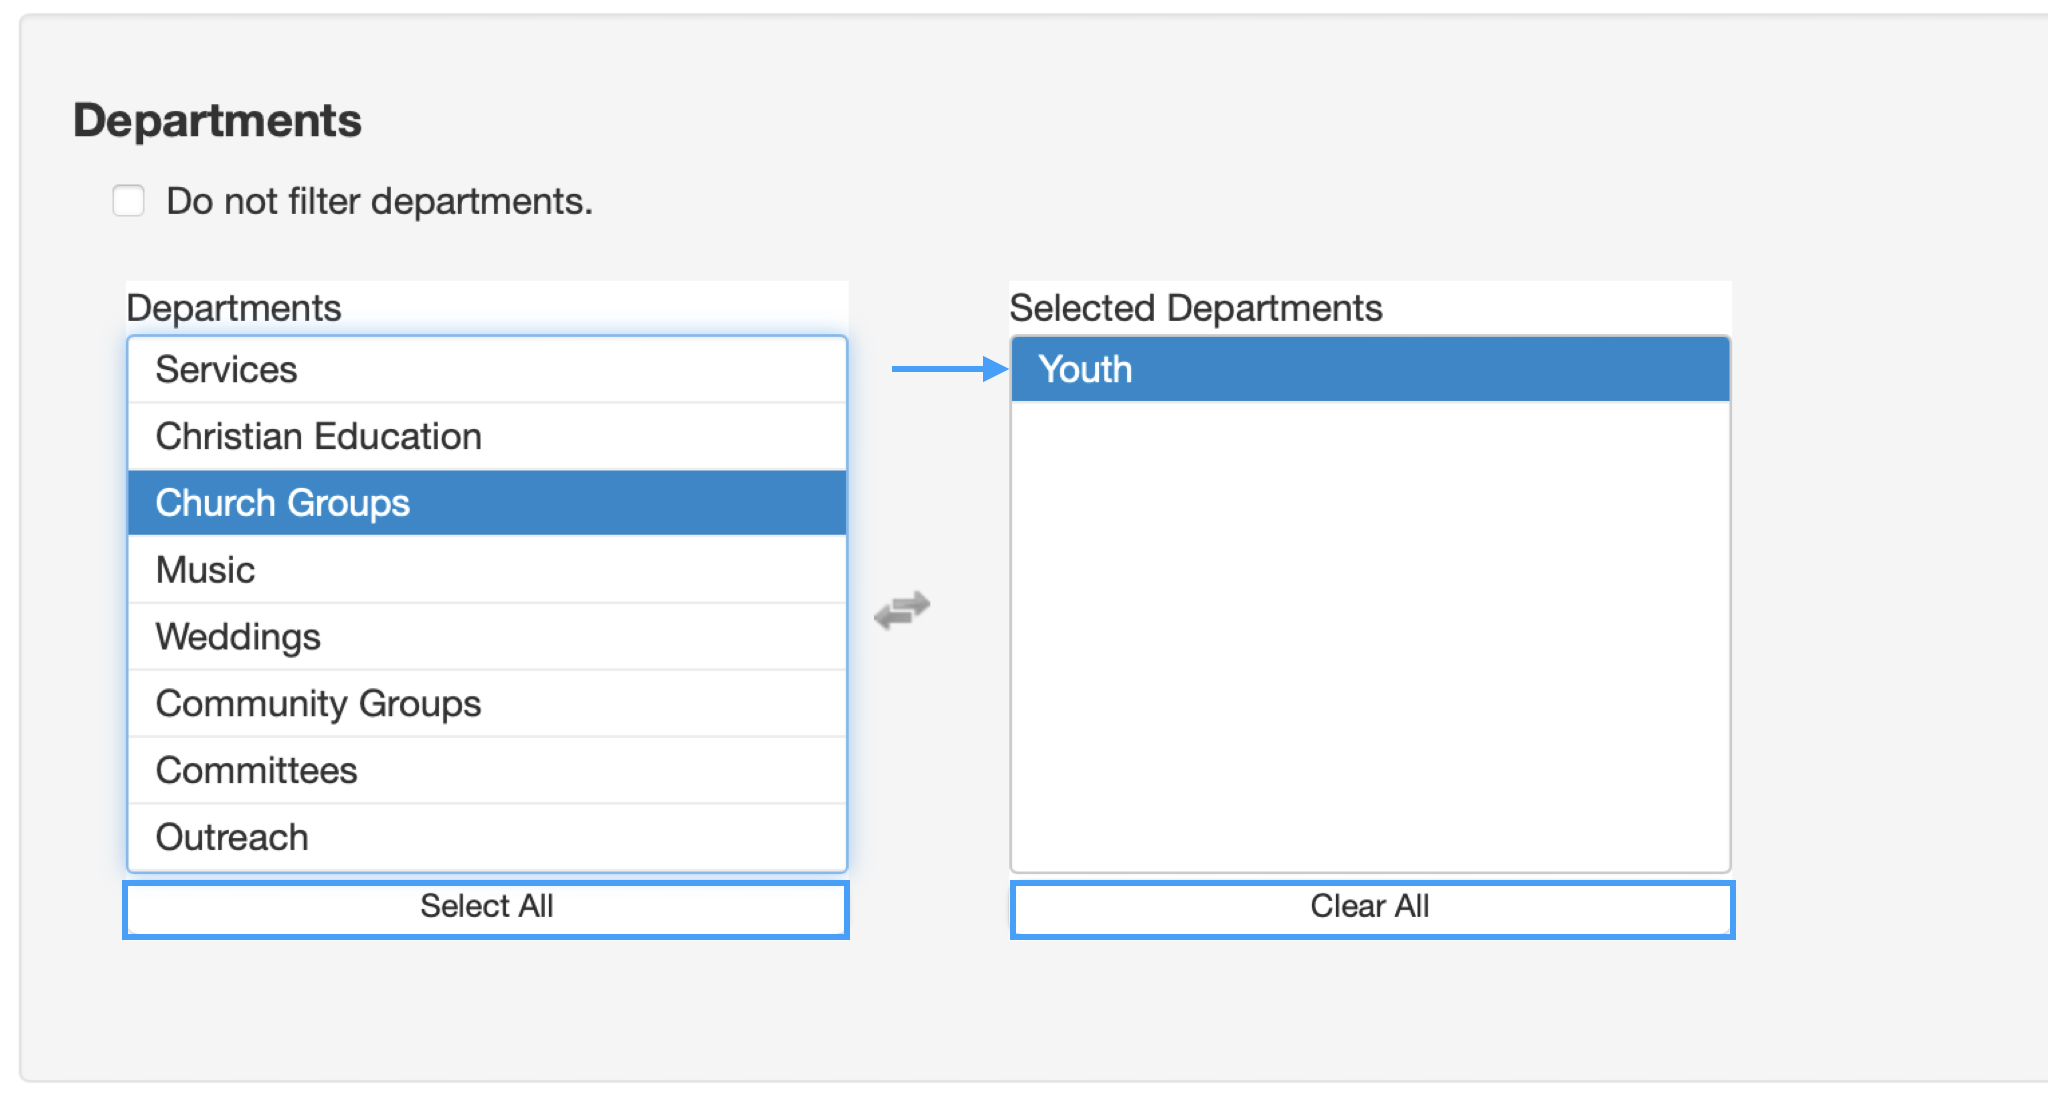
Scroll down the page and you will have the option to choose which Departments you want to appear on your calendar. If you check the Do not filter any rooms box, all rooms will appear on your calendar.
-
To filter to departments you want published, uncheck the Do not filter any rooms box and click the name of the department listed. Any room in the Selected Departments column will be published. You can also use the Select All and Clear All options.
Setting Options
-
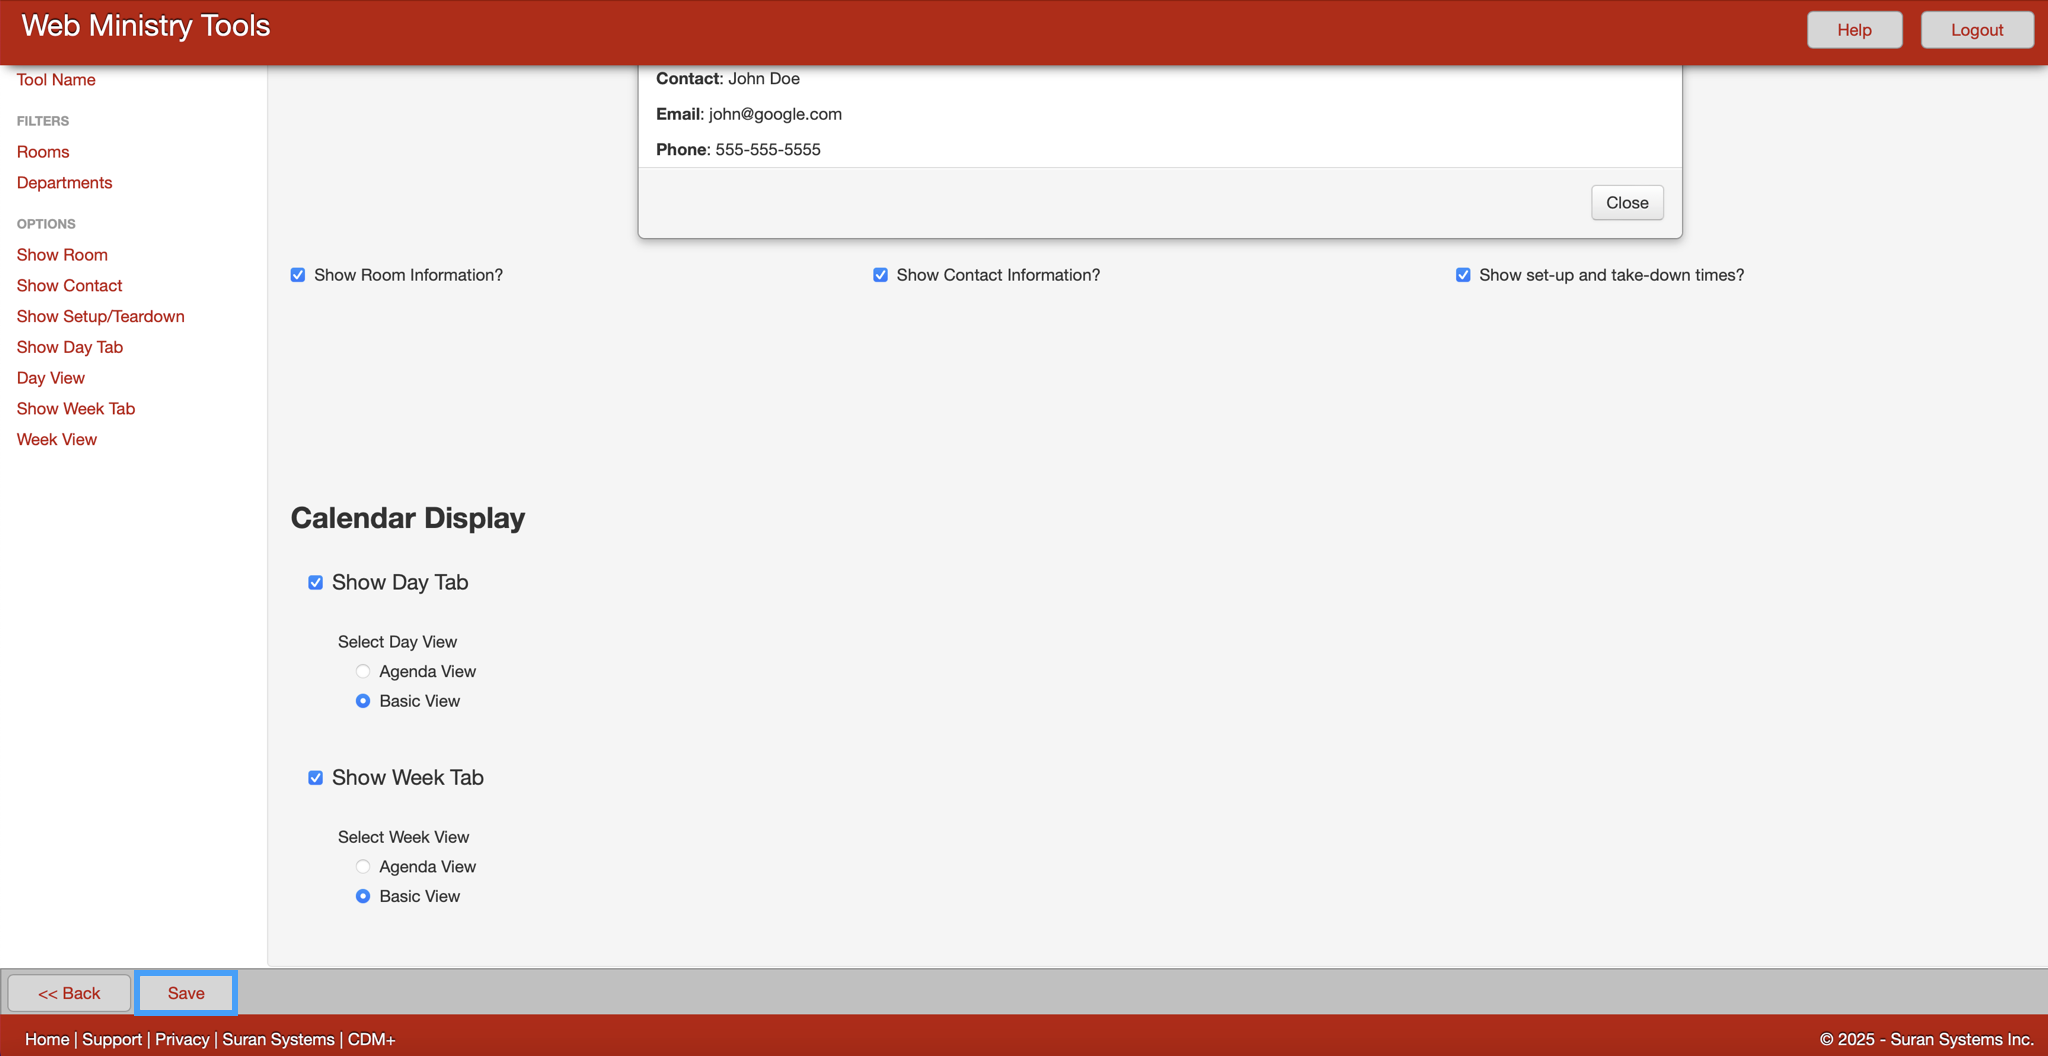
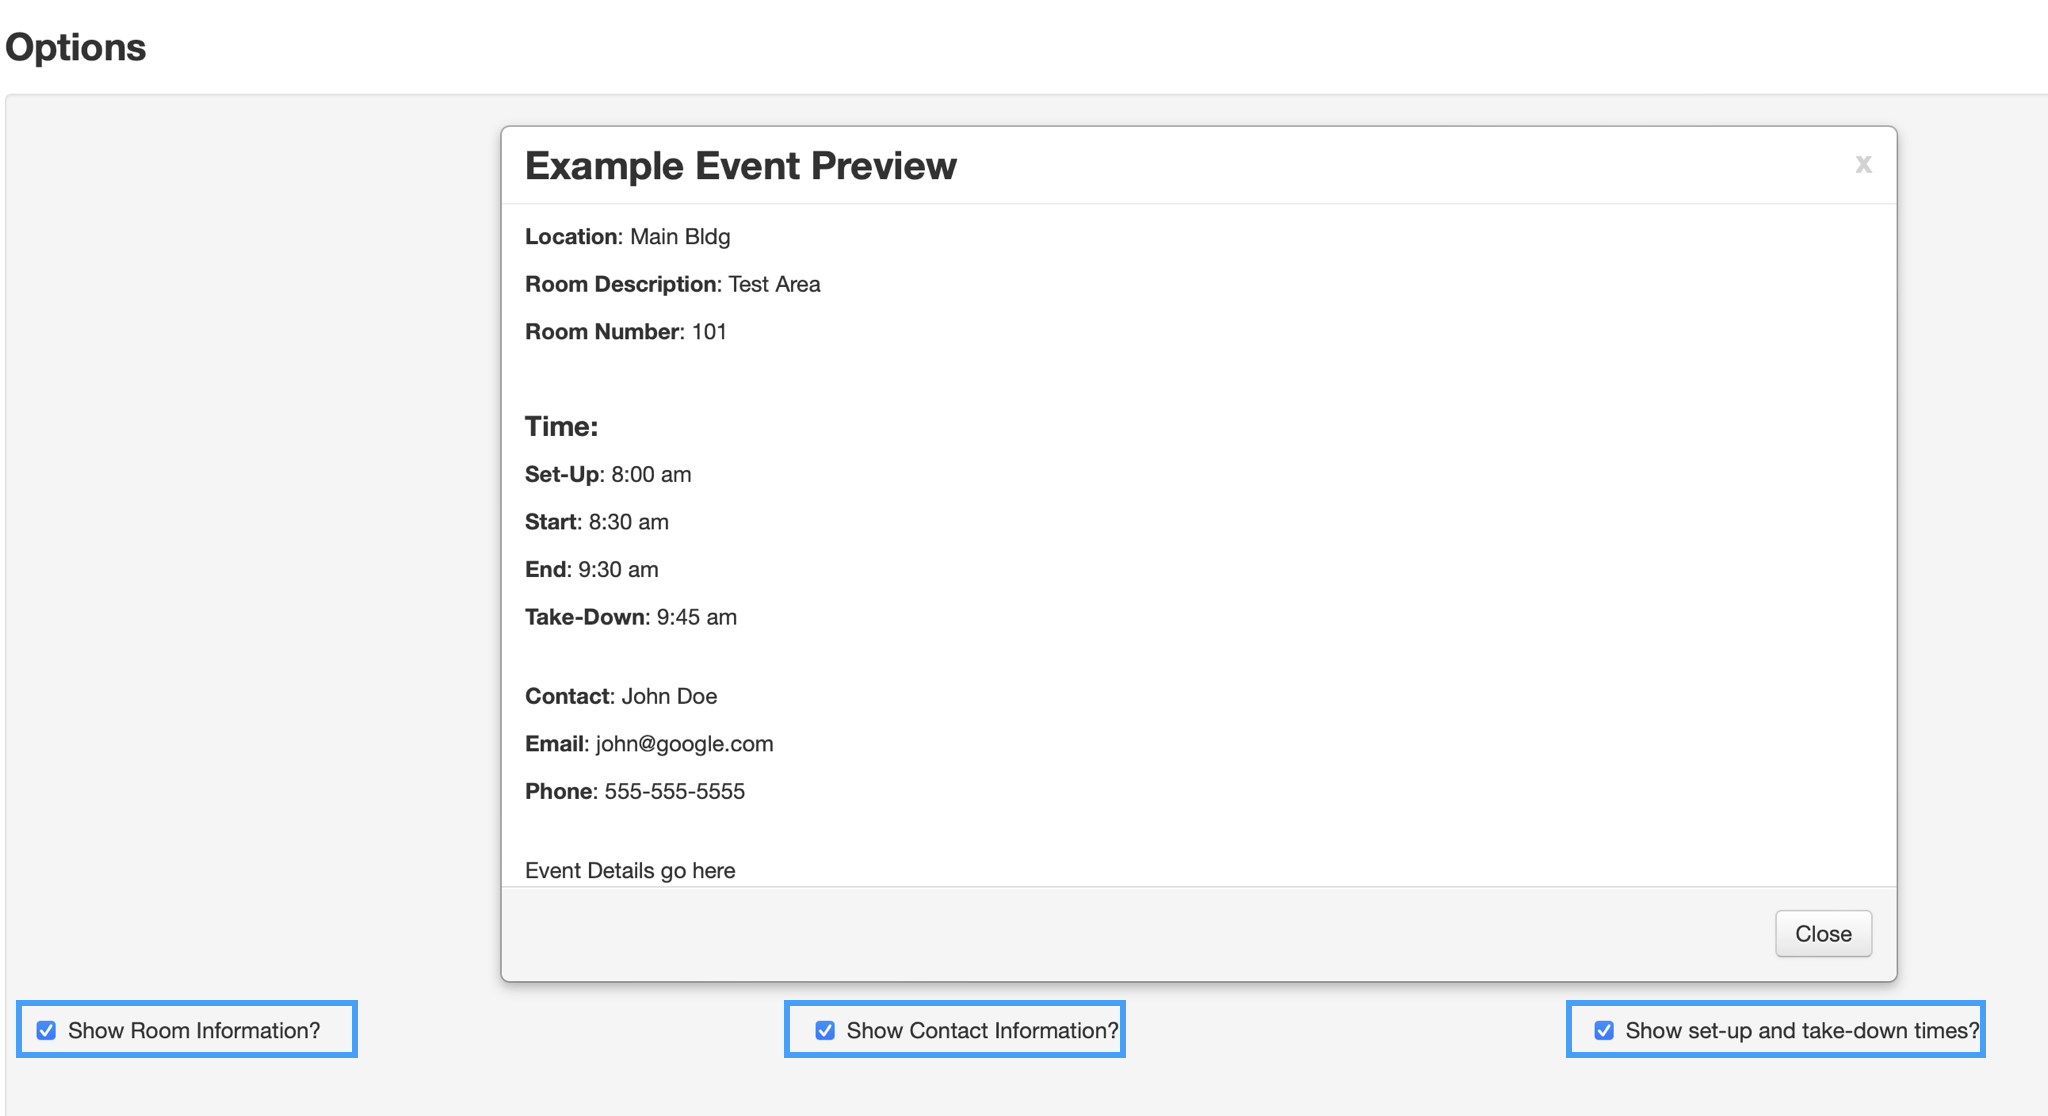
Choose how much information you want to show for each event on your calendar by clicking on or off the boxes beside Show Room Information?, Show Contact Information? and Show set-up and take-down times? A preview changes to show the effects of your choices.
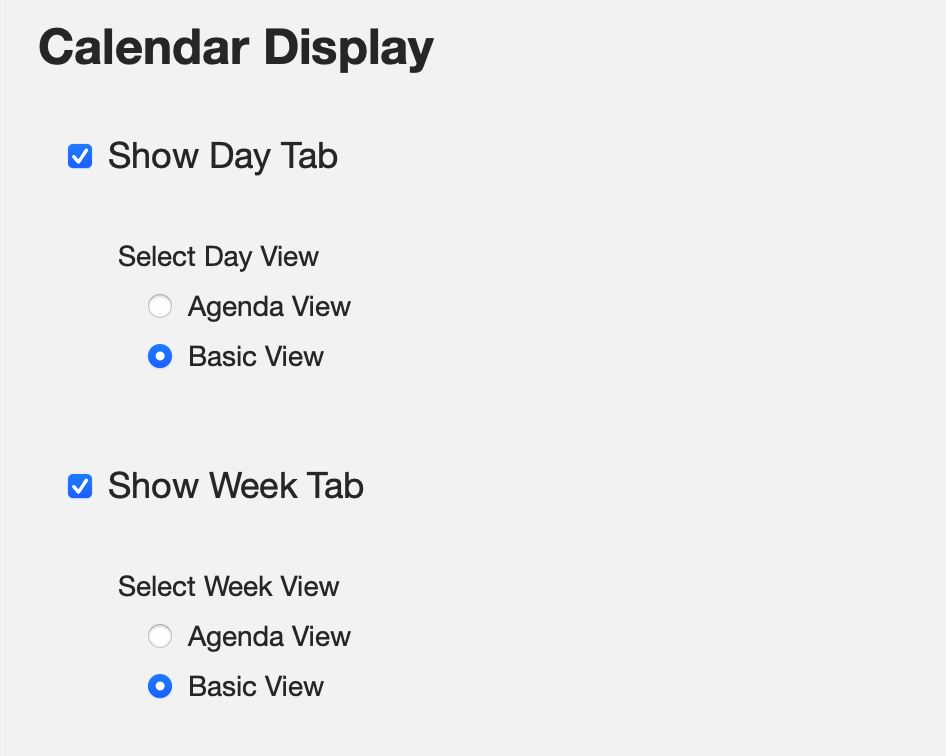
Calendar Display
-
When viewing the calendar online, you can add the ability for a viewer to view the calendar by Day or Week by choosing to Show Day Tab and/or Show Month Tab. When viewing the calendar by day or week you can choose the format or either Agenda or Basic view.
-
Below is an example of the Agenda Day View.
-
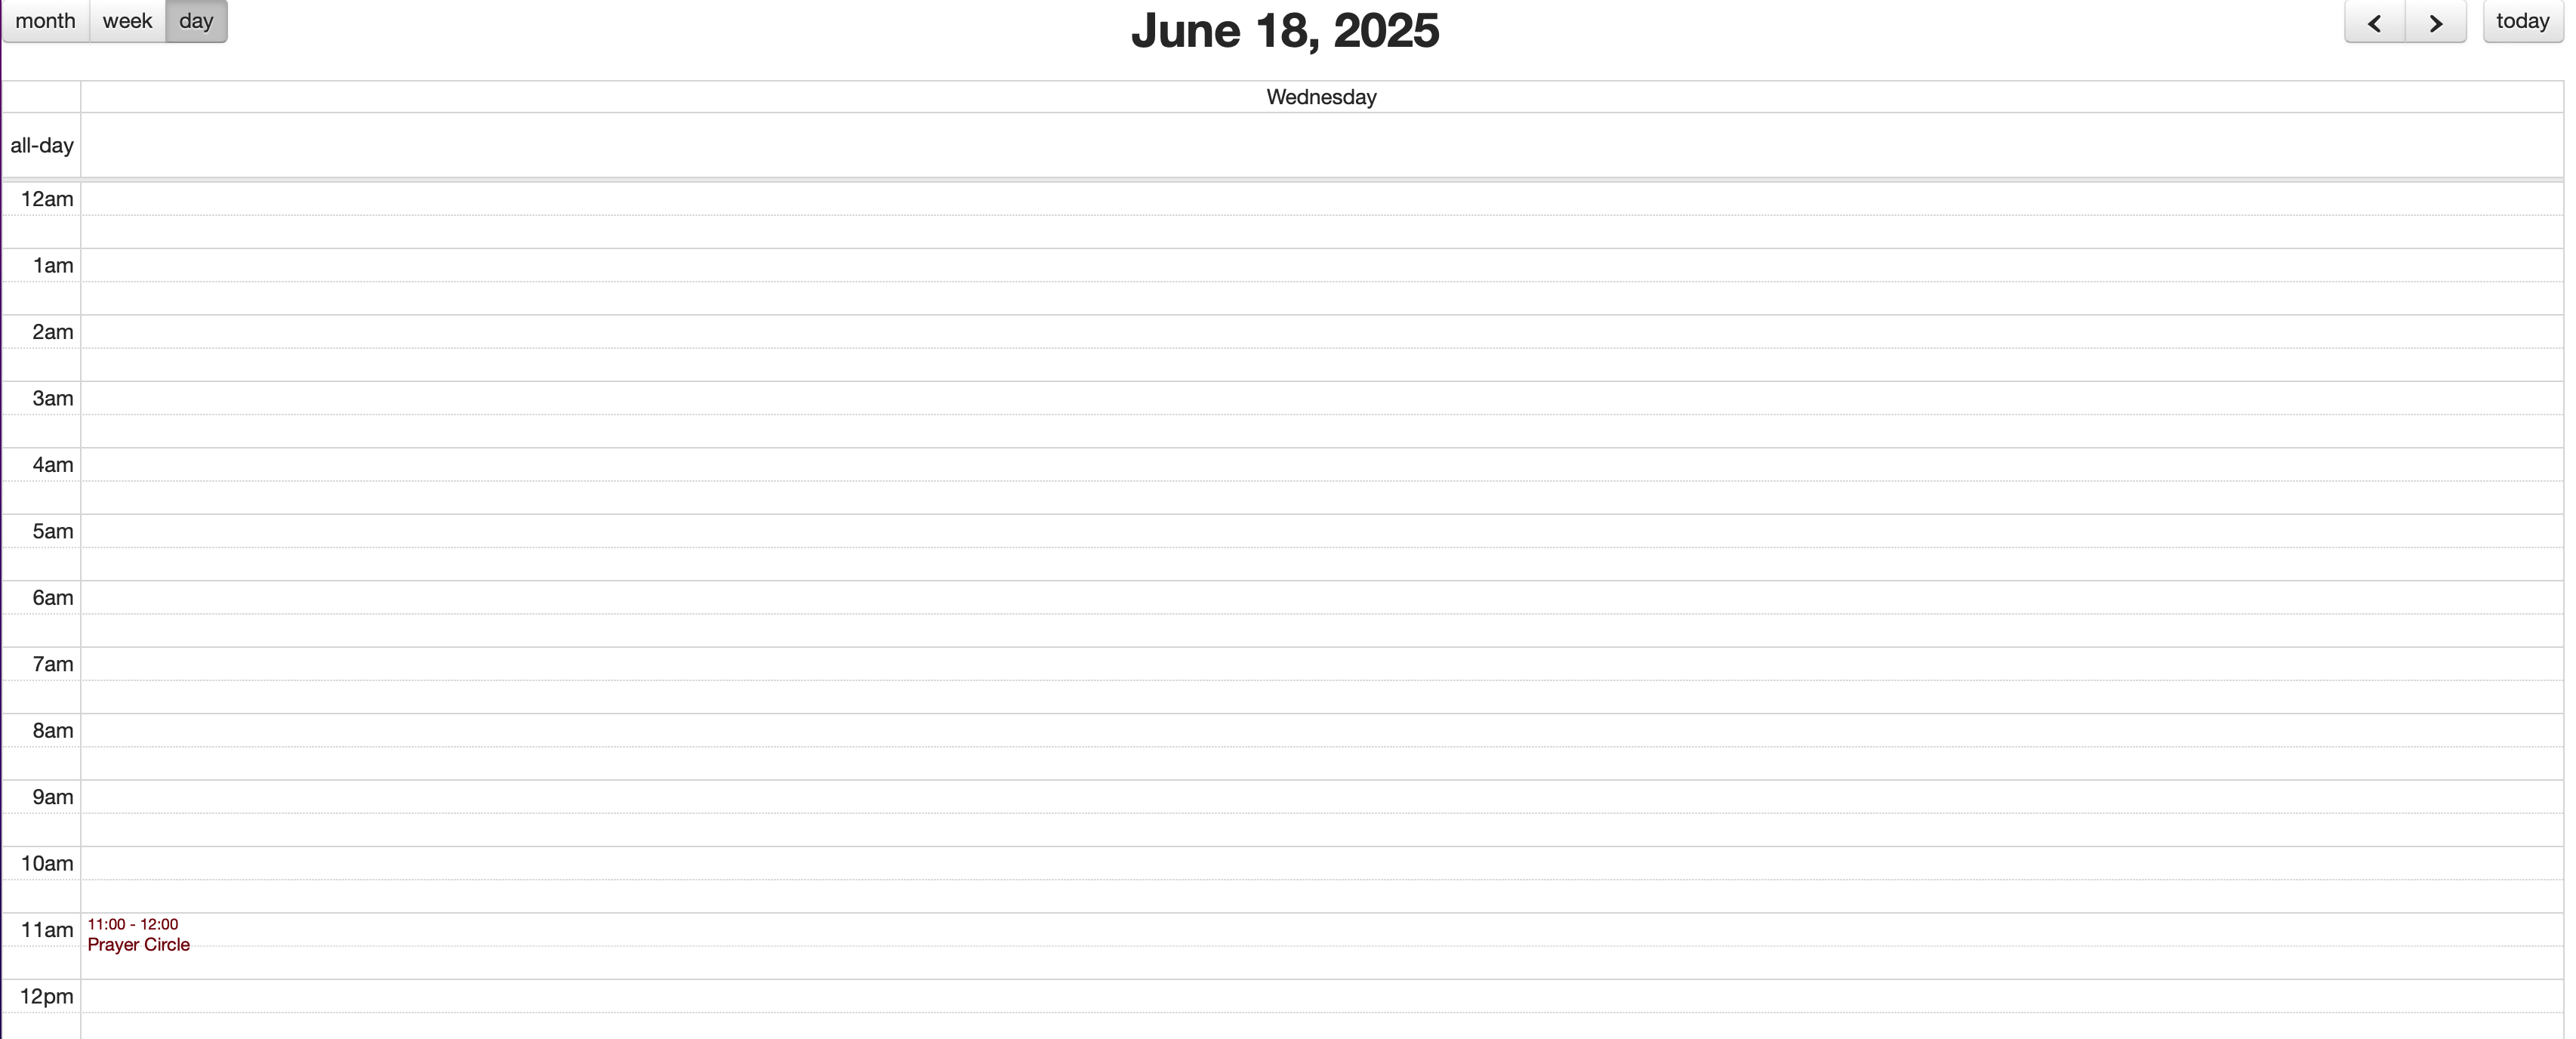
Below is an example of the Basic Day View.

-
Below is an example of the Agenda Week View.

-
Below is an example of the Basic Week View.

-
Once satisfied with the option selected for your calendar, click Save in the bottom left-hand corner.