Server Setup
This guide applies to self-hosted clients only. If you use CDM+ SAAS or Data Hosting, please follow the instructions in the Client Setup section.
Follow these instructions even if you are installing CDM+ on only one computer. If you only use CDM+ on one computer, that computer is considered both the server (the computer that has your data on it) and the client. You can ignore any instructions regarding additional client computers.
If you already have CDM+ installed in your office and wish to install on another computer, follow the instructions in the Client Setup section.
Make sure ALL computers on which you are installing CDM+ meet the current System Requirements.
Install CDM+
Begin by installing and launching CDM+ as outlined in the Program Installation instructions.
Launch CDM+
The Setup Assistant welcome screen will appear. Click Continue.
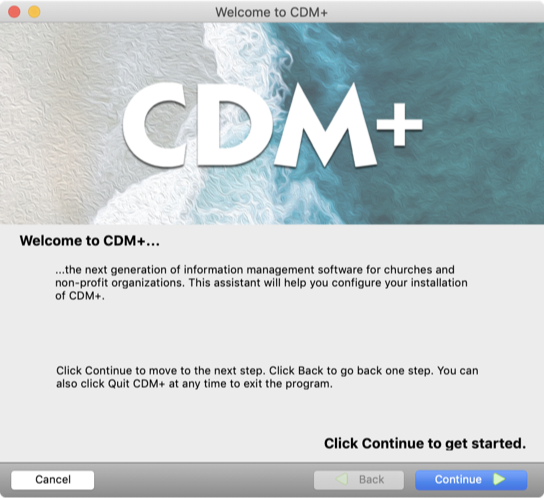
If the Login window appears when opening CDM+, you can access the Setup Assistant by navigating to File → Setup Assistant.
Choose a configuration mode
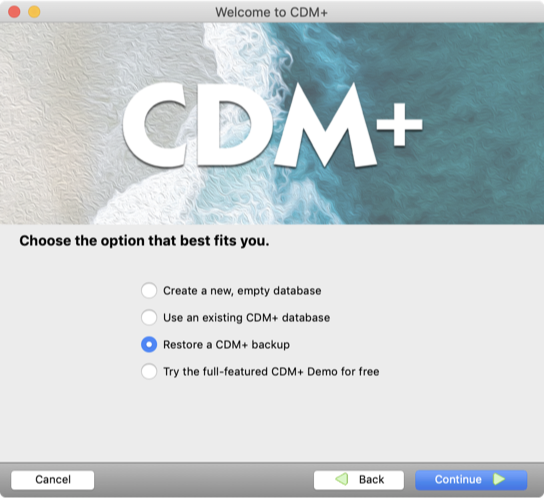
CDM+ will ask you to choose an option to configure your copy of CDM+.
- Create a new, empty database - Choose this option to create an empty database
- Restore a CDM+ backup - Choose this option to restore a backup of your database
Create a new, empty database
You will need a serial number to proceed. Serial numbers are provided with your CDM+ order. If you cannot locate your serial number, contact our Customer Service department at 800-633-9581.
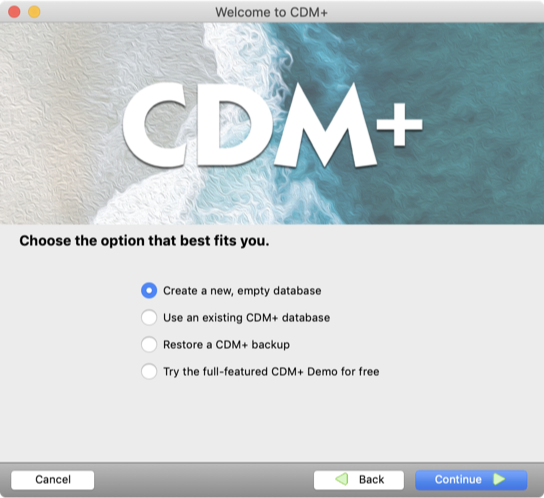
Click Continue.
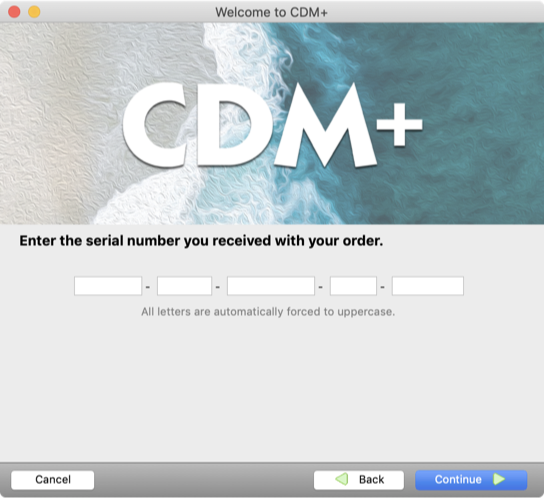
Enter your serial number
Enter your serial number and click Continue.
Copy the serial number and paste it into the first box. The serial number will automatically fill in all five boxes.
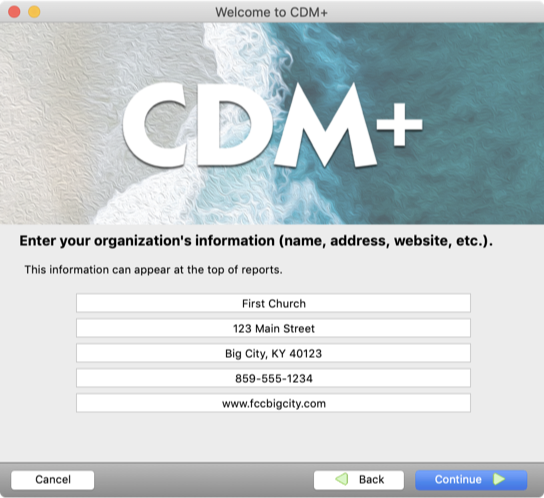
Enter your organization information
Enter your church's or organization's name, address, phone number, website or email address, etc. This information can appear on the top of reports generated from CDM+. You will be able to change it at any time through System Preferences. Click Continue again.
Create the administrator user
Each person using CDM+ should have his/her own password. CDM+ allows you to customize your workspace through preferences, saved report format settings, and menu and window appearance-all of which is tied to your specific user account.
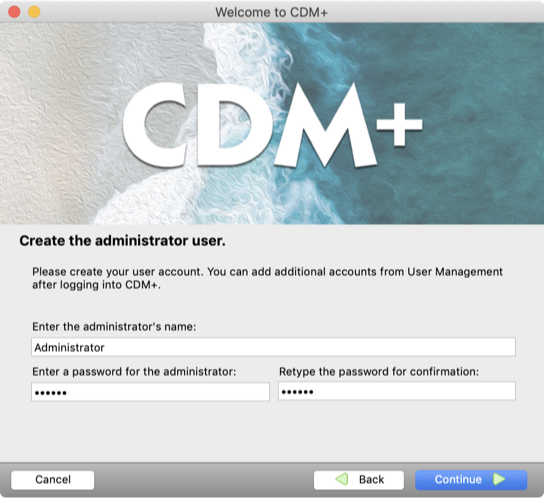
Among the users in an organization, at least one person must be an Administrator, which means they are authorized to access User Management where all users' names, passwords, and access settings are established and maintained. During the setup process, you must enter an Administrator's name and password. You can create additional users after logging into CDM+ by accessing Administration..
After completing the administrator's user information, click Continue and proceed to Choose data location.
Restore a CDM+ Backup
Choose this option if you had Suran staff convert data for use on your local server, or if you are moving your data from one server to another. You will need a backup file to proceed.
If Suran staff upgraded an older database for you, you will receive a link to download a backup of your data.
If you are moving your data from another computer, transfer the backup file to this computer using a flash drive, file-sharing site, local network, or other file-sharing mechanism.
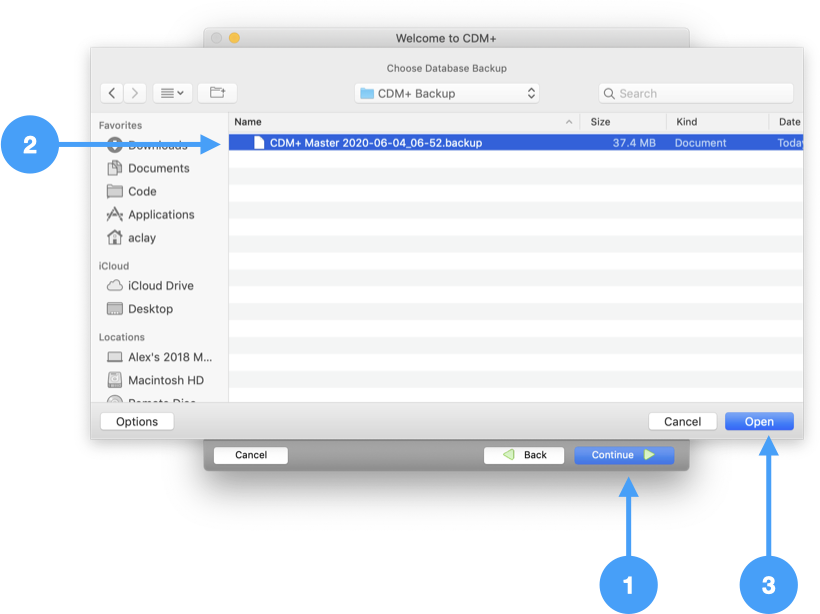
Choose a backup
- Click Continue
- Choose the database backup file
- Click Open
- Proceed to Choose data location
Choose data location
Tell CDM+ where you would like to keep your data.
On this computer
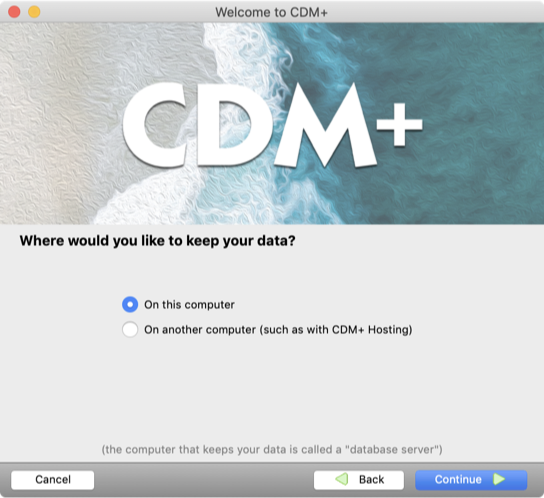
Choose this option to install a database on this computer. This may be either the only computer on which you install and use CDM+ or it may be the network database server. Click Continue.
On another computer (such as with CDM+ Hosting)
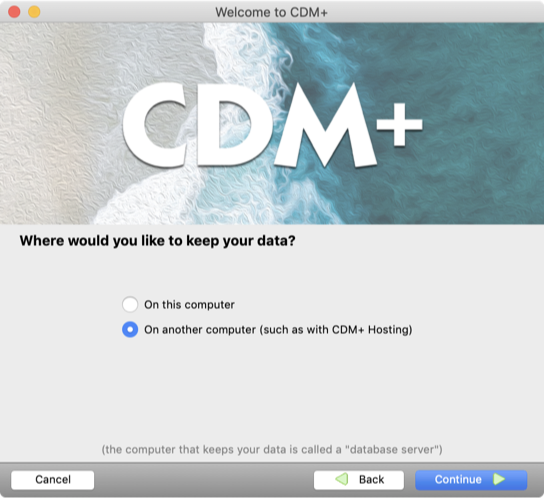
Choose this option if you enrolled in the CDM+ Data Hosting Service and need to create an additional database. Your initial hosted database will be created by Suran staff when you purchase the software.
Click Continue.
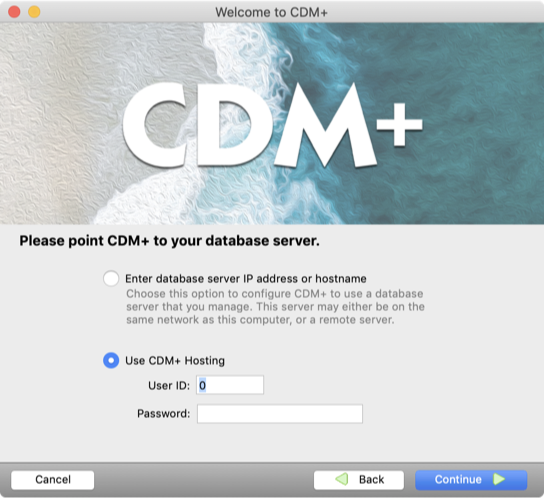
Configure hosting credentials
Click the radio button next to Use CDM+ Hosting and enter the User ID and Data Hosting Password provided with your order and click Continue.
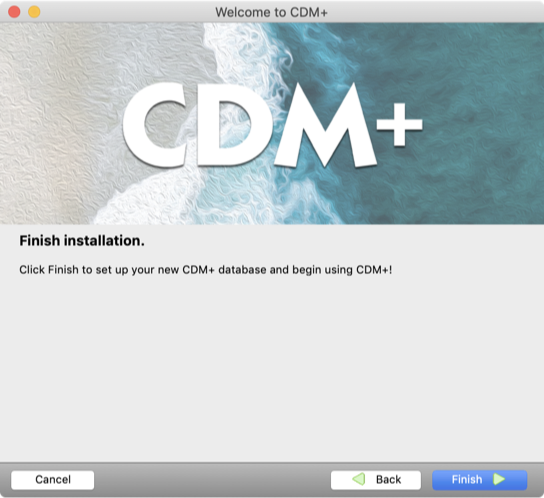
Finish installation
Click Finish to finish configuring CDM+. Your new database with be initialized and/or restored, then you will be able to log into CDM+.
Configuring additional clients
If you are using CDM+ on only one computer, you are finished with the installation/setup process.
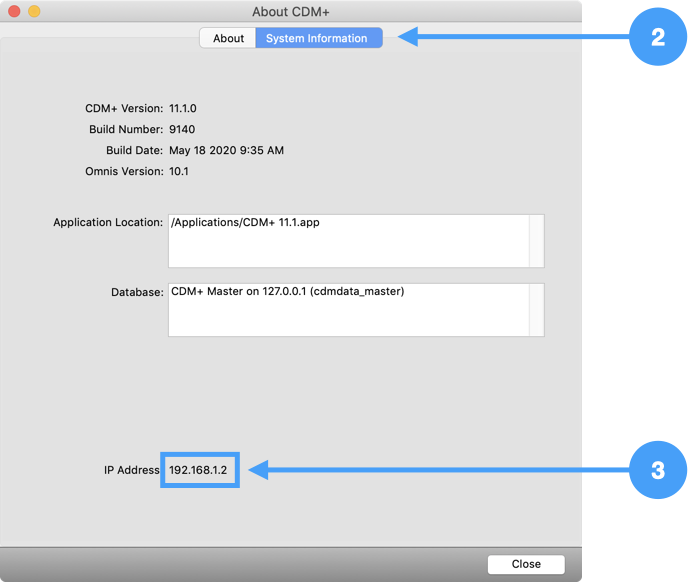
If you want to have CDM+ loaded on additional computers, continue with the steps below before moving to the Client Setup instructions. You need to take note of the IP address of the server.
- Select About CDM+ from the File (Windows) or CDM+ (macOS) menu
- Click the System Information tab
- Make a note of the IP address displayed
Click here to move to the Client Setup instruction page where you will use this IP address to connect CDM+ to this server.
If you need additional help call the CDM+ Technical Support staff at 800-633-9581 Monday-Friday, 8:30 AM-5:00 PM Eastern time for assistance or email support@cdmplus.com.
