Client Setup
These steps apply to:
- CDM+ SAAS
- CDM+ Data Hosting
- Additional clients for self-hosted installations—be sure to follow the Server Setup guide first
Make sure ALL computers on which you are installing CDM+ meet the current System Requirements.
Install CDM+
Begin by installing and launching CDM+ as outlined in the Program Installation instructions.
Launch CDM+
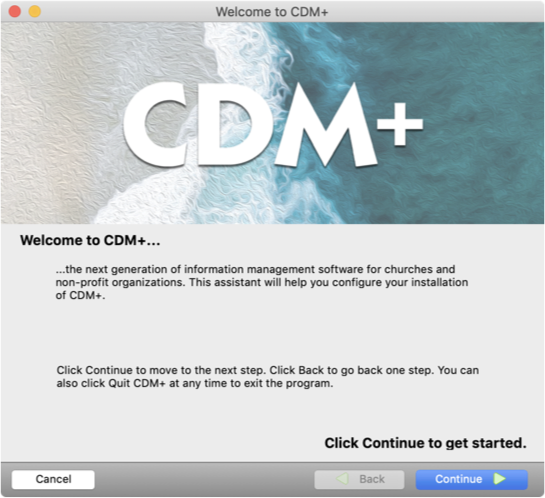
Open CDM+. The Setup Assistant welcome screen will appear. Click Continue.

If you see a Login window instead, go to File → Setup Assistant to open the Setup Assistant window and click Continue.
Choose a configuration mode
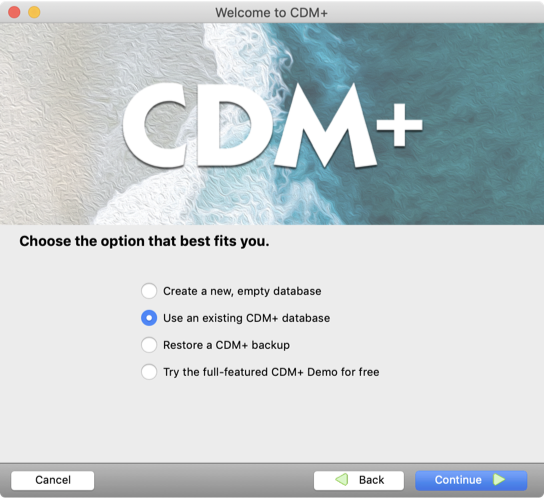
CDM+ will ask how you'd like to configure CDM+. Choose Use an existing CDM+ database. Click Continue.

Connect to your database
SAAS/Data Hosting
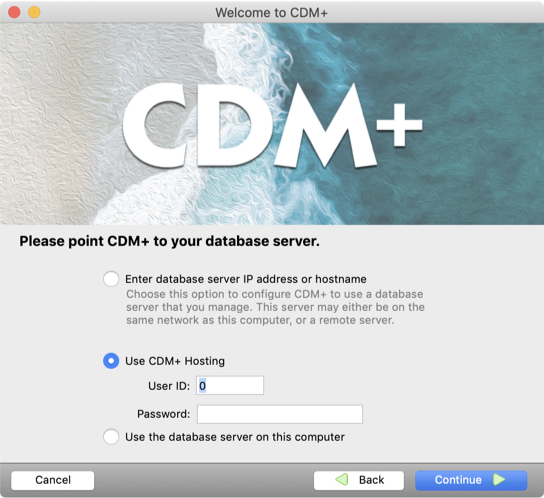
Choose Use CDM+ Data Hosting and enter the User ID and Password you were given. Click Continue.

Self-hosted
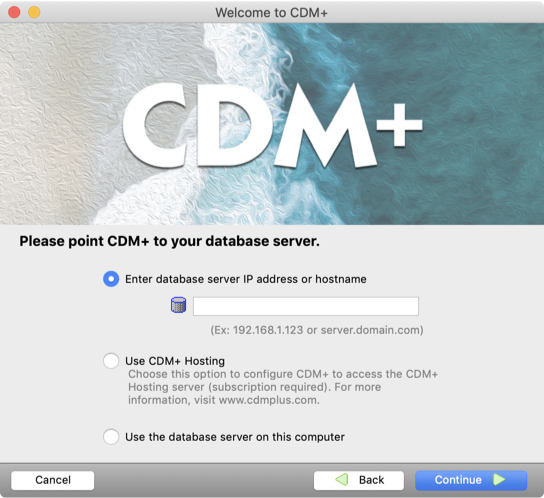
Choose Enter database server IP address or hostname and enter the IP address you noted in Server Setup. Click Continue.

Log in
Select your user or enter your username. Enter your password and click Log In.
The Administrator you set up when installing CDM+ on the server must log in first and set up other user accounts. We strongly recommend that each user has his or her own username and password. Please see the Administrative Tools manual for more information about user management.
If you need additional help call the CDM+ Technical Support staff at 800-633-9581 Monday-Friday, 8:30 AM-5:00 PM Eastern time for assistance or email support@cdmplus.com.
