
The example below is an Individual Letter Email from the Membership Reports menu, but the steps apply to any Notice (letter, card, email) in CDM+.
-
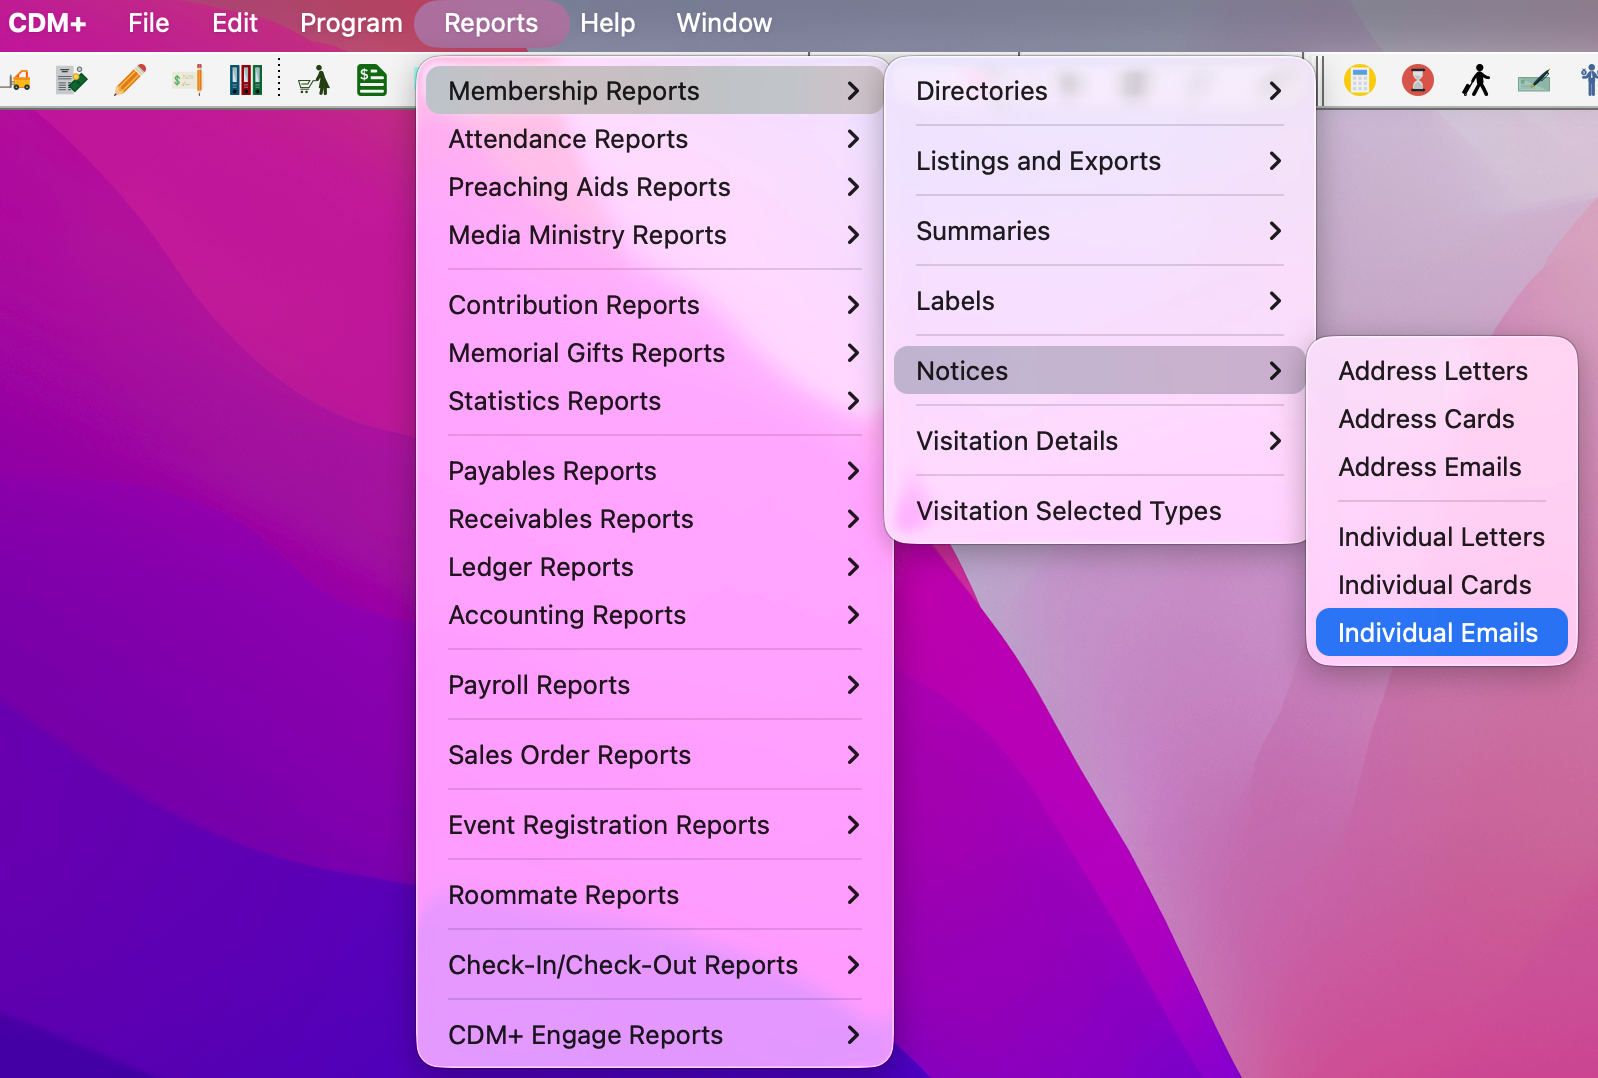
Go to Reports → Membership Reports → Notices → Individual Emails.
-
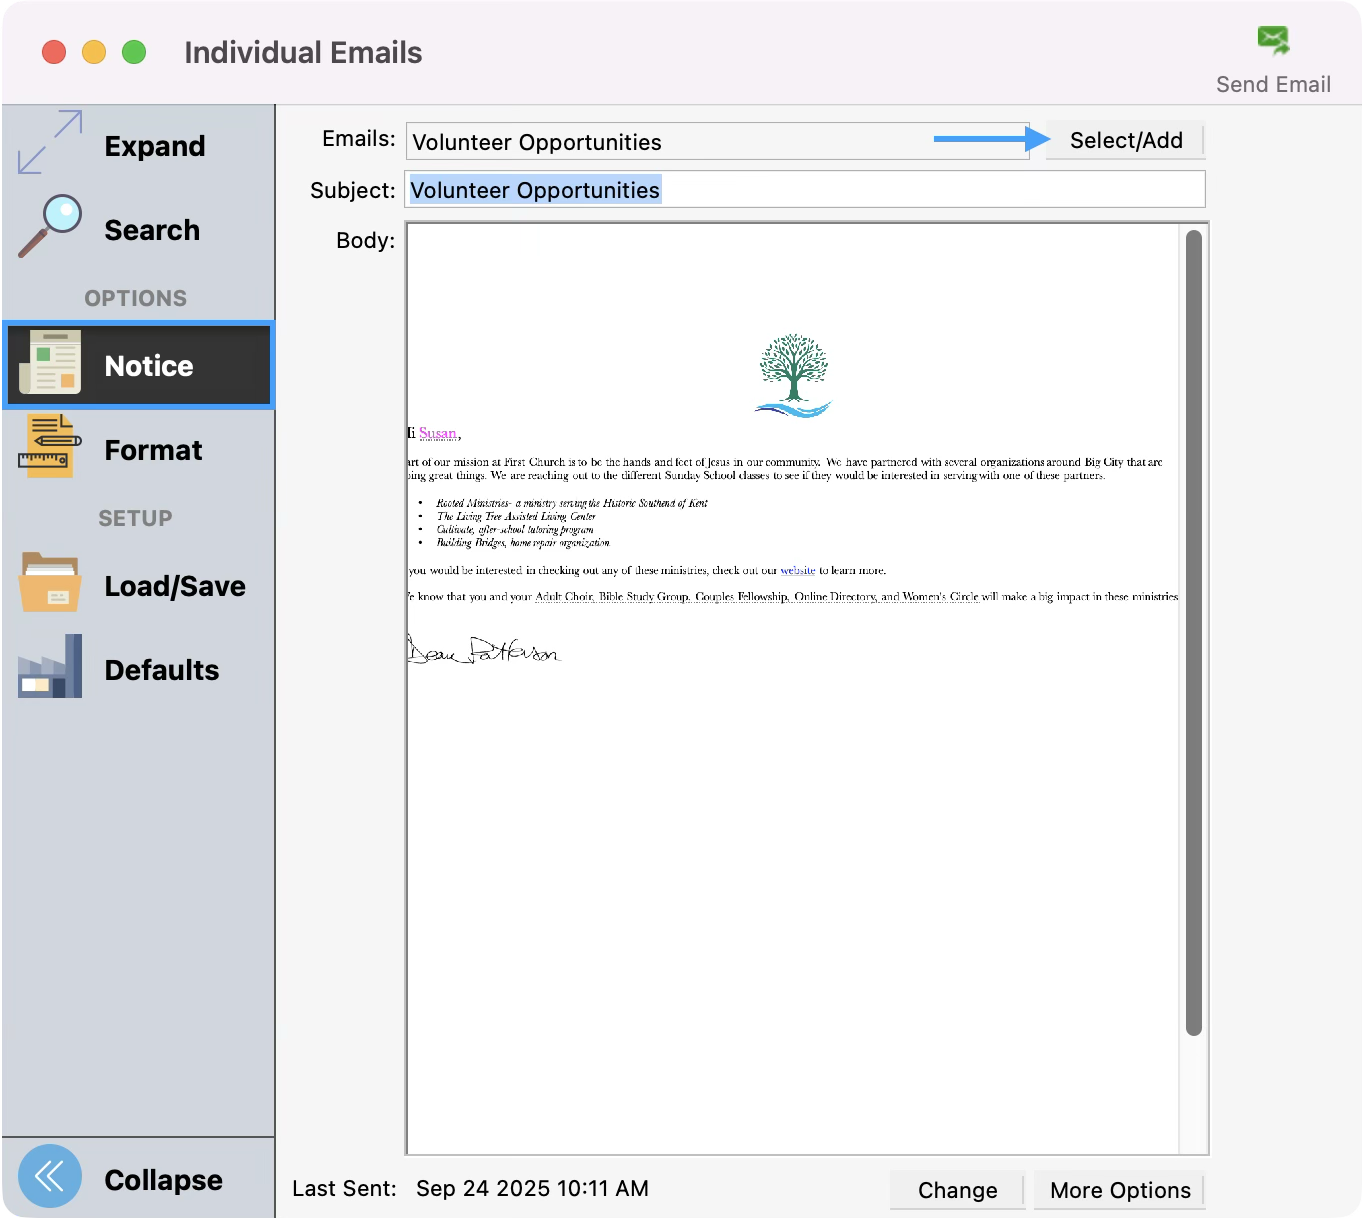
A new window will open. Click Notice from the left sidebar, and then click the Select/Add button.
-
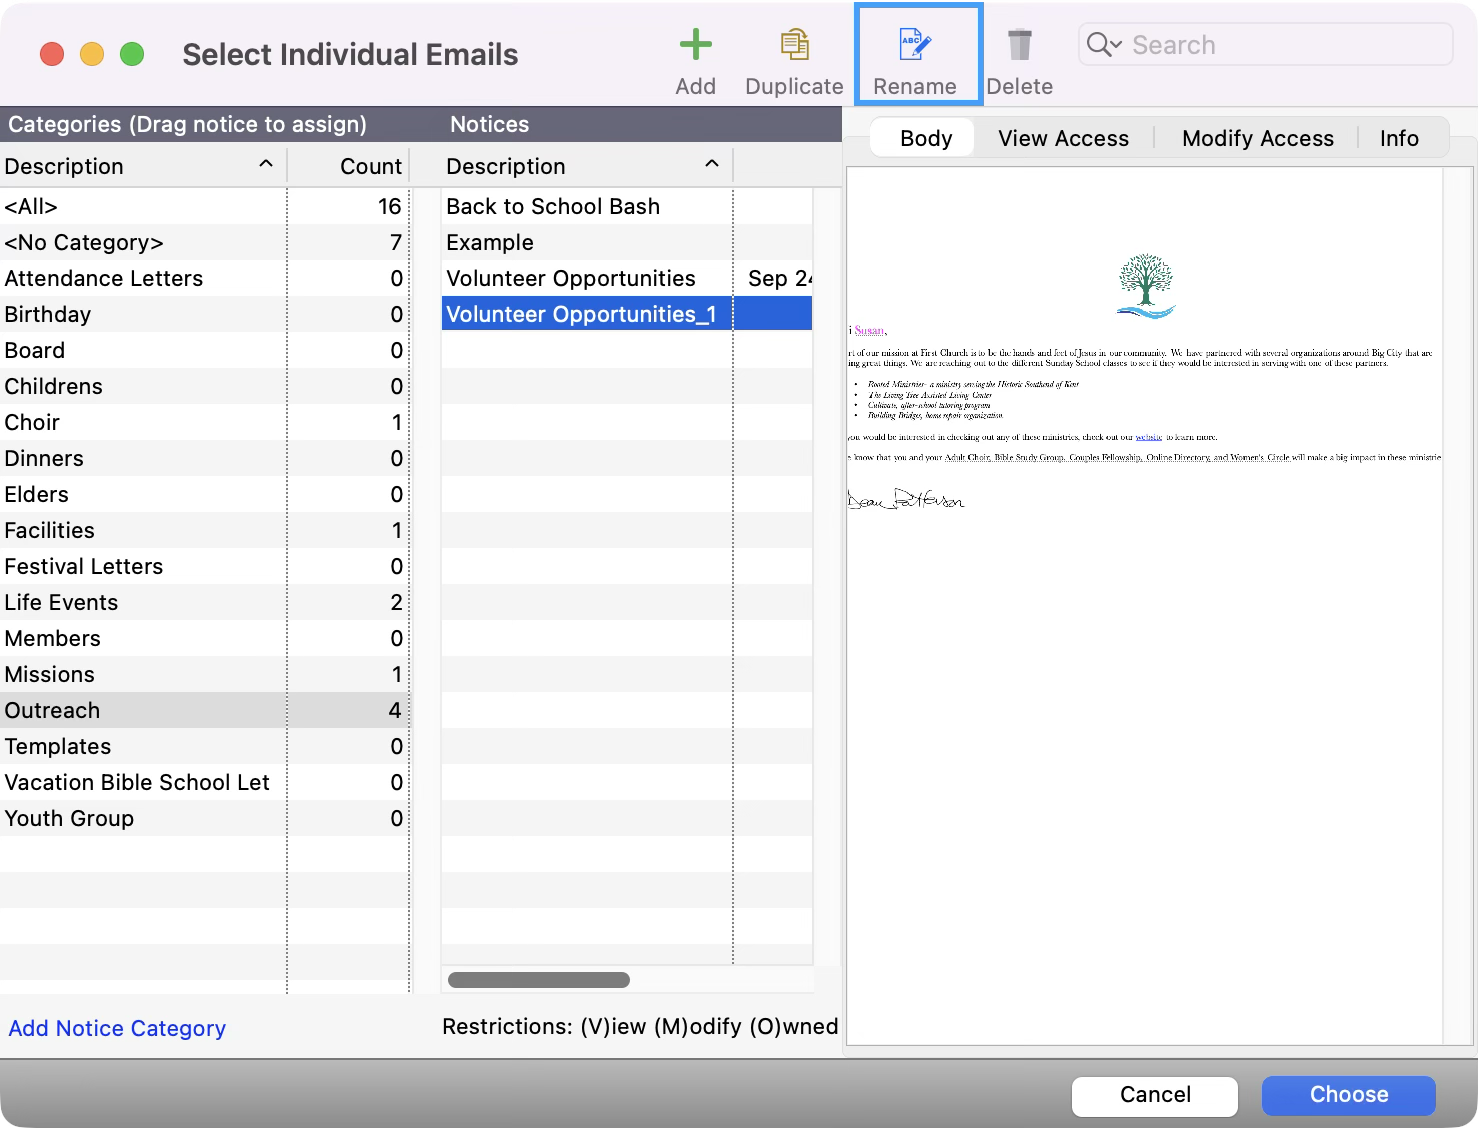
A new window opens and displays existing notices as well as notice categories.

-
In this window, you can Add, Duplicate, Rename, or Delete a notice you previously sent.
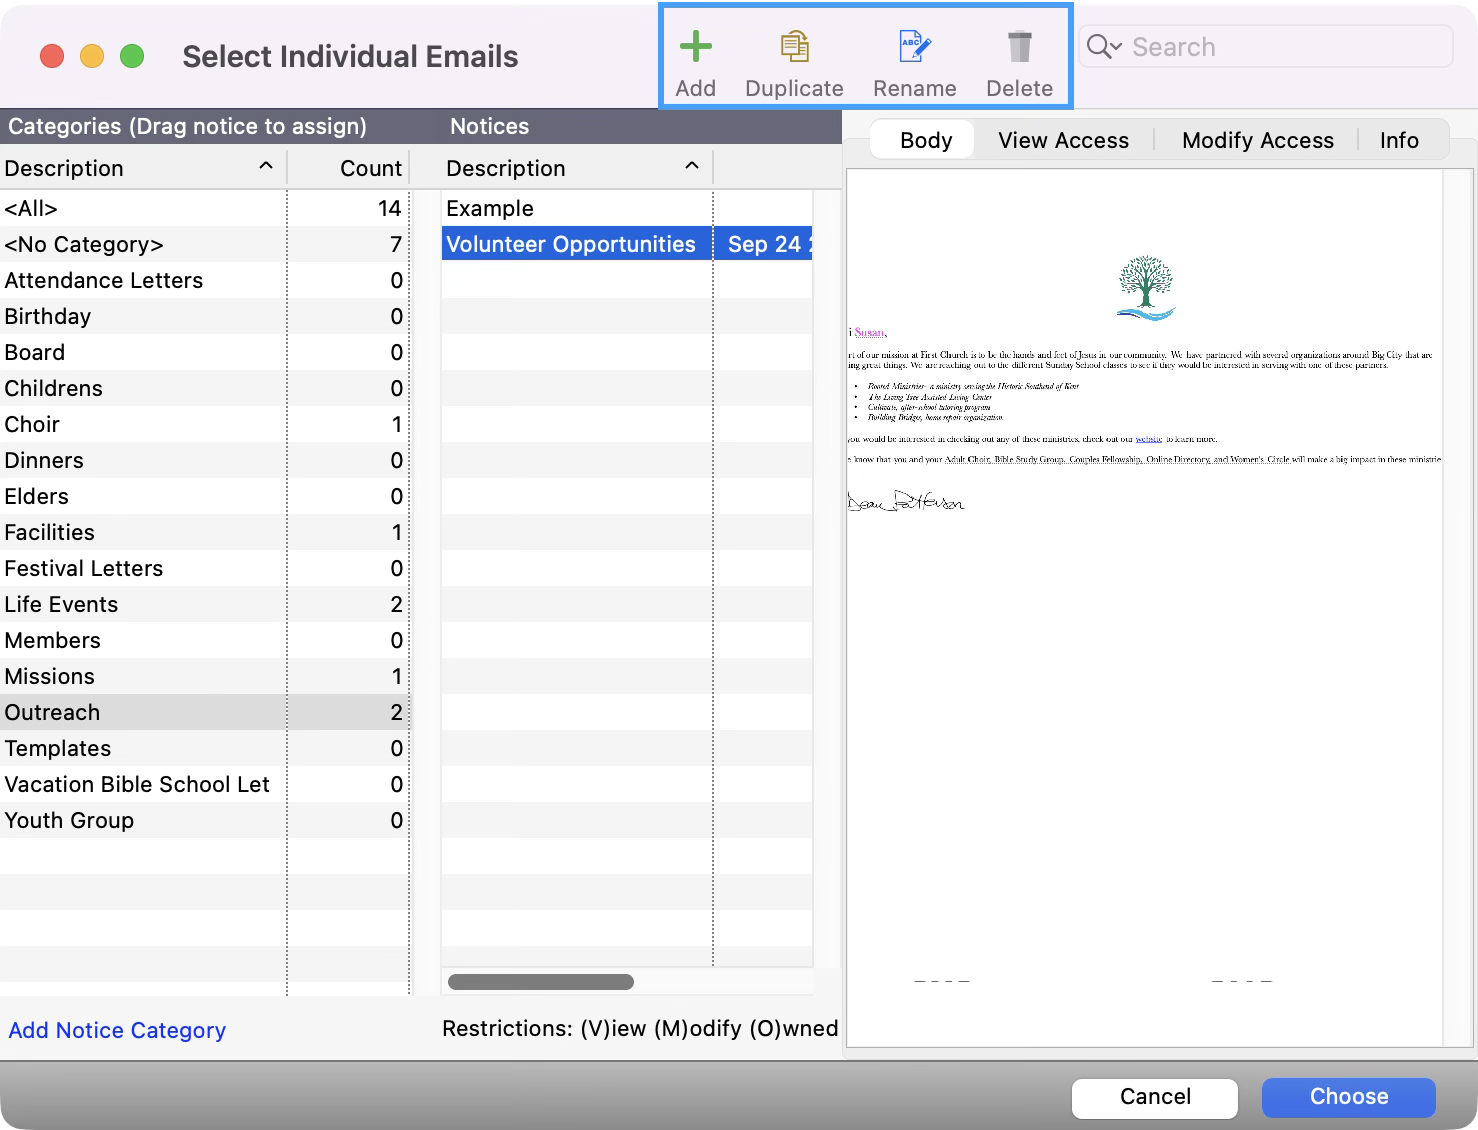
The Duplicate function is especially helpful if you wish to start with a previously sent notice that you know has the format and graphics you need. By duplicating it, you can edit one copy for your current needs and still preserve the original as a record of what was sent.
Using an Existing Notice
-
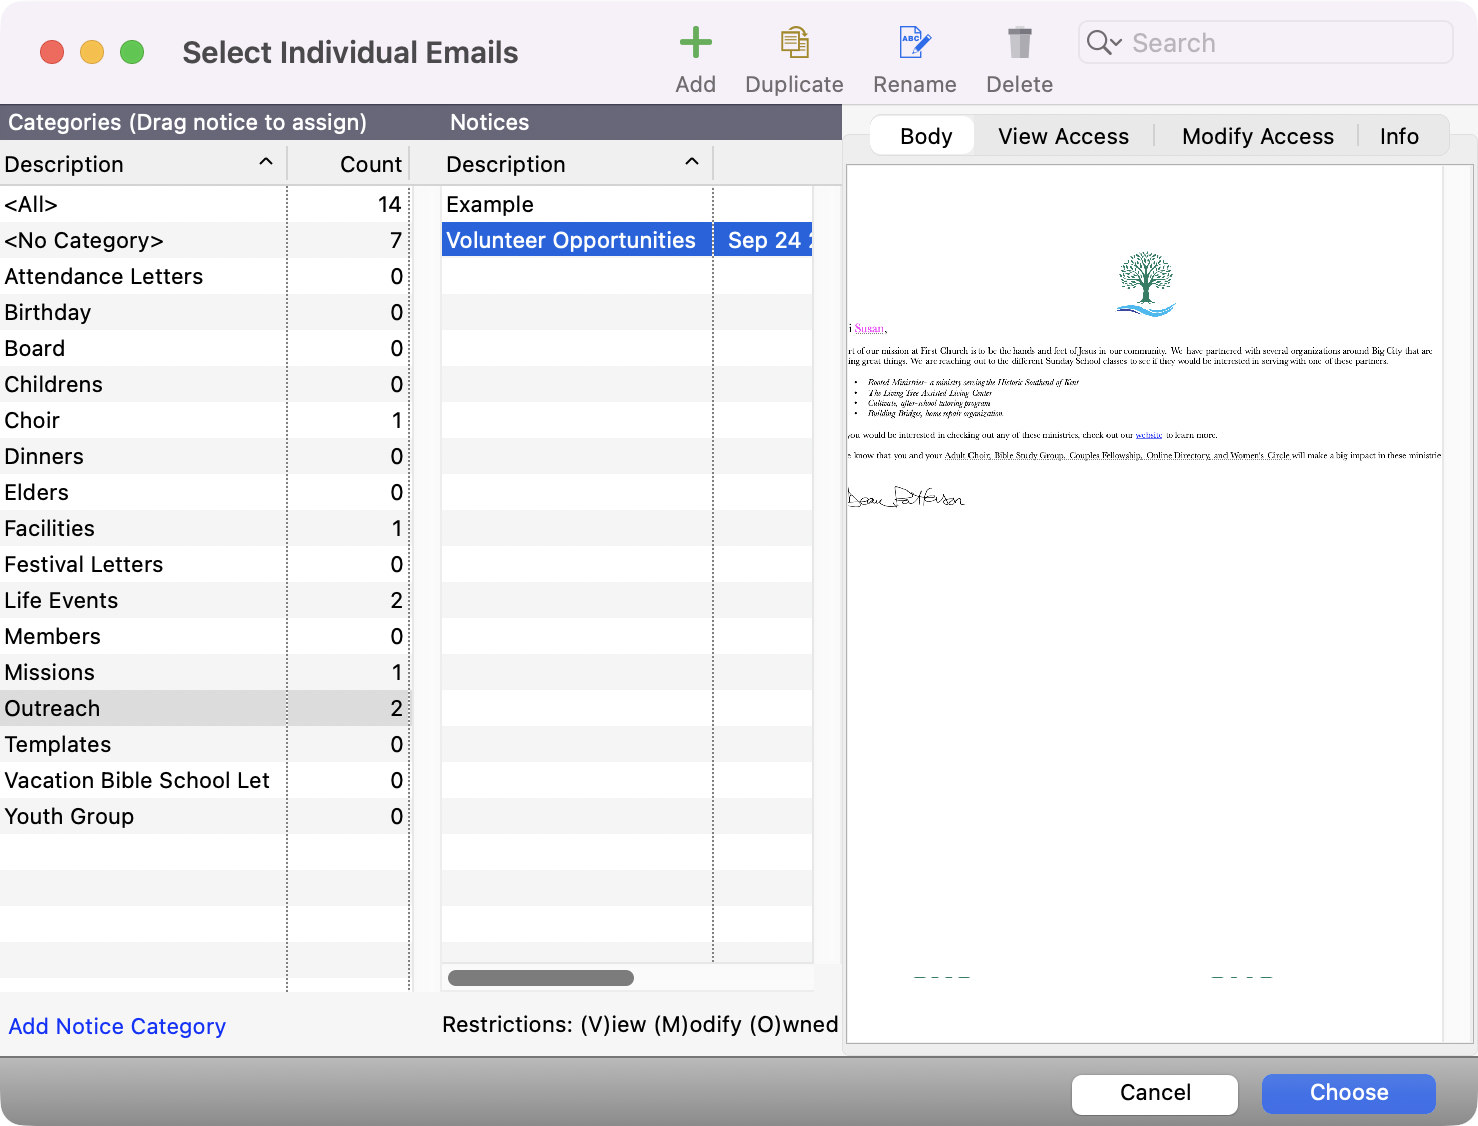
To use an existing notice, click it once to highlight it and then click the Choose button.
See the Formatting/Editing Notices article for help in editing the content of the notice.
Adding a New Notice
-
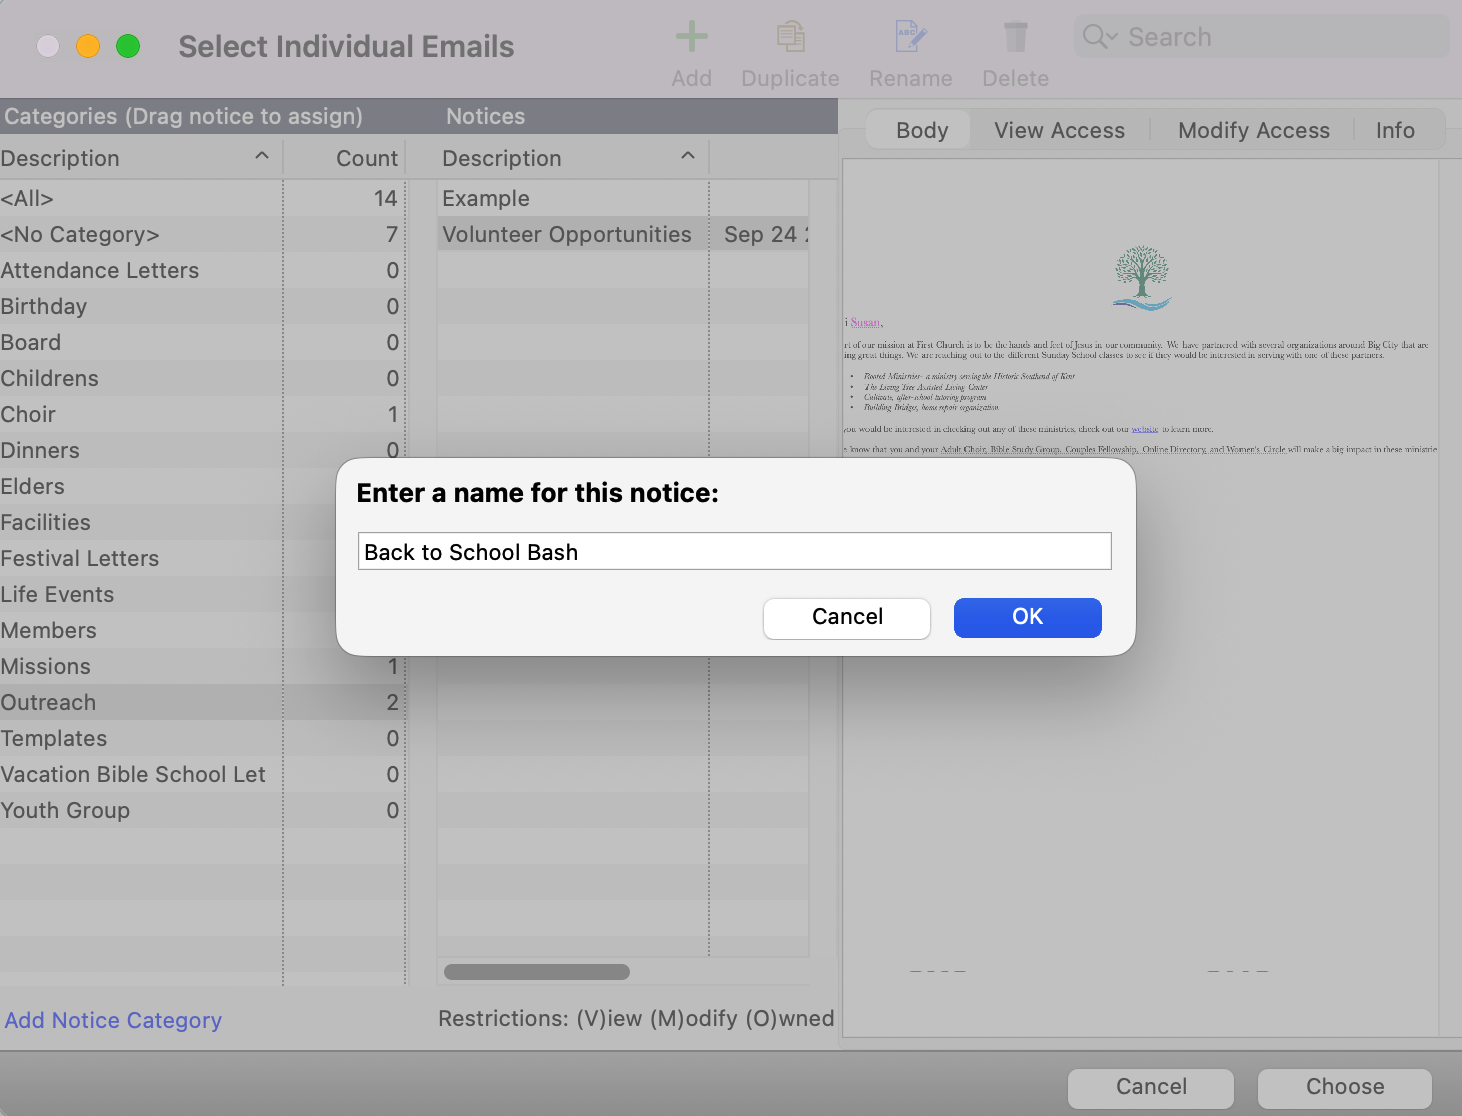
To create a new notice, click the Add button.

-
Give the notice a name that will help you identify it when you wish to use it again. This name does not appear on the notice itself. Click Ok.
-
You will see the new notice in the list. Click once on the name of the notice to highlight it and click Choose in the bottom right-hand corner.

-
The new notice name will now appear in the notice report window, but the Body field will be blank. Click the Change button to type and format the letter.
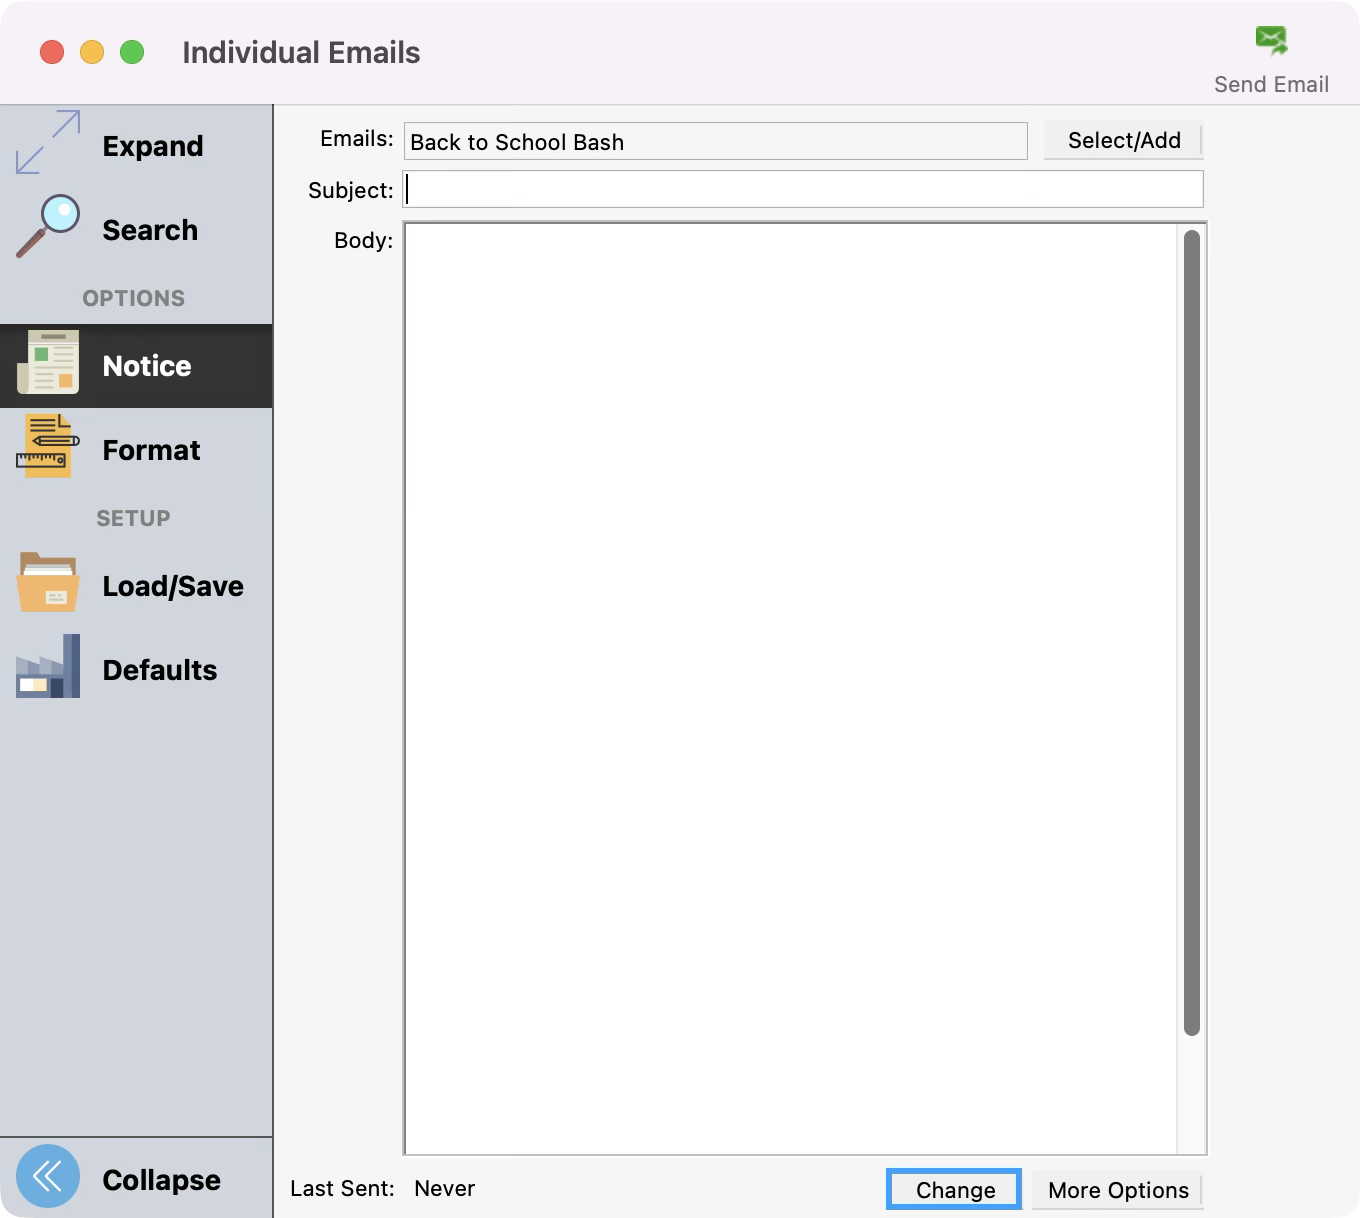
See the Formatting/Editing Notices article for help in editing the content of the notice.
Duplicating an Existing Notice
-
To duplicate an existing notice, click to select a notice and click Duplicate.

-
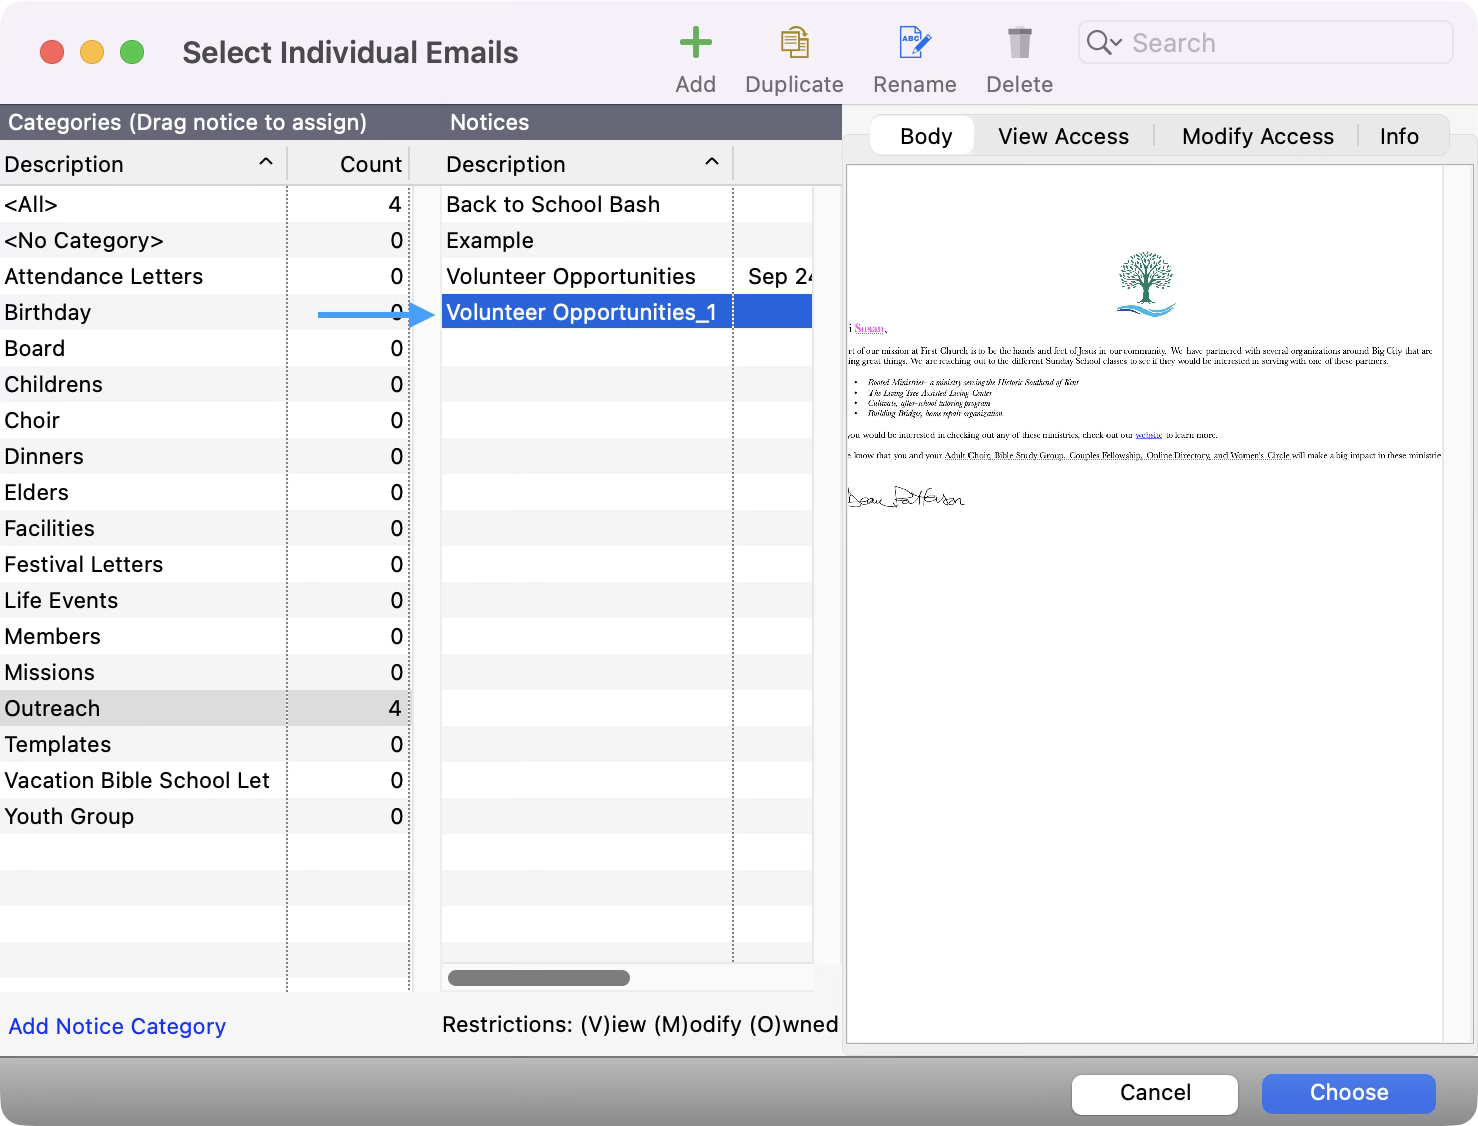
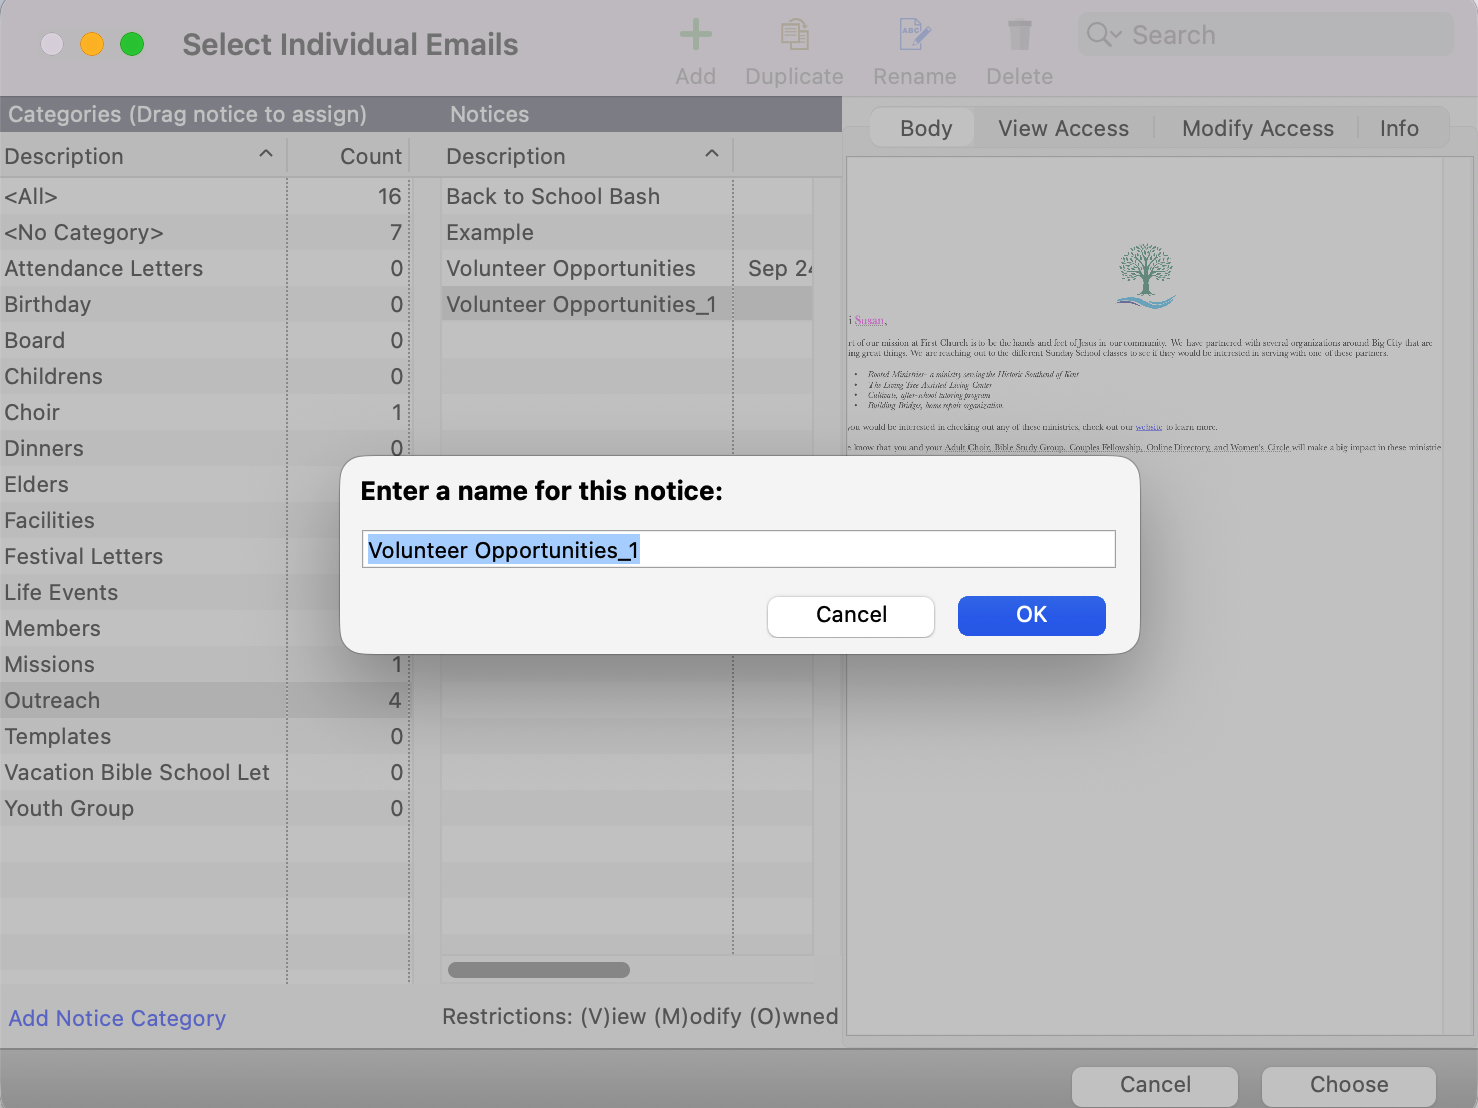
You will be prompted to give this notice a name. The default name will be the name of the existing notice followed by a number. Give the letter a name that will help you identify it when you wish to use it again. This name does not appear on the letter itself.

-
After naming the notice and clicking OK, you will see the new notice in the list. Click once on the name of the notice to highlight it and then click the Choose button.
-
The new notice name will now appear in the notice report window and the Body field will contain the content of the duplicated notice. Click the Change button to edit the letter.
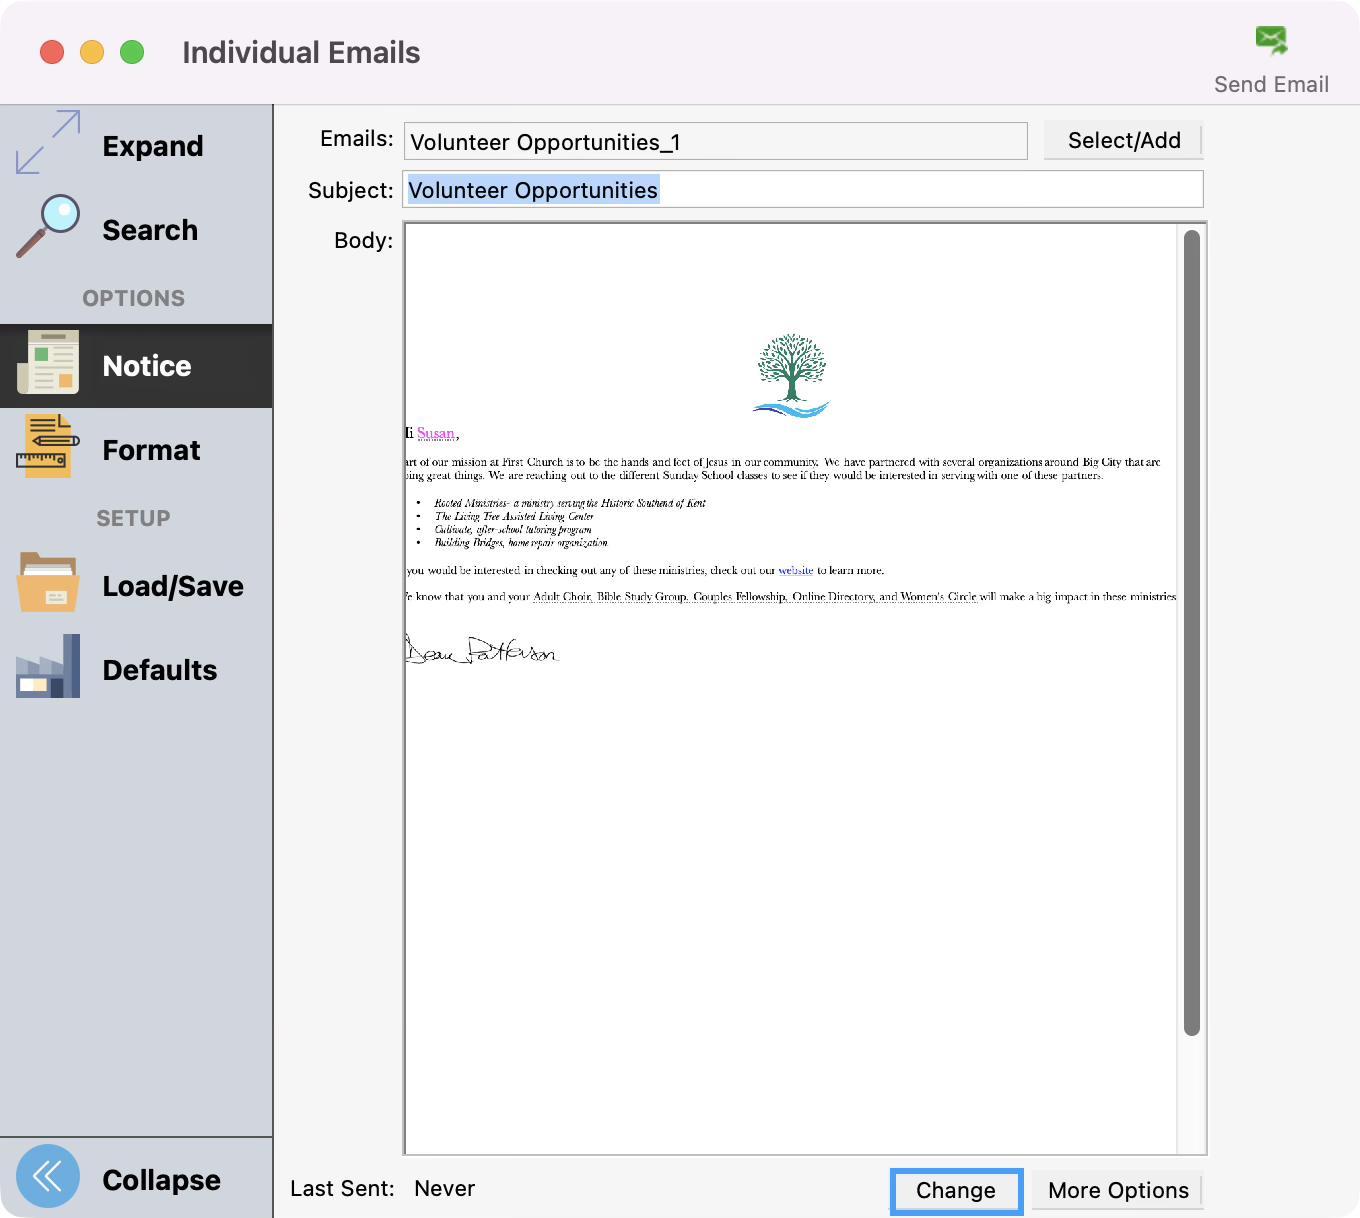
See the Formatting/Editing Notices article for help in editing the content of the notice.
Renaming an Existing Notice
-
To rename an existing notice, click it once to highlight it and click the Rename button.
-
You will be prompted to give this notice a new name.
-
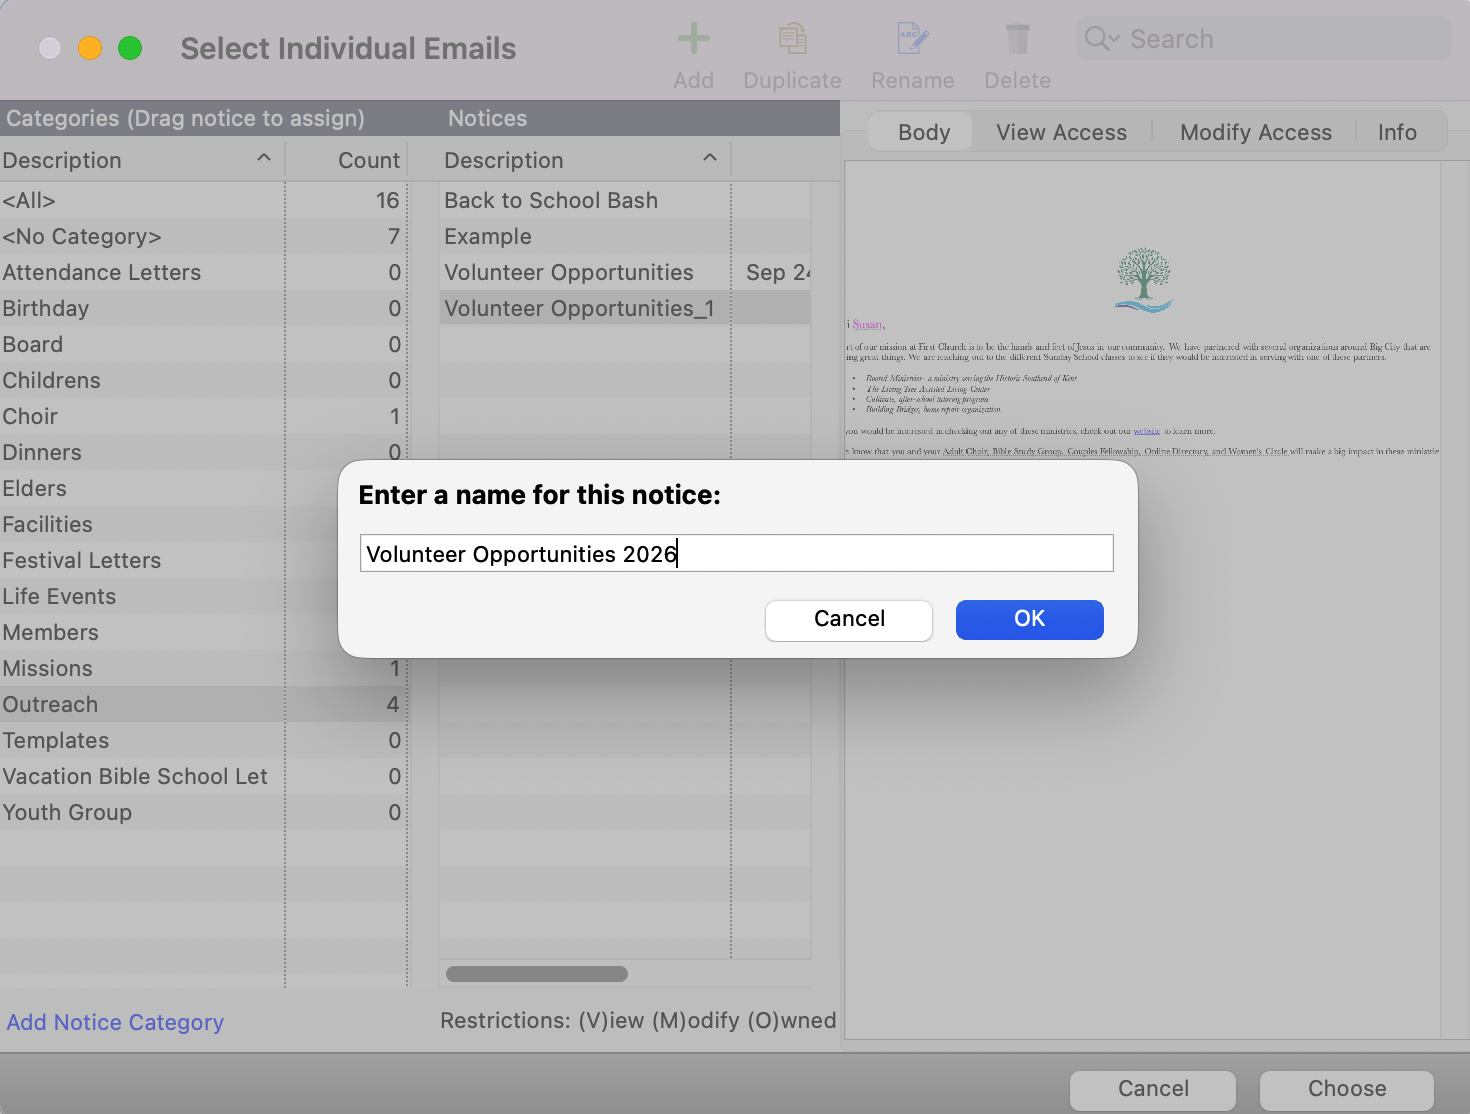
Give the notice a name that will help you identify it when you wish to use it again. This name does not appear on the notice itself. Click OK.
Deleting a Notice
You must have ownership of a notice to be able to delete it. To learn more about ownership, click here.
-
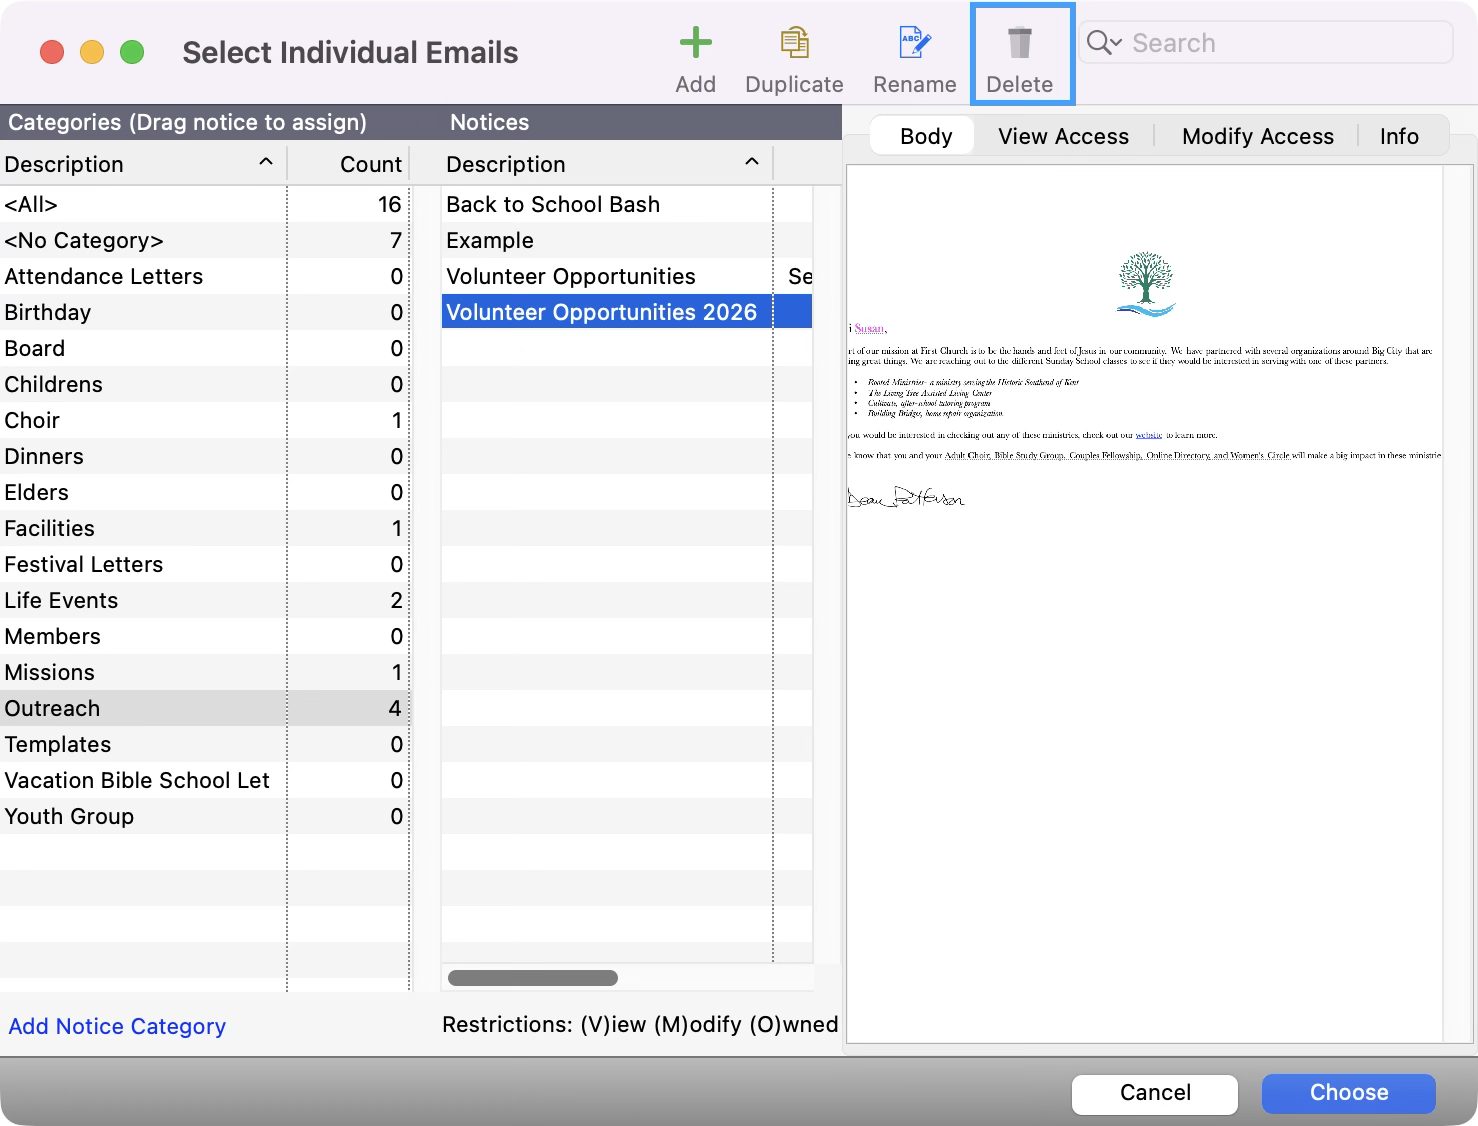
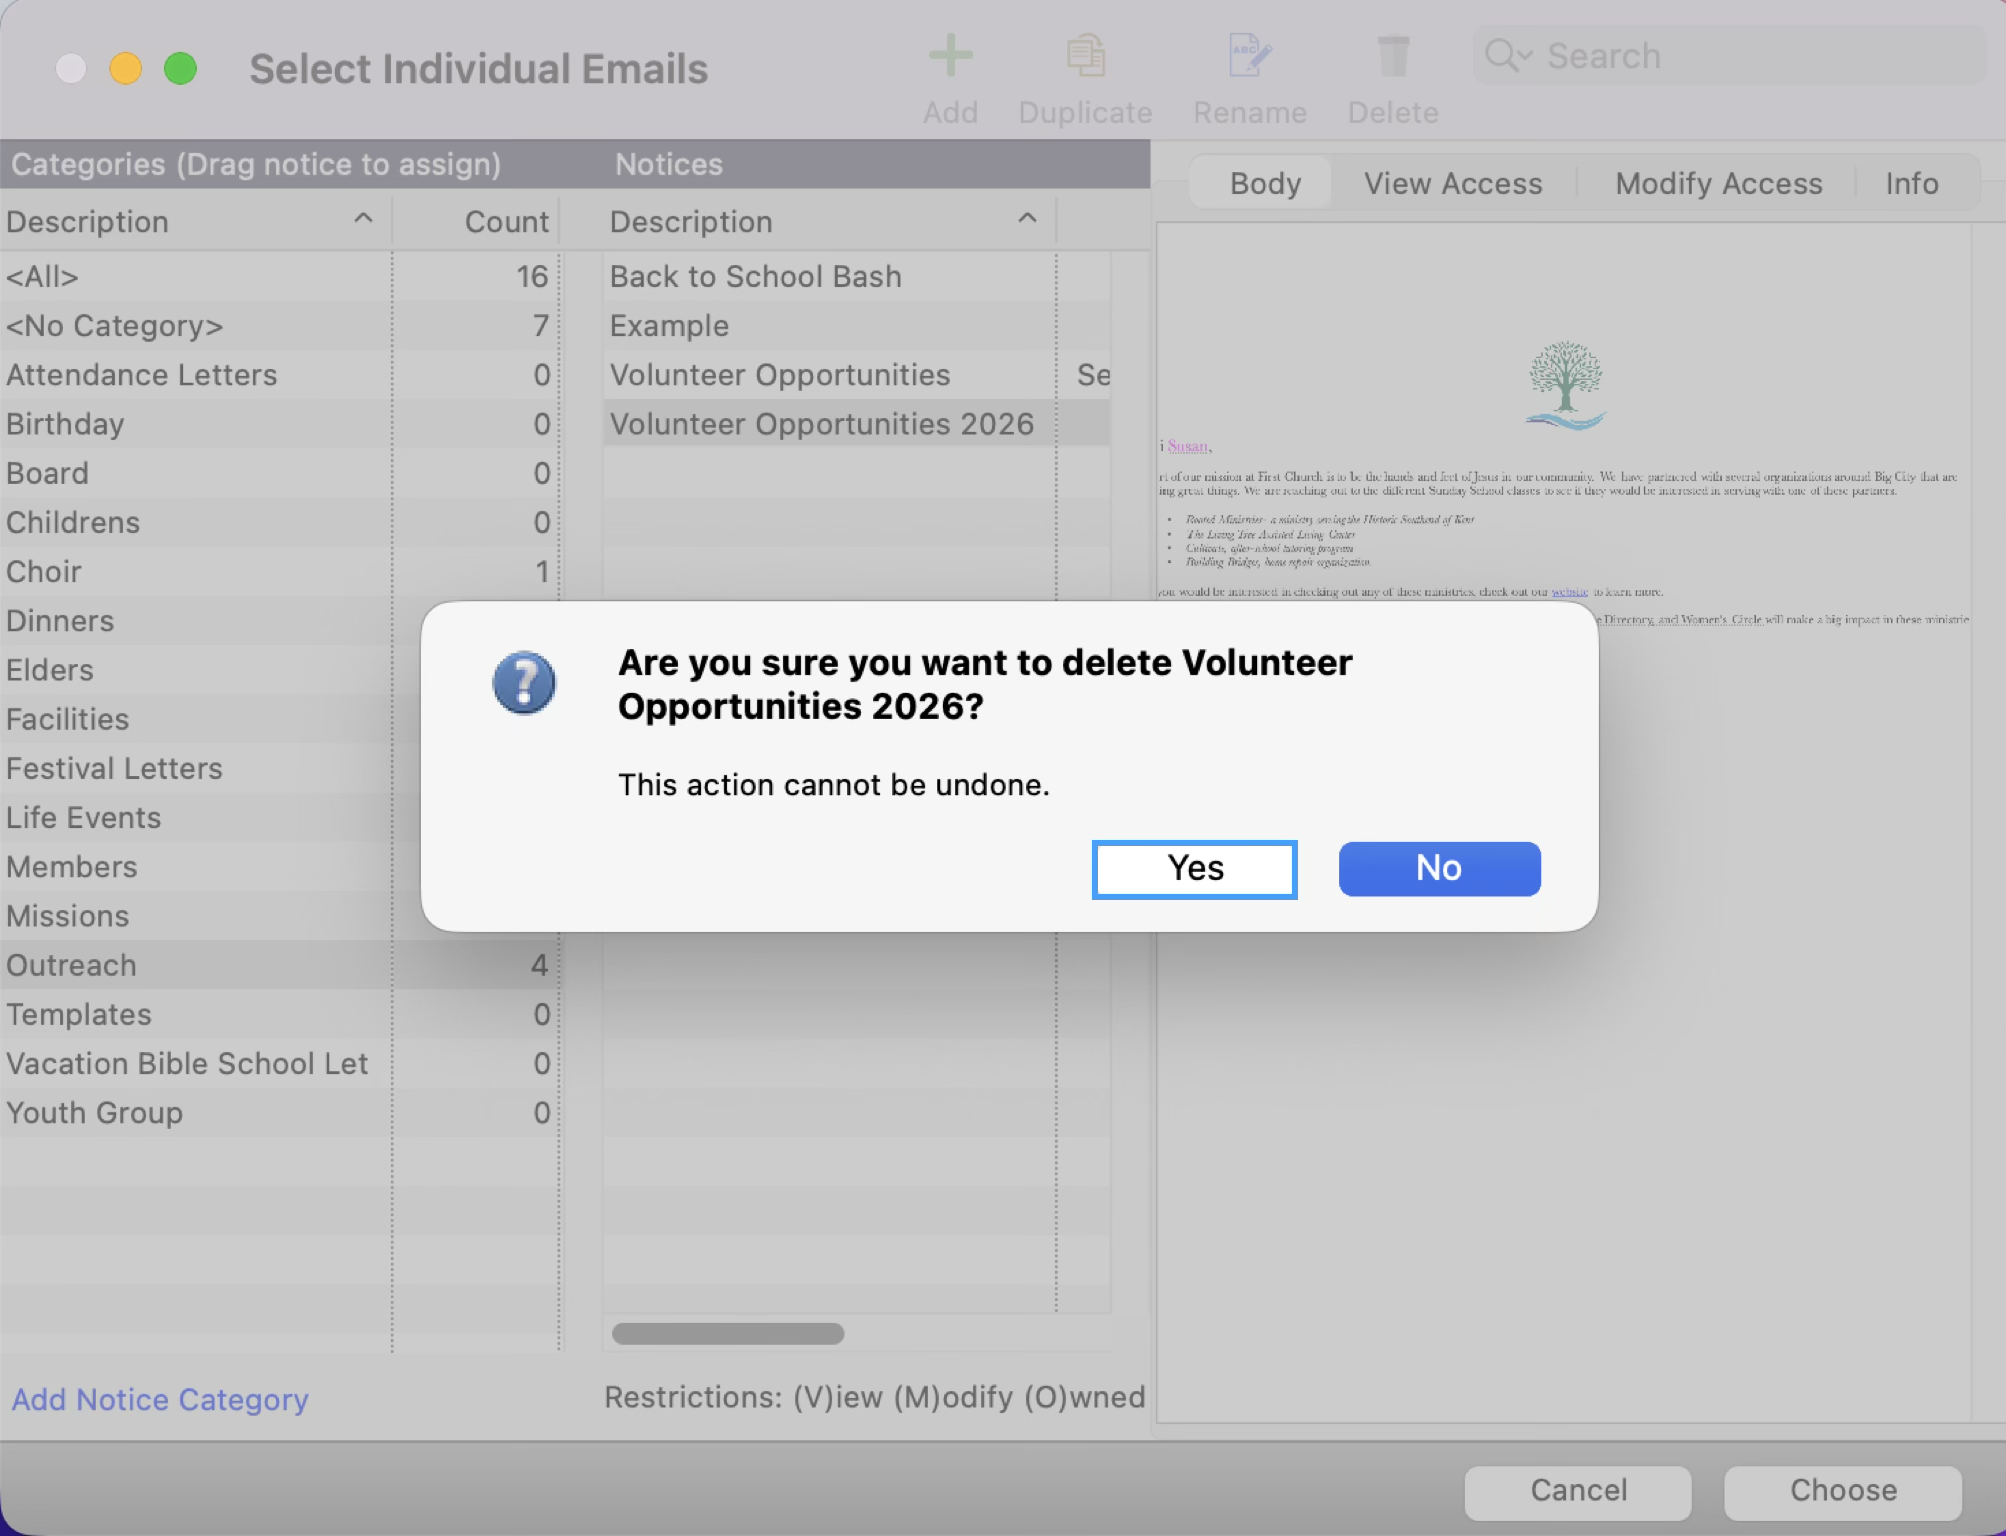
To delete an existing notice, click the notice once to highlight it and click the Delete button.
-
You will be asked to confirm that you wish to permanently delete this notice; click Yes.
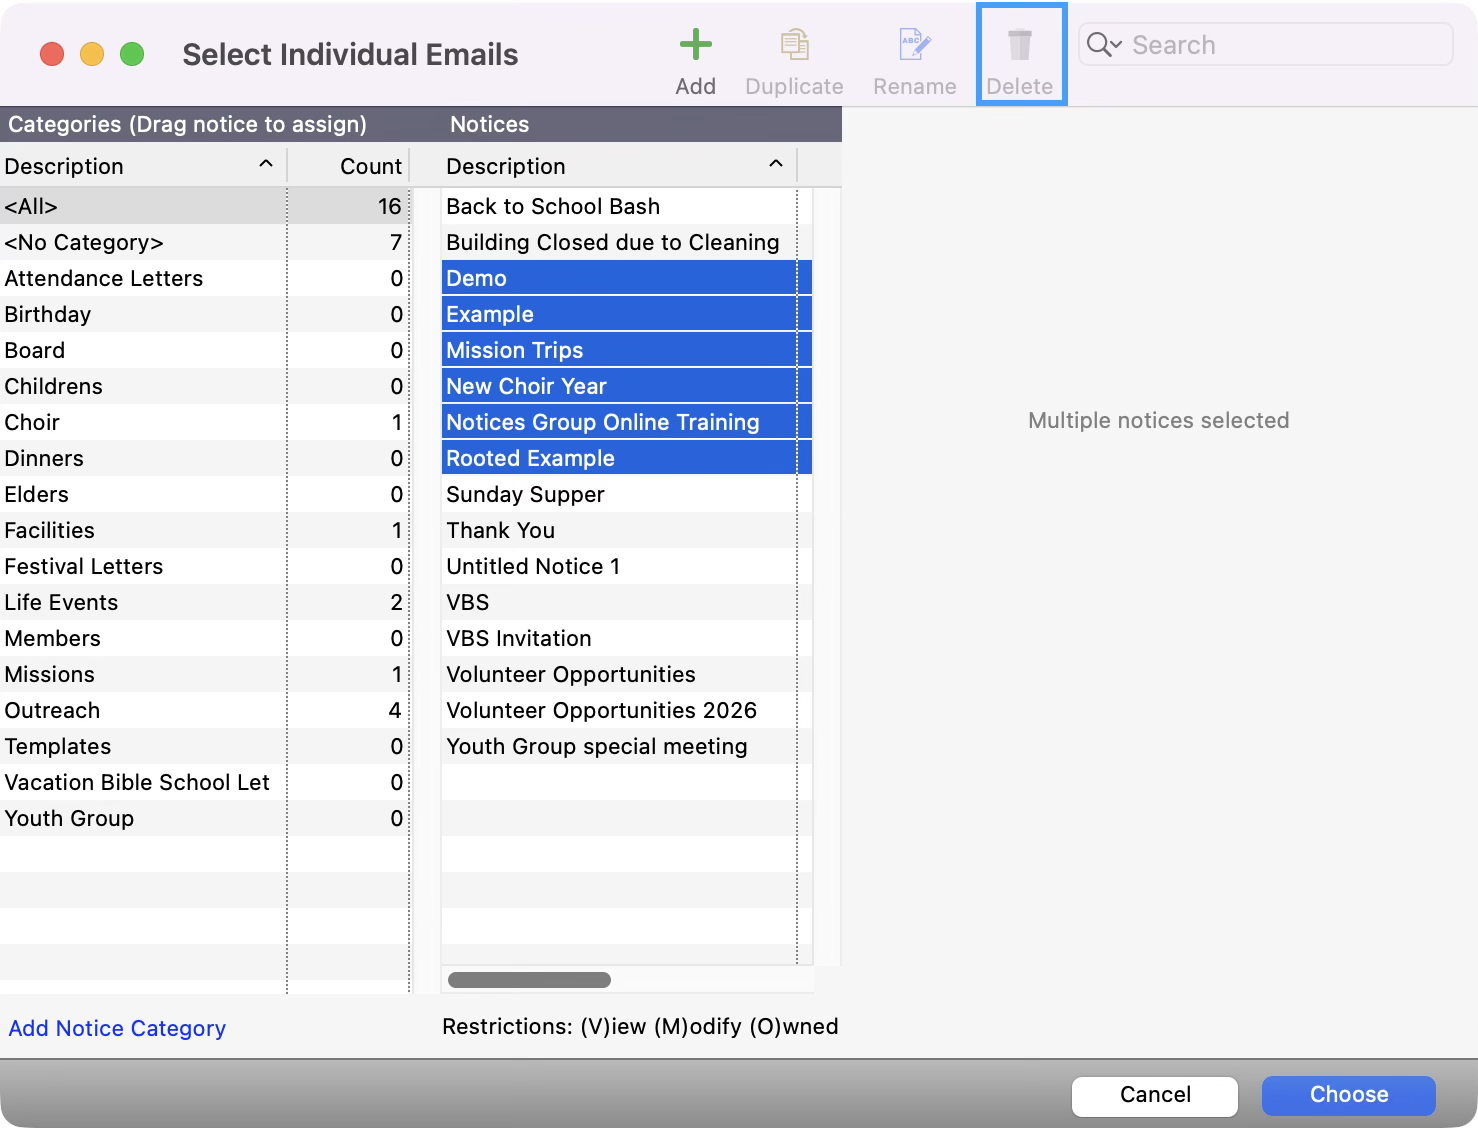
You also have the option to delete multiple notices at once. However, you can only delete notices in a row. Click on the top notice you want to delete, hold the Shift key down, and click on the bottom notice you want to delete. This will highlight all the notices you want to delete. Click the Delete button. You will be asked to confirm that you wish to permanently delete this notice; click Yes.
If you are an administrator, you can delete notices from the Administration window. Click here to learn more.