Event Tab
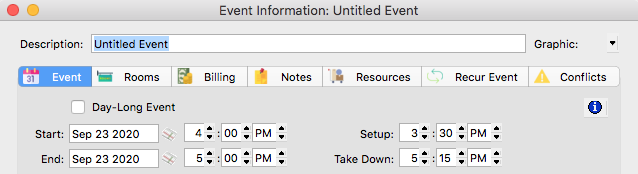
When you first create an event, the Description defaults to “Untitled Event.” Type the name of your event in the Description field, overwriting the highlighted text.
Press tab to move through the fields and change or enter the appropriate information.
Of all the information you can enter for an event from the various tabs on this window, only the time, date, and room are required.
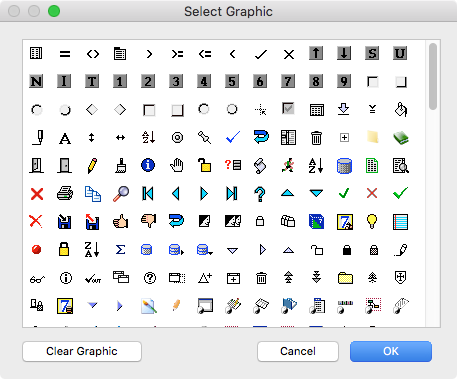
CDM+ Roommate allows you to dress up your schedule with event graphics. To set the graphic for an event, click the down arrow 
When a new event is created, the default Start and End Times are both 12:00 AM. To change either time, just highlight the field and type in the correct time or use the up and down arrows.
The Start Date and End Date default to the date on which you create the event. If this event lasts all day or doesn’t have a time, check Day-Long event. This will cause the event to appear with a banner on the event schedule. To change these items, tab until they are highlighted and type in the correct information.
When a new event is created, both the Setup Time and Take Down Time are set to 12:00 AM. To enter either time, just highlight the field and type in the correct time or use the up and down arrows.
If you omit the month and/or year, the current month and/or year is assumed. For example, if the current year is 2013 and you enter 2.5, the date will appear as February 5, 2013. And if the current month is February, you can just enter 5 for February 5, 2013.
CDM+ Roommate allows you to assign an unlimited number of Contacts and Departments to an event.
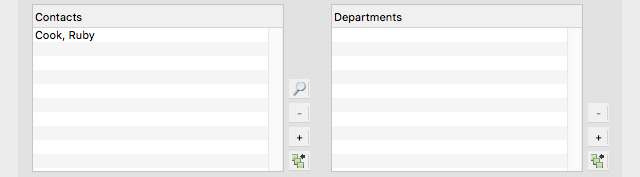
To add a contact or department, click the Plus 

To create a new contact or department, click the New 

Contacts and Departments for an event may also be set via the event contextual menu. See the Event Contextual Menu section of this manual for more information on using the event contextual menu.
Below the lists of Contacts and Departments is a field where you may type in Details for the event. This is a very flexible feature that allows you to describe the event and/or convey information that potential attendees might need to know.
Details entered in this field are visible on your website if you set up an Event Listing Tool filtered for Departments or Rooms that include this event. The Event Listing Tool is part of the CDM+ Basic Web Toolkit, an optional subscription service from CDM+.
You can see the date and time an event was entered and last modified, along with who entered and last modified the event, by clicking the blue “i” button 