
The Event Record is what you will create to tie your event to other areas of the program. This is where you input the basic details of your event.
-
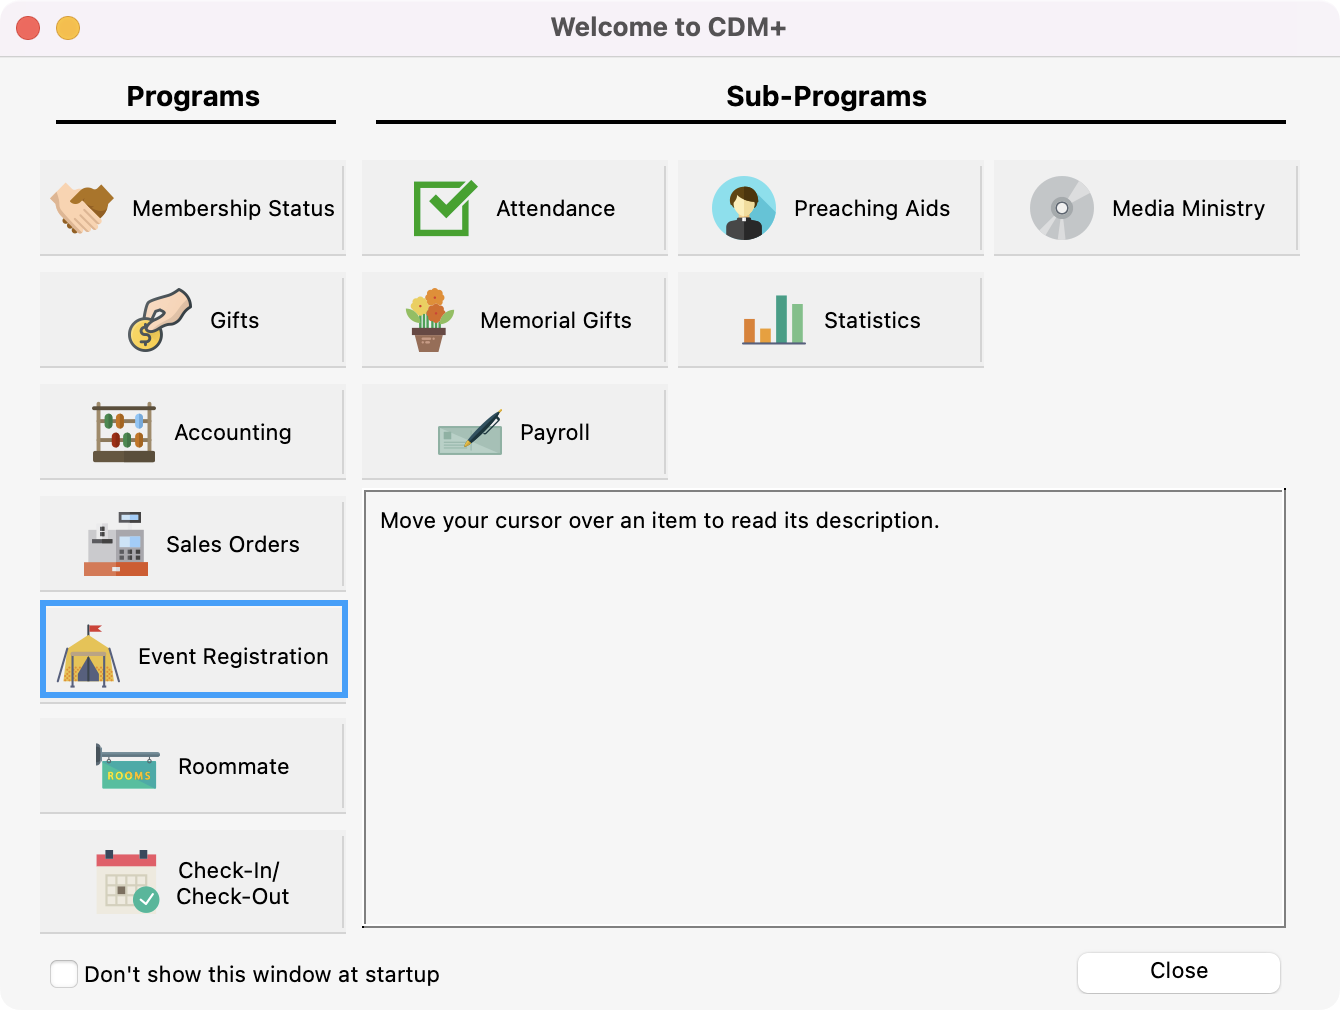
To Navigate to Event Records, from the Welcome to CDM+ window, click Event Registration.
Then, click Enter events.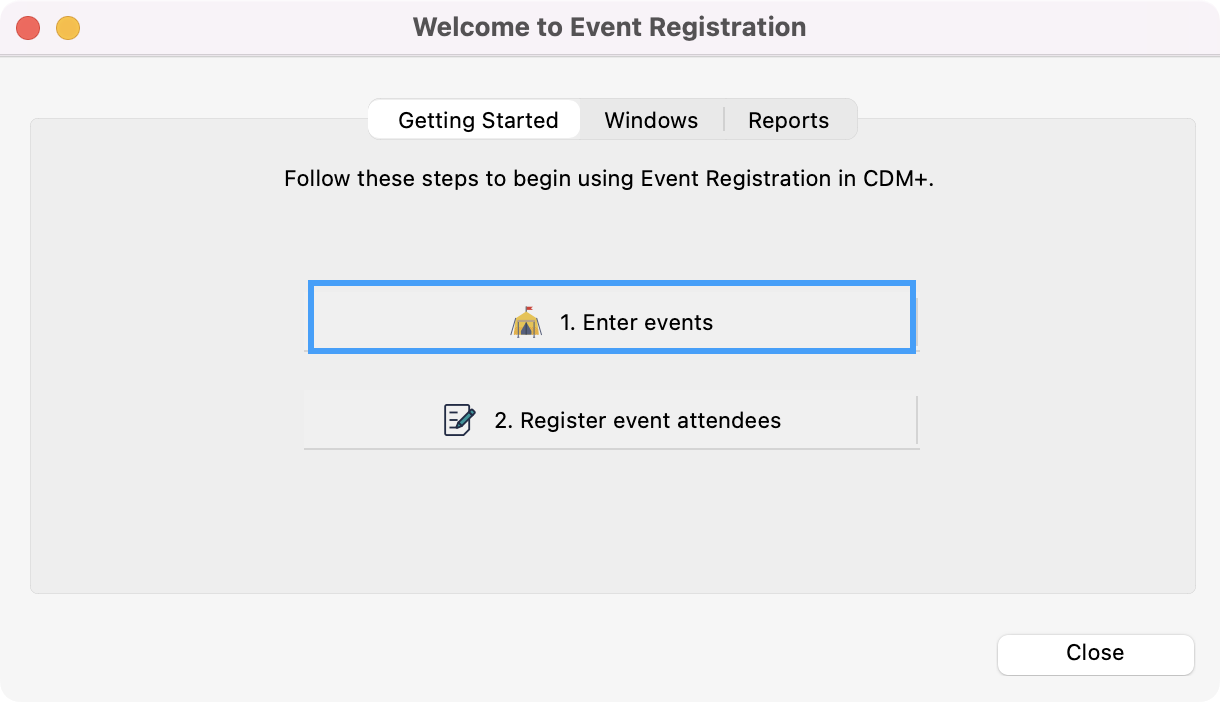
or
Go to Program → Event Registration → Event Records.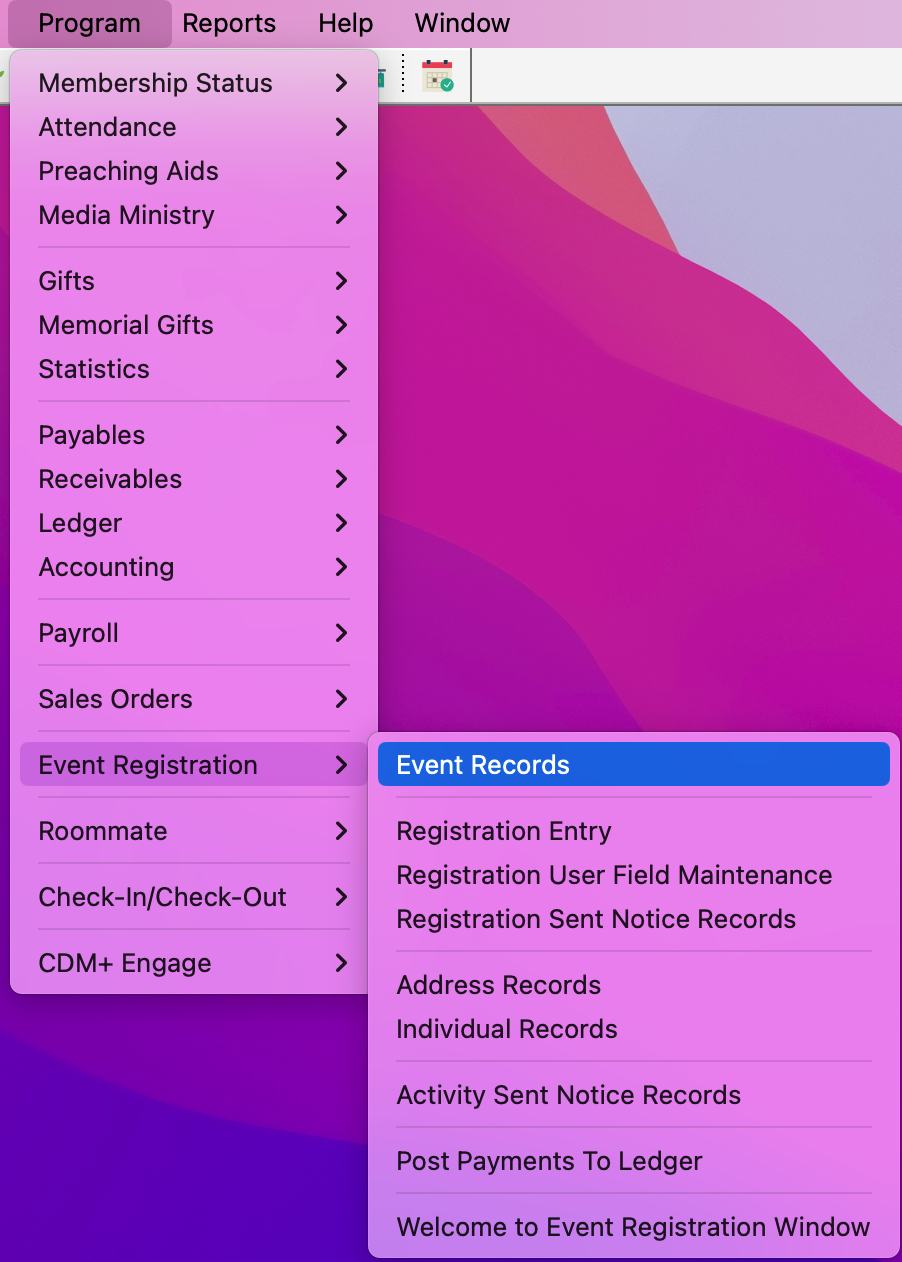
If you have chosen under Preferences-Toolbars to show the Event Registration toolbar, you may click the Event Registration icon.
-
Next, you will see the Event Records window will open. You can click All from the left sidebar or set up a find to search for an existing Event. Click Add from the left sidebar to create a new event.
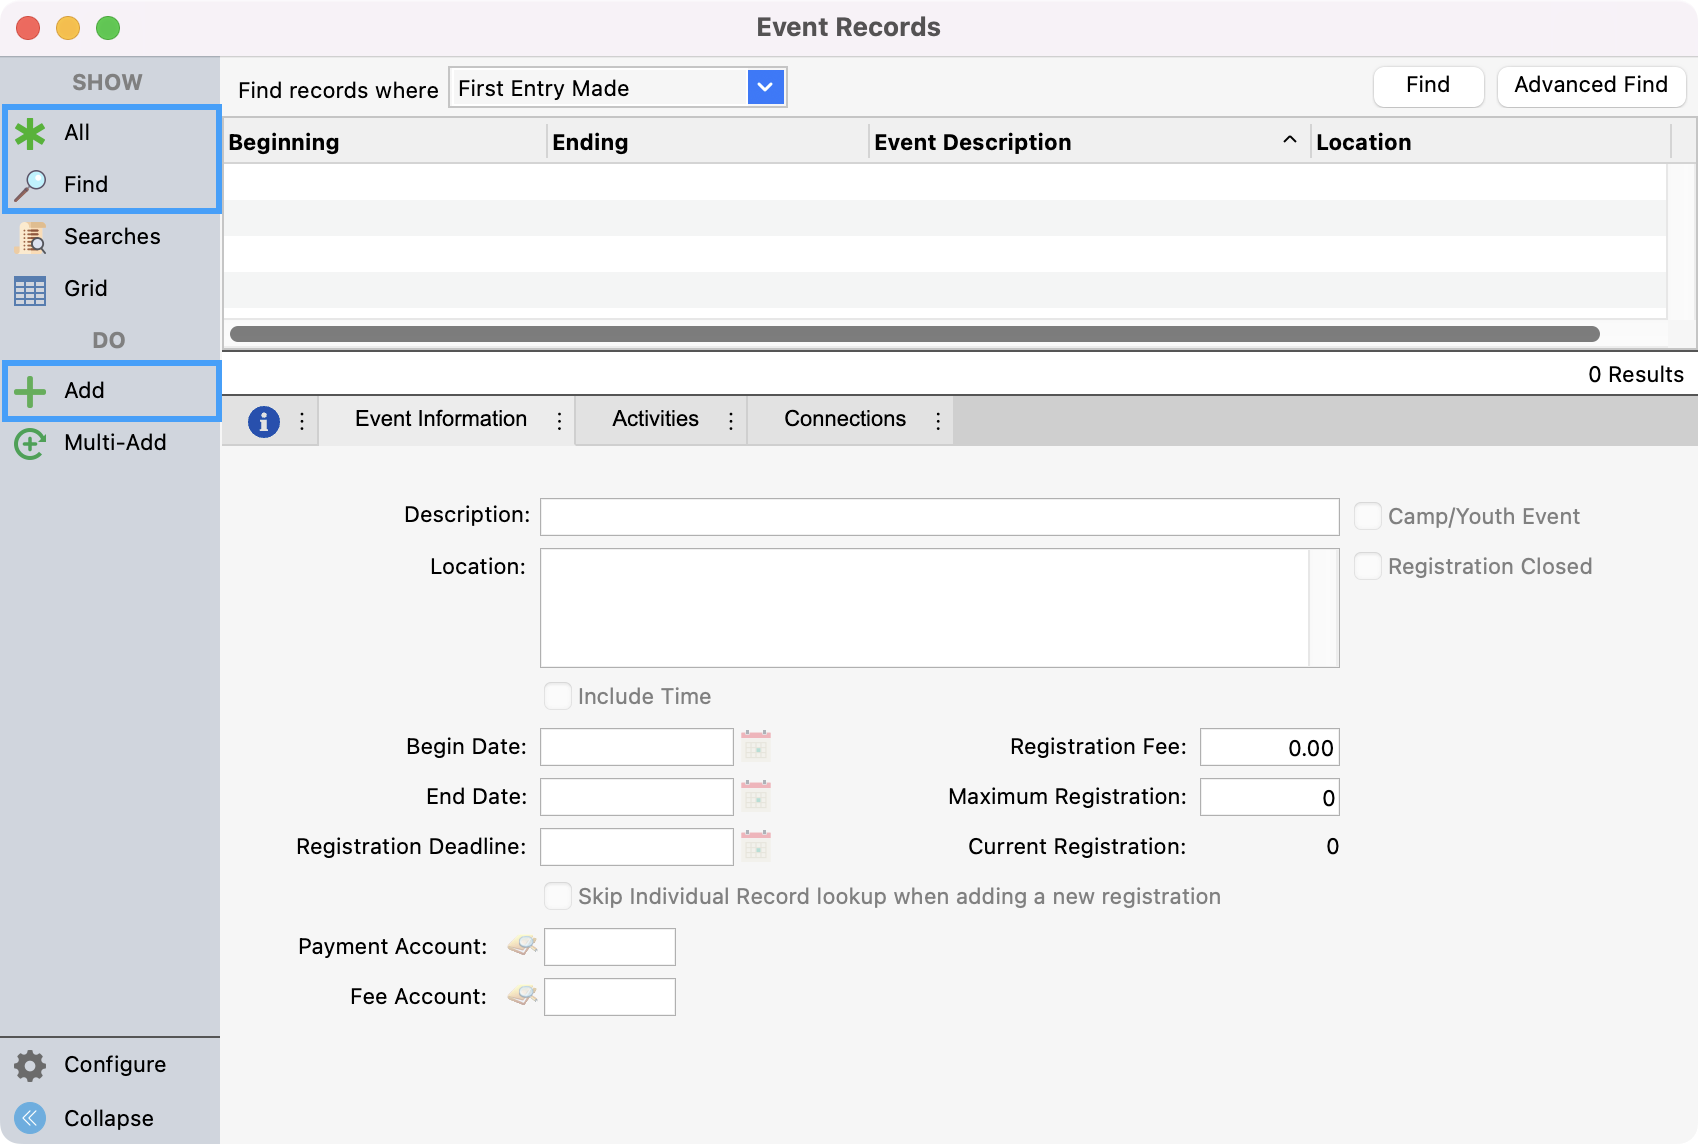
Tip! To save time, you can enter in all the details under the Event Information, Activities, and Connections tabs before saving your Event record.
Event Information
-
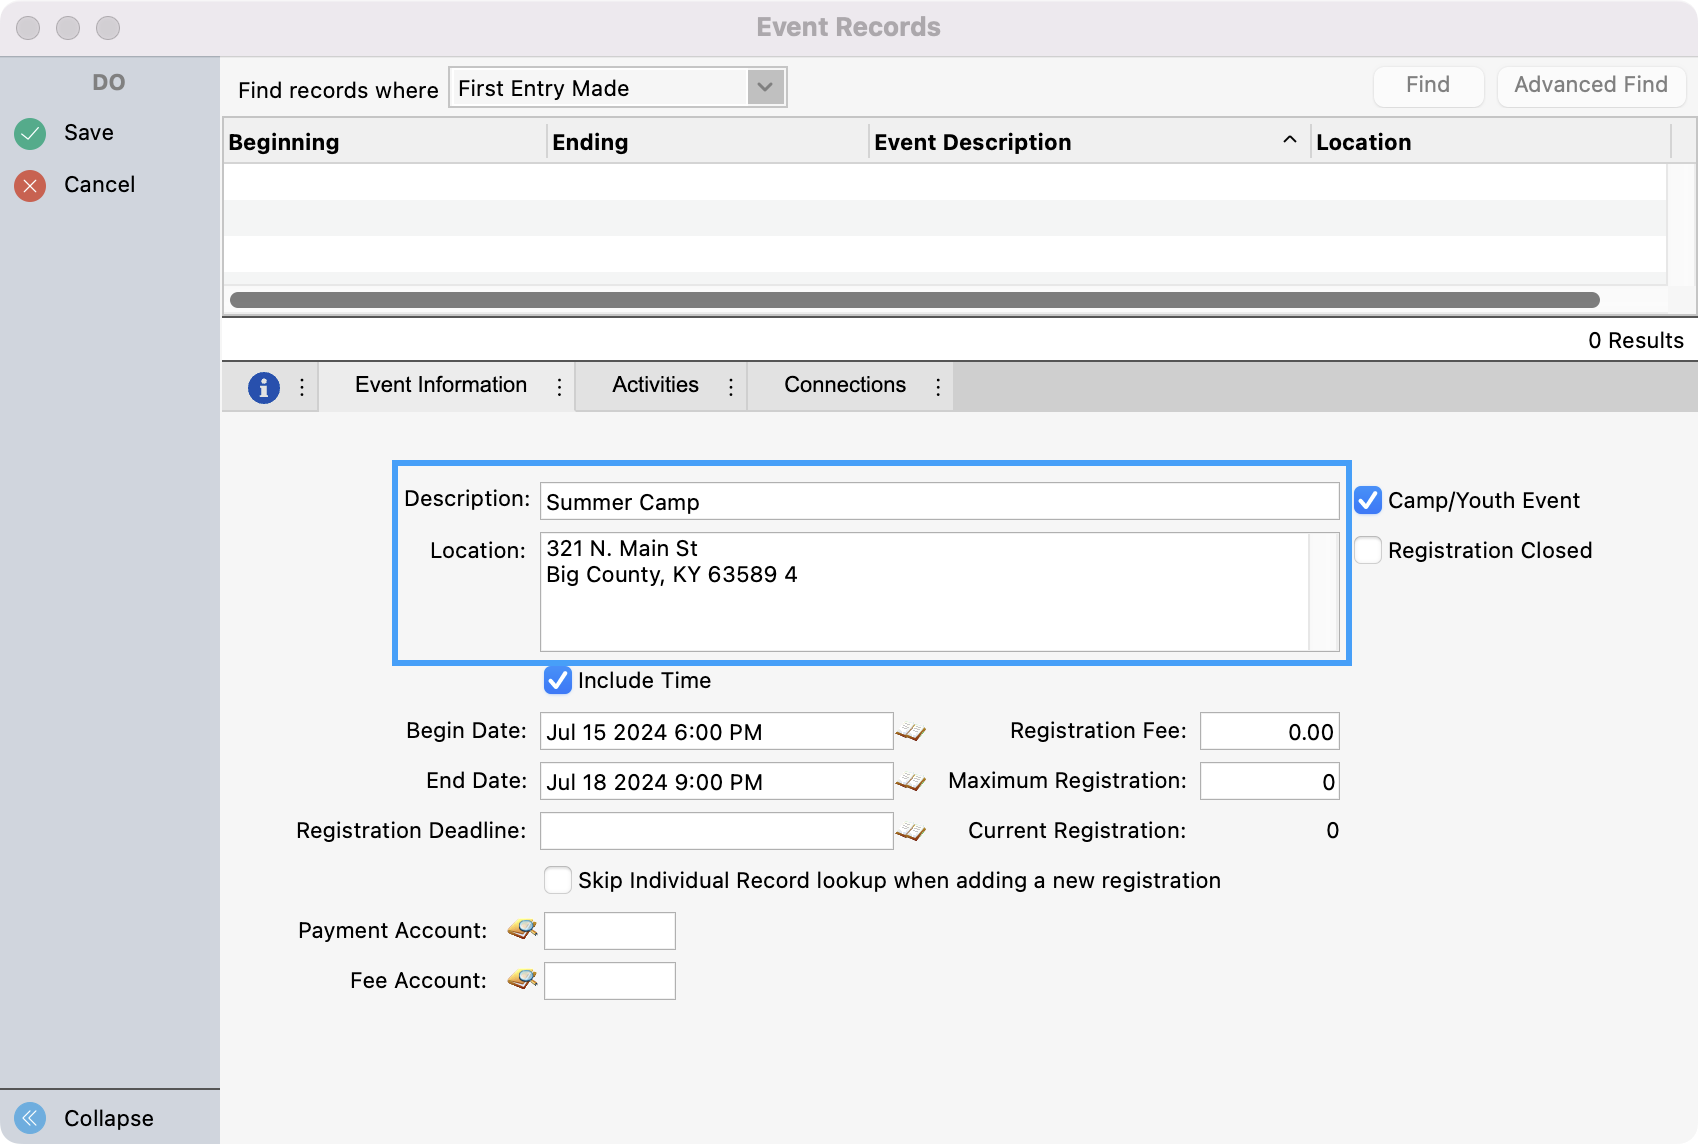
First, on the Event Information tab you will enter a Description and Location for your event.
-
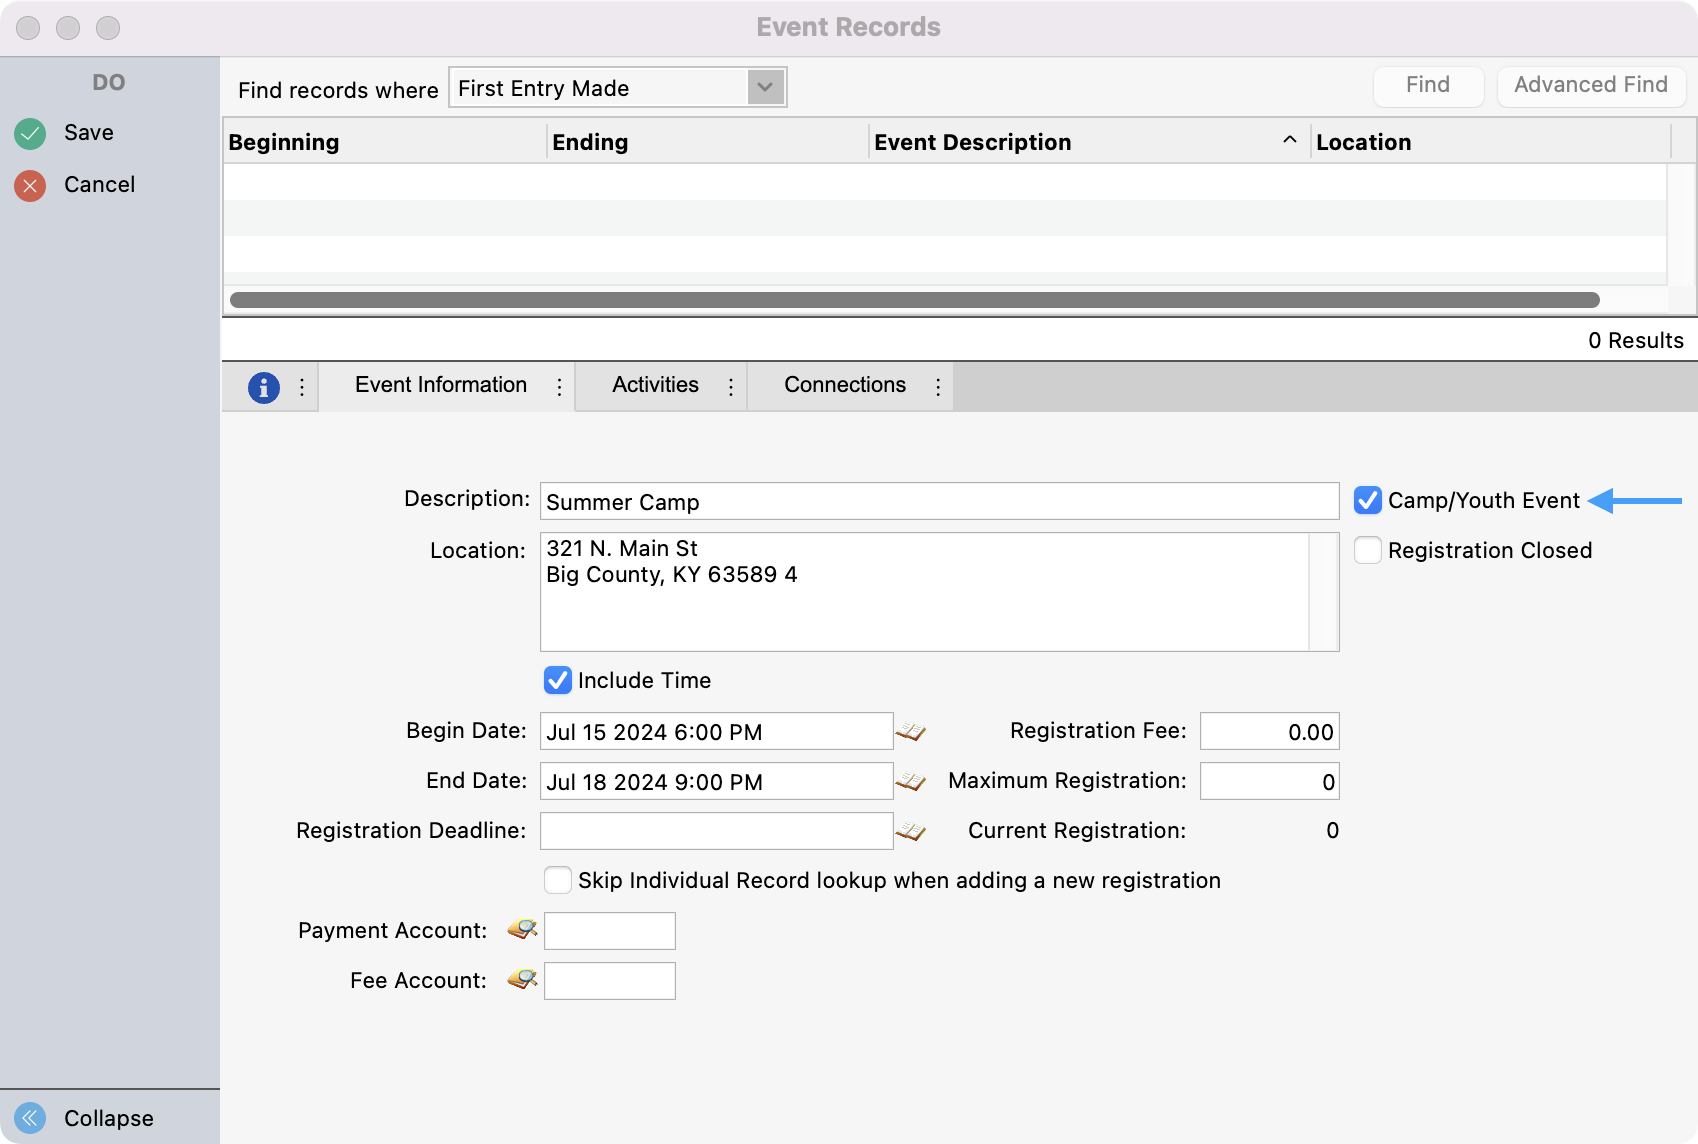
If this is a Camp or Youth Event, click the check box next to Camp/Youth Event. This will provide a registration entry window to record additional information such as the registrant’s parent/guardian, age, and birthdate.
-
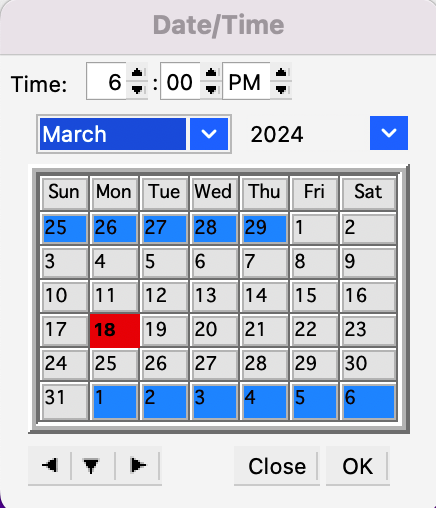
Enter the Begin, End, and Registration Deadline Dates. If you want to include times for your event, make sure to check the Include Time checkbox.
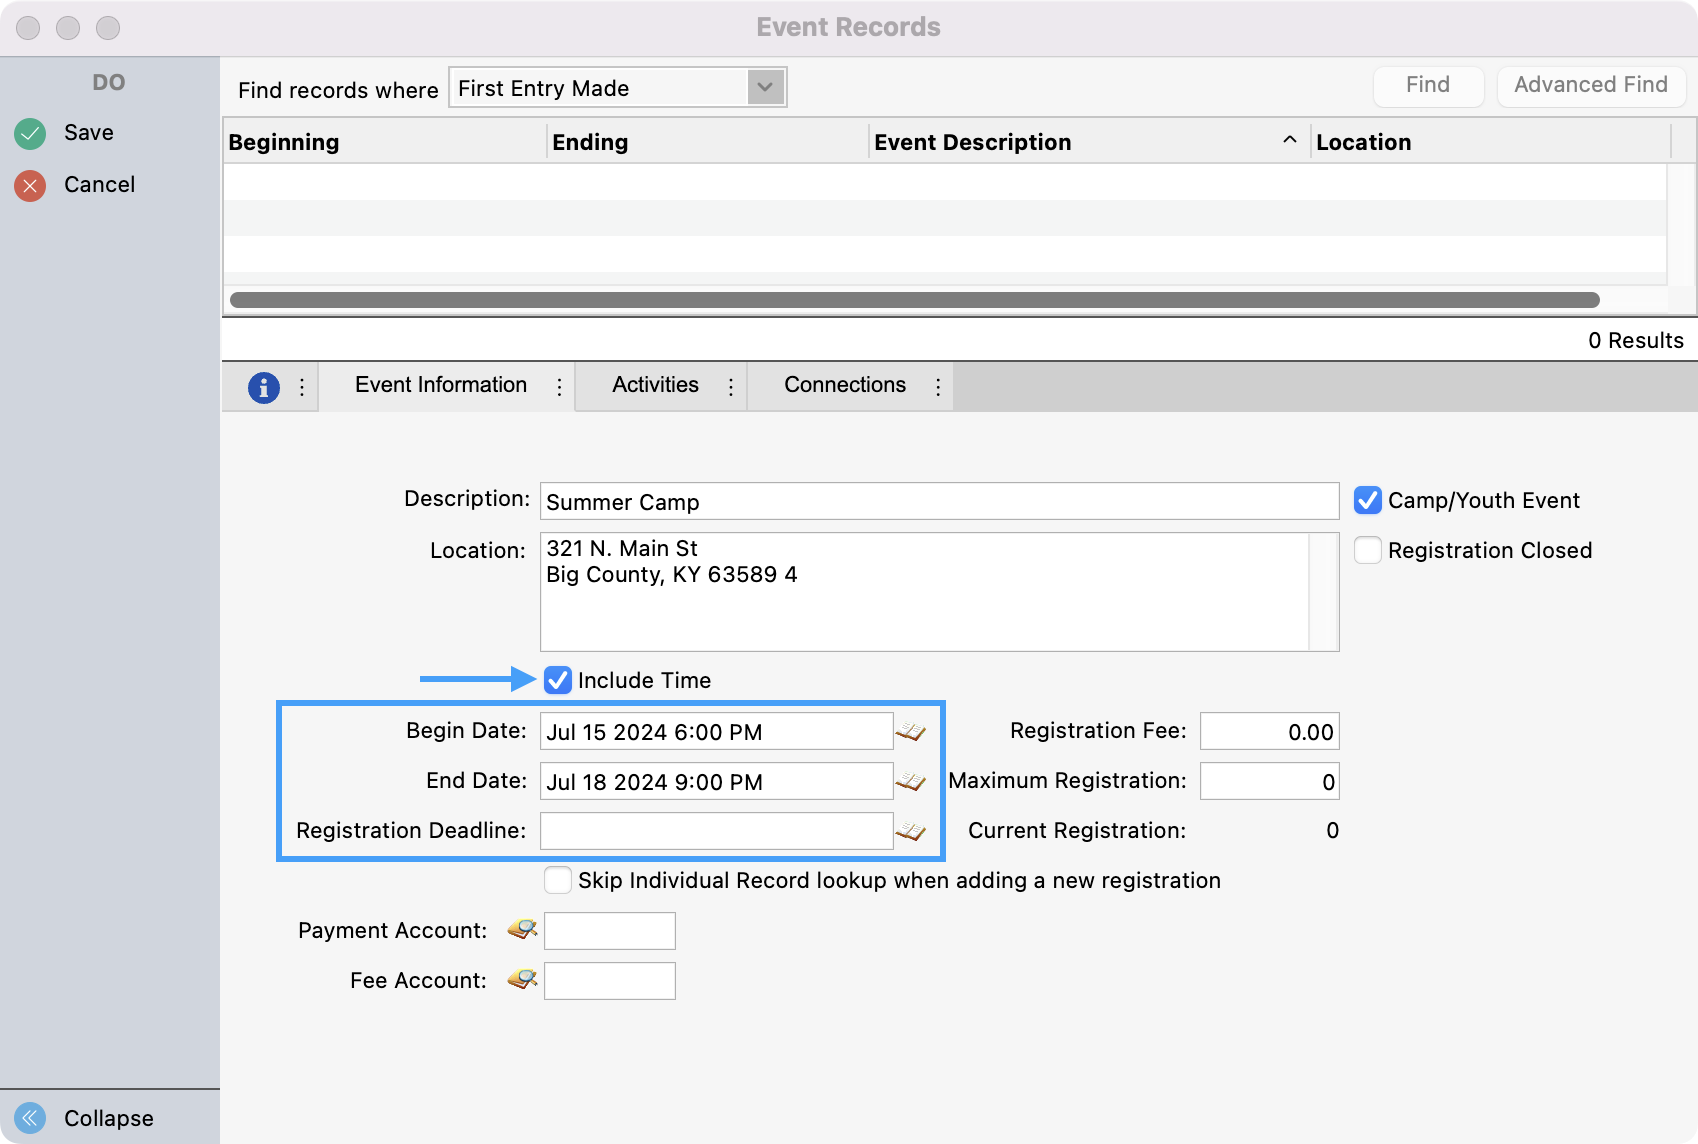
Tip! When choosing a time for your event, select the time first and then the date when using the time and date picker. Otherwise, you will see your date change to today’s date.
-
Enter the Registration Fee if needed.
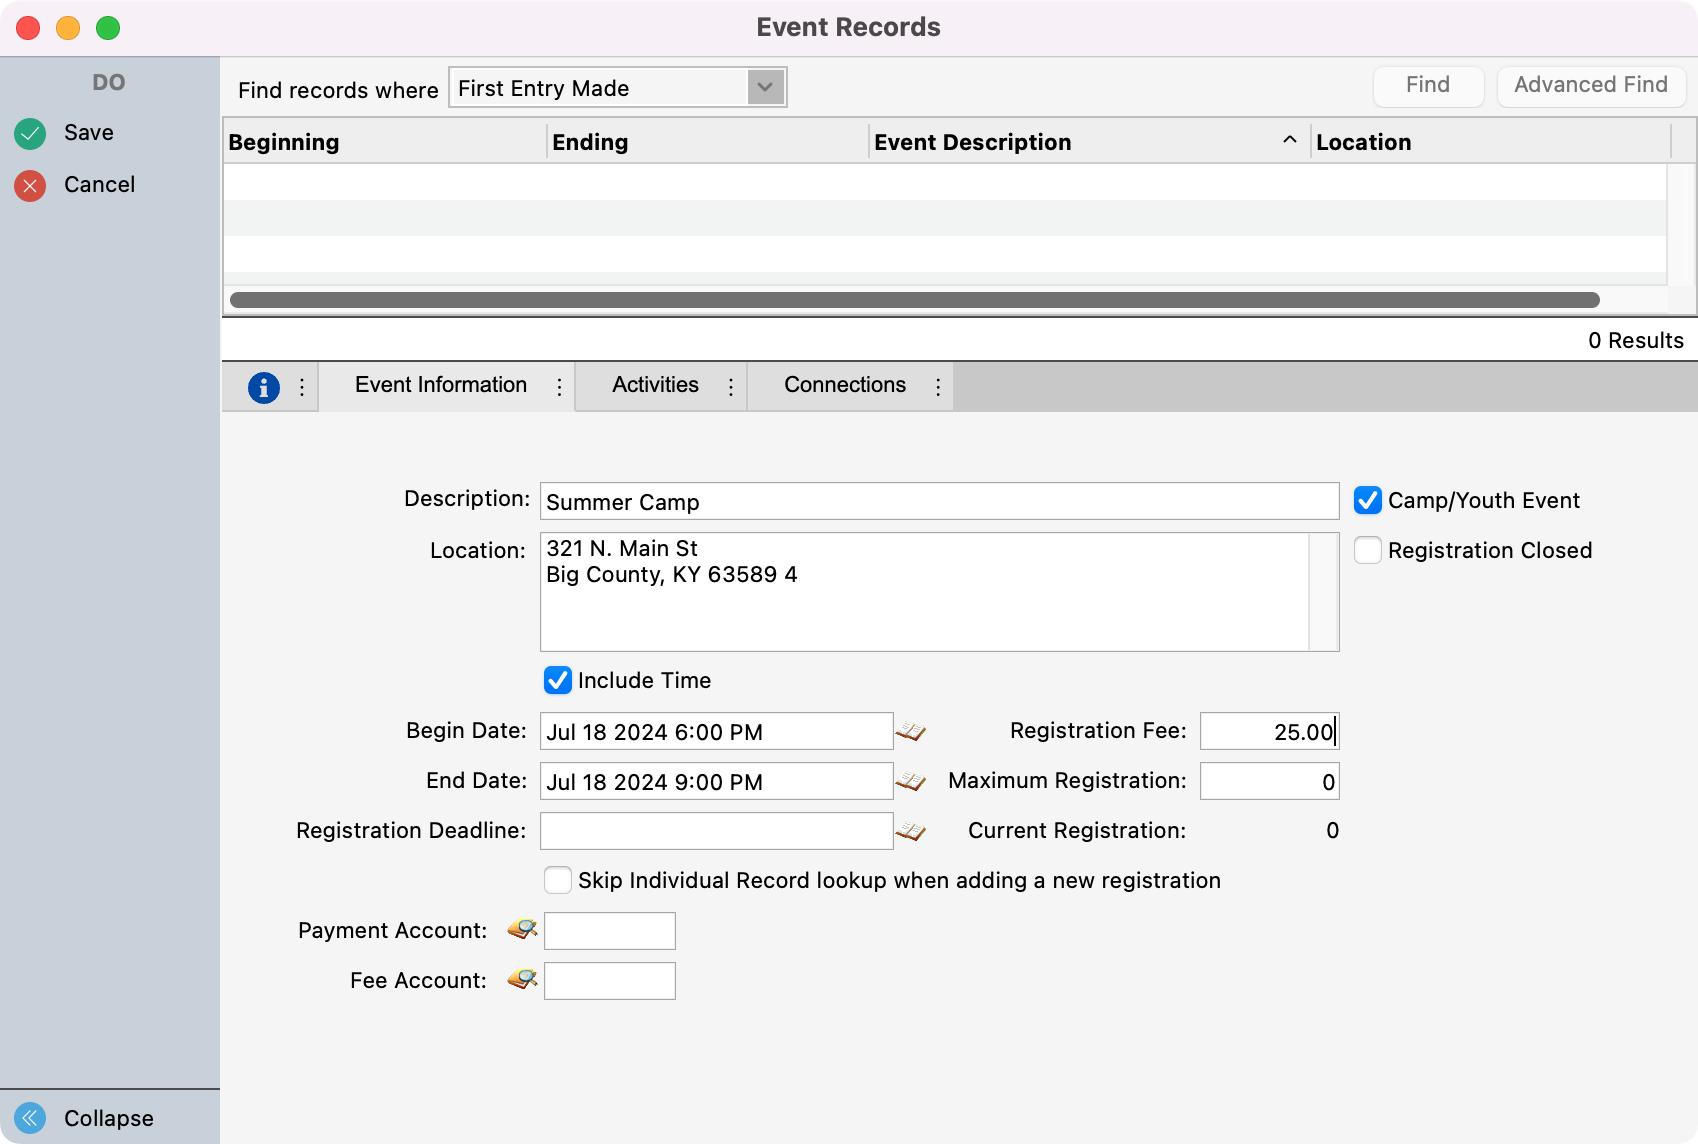
If you enter a Registration Fee here ALL registrants will be charged this amount; it cannot be changed. If you have an event for which there will be varying amounts charged, leave this field blank and set up each Registration Fee as a separate Activity. If most participants will be paying the same Registration Fee, you may wish to enter that amount here and create one or more Activity for Registration Fee discounts (the fee will be a negative amount) and/or additional charges.
-
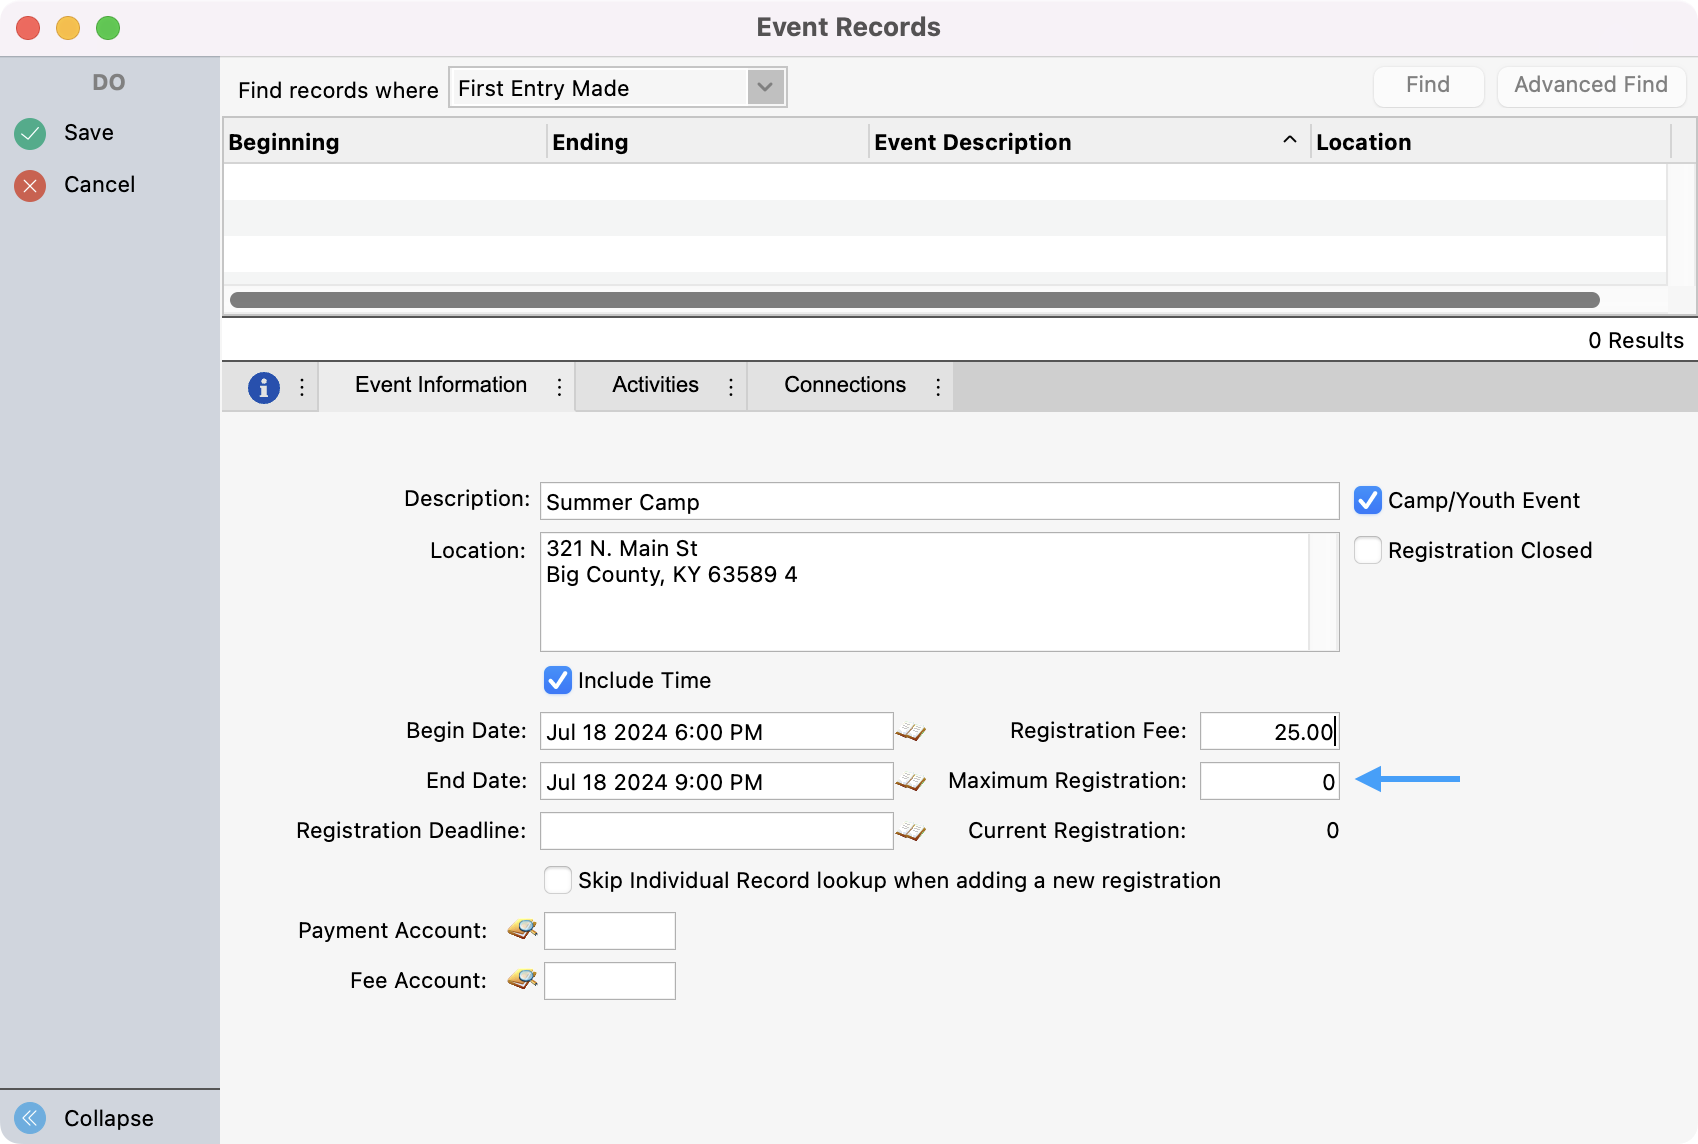
Next, enter the Maximum Registration, if necessary.
-
Turn on the Skip Individual lookup when adding a new registration checkbox only if you do not want any registrations to this event connected to the address and individual records stored in your CDM+ Membership program database. If the majority of registrants for an event will be church members, you generally would NOT want to check this box. All Events for which a person has registered will appear on the Events pane of their Individual Record and can be searched using the related records feature of the Advanced Find.

-
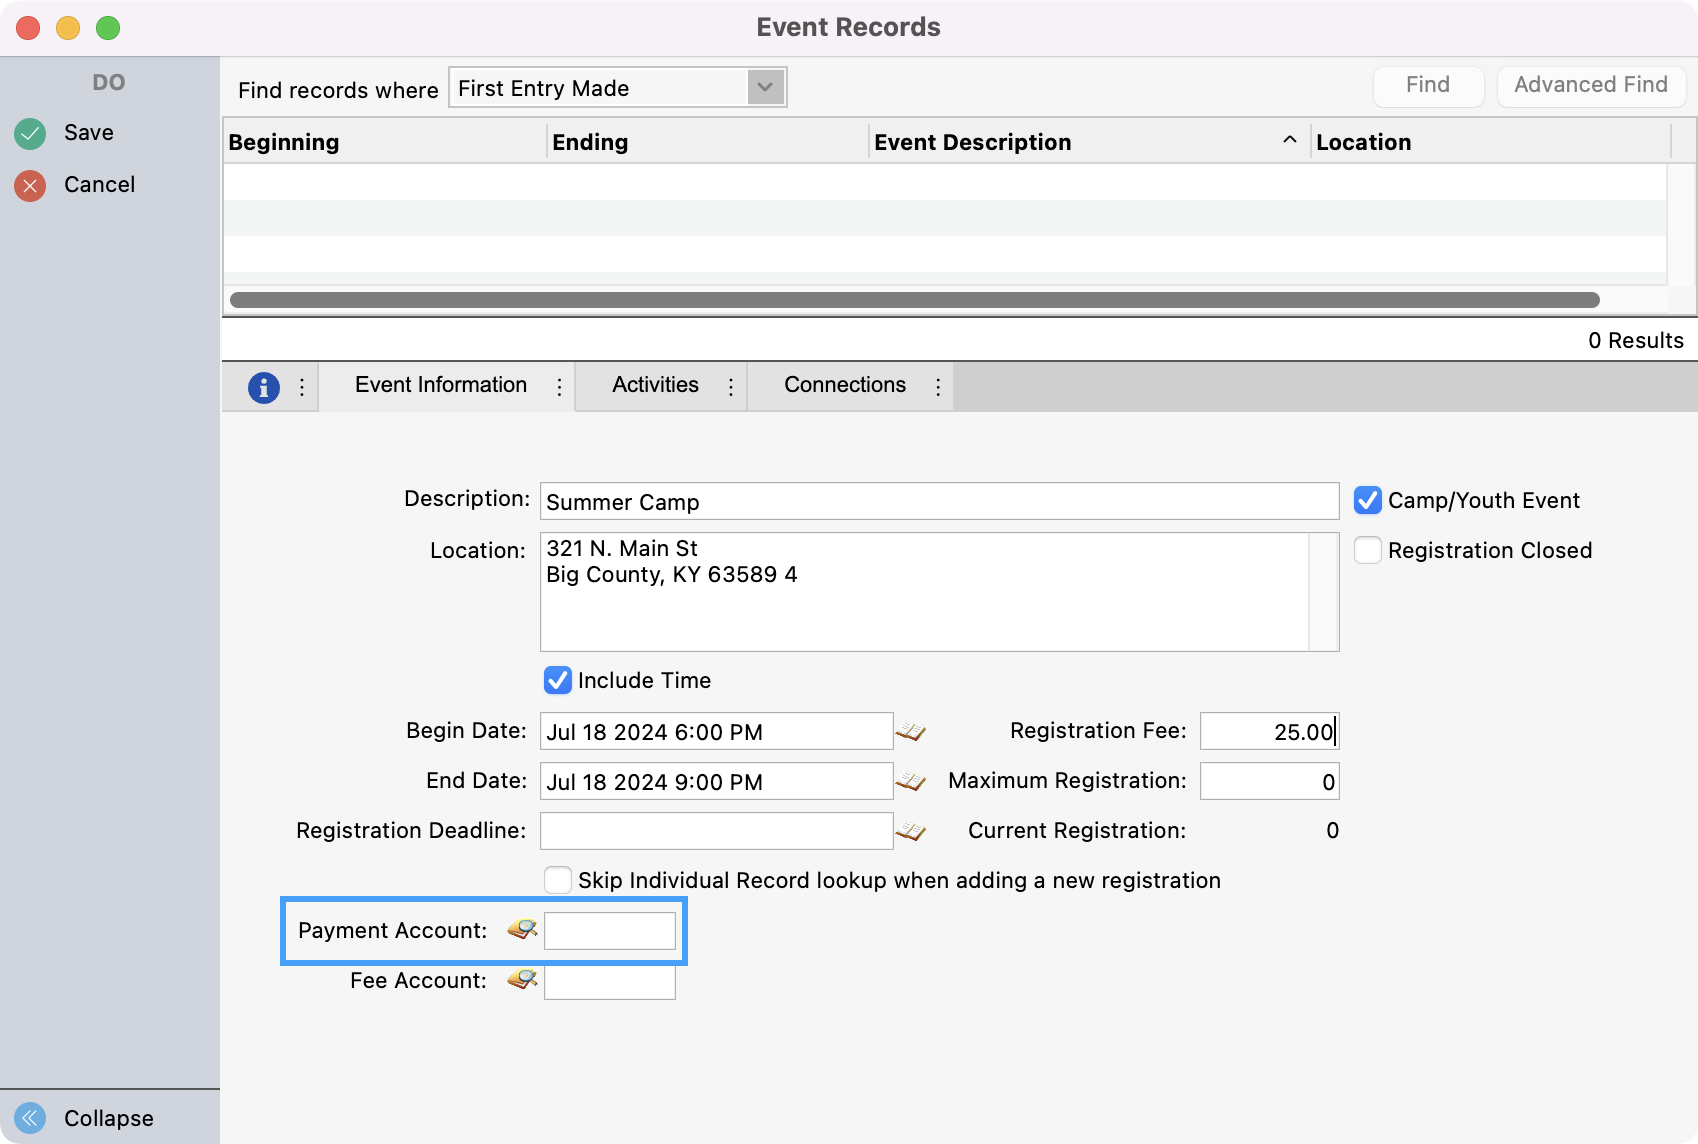
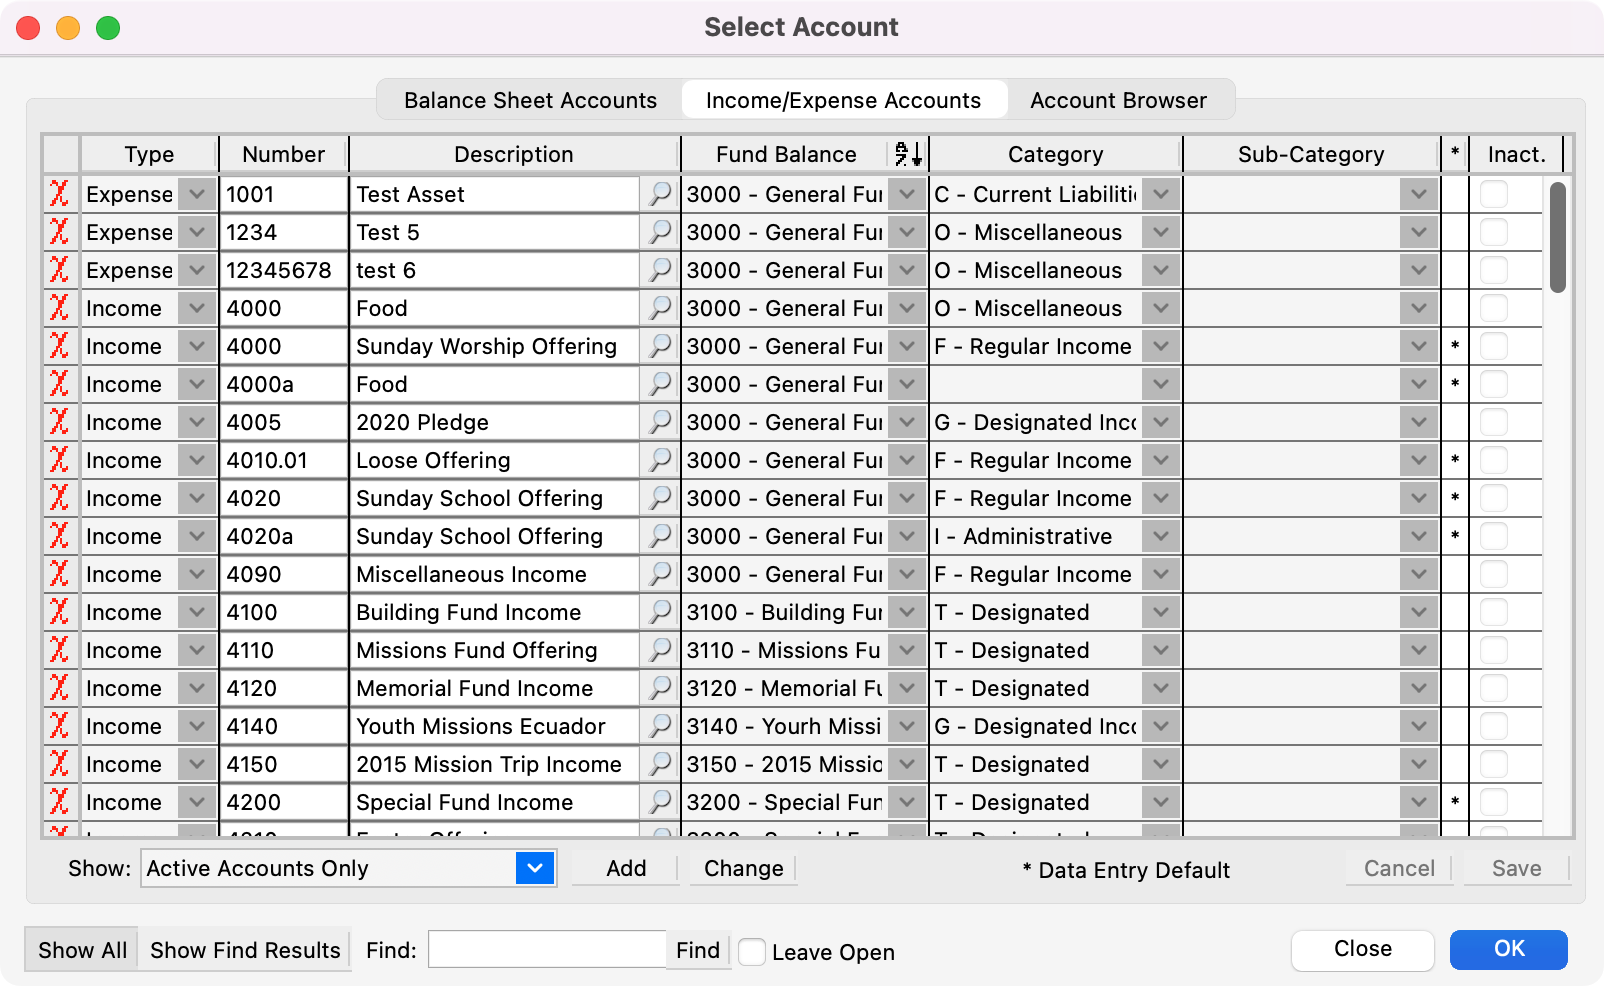
Event Registration payments may be posted to the CDM+ Accounting Ledger when using the Accounting feature. Click the magnifying glass icon to select the appropriate Income account from the list next to the Payment Account field.
-
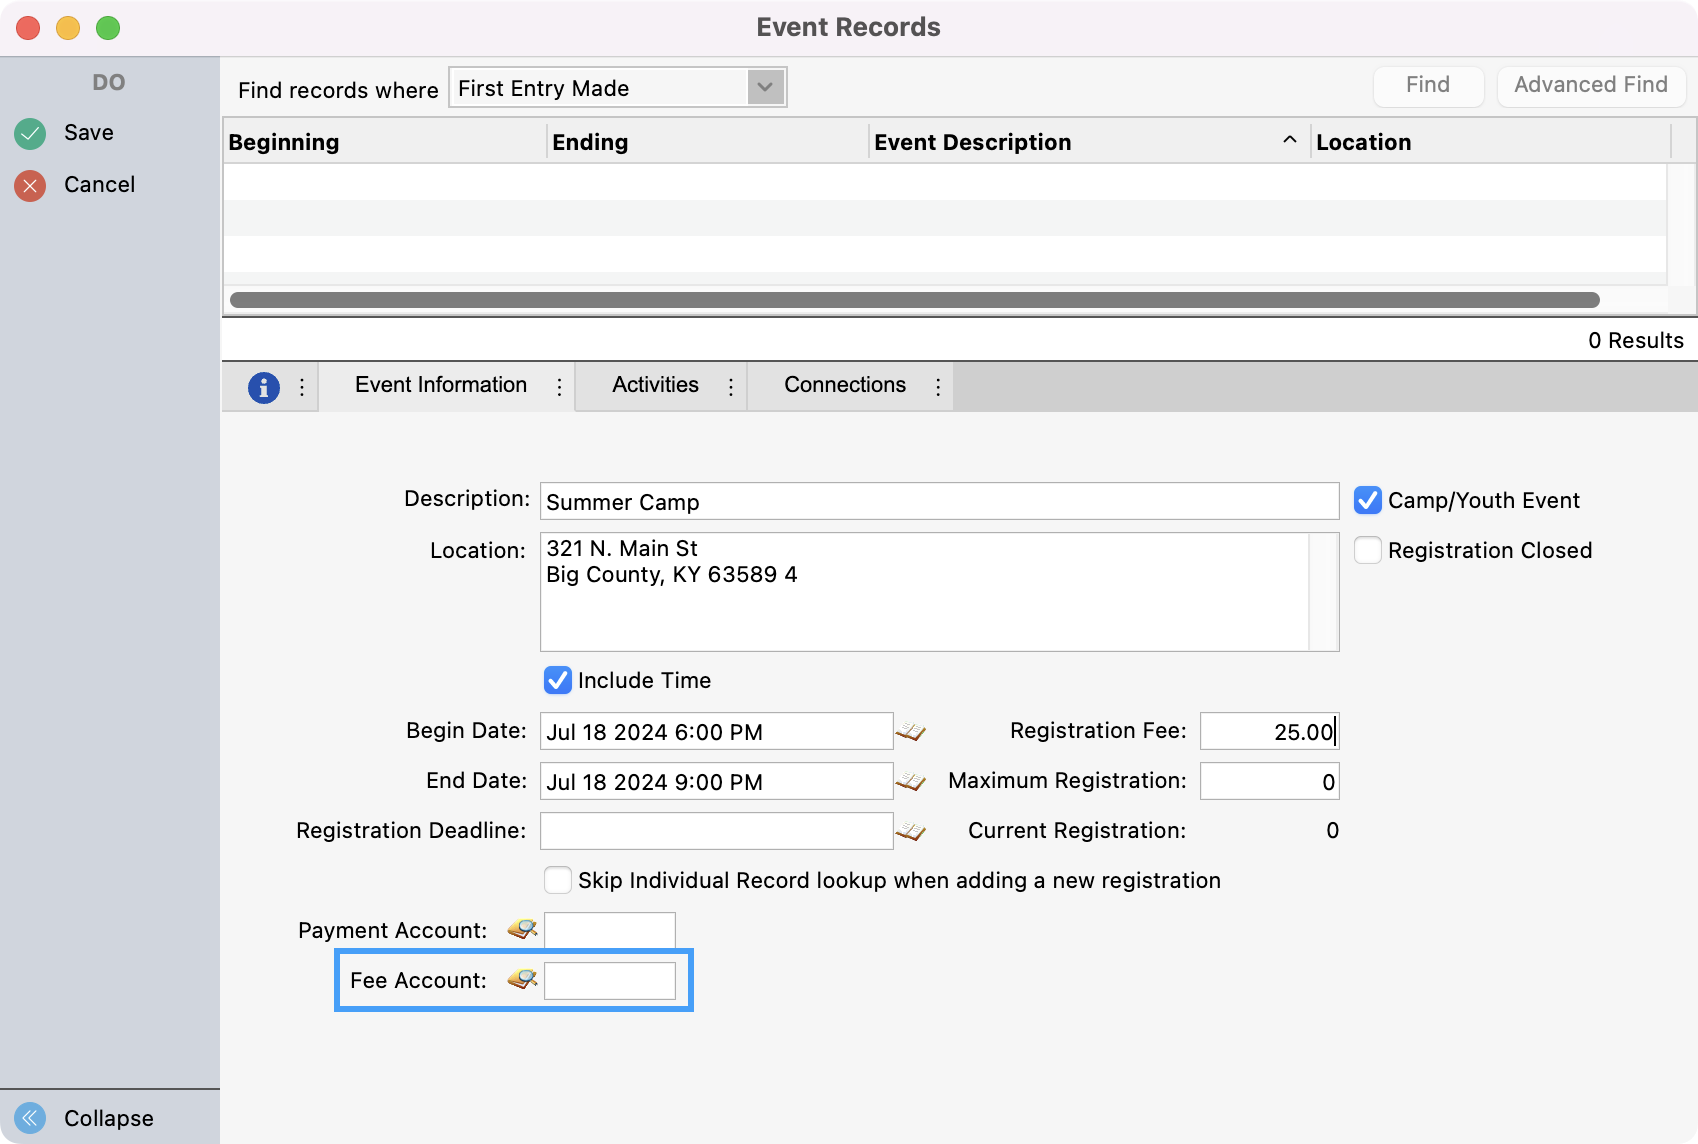
The Fee Account field is used when processing EFT (credit/debit cards or ACH withdrawals) through a vendor that charges fees, for example, if you are using a CDM+ Single Event Registration Web Ministry Tool with a Payment Processing merchant account. For more information on handling processing fees, see Deposit Processing. You can still choose which account you want to funnel these amounts to by clicking the magnifying glass icon to select the appropriate Expense account from the list next to the Fee Account field.
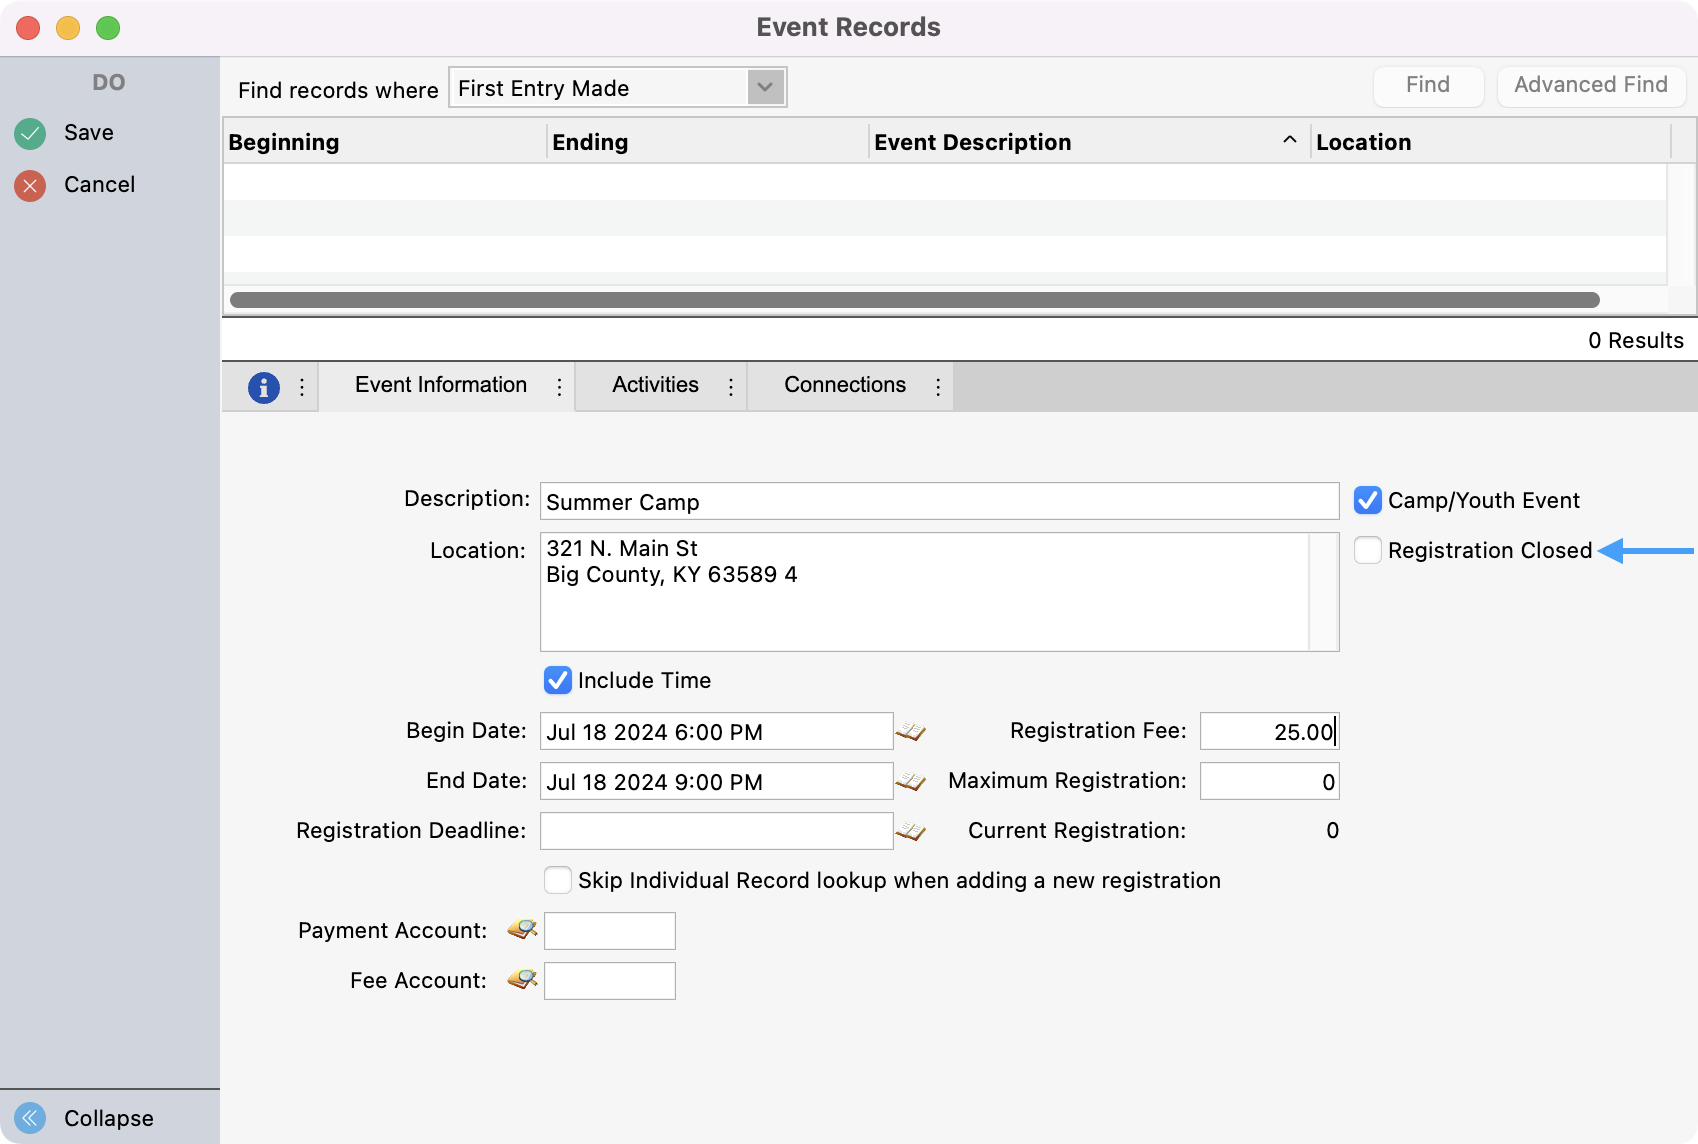
Turn on the Registration Closed checkbox once registration for this event is closed or if the event has passed. This prevents this event/camp from showing up on any list of available events for which registrations may be entered. An unlimited number of closed events/camps may be left in the system and reports can be generated for them. Closed events/camps may also be reopened if necessary.
Activities
You can use activities for many purposes to help manage your event. One example is when there are different ticket pricing options (individual vs table, adult vs child, etc) for your event. You can also use activities to ask custom questions from meal choice preference to how did you hear about this year's event. If you have an event where there are multiple workshops, activities, or add-ons (such as a T-shirt) you can add activities that will allow each attendee to make their selections. Activities are what you can use to gather any details that you need from each attendee.
-
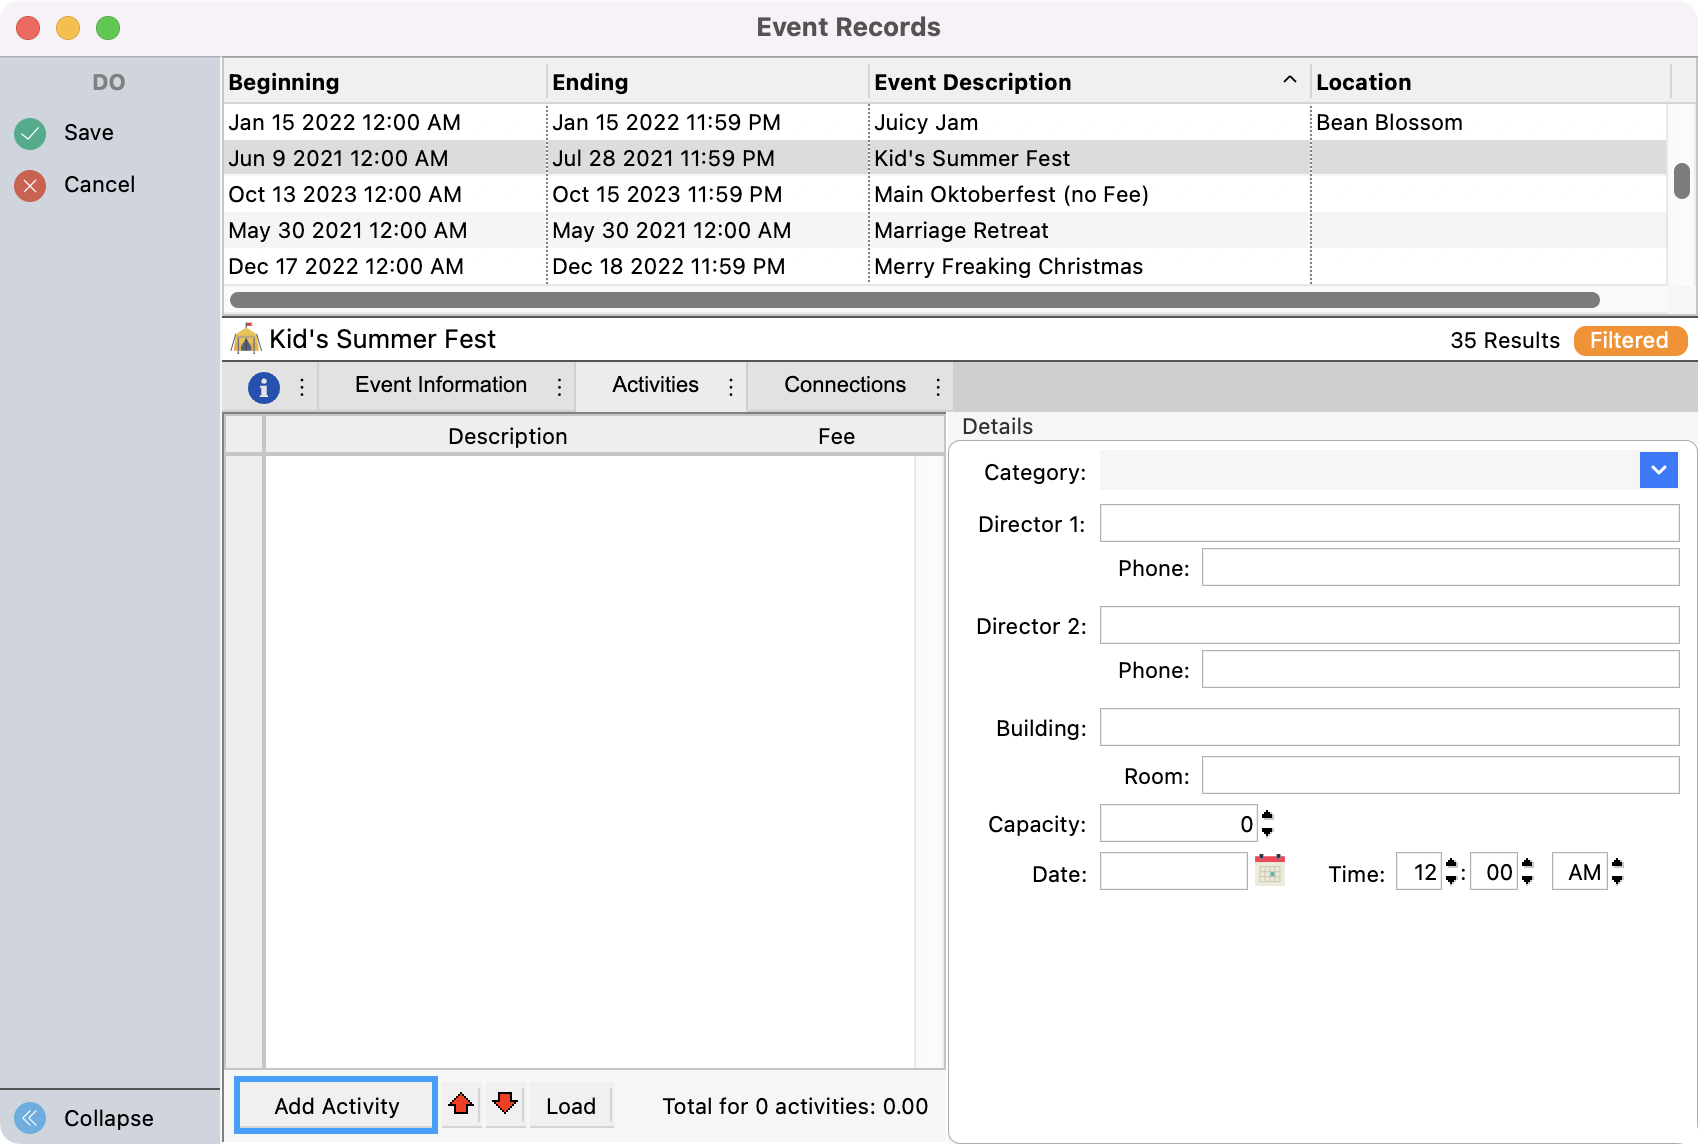
First, click the Activities tab. If you have not previously saved your Event record you will be able to edit fields accordingly. If you have saved your event, click Change from the left sidebar to be able to make changes.

-
Next, click the small Add Activity button at the bottom of the activities list. Type the Description of the activity (e.g., Individual Ticket, Table Host, etc). If there is a fee for this activity, you can use the tab button on your keyboard to move over to this field and put in the dollar amount. If it is free you can leave it blank.
-
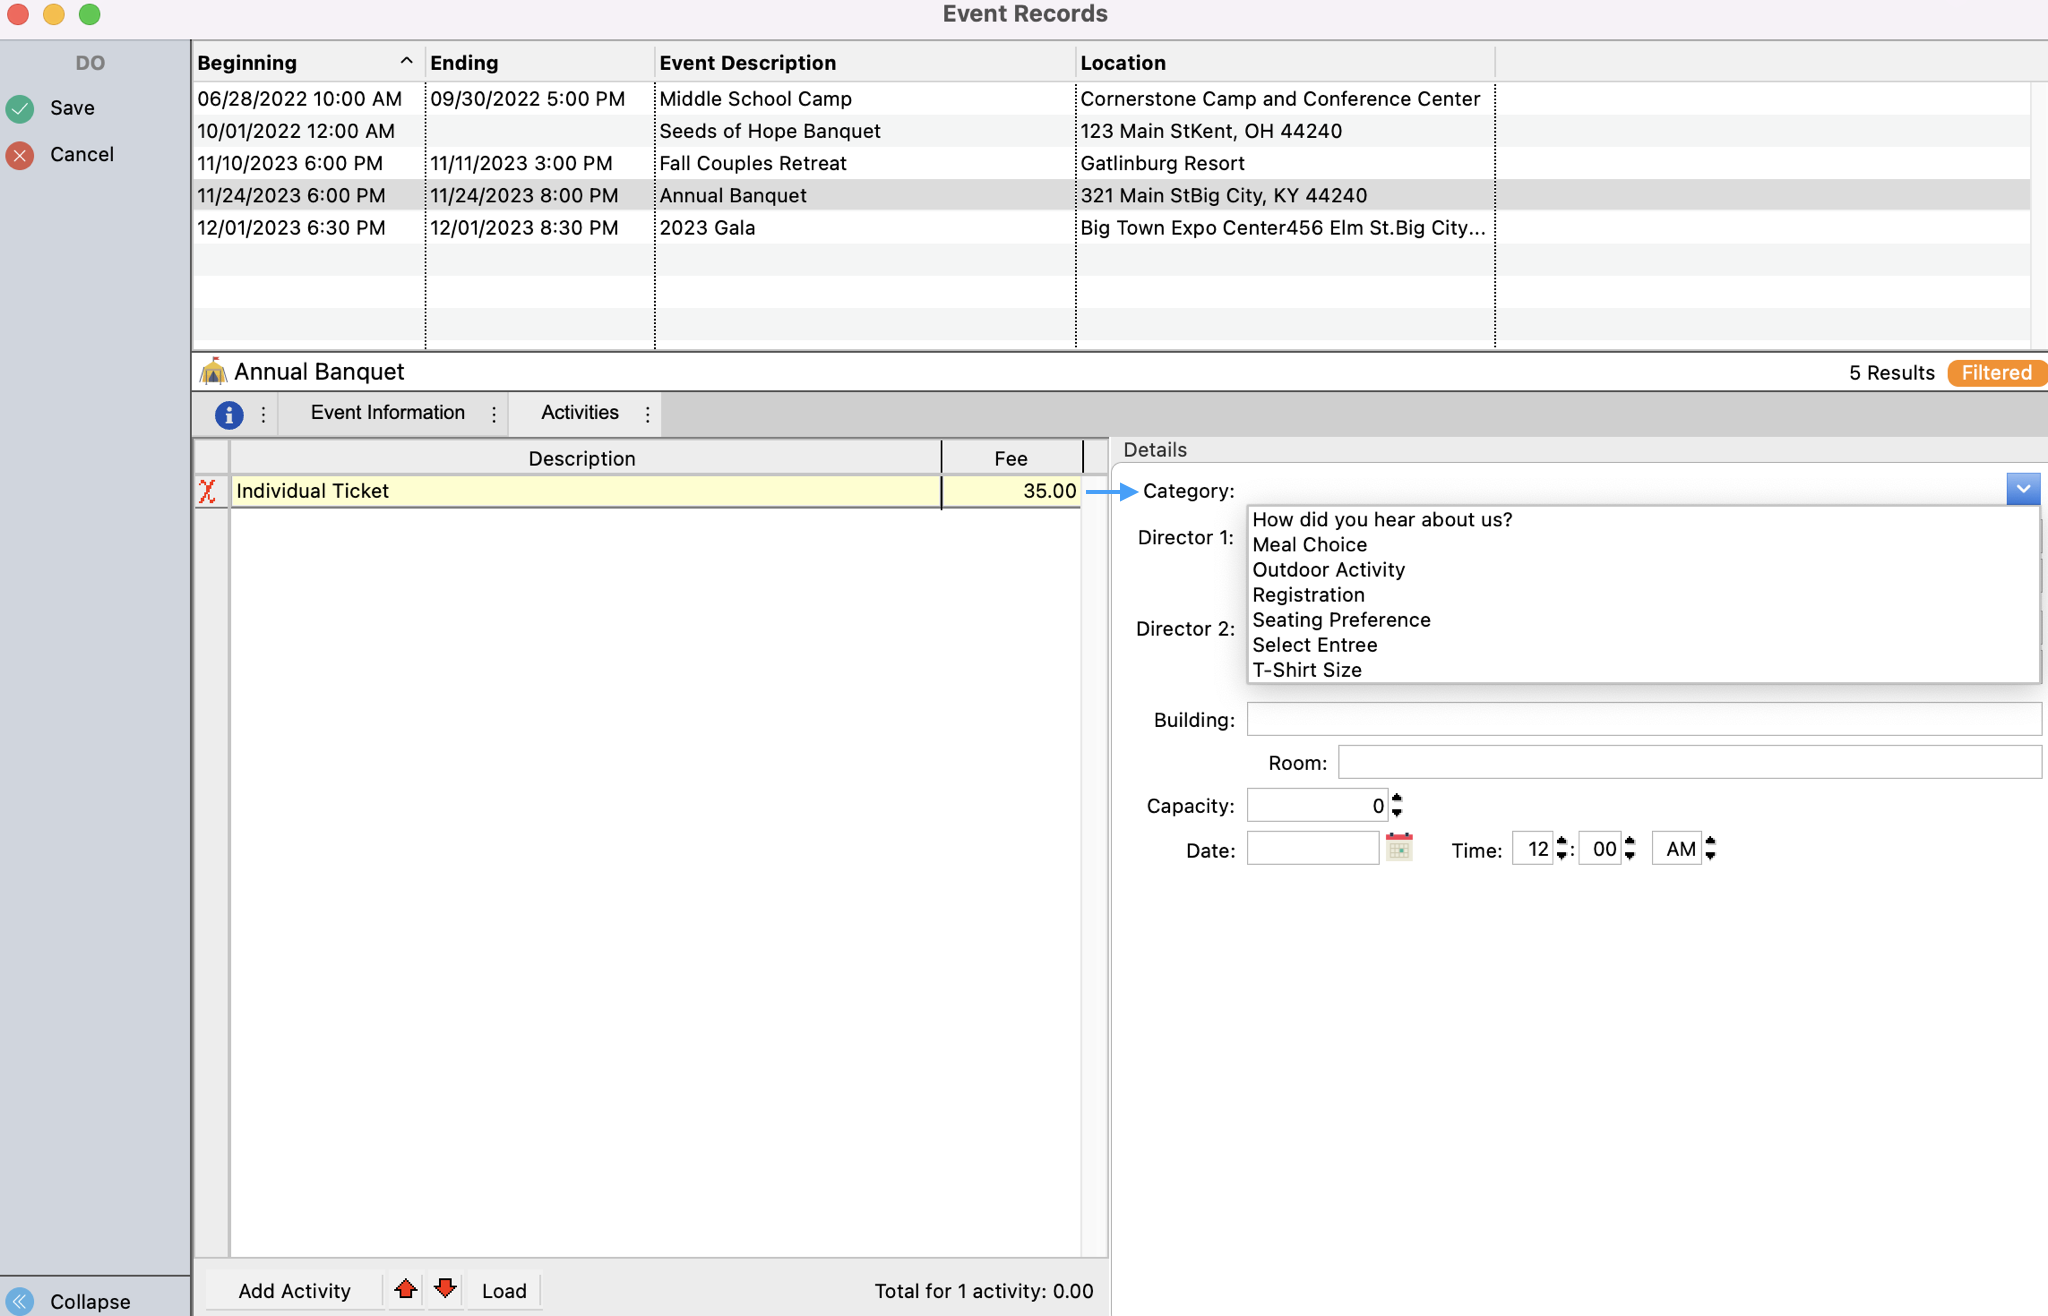
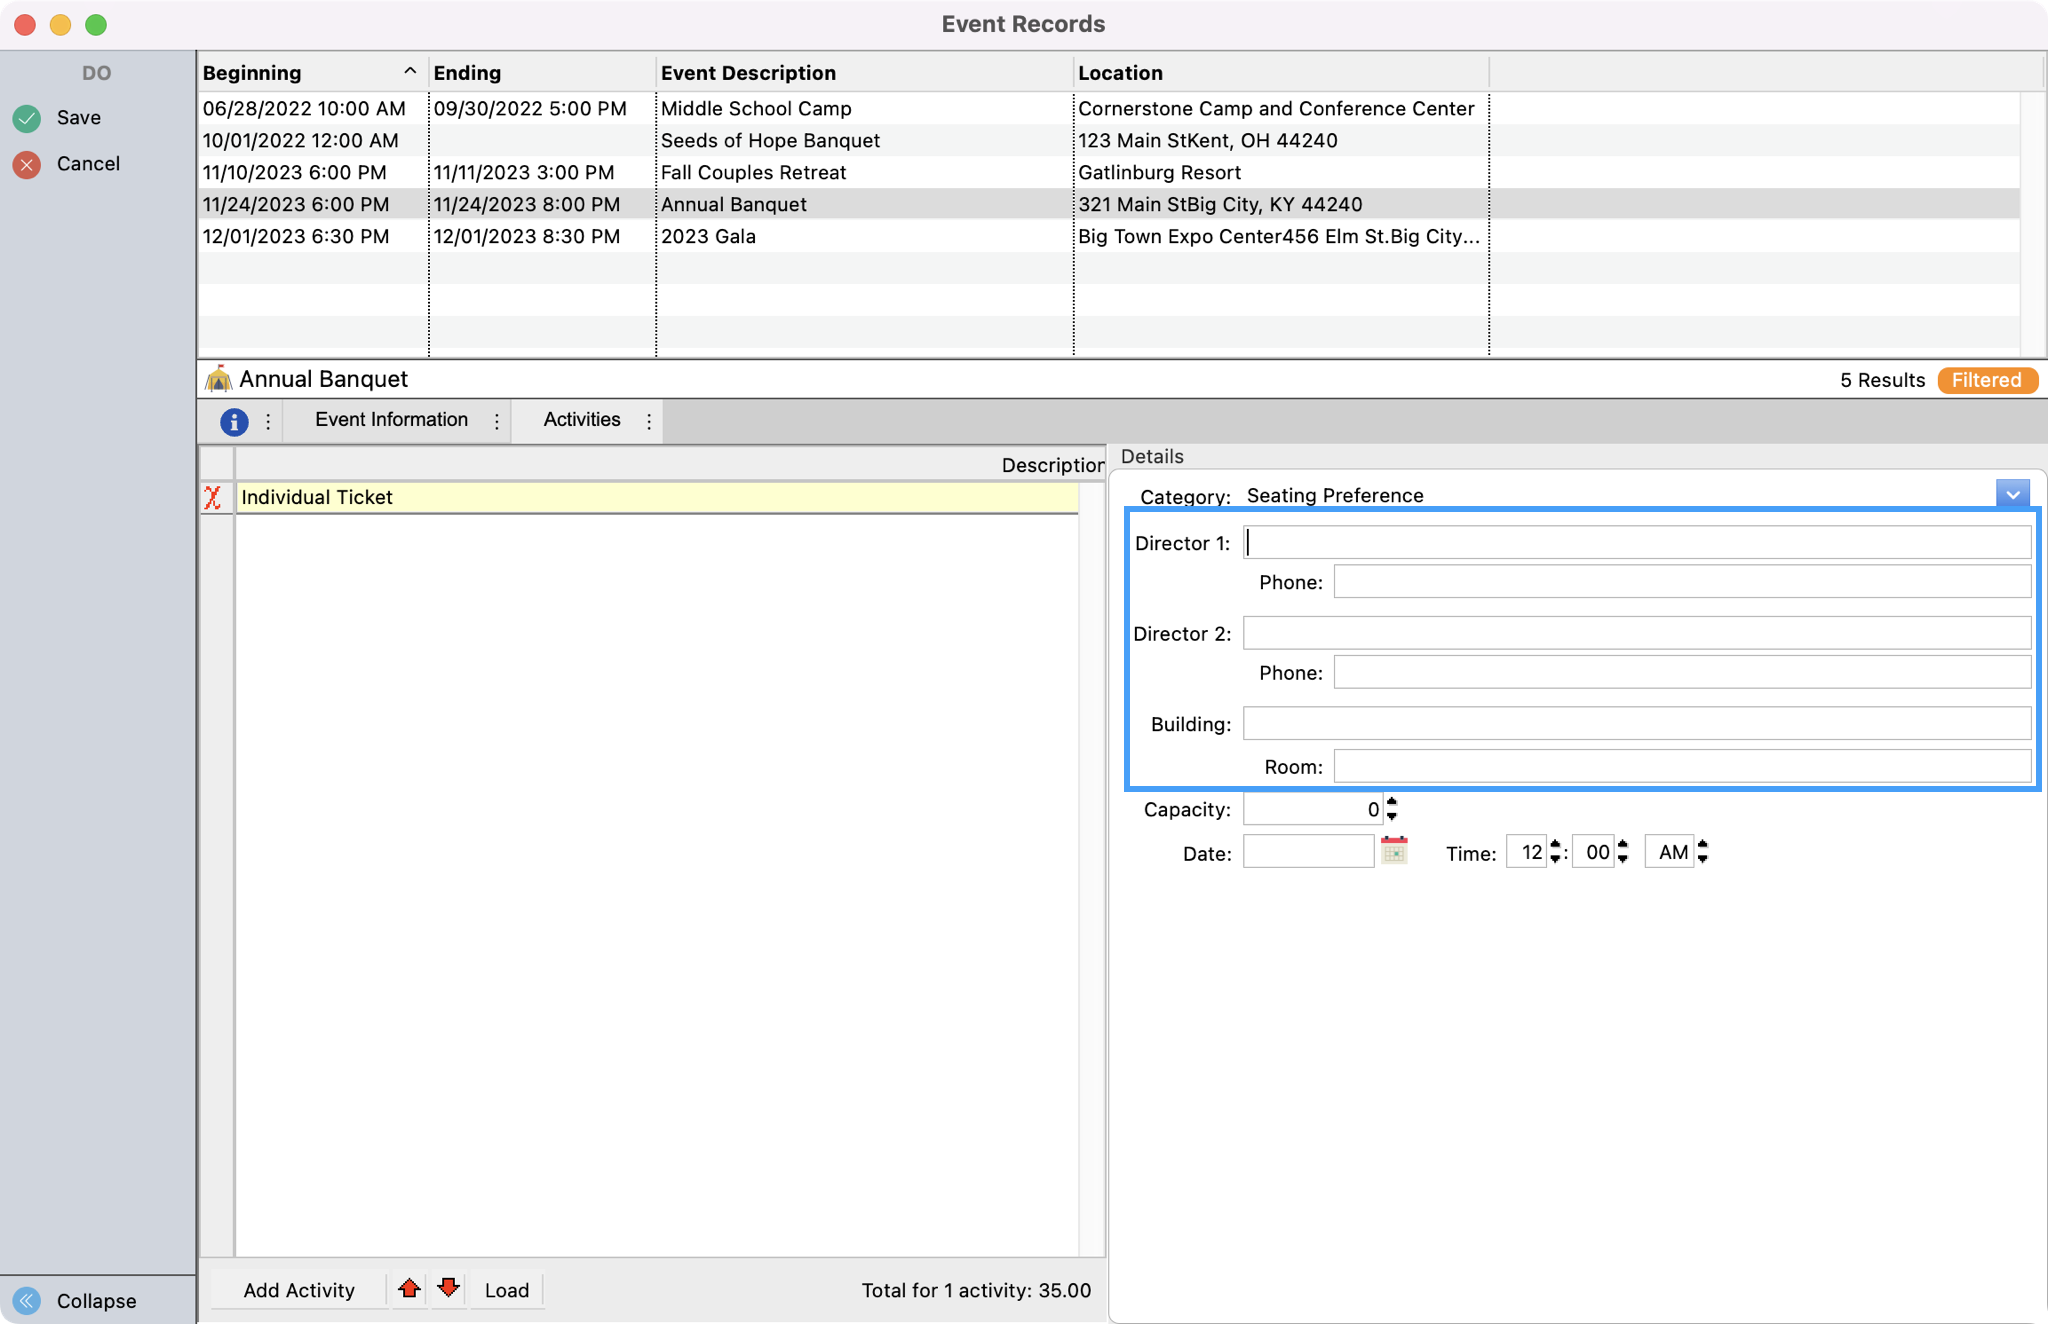
You have the option to assign Activities to Categories, which will cause them to be grouped together during Registration Entry. You may use the drop-down list to choose from an existing Category or to create a new Category by typing a description in this field. When you tab out of the Category field, you will be asked if you wish to add this Category, click Yes.
-
Tab through the Directors, Phones, Building, and Room fields, typing the appropriate information, if desired.
-
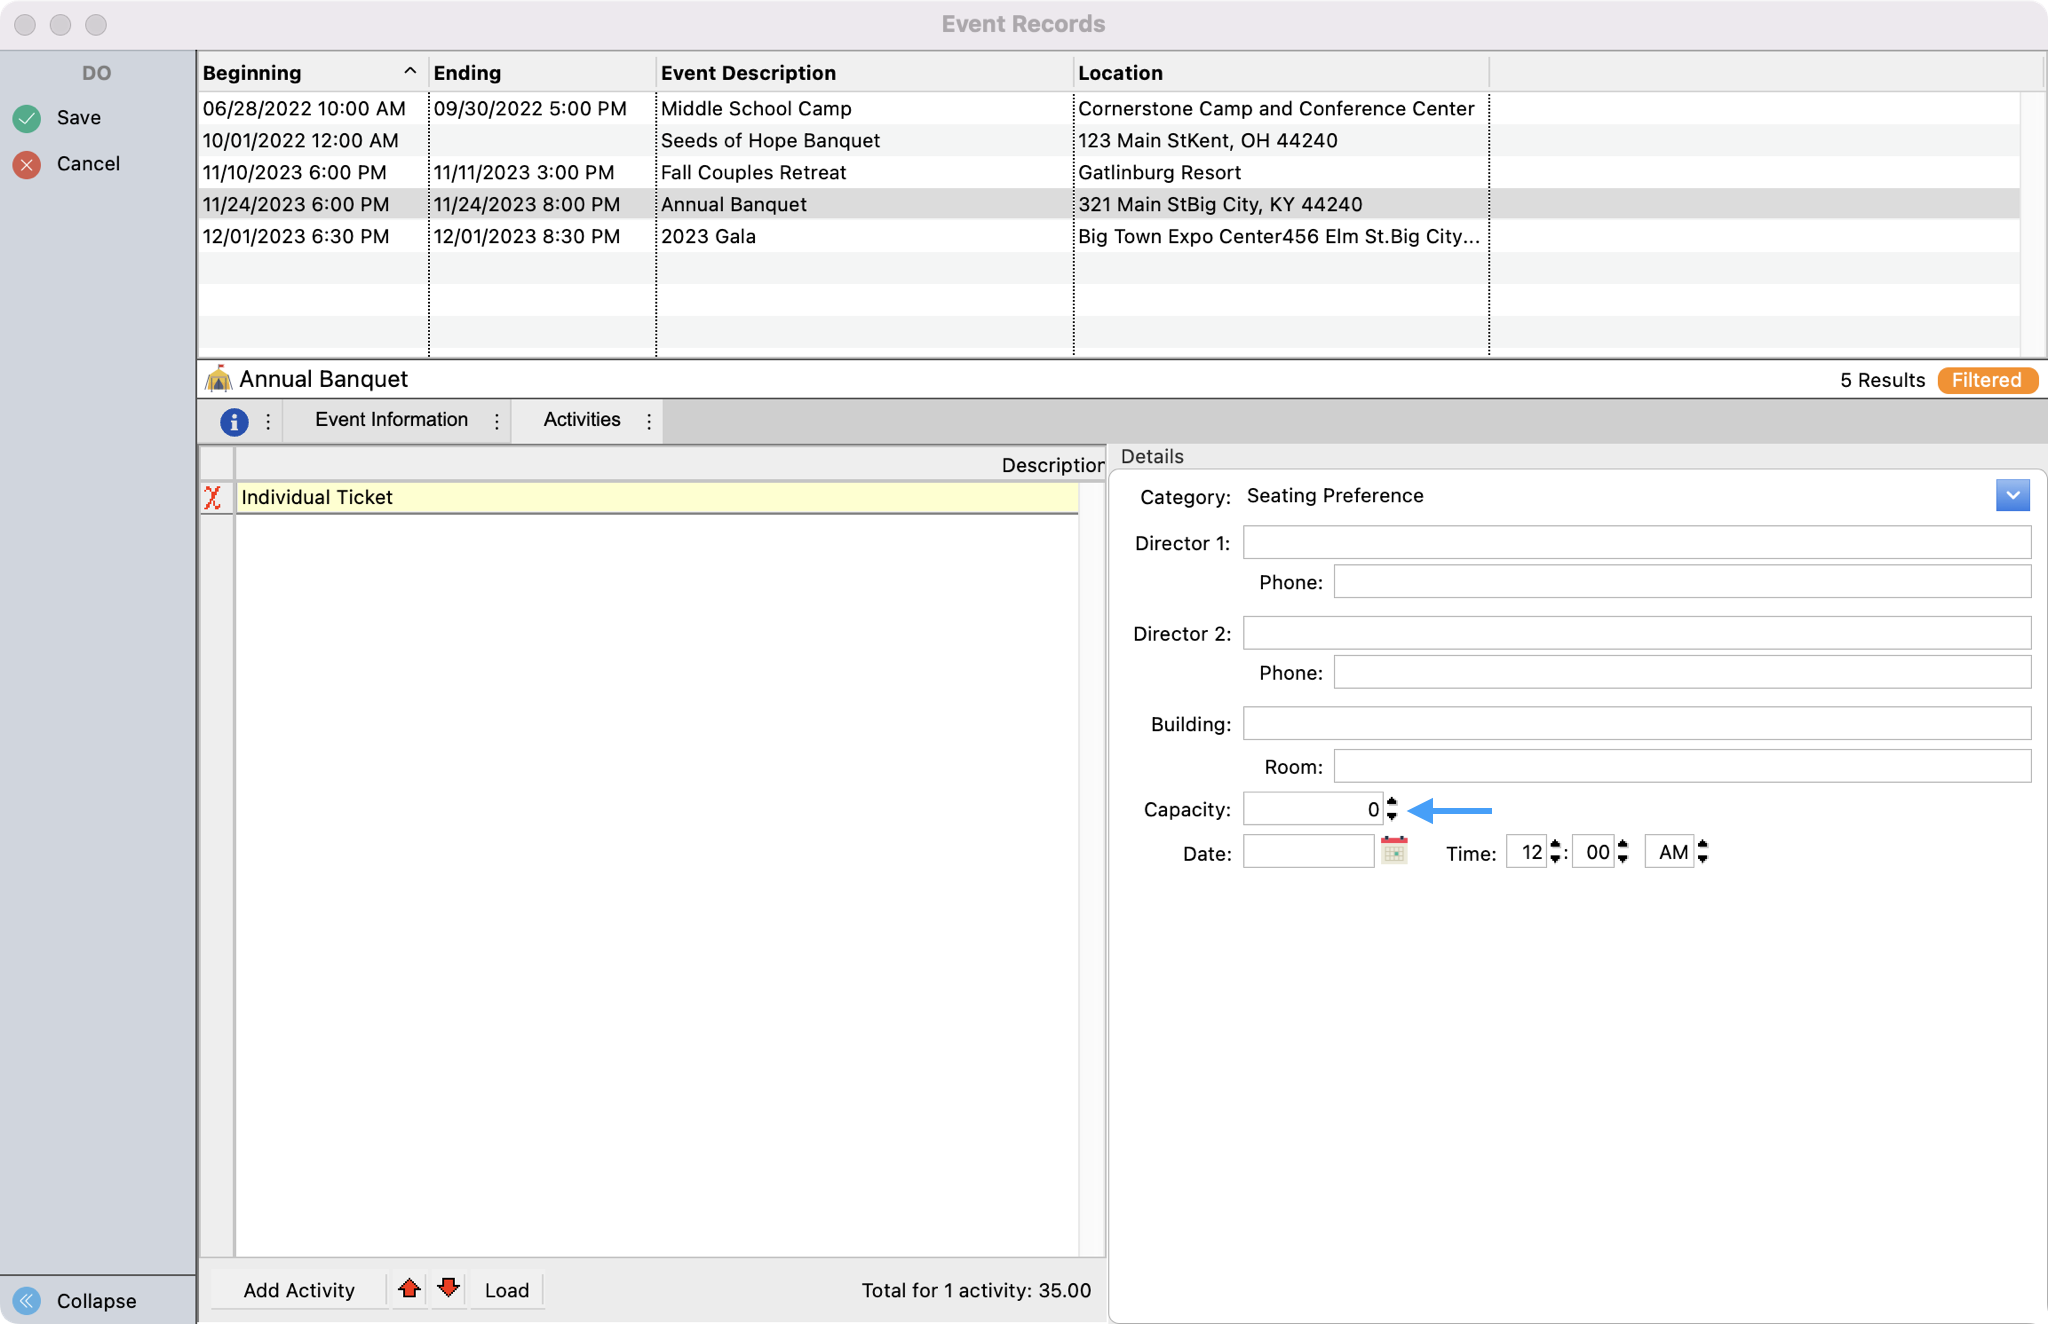
Continue using your keyboard's tab button to move to Capacity. When applicable you can add a capacity number for each activity. As registrations are made, CDM+ will warn you when the pre-set capacity has been reached.
-
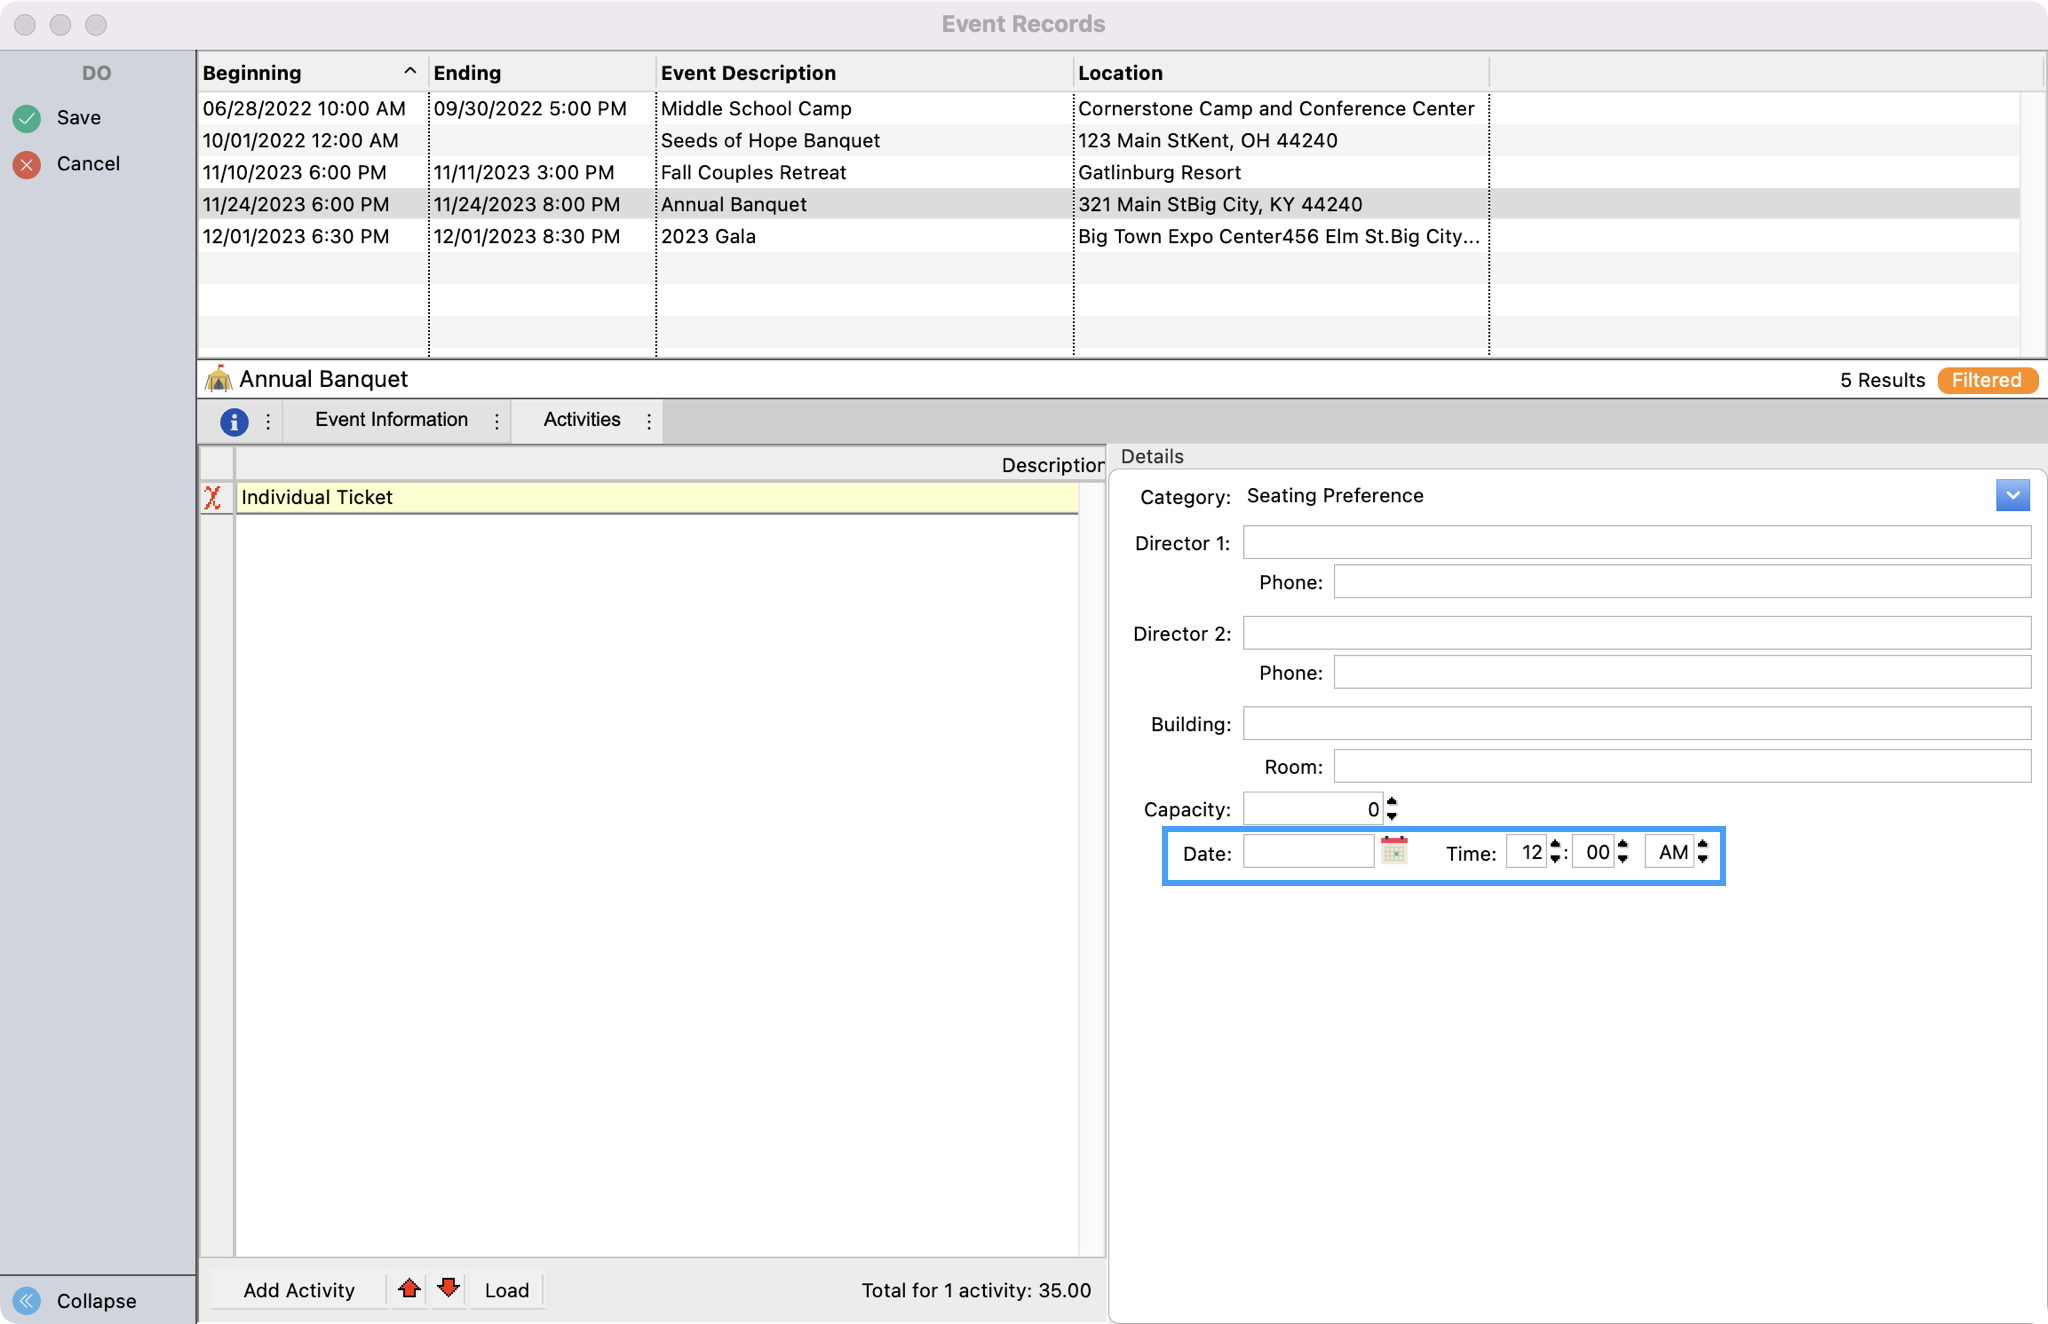
If each Activity has different dates and times (e.g. different workshop options at different times) you can continue using the tab keyboard key to select the Date and Time for each activity. You can also double-click the calendar icon to input the date.
-
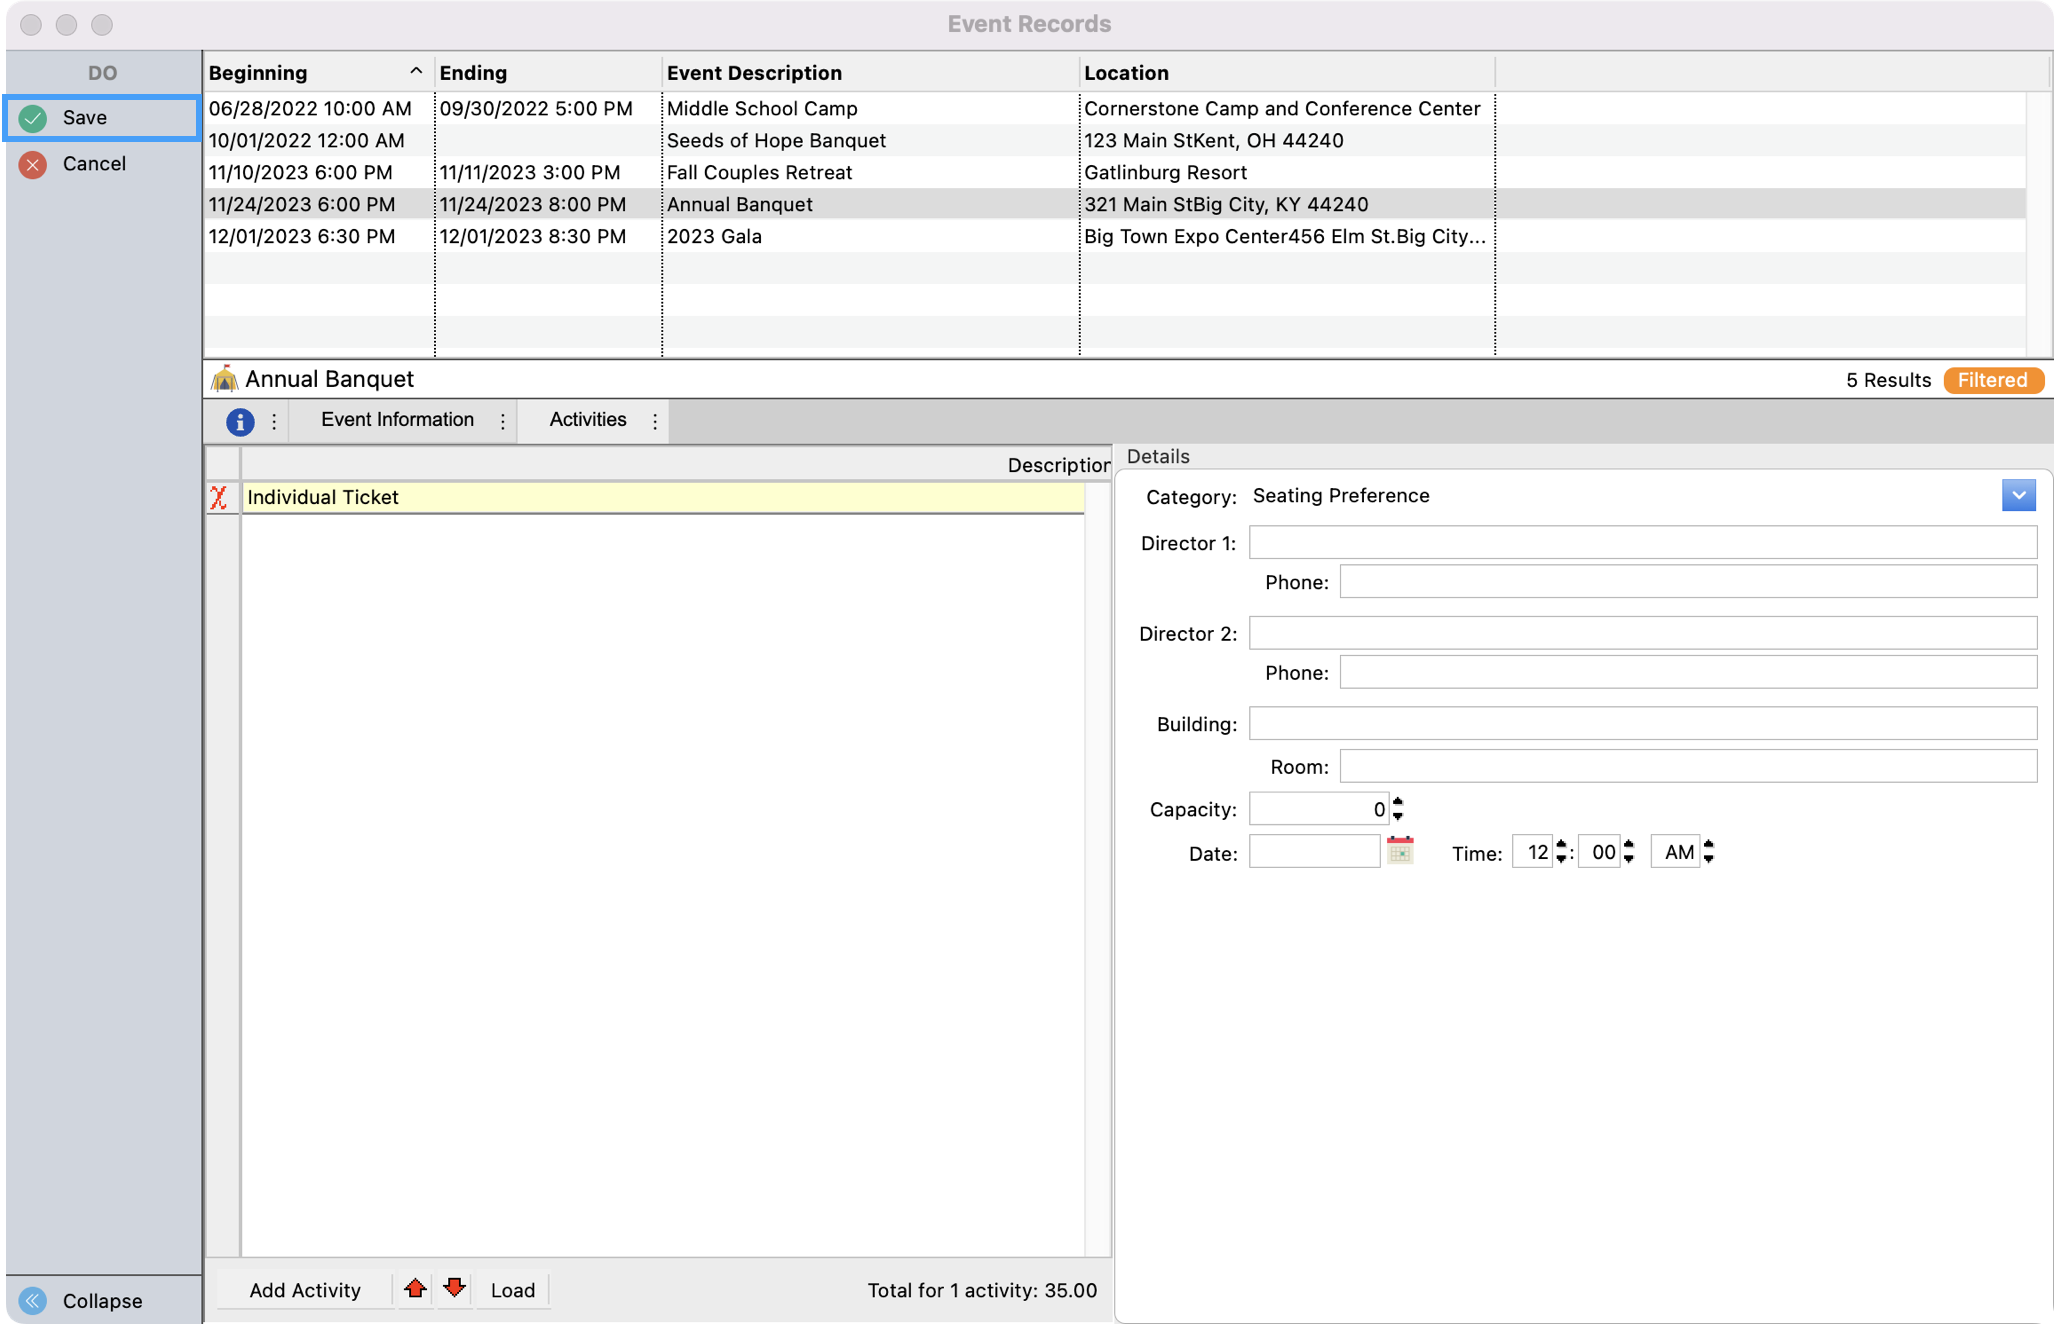
Repeat this process to add each activity needed for this event. Once you are finished entering your Activities, click Save in the upper left-hand corner of the page or click Connections.
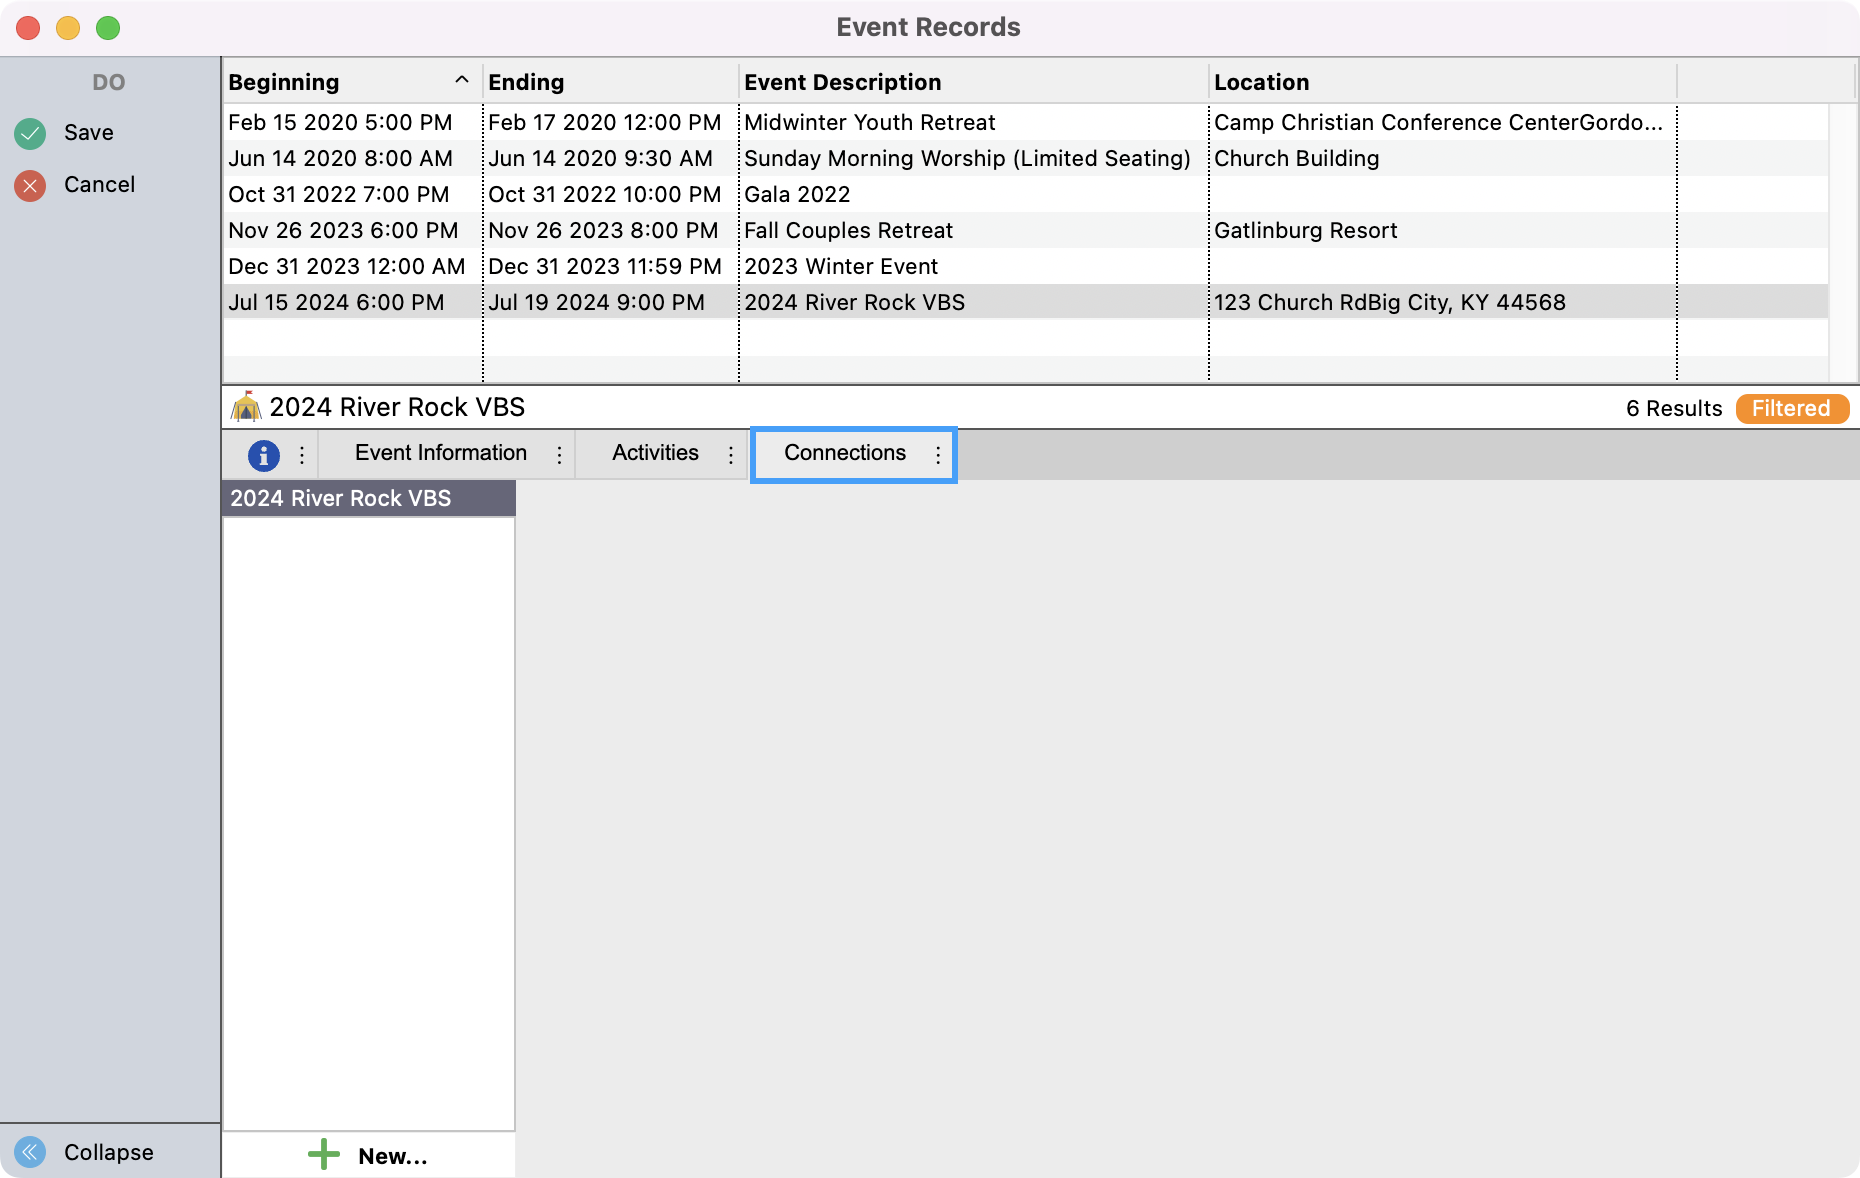
Connections
Connections allow you to tie your event to other records within CDM+. For example, you can connect Individual records to see a list of those who have volunteered or Vendor records to see a list of vendors you used for this event. This information is not only recorded under the Event record but the record you tied to it as well.
-
First, click the Connections tab. If you have not previously saved your Event record you will be able to edit fields accordingly. If you have saved your event, click Change from the left sidebar to be able to make changes.
-
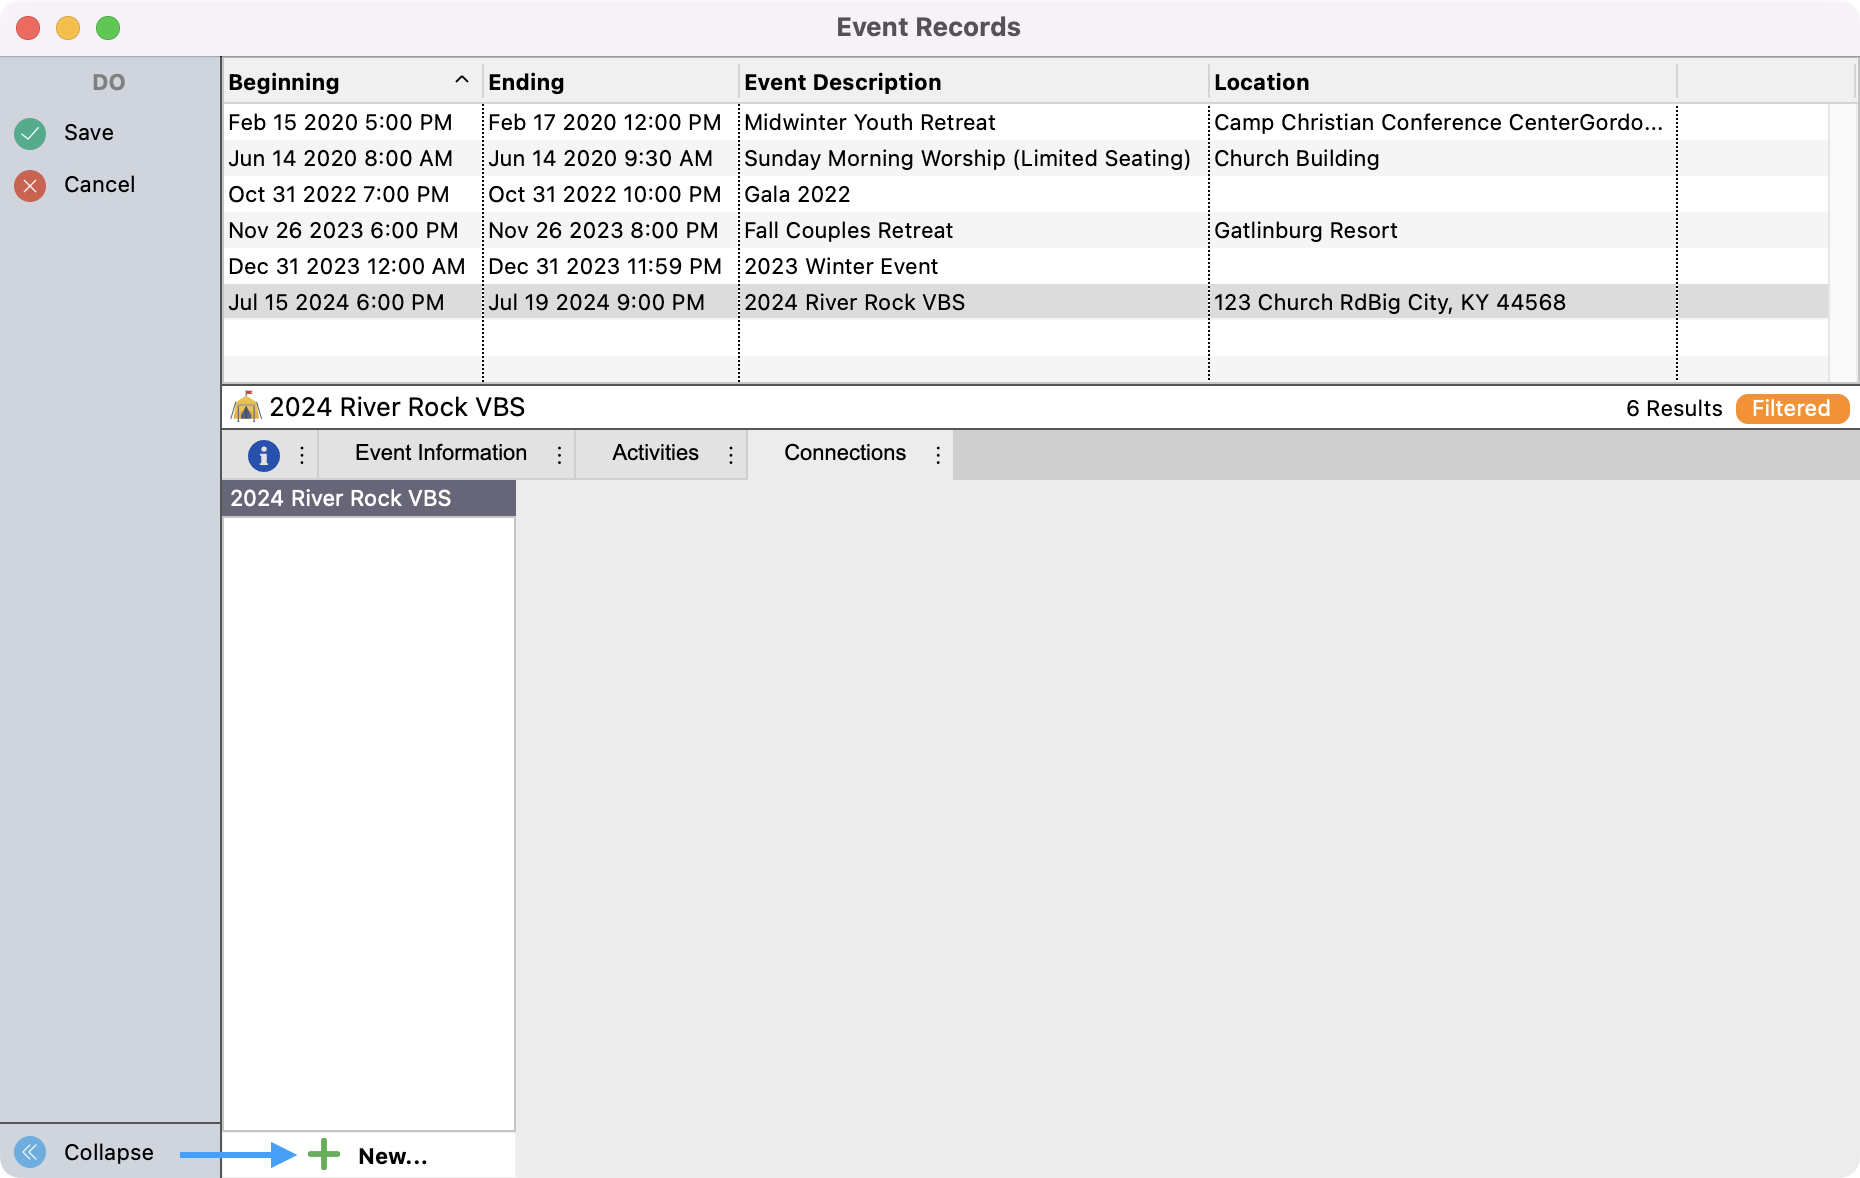
Next, at the bottom of the window, click +New to add a connection.
-
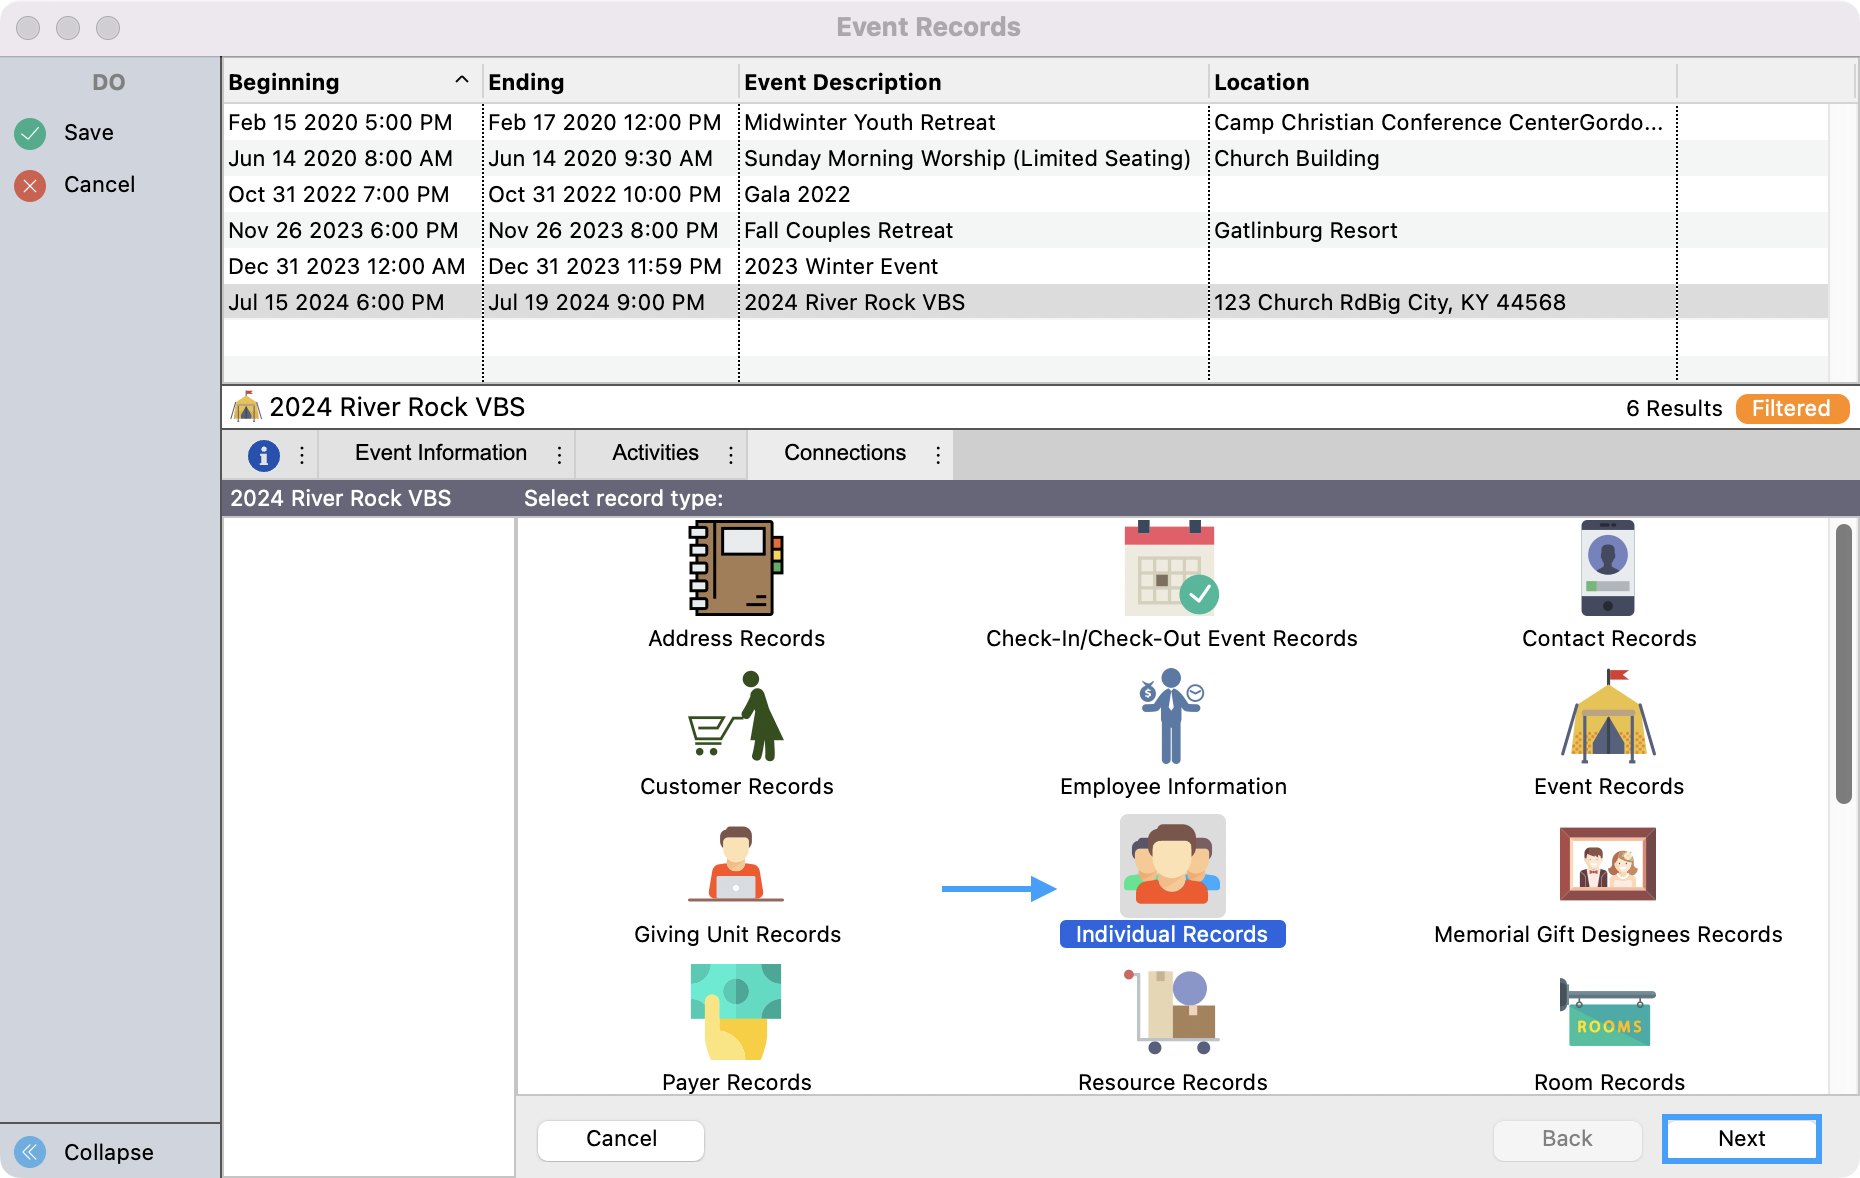
You'll then see icons for the different record types you can connect to. Click the record type you want to use and then click Next.
-
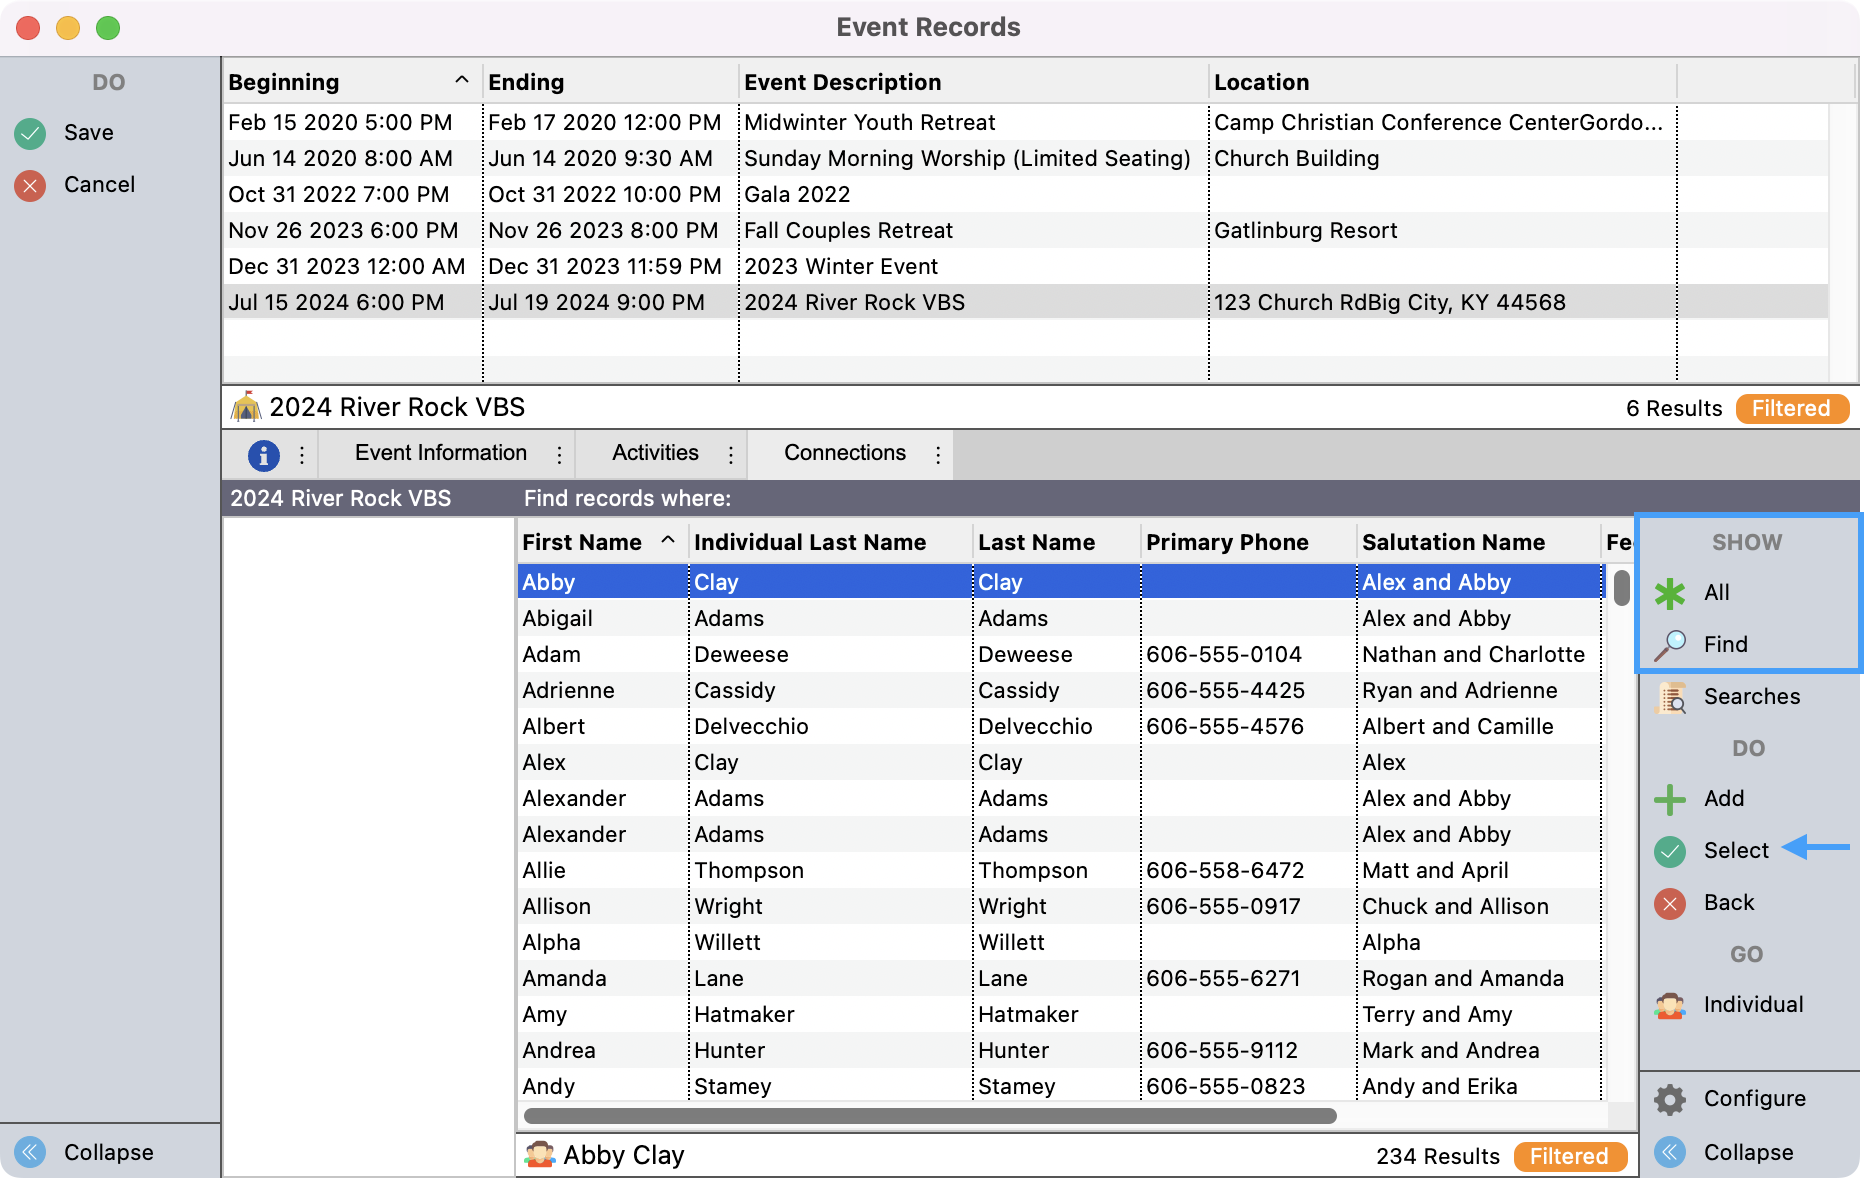
Use the Show options from the right sidebar to search for your record. Then, click to highlight the record you want to connect and click Select.
-
Use the drop-down fields to describe the connection and then click Done.
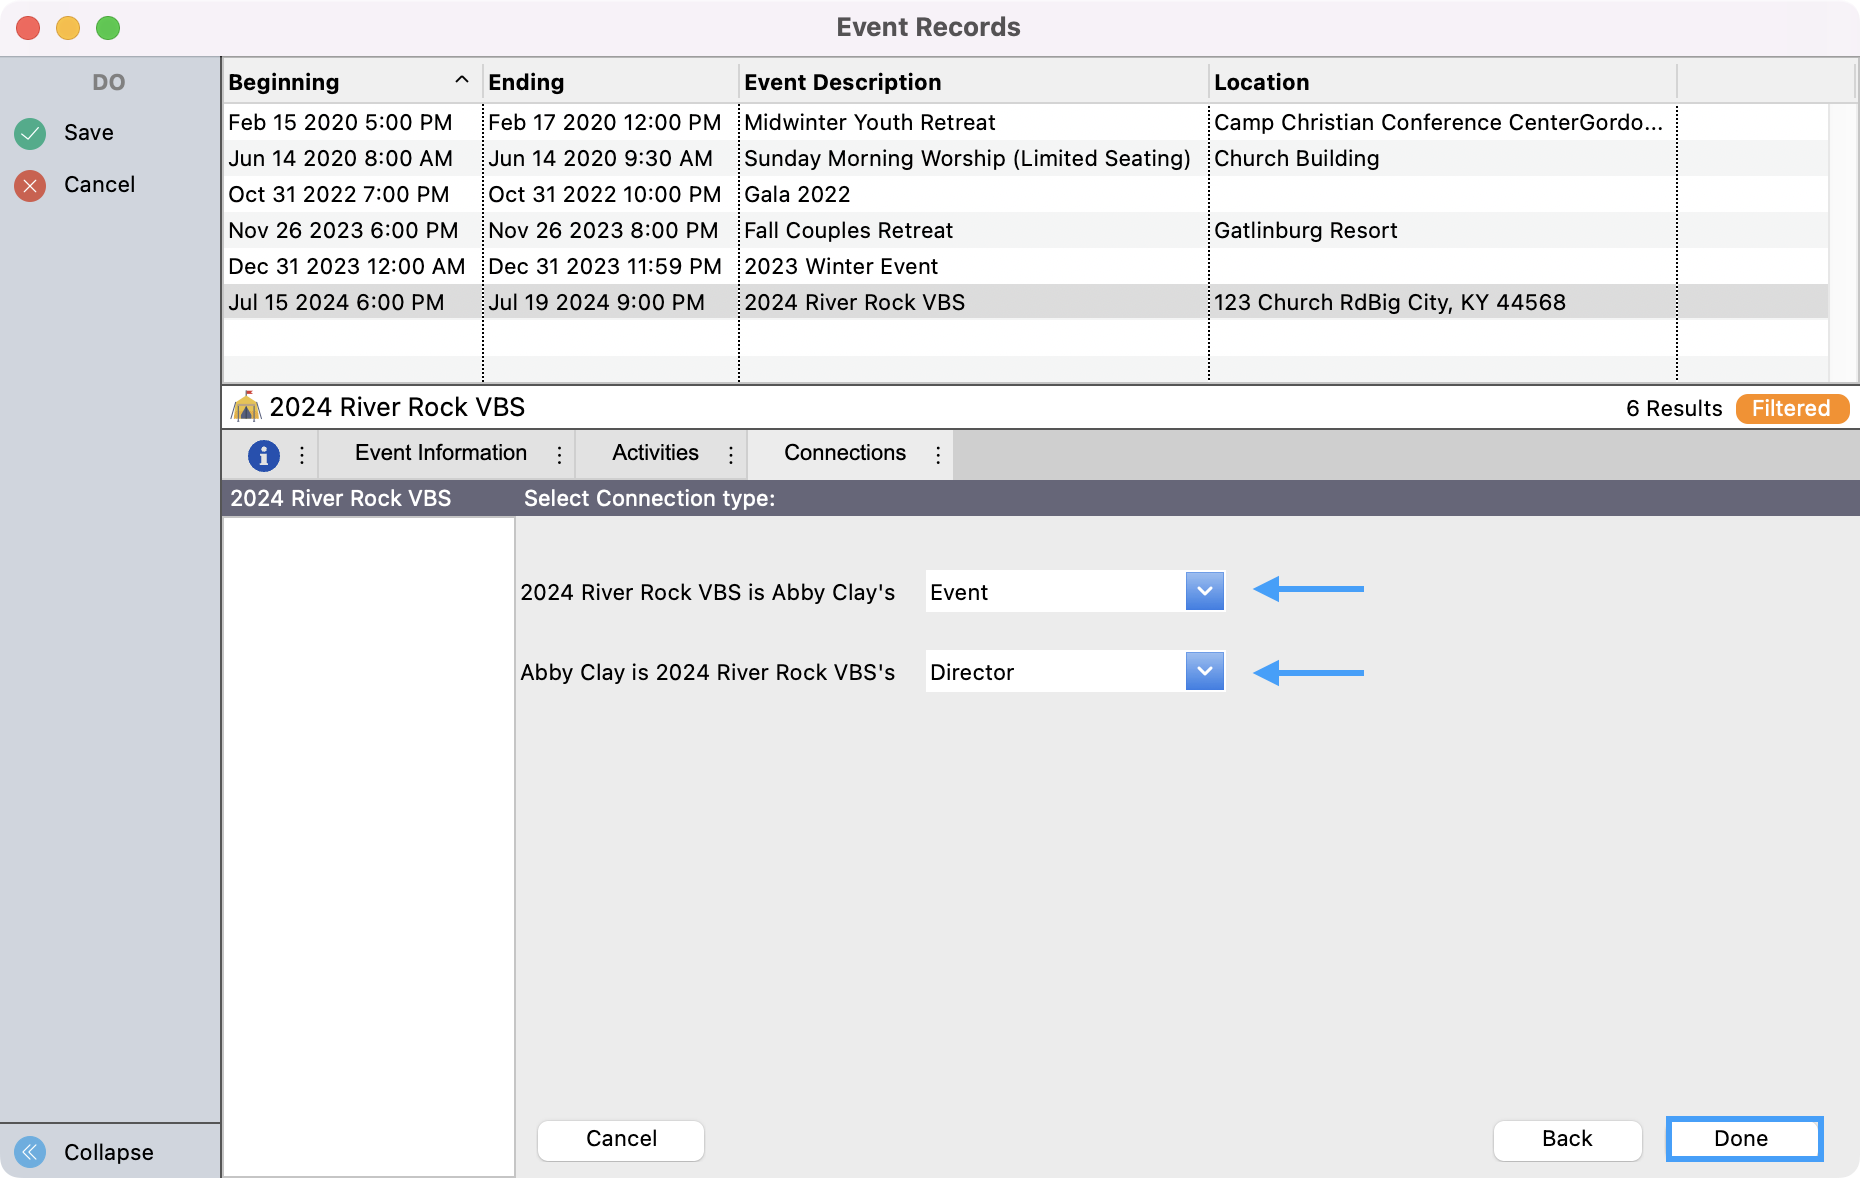
The choices available in the drop-down fields are determined based on your Master Coding System setup.
-
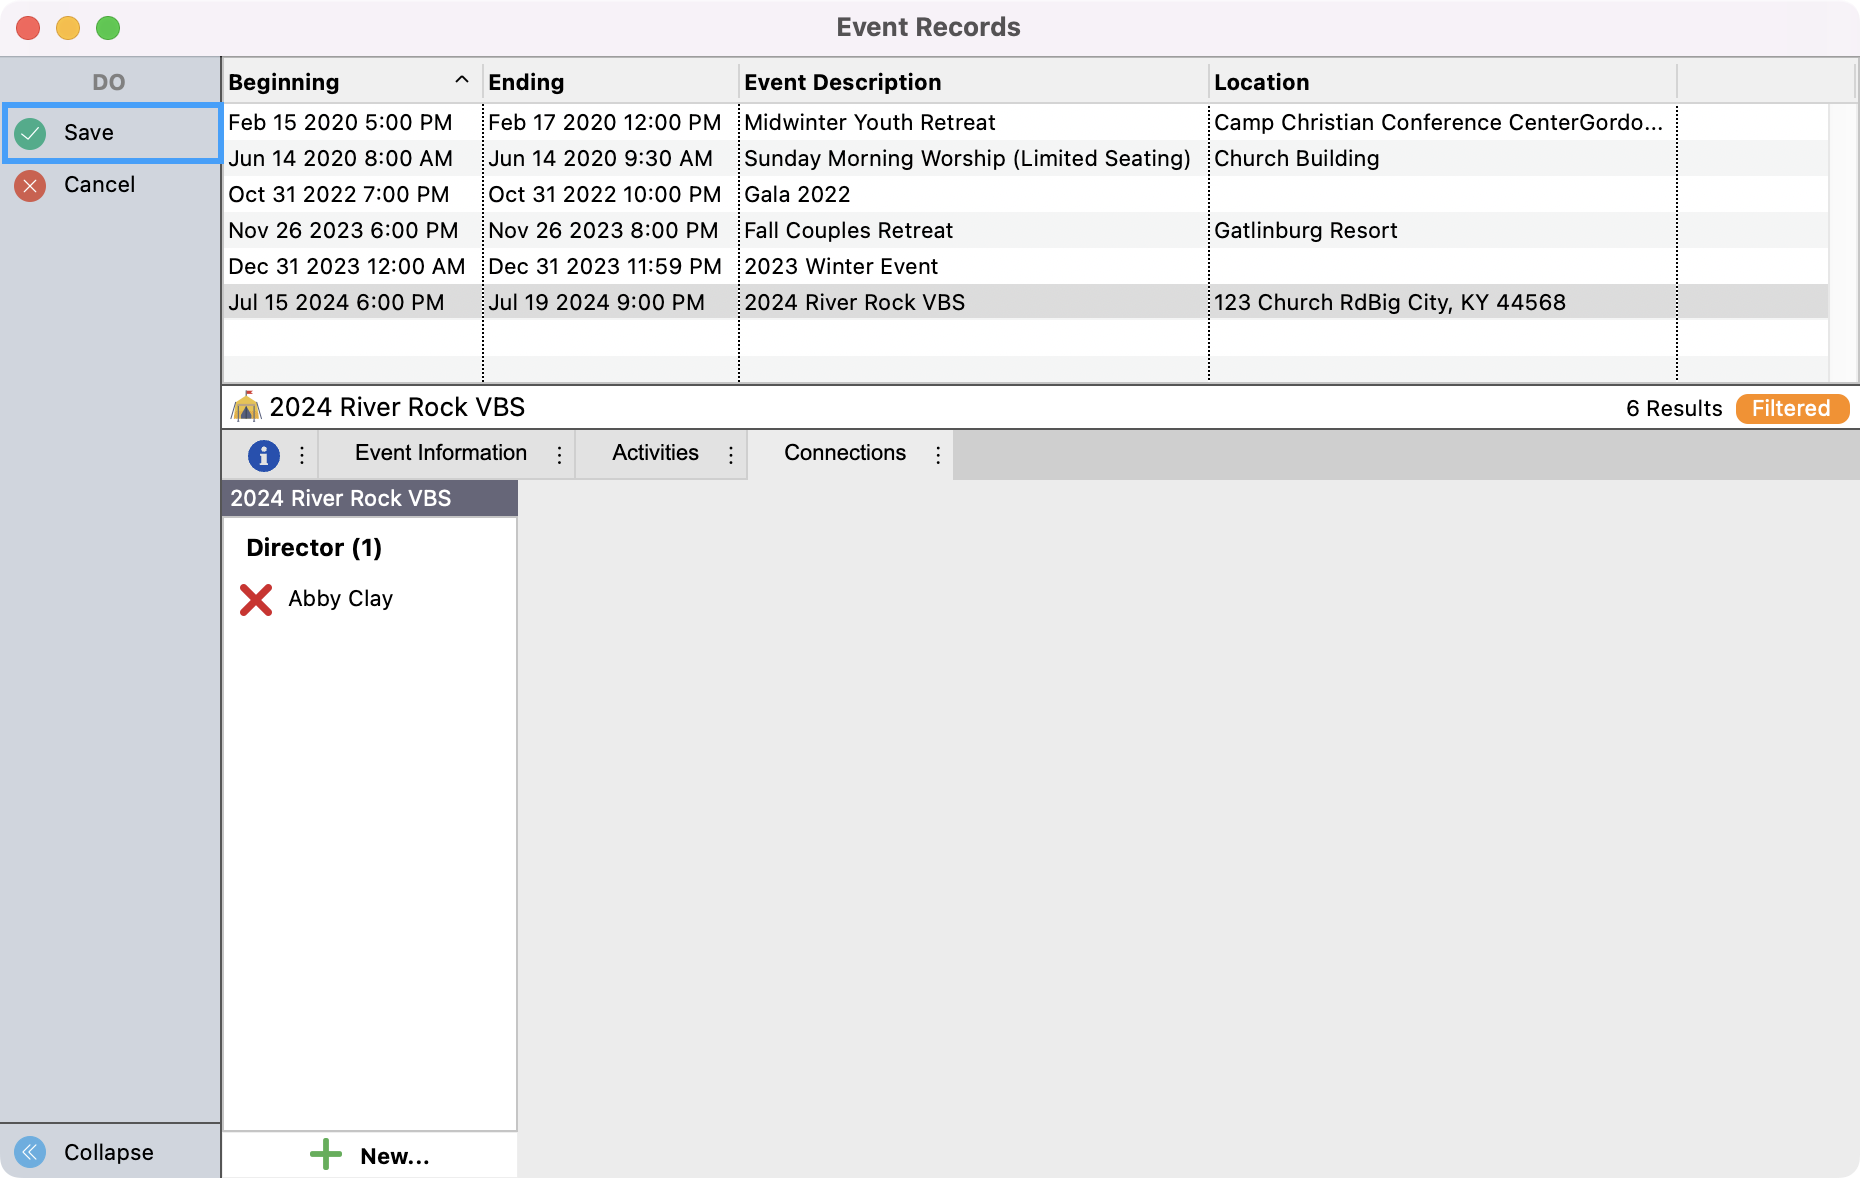
You’ll now see this connection added to the Event record. You can click Save in the upper left-hand corner to save your event.
Related Articles