Accessing Online Giving Statements
There are several ways you can access Online Giving Statements. Use the option that is most convenient for you.
-
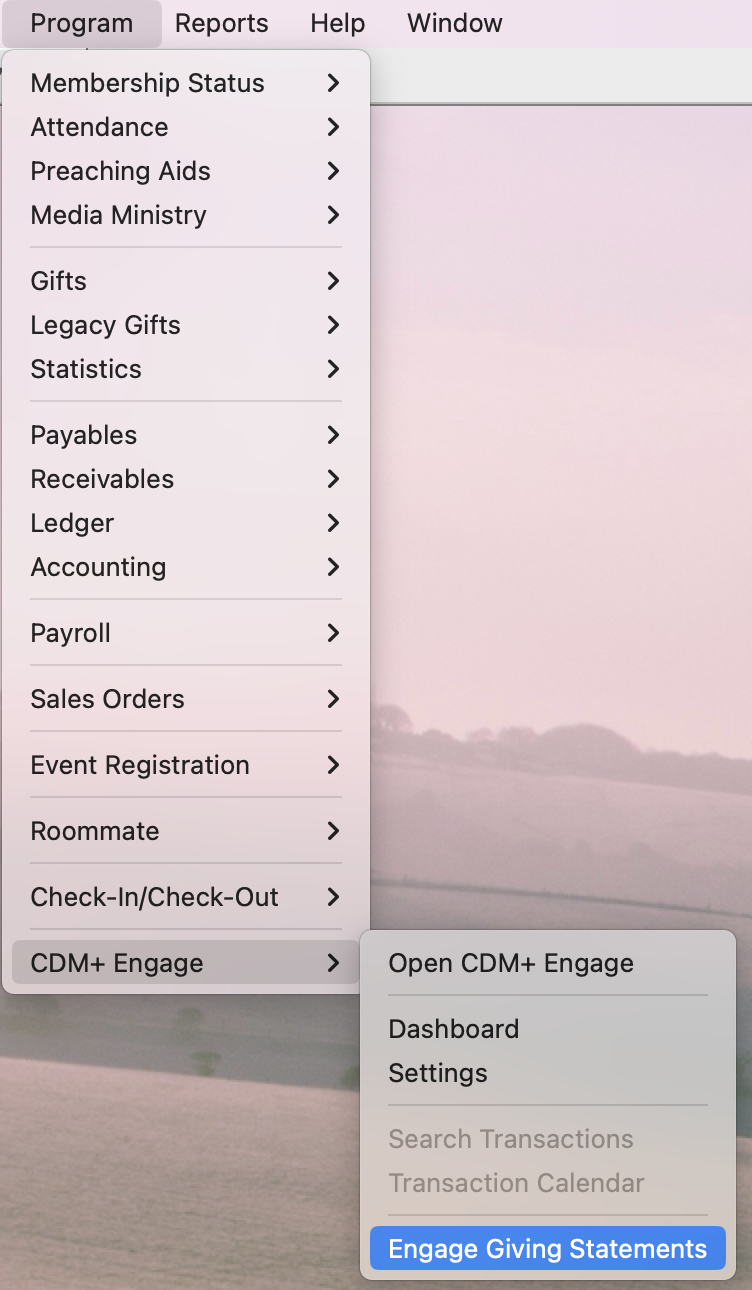
From CDM+ Desktop go to Program → CDM+ Engage → Engage Giving Statements.
-
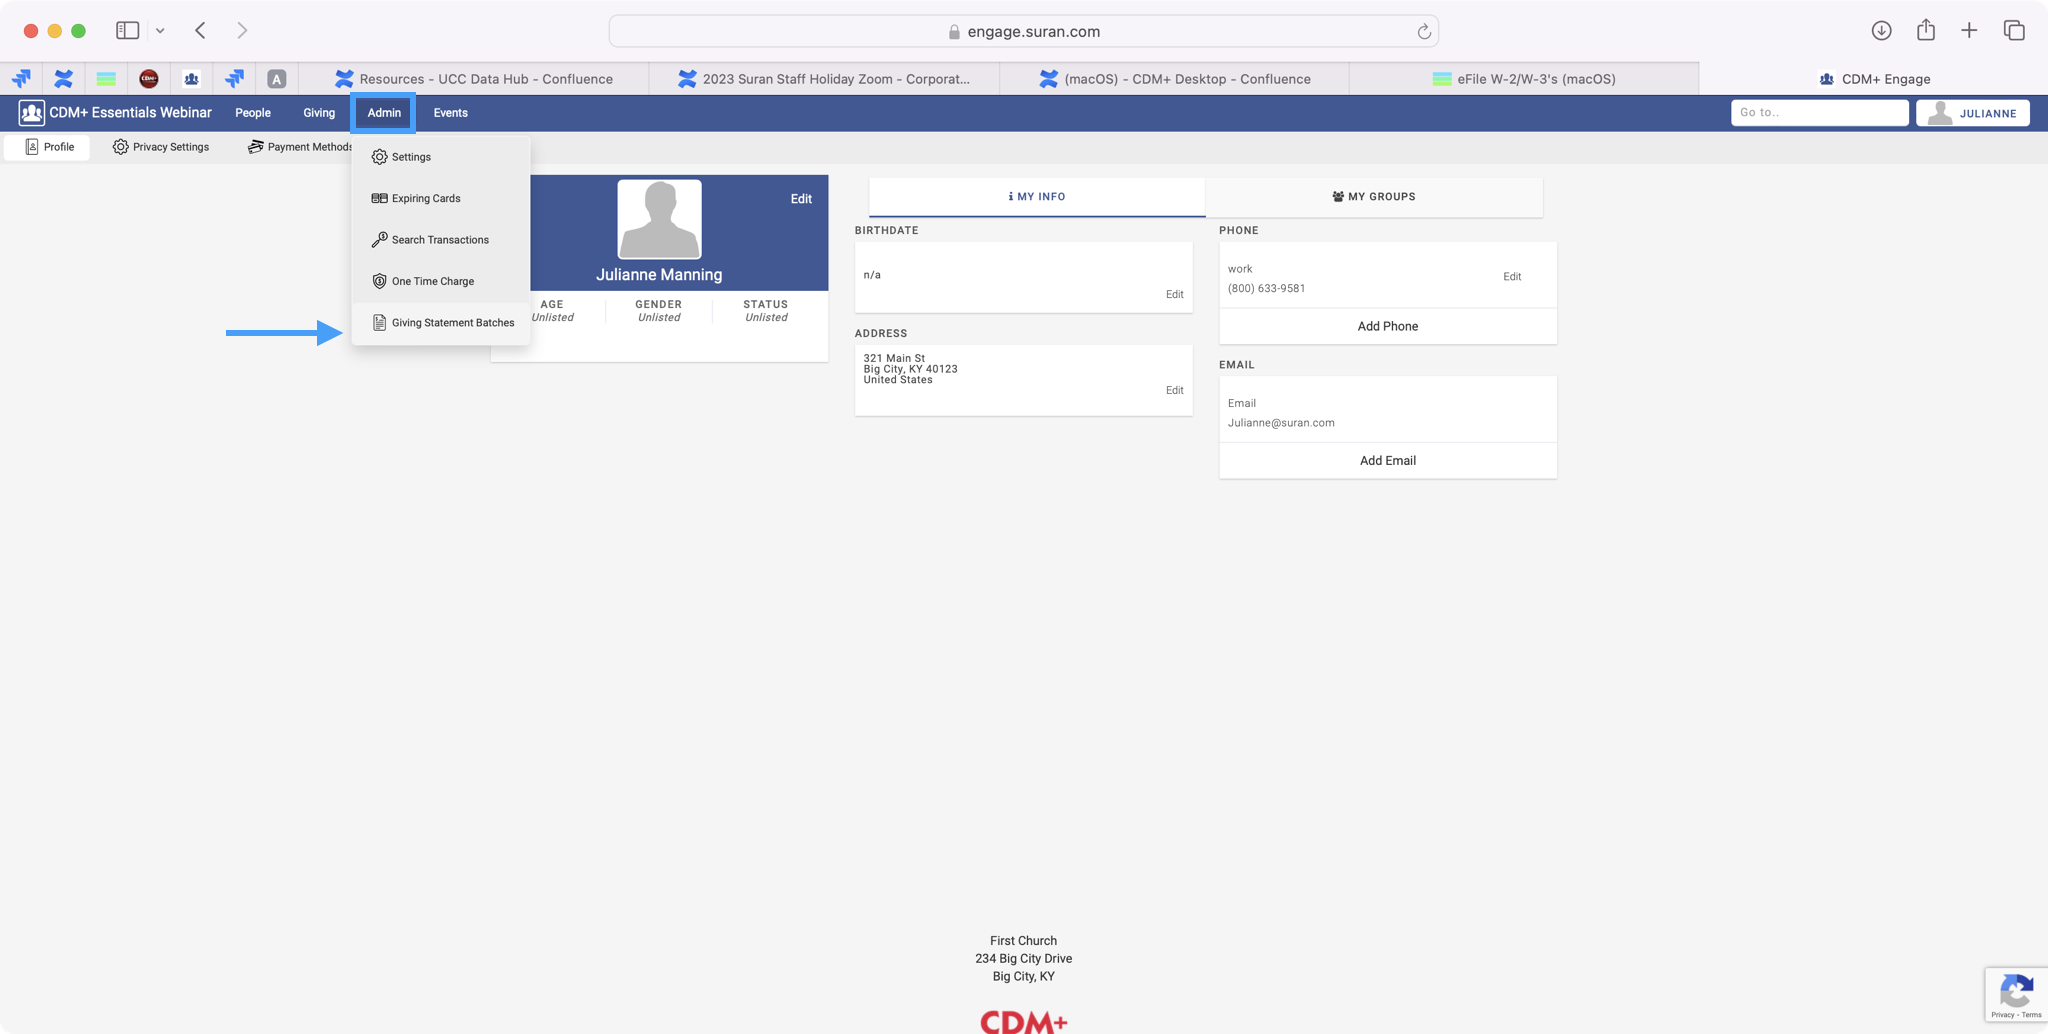
From CDM+ Engage, log into Engage as an administration. Under the navigation menu go to Admin → Giving Statement Batches.
Generating Online Statements
-
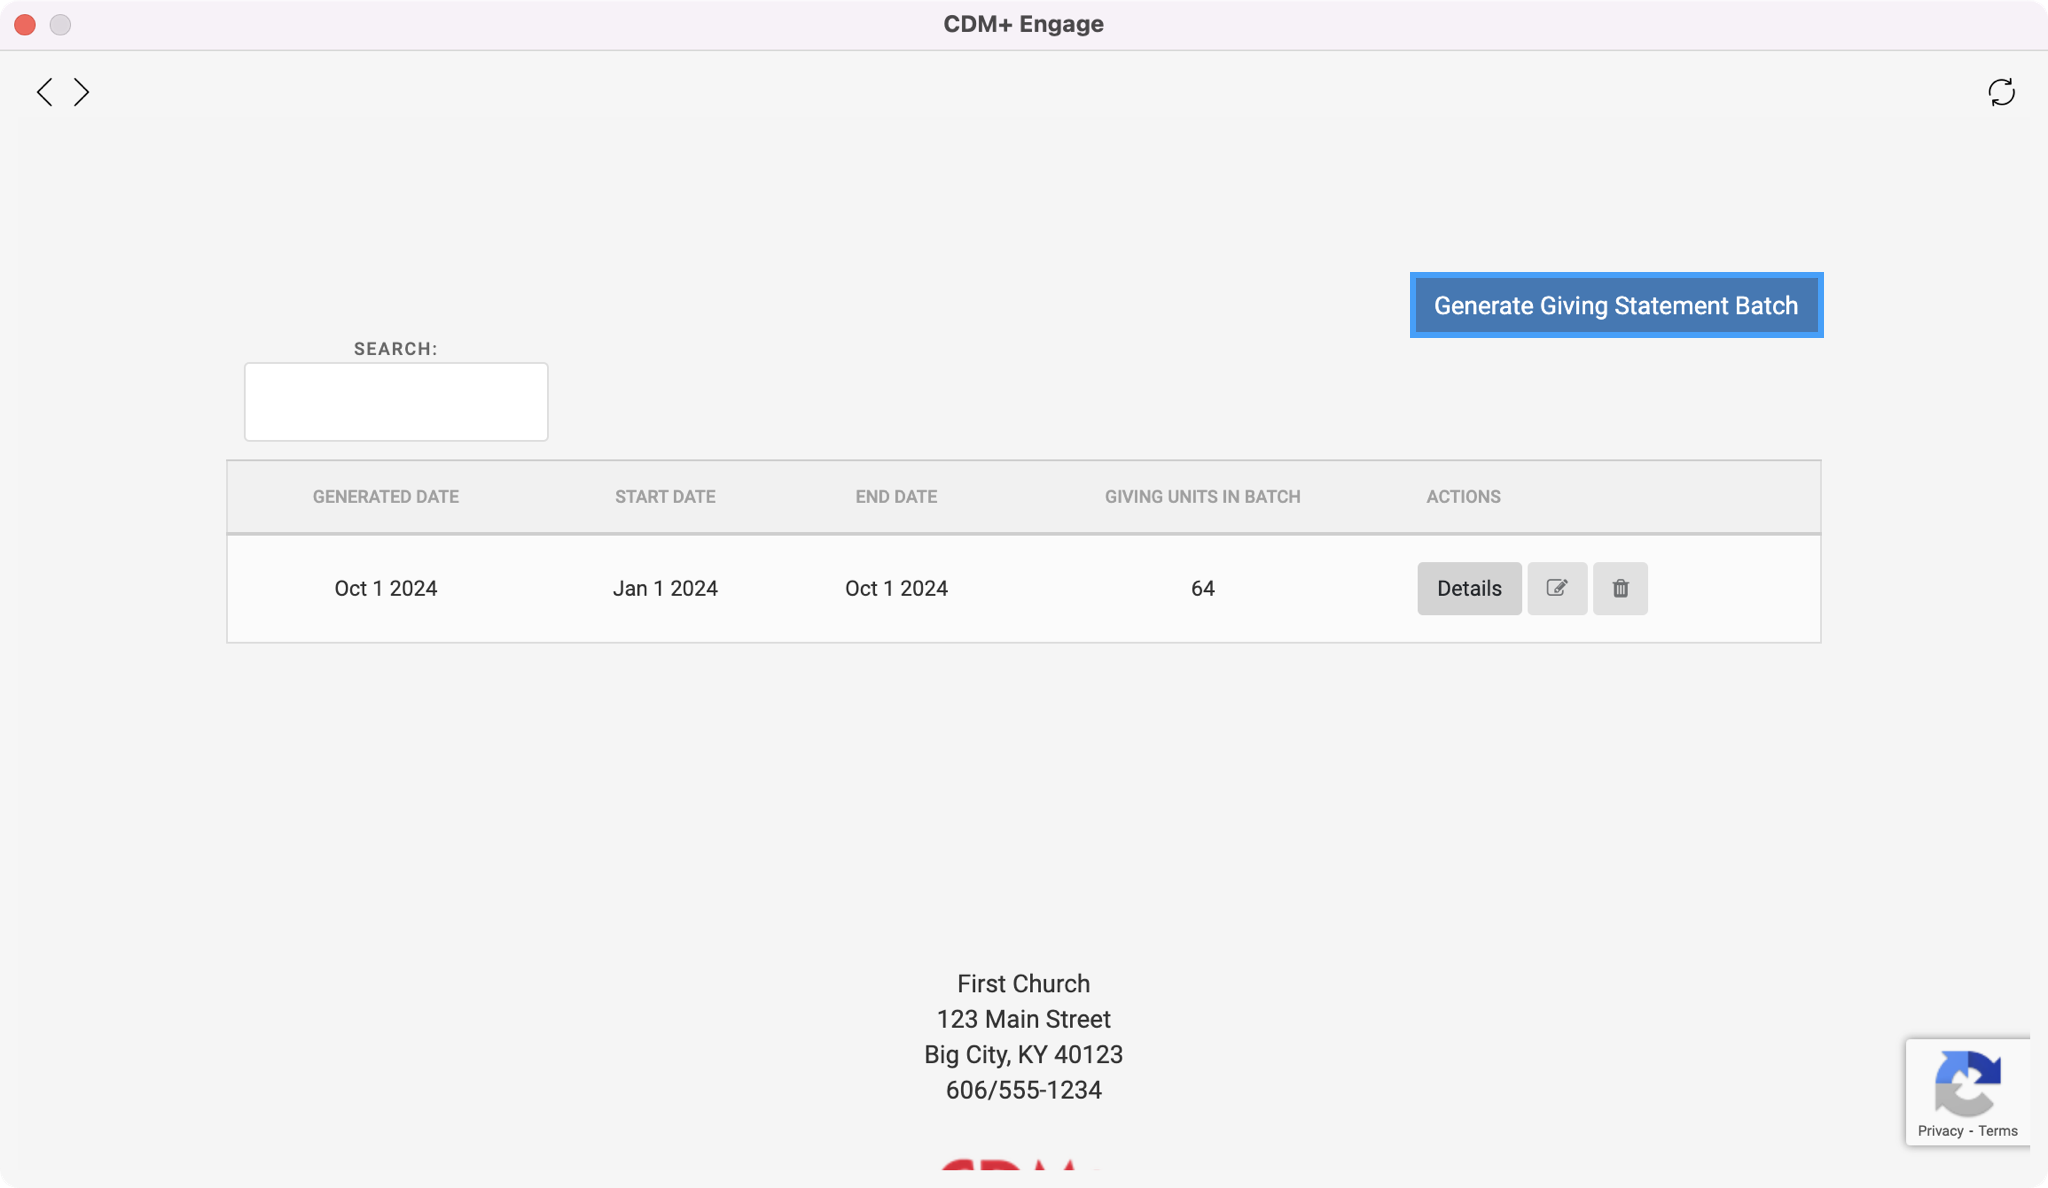
Click Generate Giving Statement Batch button in the upper right of the page.
-
Enter the date range for the Giving Statements. By default it is set to the previous year if you are generating on or before 2/15 of the next year (e.g. the date range will be set to 1/1/22 to 12/31/22 when you access this page on or before 2/15/22). The date range will be based upon Contribution date.

-
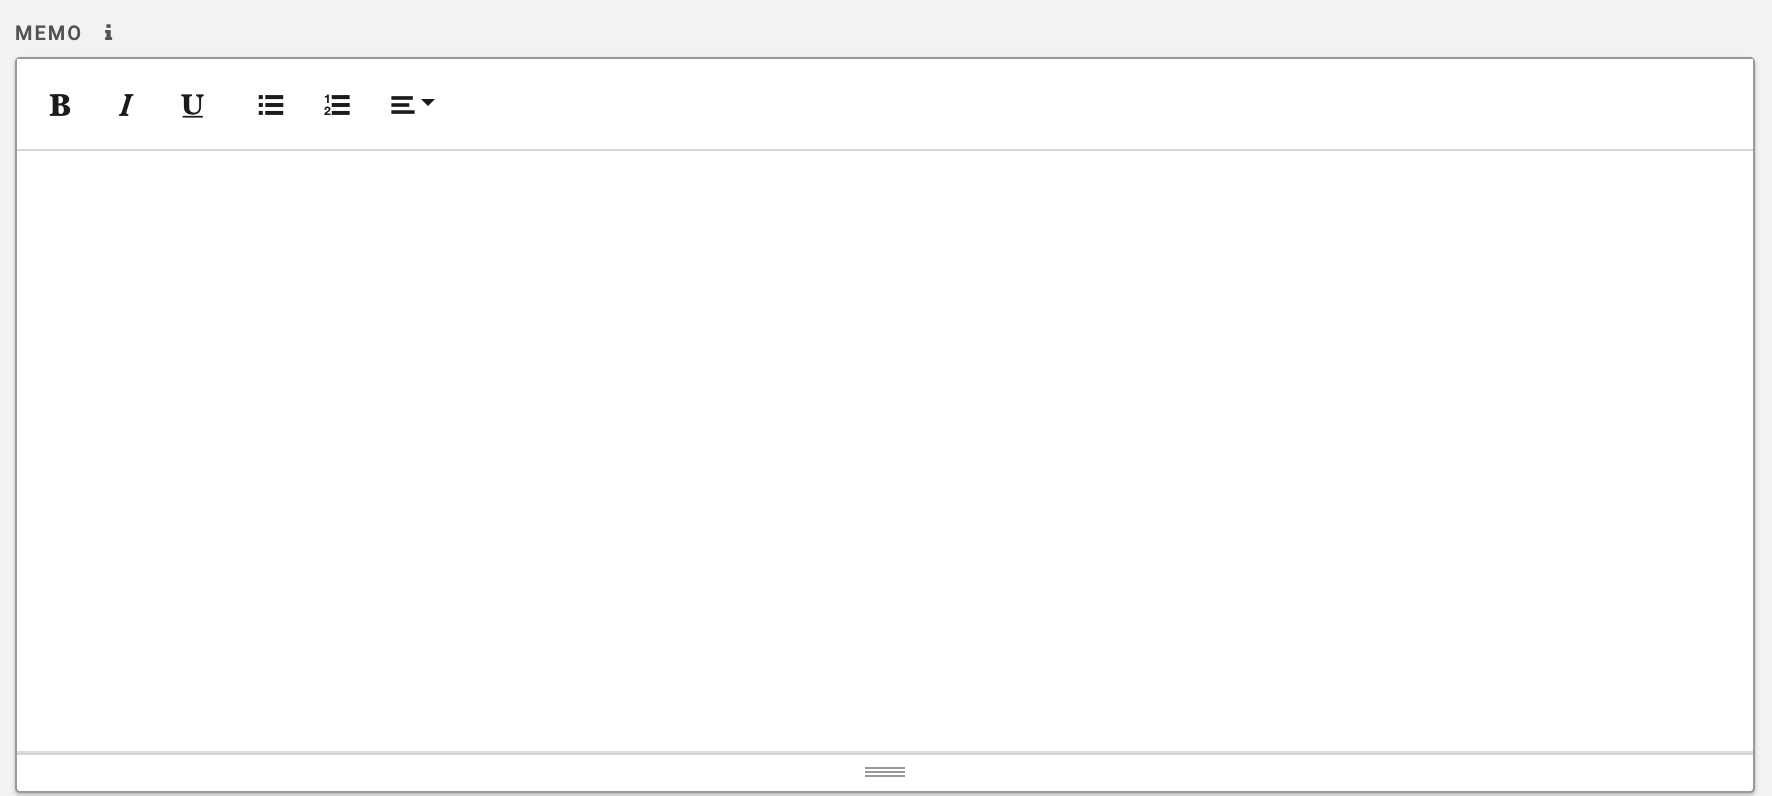
The Memo section is where you can enter a Giver's Message. This is a great place to say thank you to your givers and include any tax deductible text such as, "No goods or services were received in exchange for this contribution."
-
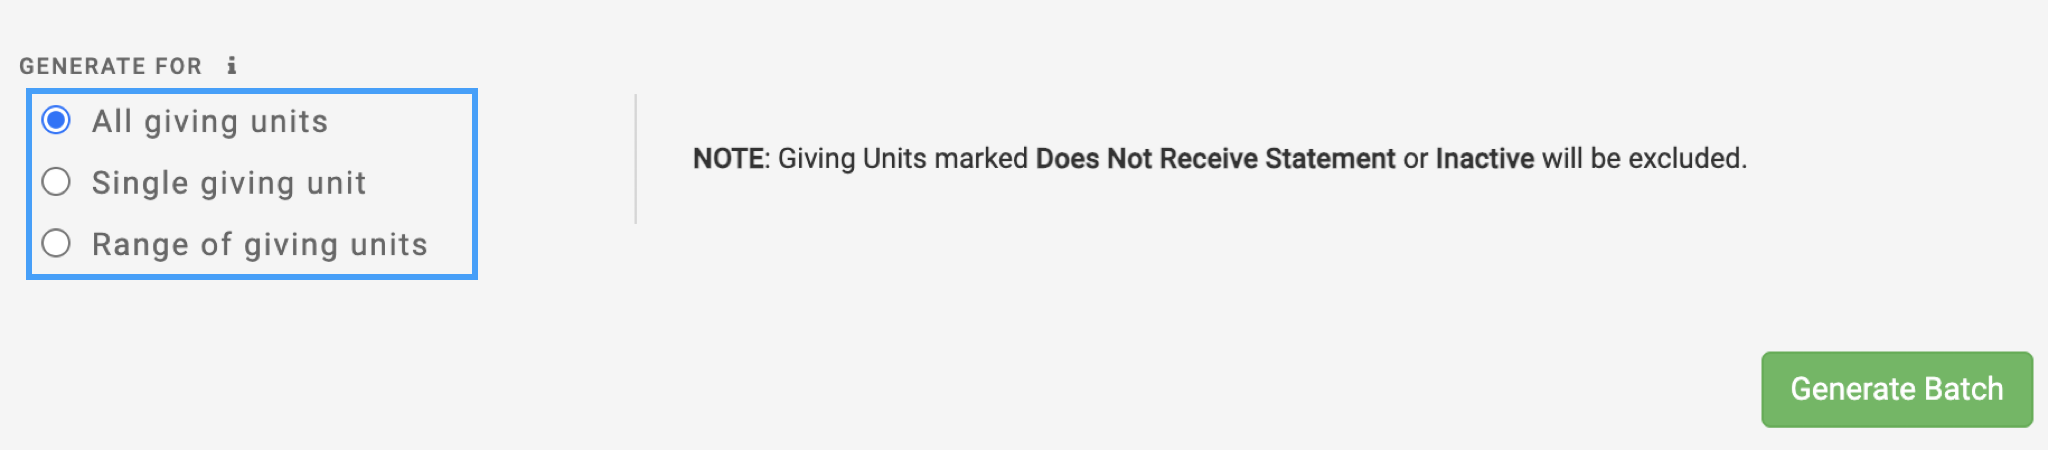
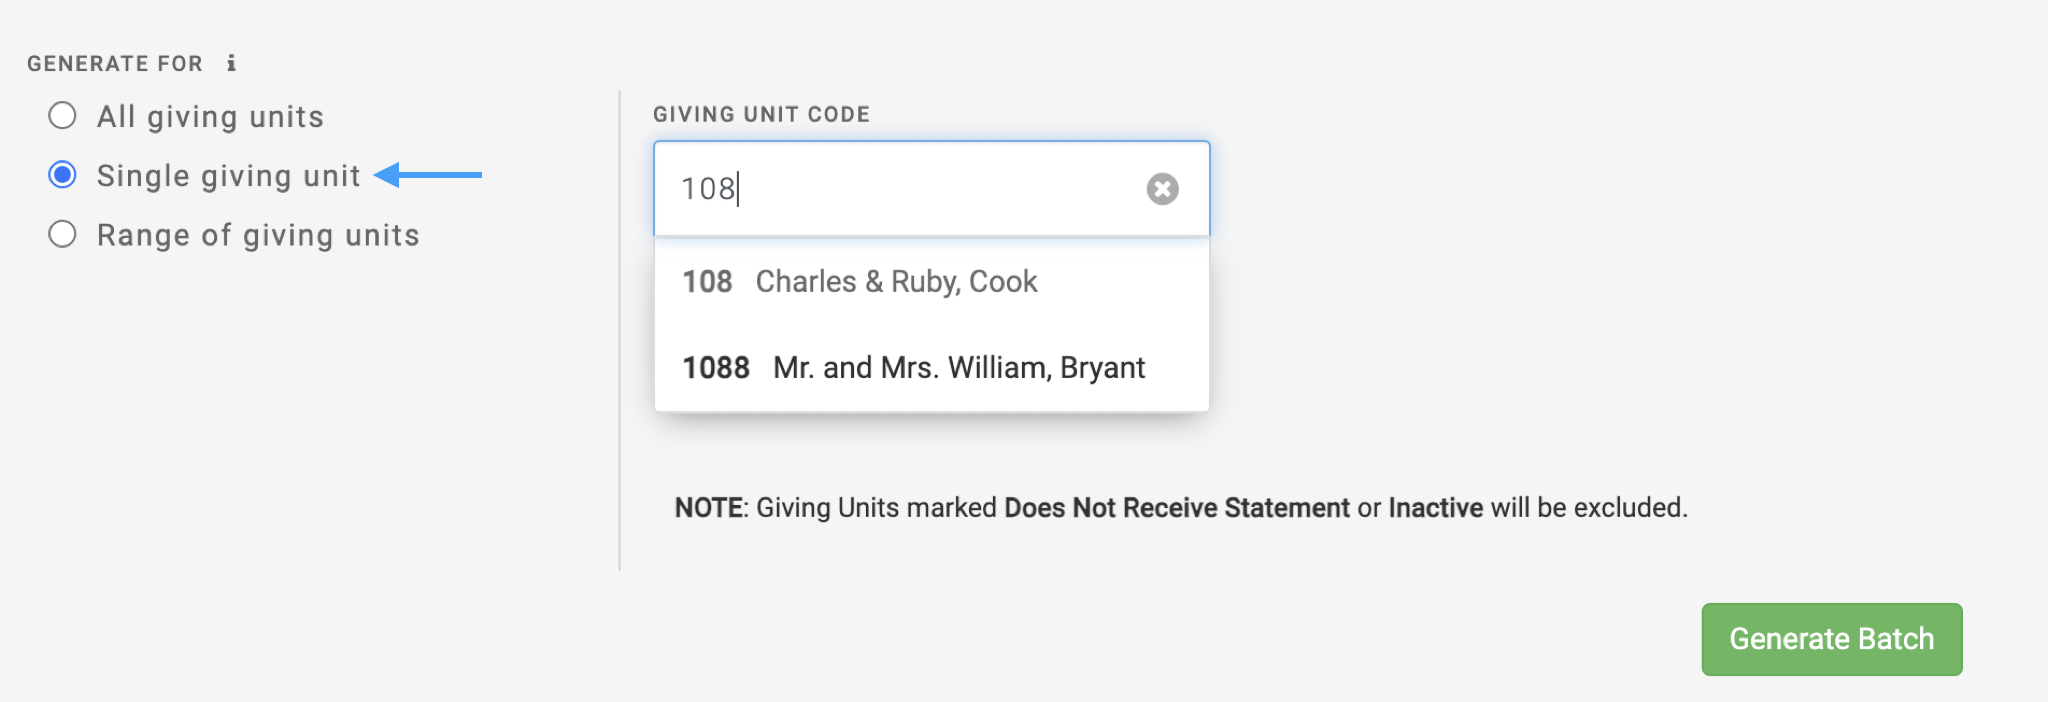
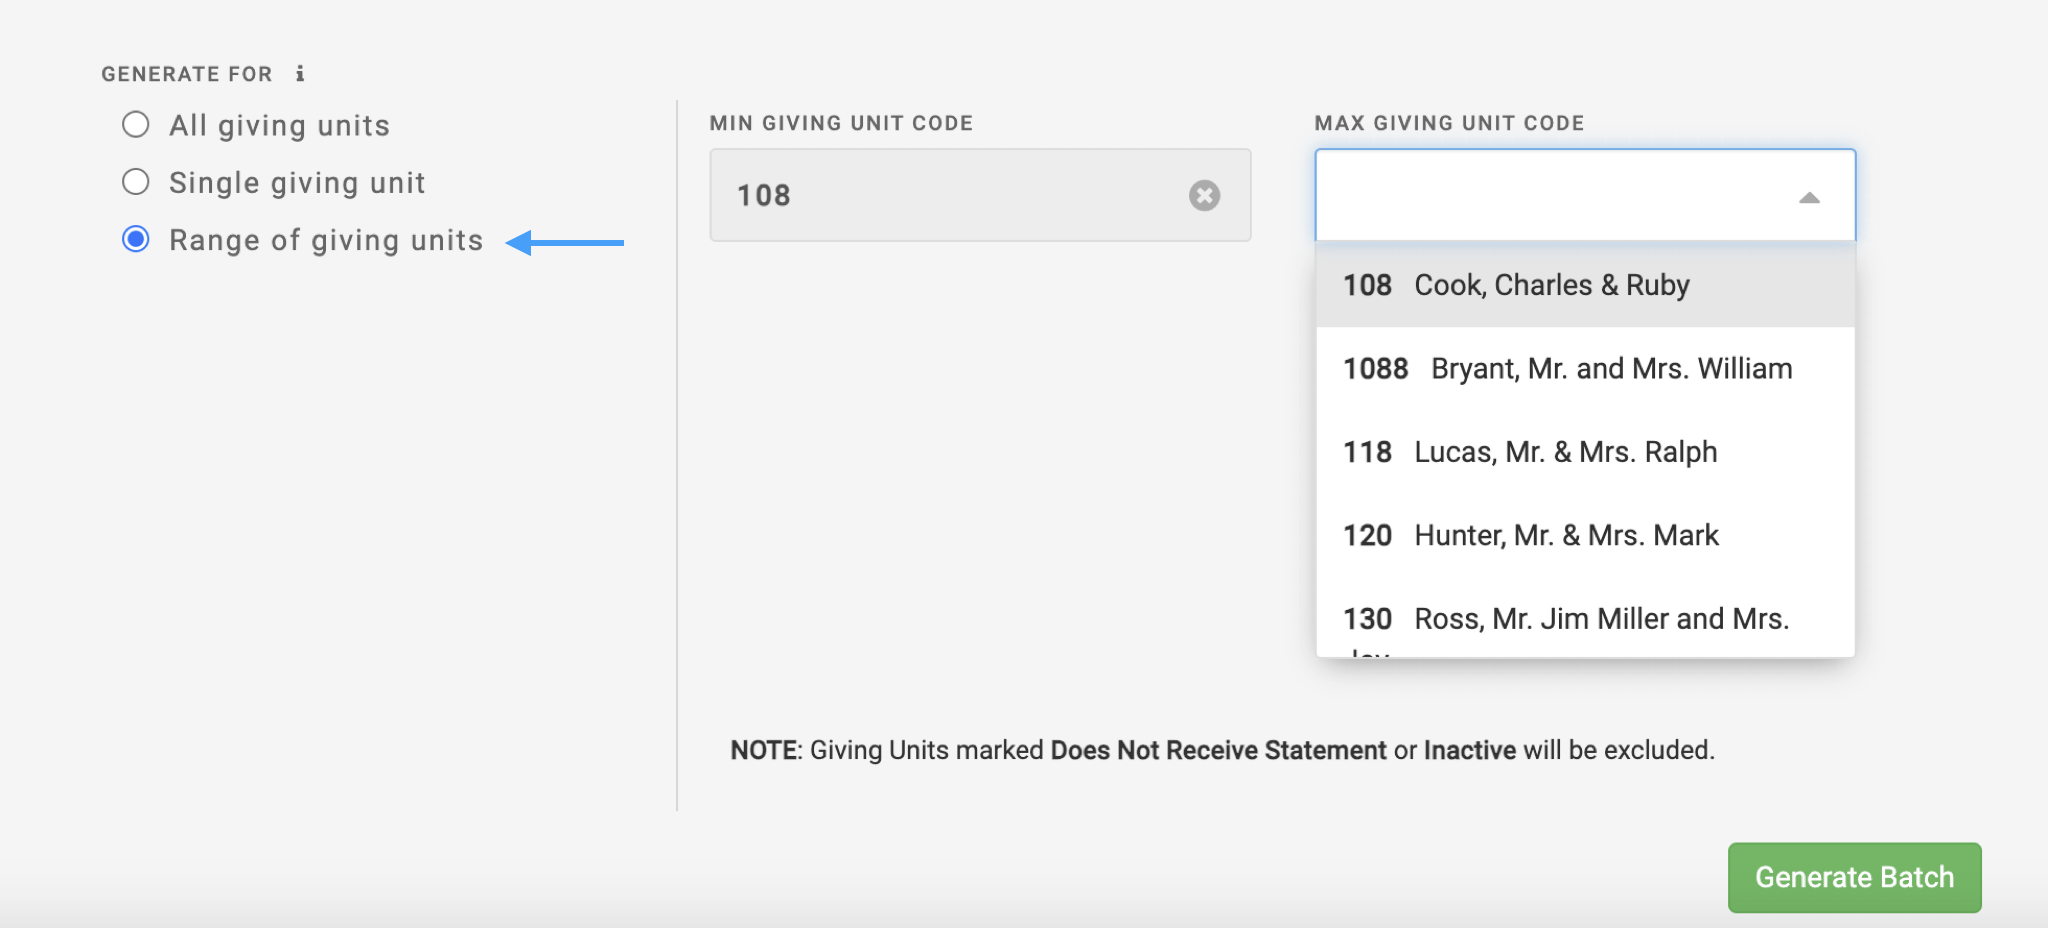
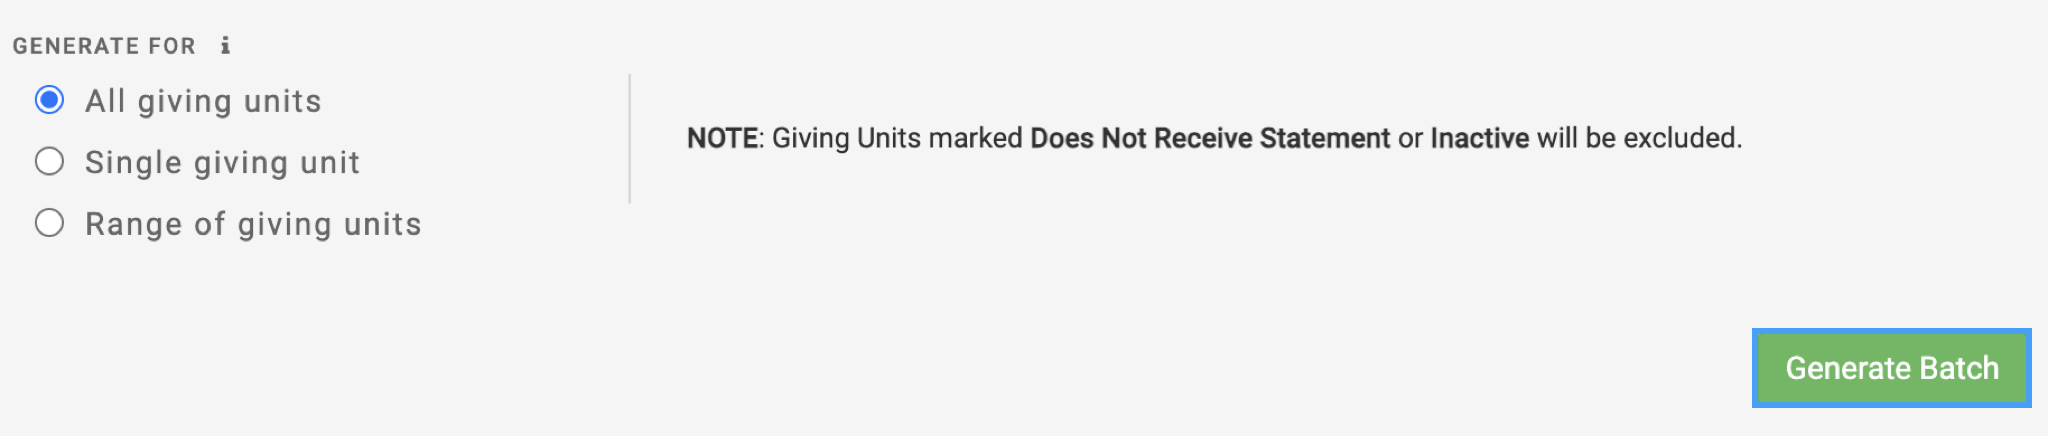
Then, use the radio buttons to determine if you want to generate a batch for All giving units, a Single giving unit, or a Range of giving units. When choosing Single or a Range of giving units you can use the drop-down fields to select your givers or type in the giver's name or giving unit code to find those givers.
-
When ready, click Generate Batch.
Publishing Your Online Statements
-
When you publish a statement it means that it is now visible to your giver when they login to their Engage account.
-
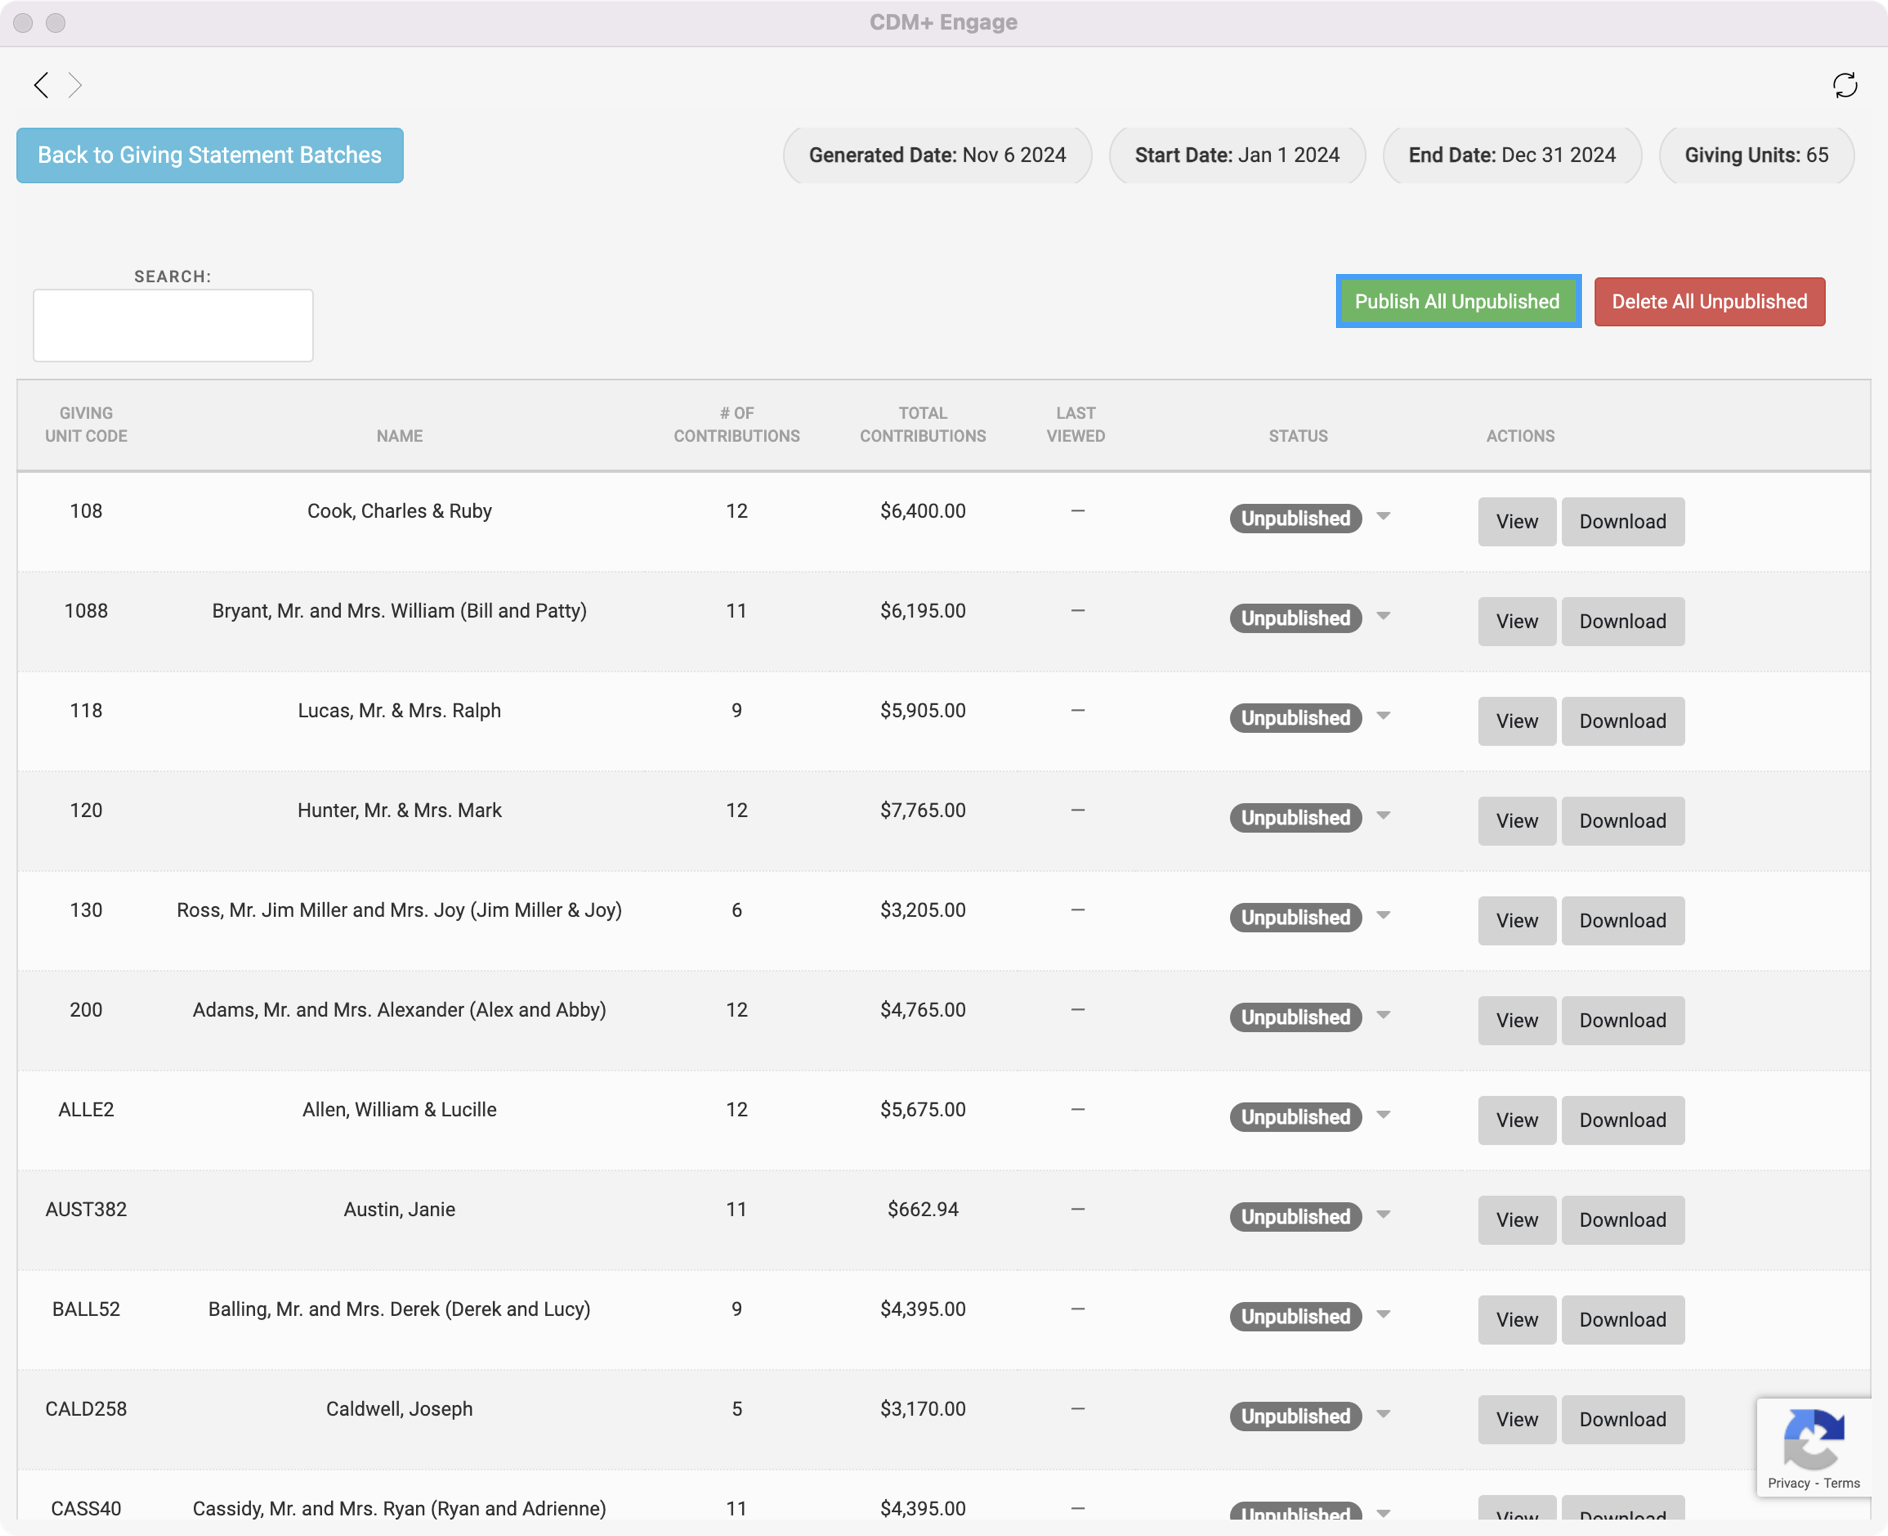
To publish the entire batch of statements, from the Batch Details page, click on the green Publish All Unpublished button at the upper right-hand corner of the page.
-
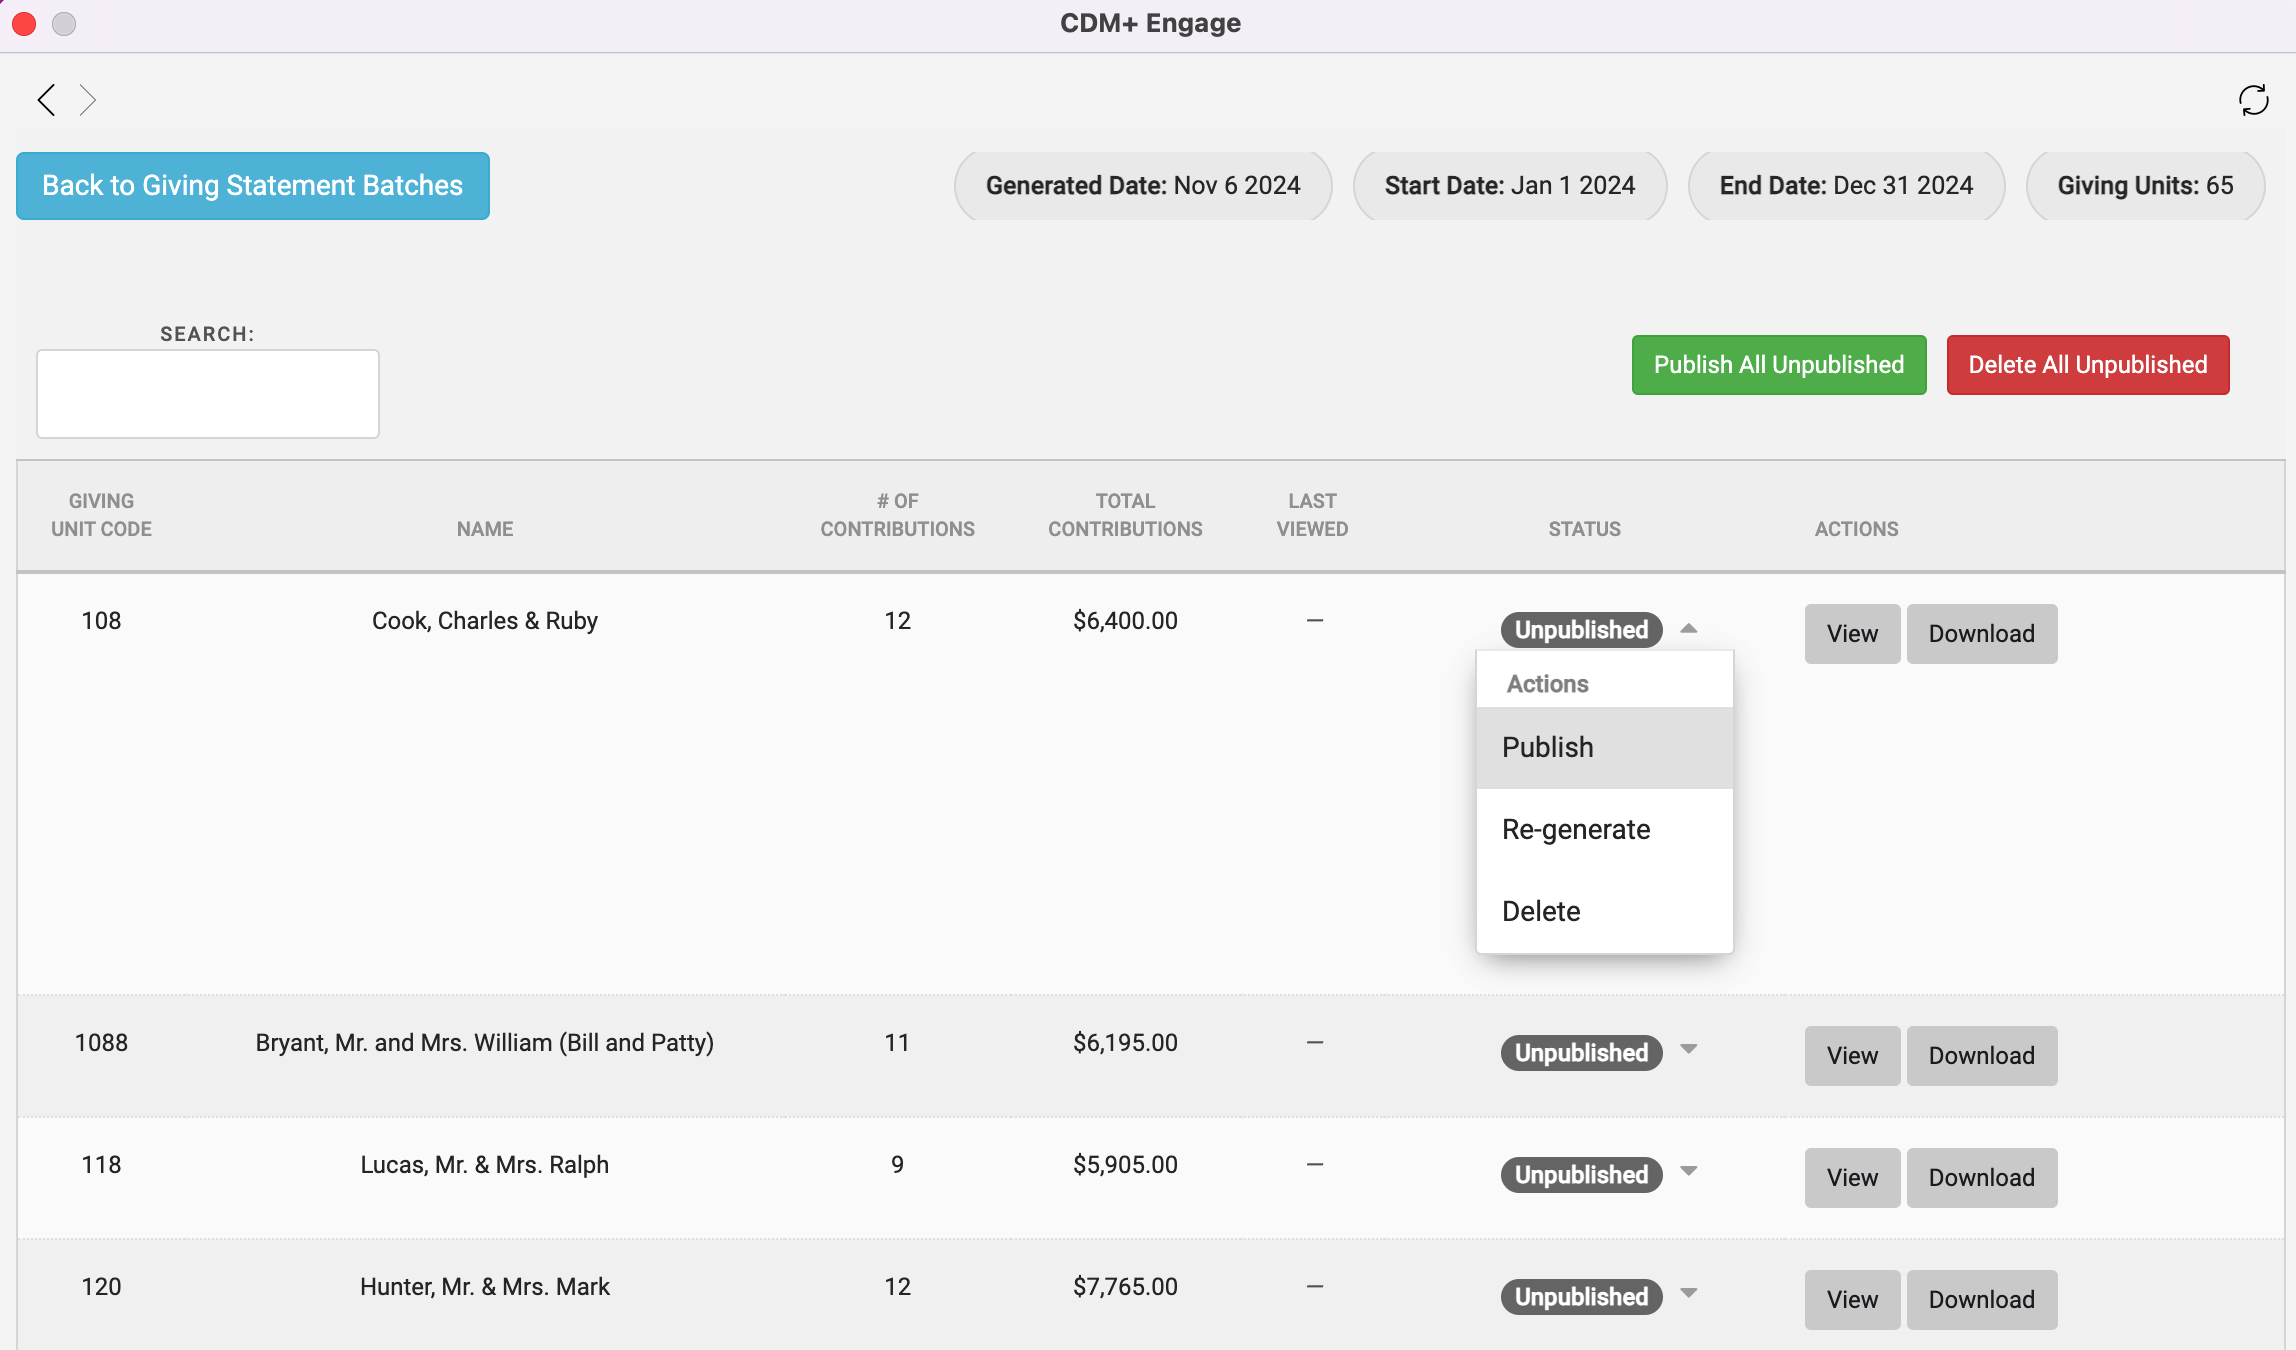
If you only want to publish a single statement for a specific giving unit, click the drop-down next to the status in the Status column and choose Publish. This will just publish the statement for the selected giving unit.
Email Published Statements
After you publish your statements, you can send your givers an email letting them know that they can view their statement through their Engage account.
-
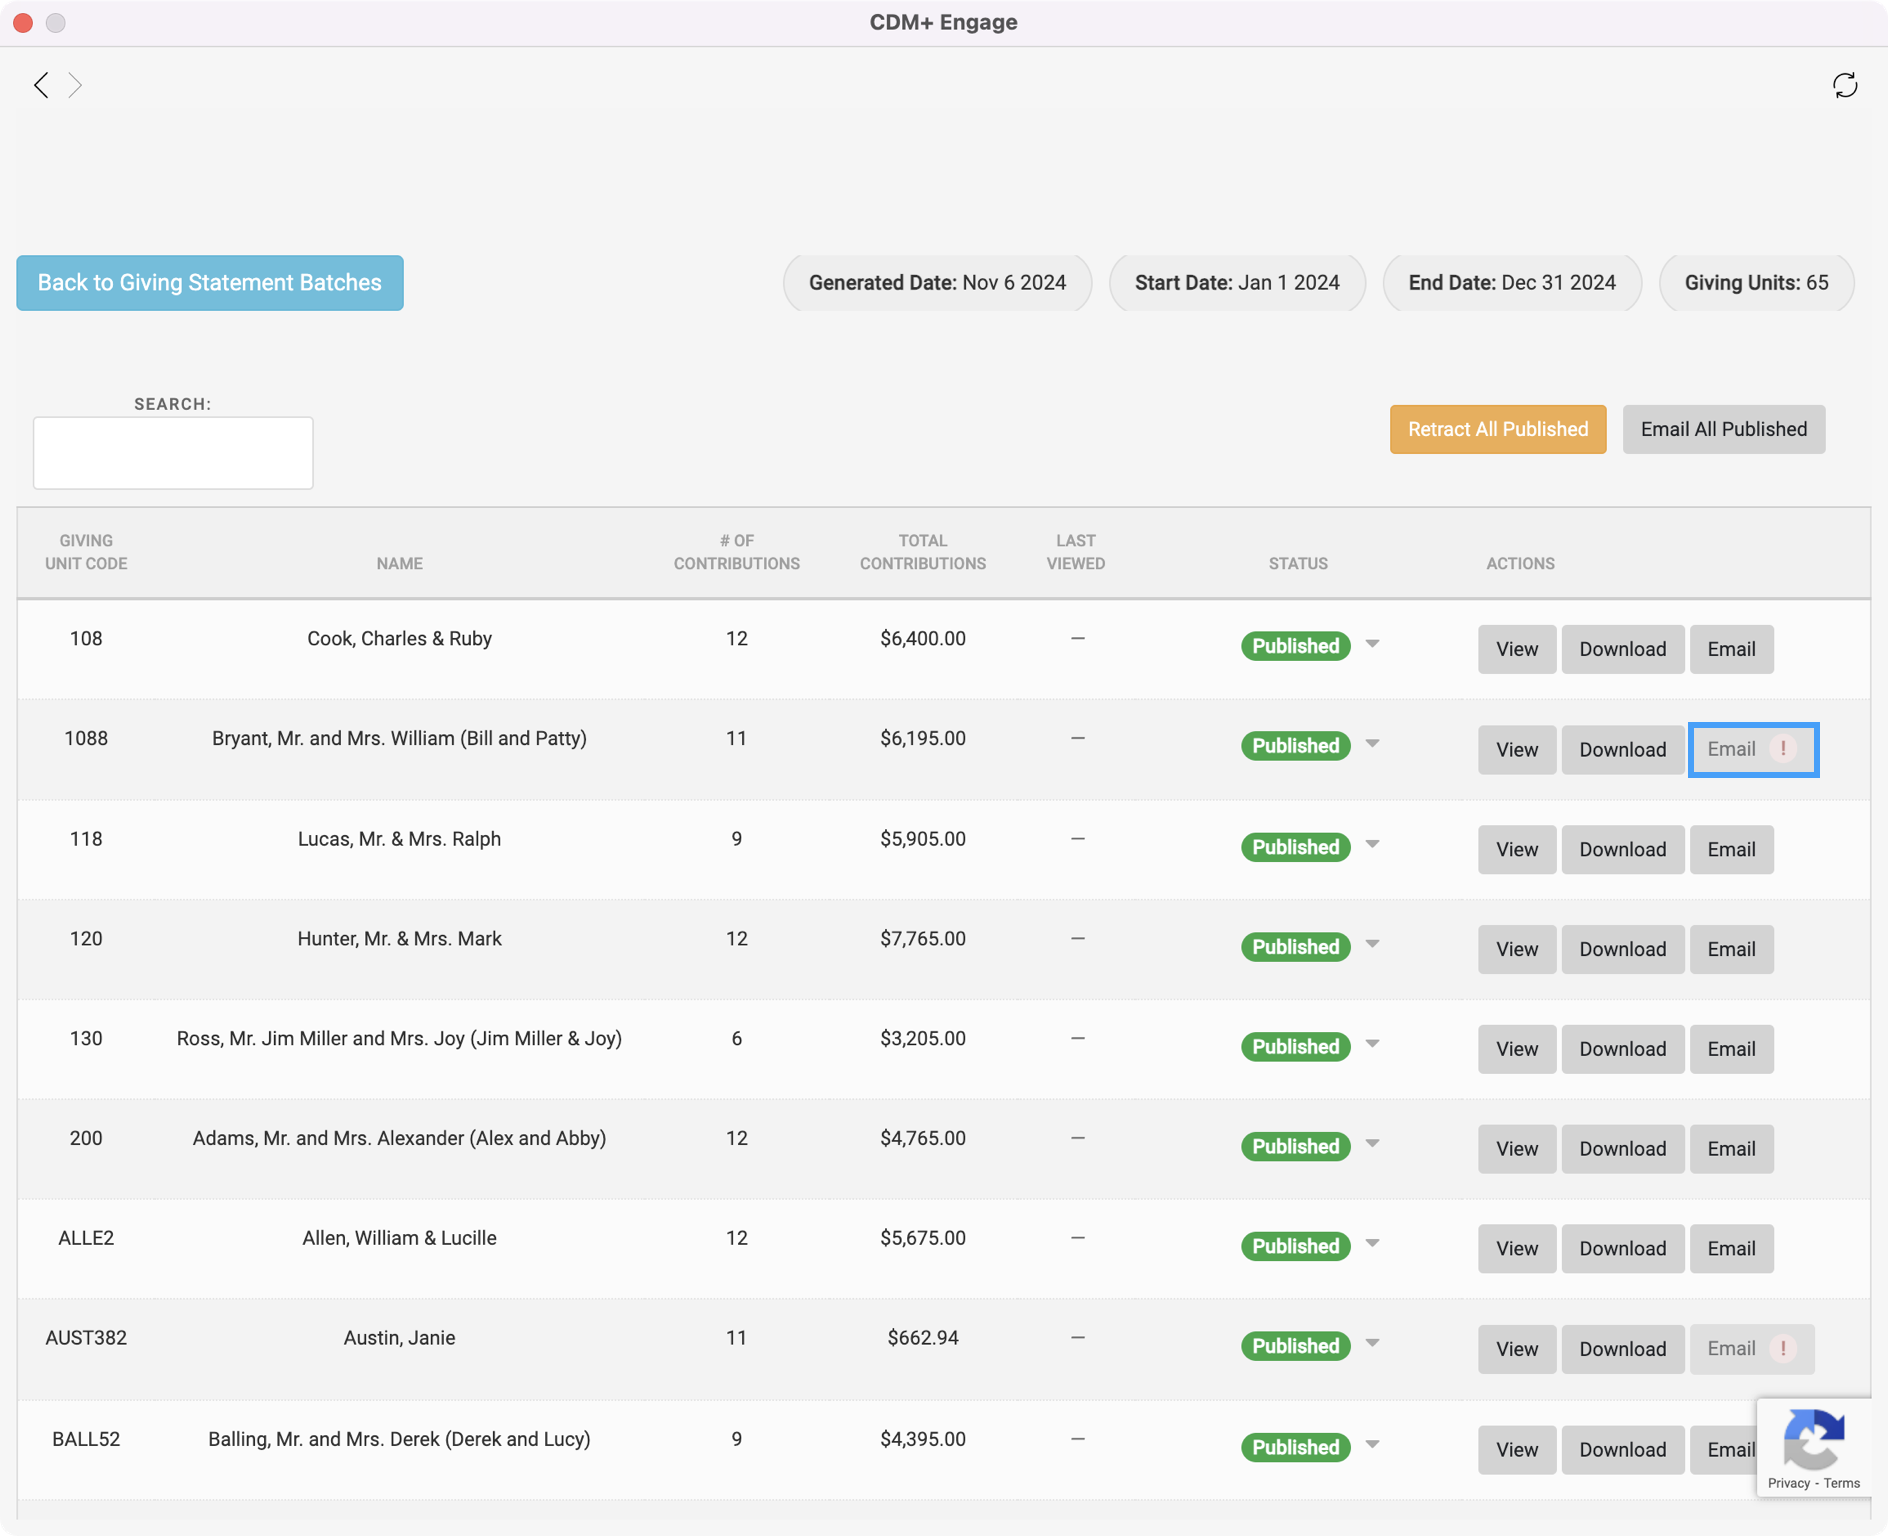
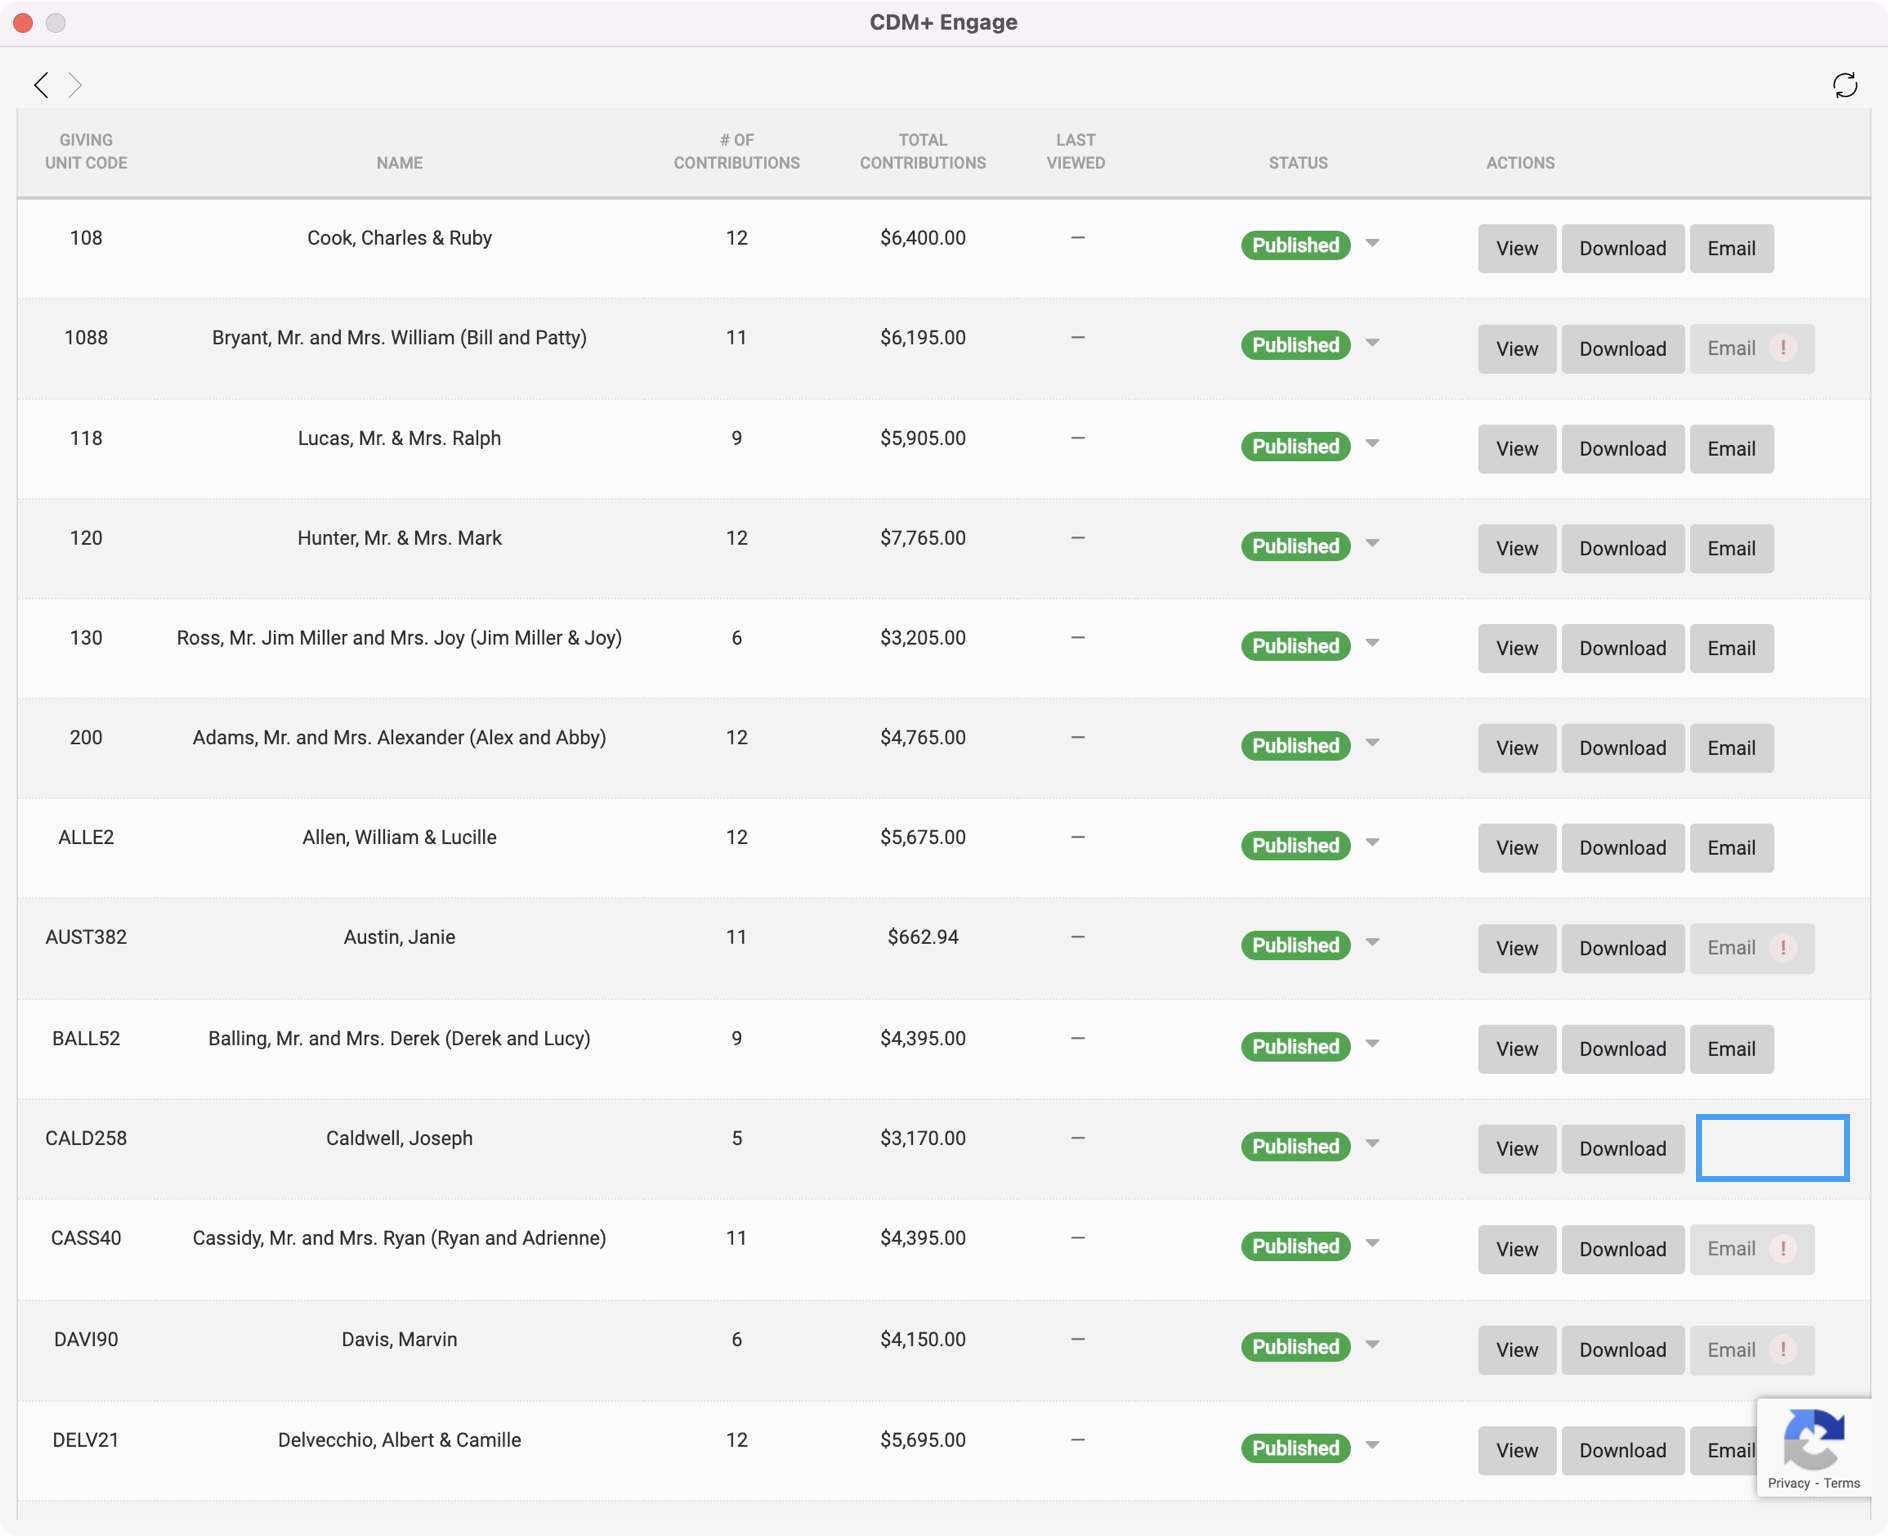
Before emailing your statements, check the Batch Details Page to make sure there are no errors. If you see a red exclamation mark next to a giver's name, that means that the Email Statement box is not checked on their Giving Unit record. You will want to make sure to check this box on their record before continuing.
-
You will also want to scan through your list to make sure you see the Email button next to the giver's name. If you do not see the Email button, it means that the giver does not have an email attached to their Giving Unit record. You will want to go to their Individual record to add their email associated with their Engage account.
-
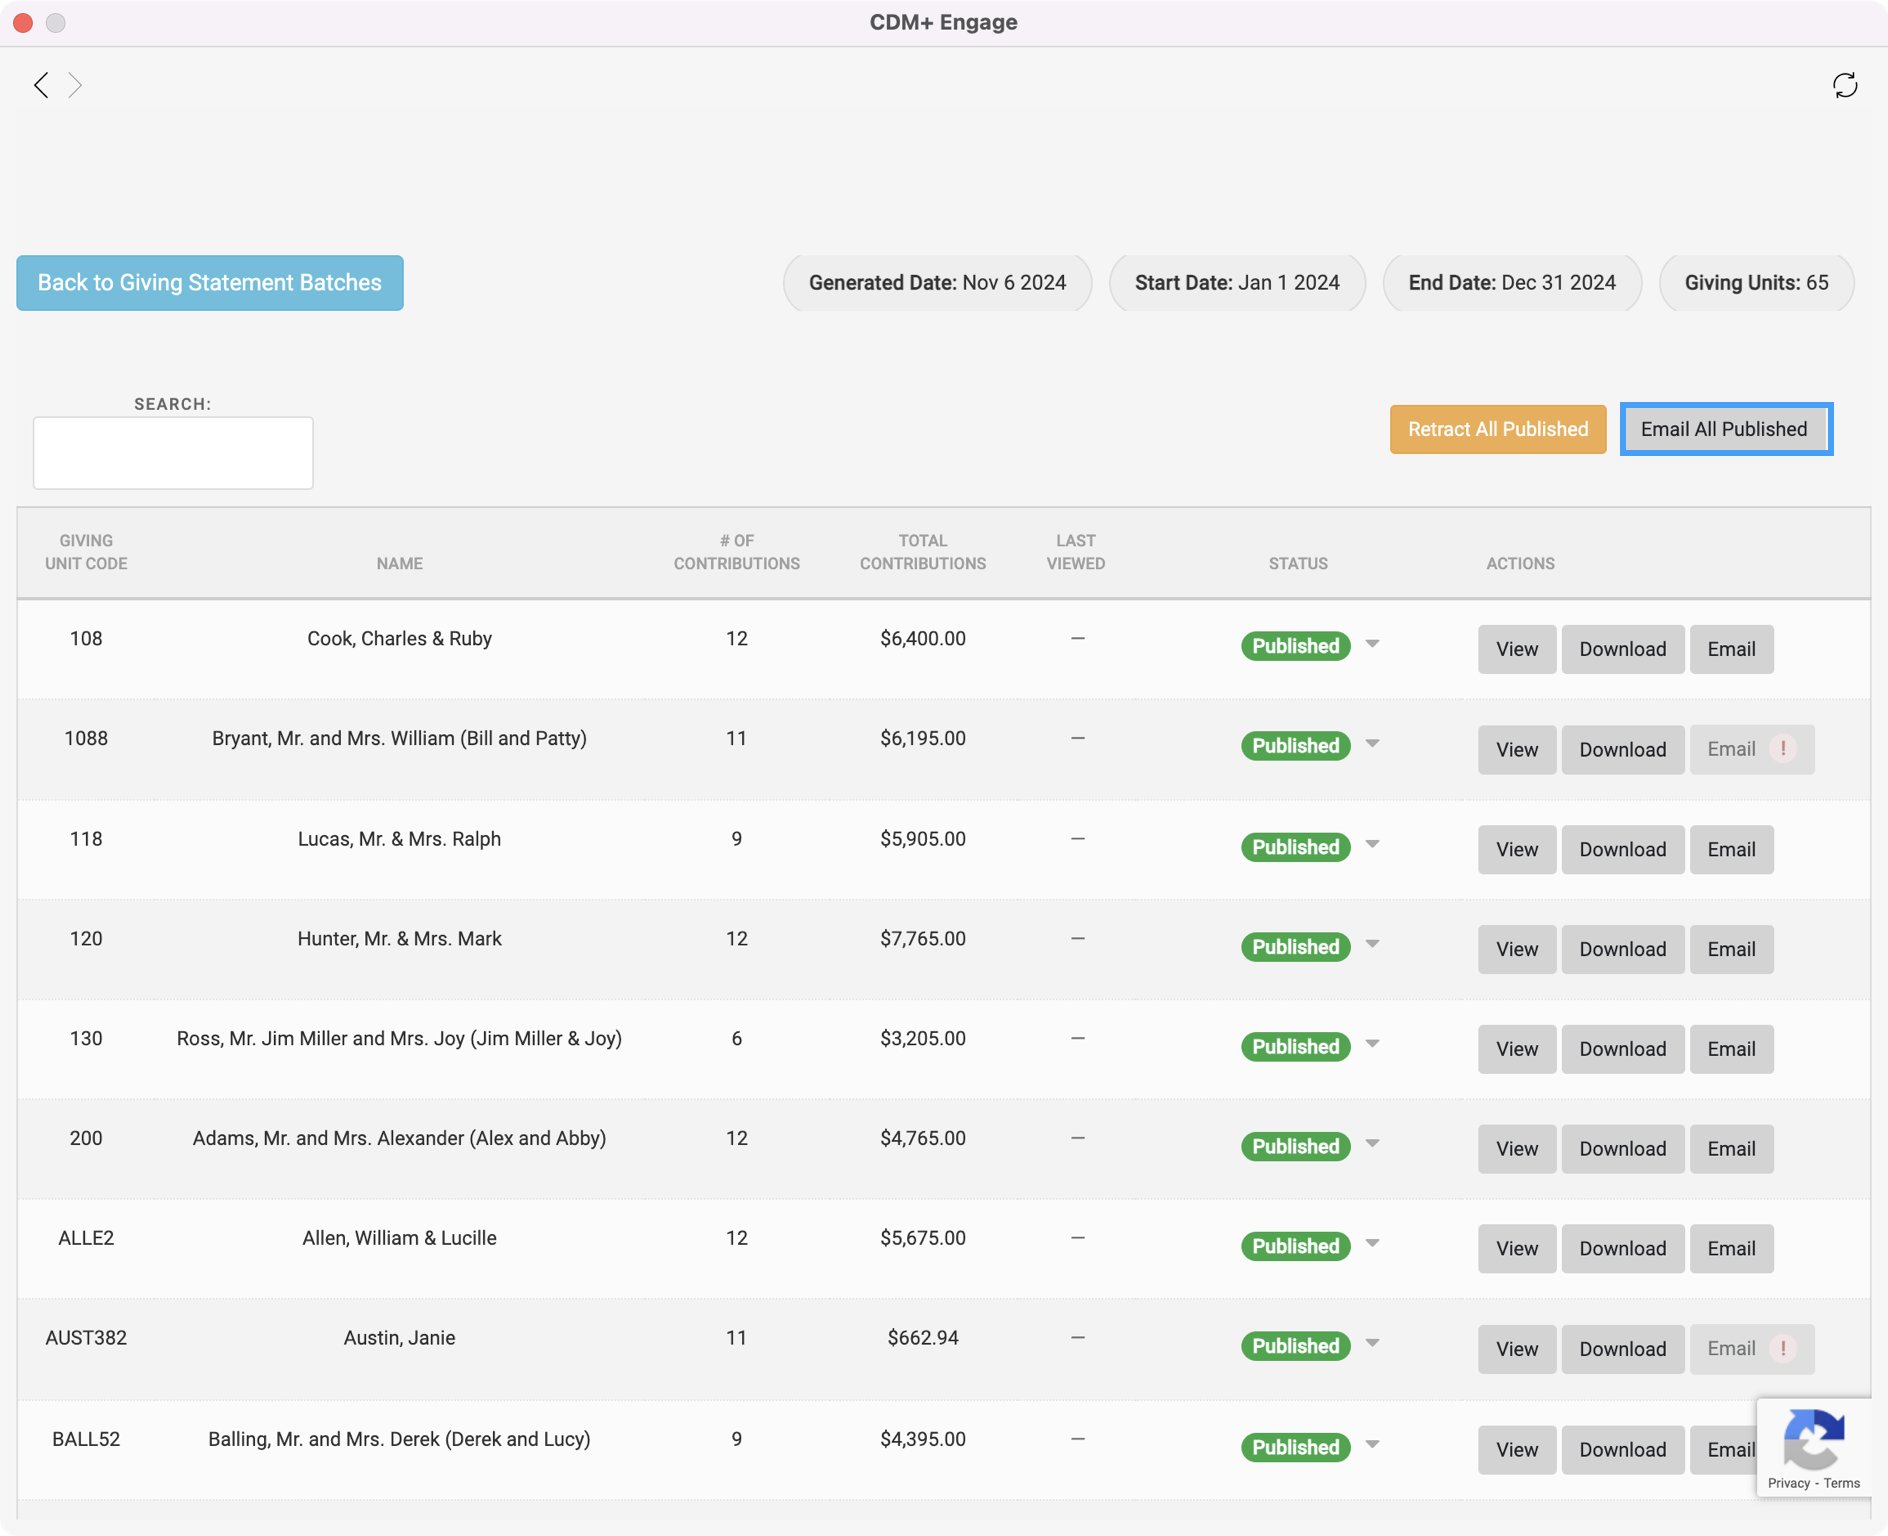
Once all alerts have been updated you can click on the Email All Published button to email your givers.
-
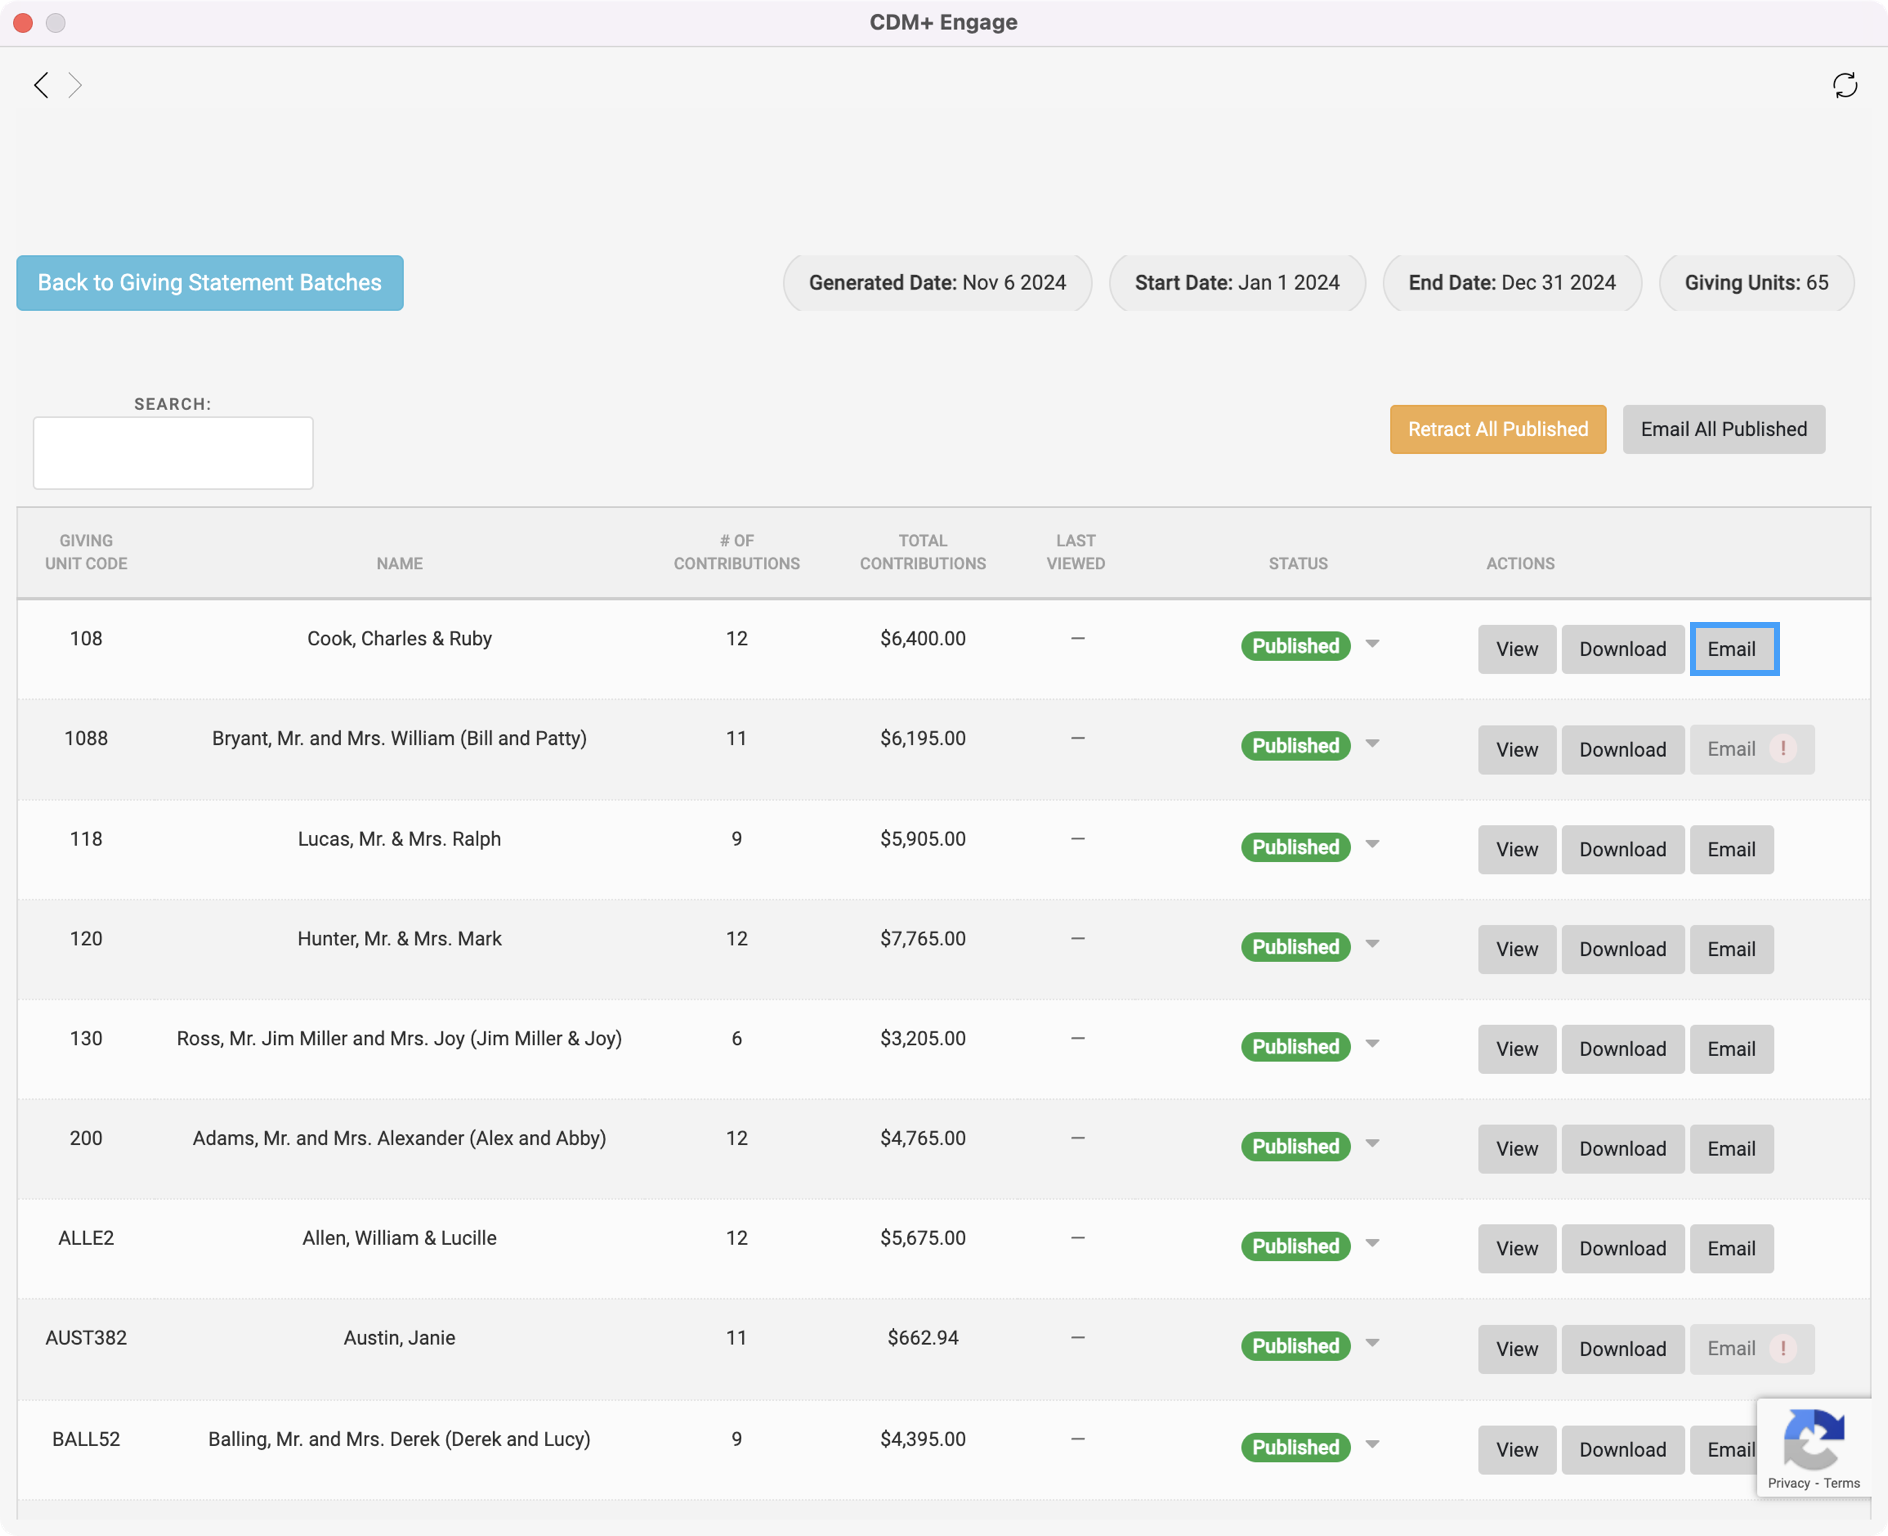
If you only want to email a single giver, you can click on the Email button next to that giver's statement.
-
You will get a success pop-up message to let you know the emails have even successfully sent.
-
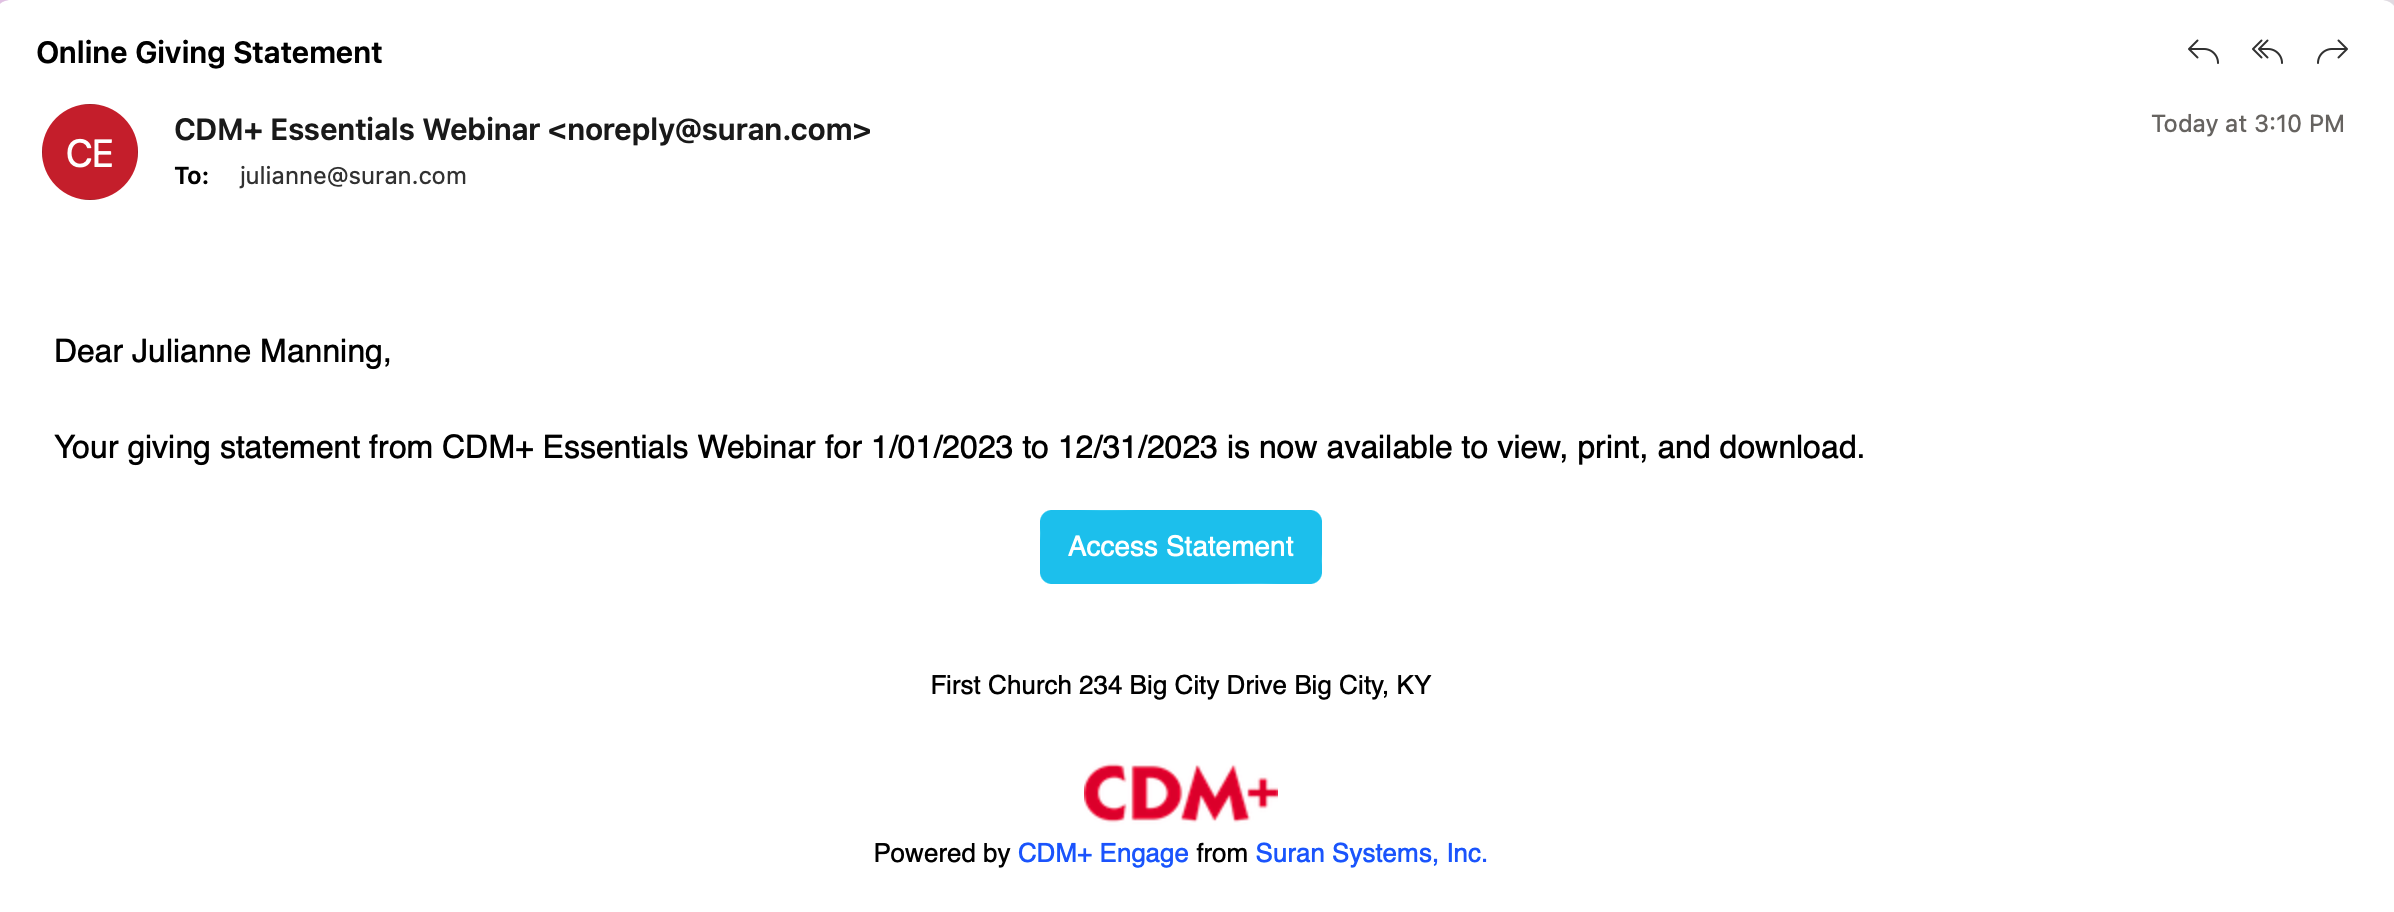
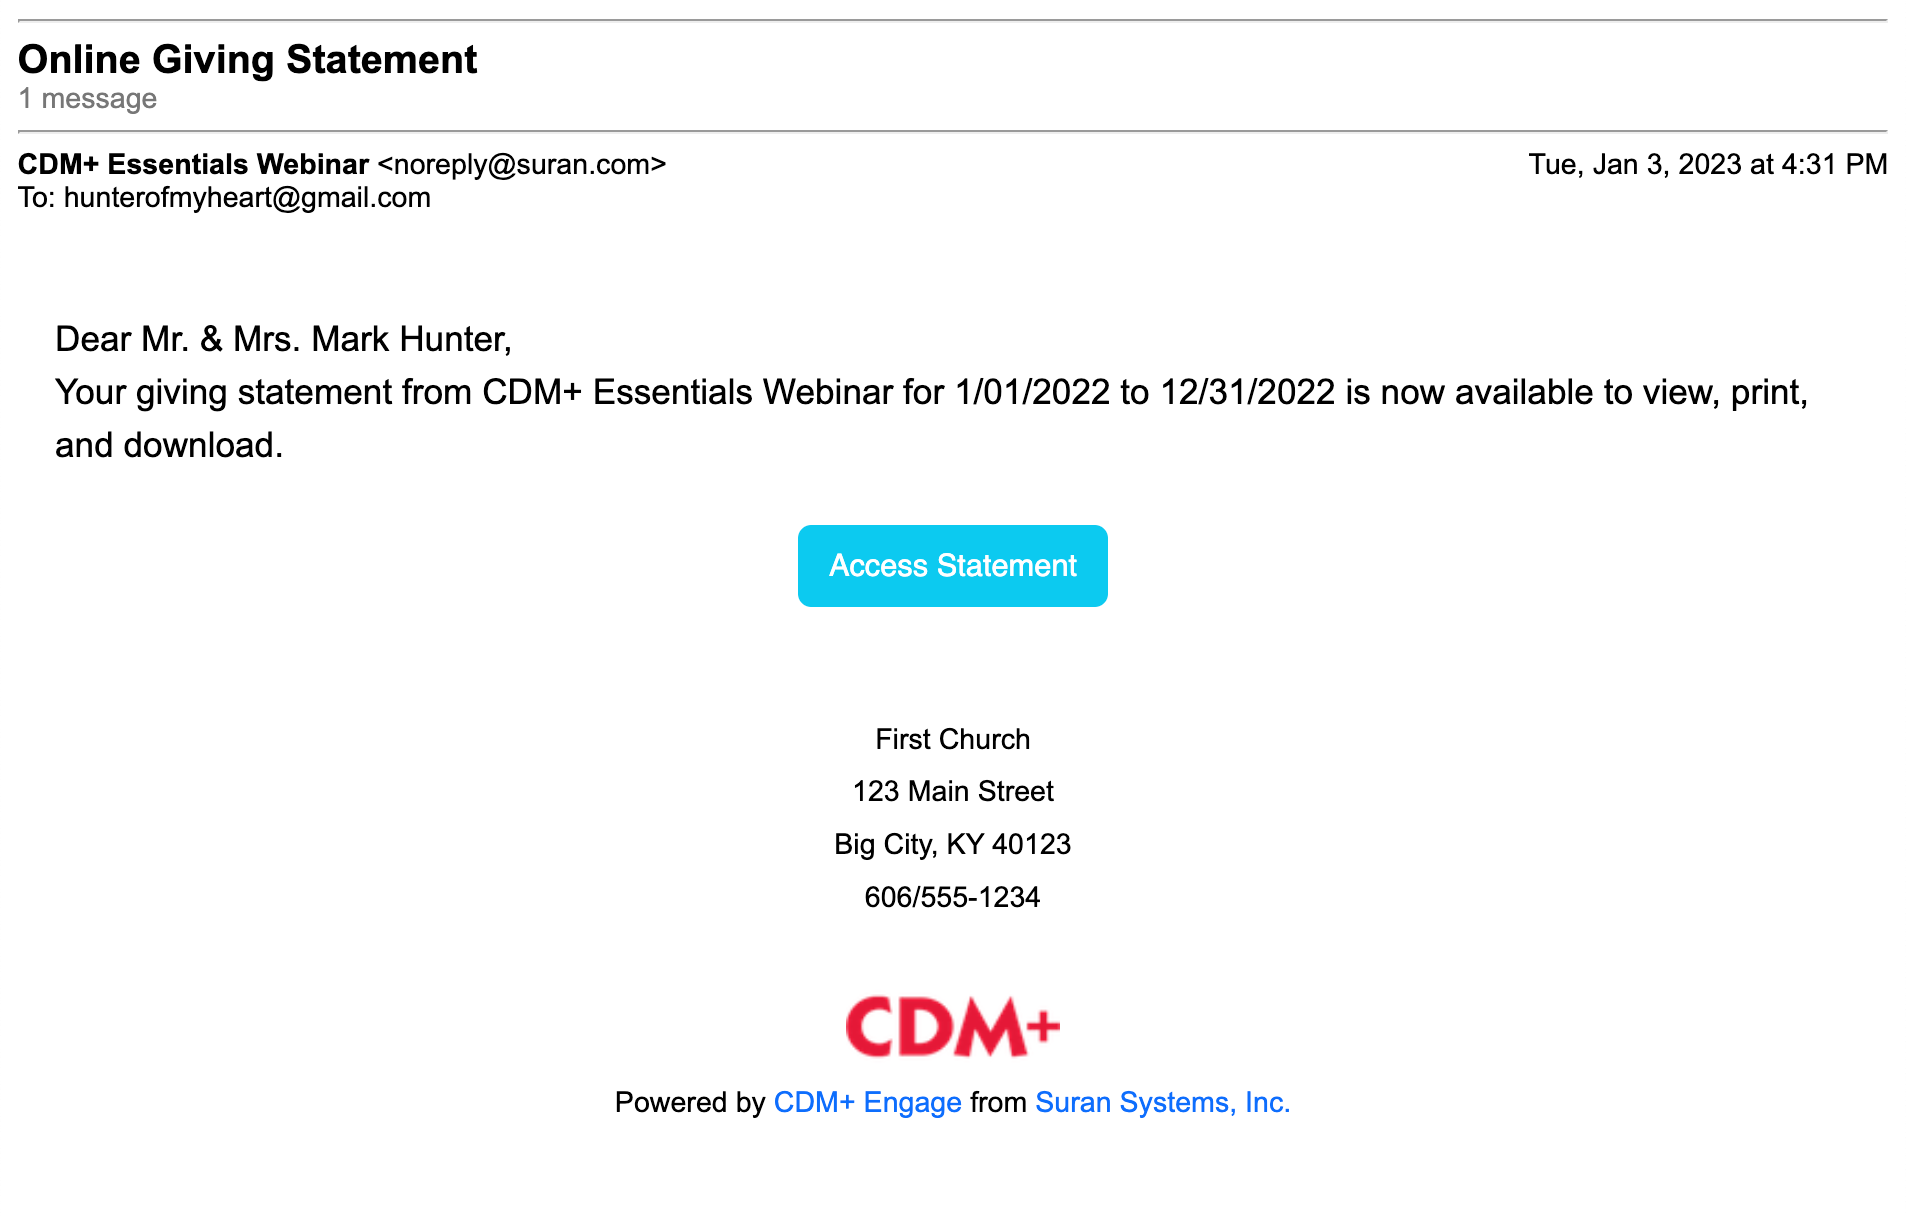
When you email all published statements, you are sending a notification email to your givers encouraging them to login to their Engage account to view their statements. An example of this notification is below.
Viewing Online Statements
-
Here is an example of the received email. The giver can click the Access Statement button and it will take them to the Engage login page so they can log in.
-
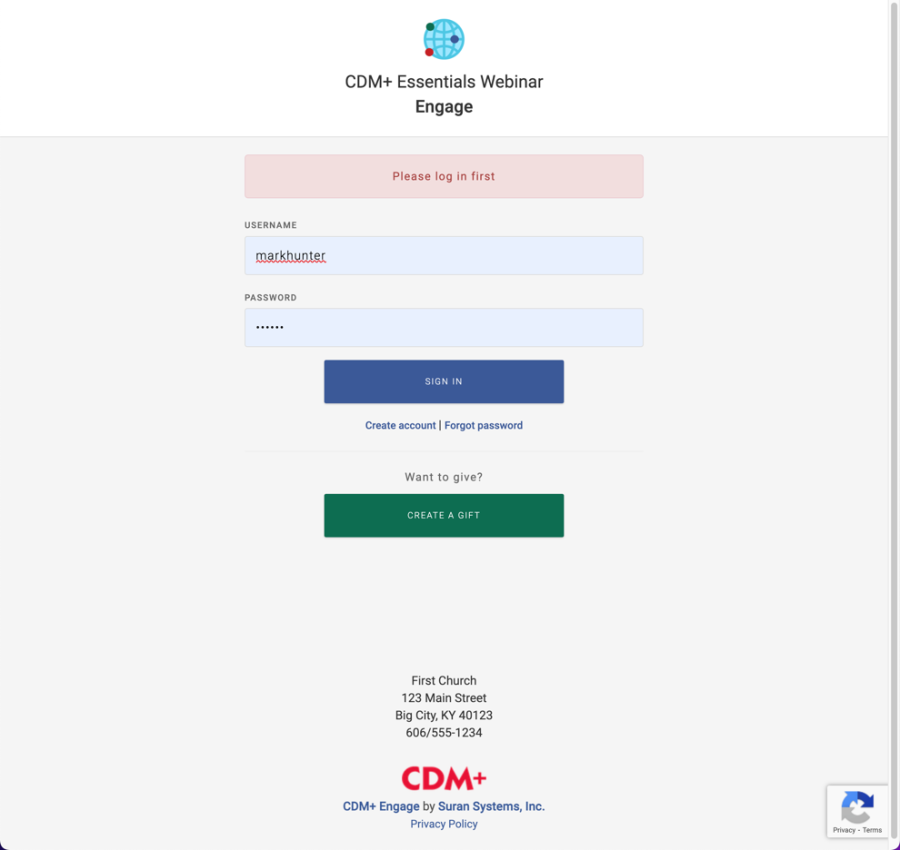
At the Engage login window, they would enter their Engage username and password. See this page for more information:
-
Once logged in, they will be taken directly to the Online Statement page. If not, they can navigate by clicking Giving →Statements.

-
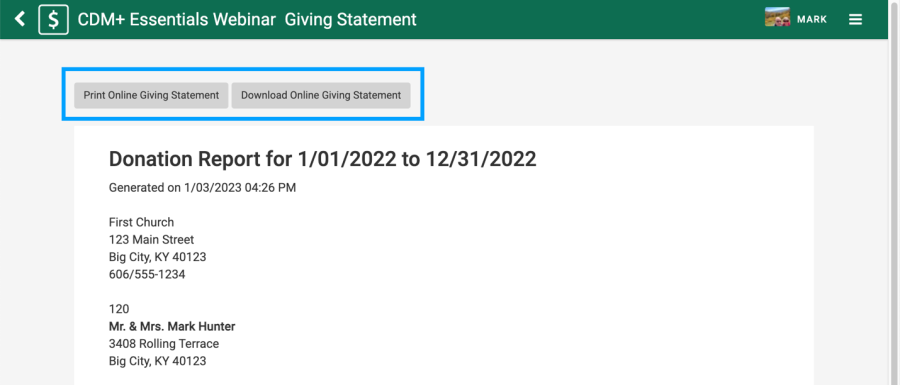
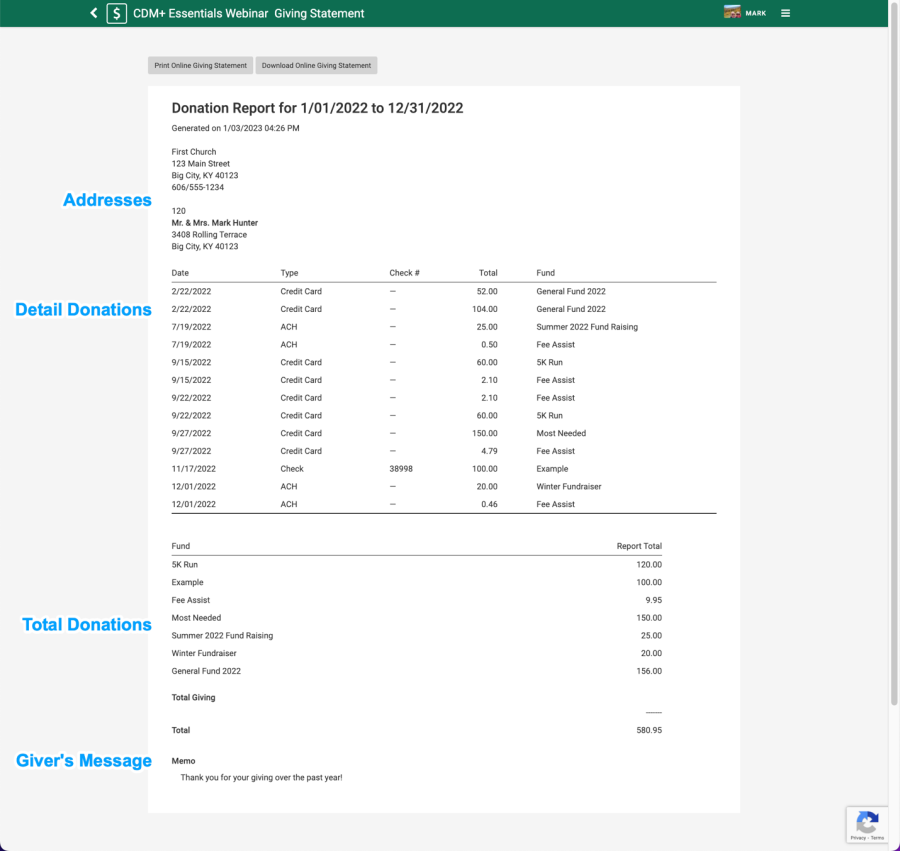
Here is the Statement page
-
The giver can print or download their statement using the buttons at the top of the page.