
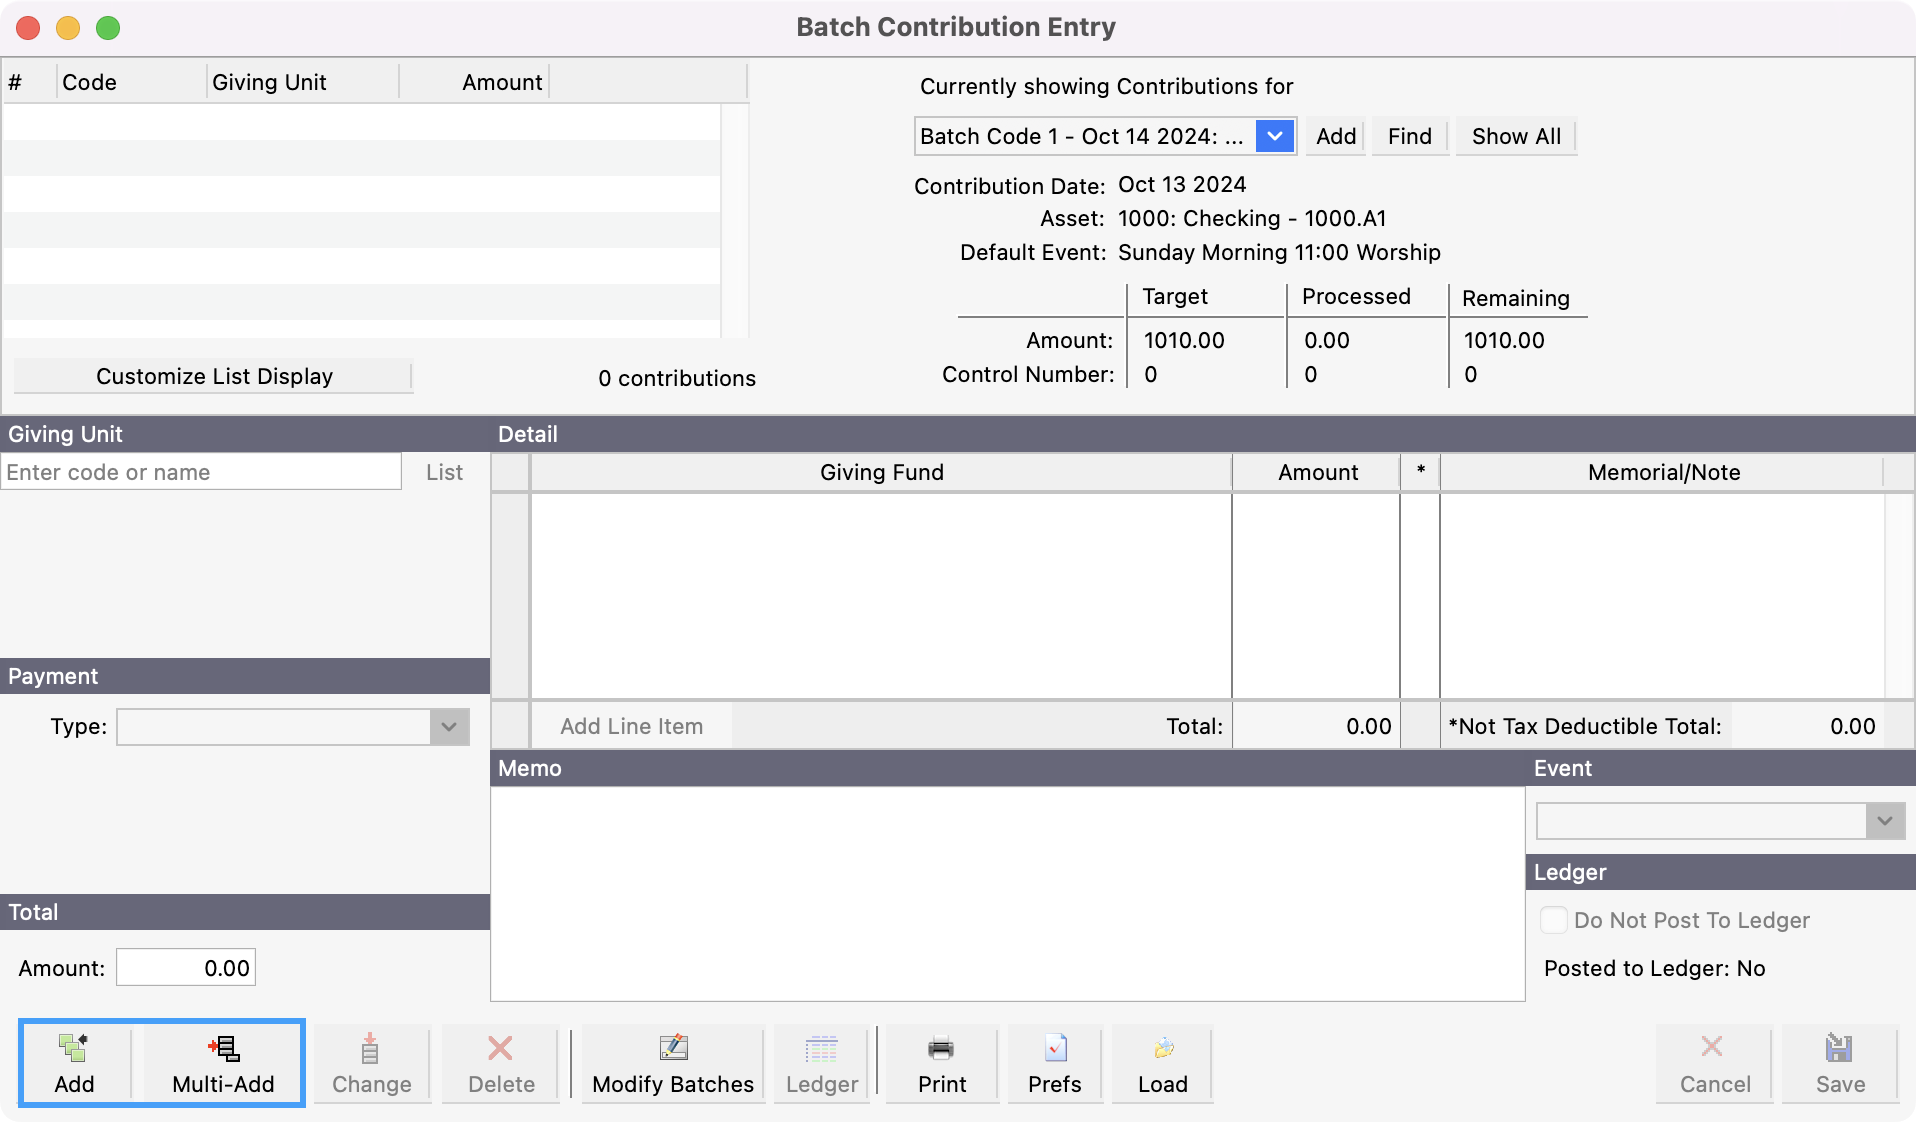
After creating a new batch, you can start to add contributions to the batch.
-
From the Batch Contribution Entry window, click Add or Multi-Add in the bottom left-hand corner.
-
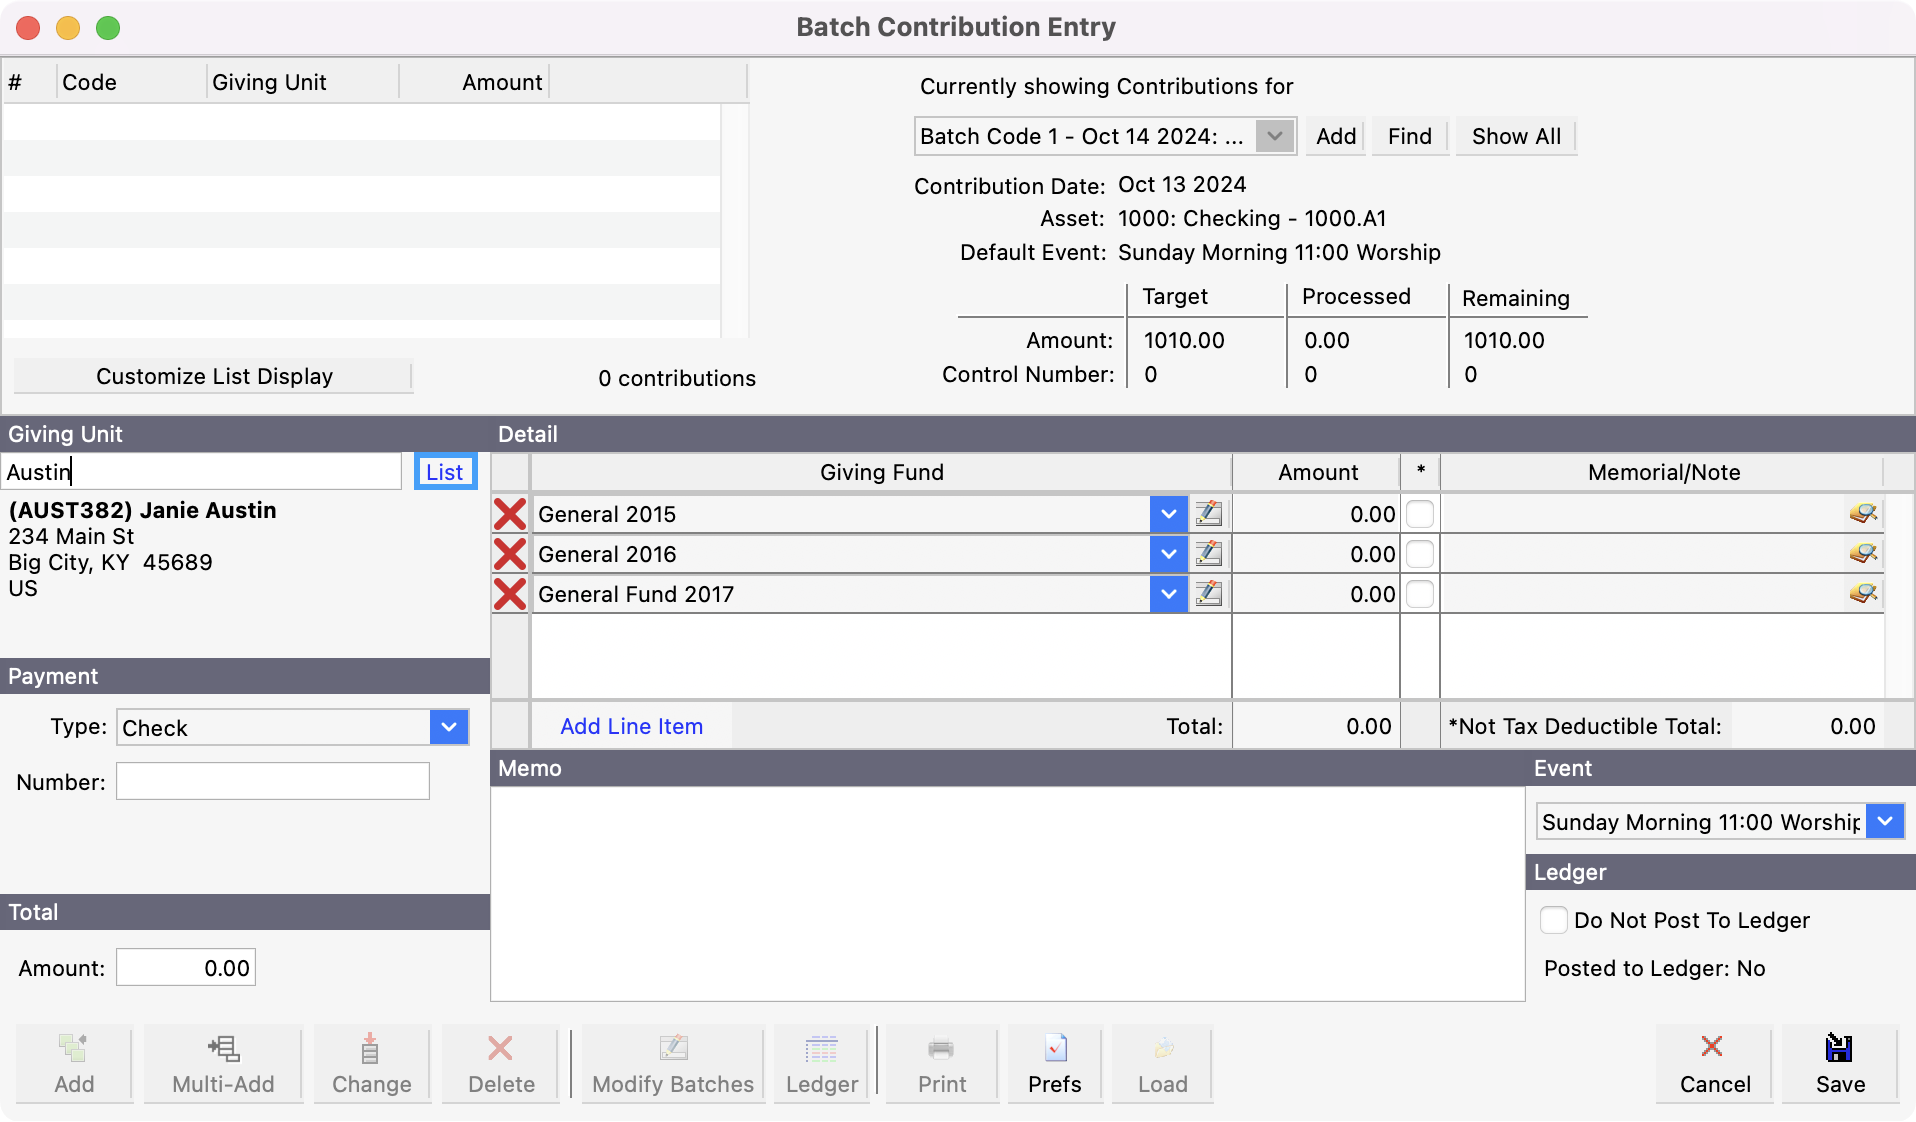
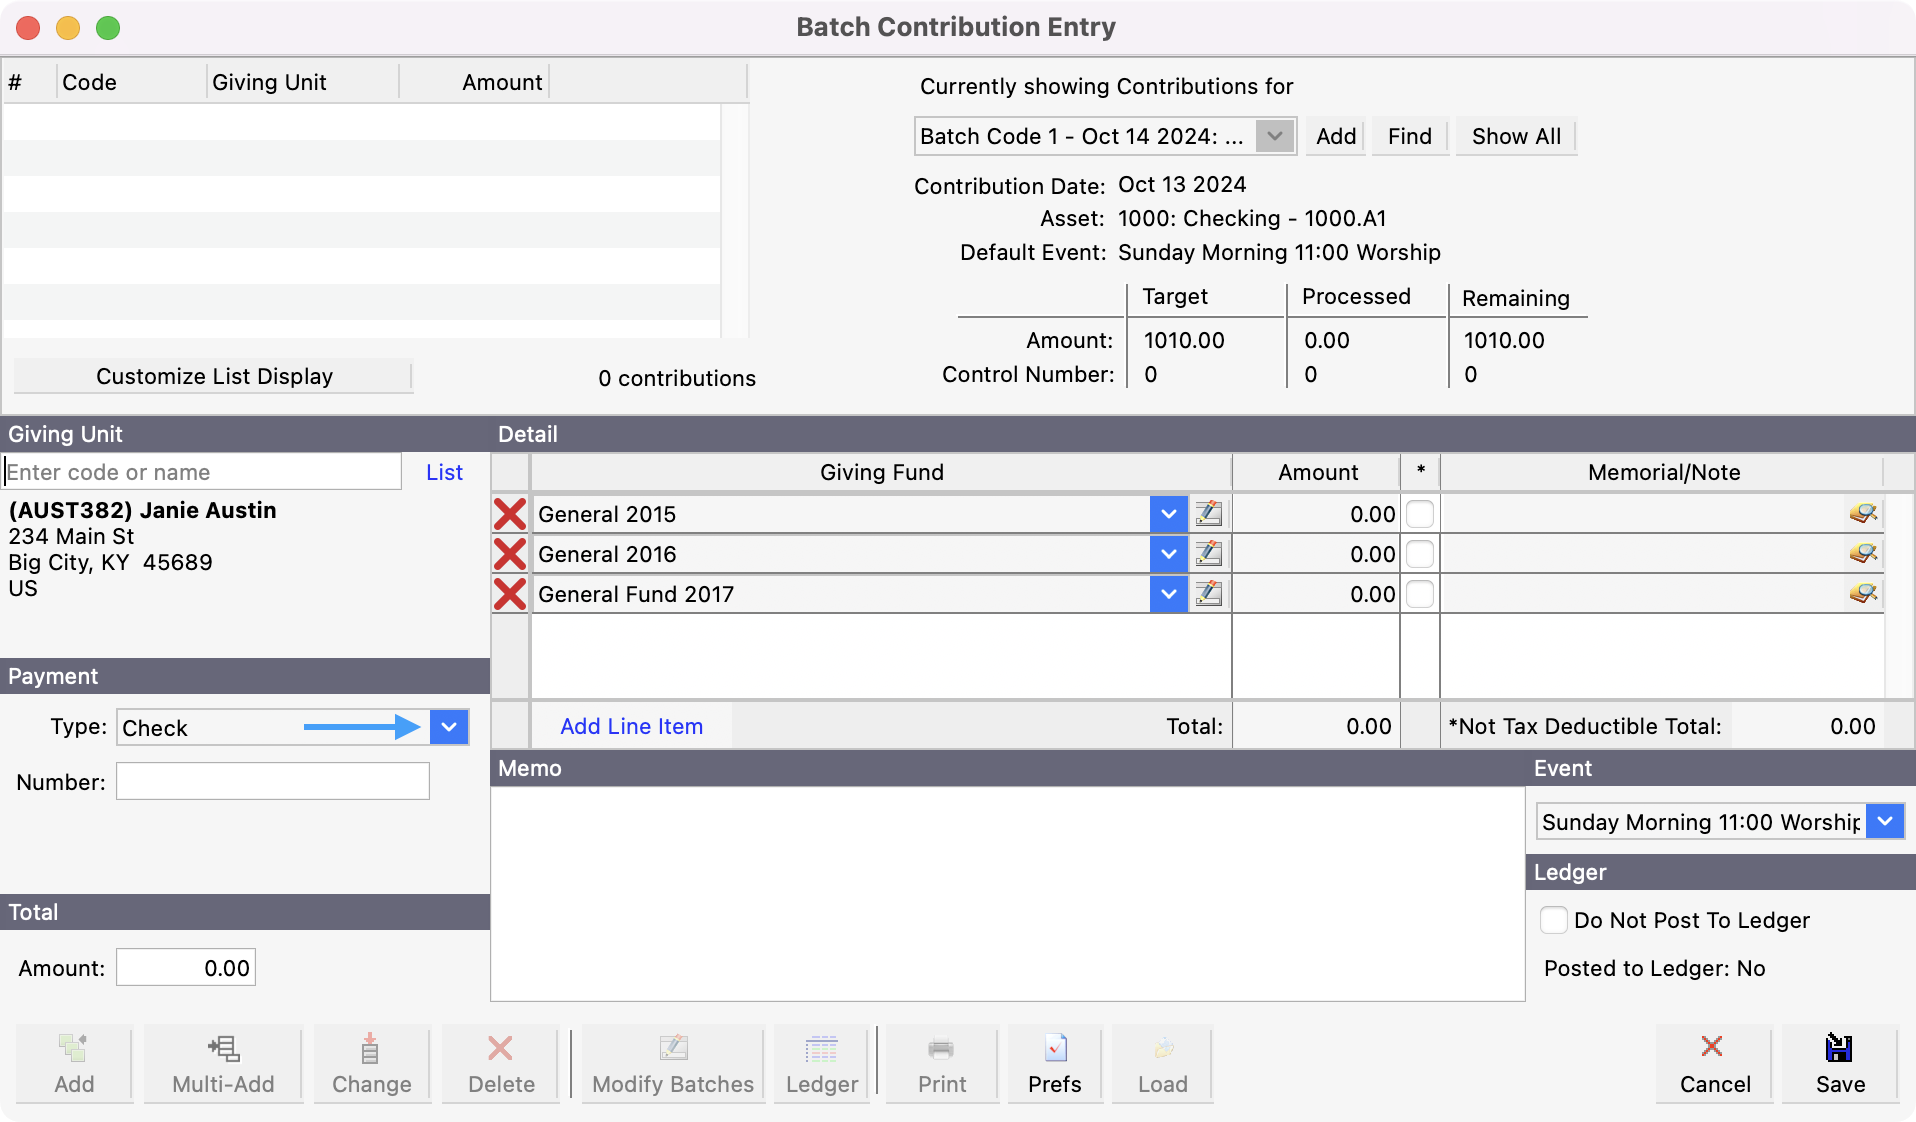
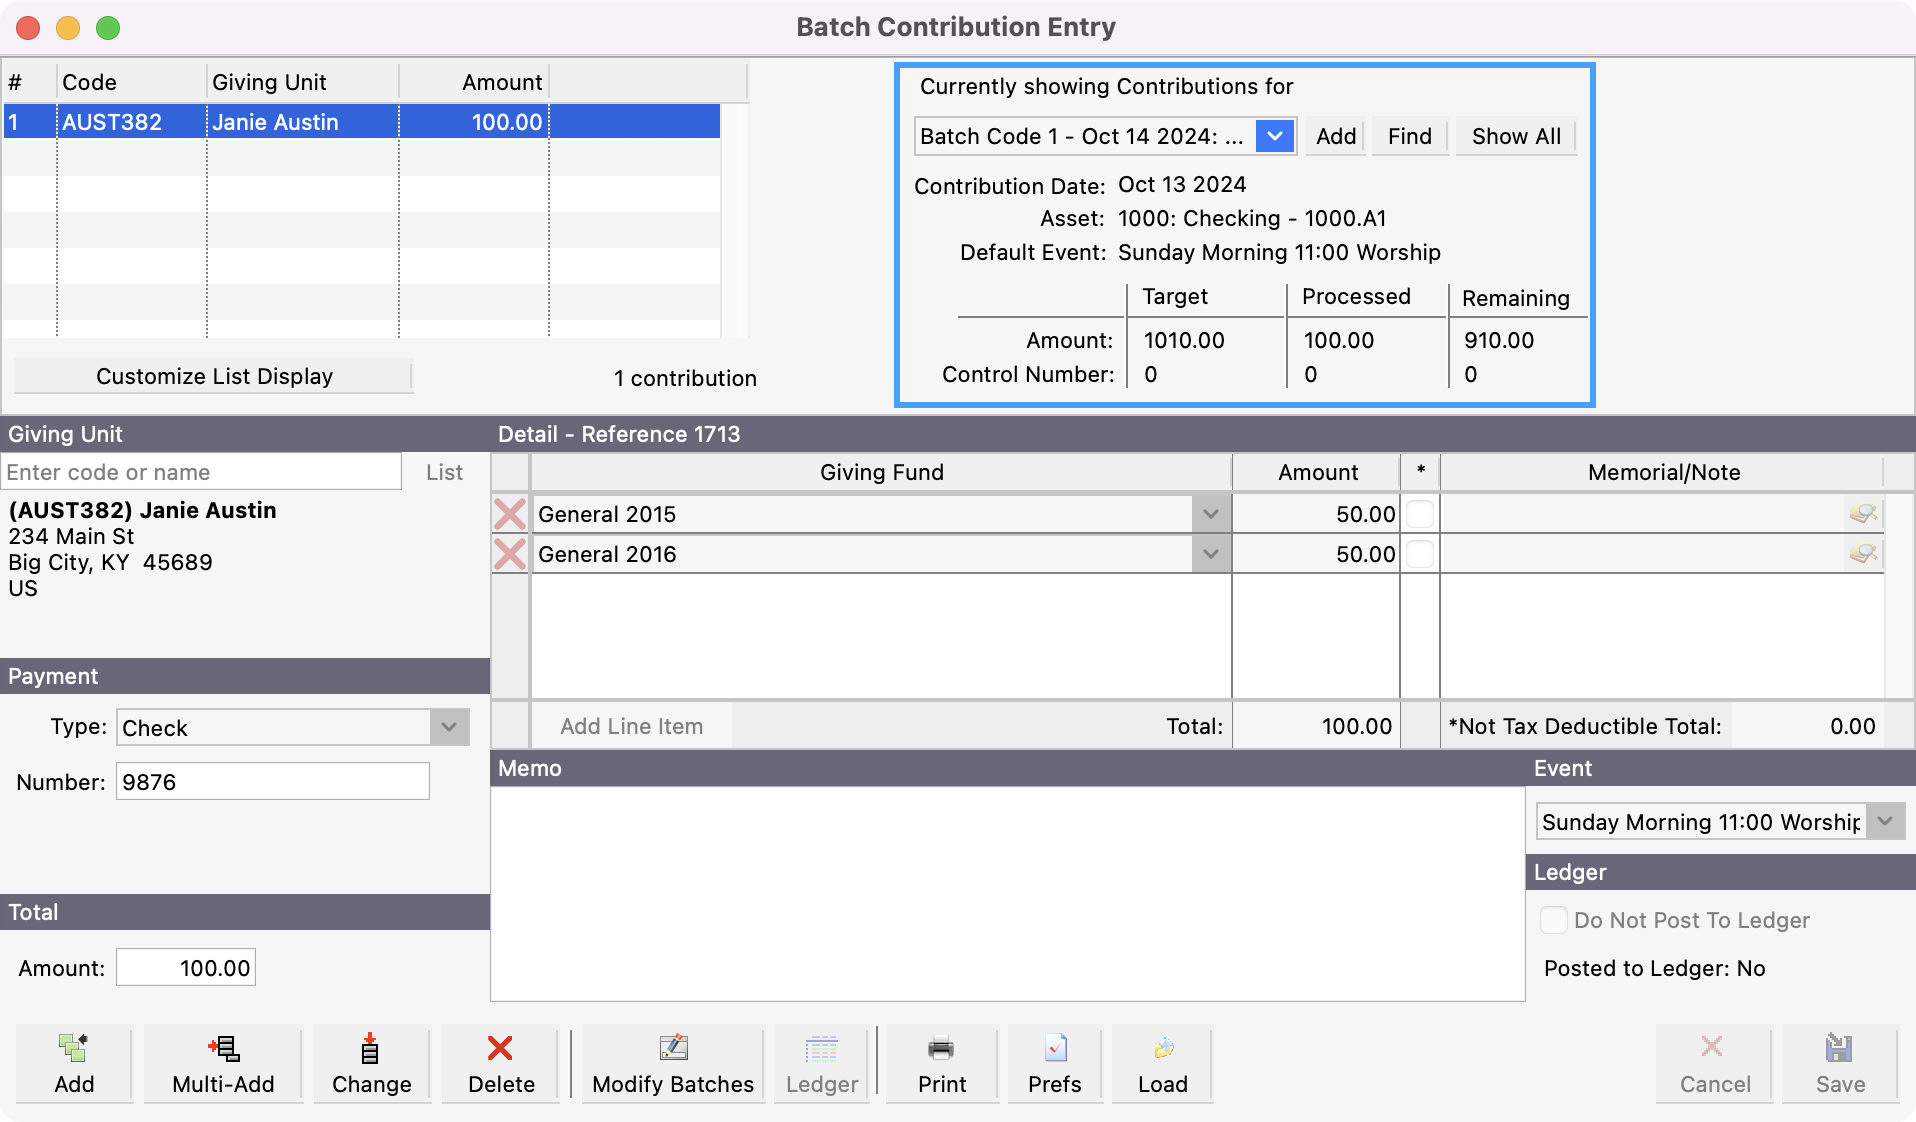
You will see your cursor in the Enter code or name field under the Giving Unit section. You can search for the Giving Unit you want to tie this contribution to by entering in a portion of their name or code and clicking Tab on your keyboard. This will either input the Giving Unit’s information or provide you with a list of Giving Unit Records to choose from.
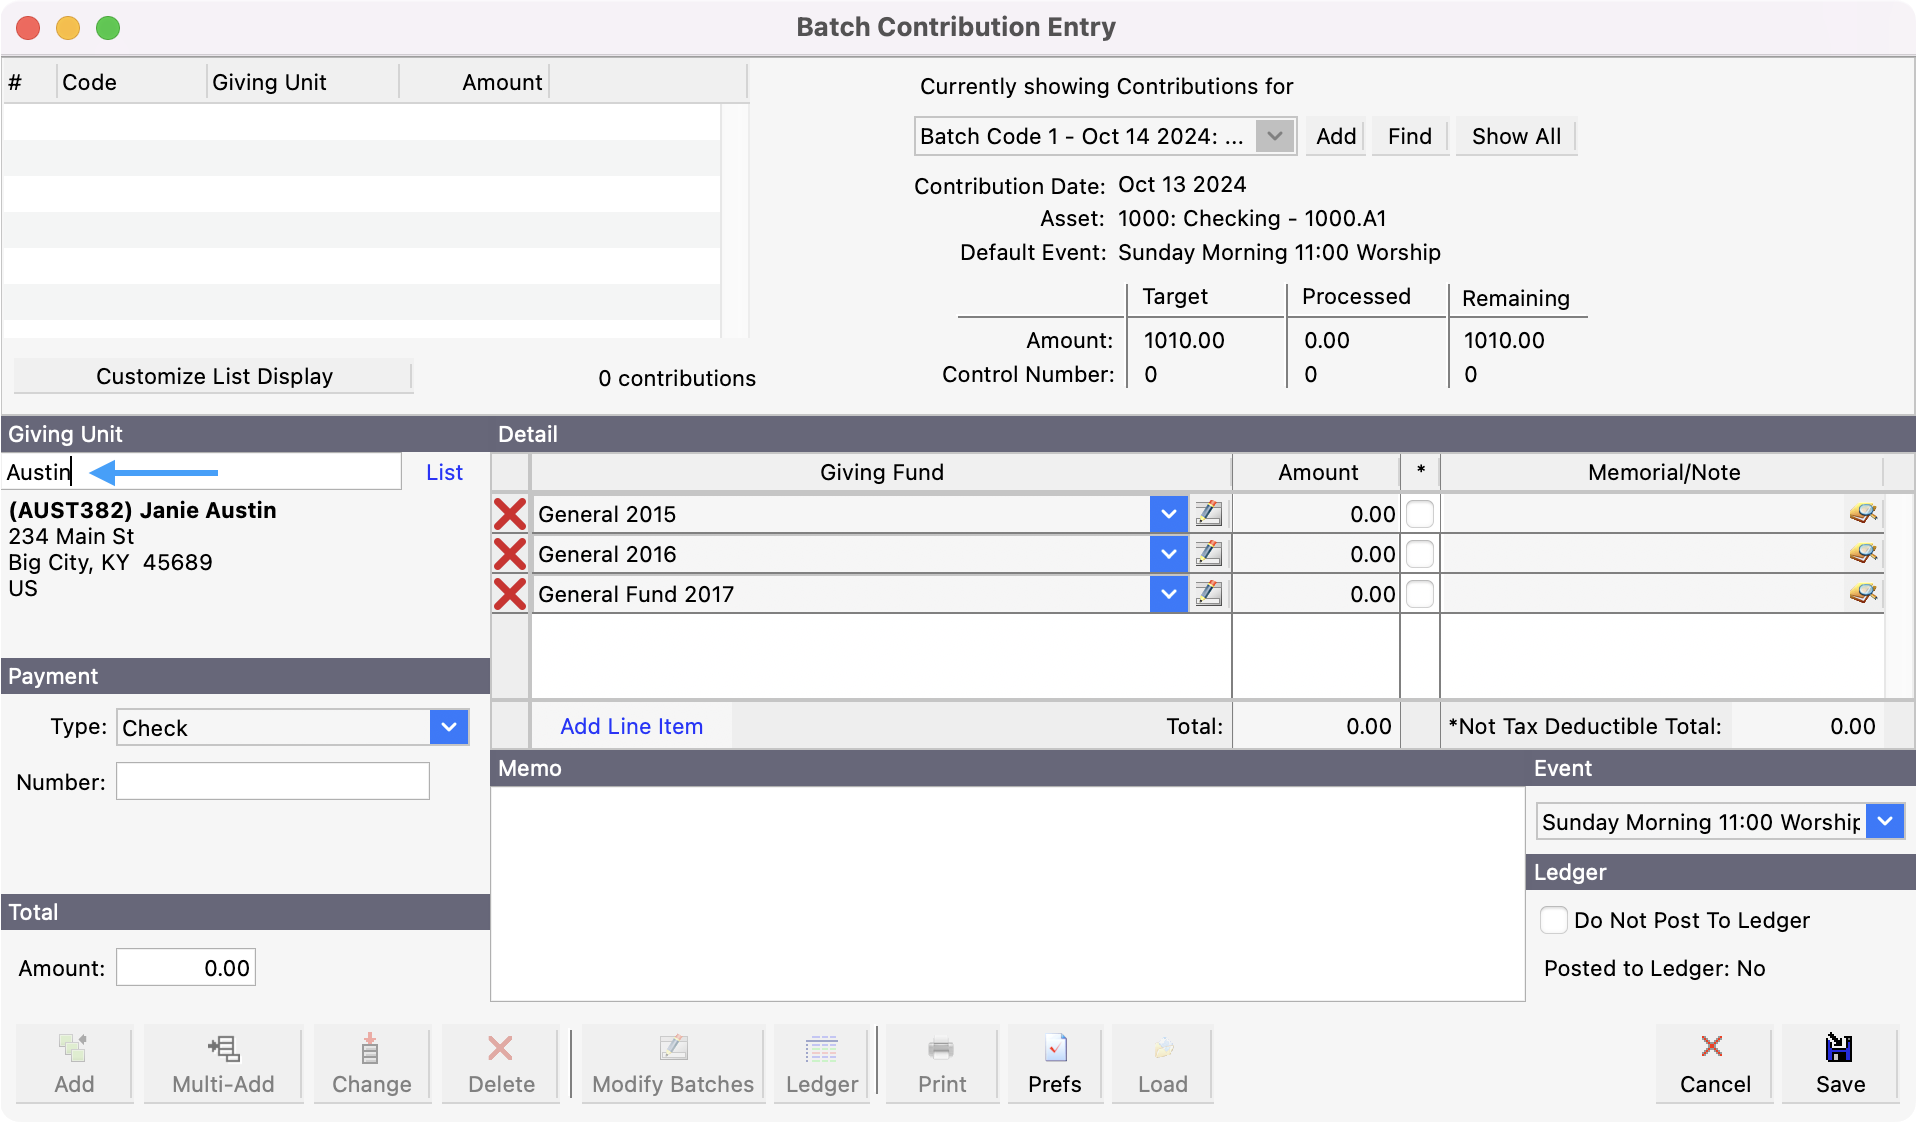
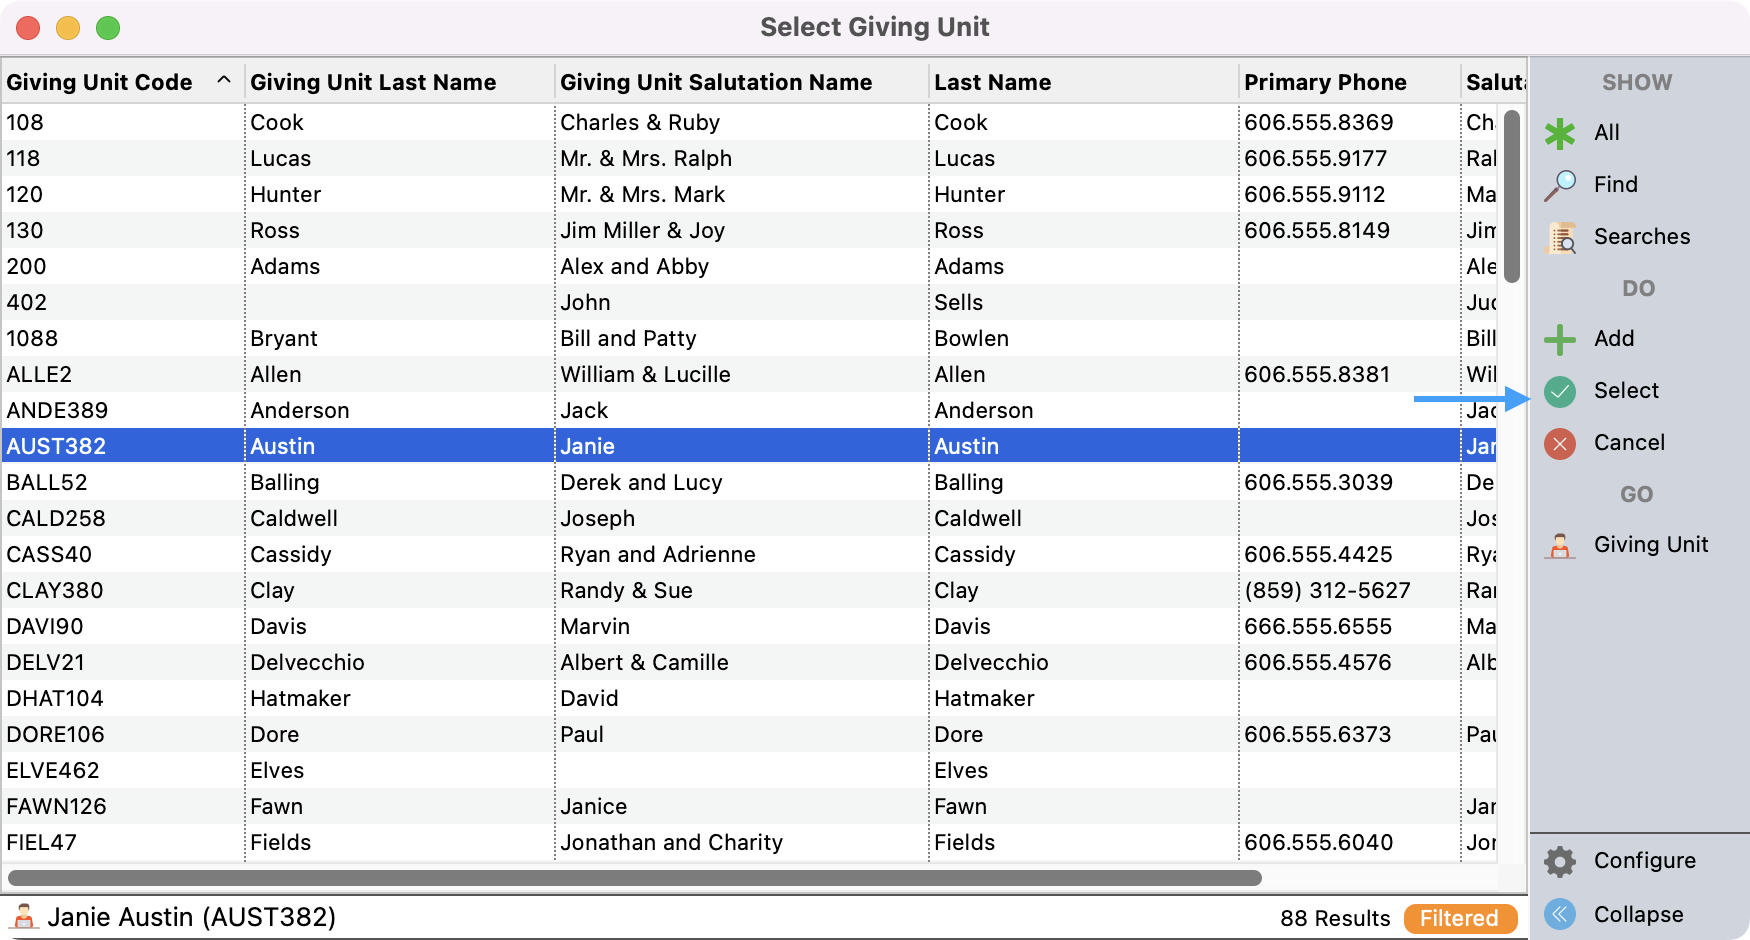
You can also click List to search for the giver.
This would bring up a list of Giving Unit Records to choose from. Click the record you need and click Select from the right sidebar.
How the Giver’s Name appears in this field is set on the Contributions Entry Preferences window. You may choose to show Mailing Names or Salutations.
-
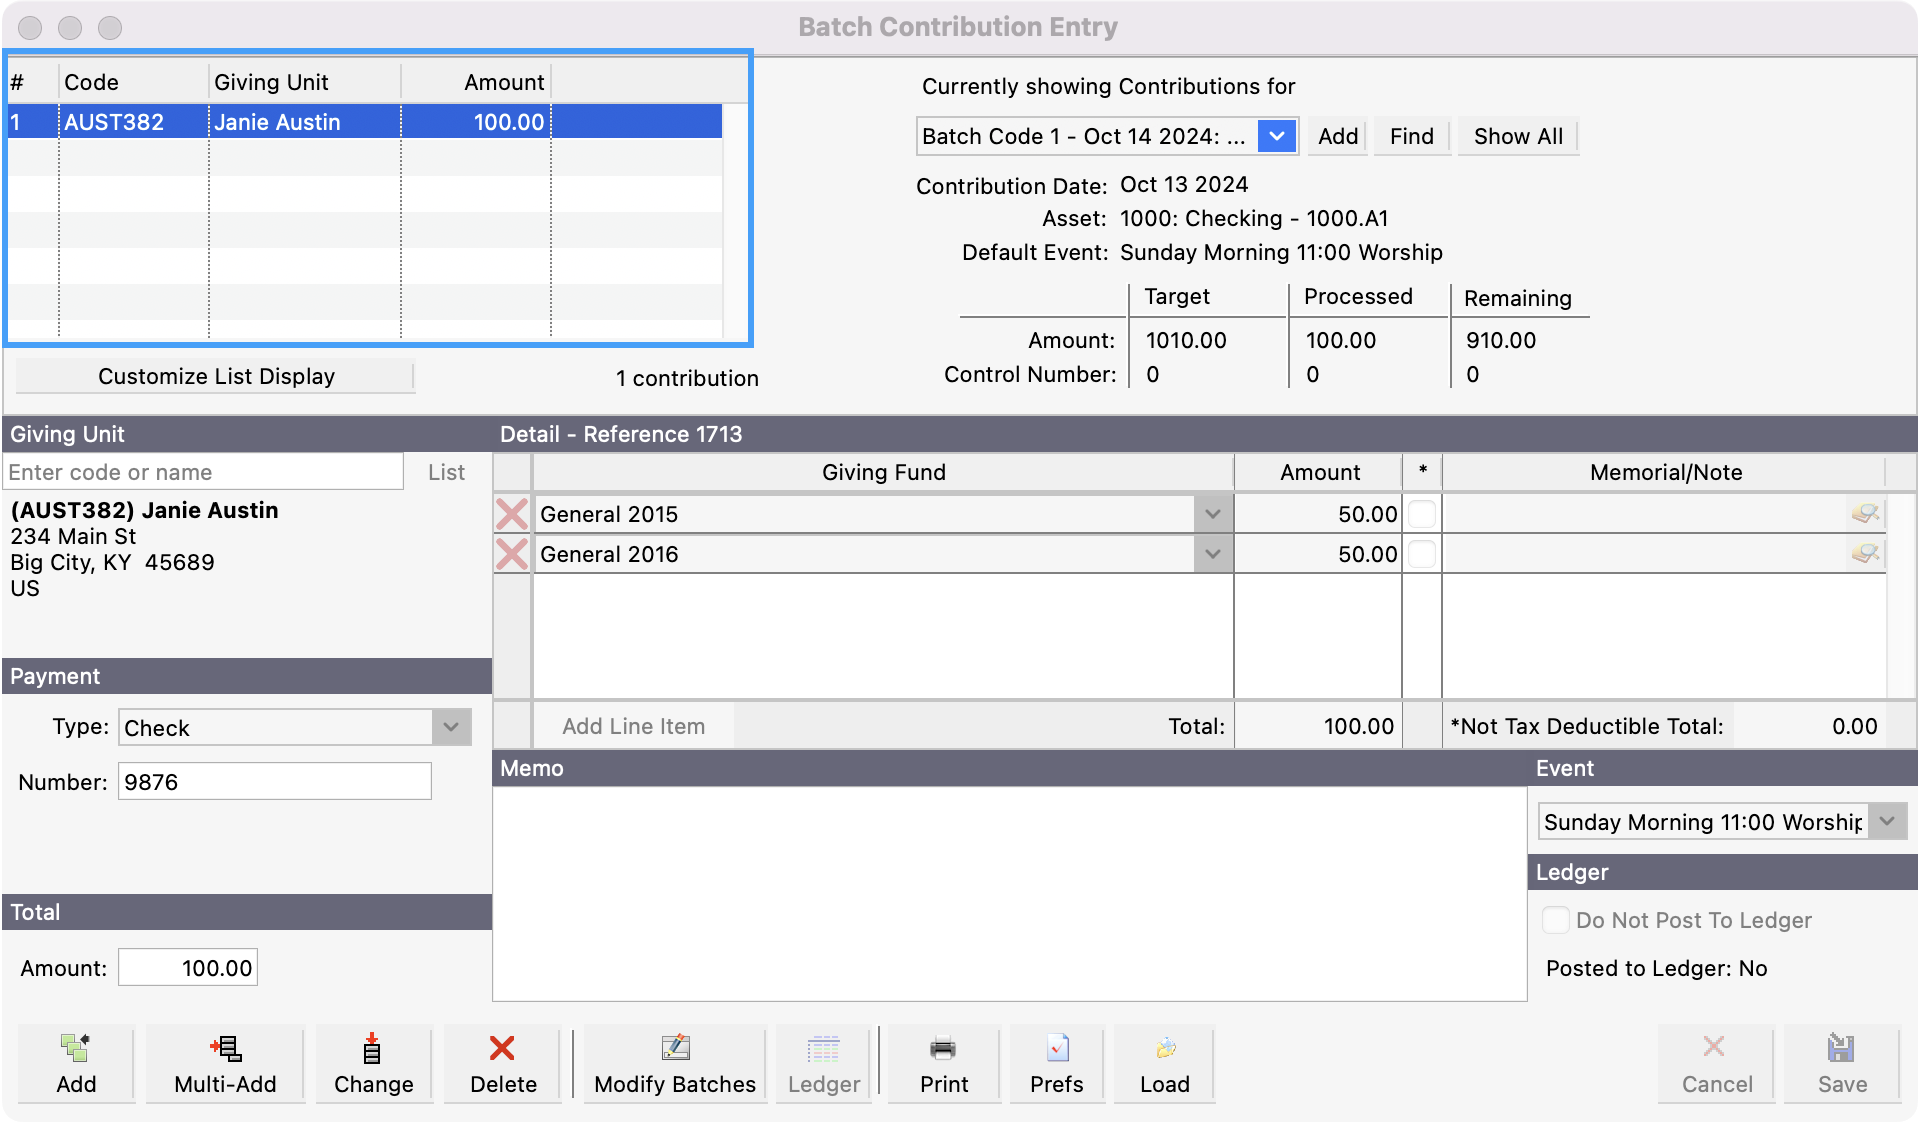
After selecting the Giving Unit, click the Tab on your keyboard and the cursor move to the Payment Type field with the Default Payment Type highlighted. Click on the down arrow to select another payment type from the drop list. The Payment Type chosen will determine what data entry fields are shown.
-
Selecting Check will show a Check Number field.
-
When selecting Credit Card, no other data entry fields are necessary.
-
When selecting Cash as the Payment Type, no other data entry fields are necessary. press Tab to move the cursor to the Total Amount field
-
To create a new Payment Type, type the description in the Payment Type field. CDM+ will ask you if you wish to add the type, click OK and the new type is available from the drop list. Please note that this option will only be available if you have permissions to make changes to the Master Coding System.
Tip: Payment Type is a required field. If you do not wish to track payment types, create a payment type of “Unknown” and set it to be the default under preferences.
-
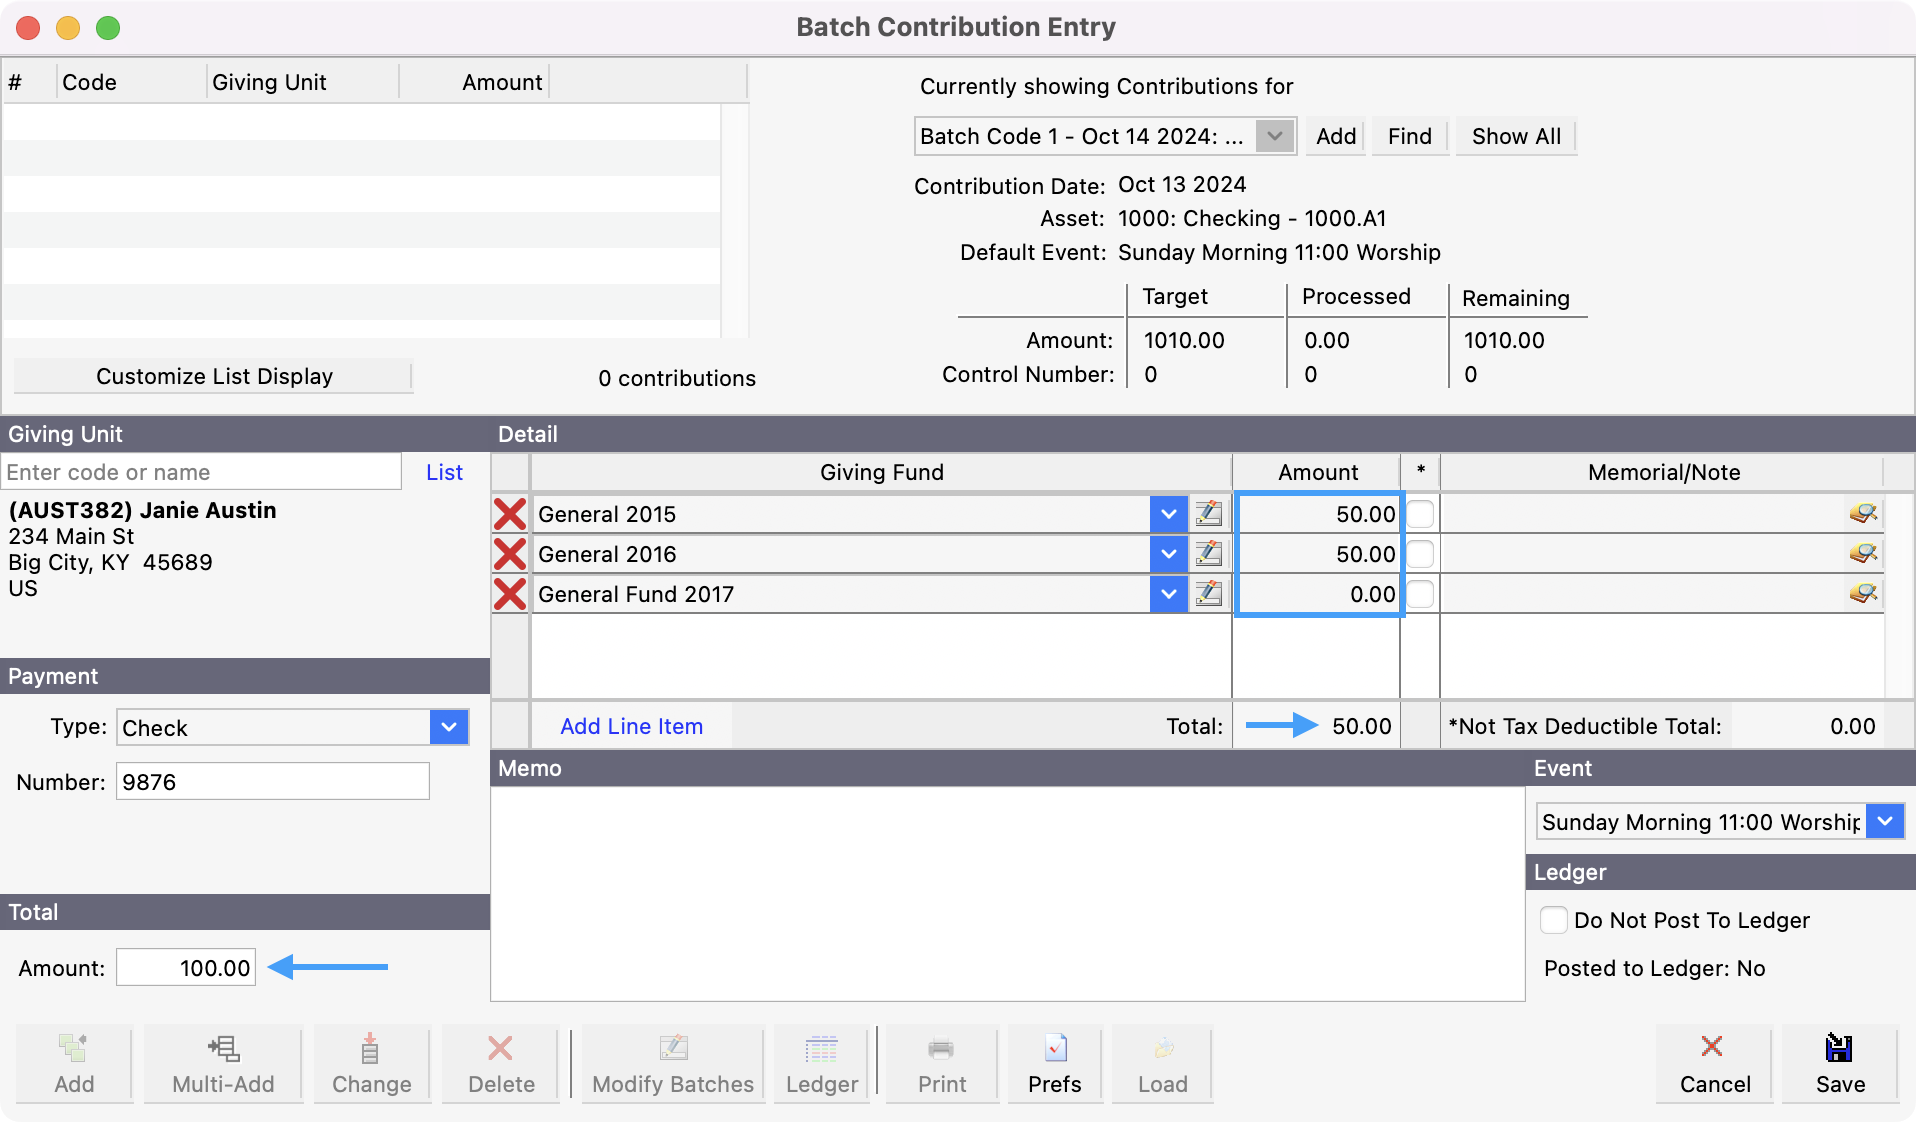
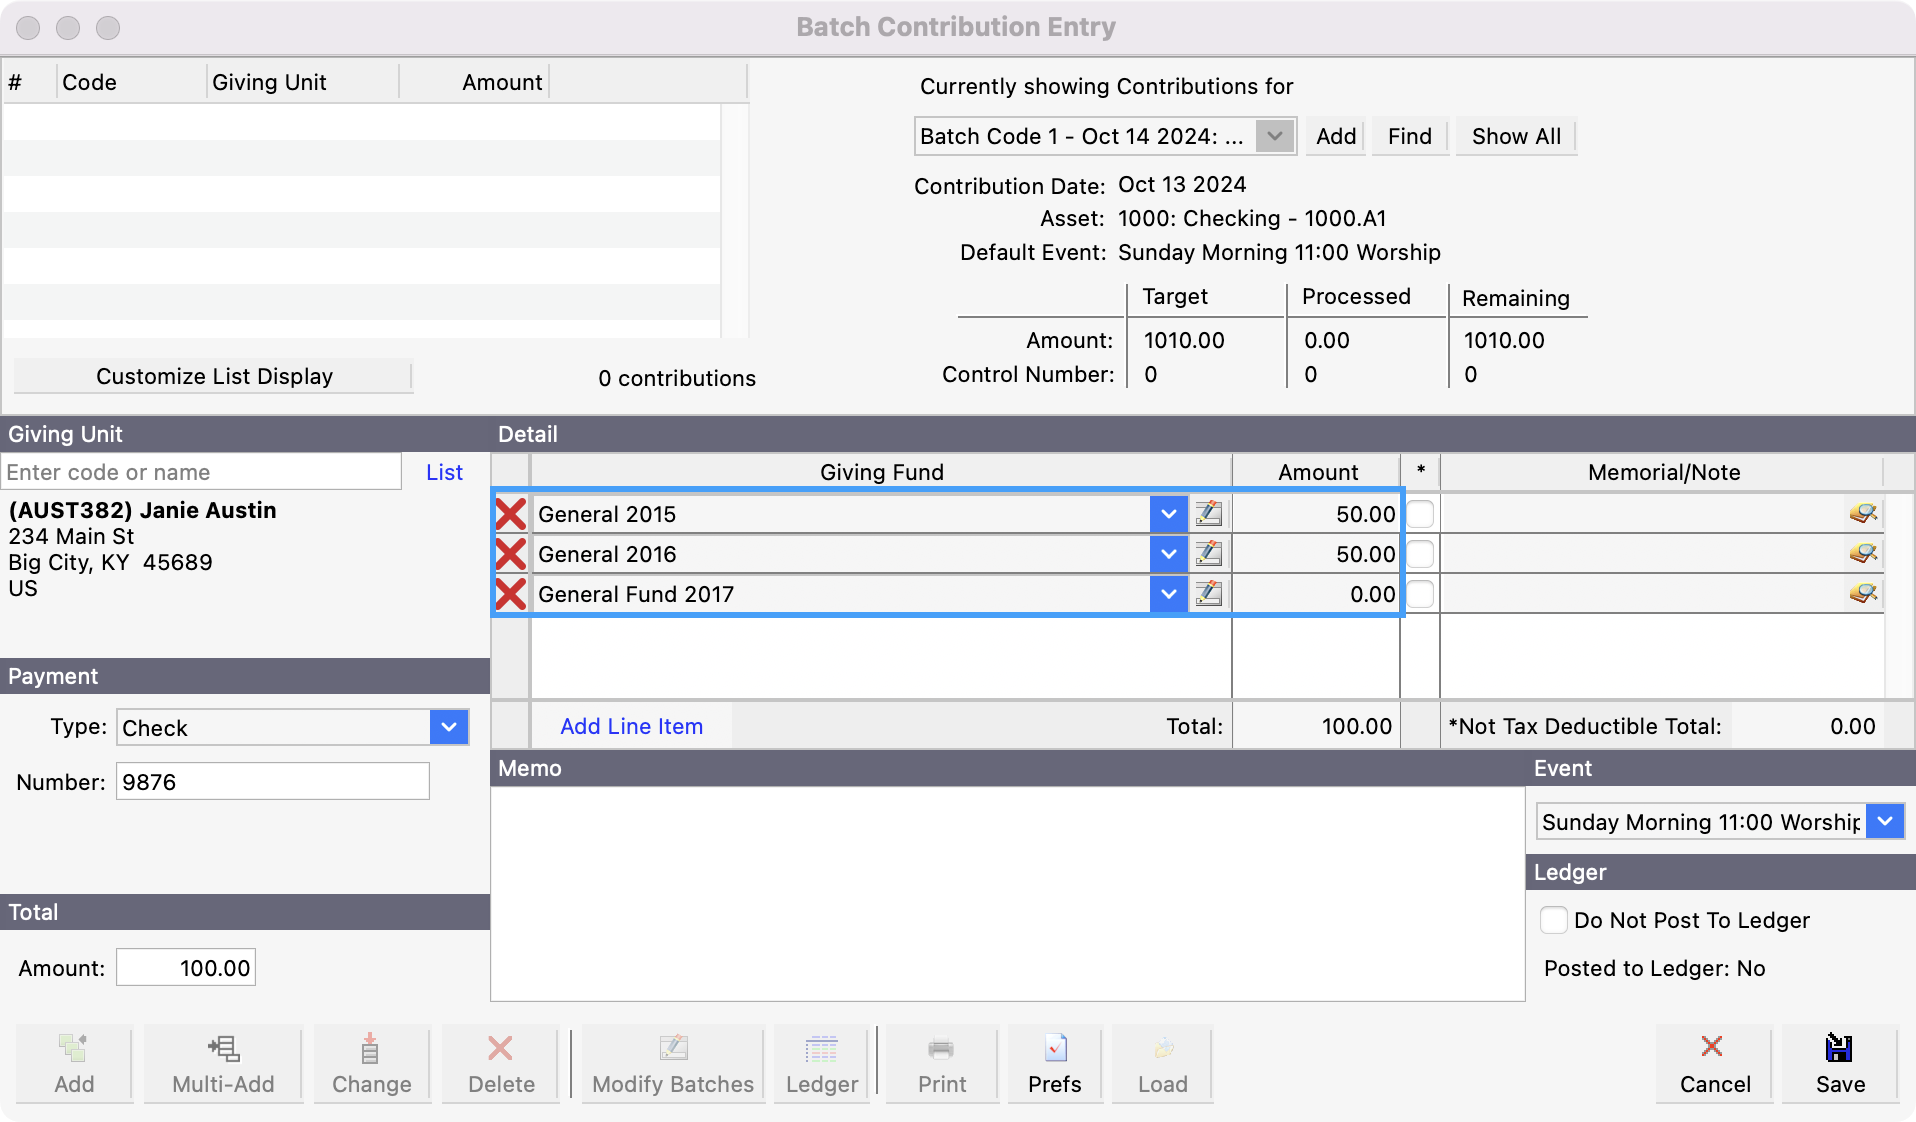
Press Tab to move the cursor to the Total Amount field. Although this is not required, it does serve to ensure the accuracy of your data entry. If you enter an amount here, you will see a running total of the donation as you enter amounts given to the various Giving Funds. If you try to save the contribution and the totals do not match, you will see a pop-up letting you know the totals don’t agree.
-
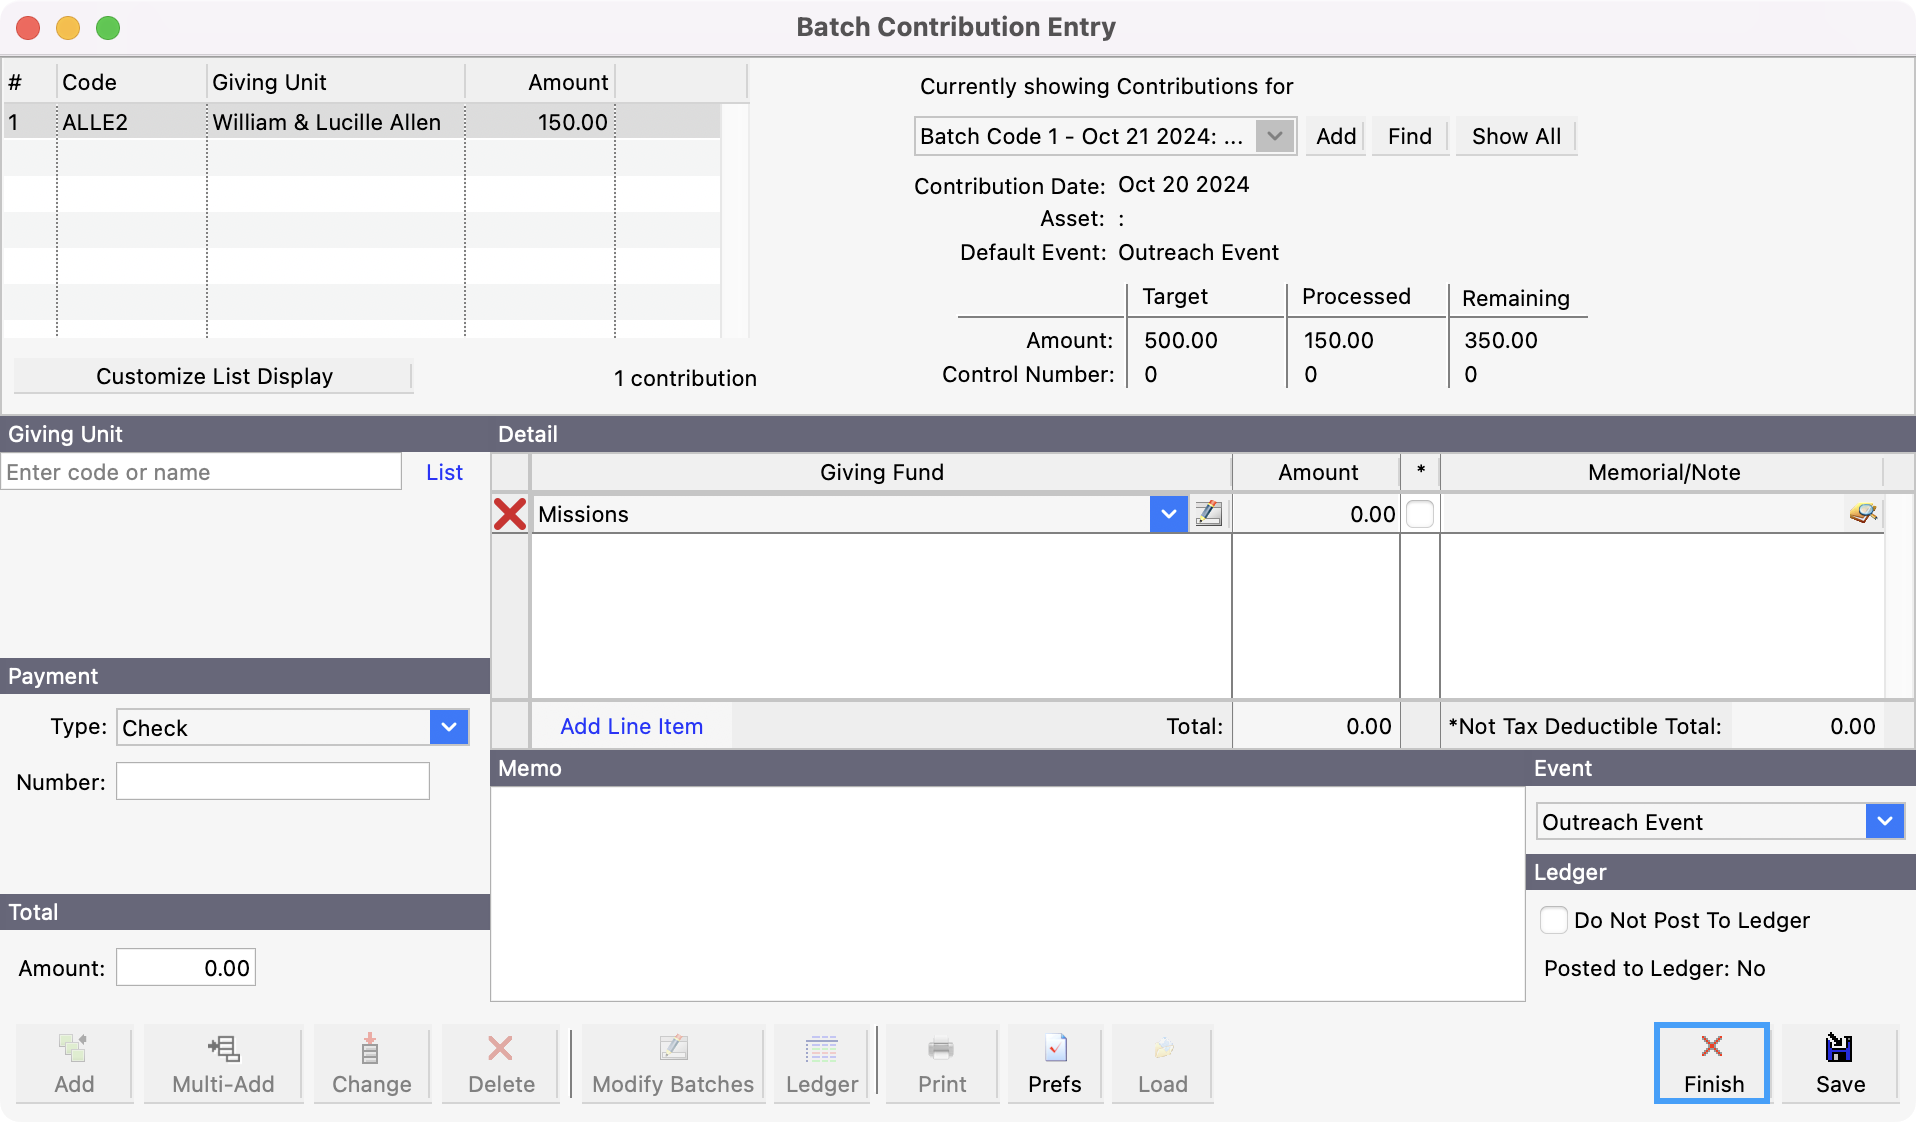
If you selected default funds when creating the batch and set your System Preferences to automatically load a detail line for each default fund for the selected batch, those funds will display. Press Tab on your keyboard and enter the breakdown of the donation. Click on the down arrow to select a different one of the default Giving Funds from a drop list.
To replace one of the displayed default funds with a different Giving Fund, click on the hand icon and select a fund. To add another Giving Fund to the list, tab through the list until a new line appears, click on the hand icon and select a fund. This fund will now be available from the drop list.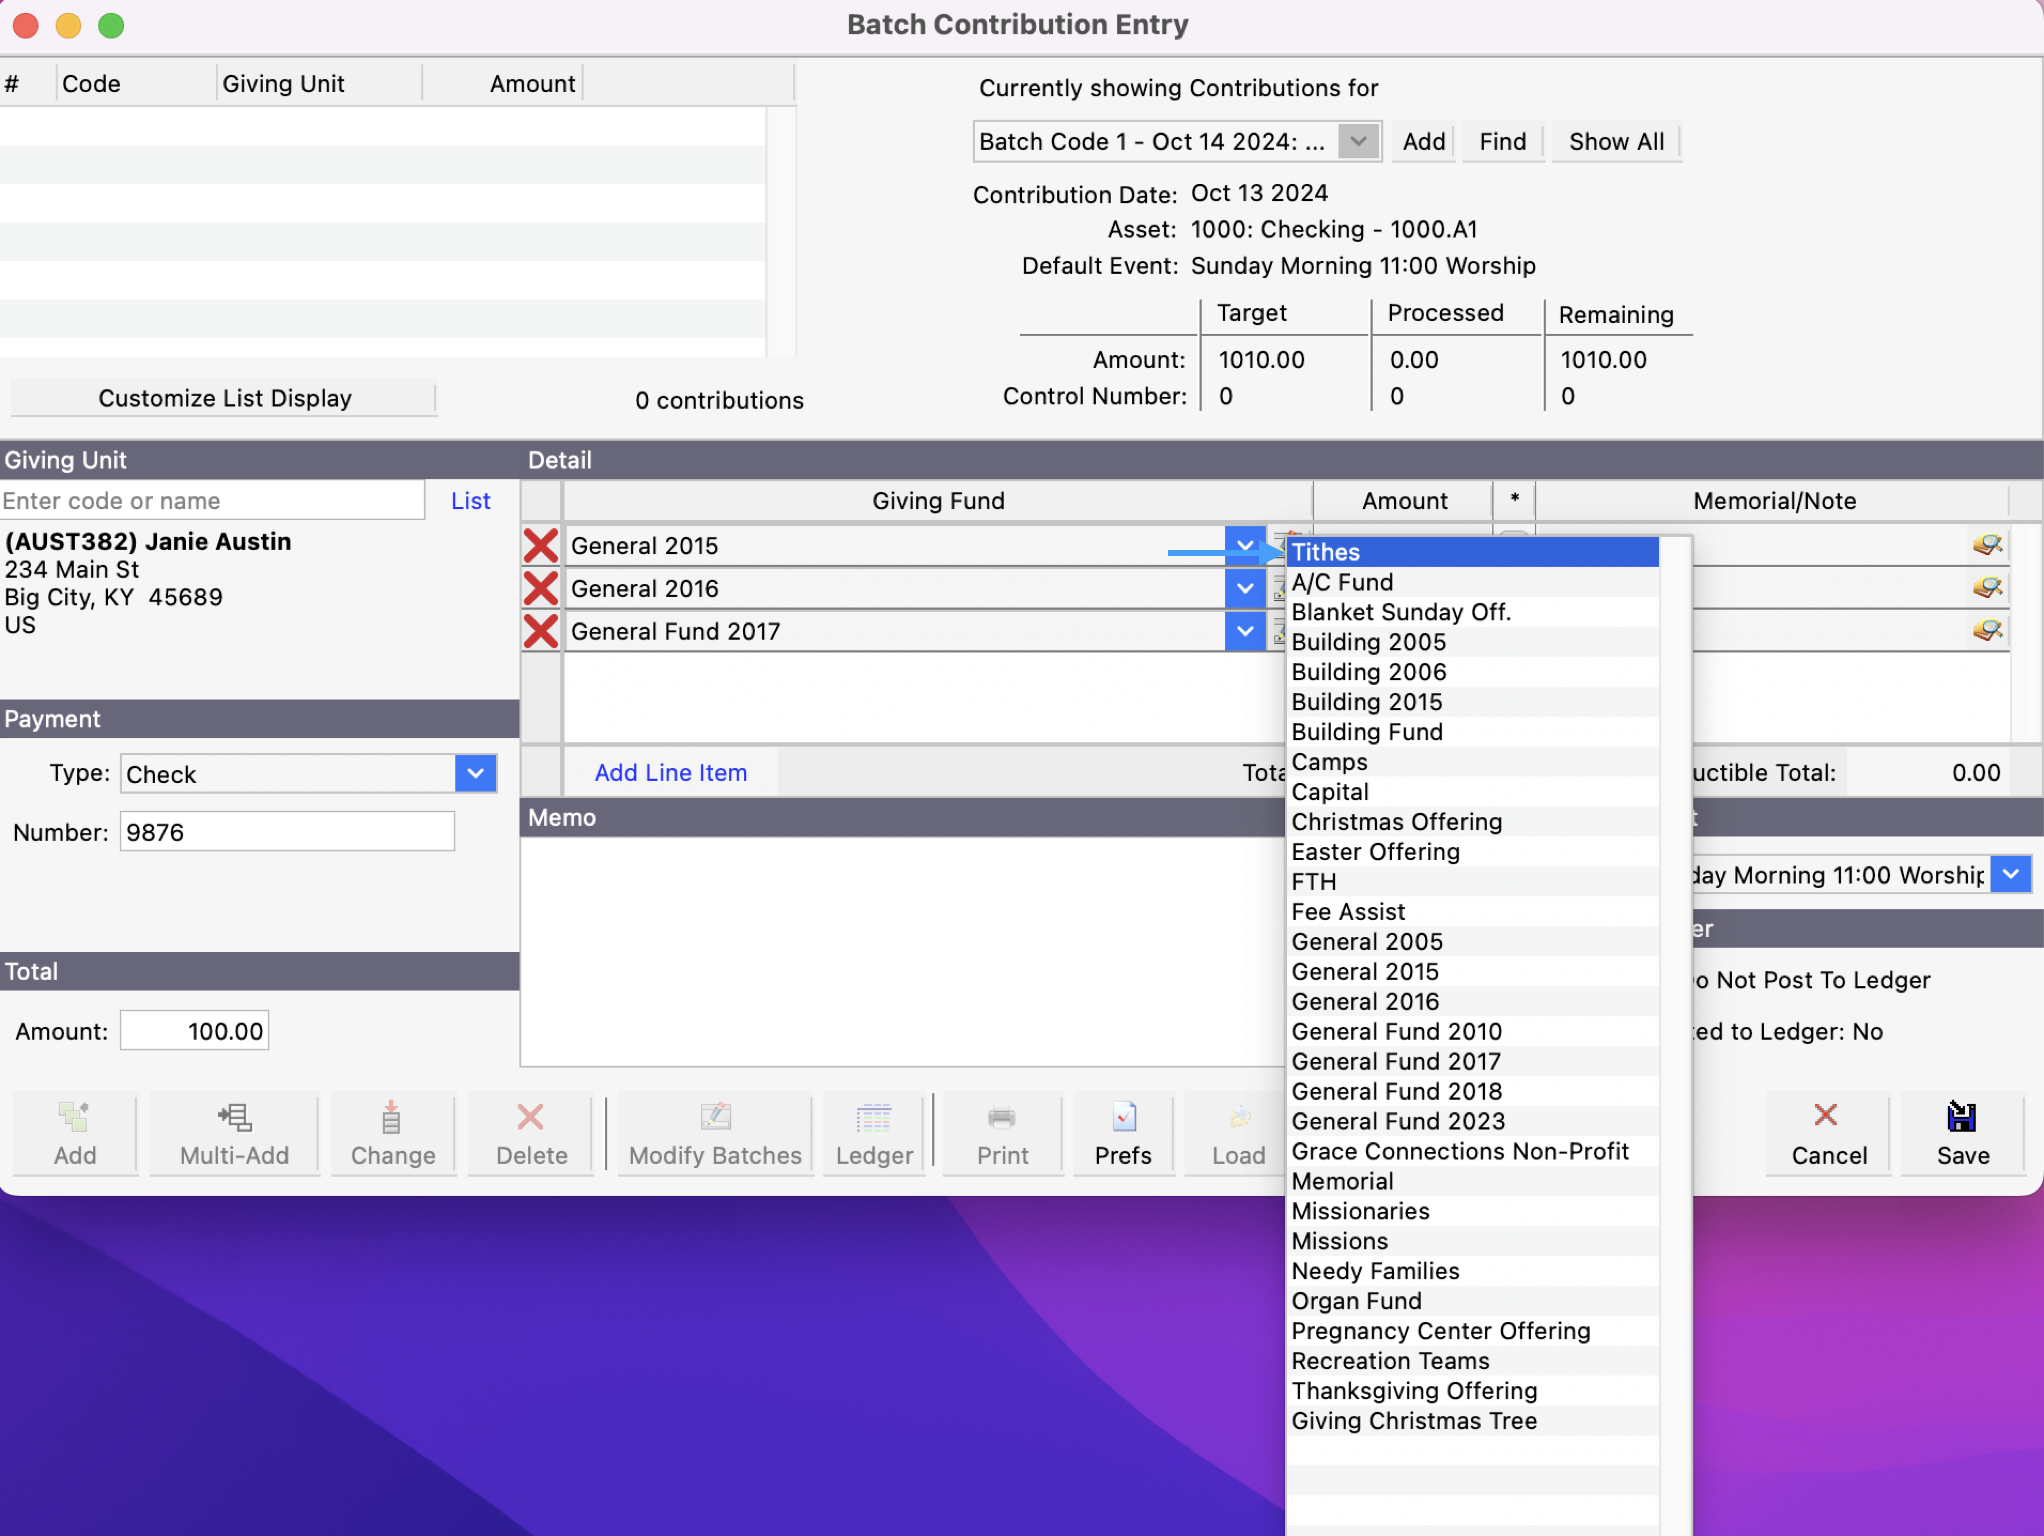
If you did not select default funds when creating the batch and did not set your System Preferences to automatically load a detail line for each default fund for the selected batch, the first Giving Fund in your fund list will display. To choose a different fund, click on the down arrow and select it from the drop list. To add another Giving Fund to the list, tab through the list until a new line appears, click on the down arrow and select a fund.
If a donation is Not Tax Deductible, click the checkbox below the asterisk. If, when setting up , you specified a fund as Not Tax Deductible this box will already be checked. If this particular donation is tax deductible, uncheck the box.
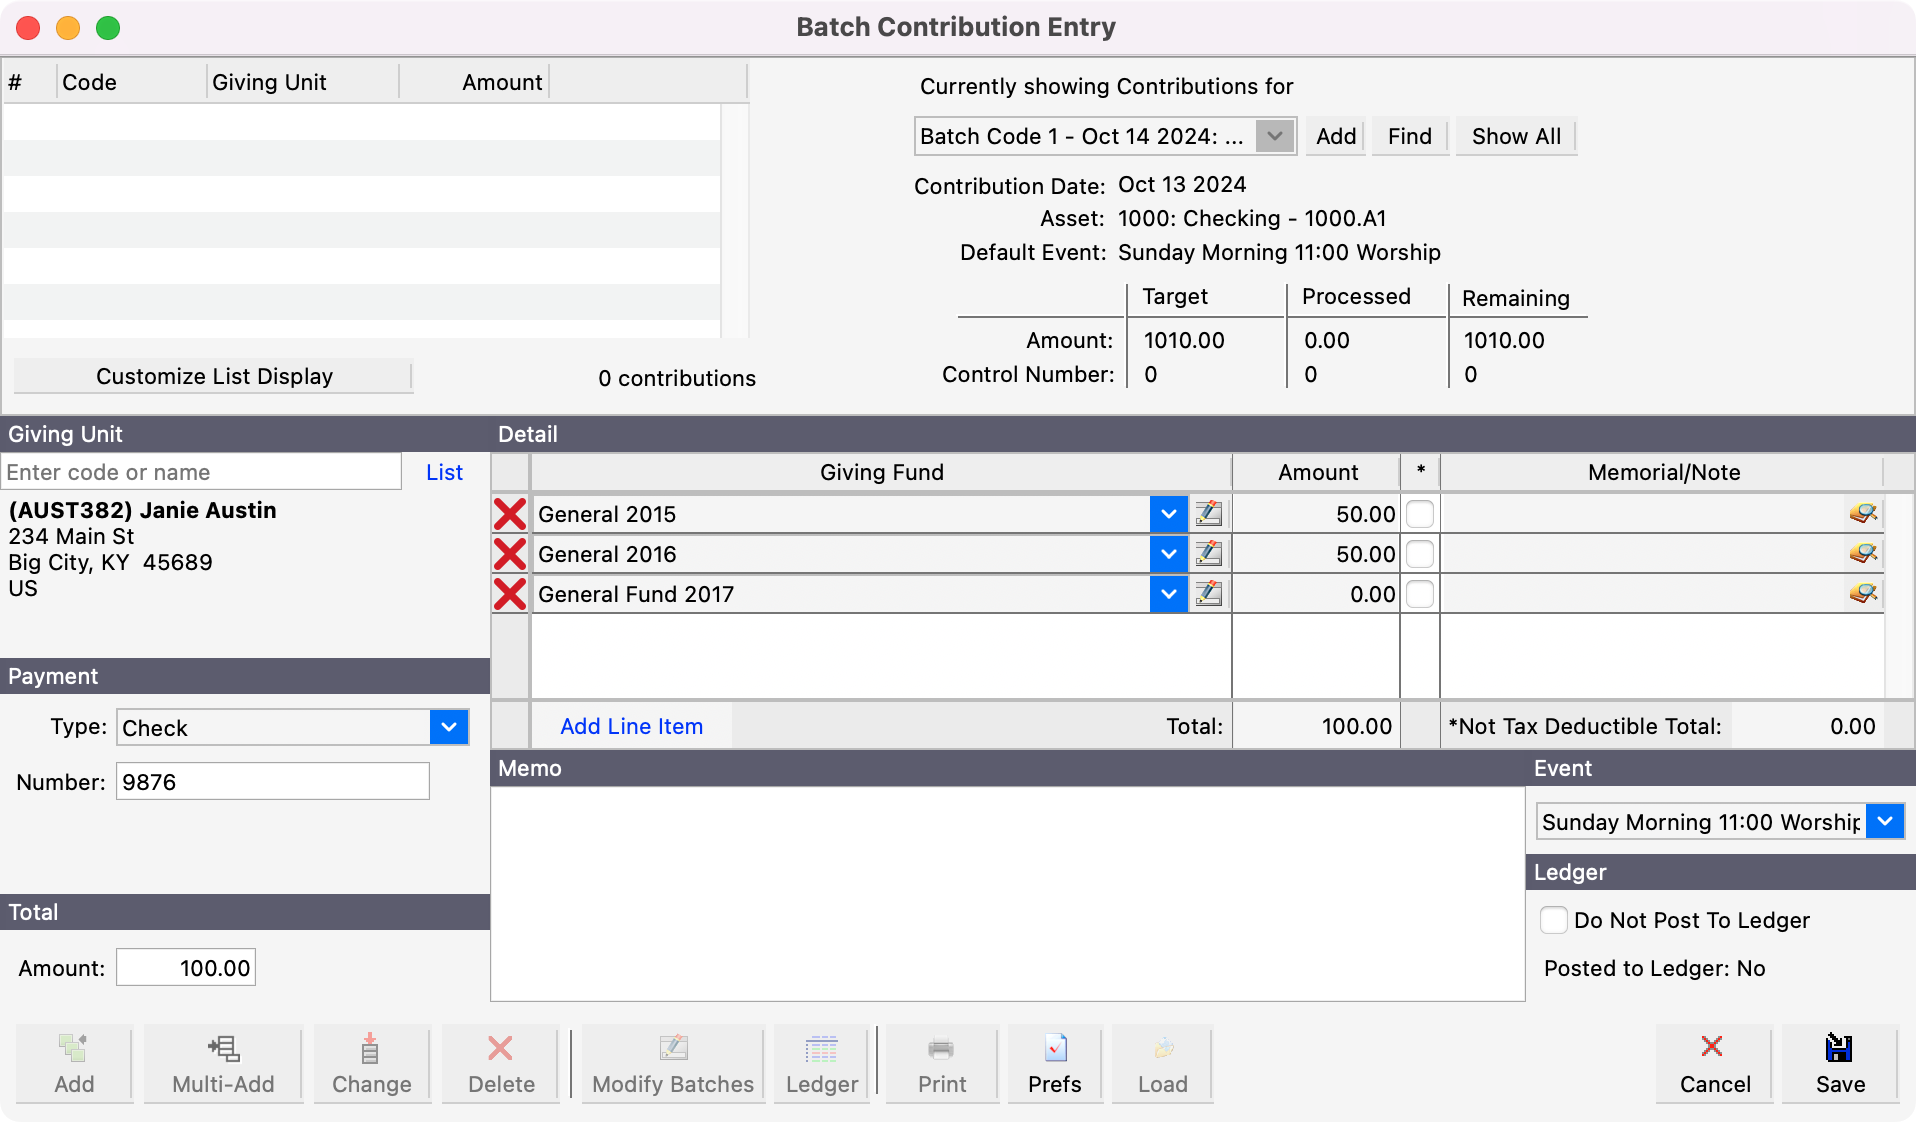
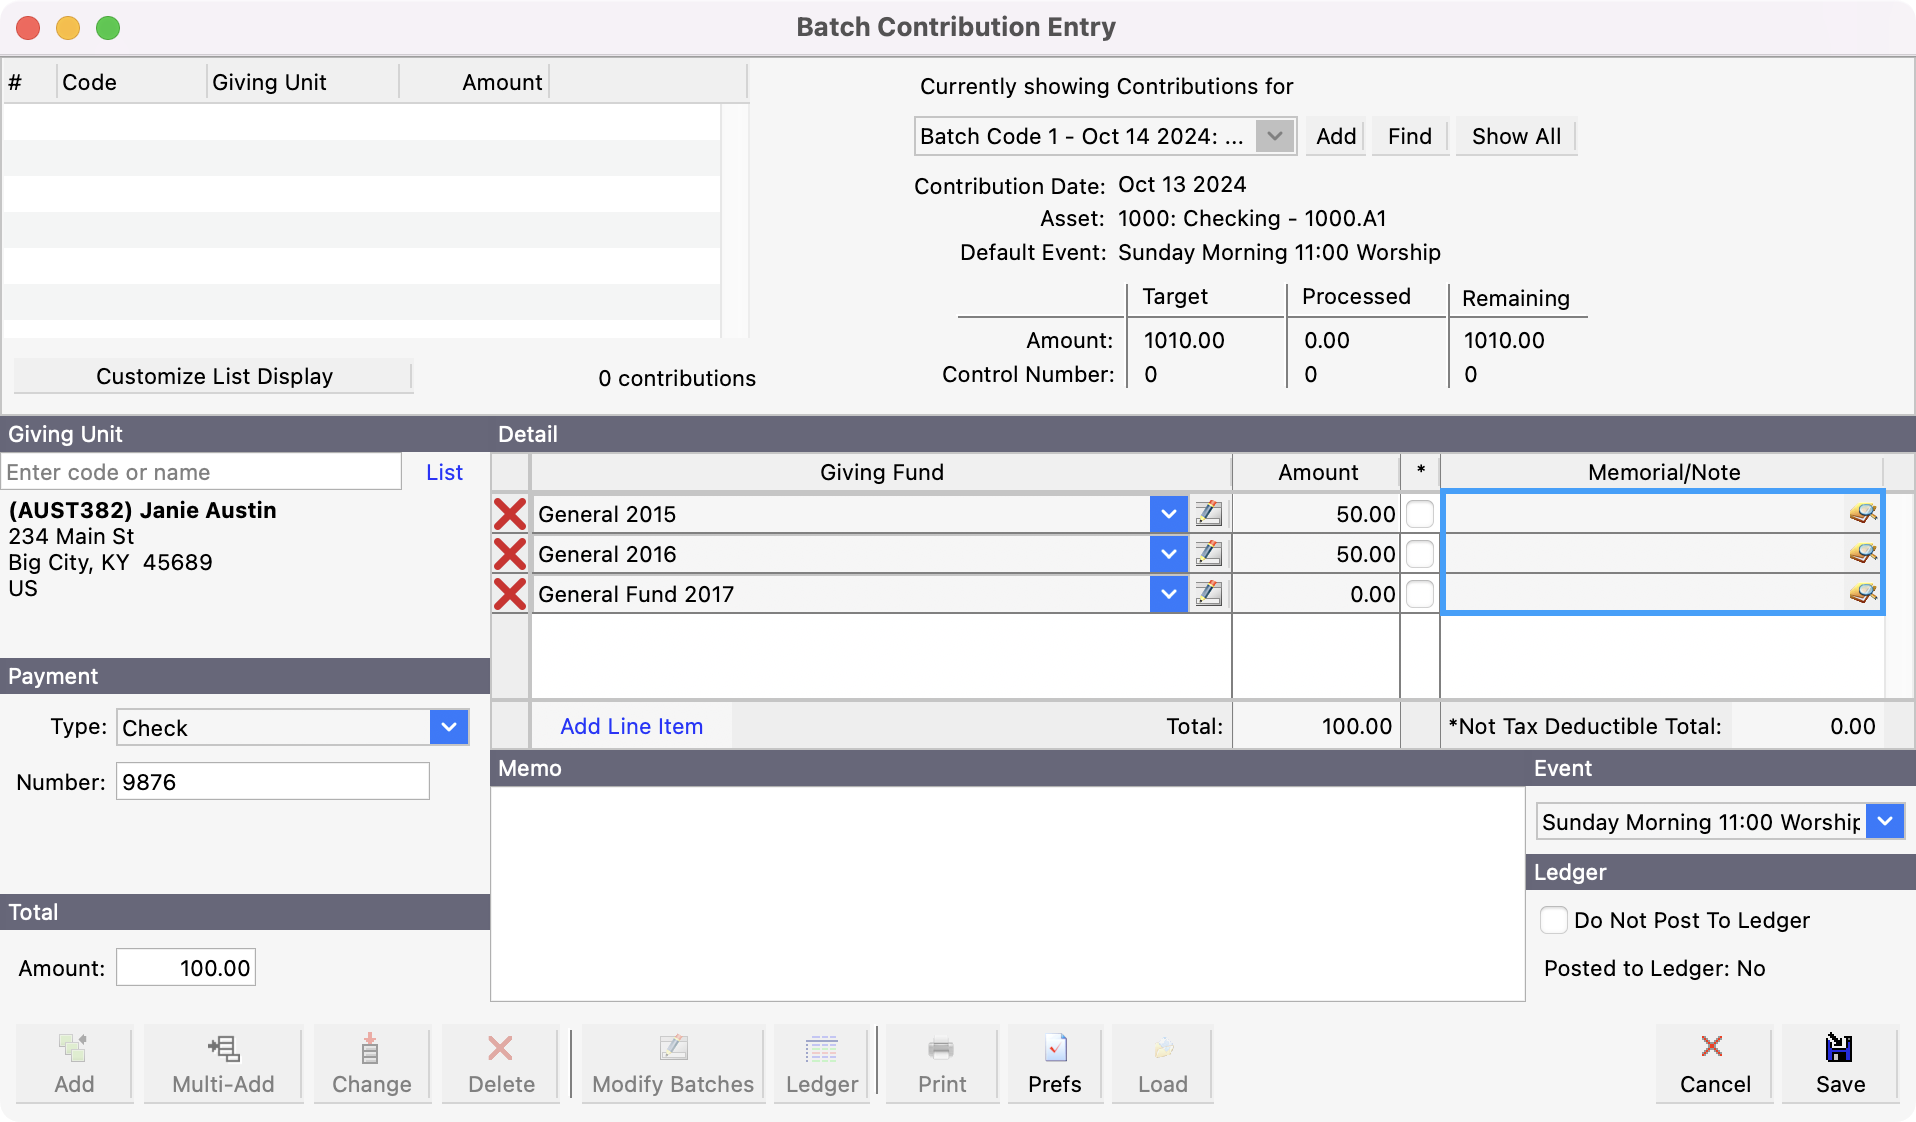
6. You may type any note particular to this donation in the Note field. If you have enabled linking to CDM+ Memorial Gifts on the Contributions Setup window, this field will be named Memorial/Note and you’ll see a magnified document icon. See the Memorial Gifts section of this manual for more information on entering memorial gifts.
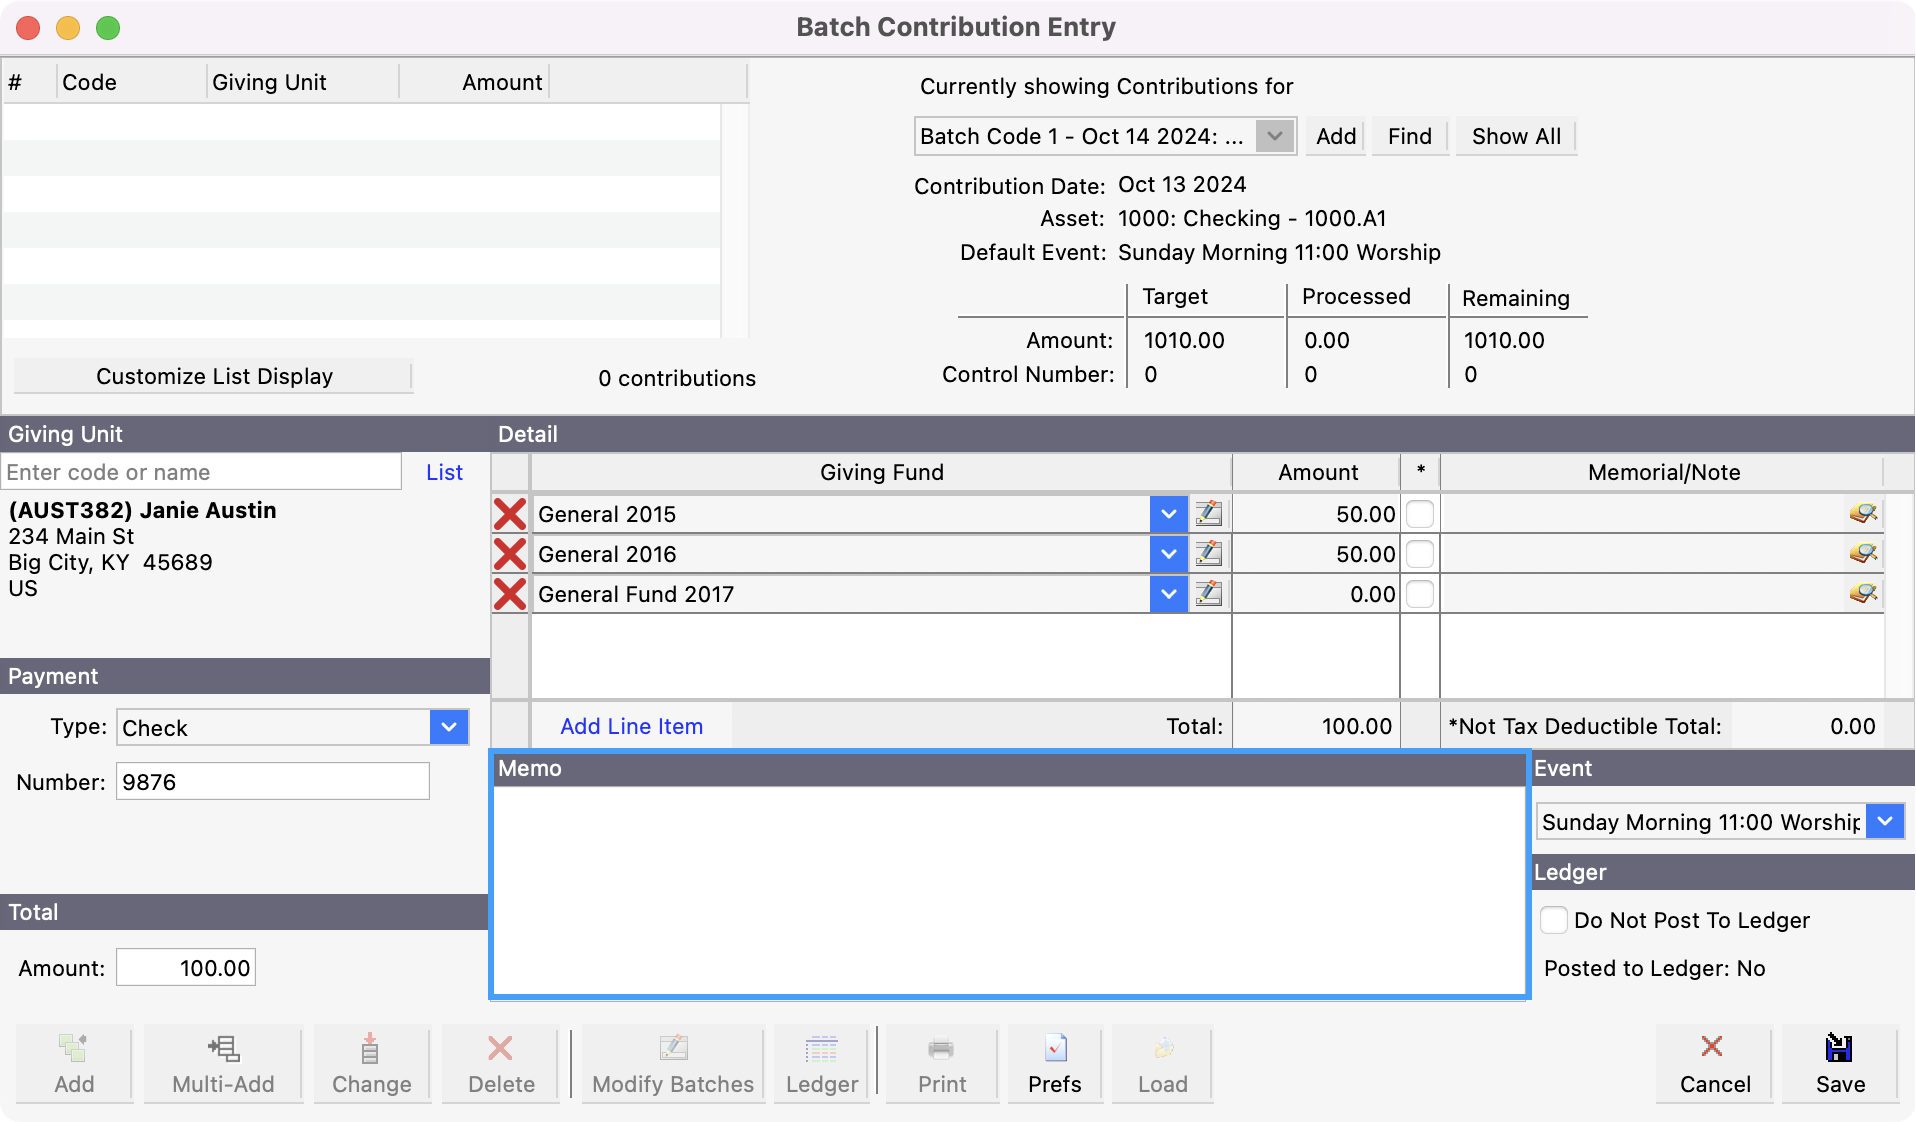
7. If you wish to add any comments related to this entry, place your cursor in the Memo box and type.
-
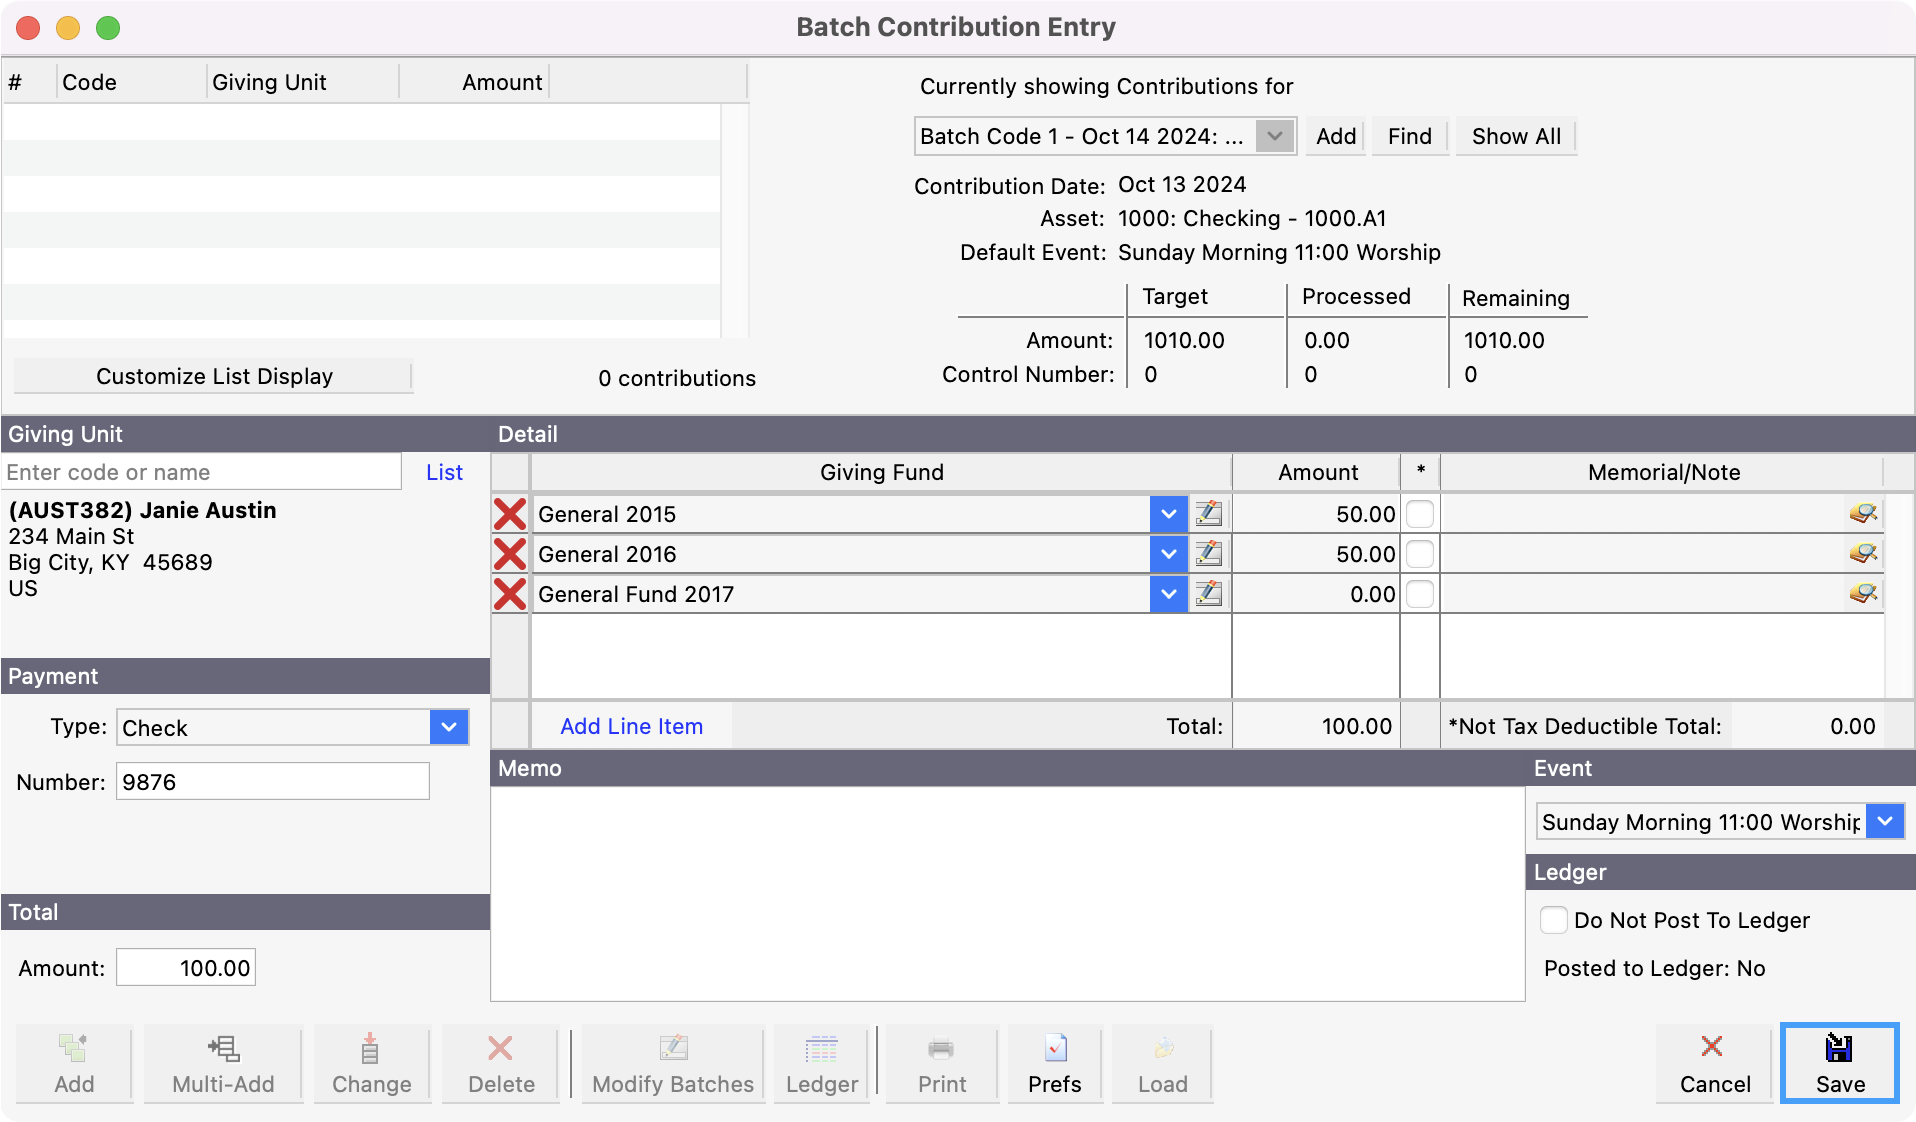
Click Save to save this contribution entry. If you are in Multi-Add mode, you will be ready to enter the next contribution.
When you are finished entering contributions in Multi-Add, click Finish.
-
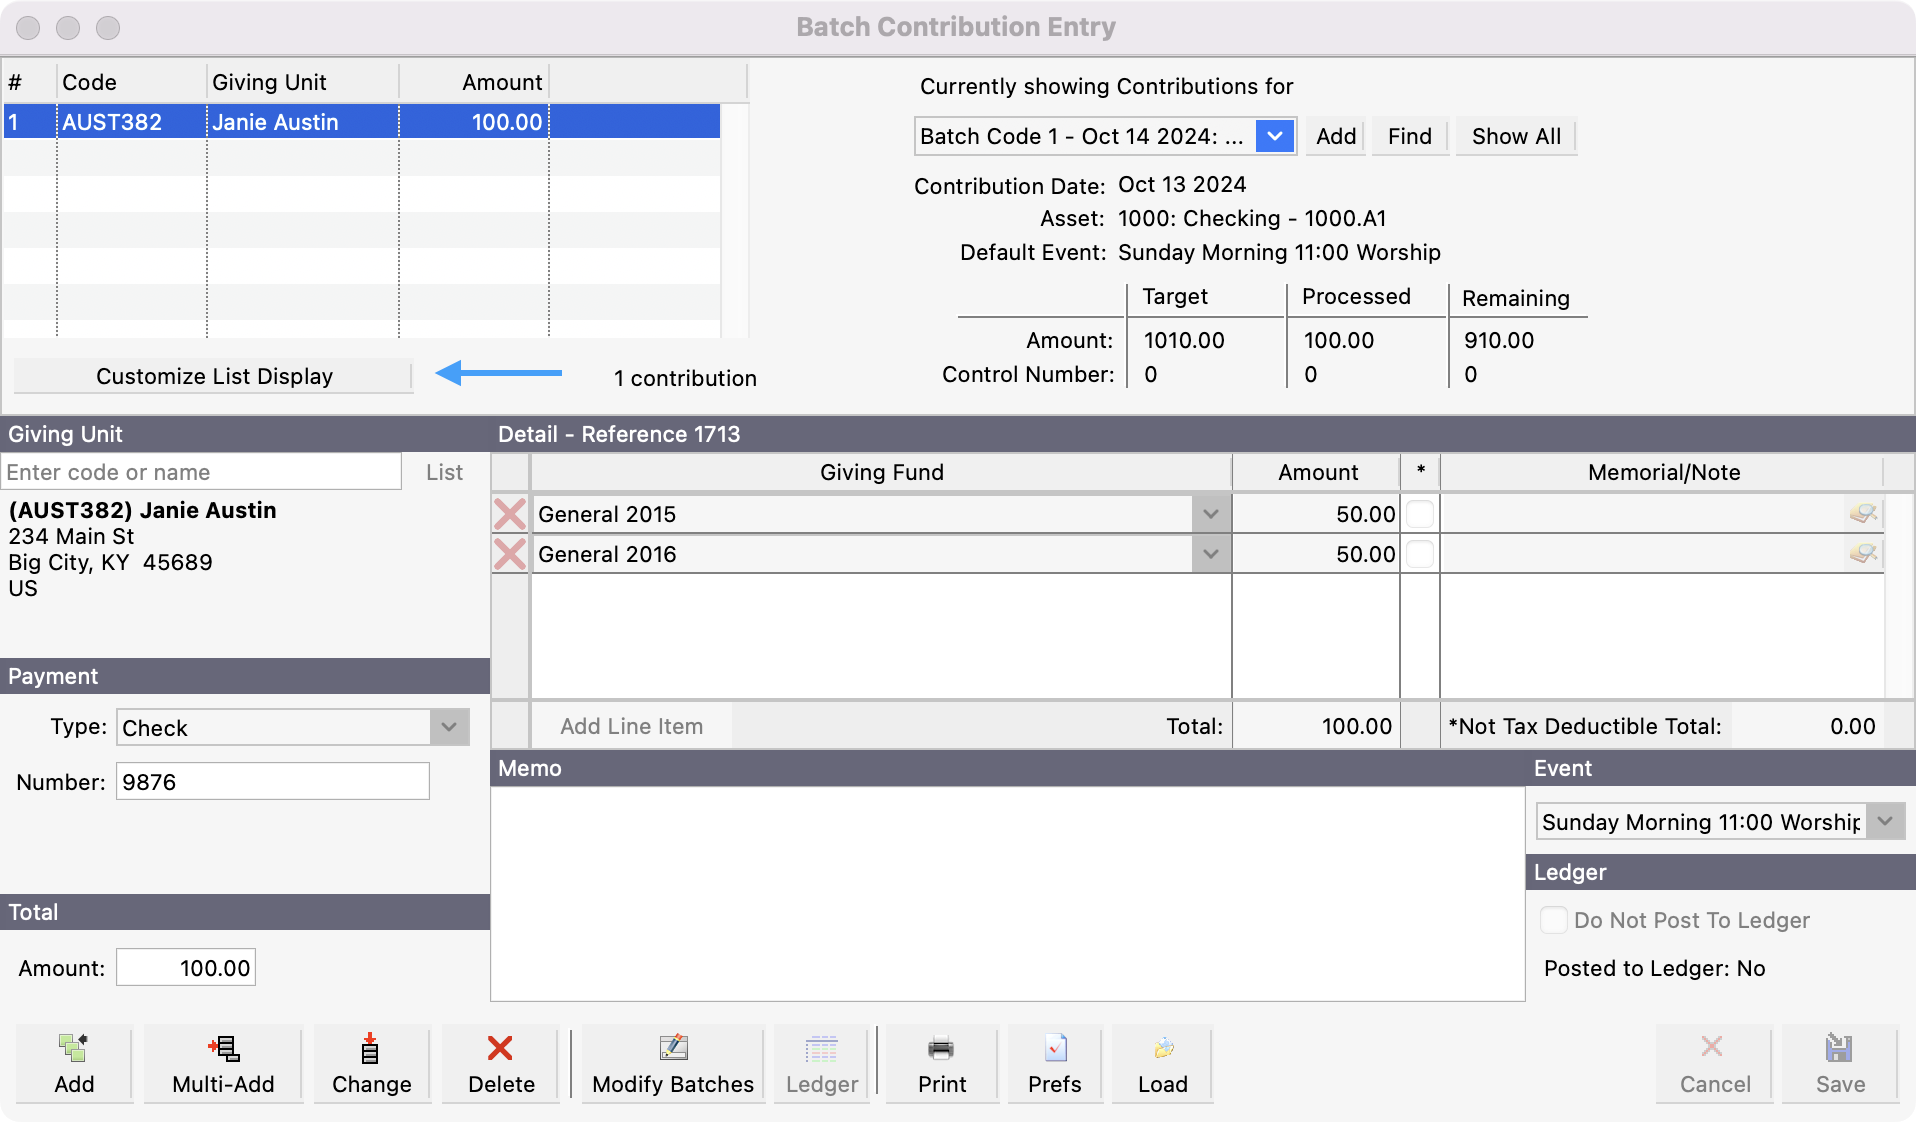
As you enter each contribution in the batch, it will be added to a list in the top left corner of the Batch Contributions window.
-
To change the type of information shown here, click on the Customize List Display button just below the list.
-
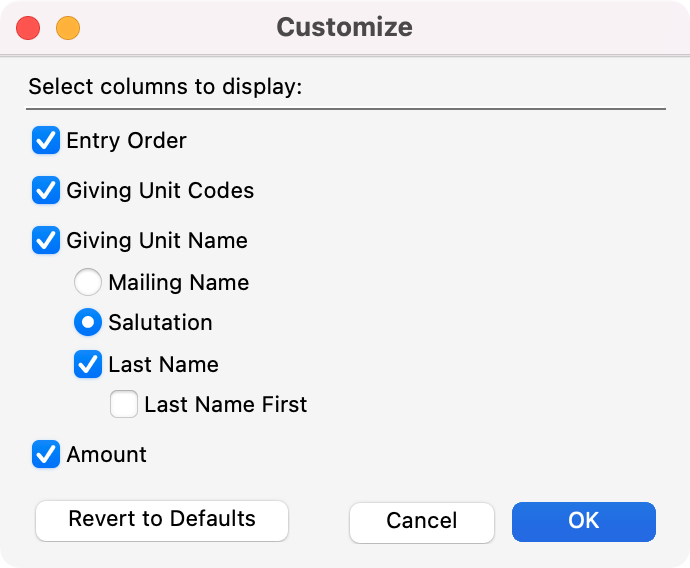
Choose the columns to display in the list of contributions by clicking on or off the various checkboxes. Click OK when you are finished. Click on Revert to Defaults to return to displaying only the Giving Unit and Amount.
Tip: The list of contributions may be sorted by clicking on any of the column headings.
-
Also as you enter in contributions, if you entered an Amount when setting up a Batch, you will see helpful guides such as Target, Processed, and Remaining.
Anytime you are entering contributions through Batch Contributions Entry, you may stop (Be sure to Save or click Finish in Multi-Add mode.) and return to finish entering gifts later. Just select the batch and click Add or Multi-Add and resume entering donations.
To edit existing contributions entries, click on Change. To delete an existing entry, highlight it in the Giving Unit list and click on Delete. Click on the Print button to open the Report Setup window for the Daily Report of Giving.