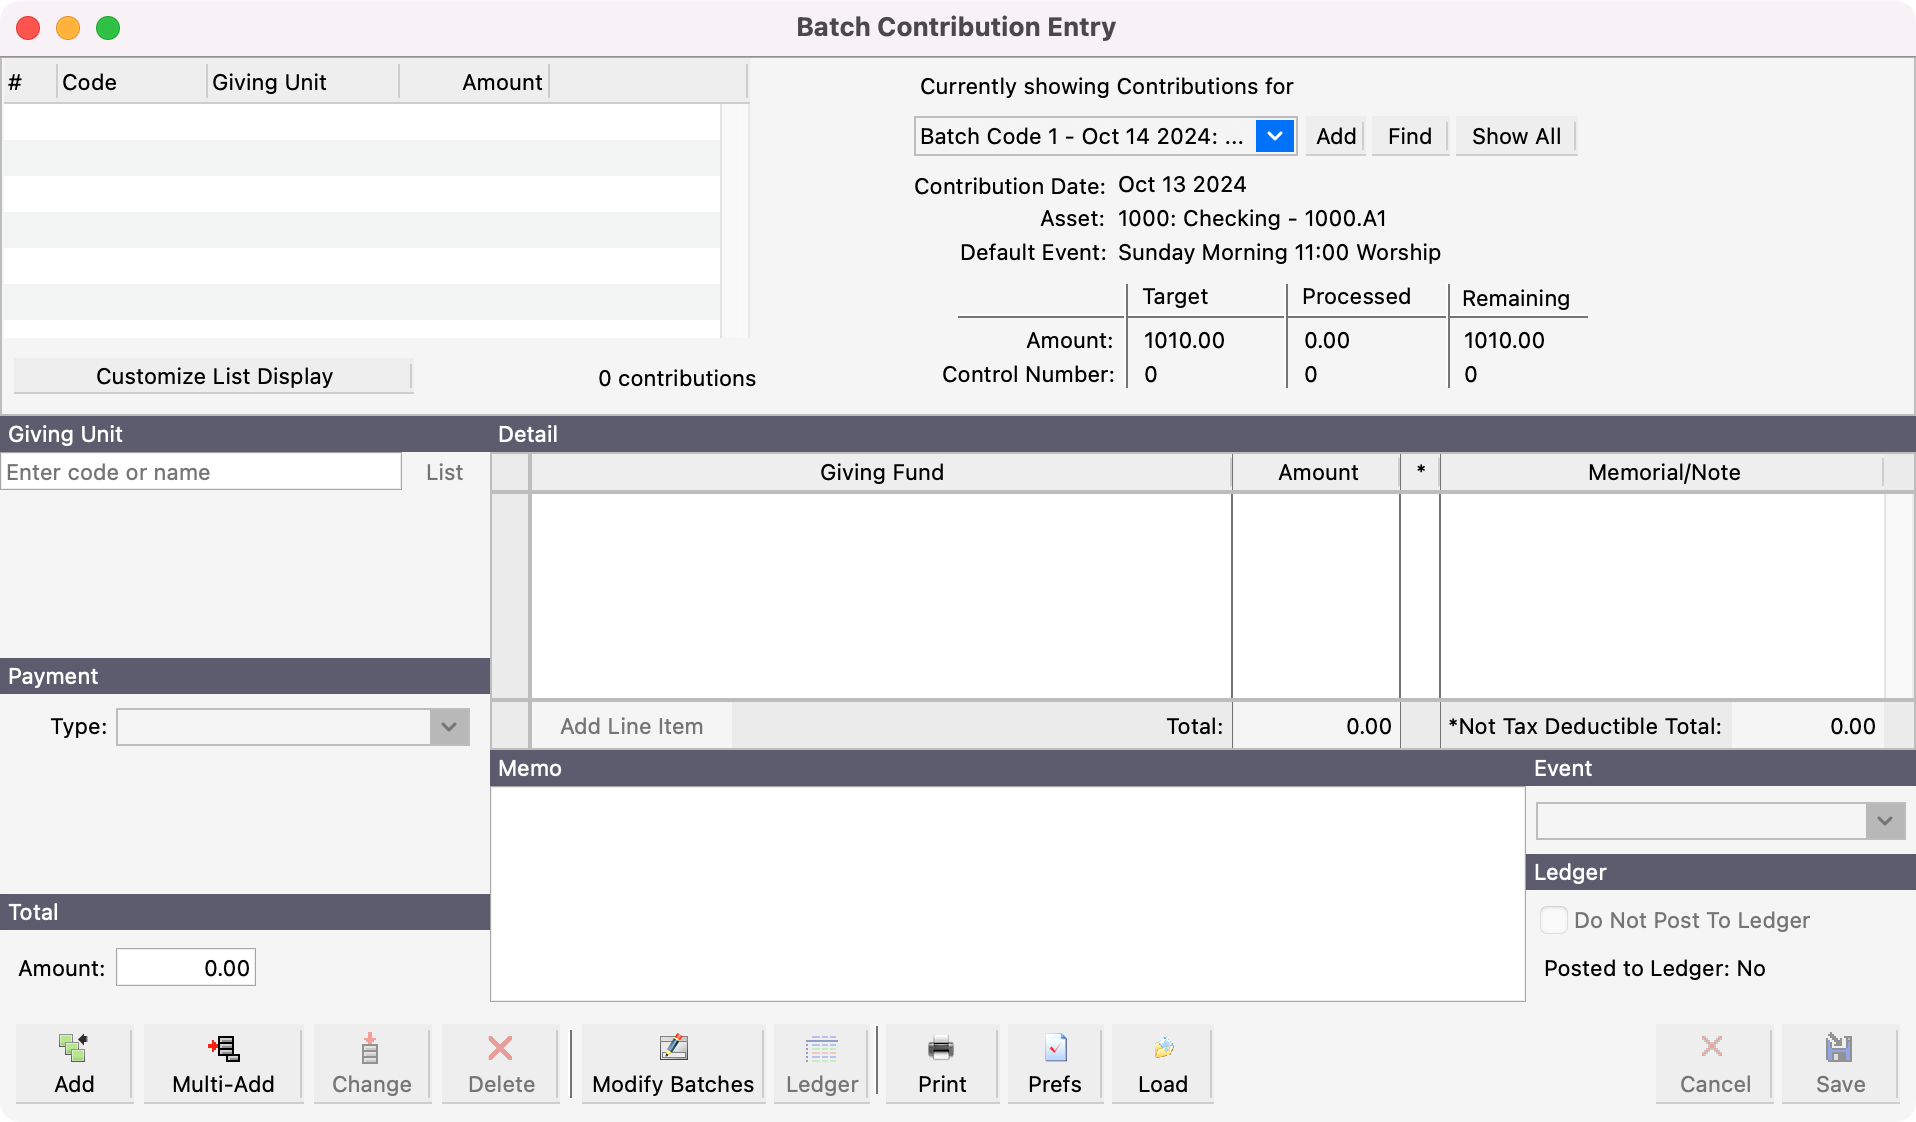
Creating a New Batch
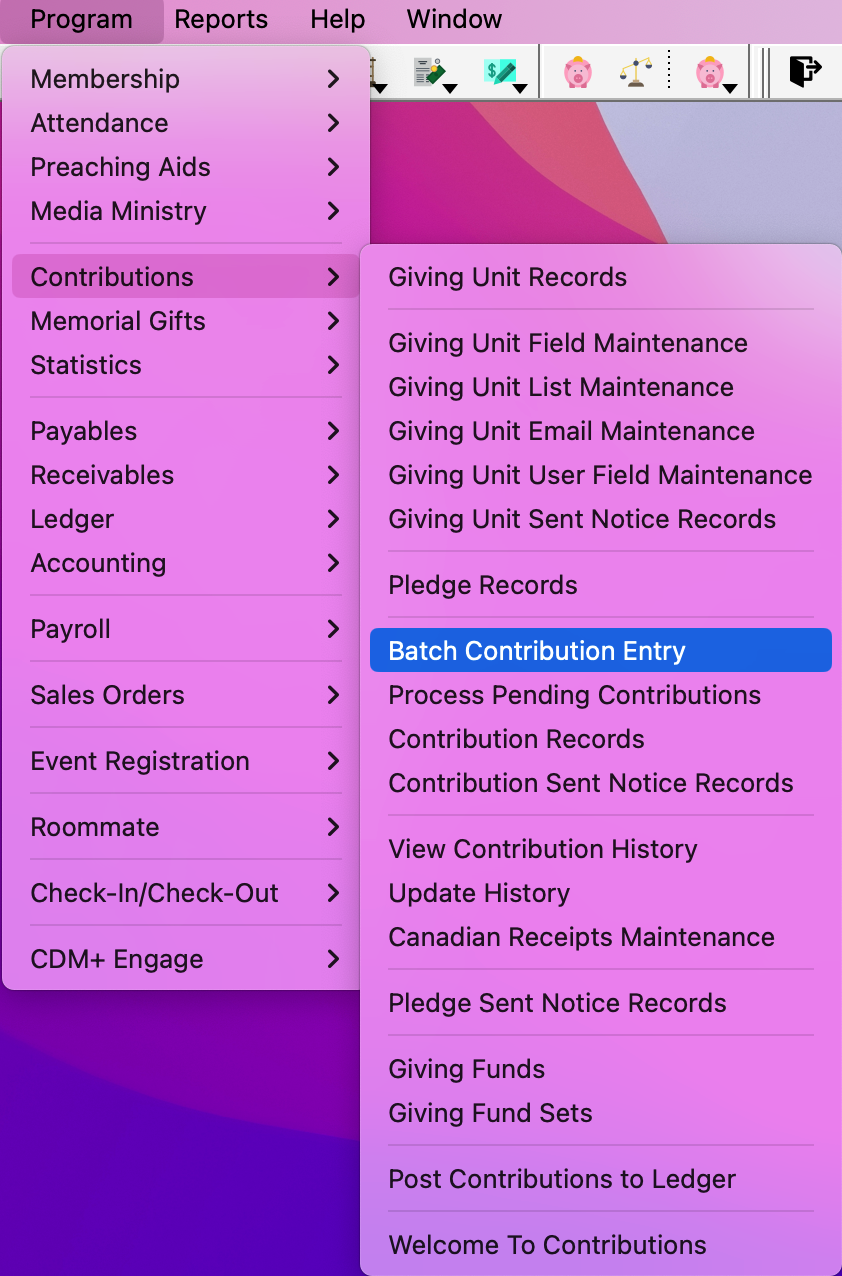
To create a new batch, go to Program → Contributions → Batch Contribution Entry.
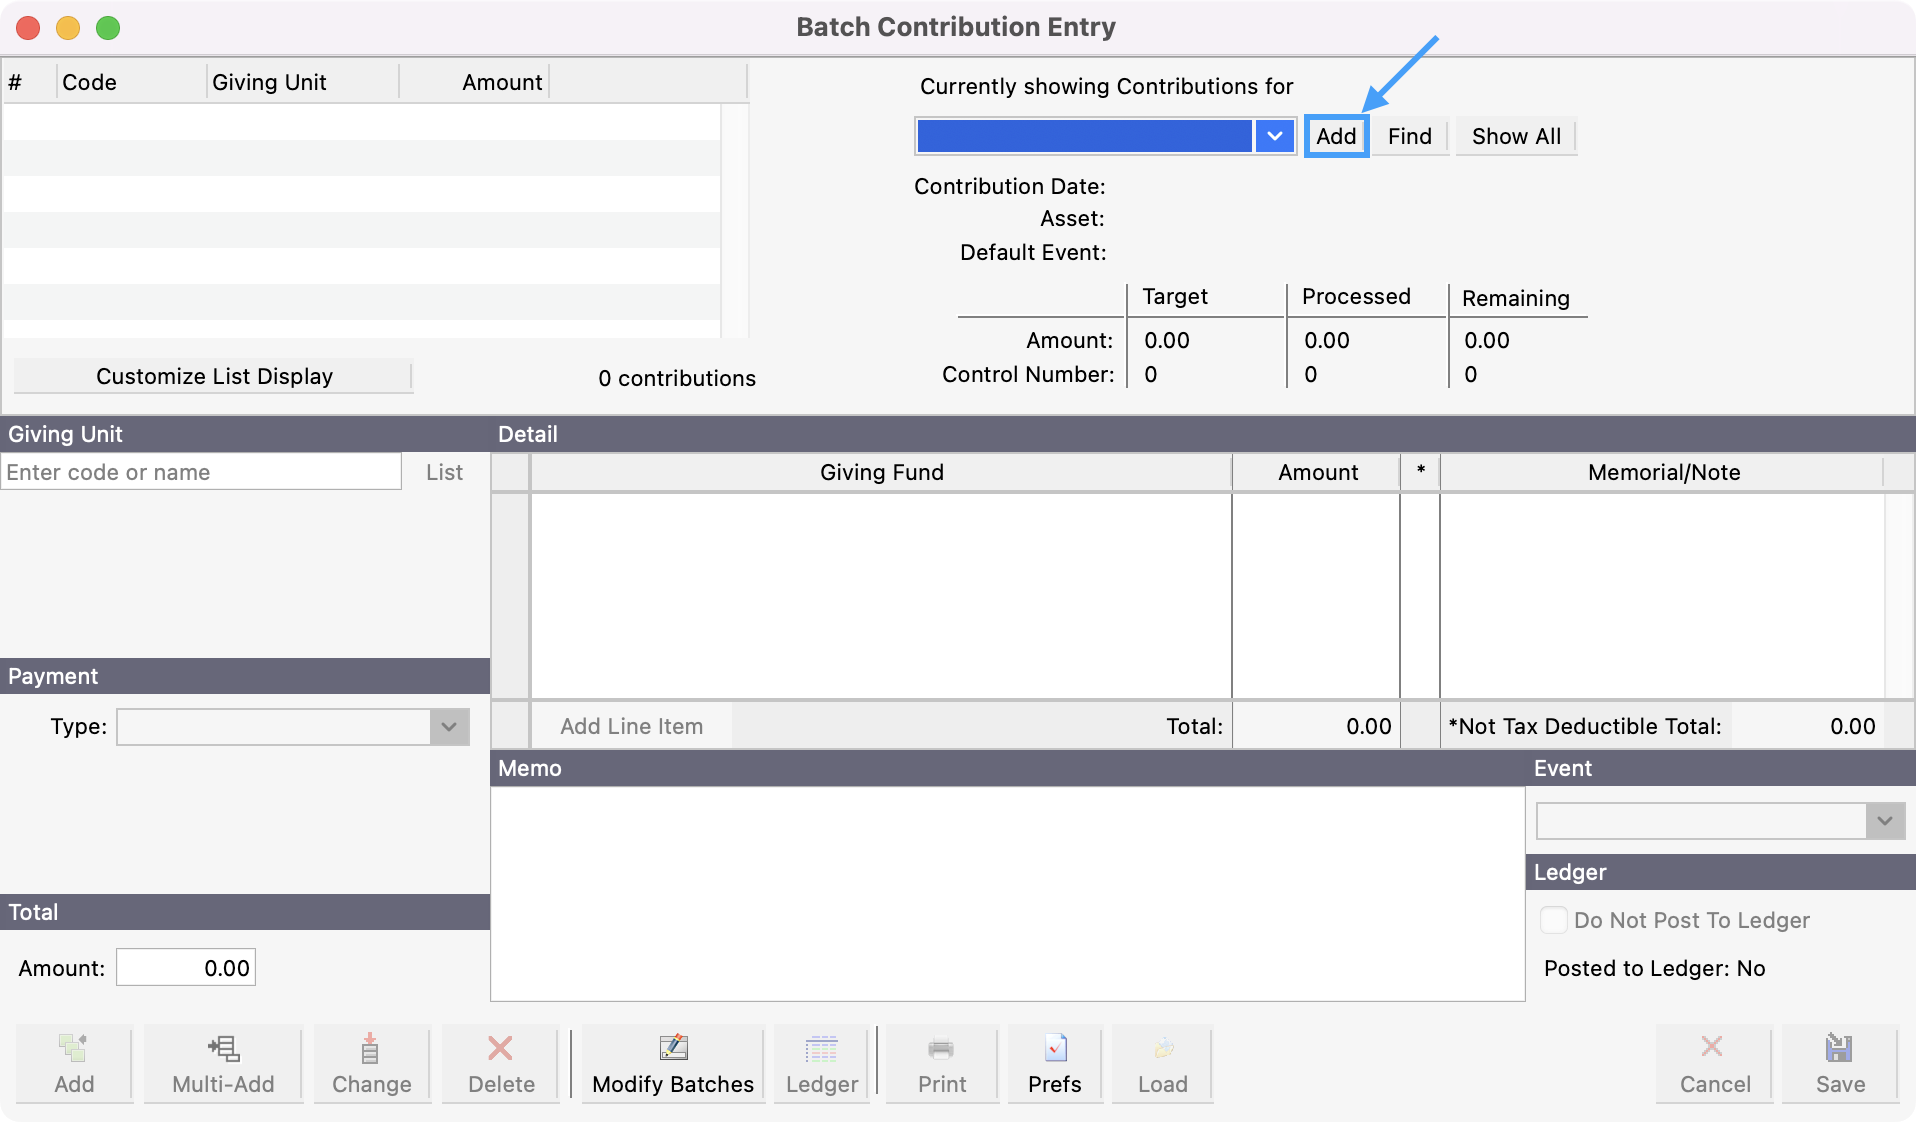
In the Batch Contribution Entry window, click Add.
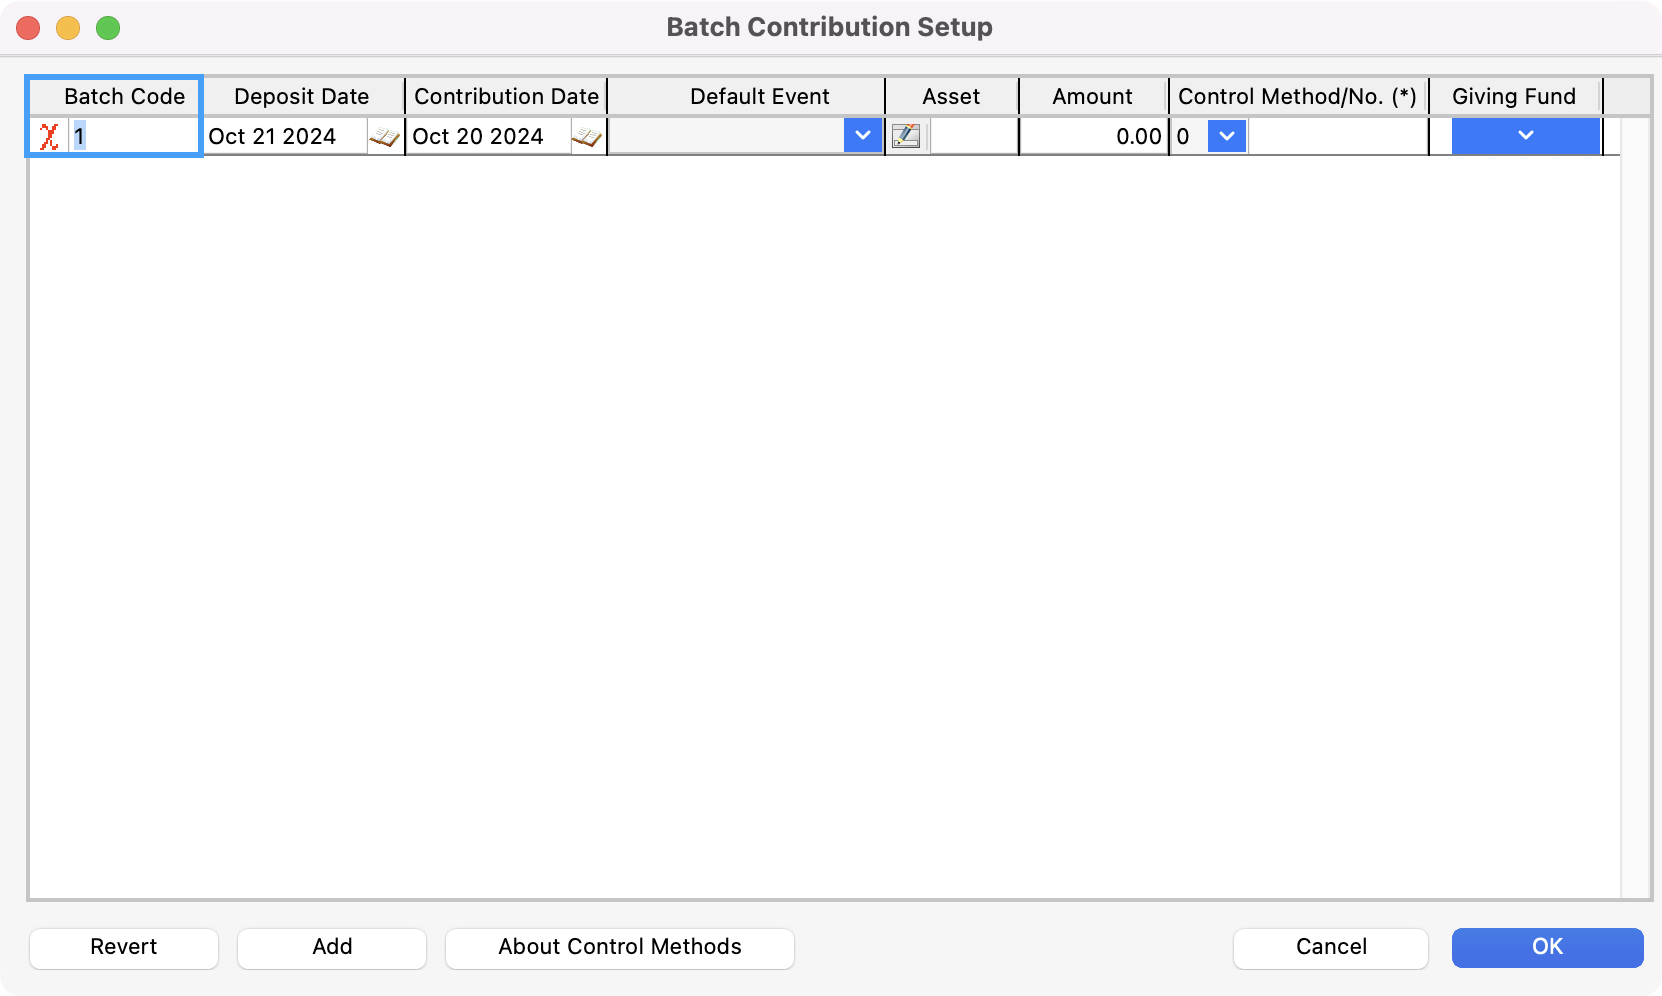
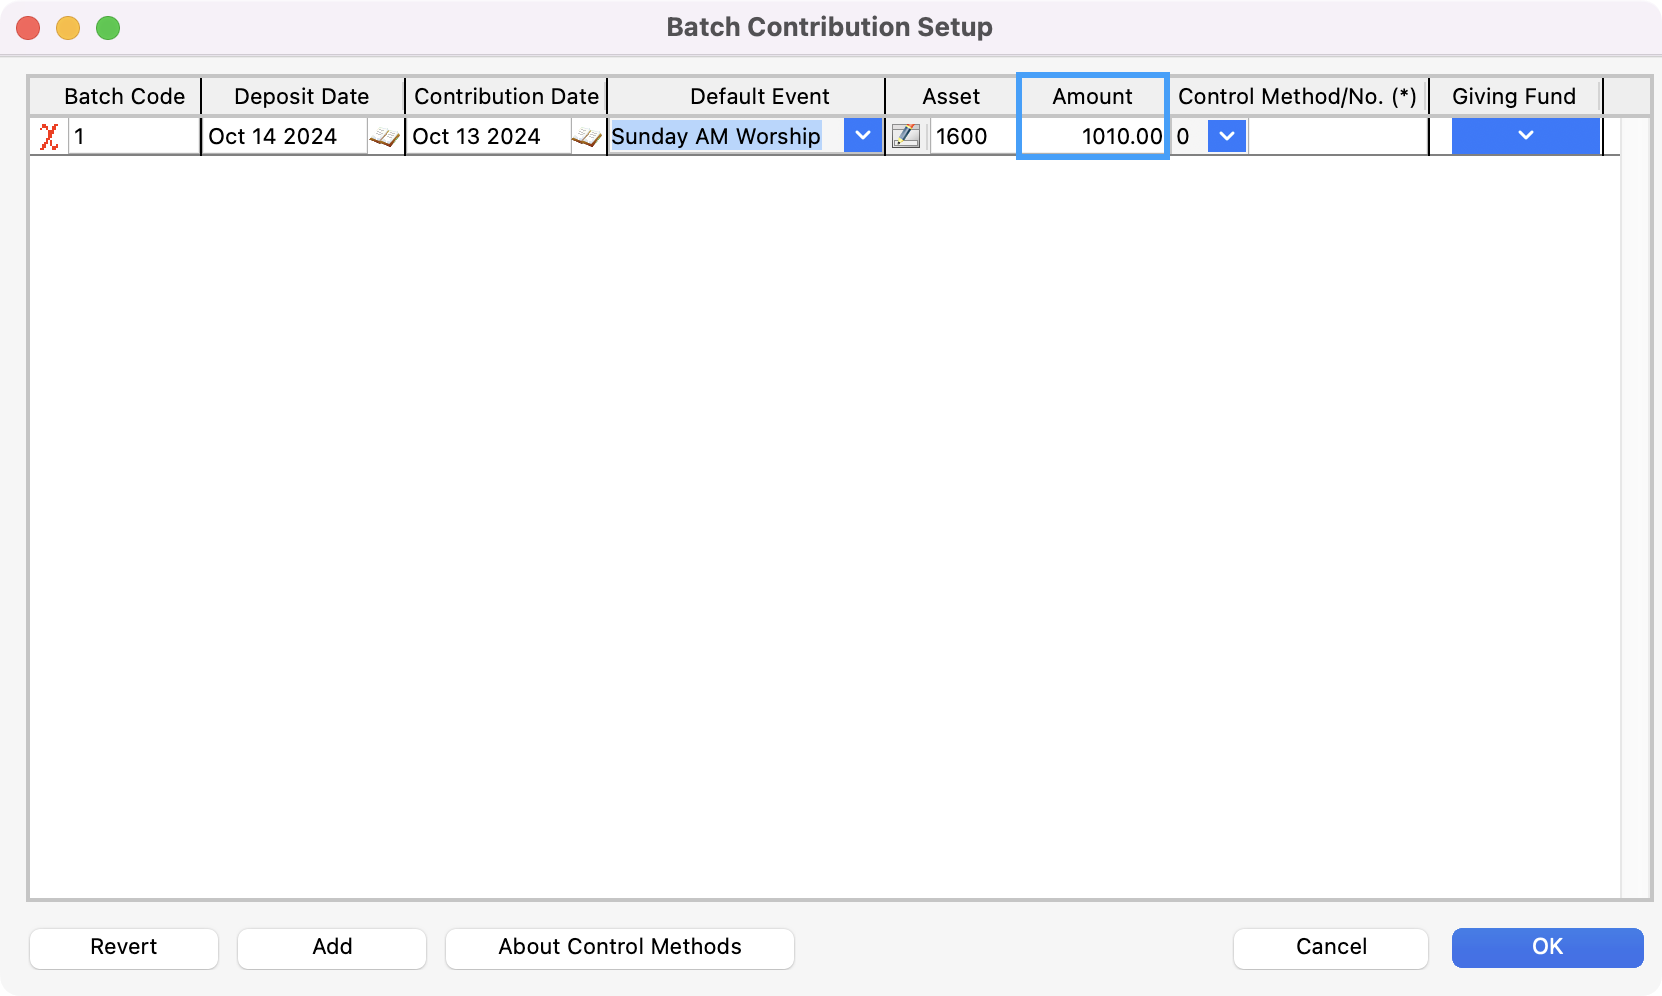
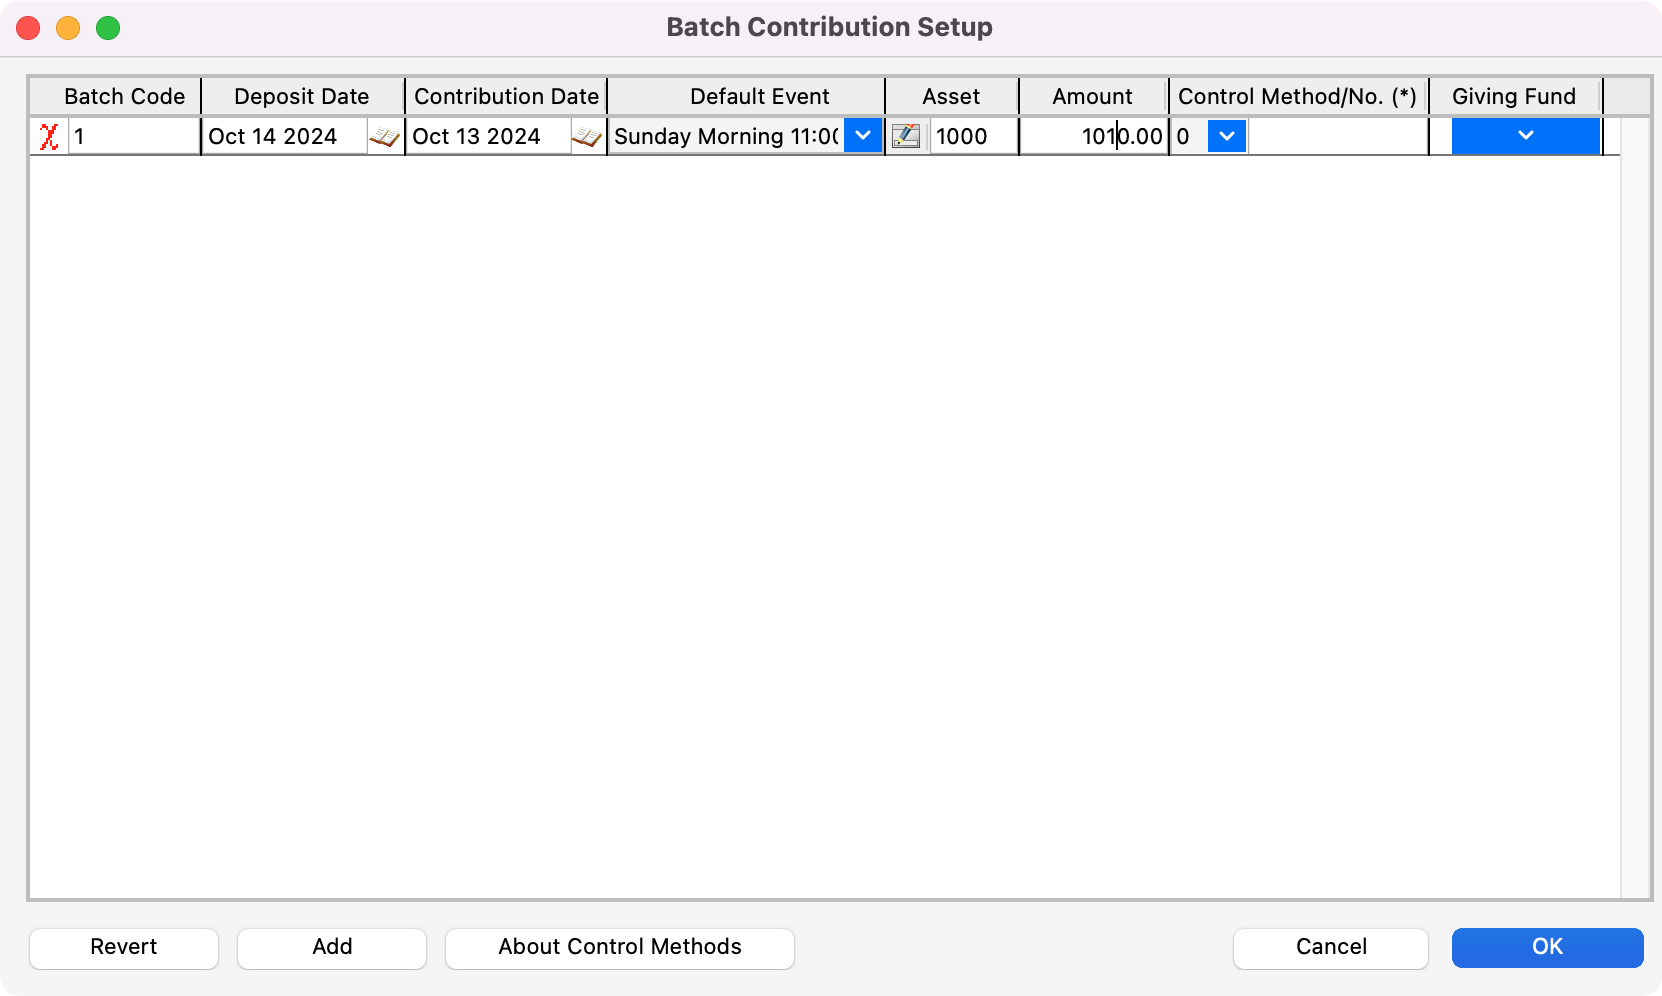
The Batch Contributions Setup window will open. You can first enter a Batch Code. A Batch Code allows you to divide the contributions into different batches. You can do this in order to help distribute the workload amongst those entering contributions and use it as a reference point to search upon. You can use an alpha/numeric naming convention when creating a batch code.
Tip: You can use initials of those entering in batches as the batch codes to make it very clear who is in charge of a certain batch.
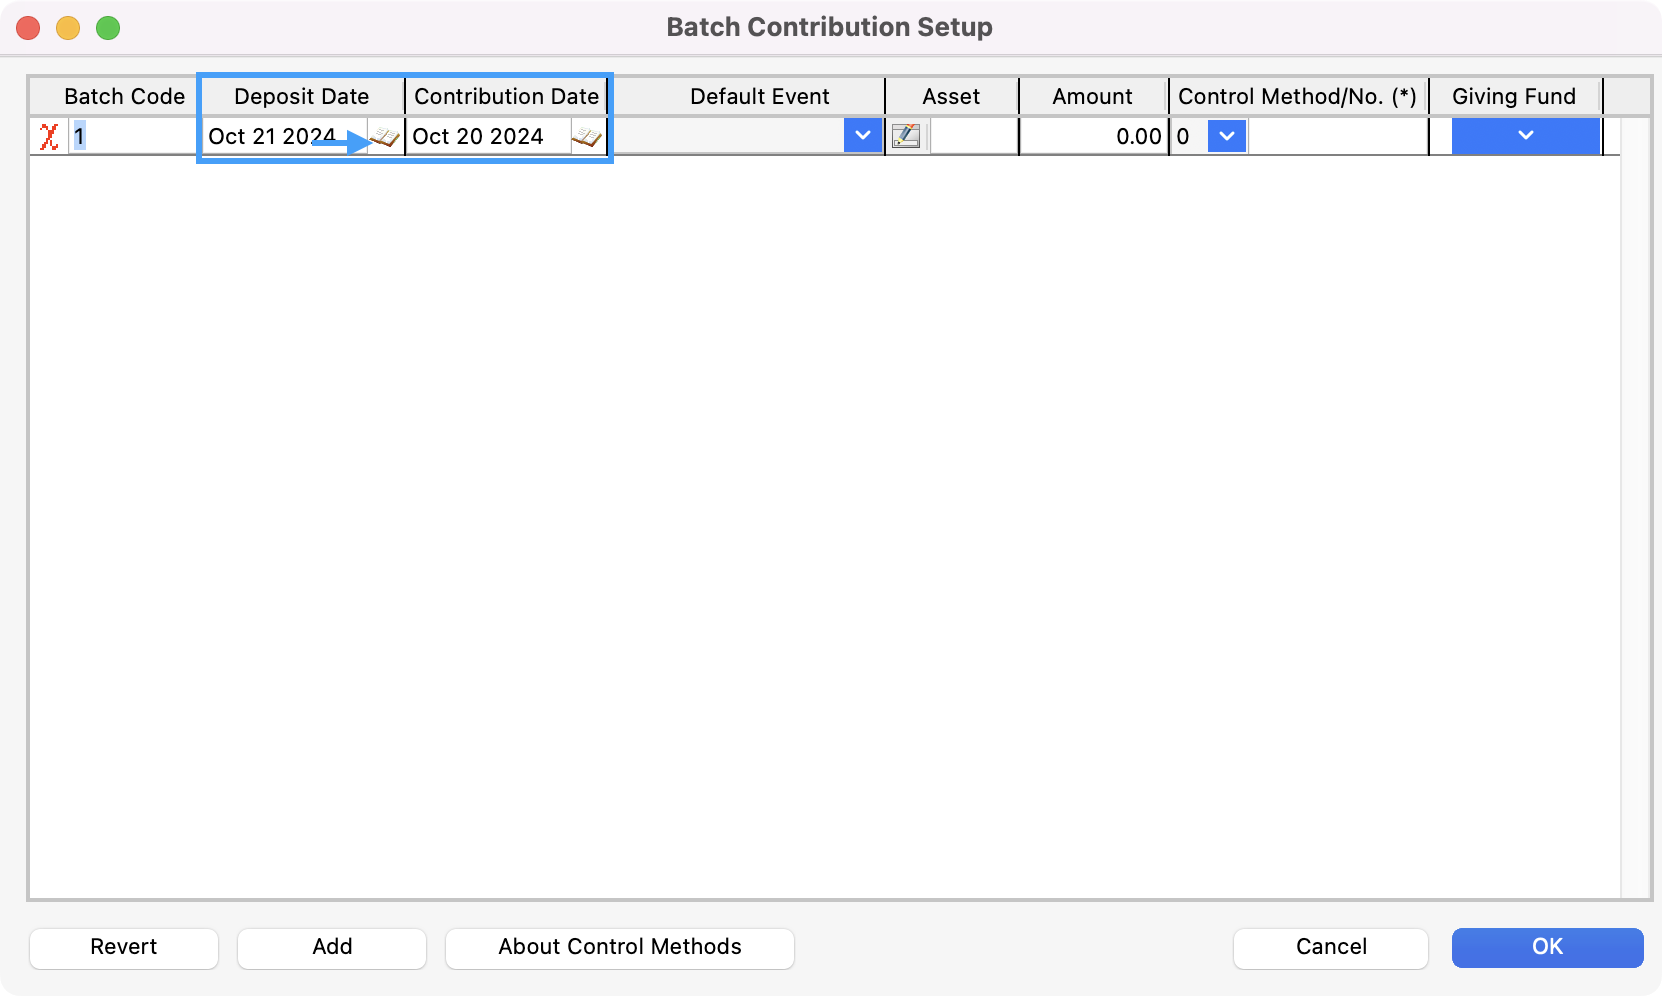
CDM+ will automatically show the previous Monday as the Deposit Date and the previous Sunday as the Contribution Date. If necessary, you can use the date picker to choose a different date.
Next, click the drop-down arrow next to Default Event to choose a Default Event or keep this field blank.
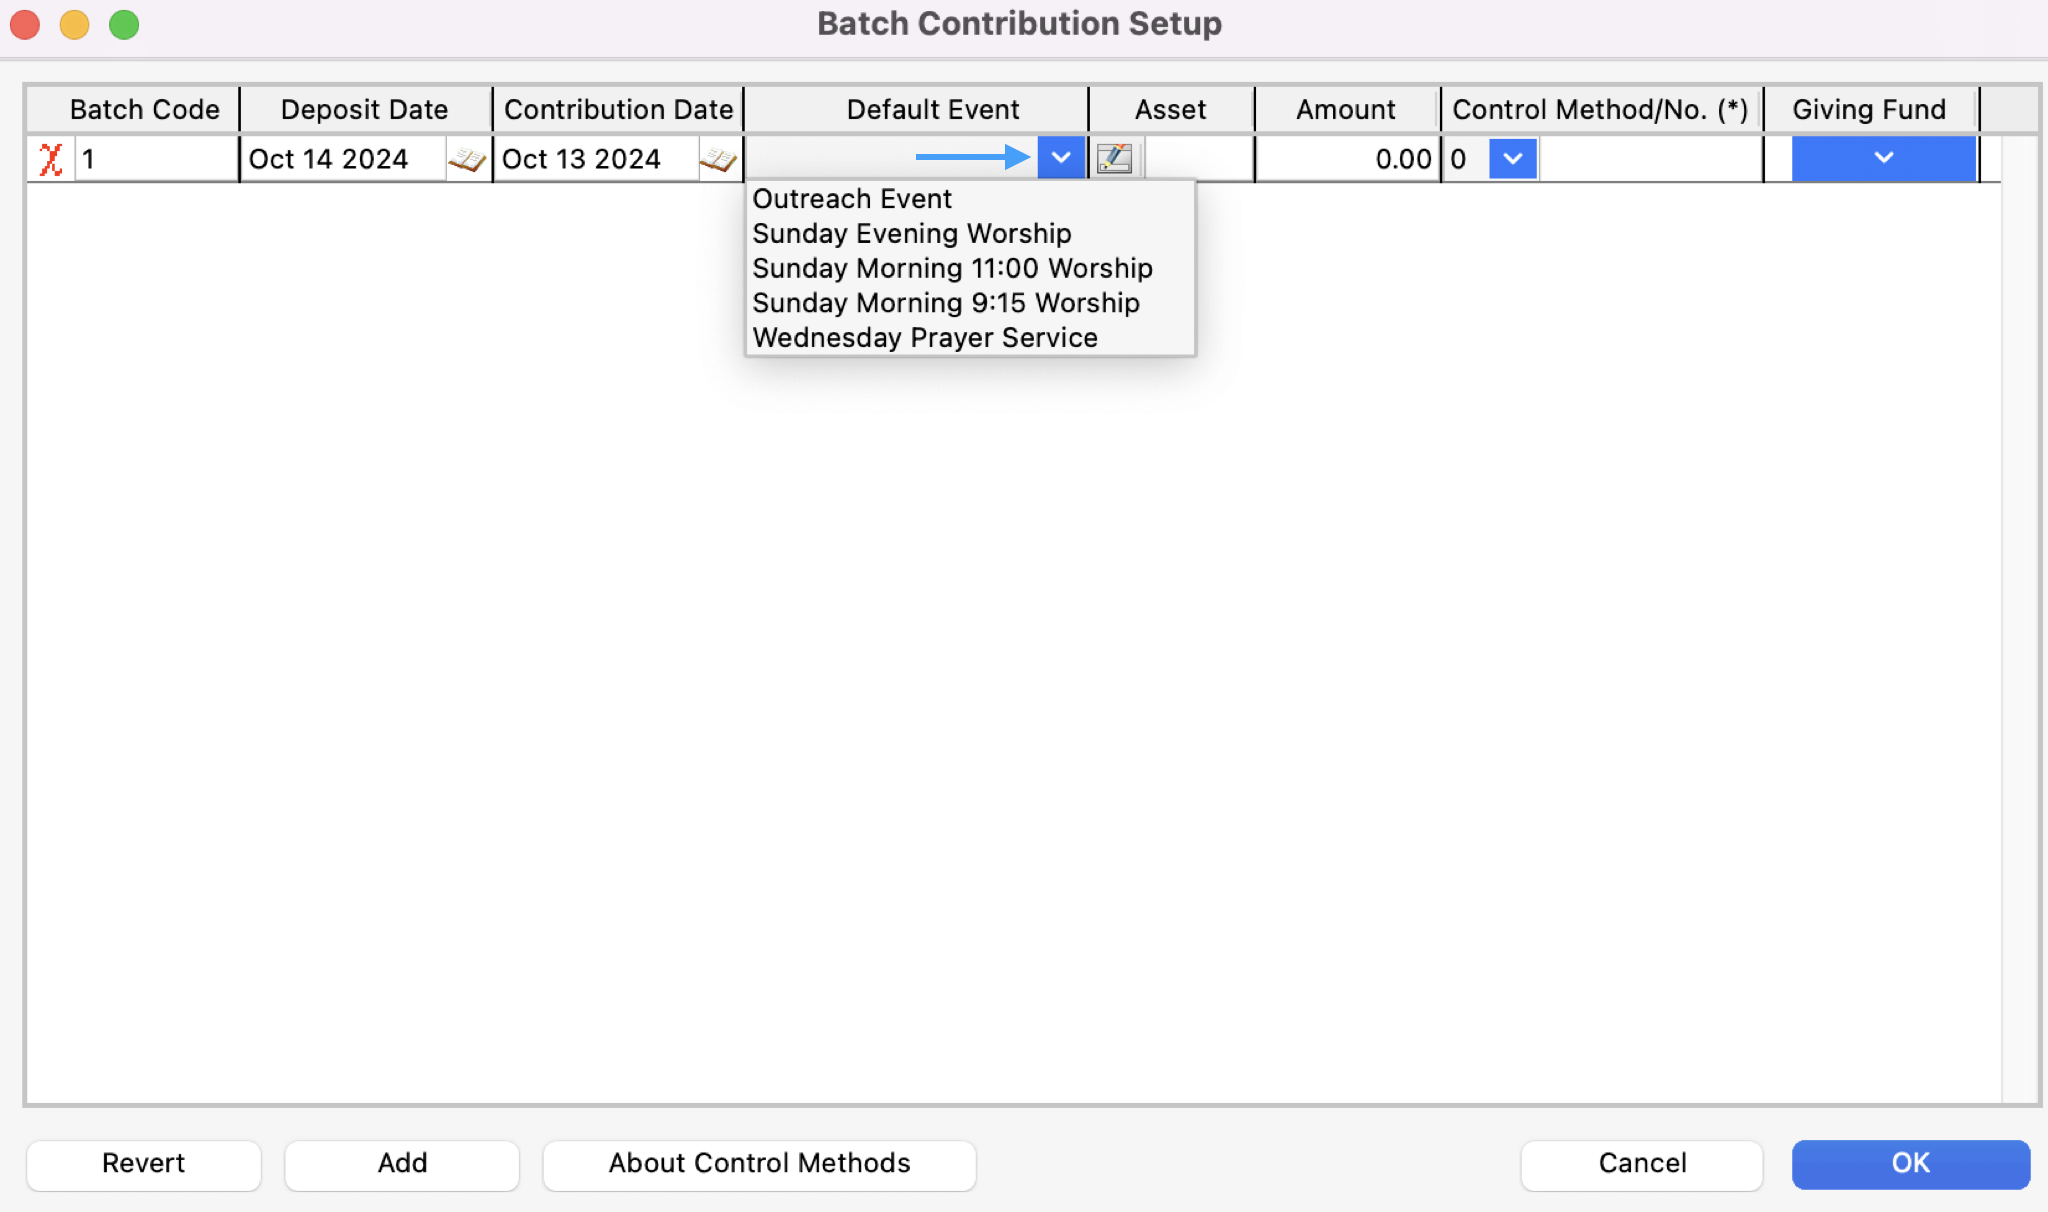
You can override the Default Event when entering contributions. For example, if the default is the Sunday Morning Early Service but you are also entering contributions for the Late Service in the same batch, you can make that choice. However, by choosing a default it will allow for a smoother entry process.
If you are using CDM+ Accounting and have linked Contributions to Accounting, you will see an Asset column with a pencil icon next to the blank field. Click on the pencil icon, and the Select Account window will open. Click on an asset and then click OK.
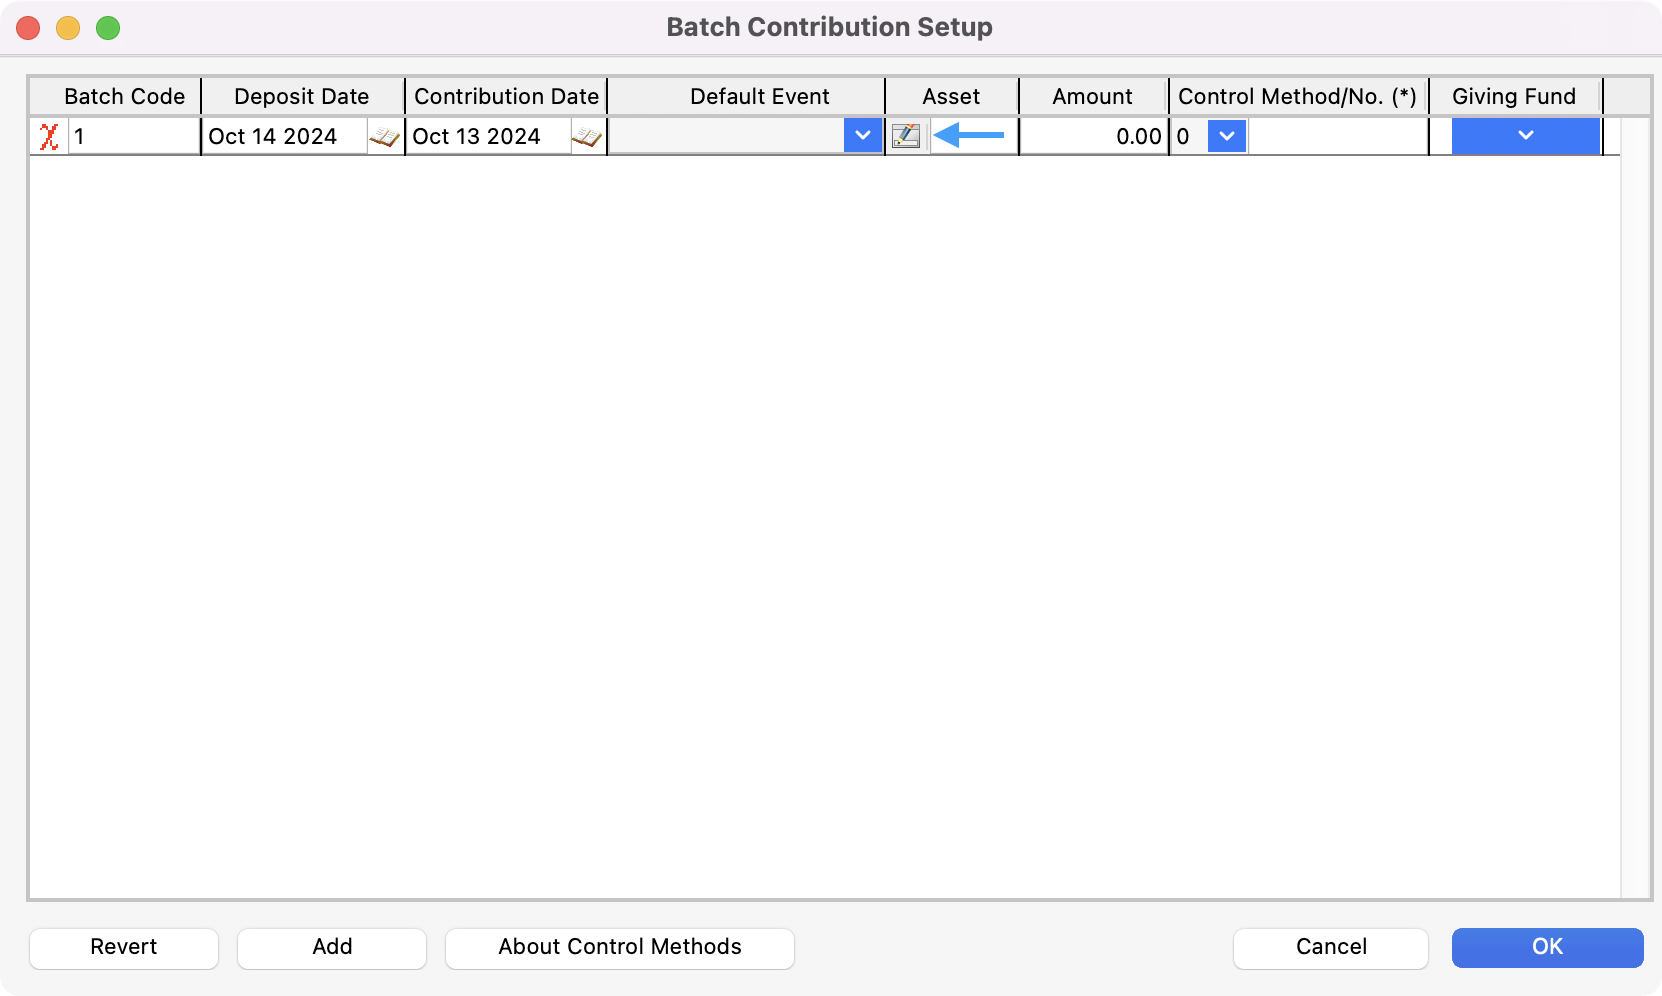
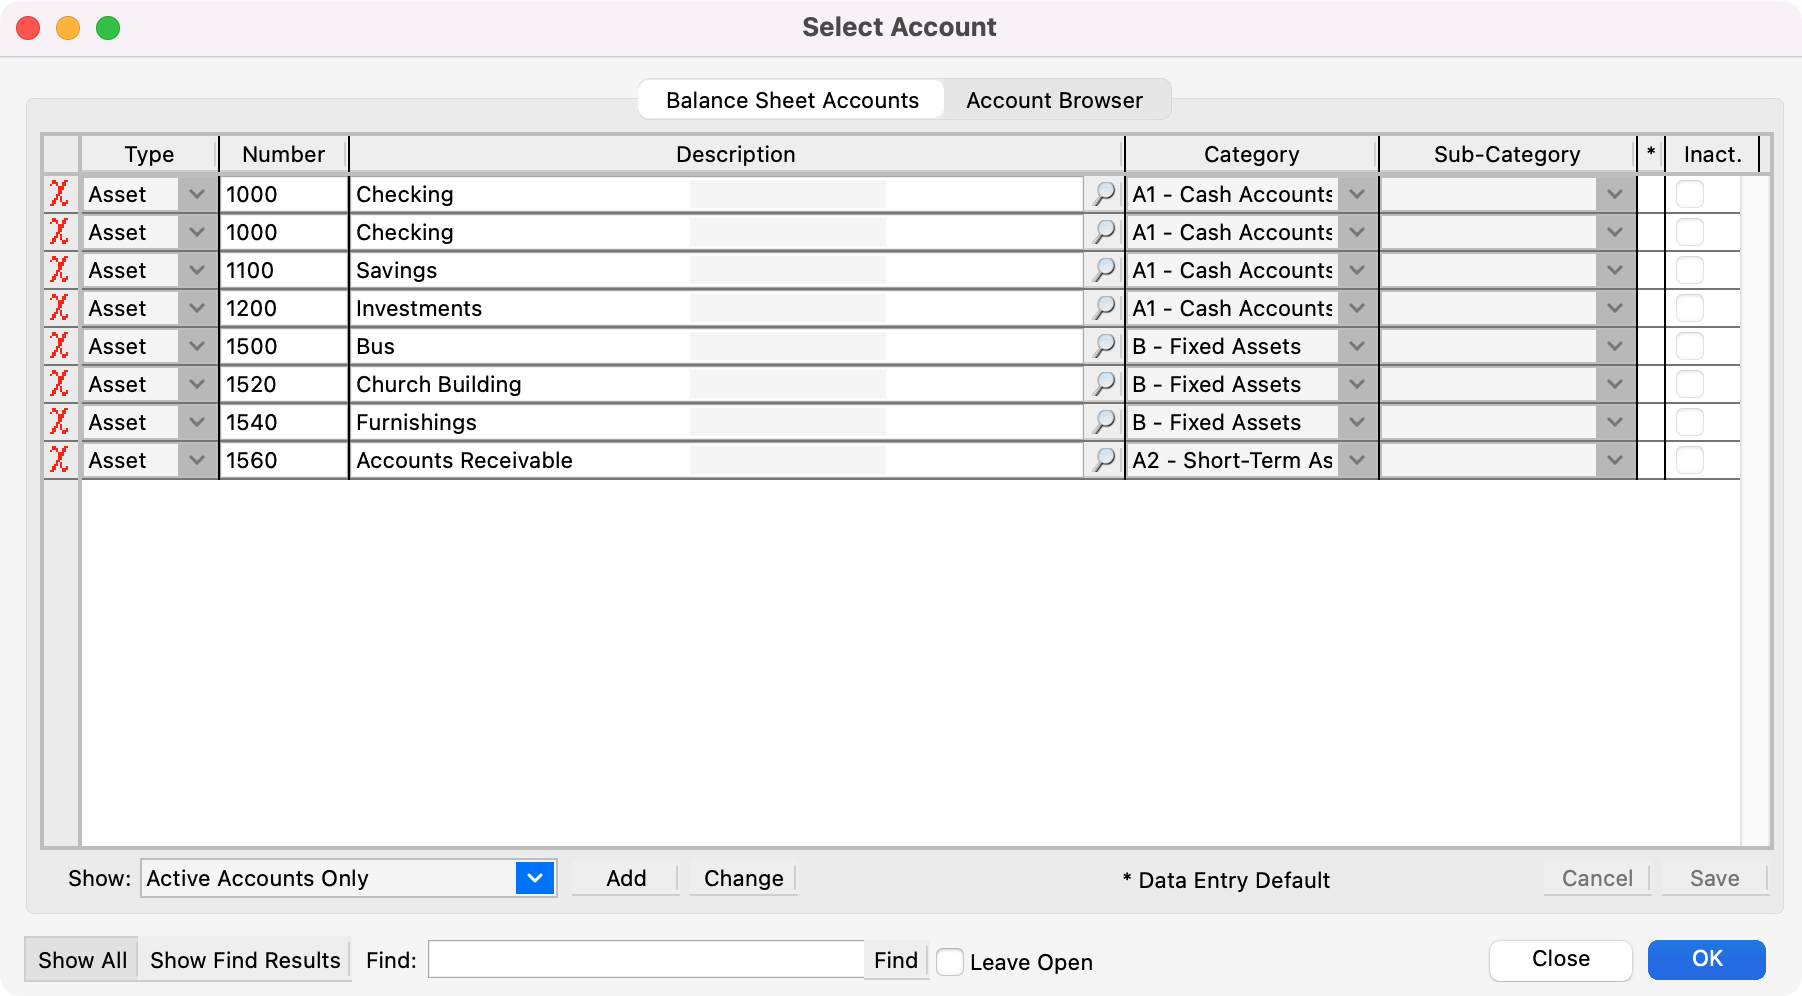
All contributions in a batch must be deposited to the same asset. If an offering is to be deposited to different assets, enter the contributions into separate batches.
If the total amount of this batch (or of the total offering if you are not putting in multiple batches) is known, it can be entered in the Amount field. While entering contributions in the Batch Contributions Entry window, CDM+ will display a running total of processed contributions and the remaining amount to be entered. Entering an Amount is not required for contributions entry, and this step can be skipped if needed.
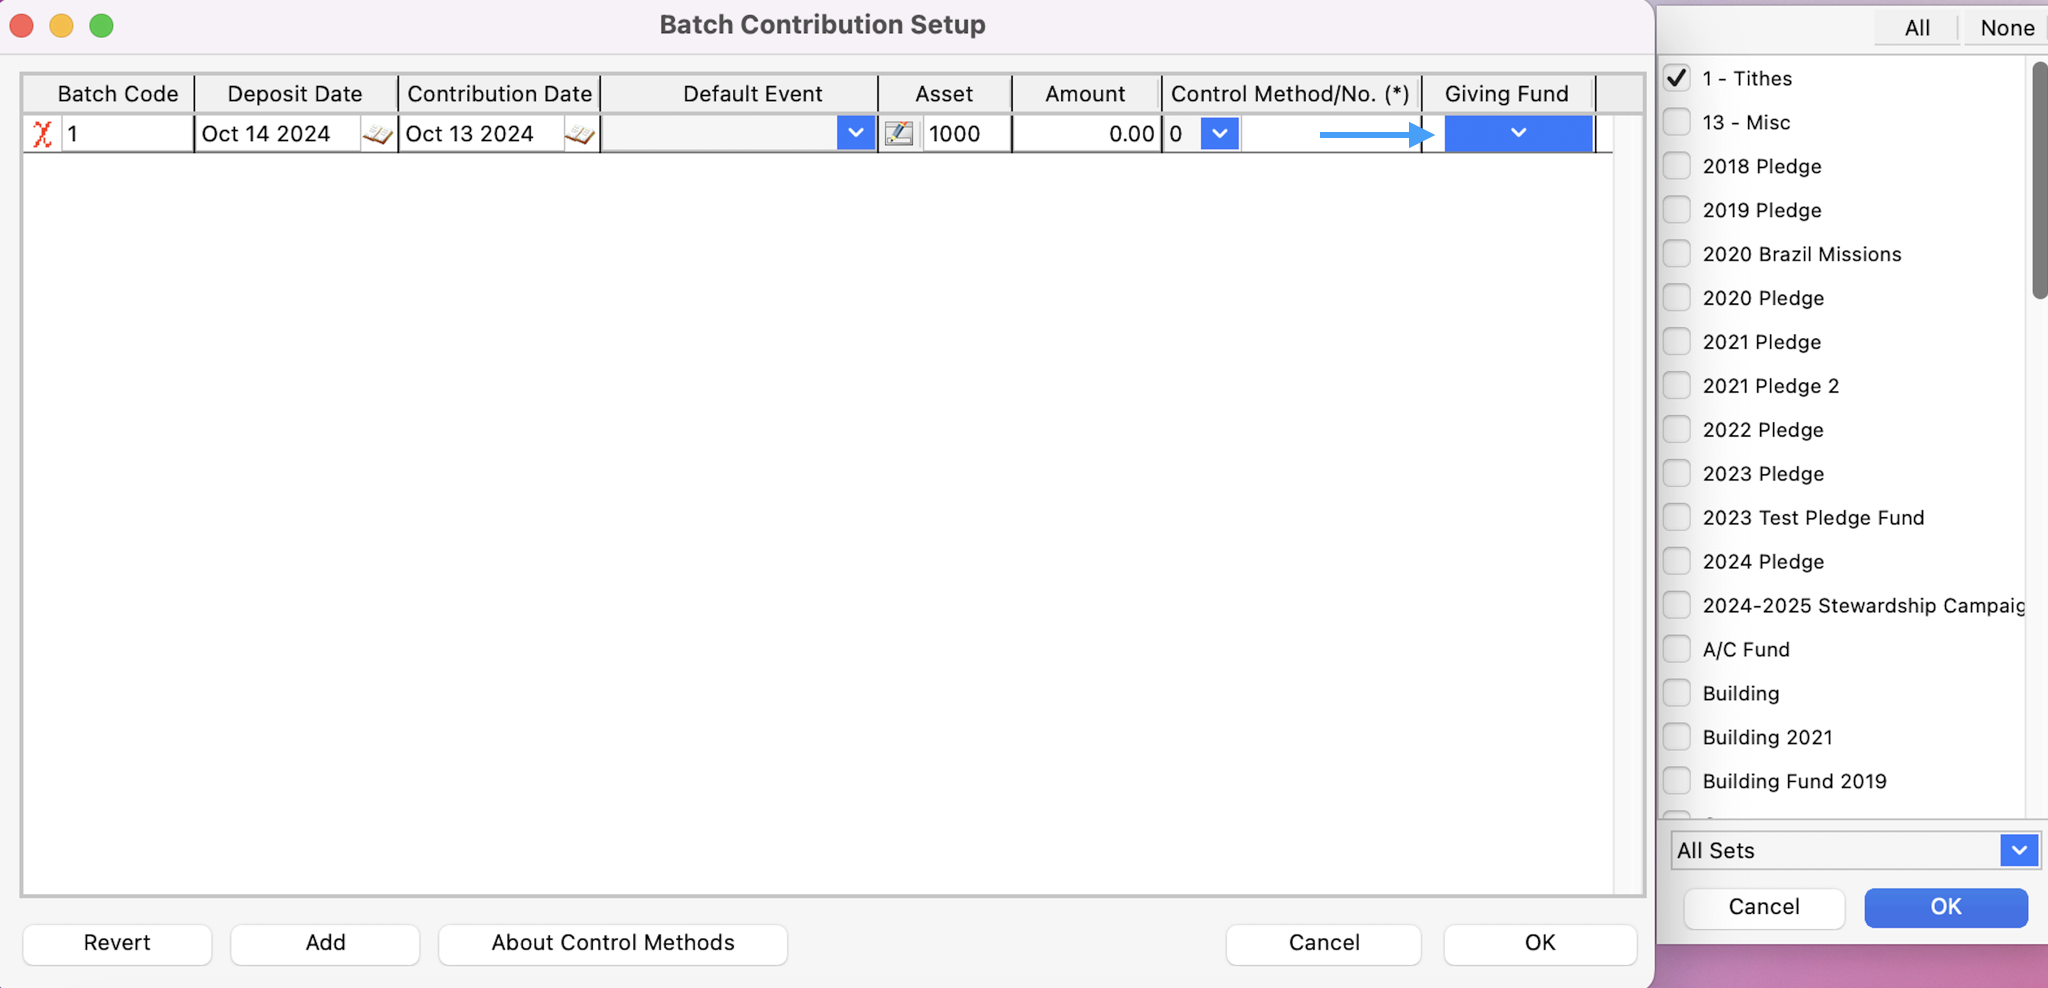
Click on the drop-down arrow in the Funds column to open a list of the Giving Funds you have created. In this window, you can select the Giving Funds you want to use with this batch.
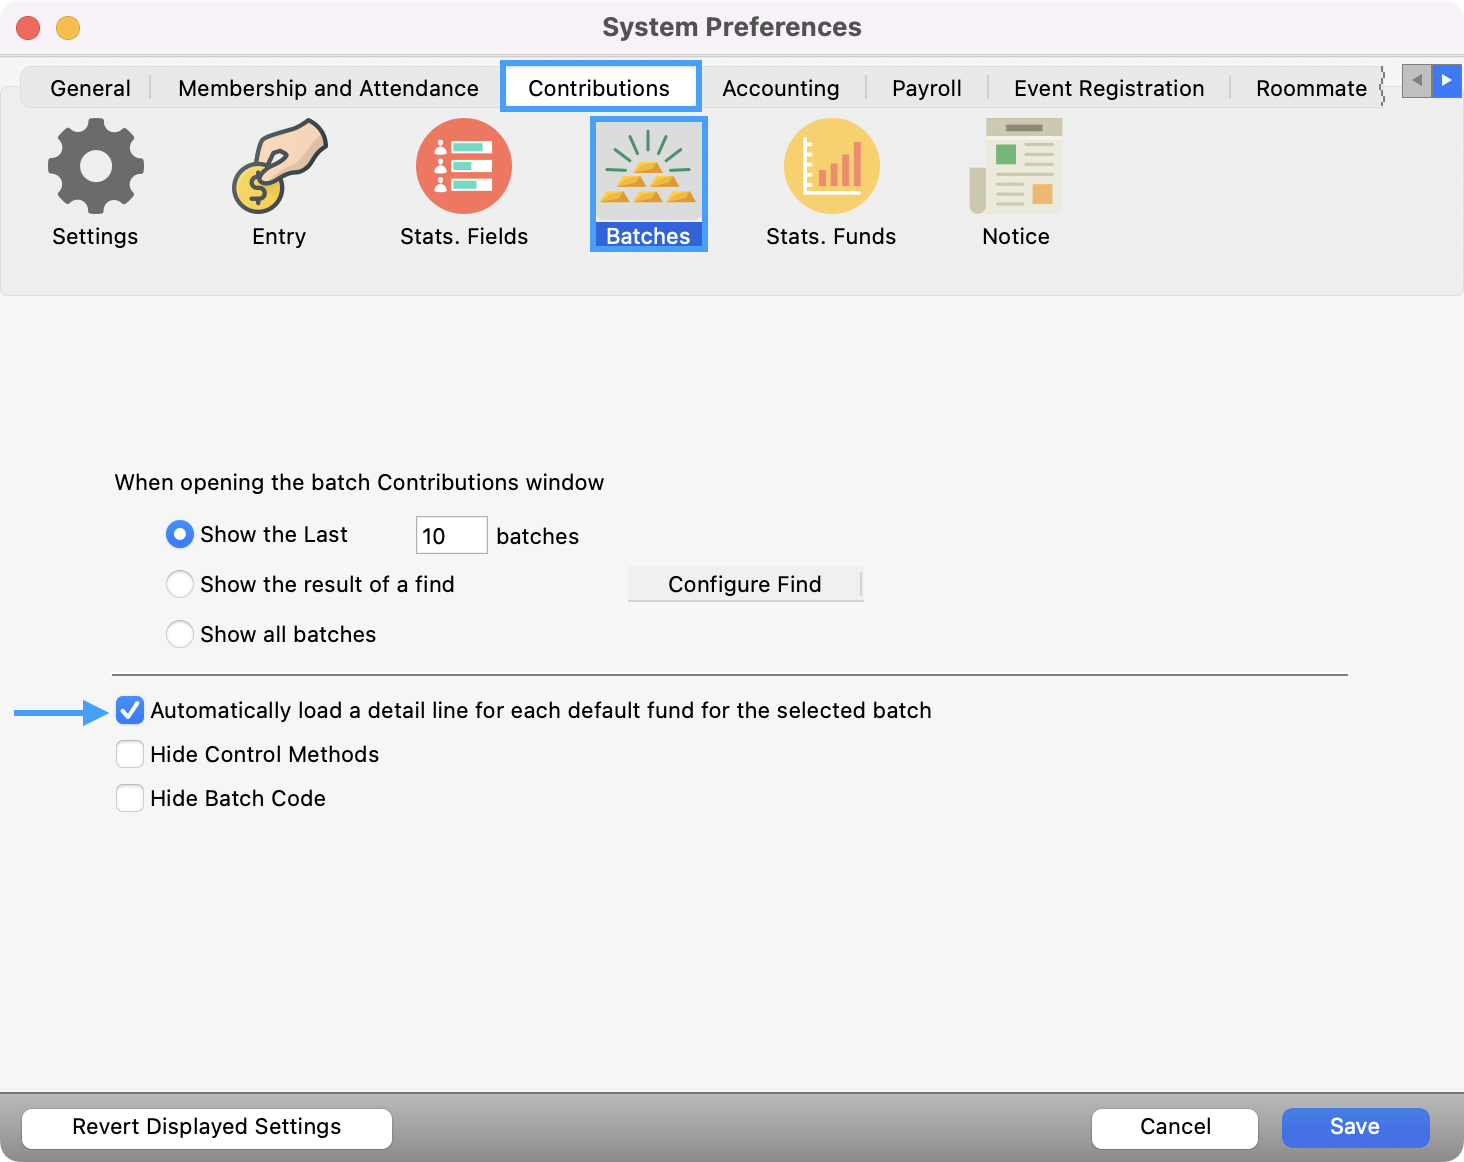
Tip: In System Preferences, you have the option to choose what funds you want automatically loaded for a giver when you go to make an entry. To set this up, go to CDM+ (for Mac)/File (for Windows) → Preferences → CDM+ System. Then, click the Contributions tab and then Batches. Next, check the Automatically load a detail line for each default fund for the selected batch box and save your changes.
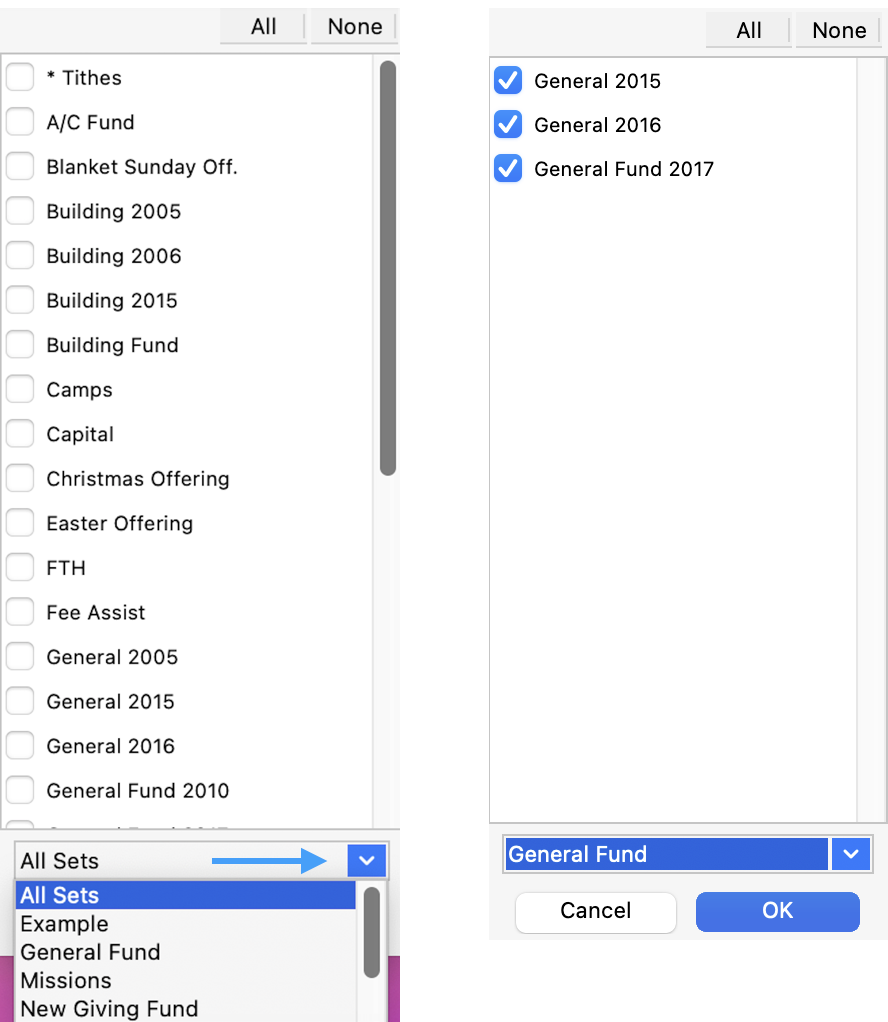
7. Check the boxes of the giving funds that you want to use for entering contributions, or select a Giving Fund Set from the pull-down list at the bottom of the pop-up window. Click OK when finished and the pop-up will close.
8. Click OK on the Batch Contribution Setup window to return the Batch Contribution Entry window.
You are now ready to start entering contributions.
