If you want to use a barcode scanner during Check-In or Check-Out, check the Barcode options on the Check-In/Check-Out Event Records window during set up for the event.
Using a Scanner During Staffed Check-In
-
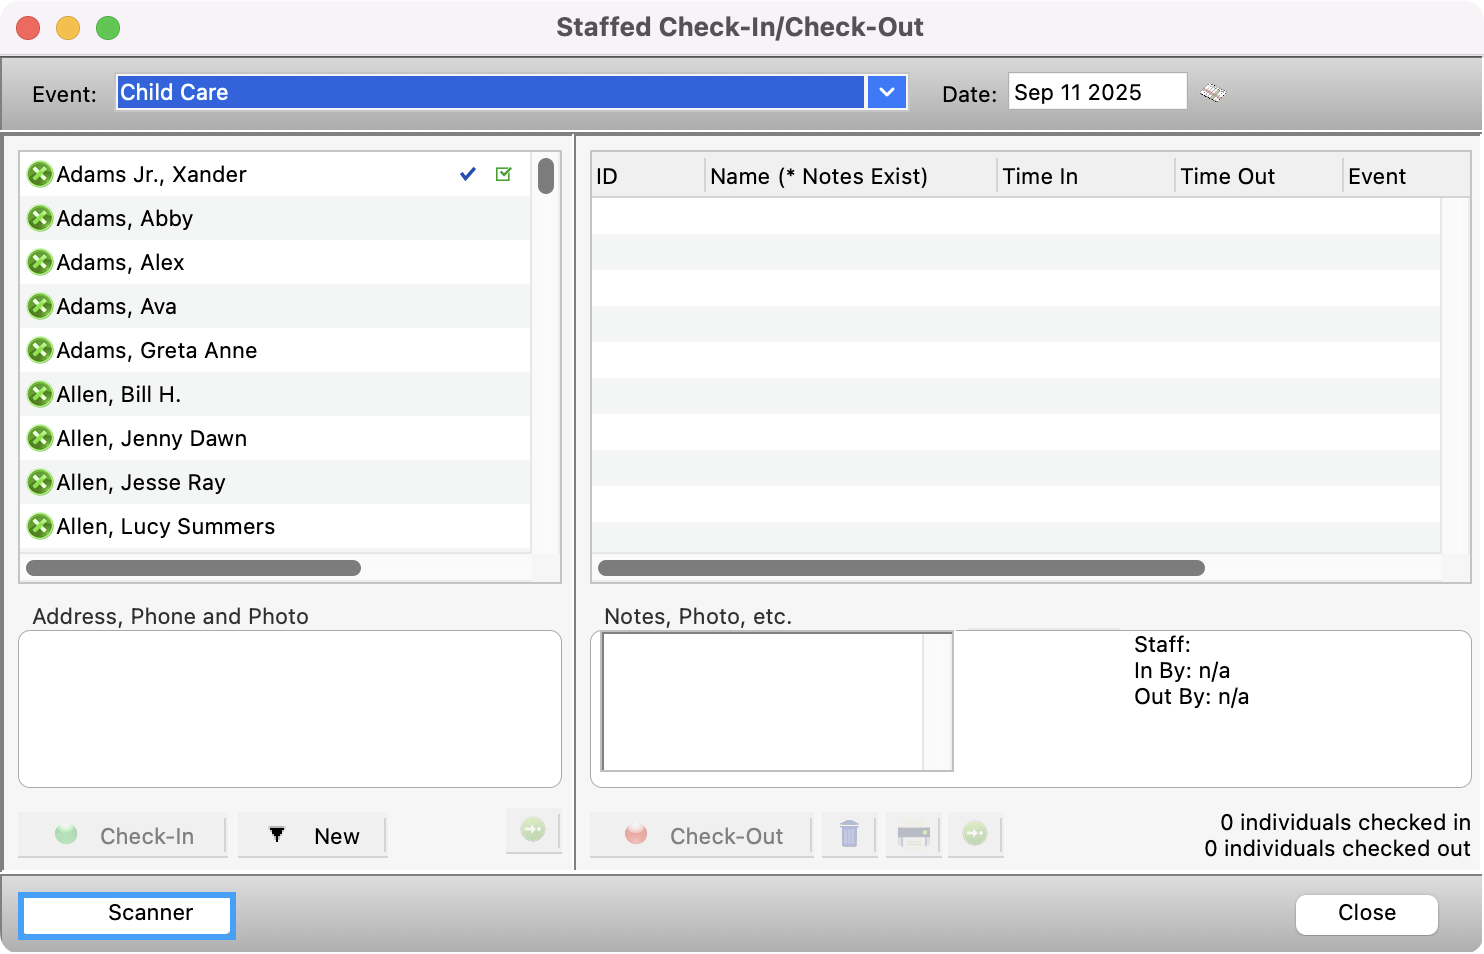
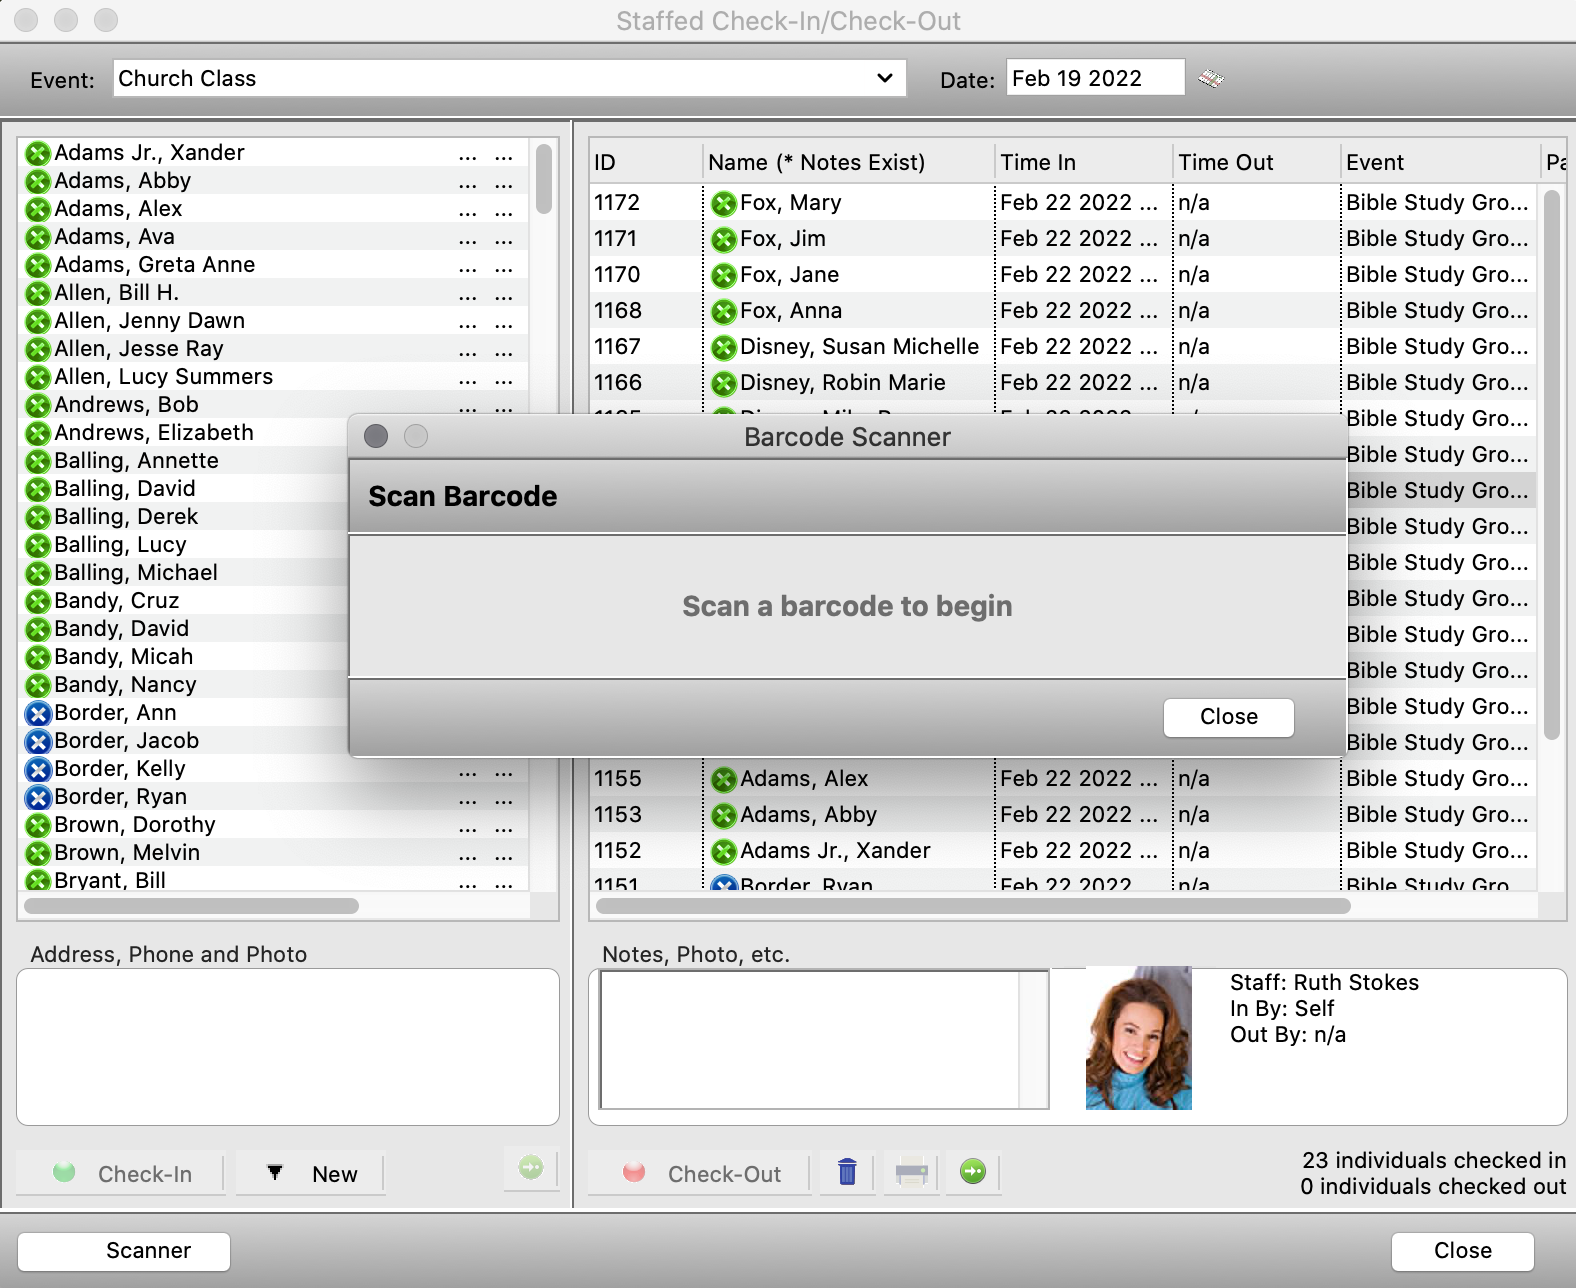
Click the Scanner button on the Staffed Check-In/Check-Out window and the Barcode Scanner window will appear.
-
Scan the individual or address barcode to initiate check-in and the Check-In Options window will open. If you scanned an address barcode, you will be prompted to select the individual associated with that address whom you wish to check-in. If you scanned an individual barcode, no prompt will appear—check in will begin immediately for that individual.
-
From here, follow the instructions in the Staffed Check-In section. Refer to Check-In/Check-Out Stations for information on the difference between address and individual barcodes.
Using a Scanner During Check-Out
-
Click the Scanner button on the Staffed Check-In/Check-Out window and the Barcode Scanner window will open.
-
Scan the unique barcode generated during check in for this individual. You may also need to scan a matching barcode from the check-out receipt if this option is set up in Event Records. The Check-Out Options window will open. Follow the instructions for Check-Out.
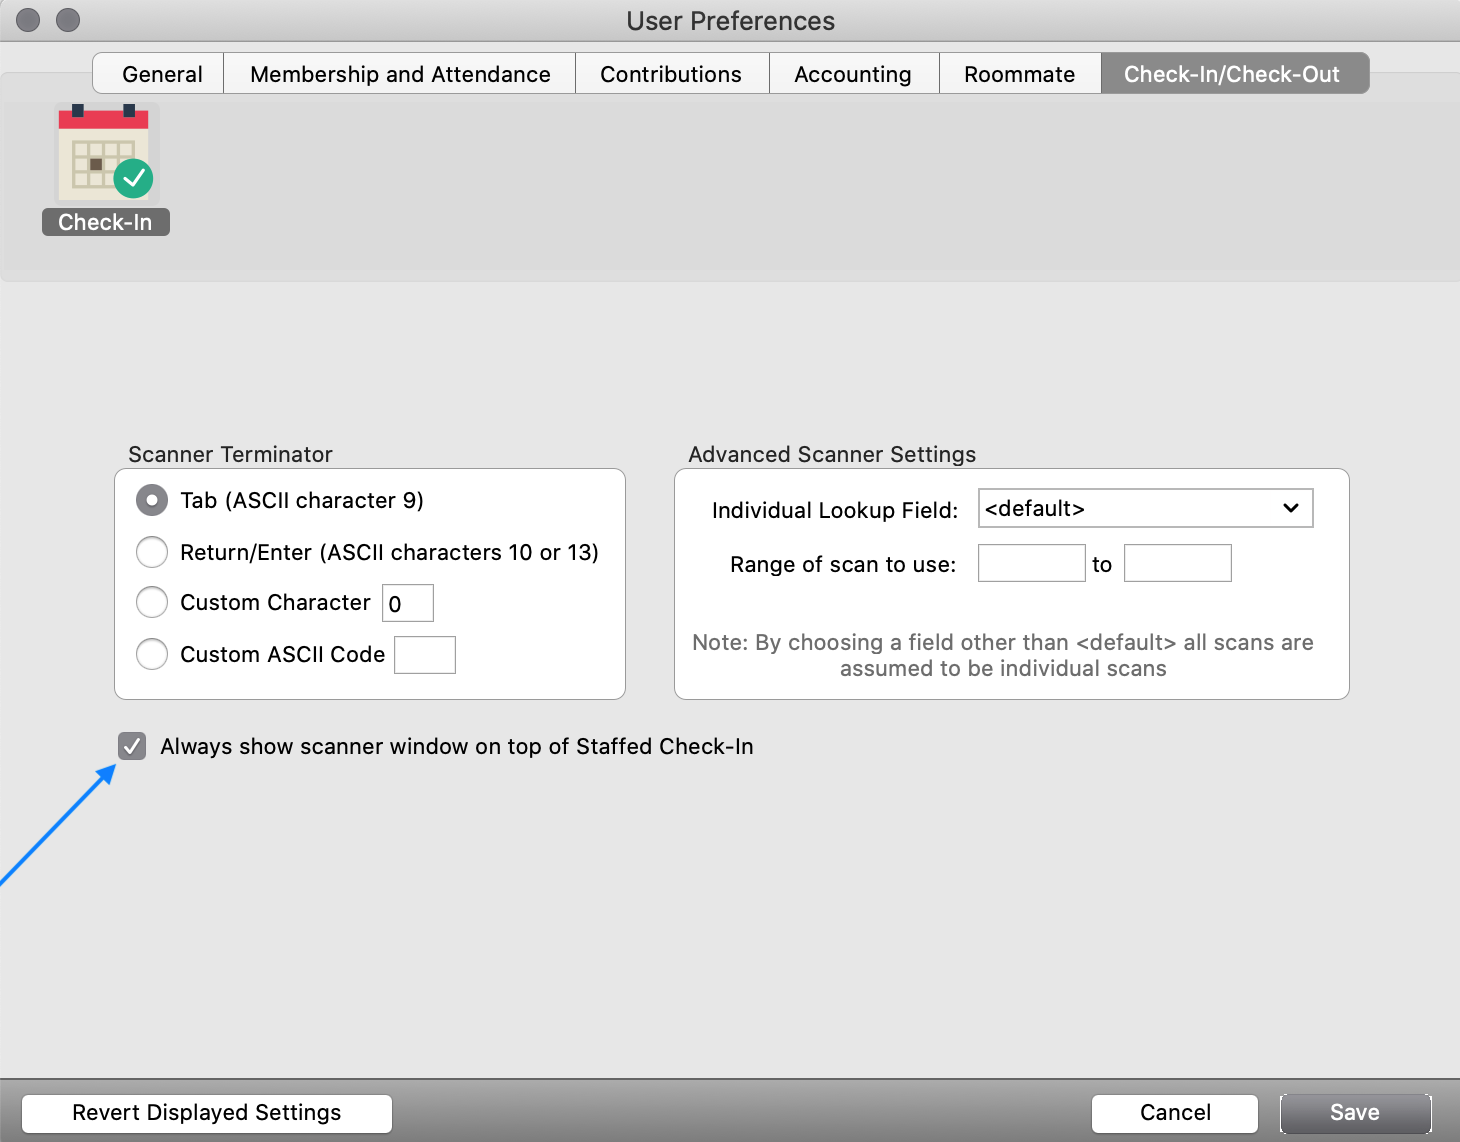
Scanner Window on Top
If you will be using a barcode scanner regularly during check-in/check-out, we suggest setting the option for the barcode scanner window to always appear on top of Staffed Check-In. To do this, go to the CDM+ User Preferences window and under the Check-In/Check-Out tab, put a check in the box beside Always show scanner window on top of Staffed Check-In.