-
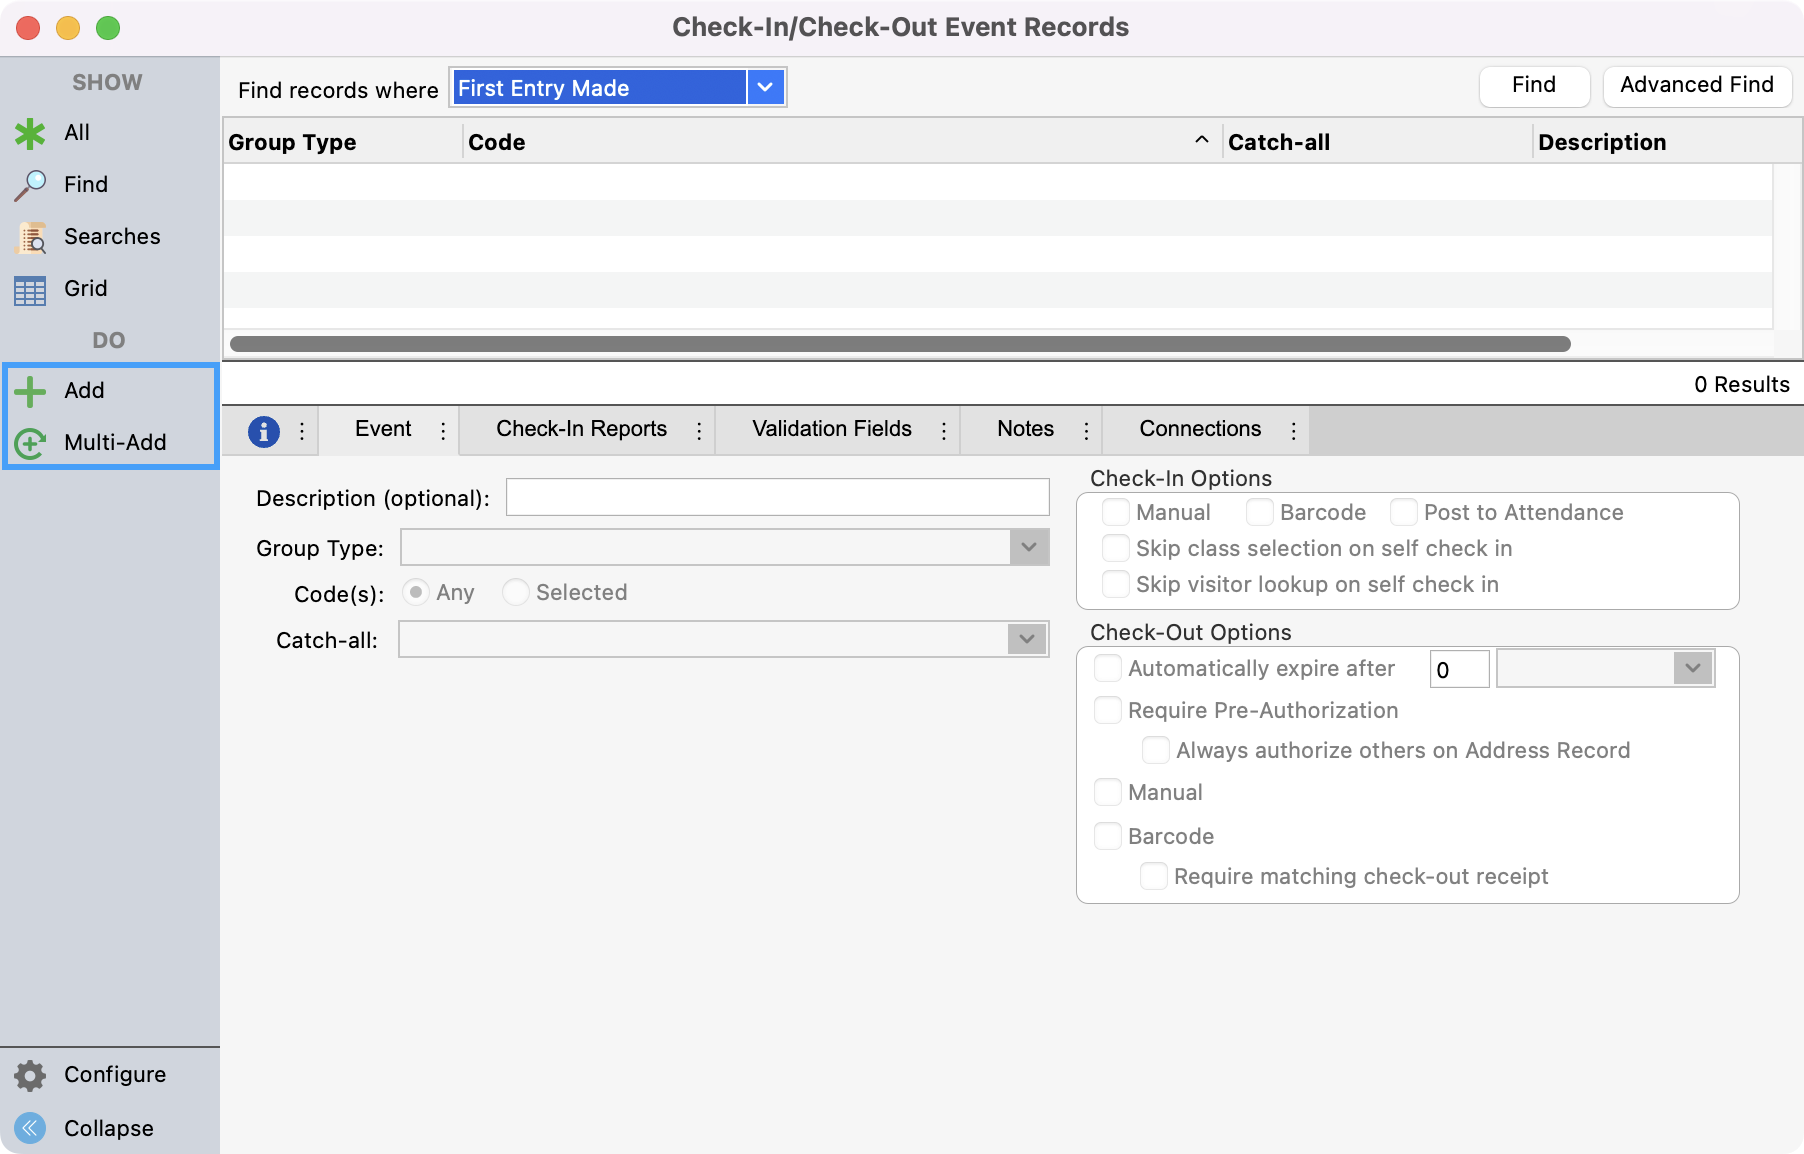
After navigation to Check-In/Check-Out Event Records, click the Add from the left sidebar or Multi-Add if you are adding multiple events. This will allow you to enter new records without clicking Add each time.
Event Information
-
Under the Event tab there are several pieces of information to fill out.
-
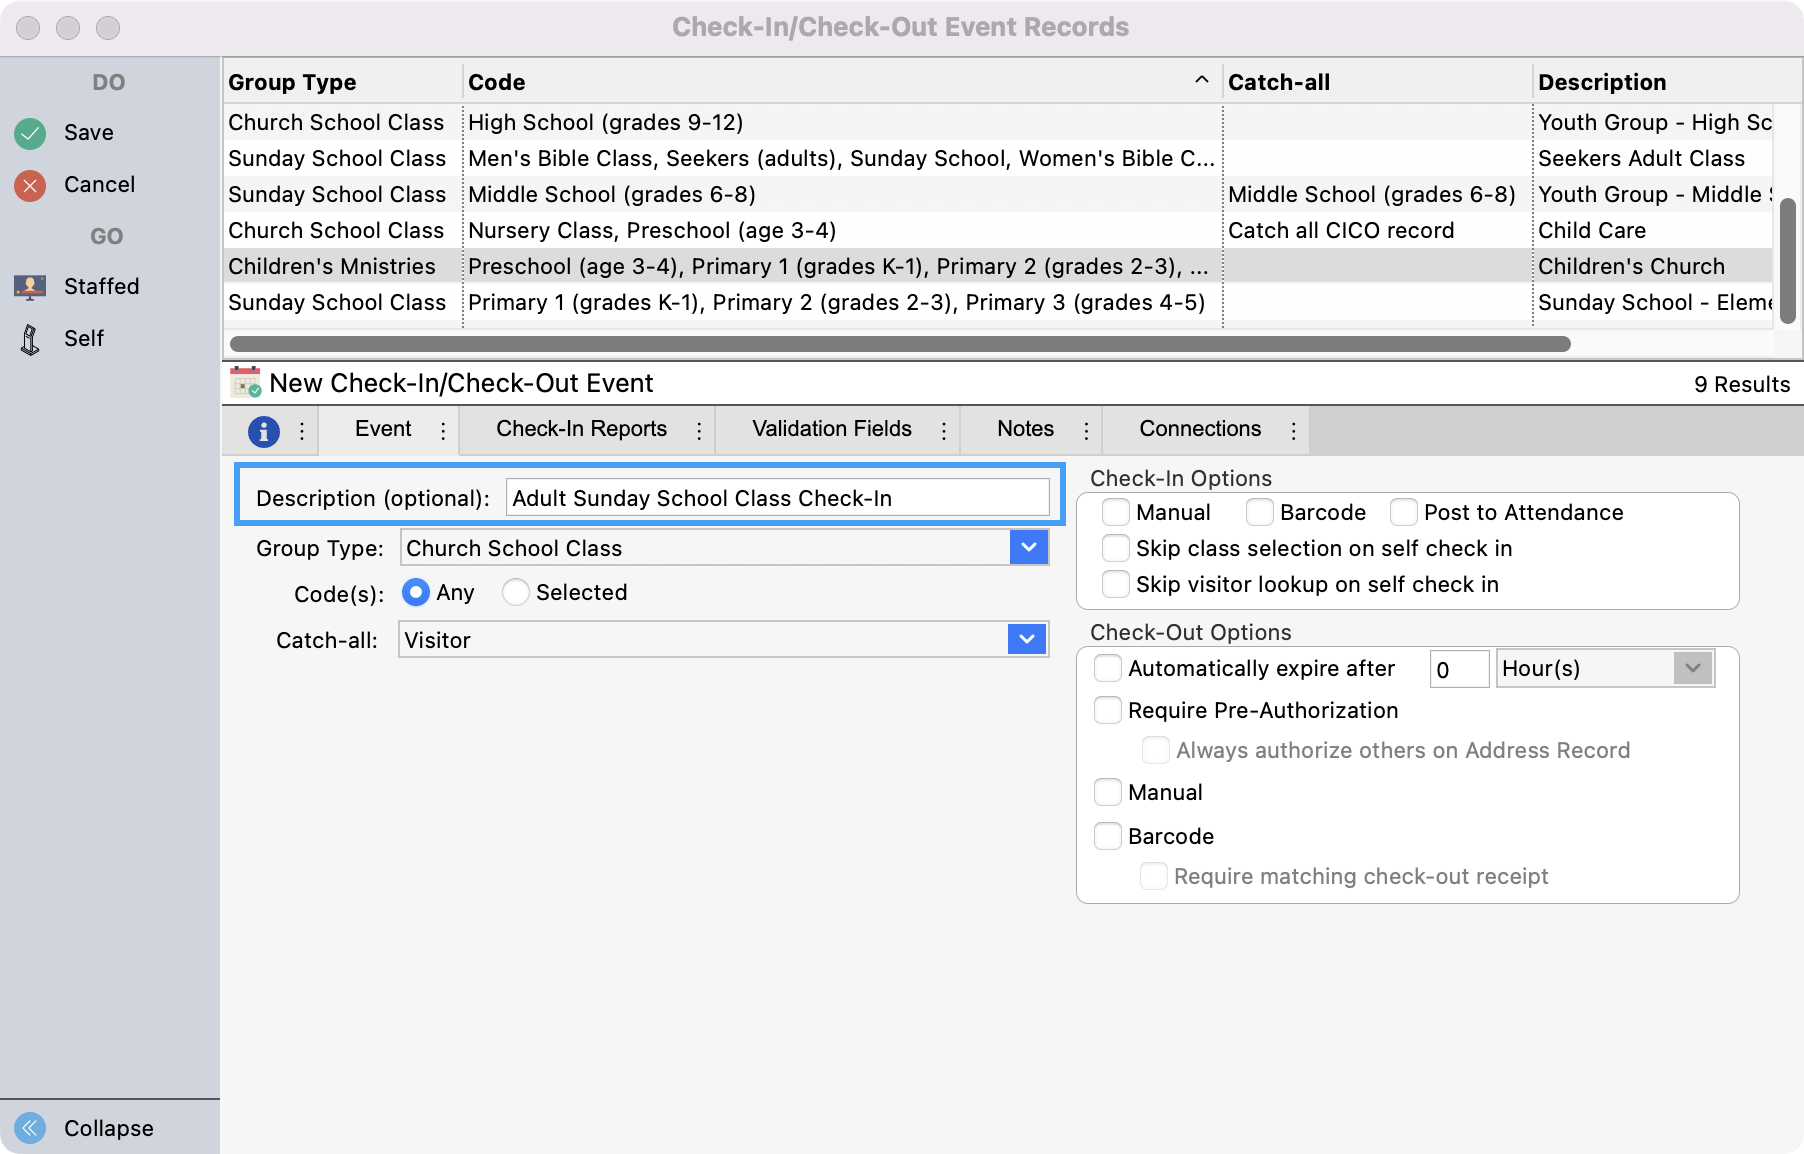
Description- The Description field will be highlighted and will contain a blinking cursor. Type in the information and use the tab key to go to the next field or use the mouse to click in the desired field. The Description field is optional, but the information you type here will appear on the windows used for Check-In/Check-Out.
-
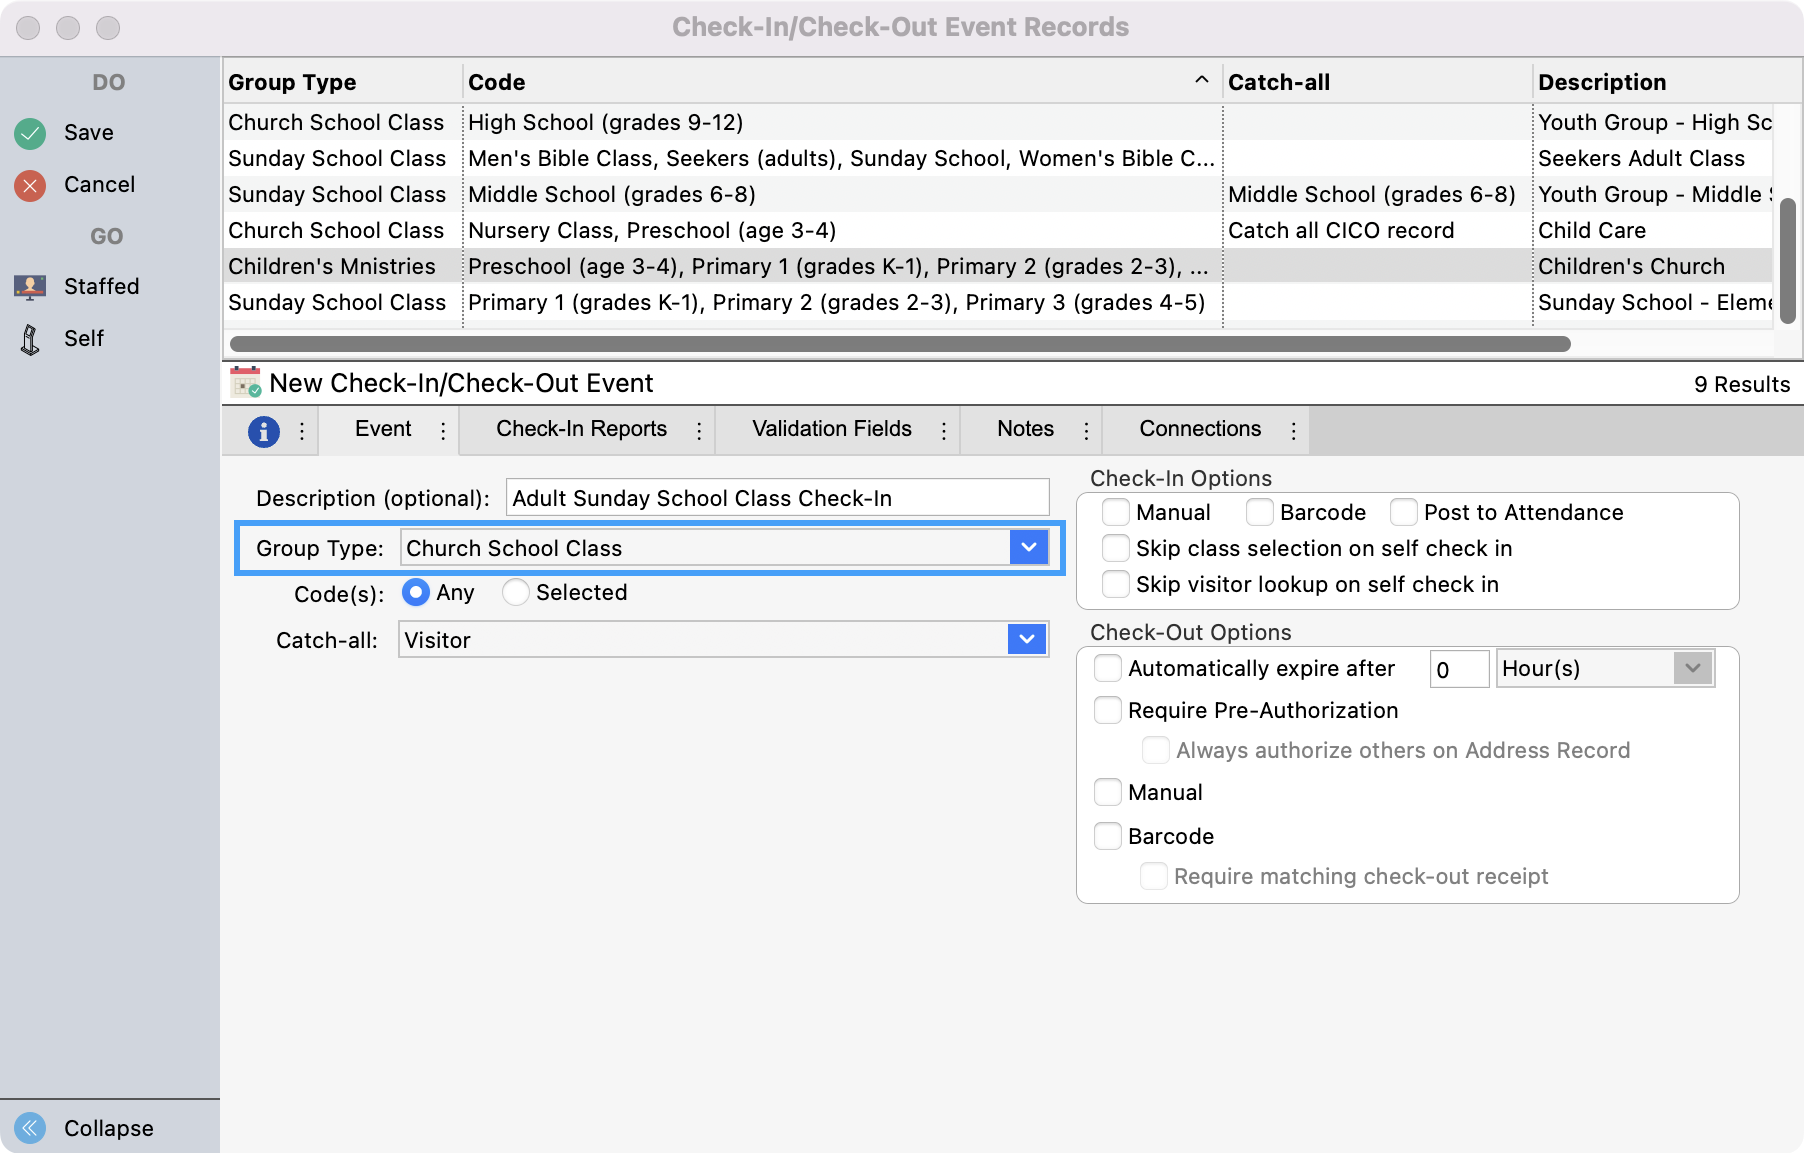
Group Type- Choose a Group Type from the drop-down menu. The items on this list are user-defined Address and Individual groups set up in the Master Coding System. You can have multiple Check-In/Check-Out events with the same Group Type.
-
If you do have multiple events using the same group type, consider adding a description to the event. For example, if you create an event for middle school church groups, and an event for high school church groups use the description to call these events “Middle School Check-In” and “High School Check-In,” respectively.
c. Group Code- Choose which codes in the Group Type that you want to allow people to check into. If you choose Any you will allow people to check into all codes within the Group Type selected. If you want to narrow it further, choose Selected and you will get another list from which to select the codes you want to include. During check-in, you must select one code to check the individual into. If you choose the option to post check-ins to Attendance, the attendance entry will be linked to this code.
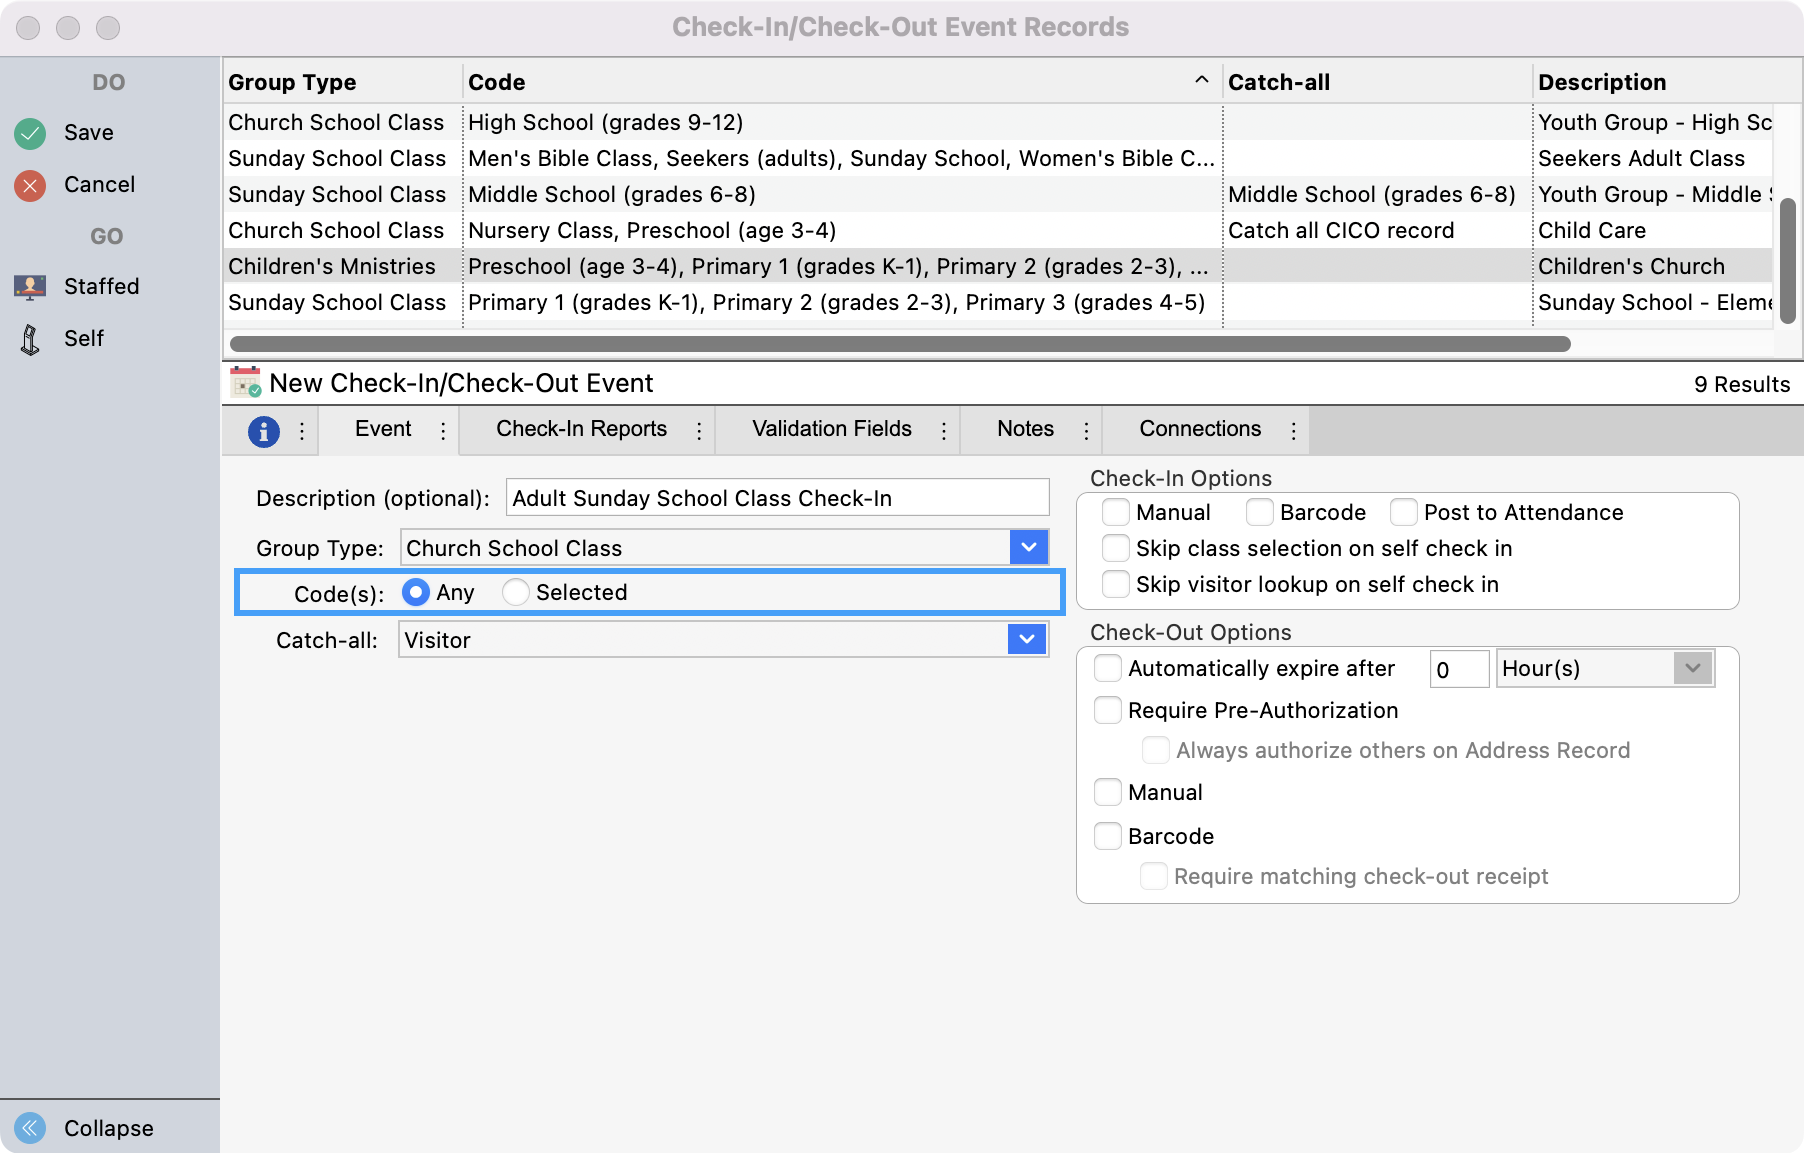
When you choose Any, you have the option to select a group to serve as a Catch-all. During check-in, this Catch-all code will be automatically selected for people checking in to the event who are not already enrolled in any of the selected groups. However, if you want to select another code during check-in, you certainly may do so. It is a good idea to create a Visitors group or other general group in the Master Coding System to serve as the Catch-all.
Selecting Any requires you to enter a Catch-all group for people not already enrolled in one or the codes in the Group Type you selected.
Choosing Selected codes prompts you to narrow your codes to only those which you put a check mark. No Catch-All code is required, but it is still a good idea to add a visitors group.
d. Check-In Options- These options control the behavior of CDM+ Check-In/Check-Out when an individual or visitor is checked into CDM+.
i. Manual- Putting a check mark beside Manual enables the following:
For Staffed Check-In*—staff can locate individuals on a list and double-click the name to initiate check-in.
For Self Check-In*—individual can enter the first few letters of his or her last name and pick the name from a list.
If you do not enable Manual check-in, staff, individuals, and visitors must scan a barcode to initiate check-in.
CDM+ Check-In/Check-Out offers two interfaces to check individuals and visitors into CDM+: Staffed Check-In and Self Check-In. The former is designed to be run by a staff member or volunteer, while the latter is designed to be used by individuals and visitors to check themselves (and optionally other family members) in. See the sections later in this manual on Staffed Check-In and Self Check-In for more information.
ii. Barcode- Putting a check mark beside Barcode enables both staffed and self check-in stations to scan individual or address barcodes to initiate check-in. For more information on using barcode scanners with Check-In/Check-Out, see the following sections:
Using a Scanner for Staffed Check-In/Check-Out
ii. Post to Attendance- Putting a check mark beside Post to Attendance will result in attendance records being automatically filed for the group and date after check-in.

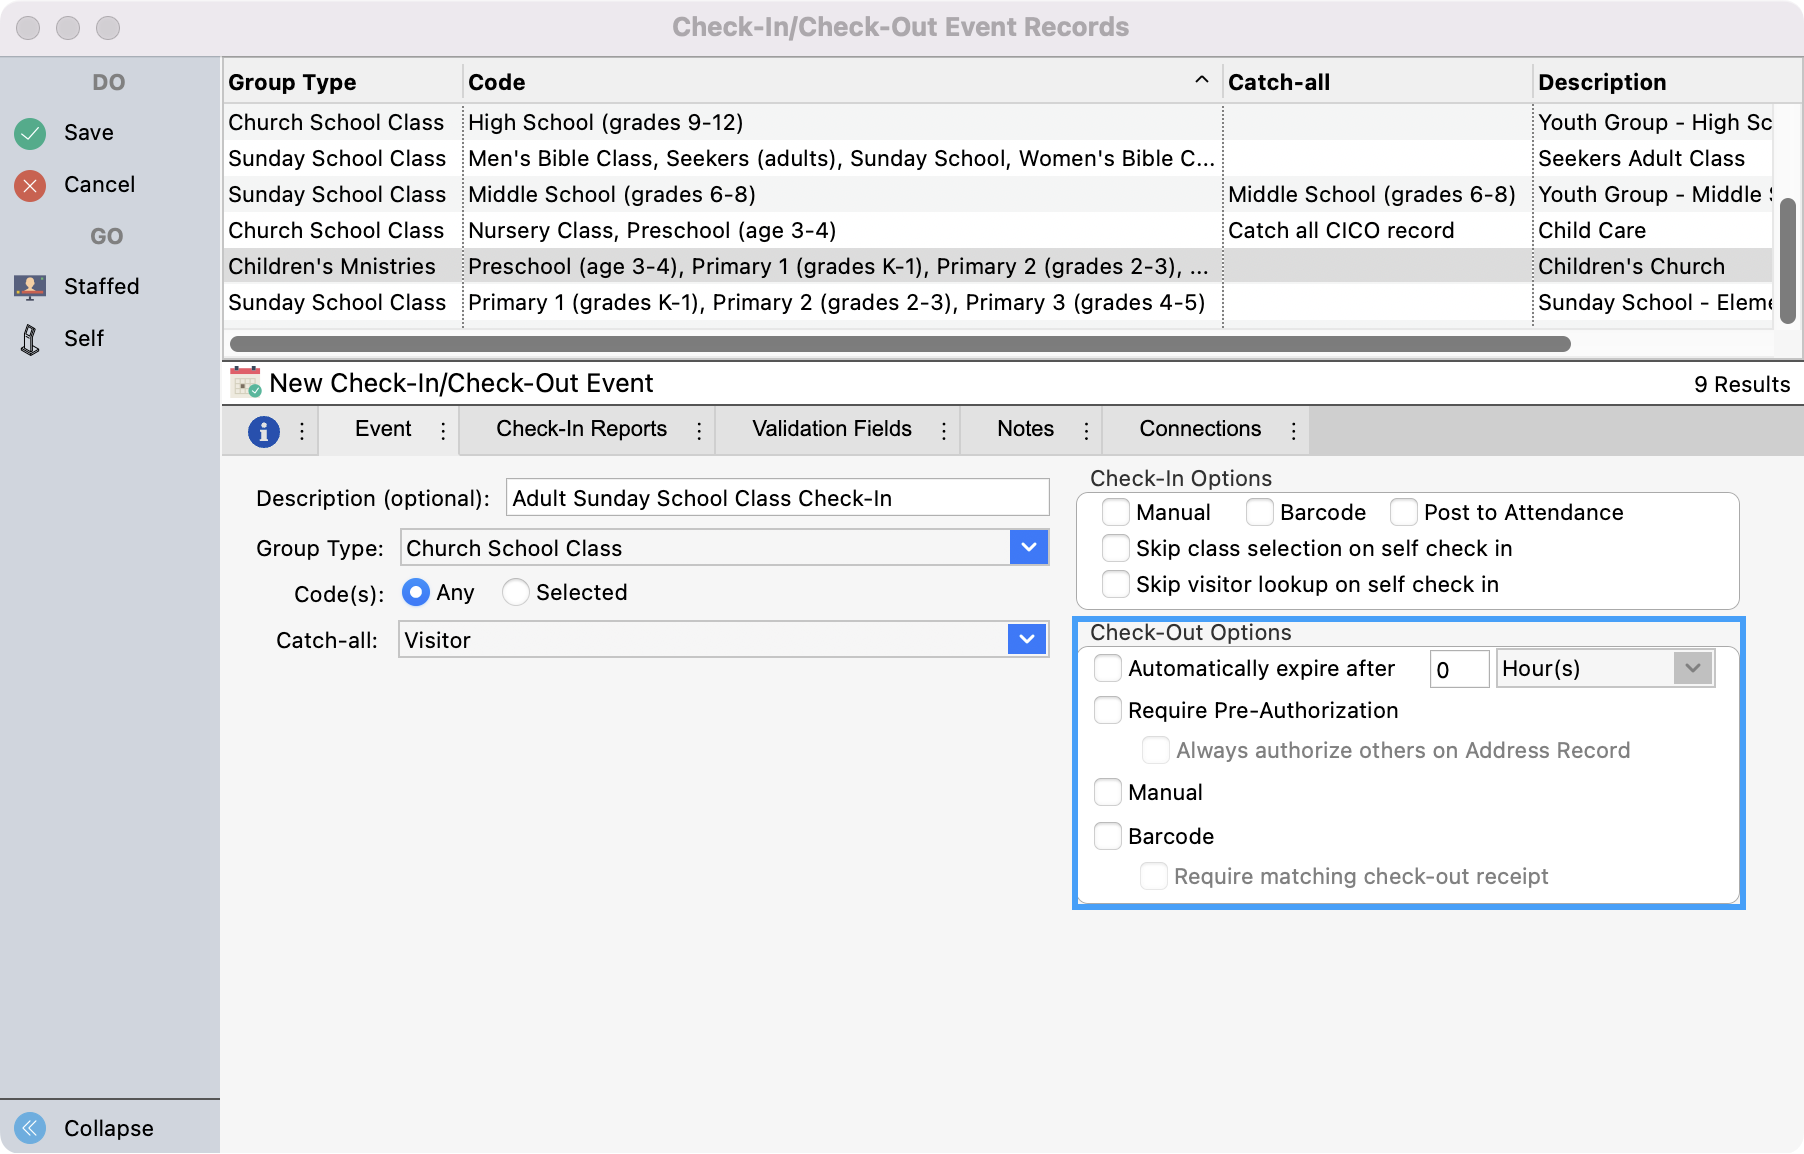
f. Check-Out Options
The most secure set of options for check-out is as follows:
-
DO NOT check Automatically expire after
-
DO check Require pre-authorization
-
DO NOT check Always authorize others on Address Record
-
DO NOT check Manual
-
DO check barcode
-
DO check Require matching check-out receipt
i. Automatically Expire- If checked, the check-ins for all individuals will automatically be marked as “expired” after the amount of time you set beside this option. This will cause these individuals not to show as being checked-in on the various Check-In/Check-Out reports.
ii. Require Pre-Authorization- If checked, authorization is required to check out an individual. Authorization status is set up in the Individual Records window (Membership program). If Require pre-authorization is checked, you may want to check Always authorize others on Address Record. Checking this option will automatically authorize all family members (those with the same Address Record) to check out each other. NOTE: Pre-authorization does not apply to visitors because they have no individual record. For more information about Authorization, refer to the section on the Check-In/Check-Out tab on the Individual Records window.
iii. Manual- If checked, this feature enables users to find the individual on a list and double-click the name to initiate check-out. If you do not enable Manual check-out, staff members must scan a barcode to initiate check-out.
iv. Barcode-If checked, users can scan check-in barcodes (printed during check-in) to initiate check-out. Check-in barcodes are found on name badges, receipts, etc. For more information, refer to the section on Check-In Reports.
If Barcode is checked, you also have the option to check Require matching check-out receipt. This extra level of security means that to initiate check-out, the user must scan two matching barcodes that were generated during check-in (i.e., one on a name badge and one on a receipt).
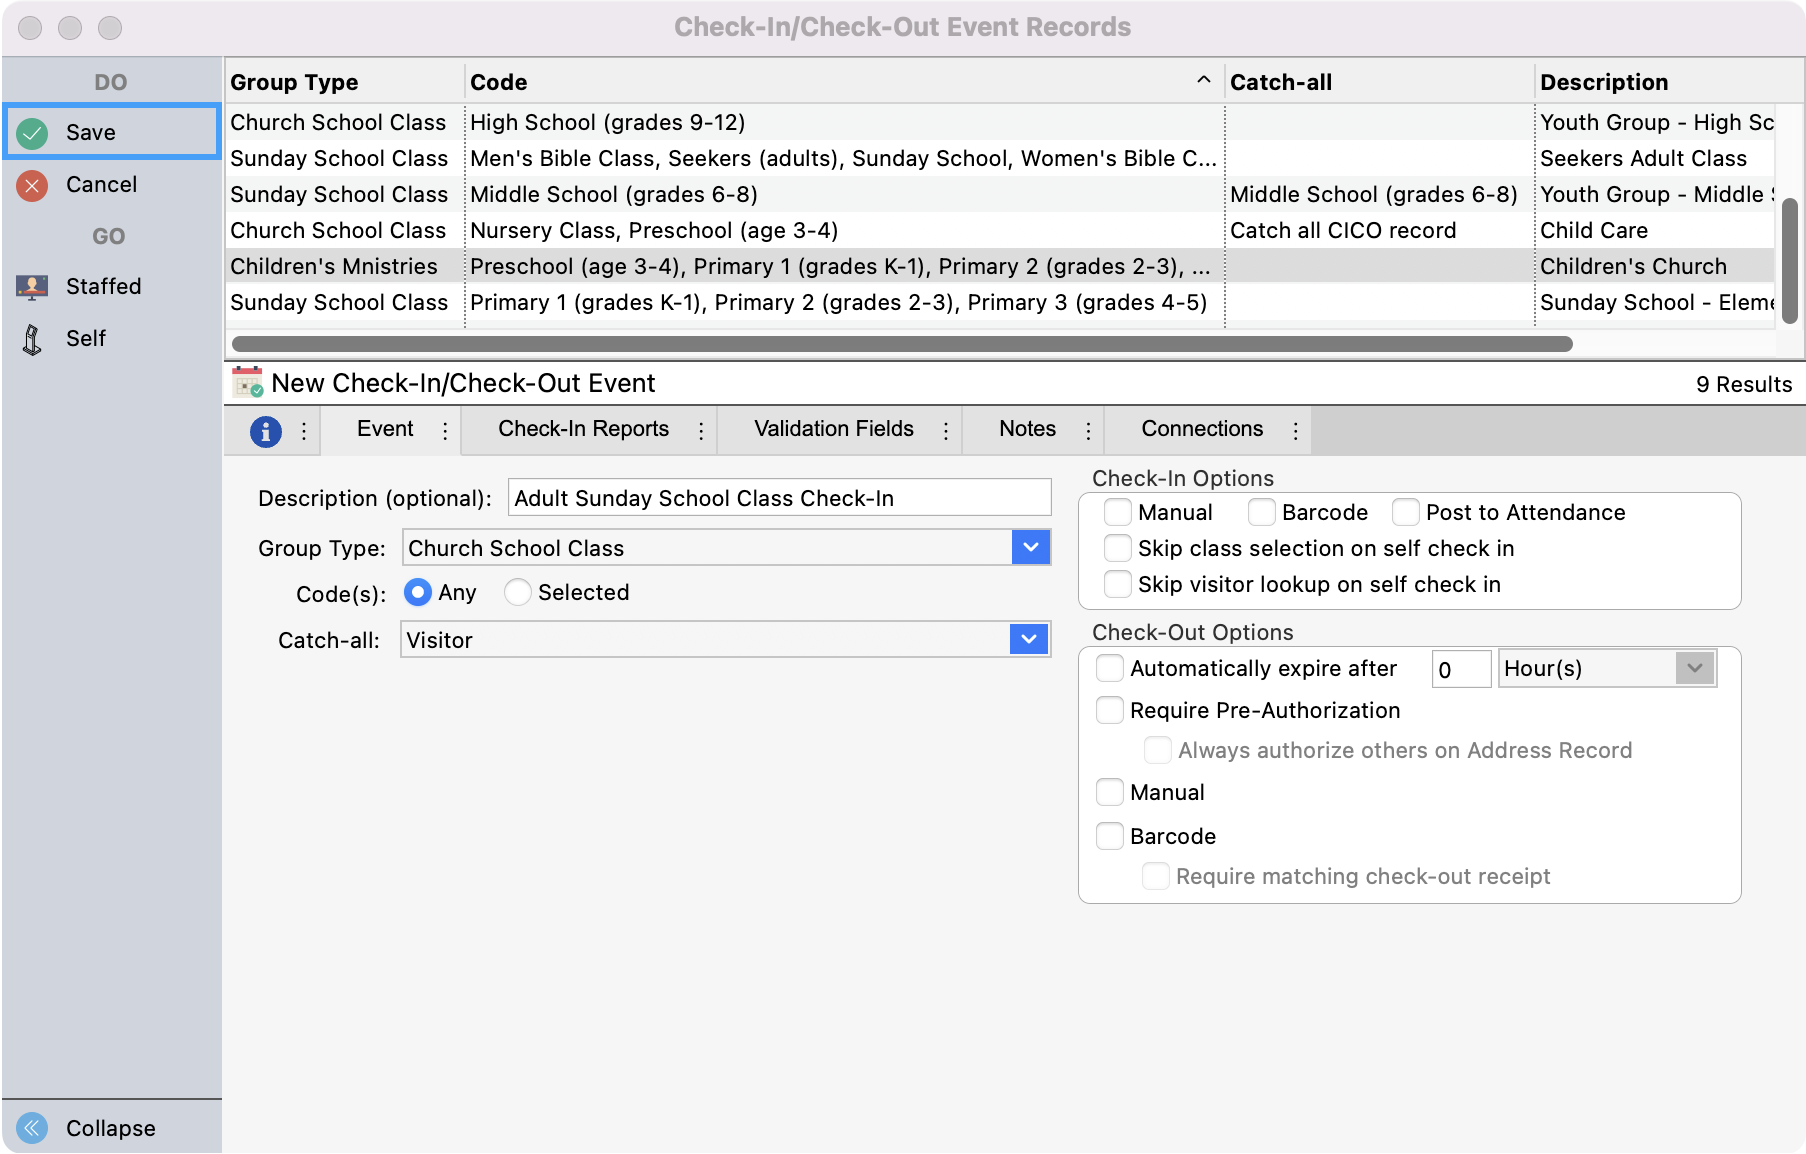
2. Click Save after each record. If using the Multi-Add function, click Finish to complete the session.