
There is some initial set up of a barcode scanner that needs to be completed before it will work with Check-In/Check-Out.
Purchased Scanner from CDM+
If you bought your barcode scanner from CDM+, you need to perform the following steps for each Check-In/Check-Out user:
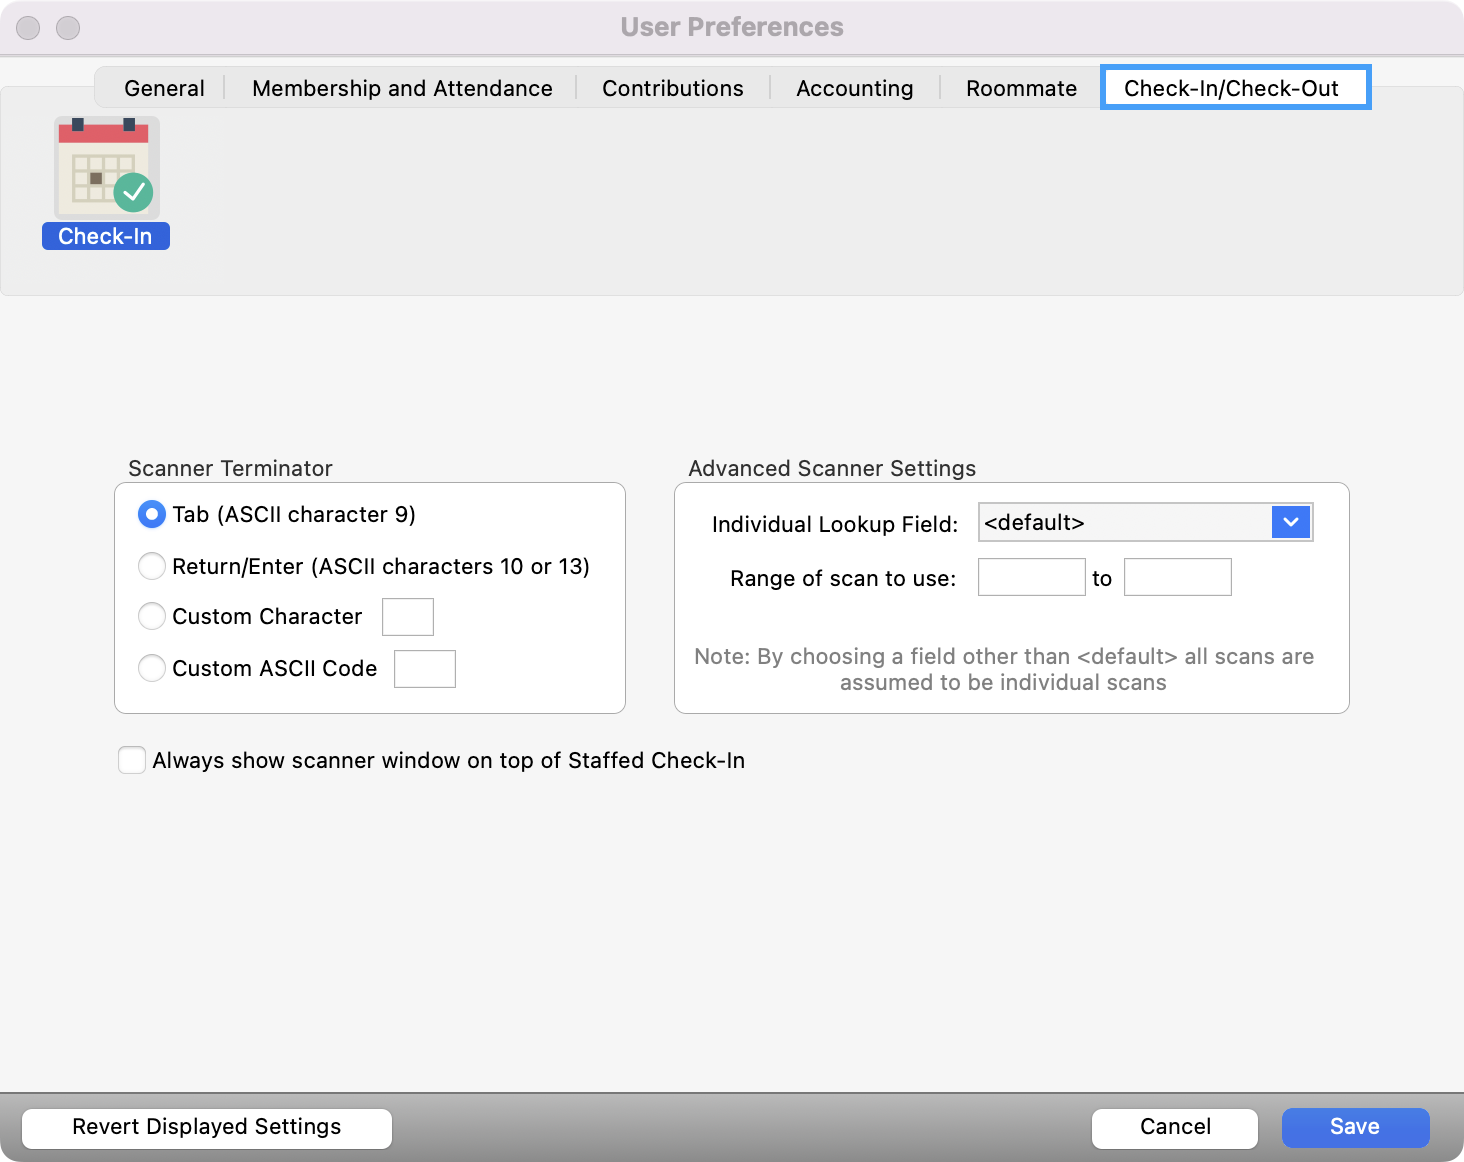
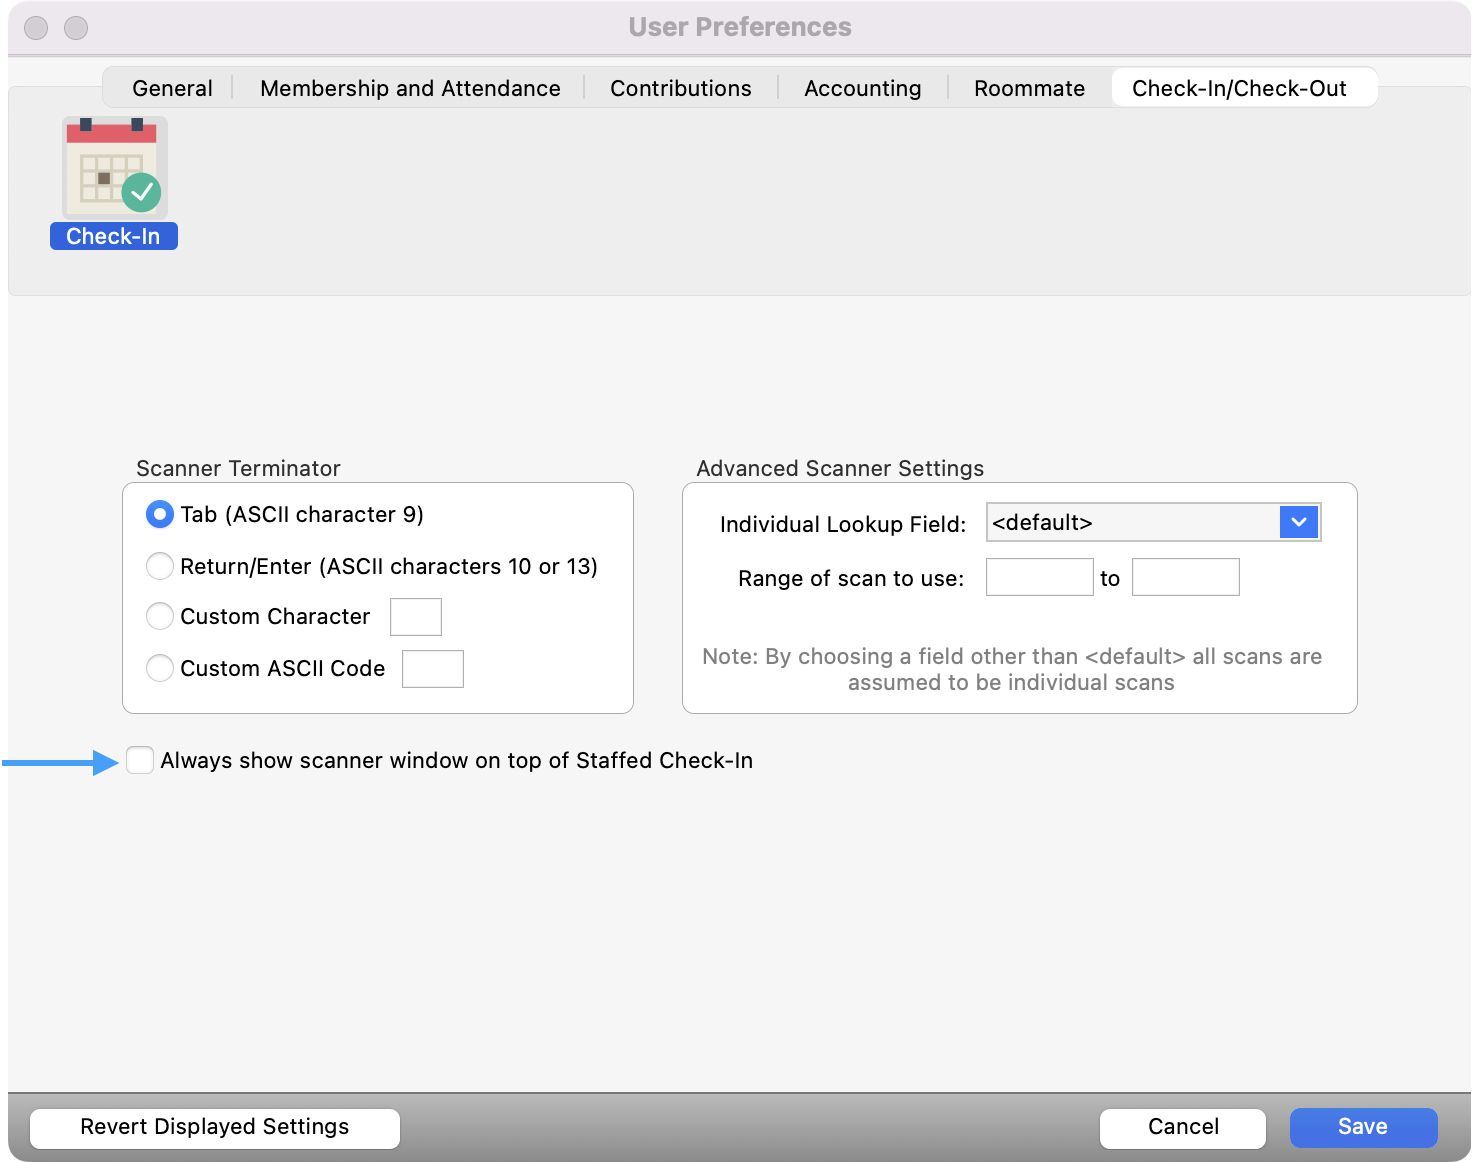
1. Go to the User Preferences window and click the Check-In/Check-Out tab.
-
In the Barcode Scanner Terminator box, make sure Tab (ASCII character 9) is selected.
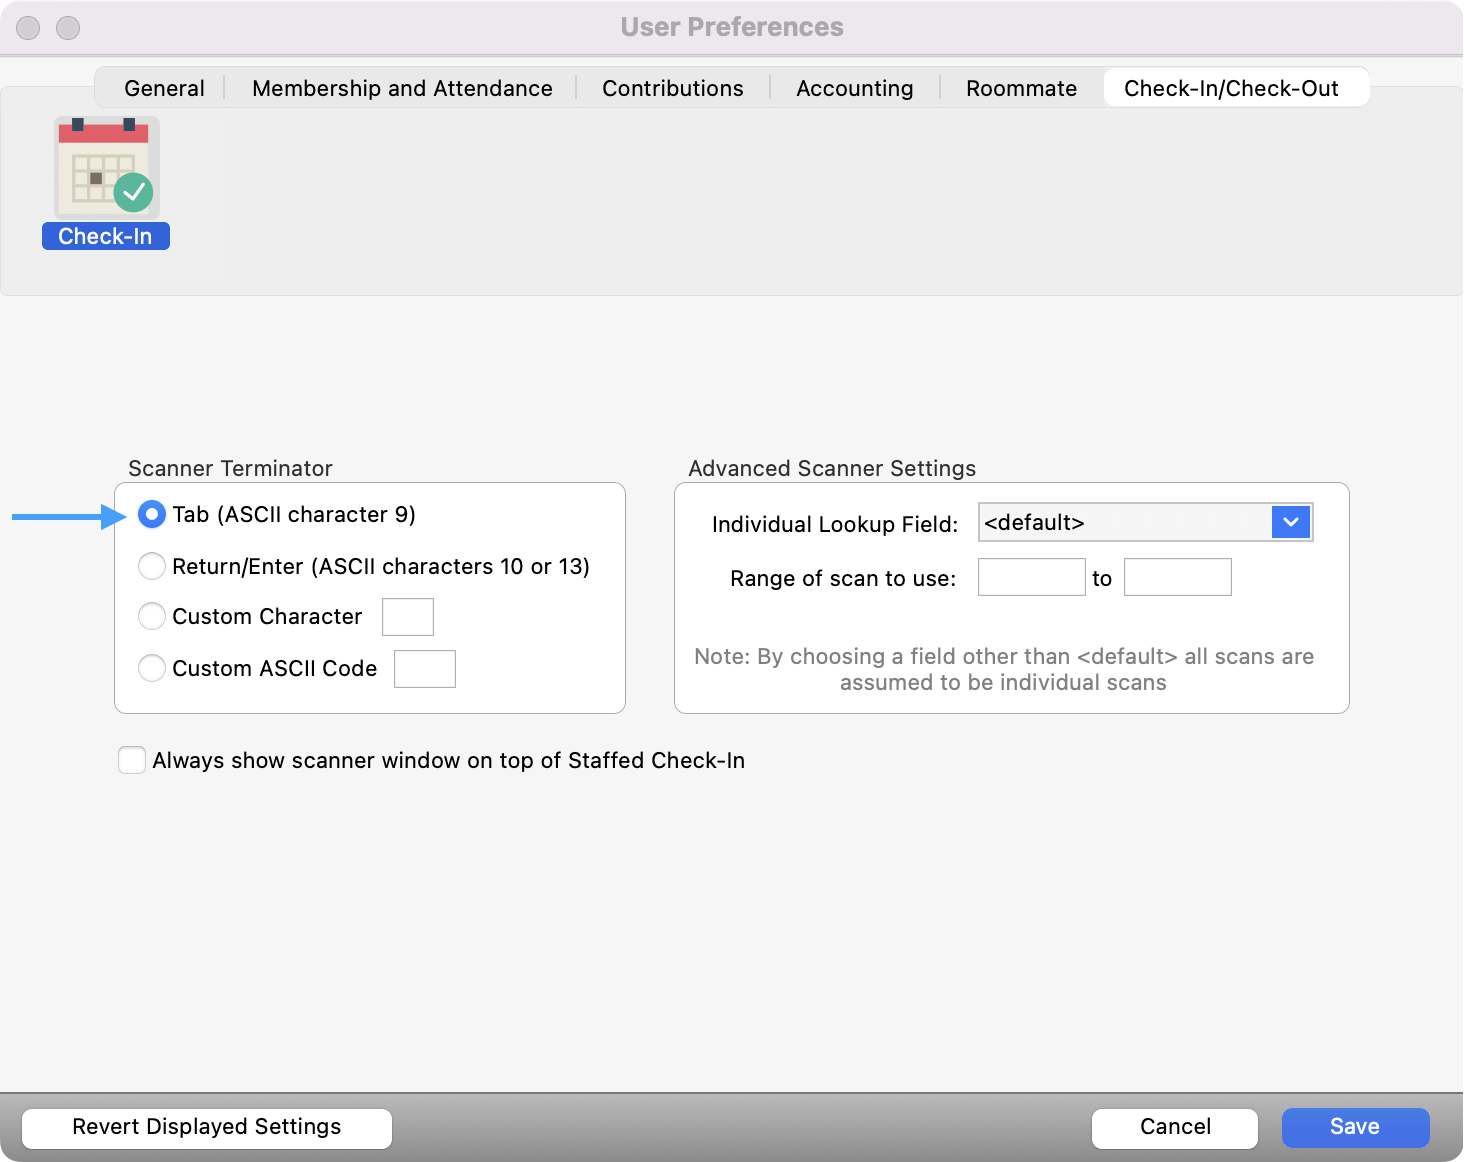
The configuration of the scanner itself is done for you when purchased through CDM+.
-
On the Check-In/Check-Out tab on the User Preferences window, you can choose whether you want the scanner window to Always show on top of the Staffed Check-In window. Click Save, when finished.
Purchased Scanner not from CDM+
If you are using a scanner purchased elsewhere, you need to see the documentation that came with the scanner to configure it. When doing this, you need to turn on the following options:
-
Set mode to emulate a keyboard/wedge
-
Enable interleaved 2 of 5 (in the 2 of 5 code family)
-
Turn on the terminator. We suggest Tab, but you can use any of the ones listed in the Check-In/Check-Out tab on the User Preferences window. Just make sure your selection for the scanner is also selected on this list. This setting needs to be configured for each Check-In/Check-Out user.
Manually Entering Barcodes
A common practice when printing barcodes is to also print the ID number represented by the barcode. If you have a barcode that will not scan, you can enter that ID number via the keyboard and type the terminating character to simulate a barcode scan. To this end, it is recommended you choose a terminator that can be typed on a keyboard, such as Tab or Return/Enter.