
Options allows customizing the content and appearance of a report. Available options will vary depending on the report type you have chosen and the program—such as Membership or Accounting—you are currently using.
When setting up a report in CDM+, be sure to review all of the options available and make the appropriate choices in each one. Most reports offfer Report, Format and Page Setup options. Other reports have specialized options, such as Columns and Labels/Envelopes.
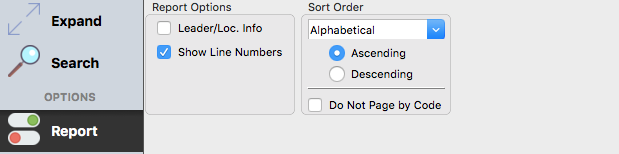
Report Tab
The Report tab has options specific to the report you are creating. Options under Report will vary greatly from report to report.
Format Tab
The Format tab varies a little according to the report. The options under Format allow you to precisely specify how information appears on the report.
For example, on the Format Options pane on the Address Directory report setup window, you can specify which (if any) address to print, how to treat Unlisted Phone Numbers, and how to include Other Phone Numbers or Email Addresses into the report.

In addition to specifying content of a report, Format also allows you to customize the appearance of a report. Here you can select:
-
Header Options: The checkboxes in the Header Options section allow you to specify whether or not to print the Organization Info and Search Description at the top of a report. The information you choose will appear on all pages unless you select First Page Only.
-
Alignment Options: Here you can select the alignment of text on a report—left, center or right. You also can select Facing Pages. The facing pages option is ideal if you are going to print a multi-page report on both sides of the paper and 3-hole punch it for placement in a ring binder.
-
Footer Options: The checkboxes in the Footer Options section allow you to specify the information you wish to have printed at the bottom of a report.
-
Font Options: In this section of the General tab, you can select from droplists the font and its point size to be used on the report. CDM+ shows you a preview of your font selection in the box.
-
Date Options: In this section of the General tab, you can select the date format you wish to use on the report.
Page Setup Tab
The Page Setup tab provides much flexibility when printing a report. Here you can specify the paper size, orientation, and margins.
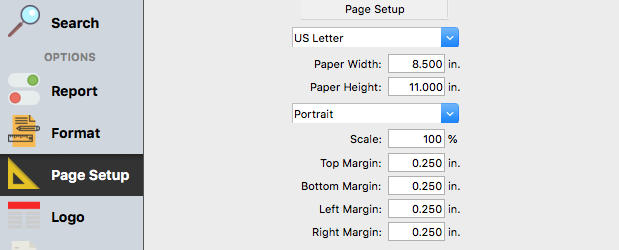
Clicking on the Page Setup button on this pane will open your computer’s standard page/print setup window. This is an alternative to making your paper size selections here.
Logo Tab
The Logo tab allows you to add a Logo to your report. This is a great feature to make them more personalized. You can add as many graphics as you like to the database, including your Church Logo, VBS Logos, Youth Group and Bible Study Logos, and more! From this tab, you can also determine the scale of the graphic, and where you want it to be placed on the page. You can also specify whether you want it on every page, or just the first page.
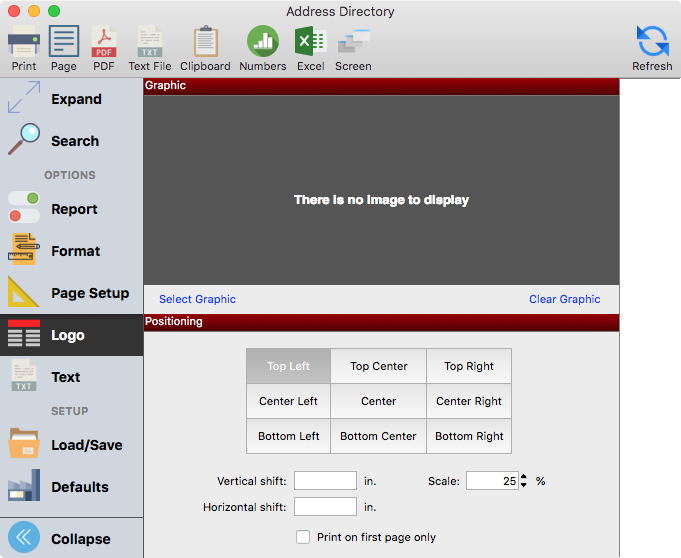
Create or find a "Draft" image and save it to the database. When preparing a budget report or draft of a directory, add the Draft image centered in the background of the report as a watermark.
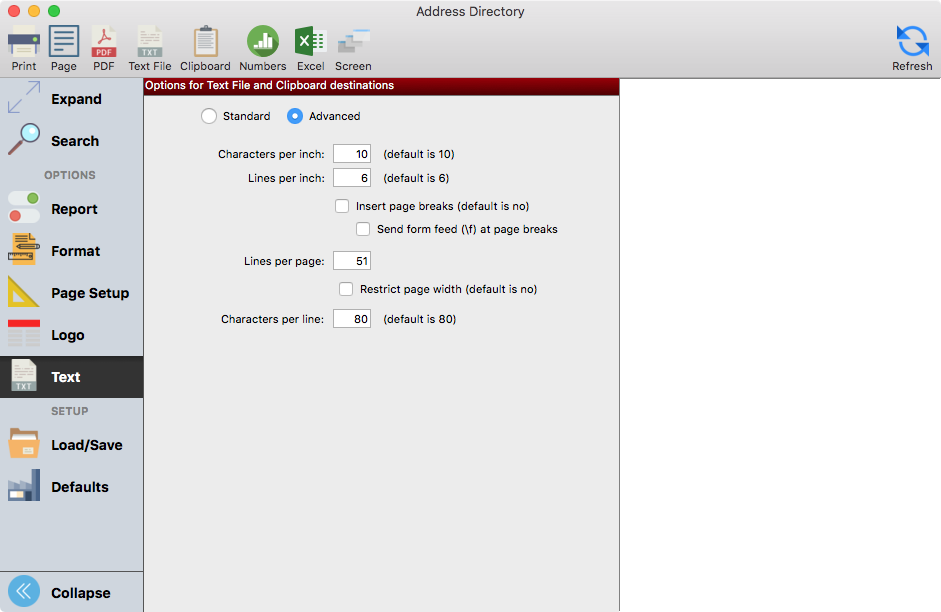
Text Tab
The Text tab is useful for specific saving methods. If you are going to save your report as a Text file, or copy it to your Clipboard to paste into a different document or program, you can specify here all the details. If you select Standard, it will use the program defaults. If you wish to customize you, select Advanced and change the settings accordingly.
Export
Export and Custom Listing reports have their own tabs, Columns and Export. You can learn more about those in .
Labels/Envelopes
The Labels/Envelopes tab is only found on Labels/Envelops reports. Here, you can select from pre-defined label formats, listed by their Avery® label number. Click on a numbered label format in the list on the left and you’ll see a graphical representative of it on the right.
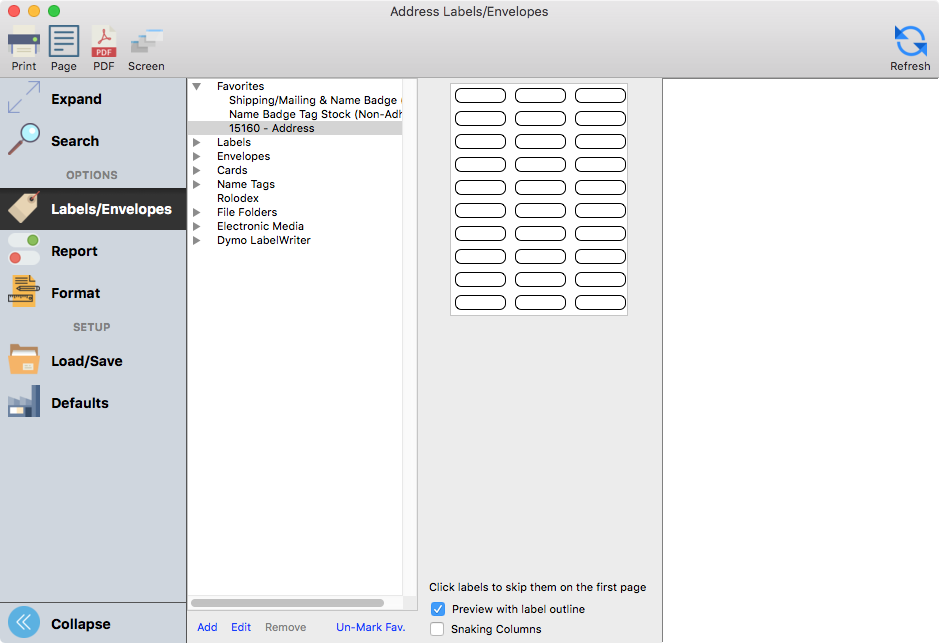
Highlight a label or envelope format and click the Mark Favorite button to move it to the top of the list under Favorites.
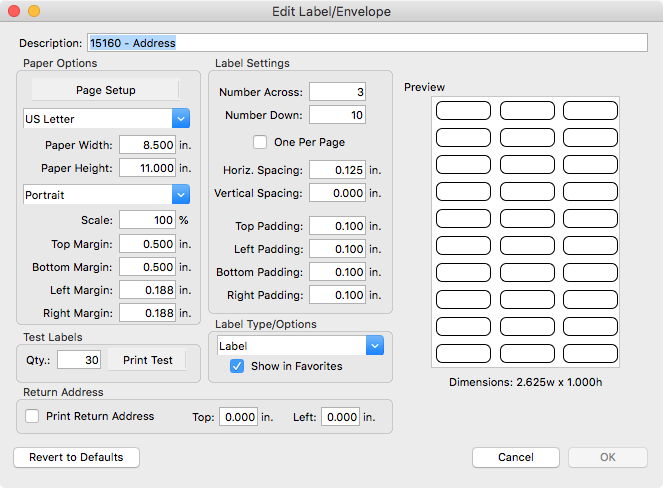
You can edit this list of label and envelope formats. Click on either the small Add or Edit button below the list to open a window where you can add your own custom label format or edit an existing one.
A useful feature in printing sheets of labels from CDM+ is the ability to mark individual labels on the page you want to skip. In that way, you can easily use a sheet of labels that may be missing one or two labels. Just click on the location(s) of the missing label(s) to highlight them on the graphic.
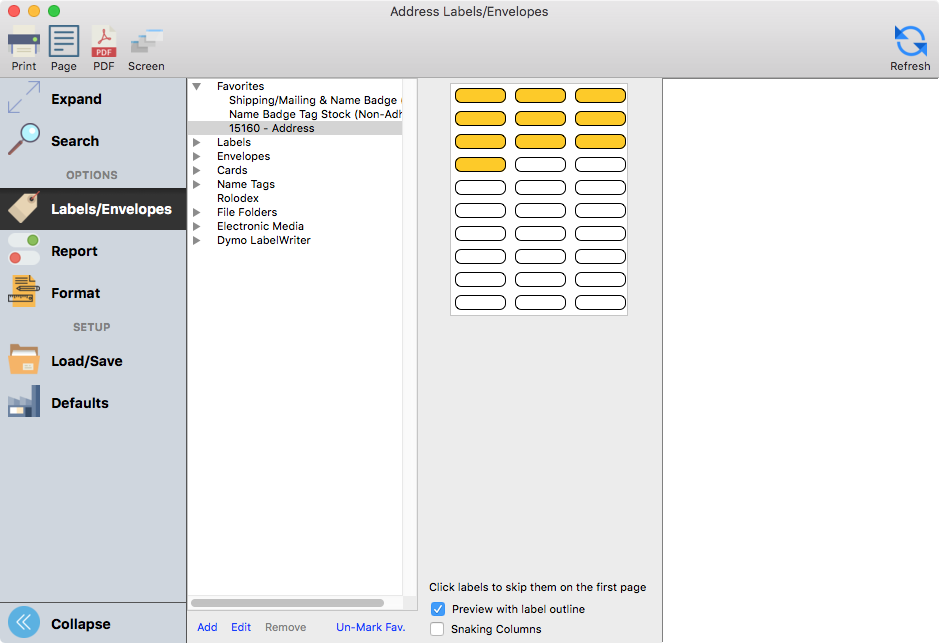
The skip labels function only applies to the first page of a report.