
To keep your notices organized, you can create categories to store the notices, letters, and emails. You can move the notices from category to category at any time. Categories are system-level, meaning that everyone sees and uses the exact same categories. No categories are hidden from certain users.
Categories can help you find notices more quickly, but you can also search for specific notices using the little search bar in the top right of the Select Notice window.
Creating a Category
There are two ways to create a Category: from a report window or from the Master Coding System.
From a Report Window
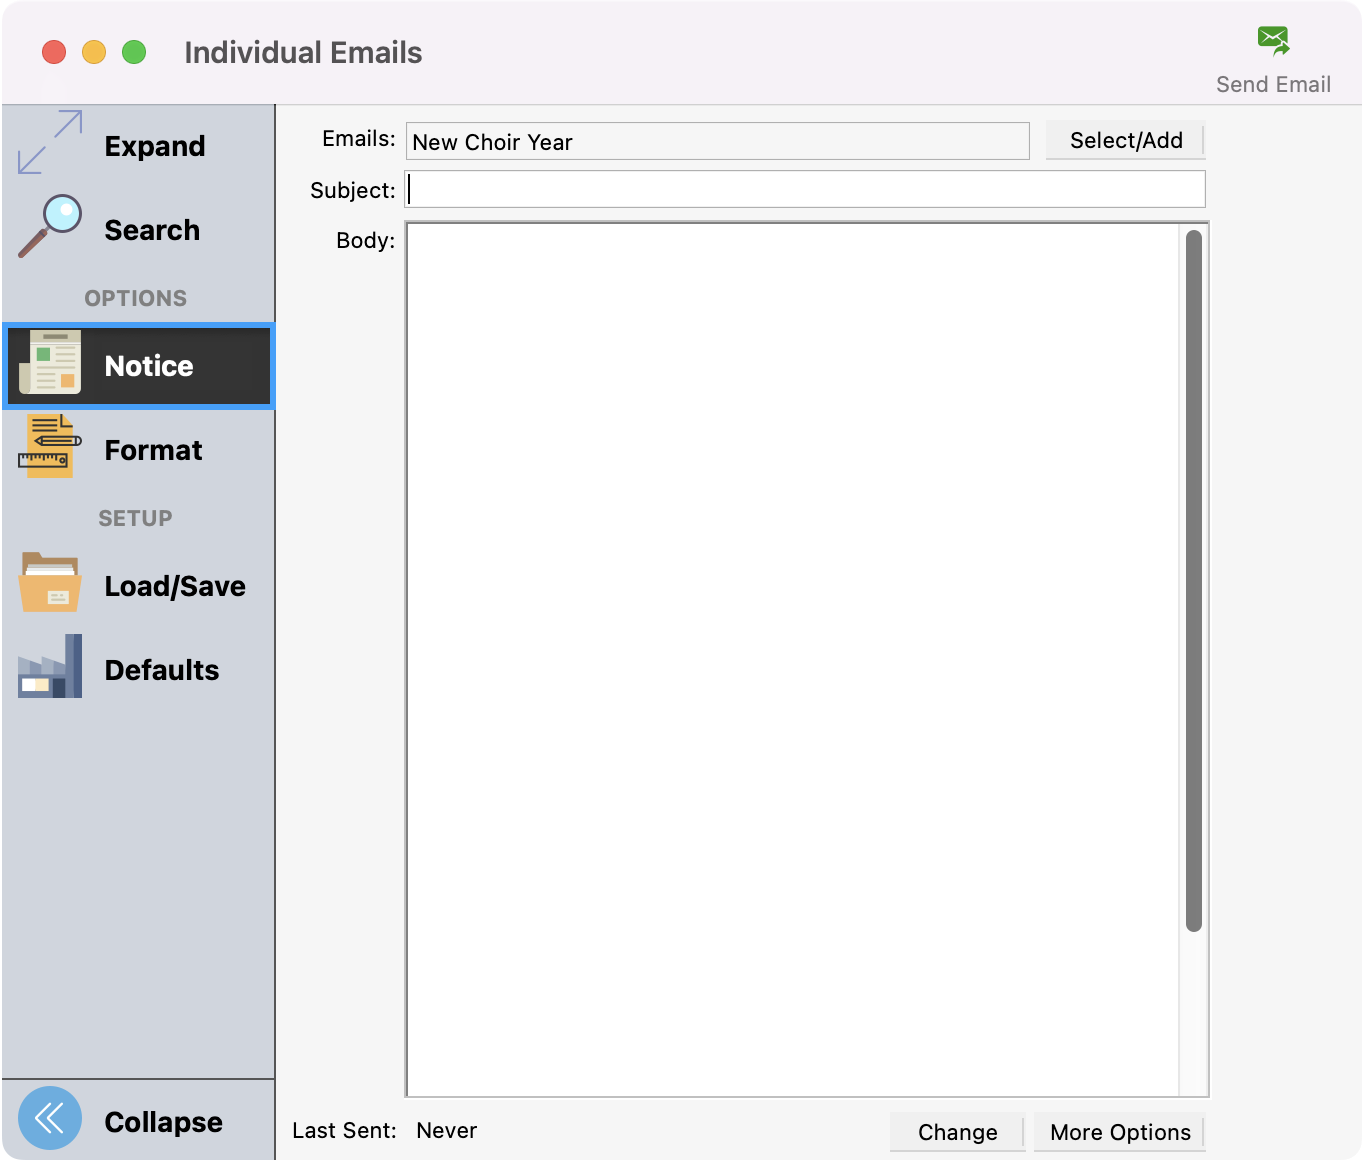
Open the Report you want to send. It must be either a notice, letter, email, etc. (In this case, we are using Individual Emails, under Membership Reports.)
-
Click Notice from the left sidebar.
-
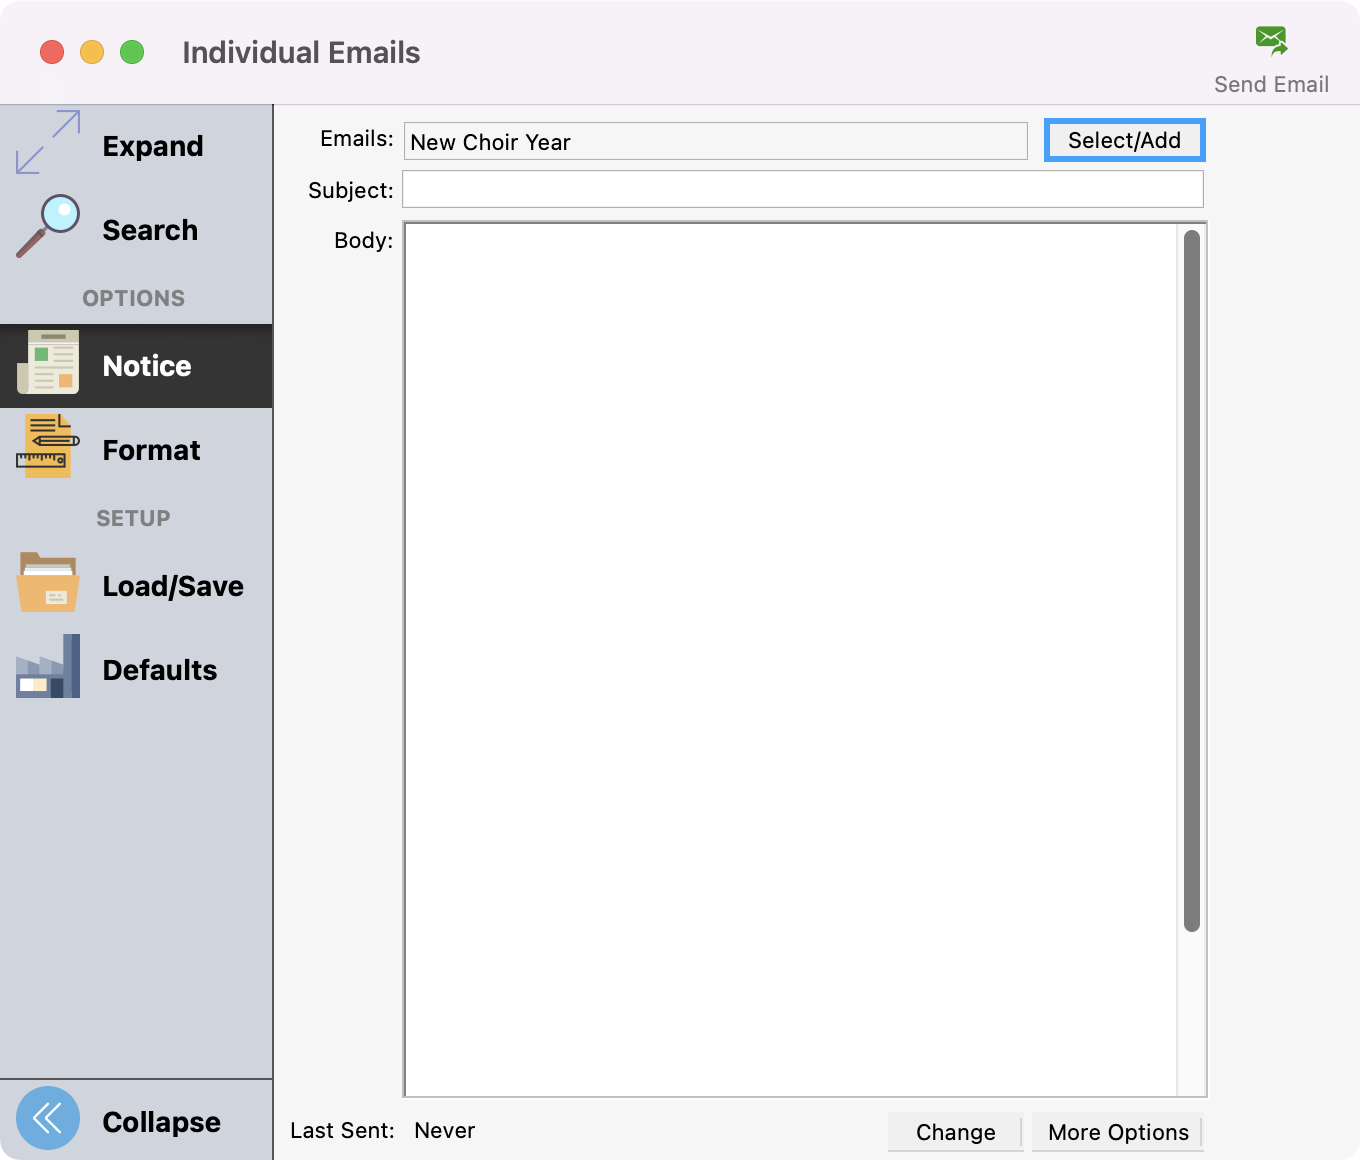
Click Select/Add.
-
Click Add Notice Category.

-
Enter a category name and click OK.
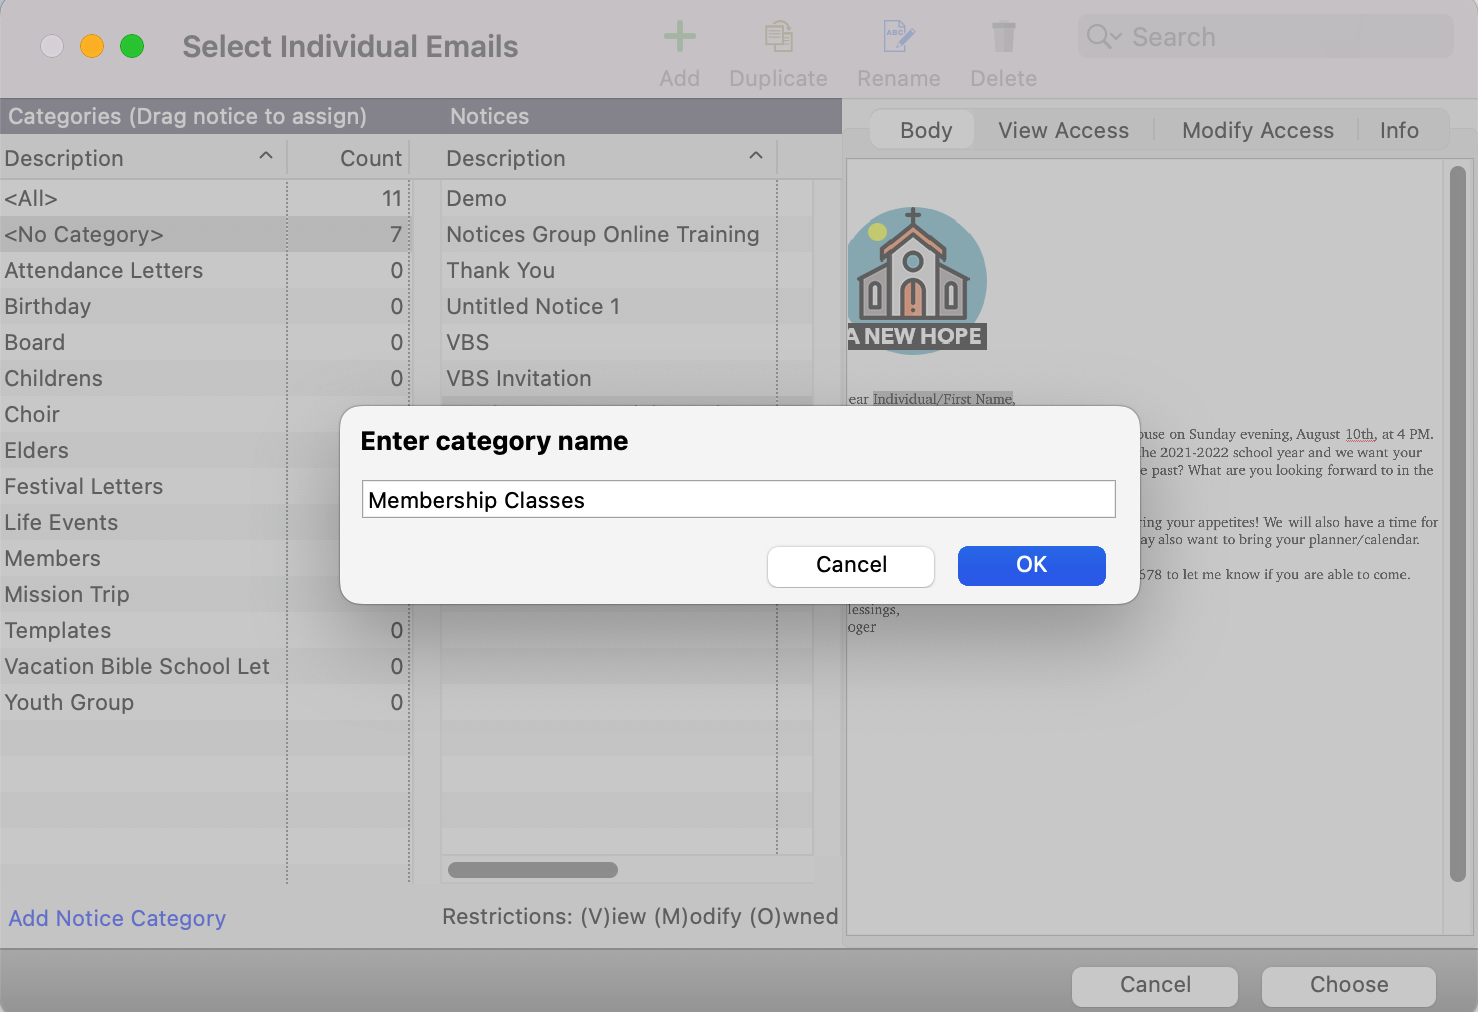
The new category will now appear in the list on the left.
From the Master Coding System
-
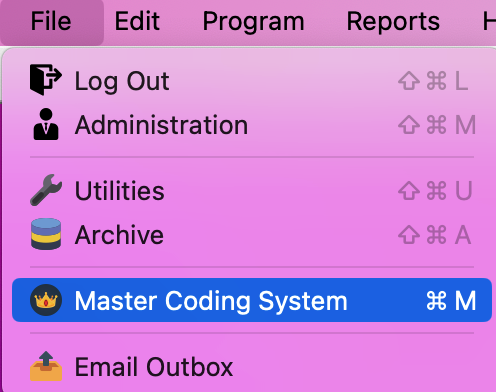
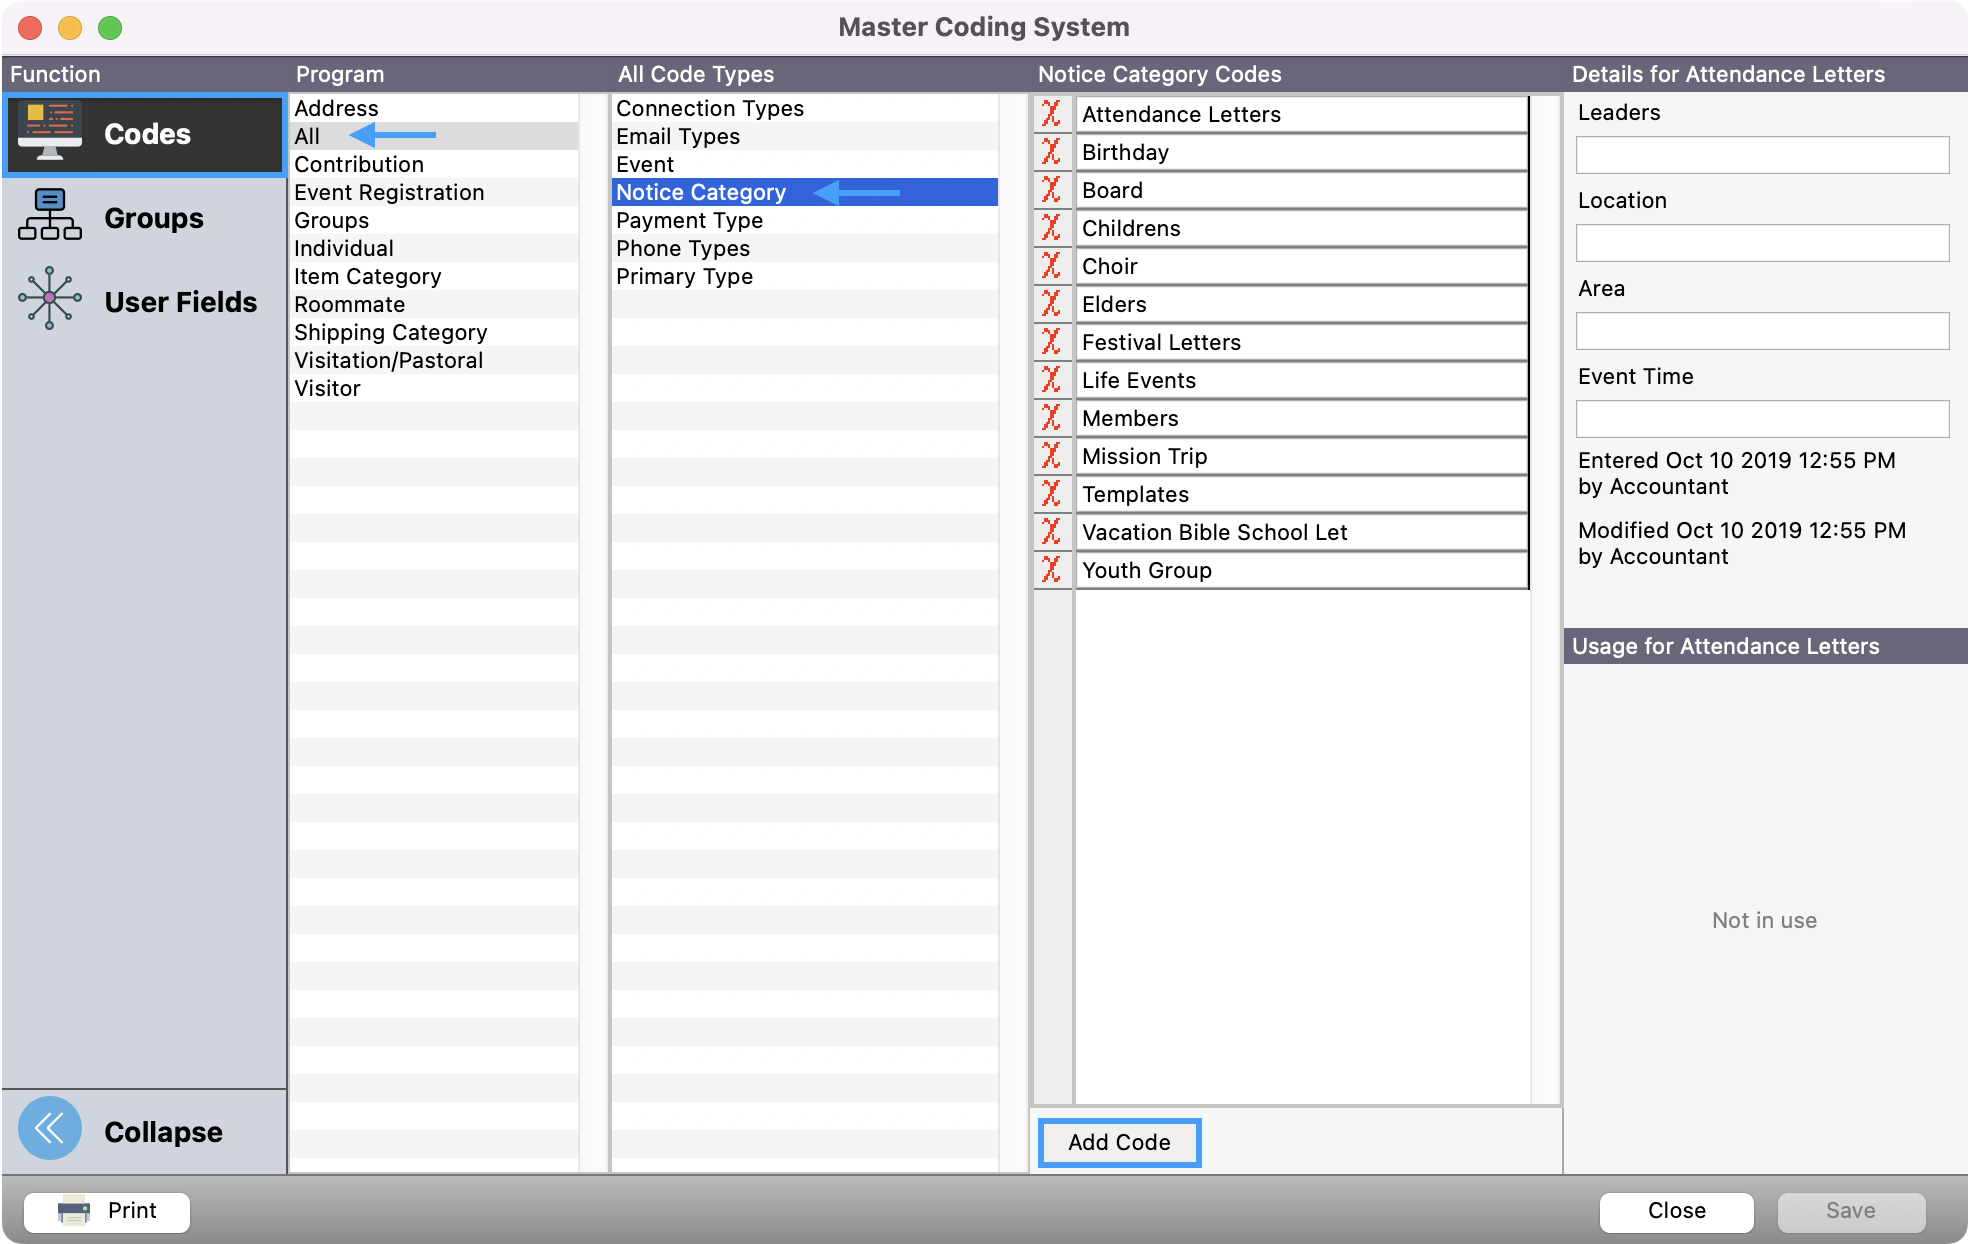
Open the Master Coding System, and navigate to the Notice Categories by going to File → Master Coding System.
-
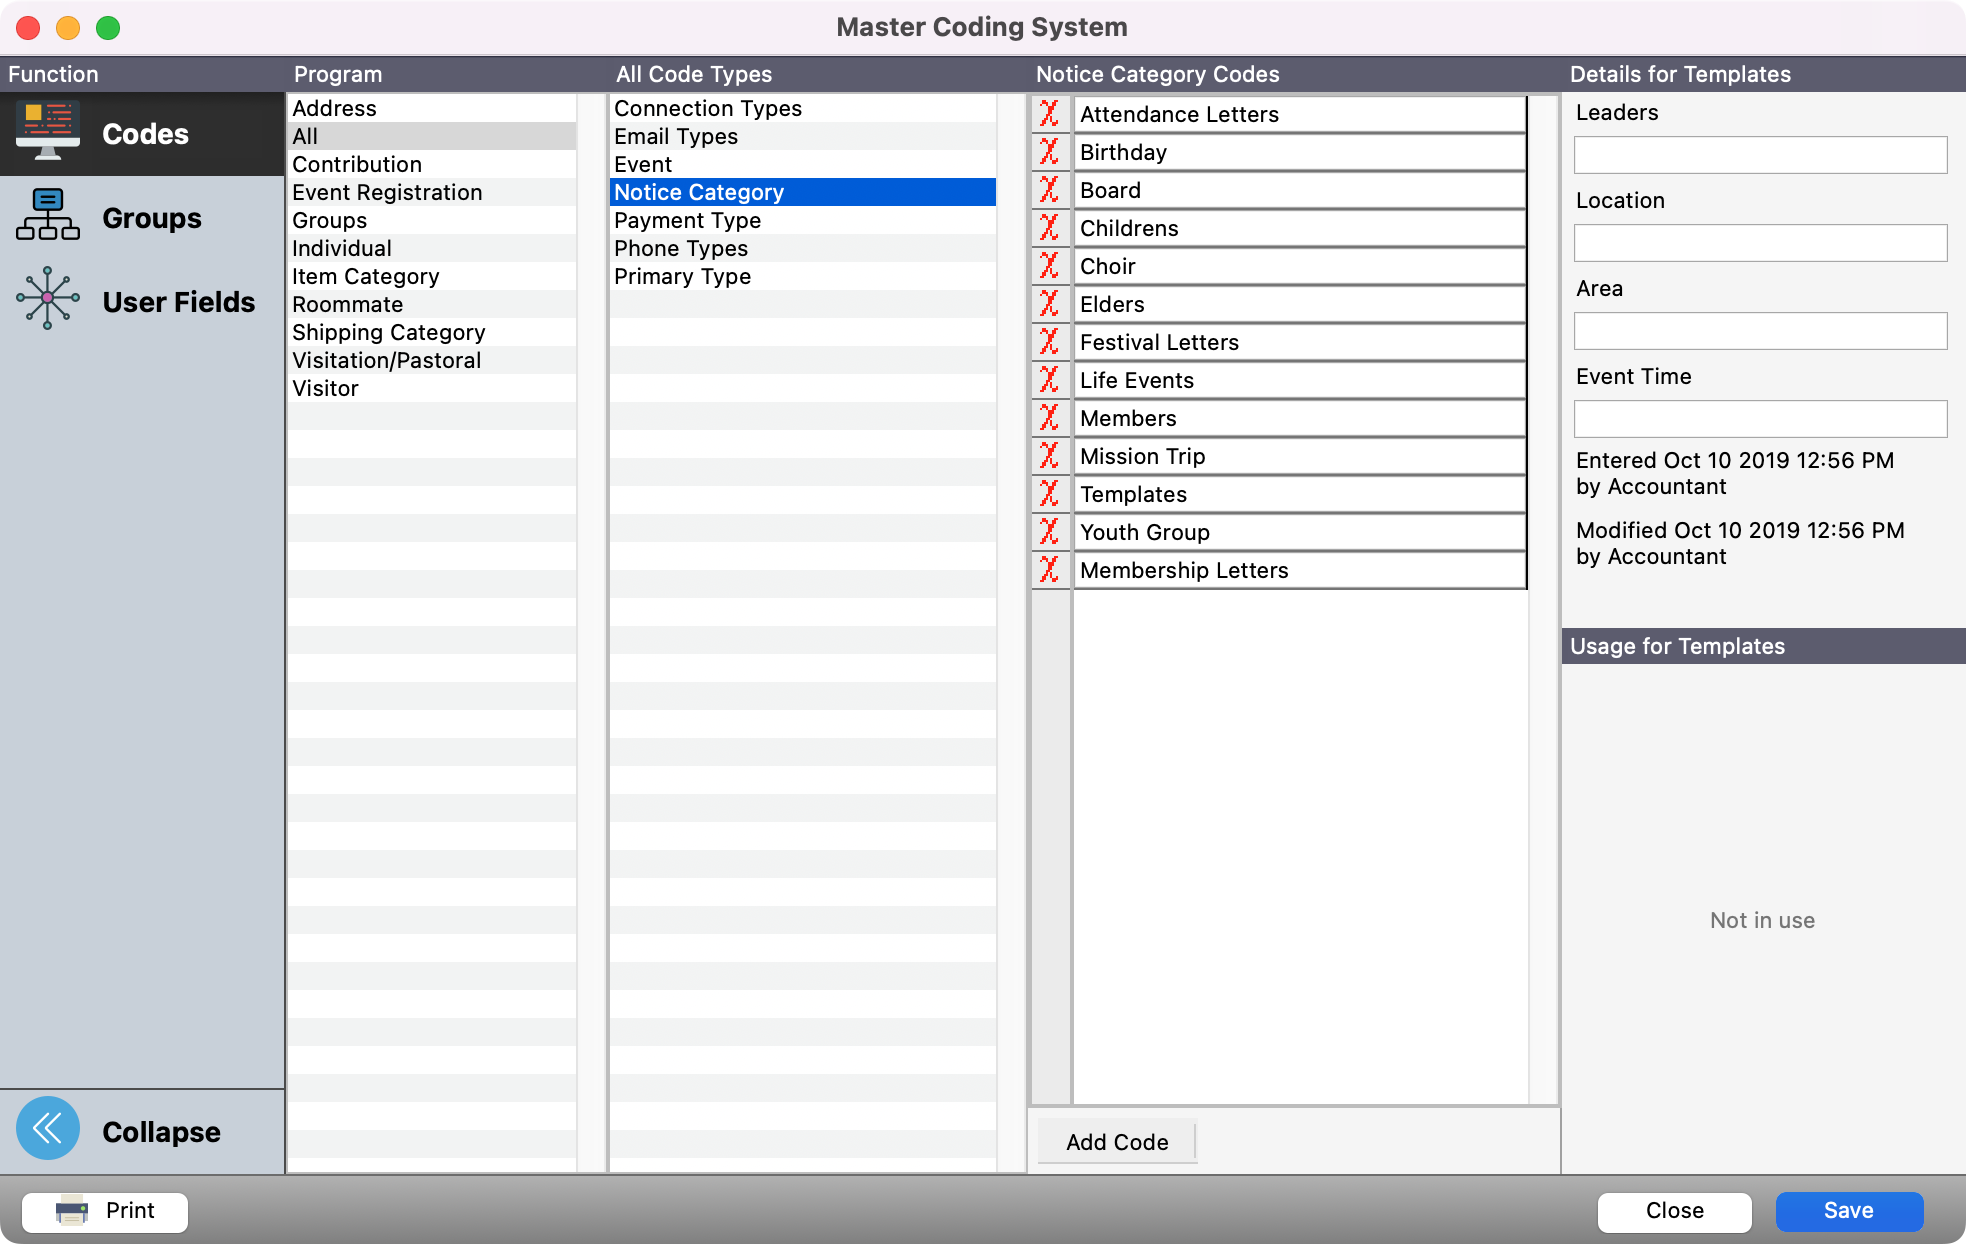
Under Codes, click All, and then Notice Category. From here, you can click Add Code at the bottom of the Notice Category Codes column.
-
Next, type the category name and click Save.

The new category will now appear in the list.
Editing a category in the Master Coding System
You can edit the name of category within the Master Coding System.
-
Open the Master Coding System, and navigate to the Notice Categories by going to File → Master Coding System.
-
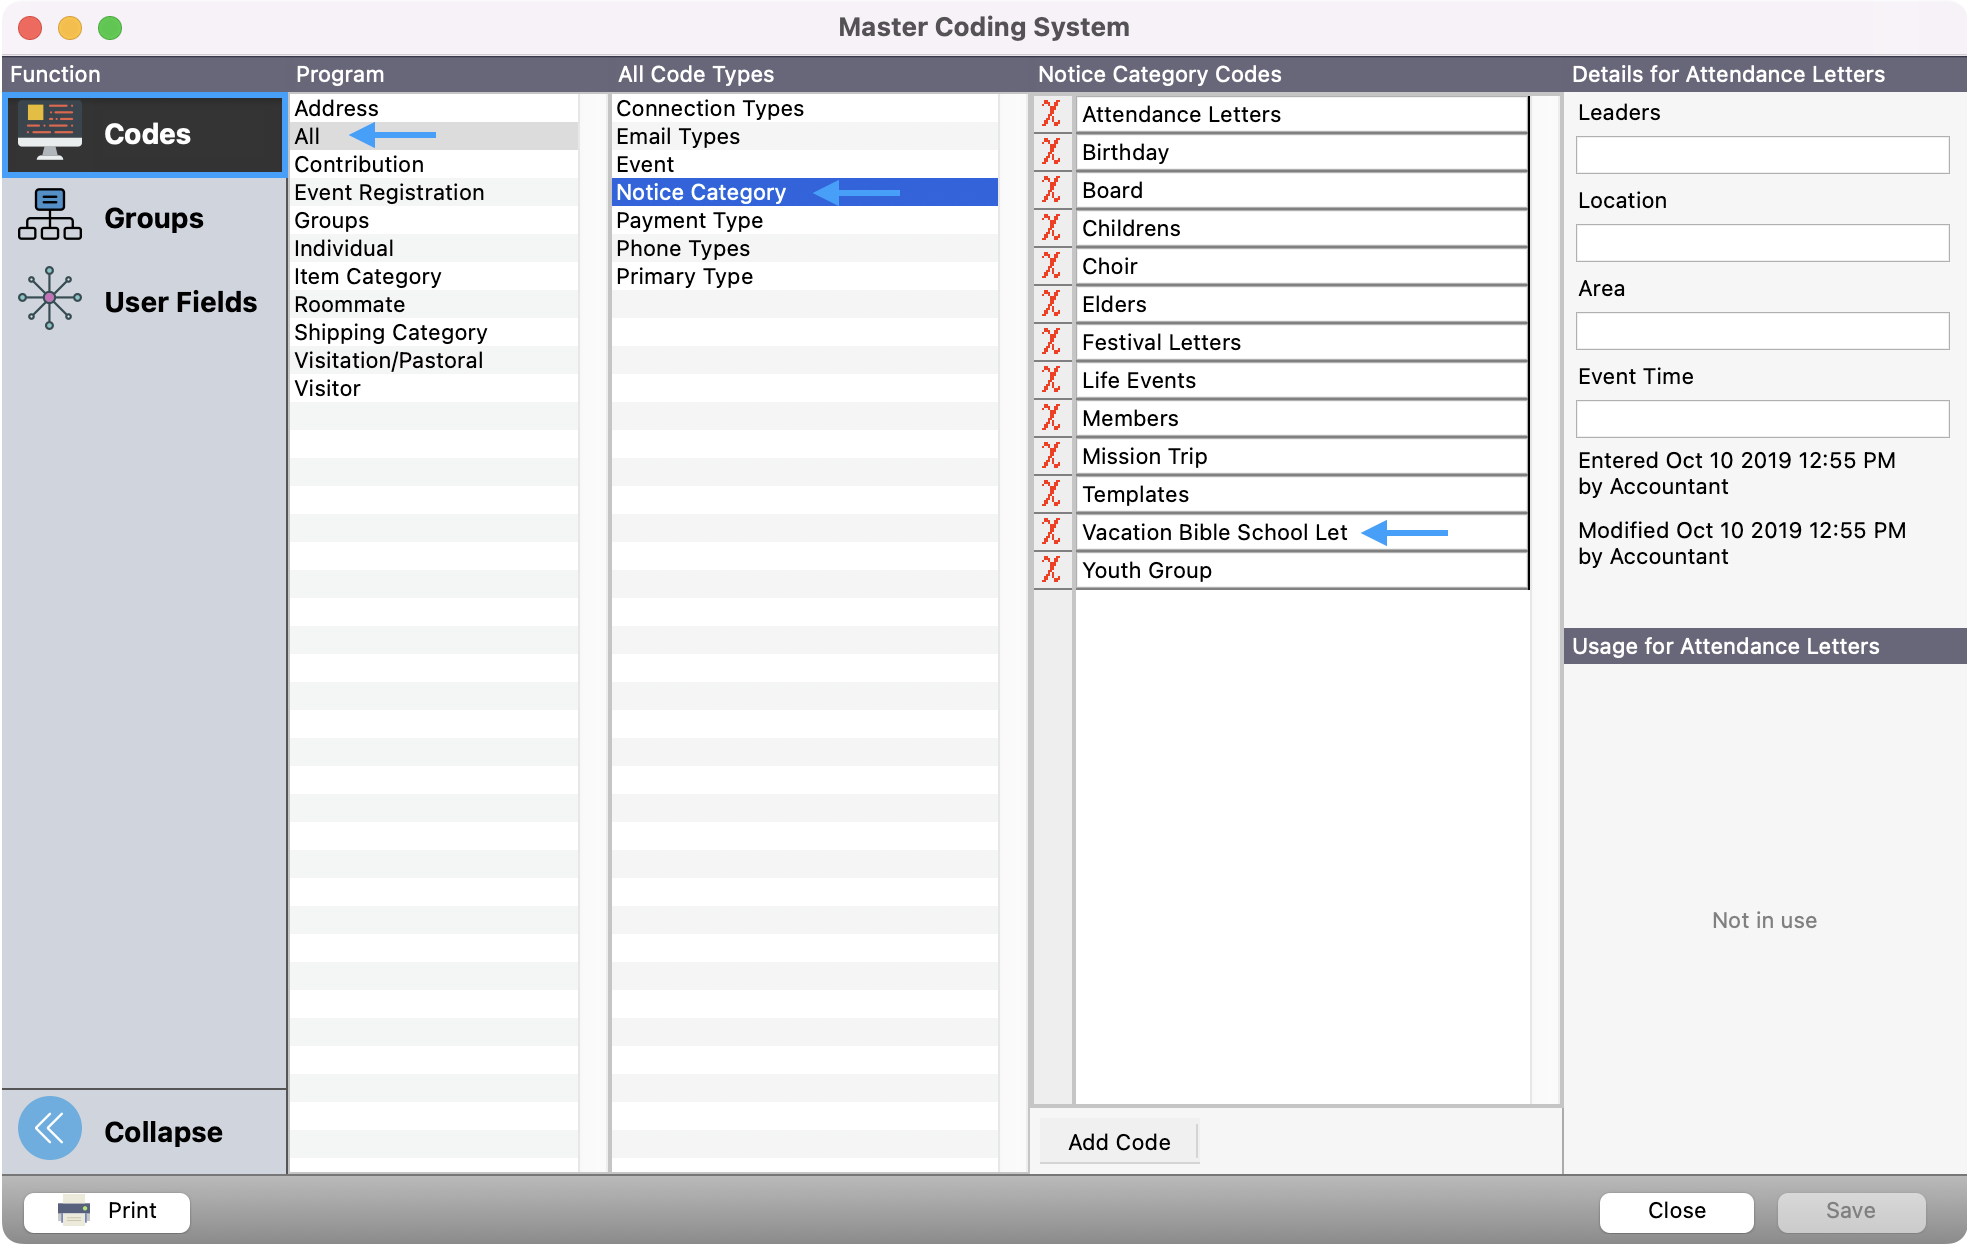
Under Codes, click All, and then Notice Category. From here, you can click the code you want to edit.
-
Edit the category (we have changed Vacation Bible School Let to Vacation Bible School Letters) and click Save.
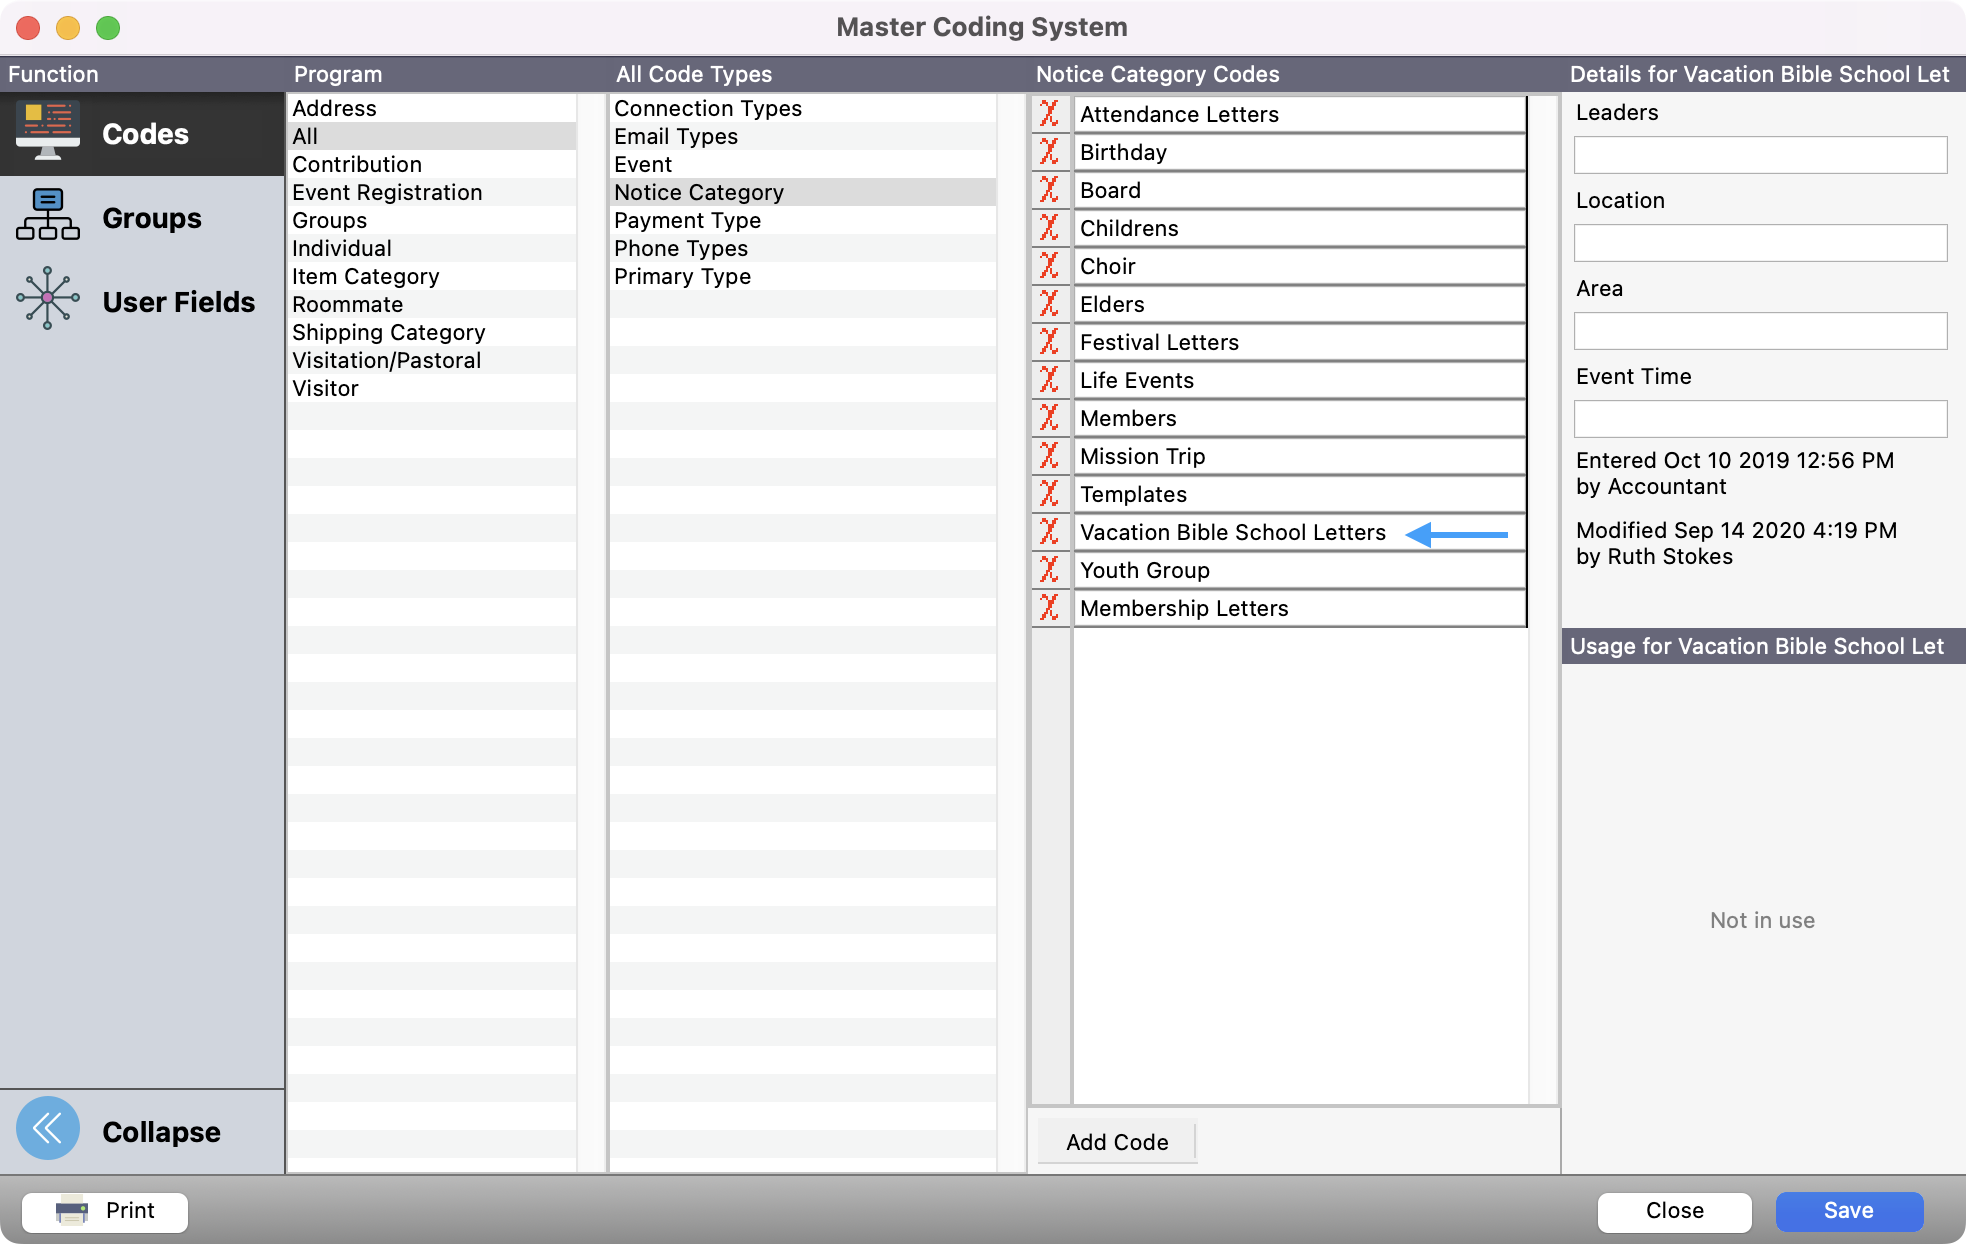
The category is now edited.
Deleting a Category
If you delete a category, you will NOT be deleting the notices within that category. The notices will still remain under <All>.
-
Open the Master Coding System, and navigate to the Notice Categories by going to File → Master Coding System.
-
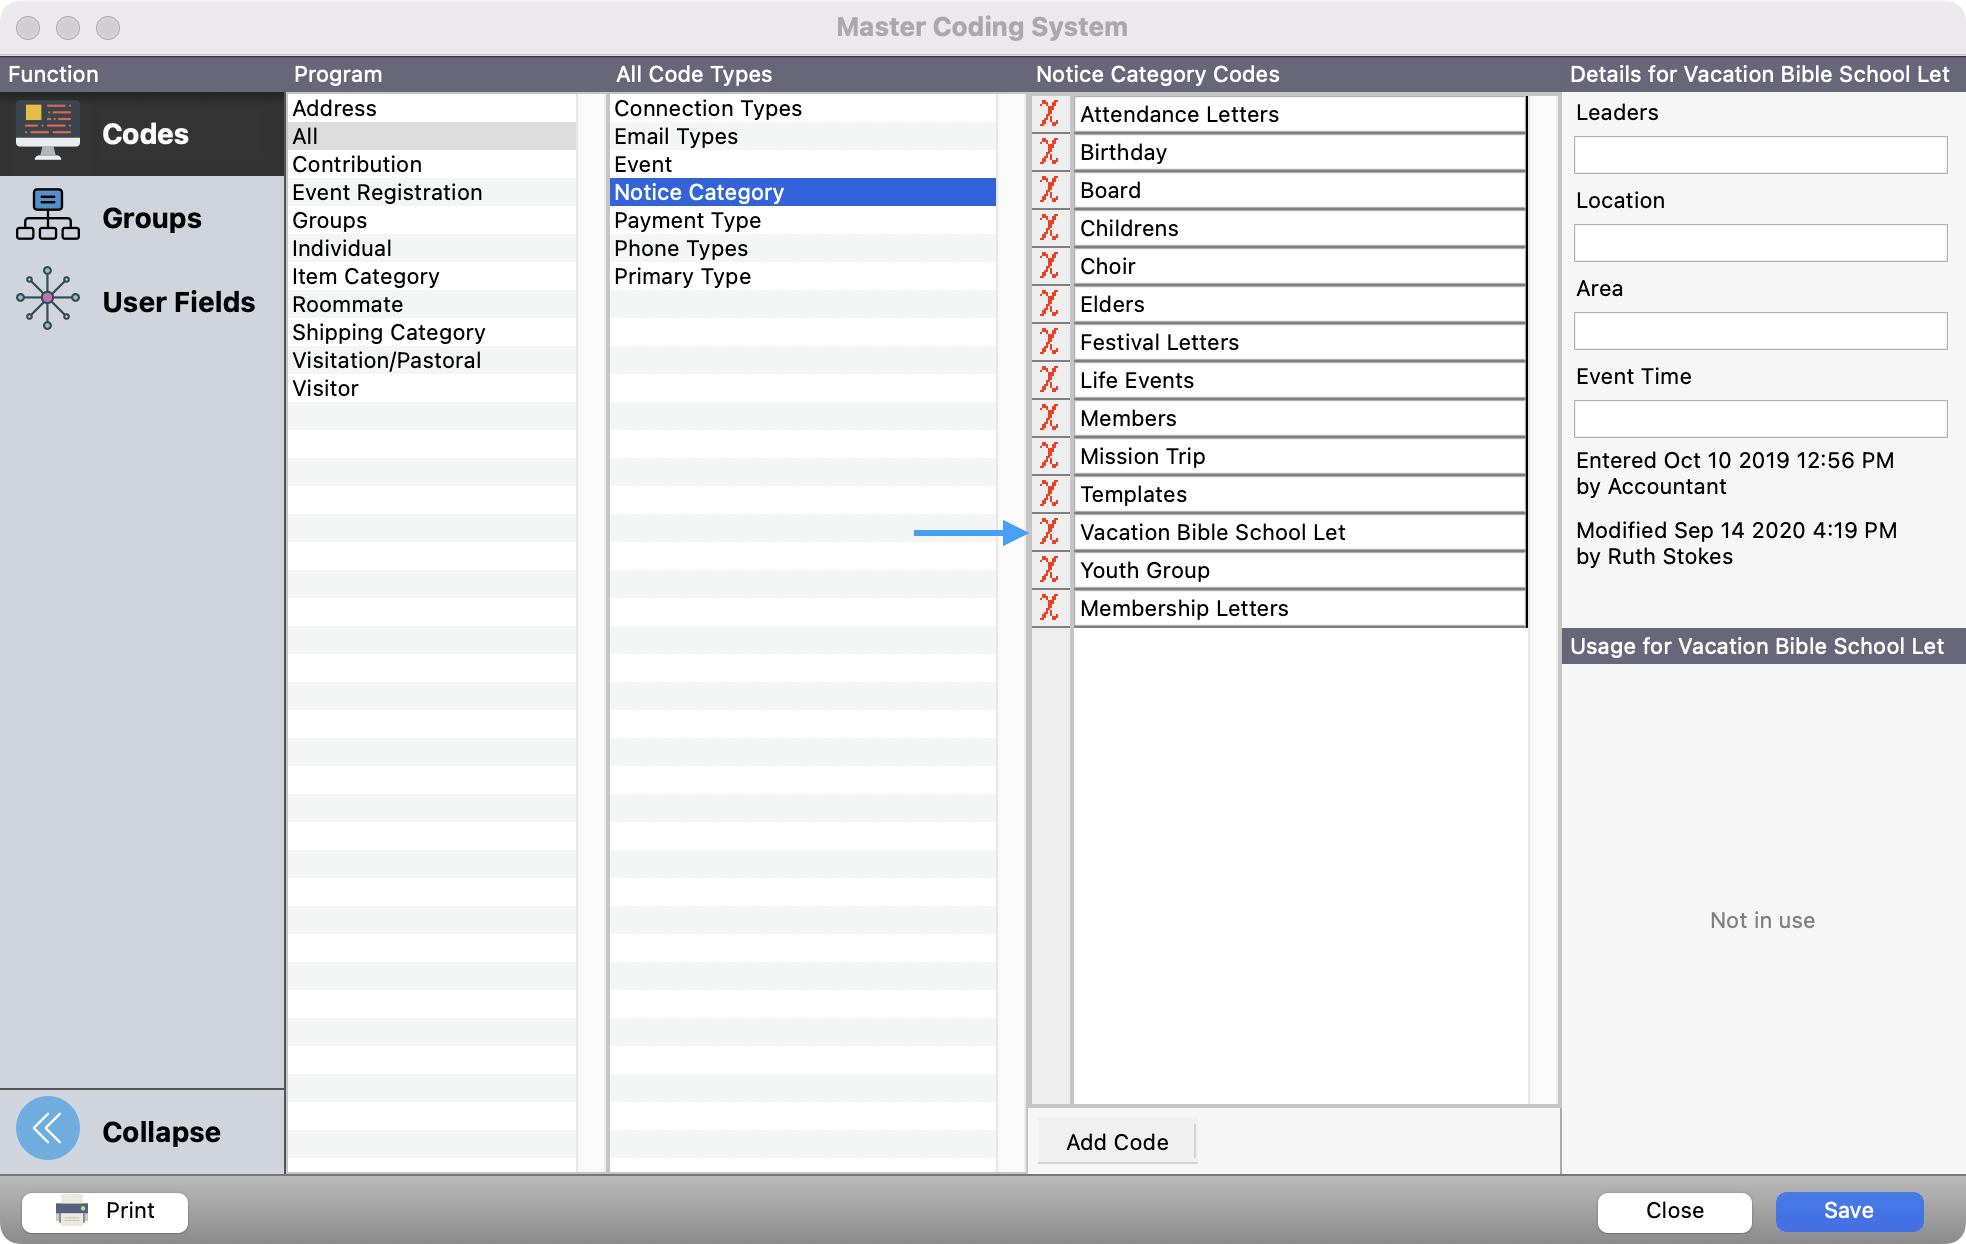
Under Codes, click All, and then Notice Category. From here, you can click the code you want to Delete.
-
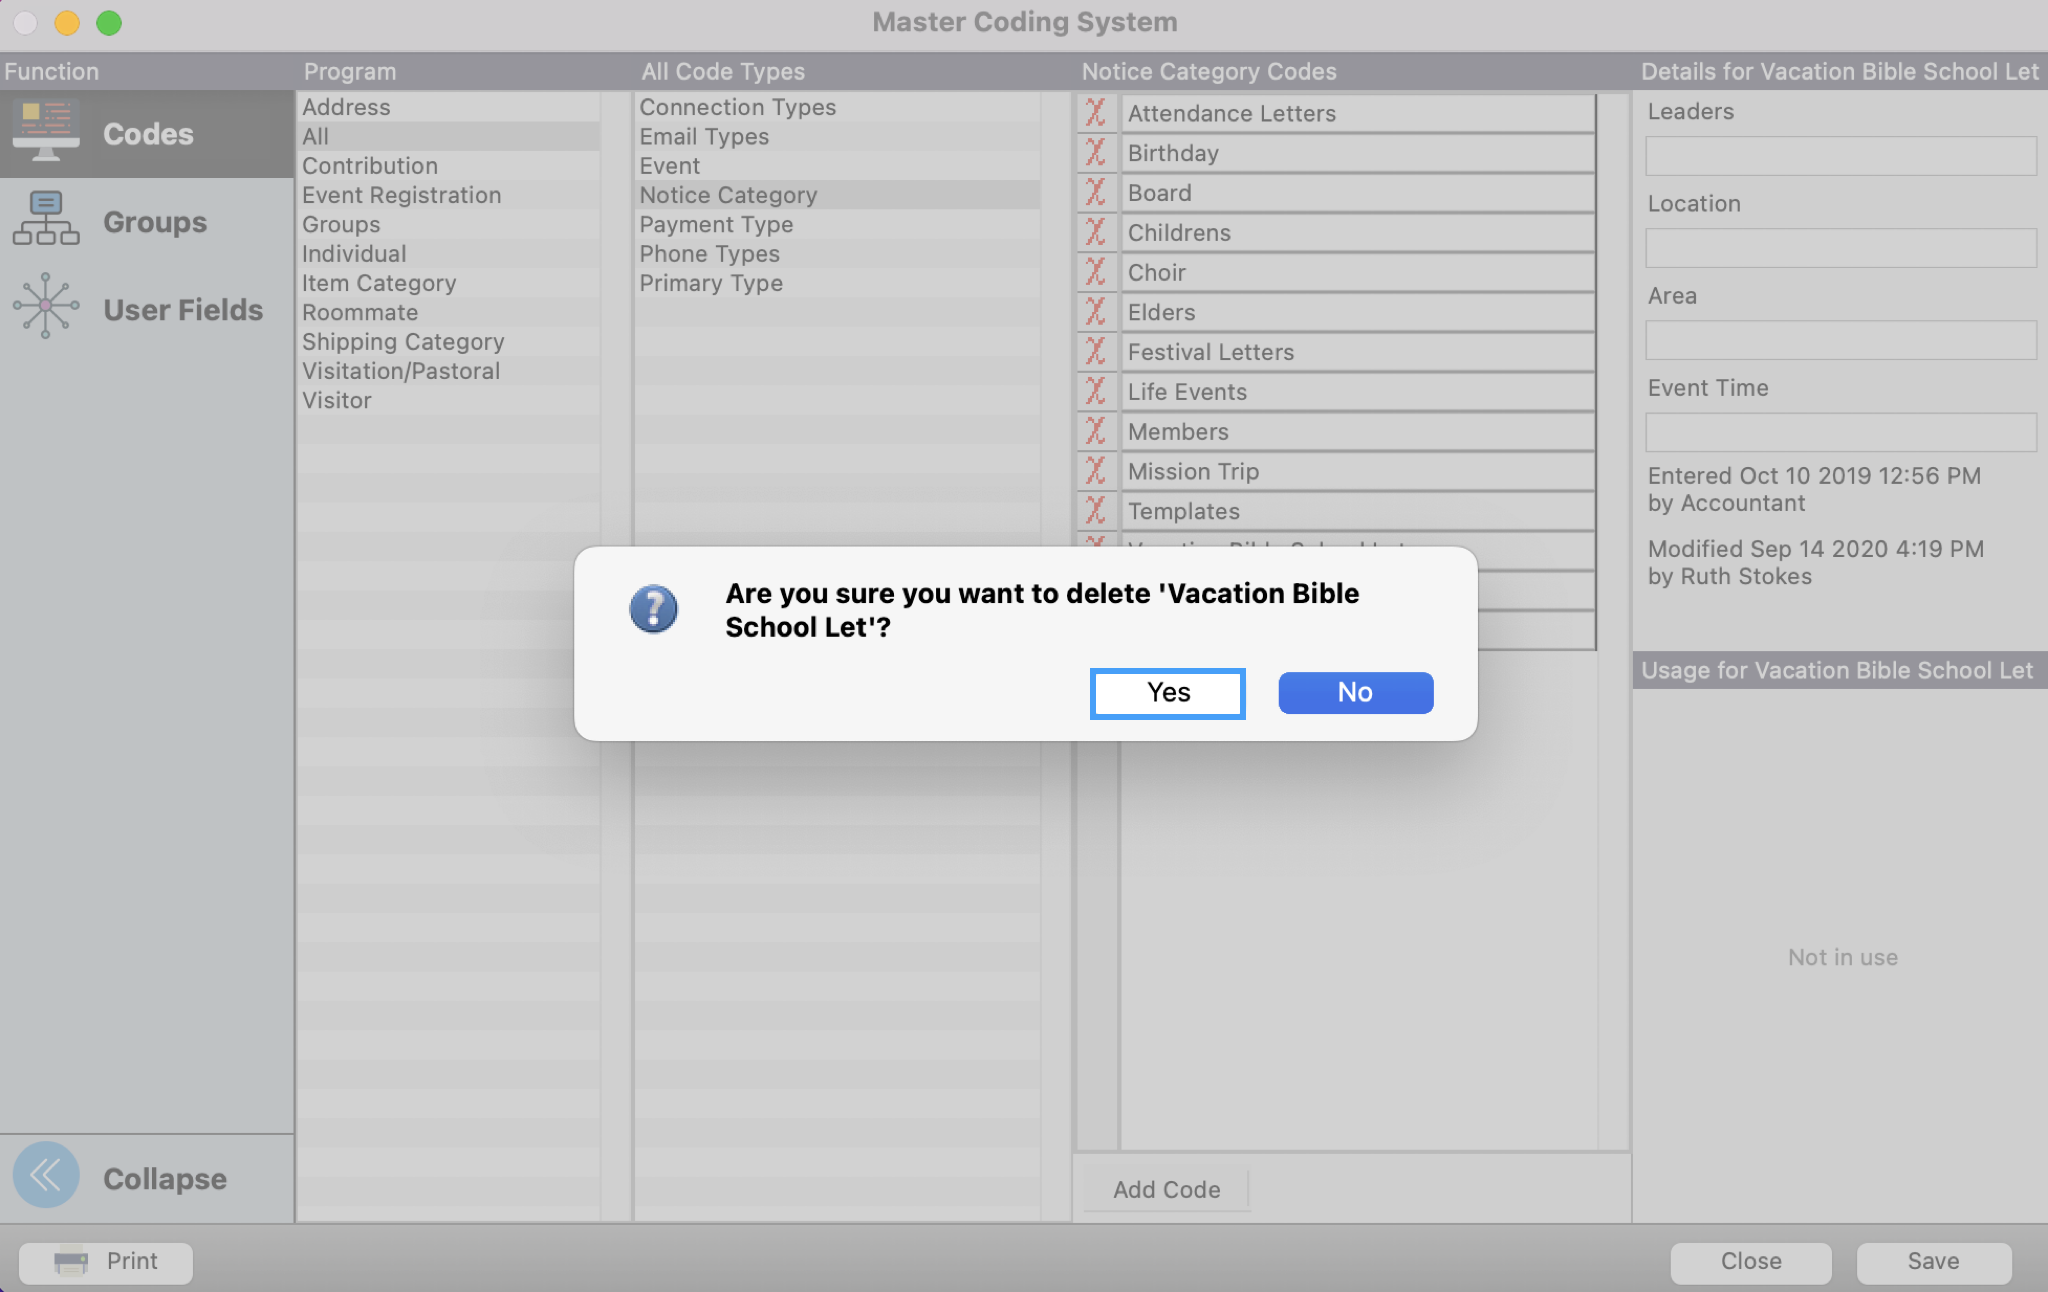
Click the red X next to the Category you want to delete.
-
Click Yes on the confirmation pop-up.
-
Click Save.
The category is now deleted.
Moving Notices to a Category
You can only move notices if you own them. For more information, click here.
Open any report window (it must be either a notice, letter, email, etc. In this case, we are using Individual Emails, under Membership Reports.)
-
Click Notice from the left sidebar.
-
Click Select/Add.
-
Click the category All.
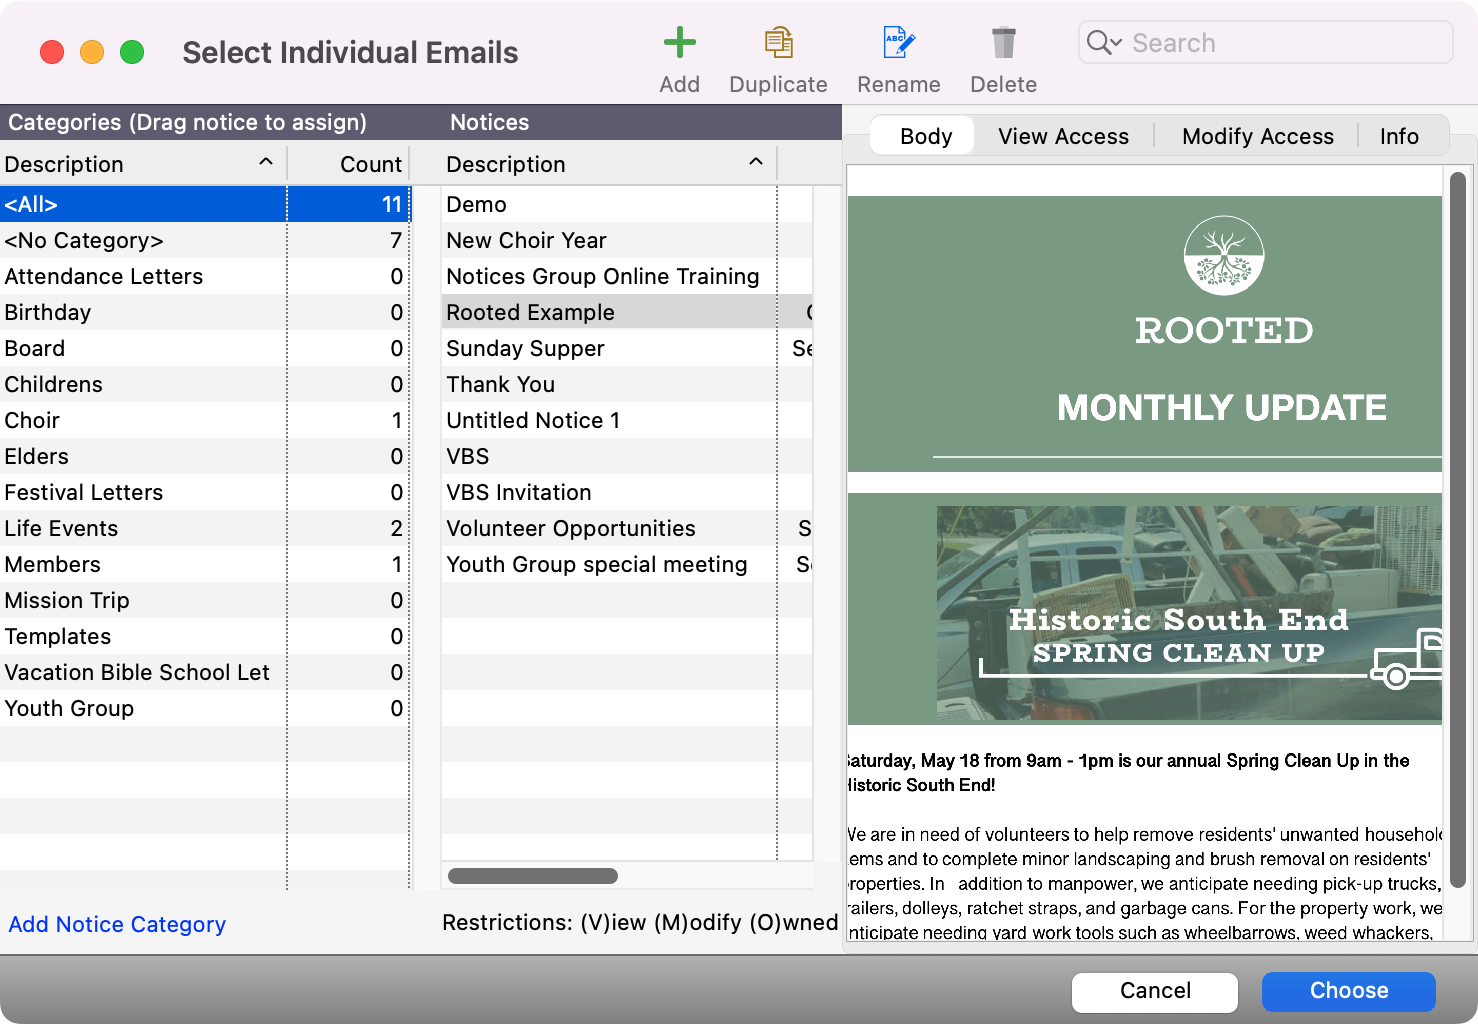
-
Click the notice you want to move and drag and drop it into the desired category.
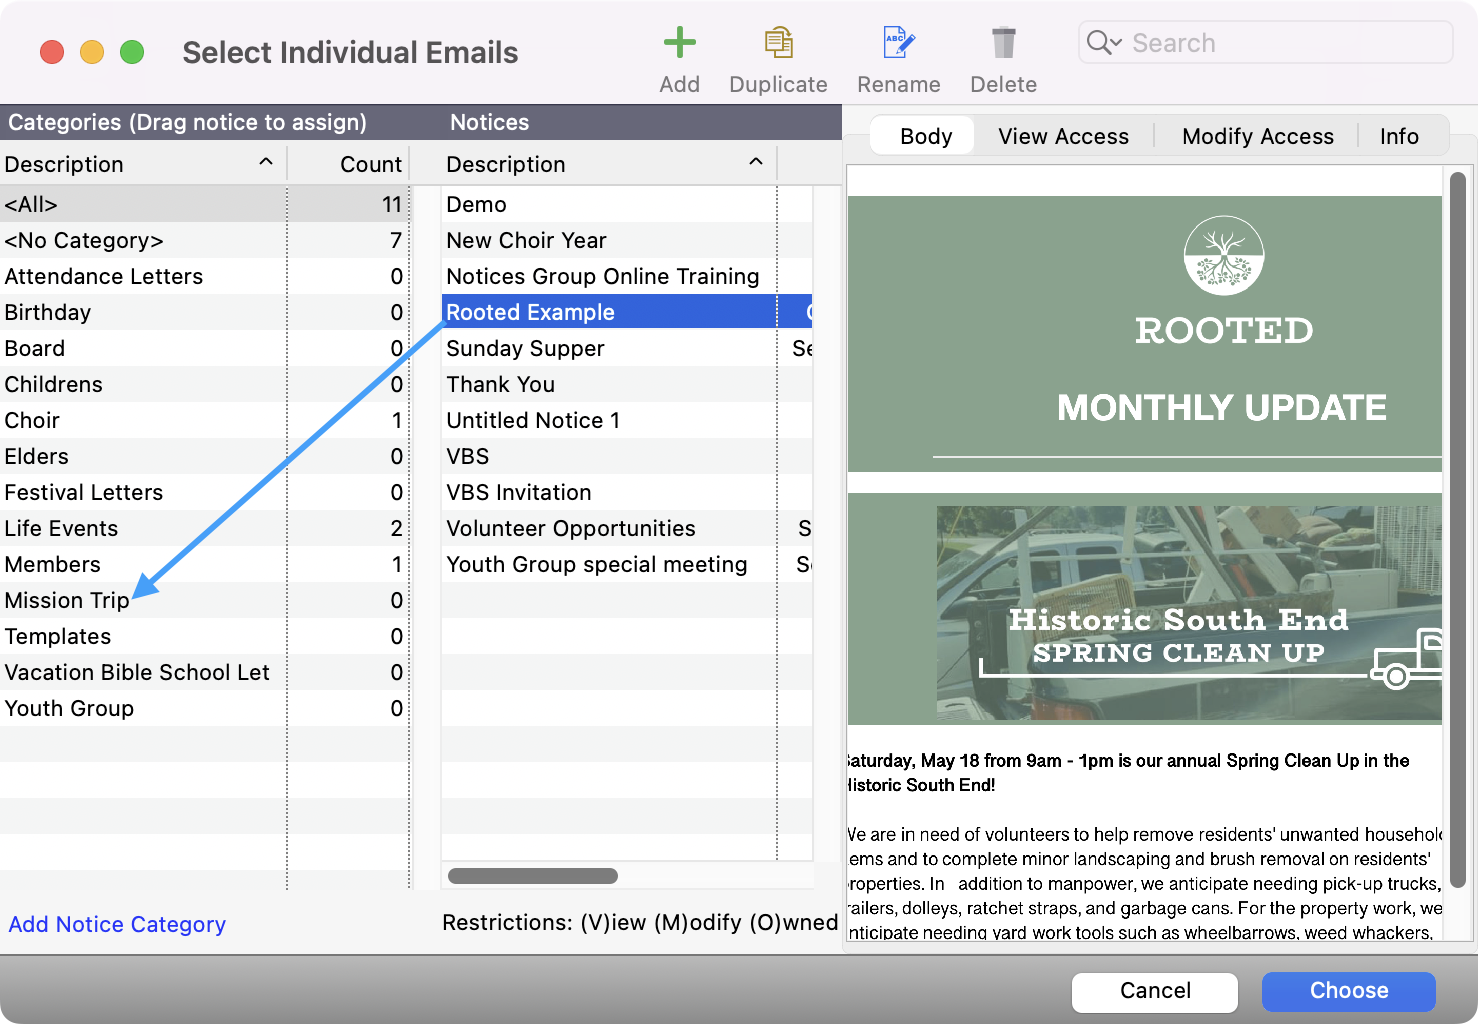
You can also drag and drop a notice from one category to another if you wish to move it to a different category.
You can also move multiple notices at once.
-
To select notices in a row, select a notice, hold the Shift key on your keyboard, and continue selecting the notices in a row, either up or down, that you want moved. When you're done selecting, release the shift key, and drag and drop the notices into the desired category.
-
To select notices that are not in a row, hold down command on macOS or control on Windows, and continue selecting the notices you want moved. When you're done selecting, release the command or control key, and drag and drop the notices into the desired category.