Name badges for registrants can be printed in a variety of sizes. You also have the ability to format the badges as you desire, including adding a graphic. Various name badge formats can be saved and reused.
You can print name badges for all participants in an event, Registration Name Badges, or you may choose to print just those who register for a particular Activity, Activity Name Badges.
-
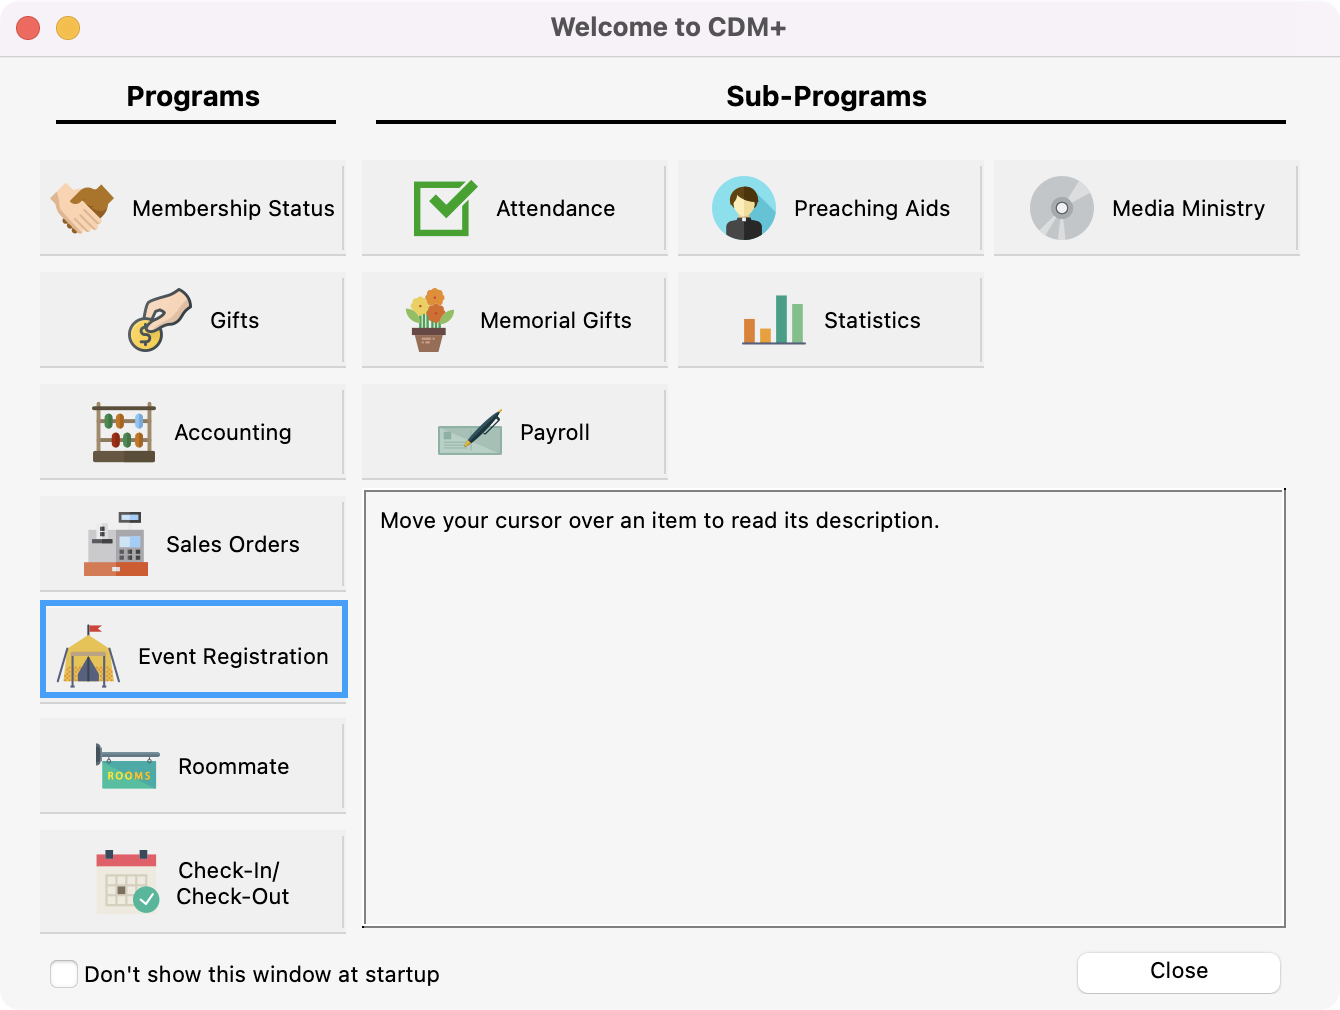
To Navigate to Registration or Activity Name Badges, from the Welcome to CDM+ window, click on Event Registration.
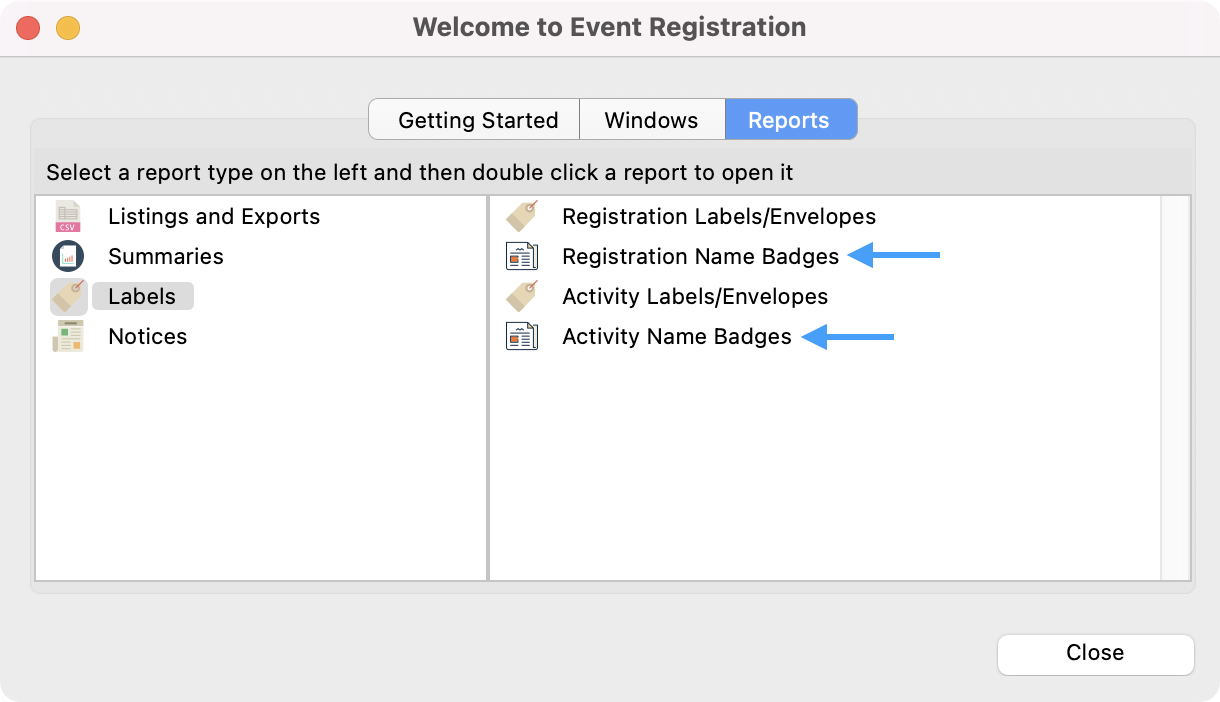
Then, click on the Reports tab → Labels → Registration Name Badges or Activity Name Badges
or
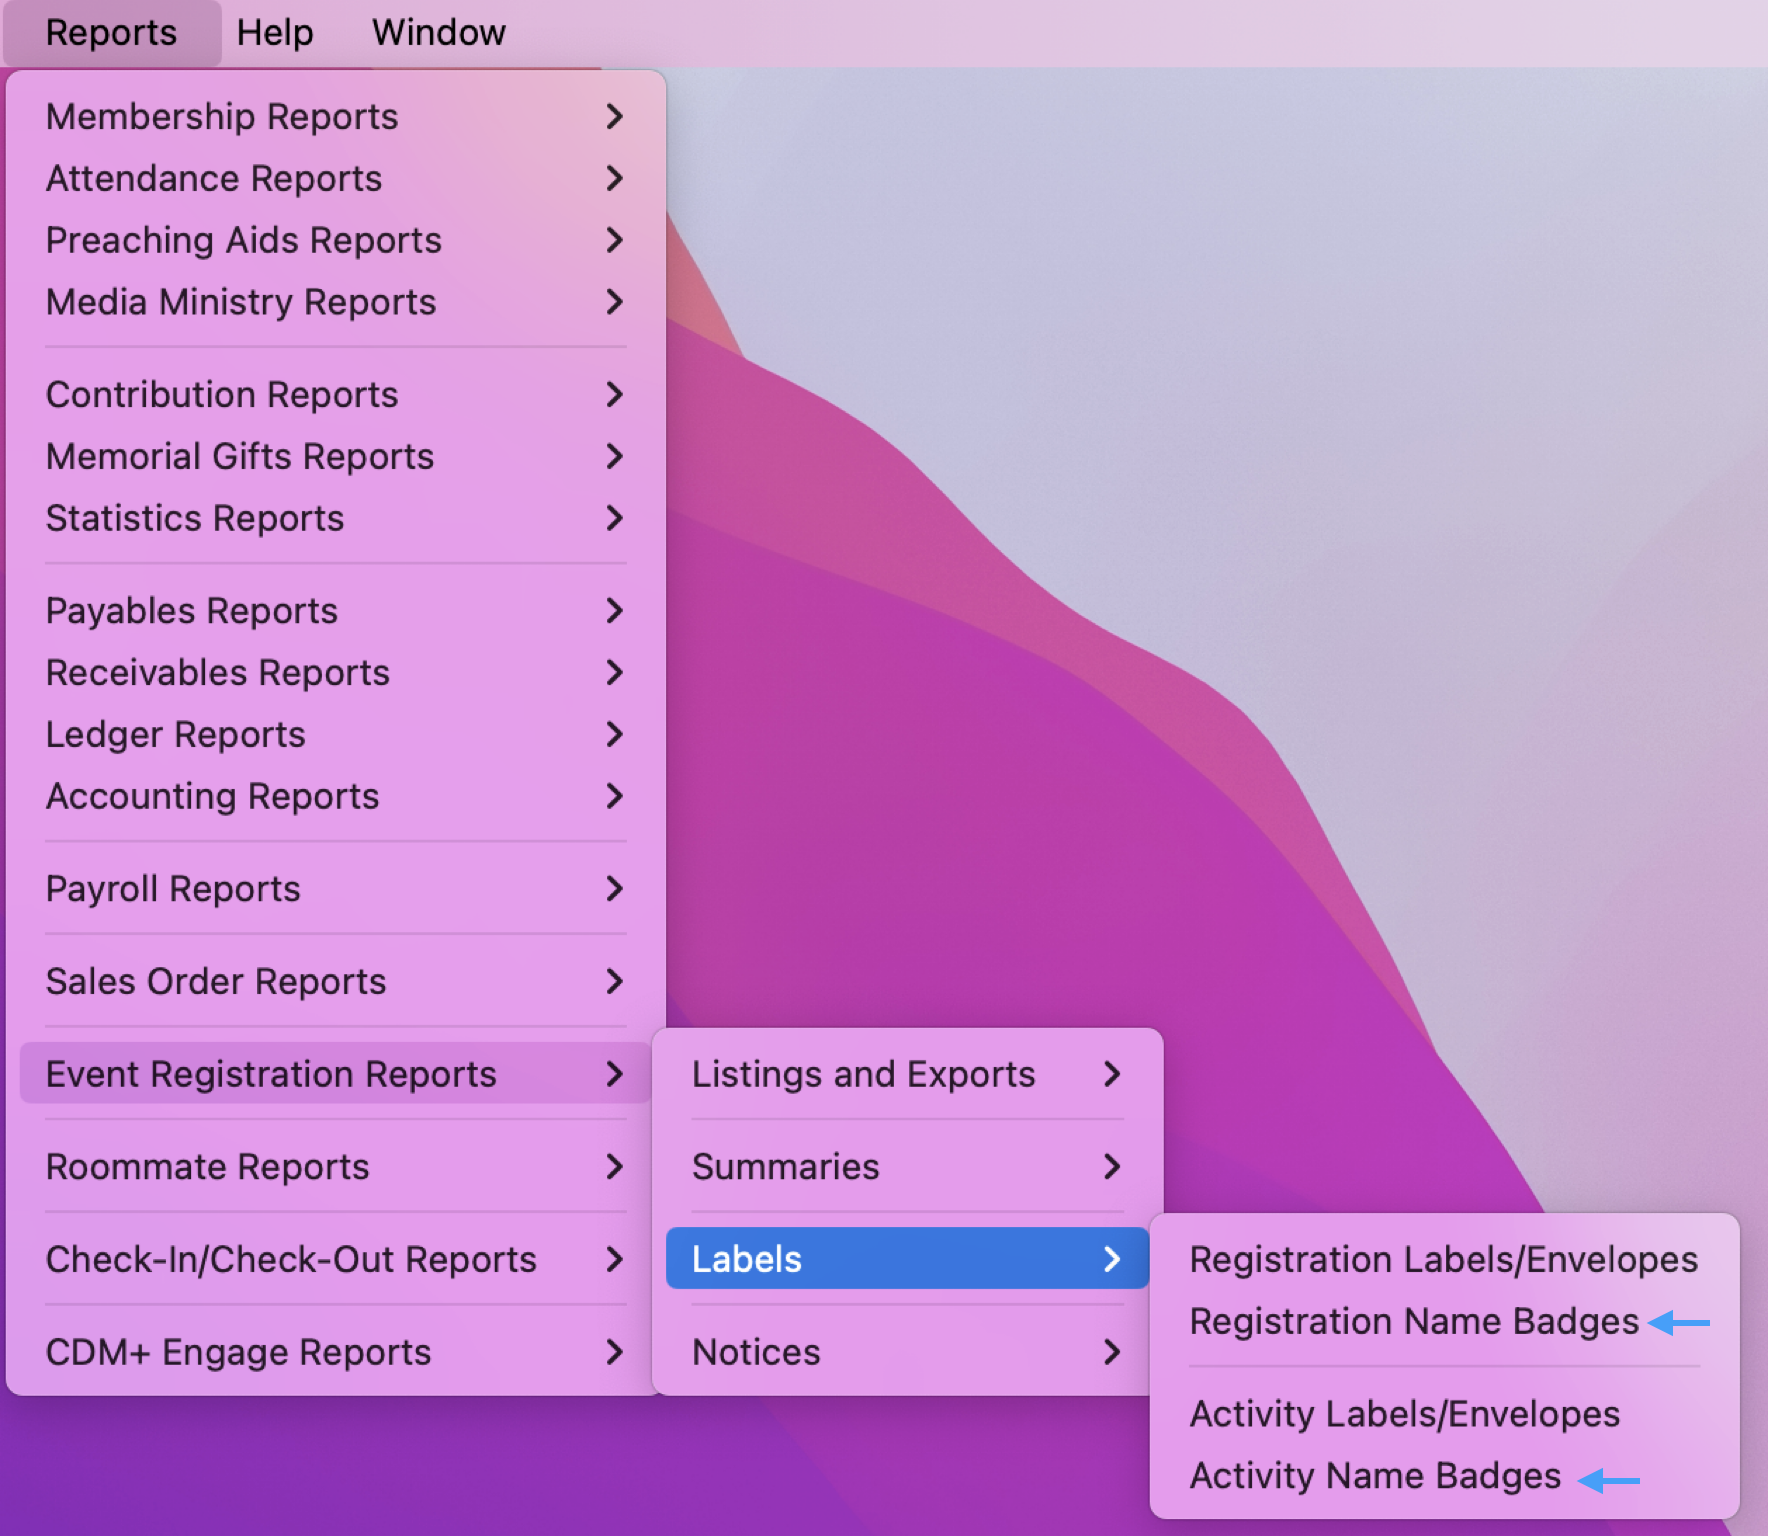
Go to Reports → Event Registration Reports → Labels → Registration Name Badges or Activity Name Badges
The instructions below show a sample for Registration Name Badges but the process is the same for Activity Name Badges.
-
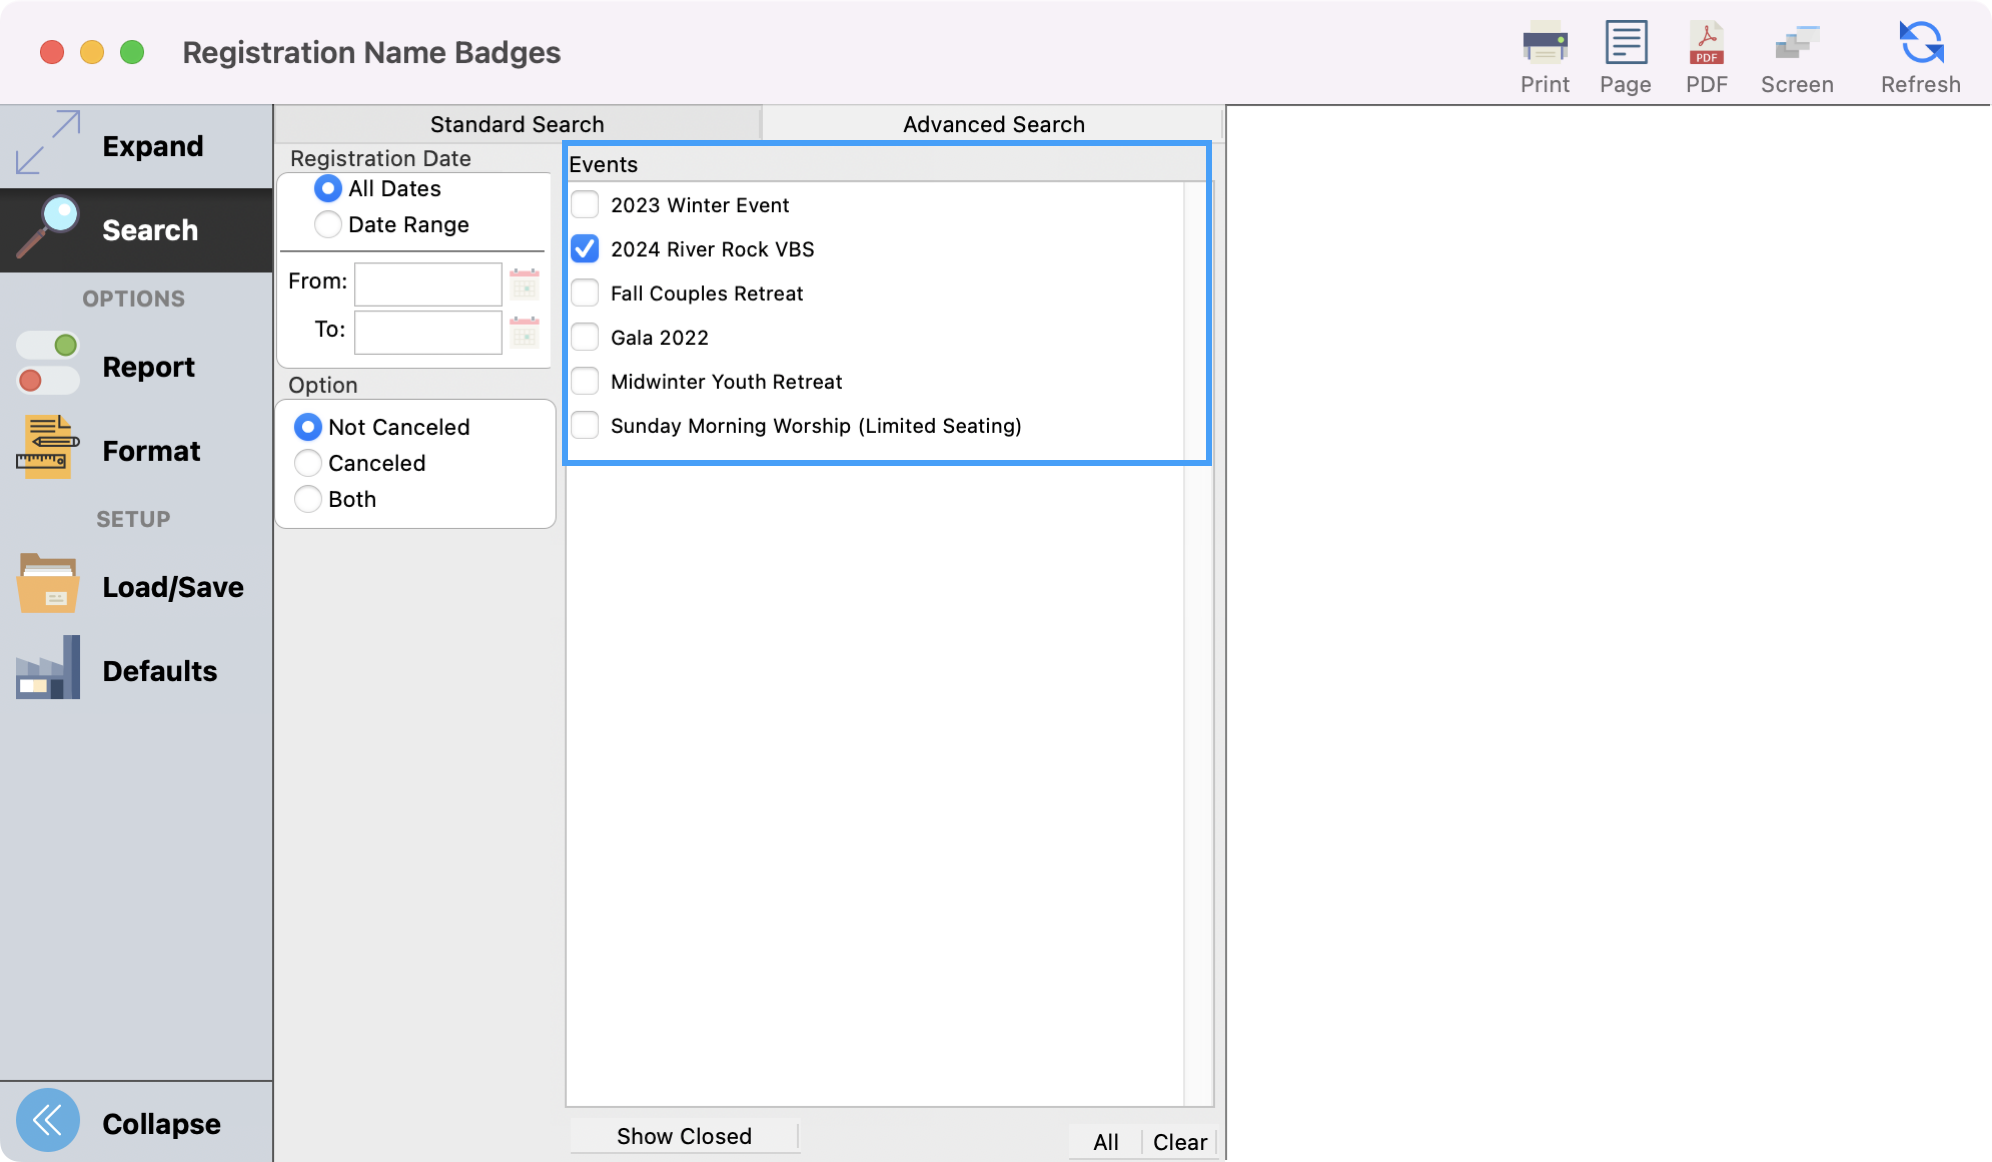
In the Registration Name Badges window under Search, in the top half of a Registration Name Badges setup window, click the checkbox next to the Event in the list on the right.
-
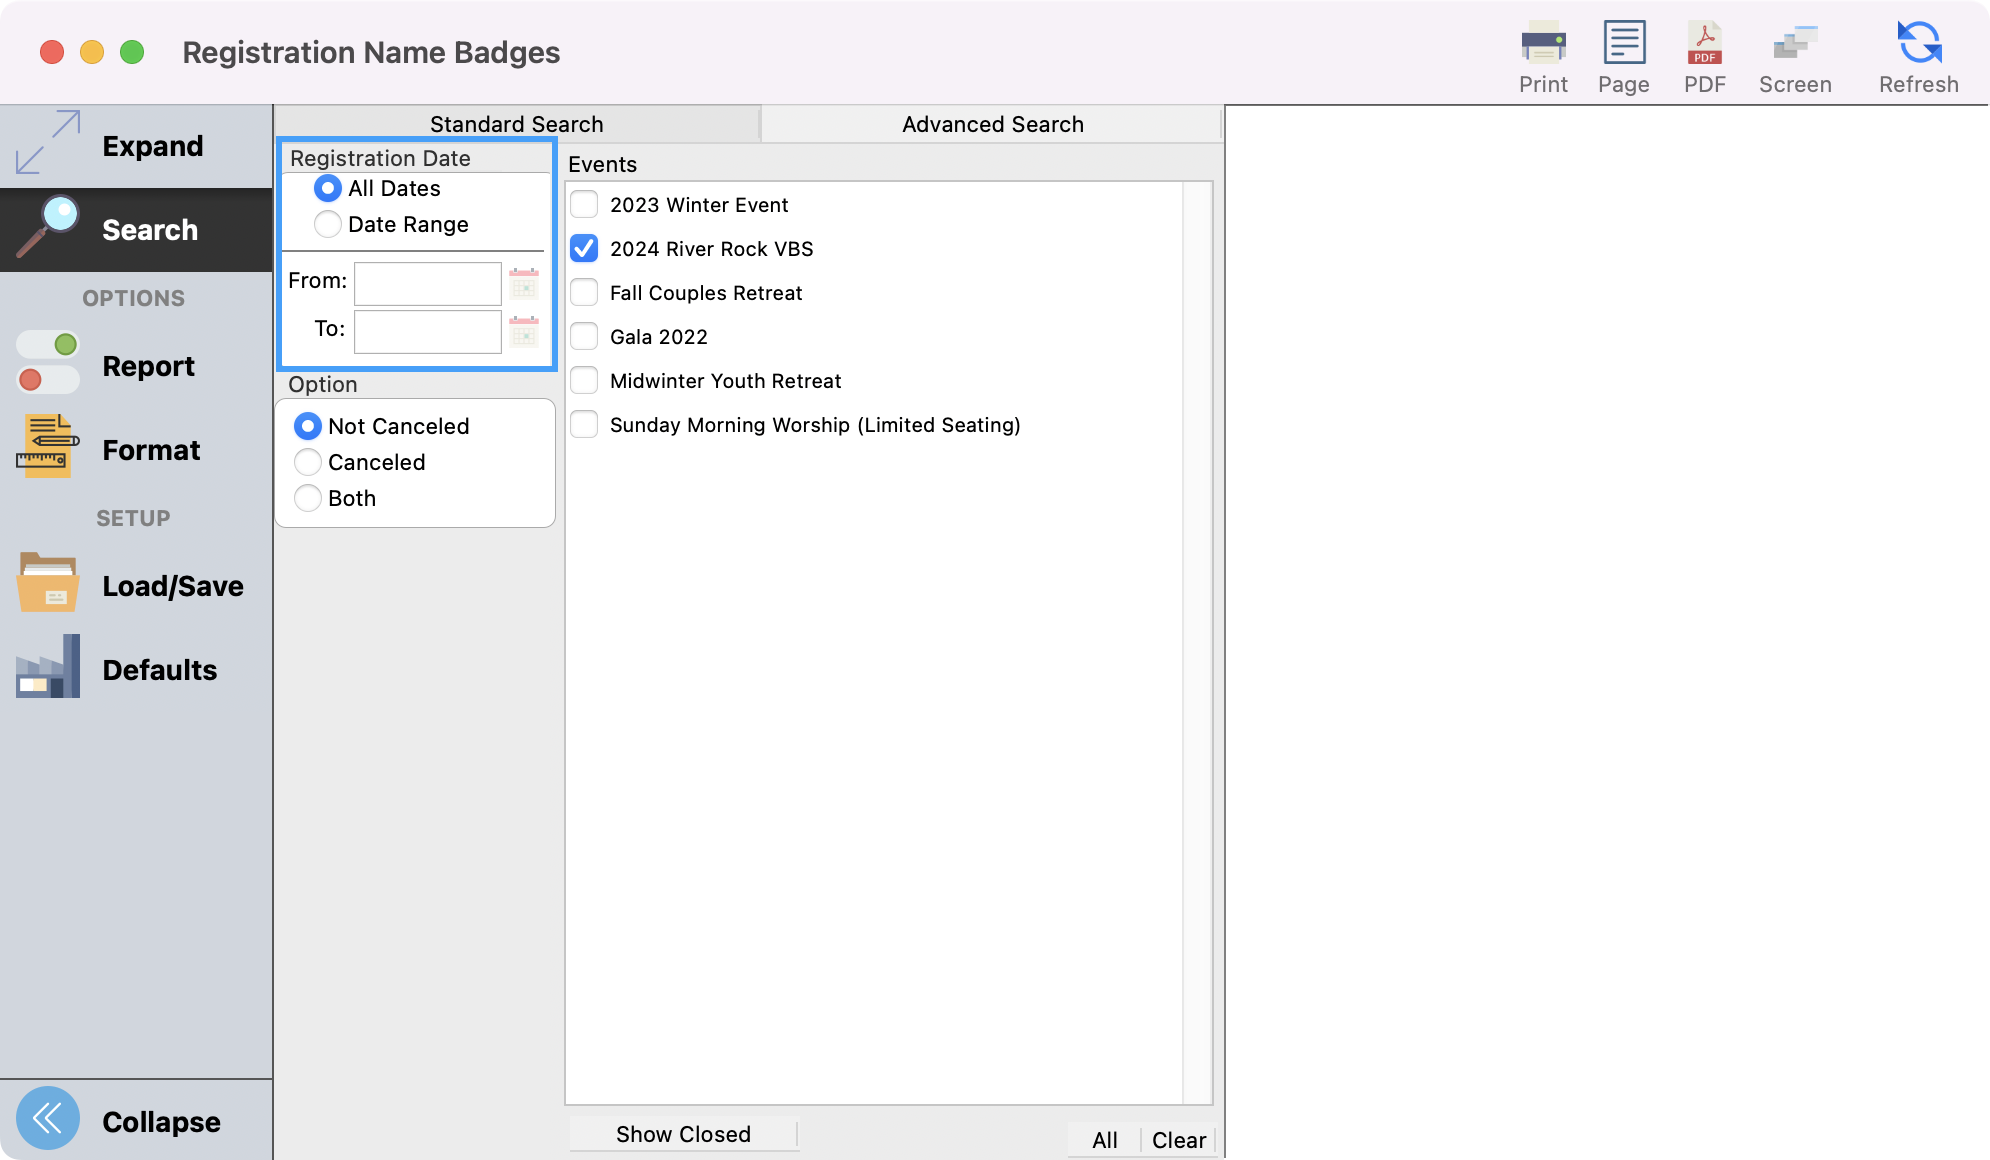
Choose which registrants you want to print a name badge for by their Registration Date. You may choose to print name tags for all registrations by clicking the All Dates radio button or you can click the Date Range radio button and enter From and To dates to limit it to registrations entered during a certain period.
-
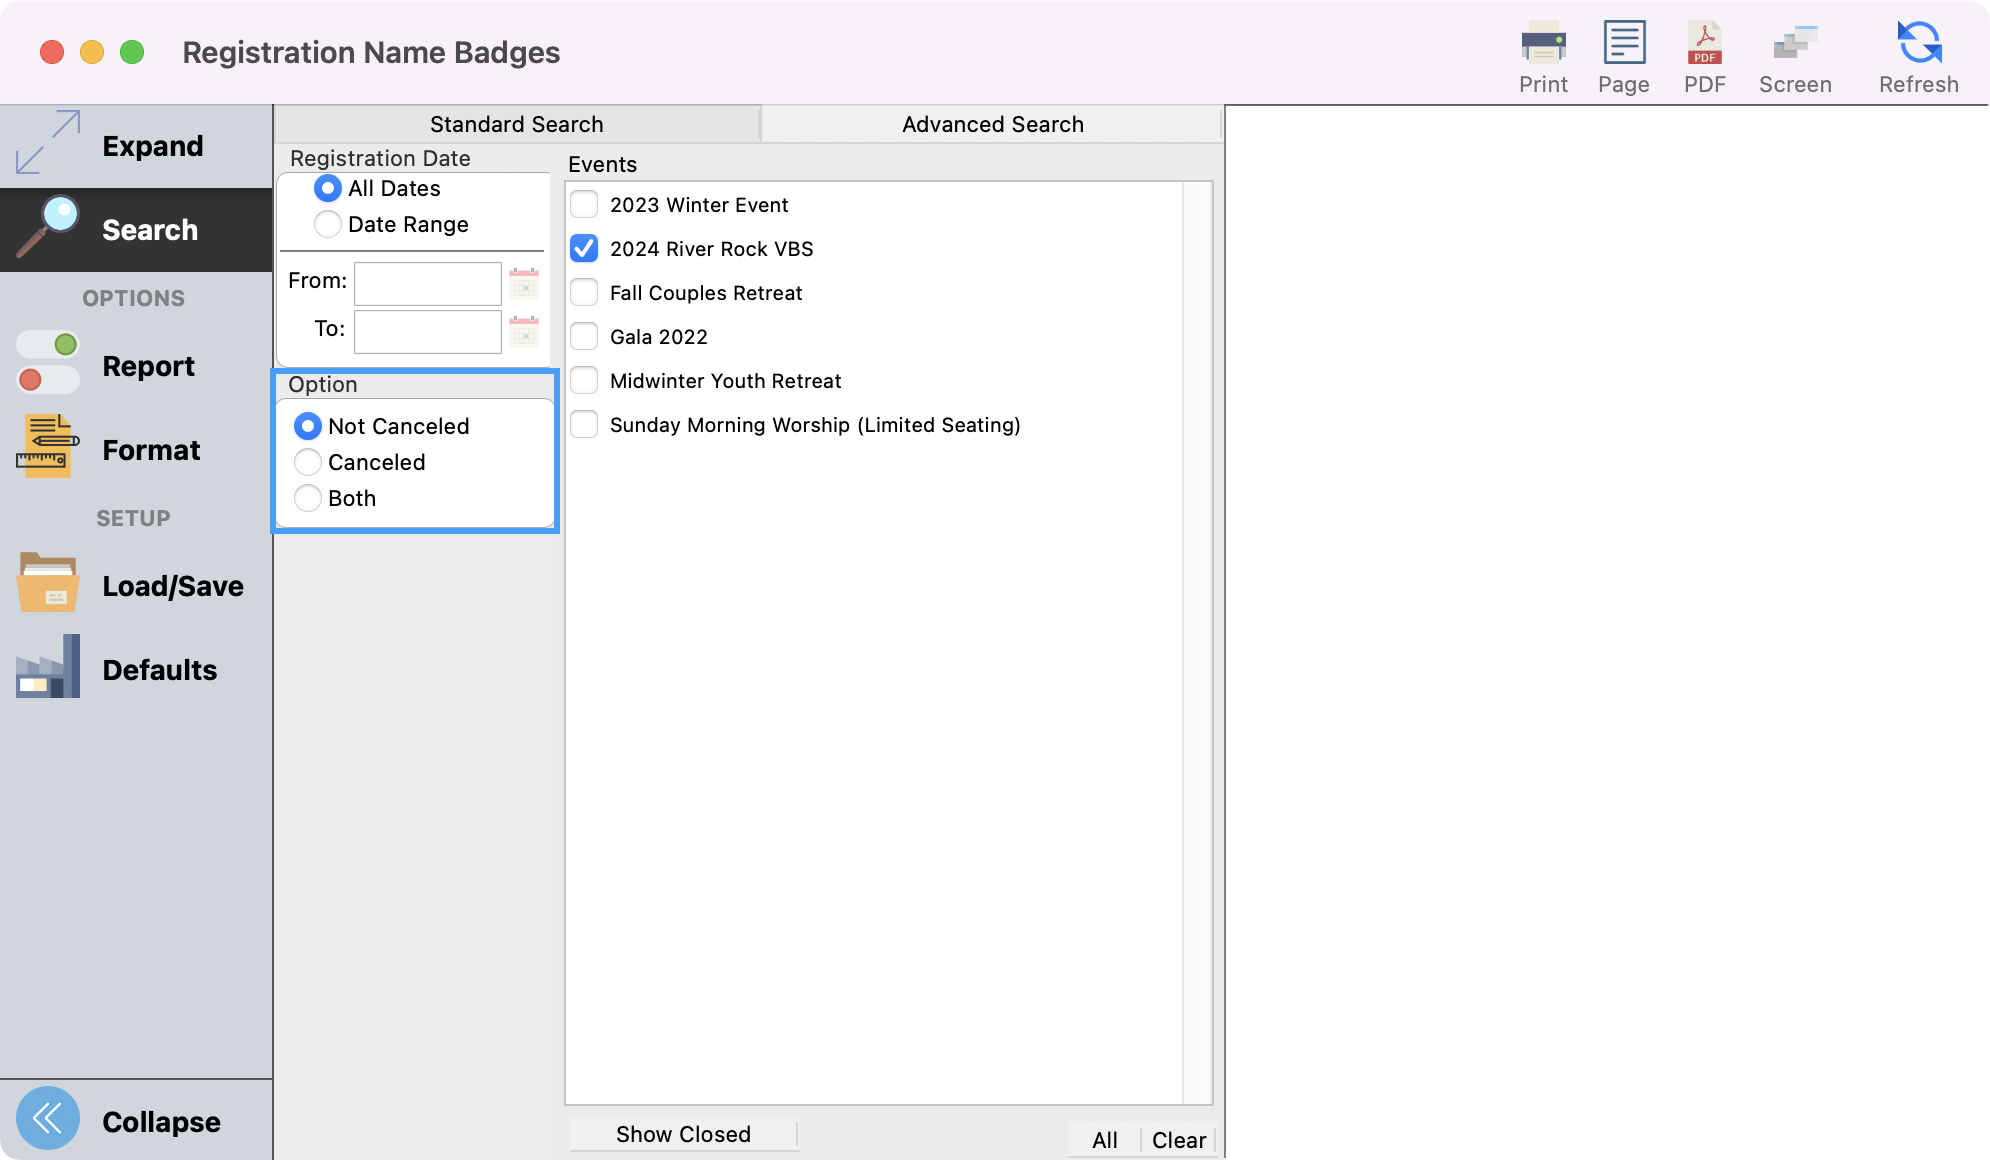
Under the Option heading, you can choose to print name badges to persons whose registration is Not Cancelled, Cancelled, or Both.
You can also set up and Advance Find if you need to to pull in more targeted registrants. You can see the steps to set up and Advance Find here.
-
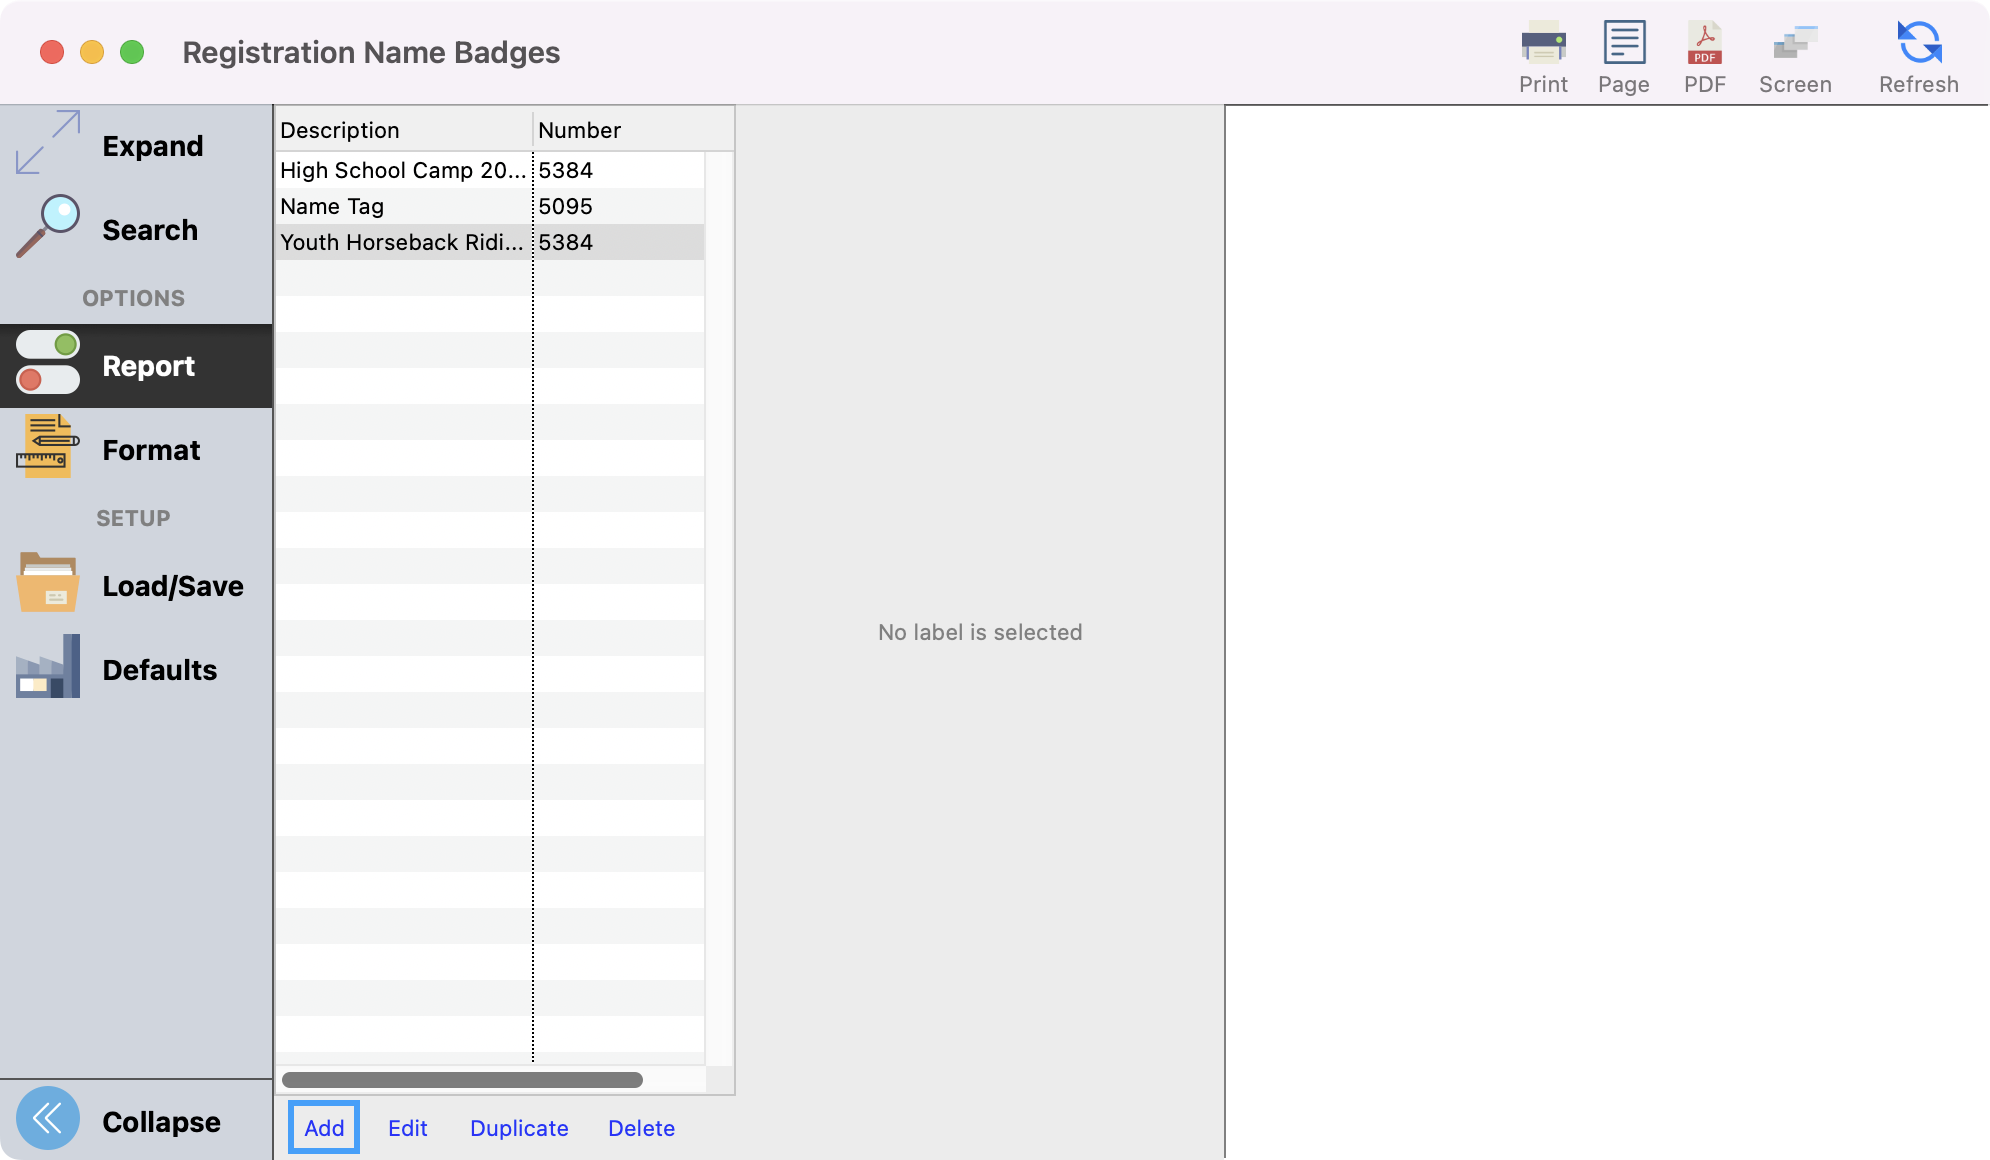
Next, click on Report from the left sidebar. Click Add on the Registration Name Badges report window at the bottom of the window.
-
Give the name badge a description and choose a label format.
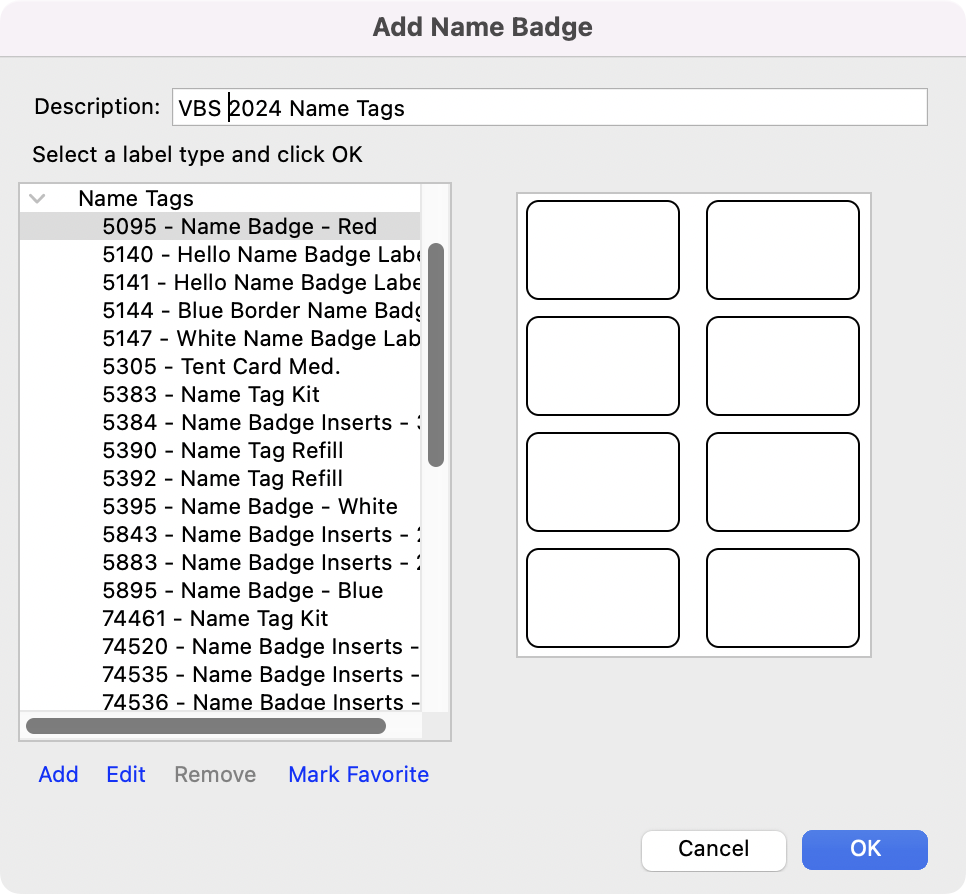
Many standard formats are available in CDM+ and correspond to labels/name badges widely available from office supply retailers.
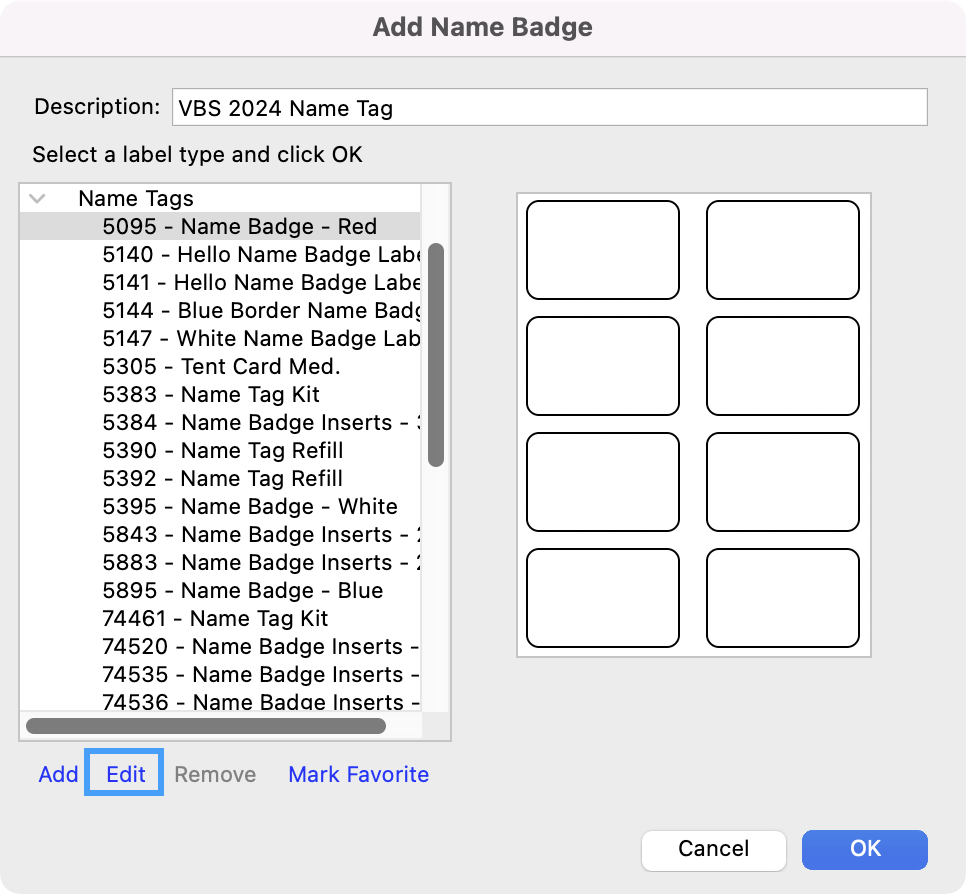
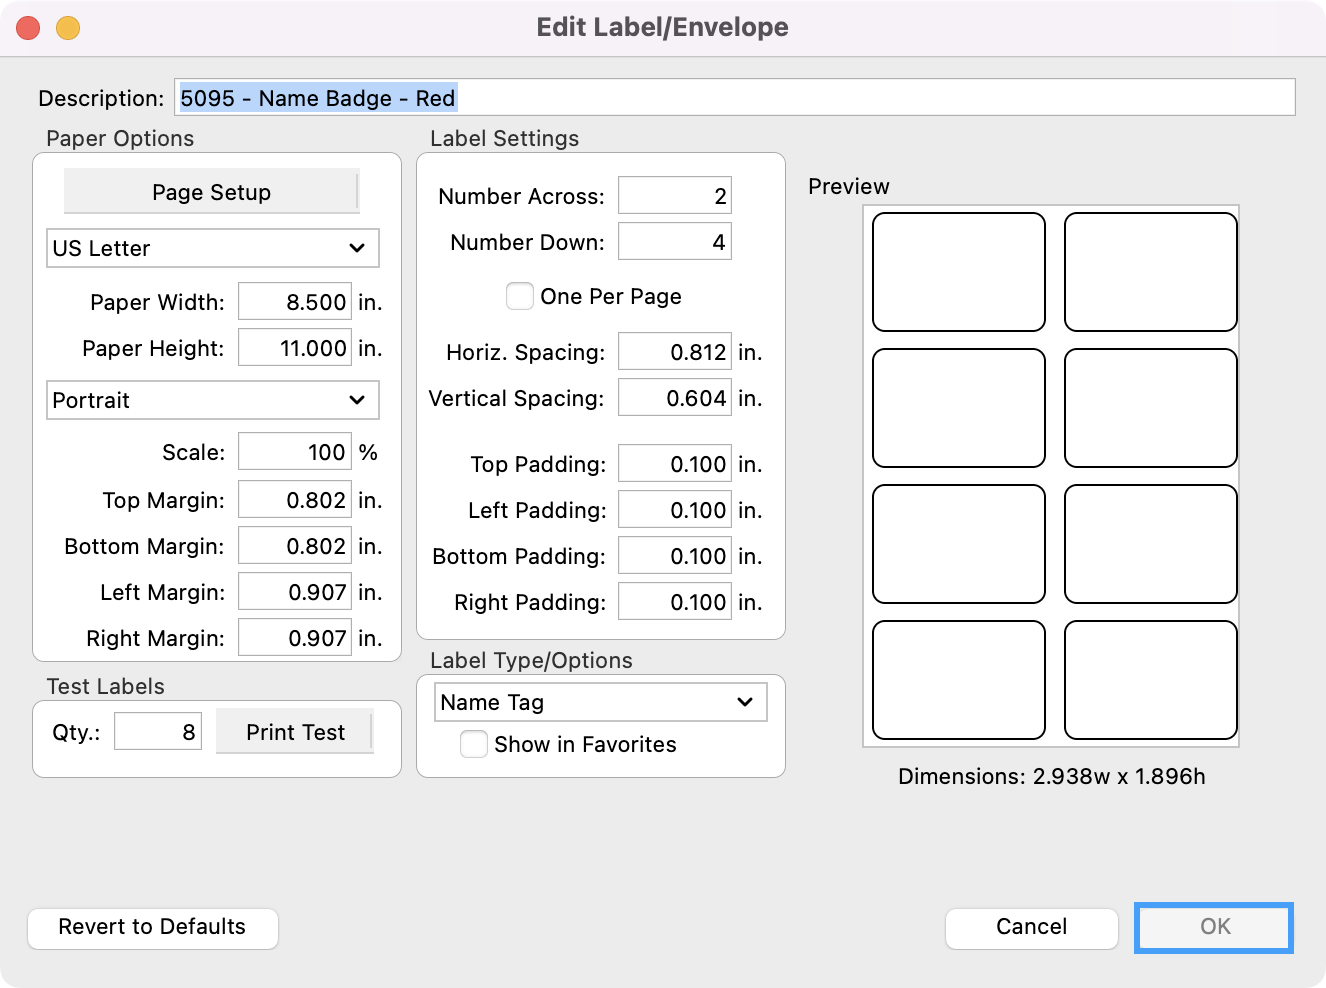
7. Click the Edit button on the Add Name Badge window if you wish to further customize the selected format. Click OK when finished.
-
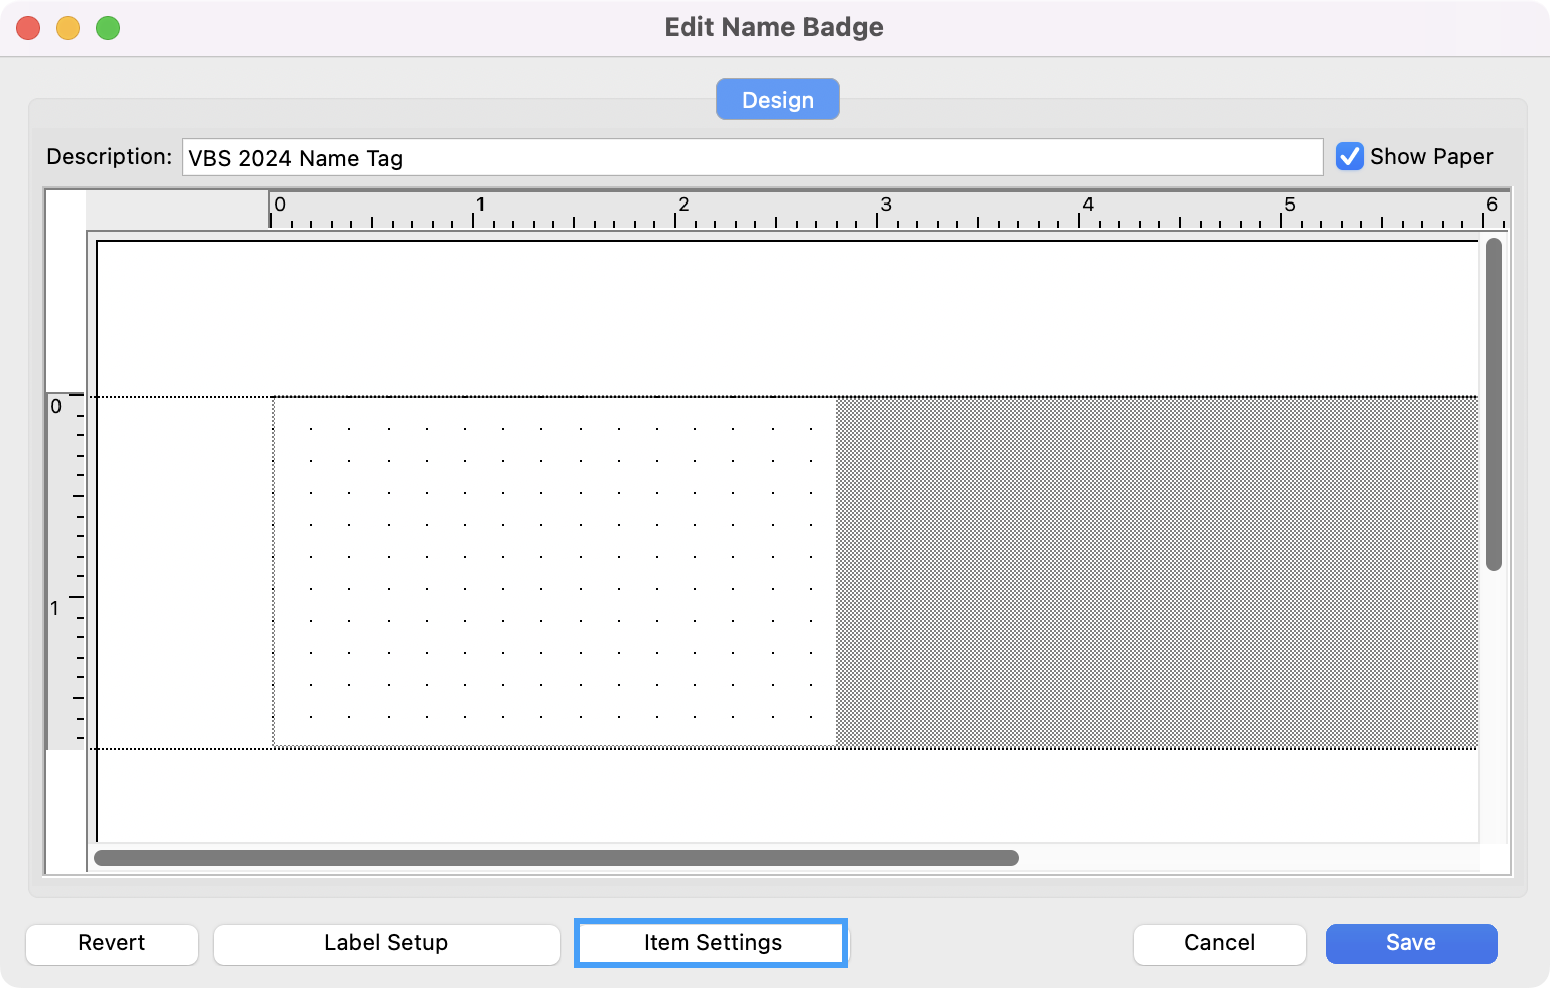
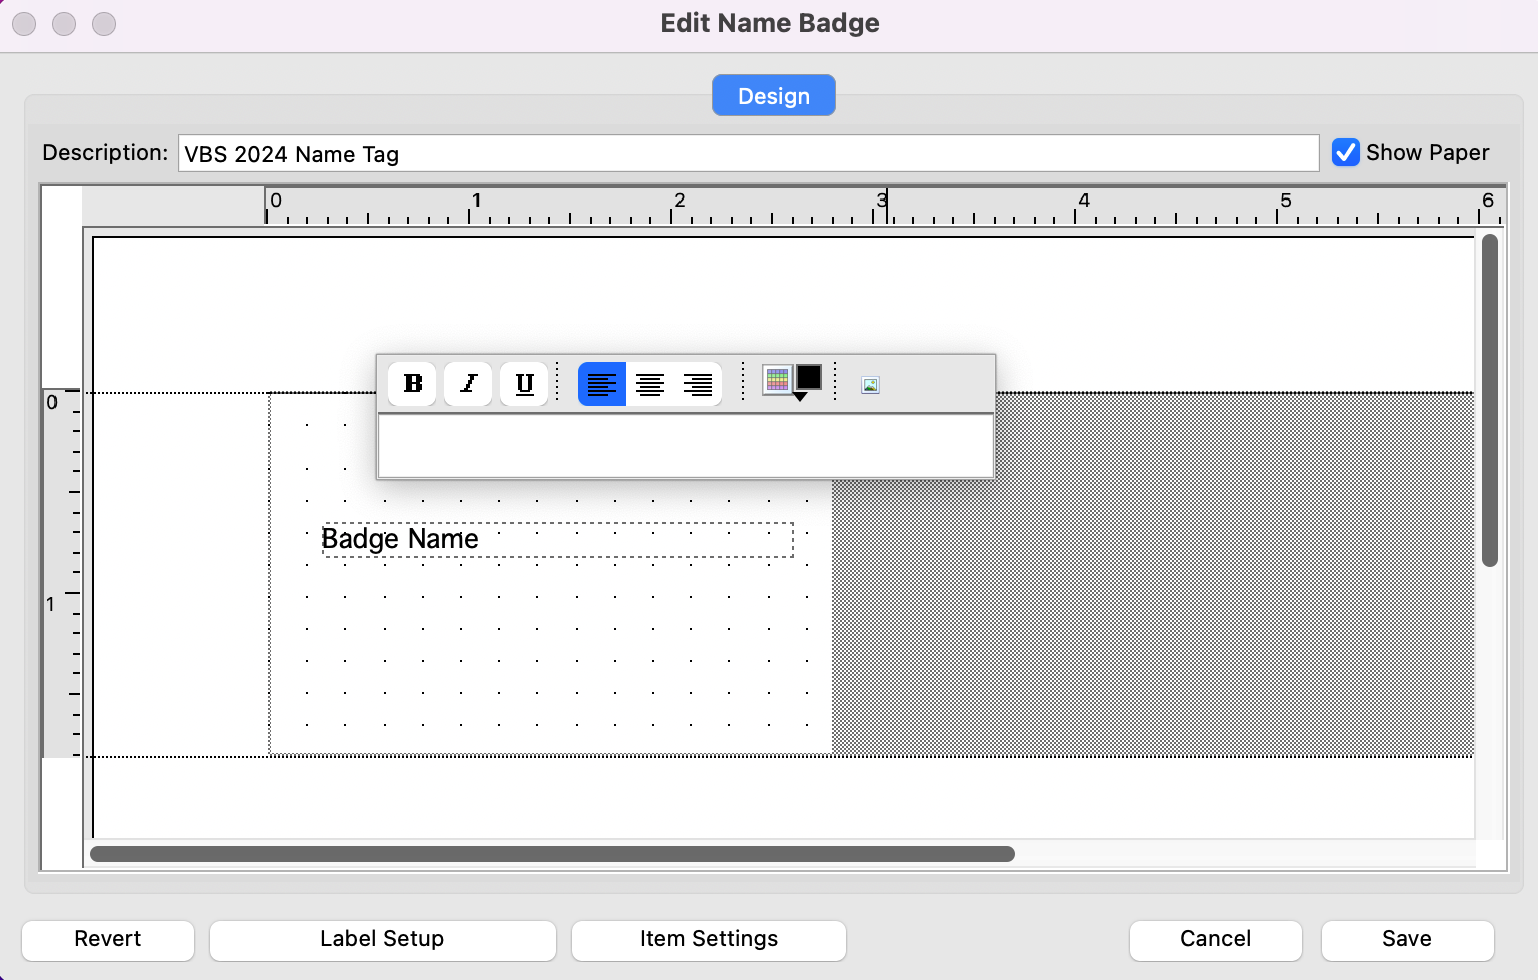
The Edit Name Badge window will open automatically. On this window, you define the content and appearance of the name badges for your event.
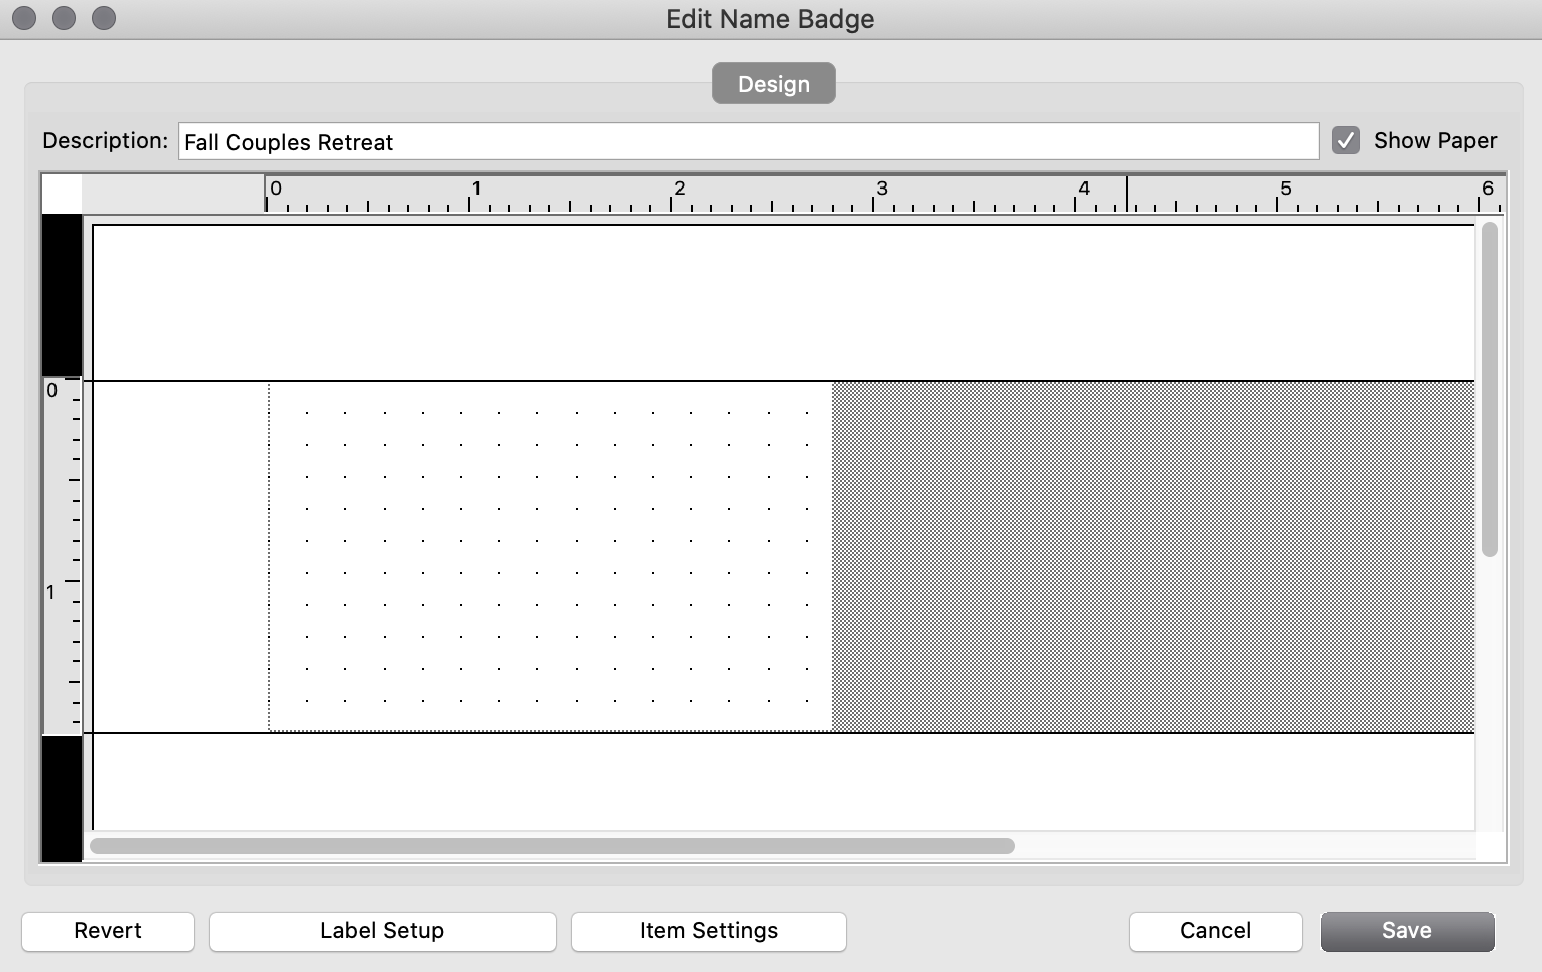
-
To add the participant's name or other fields to the name badge, click Item Settings.
-
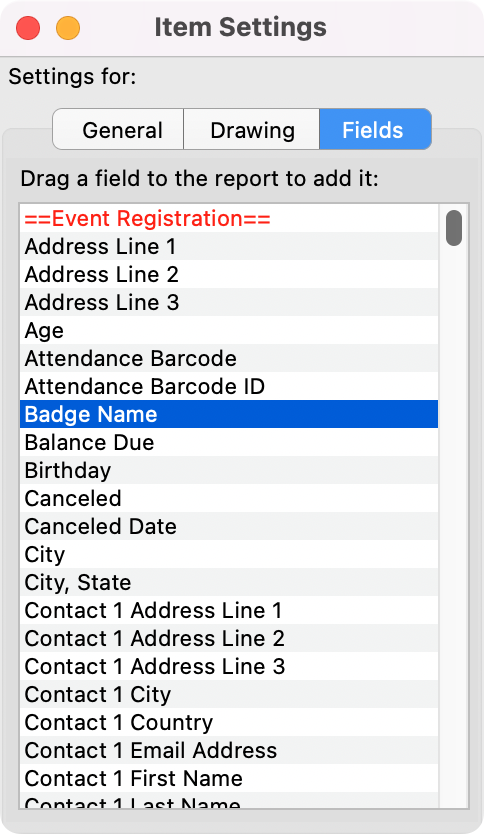
Then, click Fields and choose the database field to include. In this example, we chose Badge Name.
-
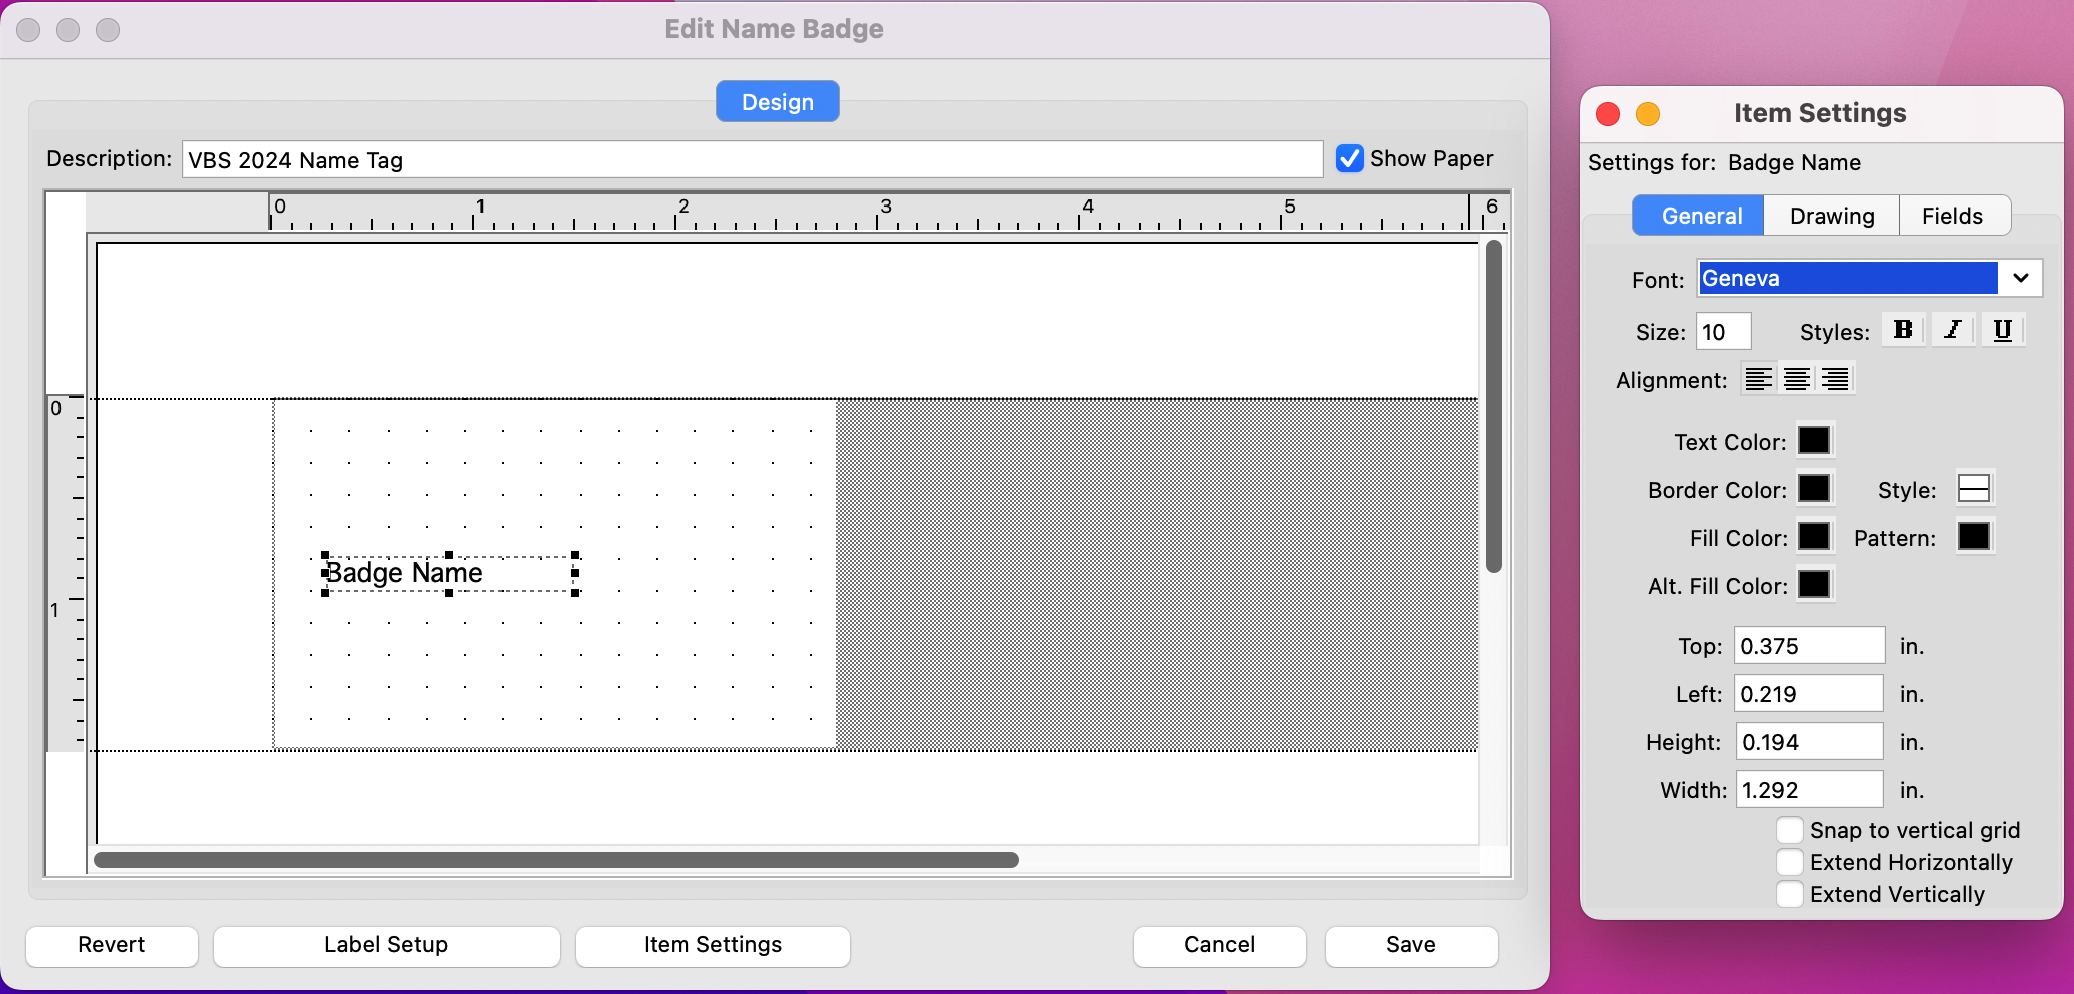
Drag and drop the field you've selected onto the canvas (or, white area) of the name badge template. You'll now see a text box outlined with dotted lines around the edges and handles (small squares ) on all four sides and in the corners. Click on the box and drag it to reposition it on your badge. Click on the General tab to format the appearance of this information. You can style the appearance of this element by changing the font, alignment, color, etc.
-
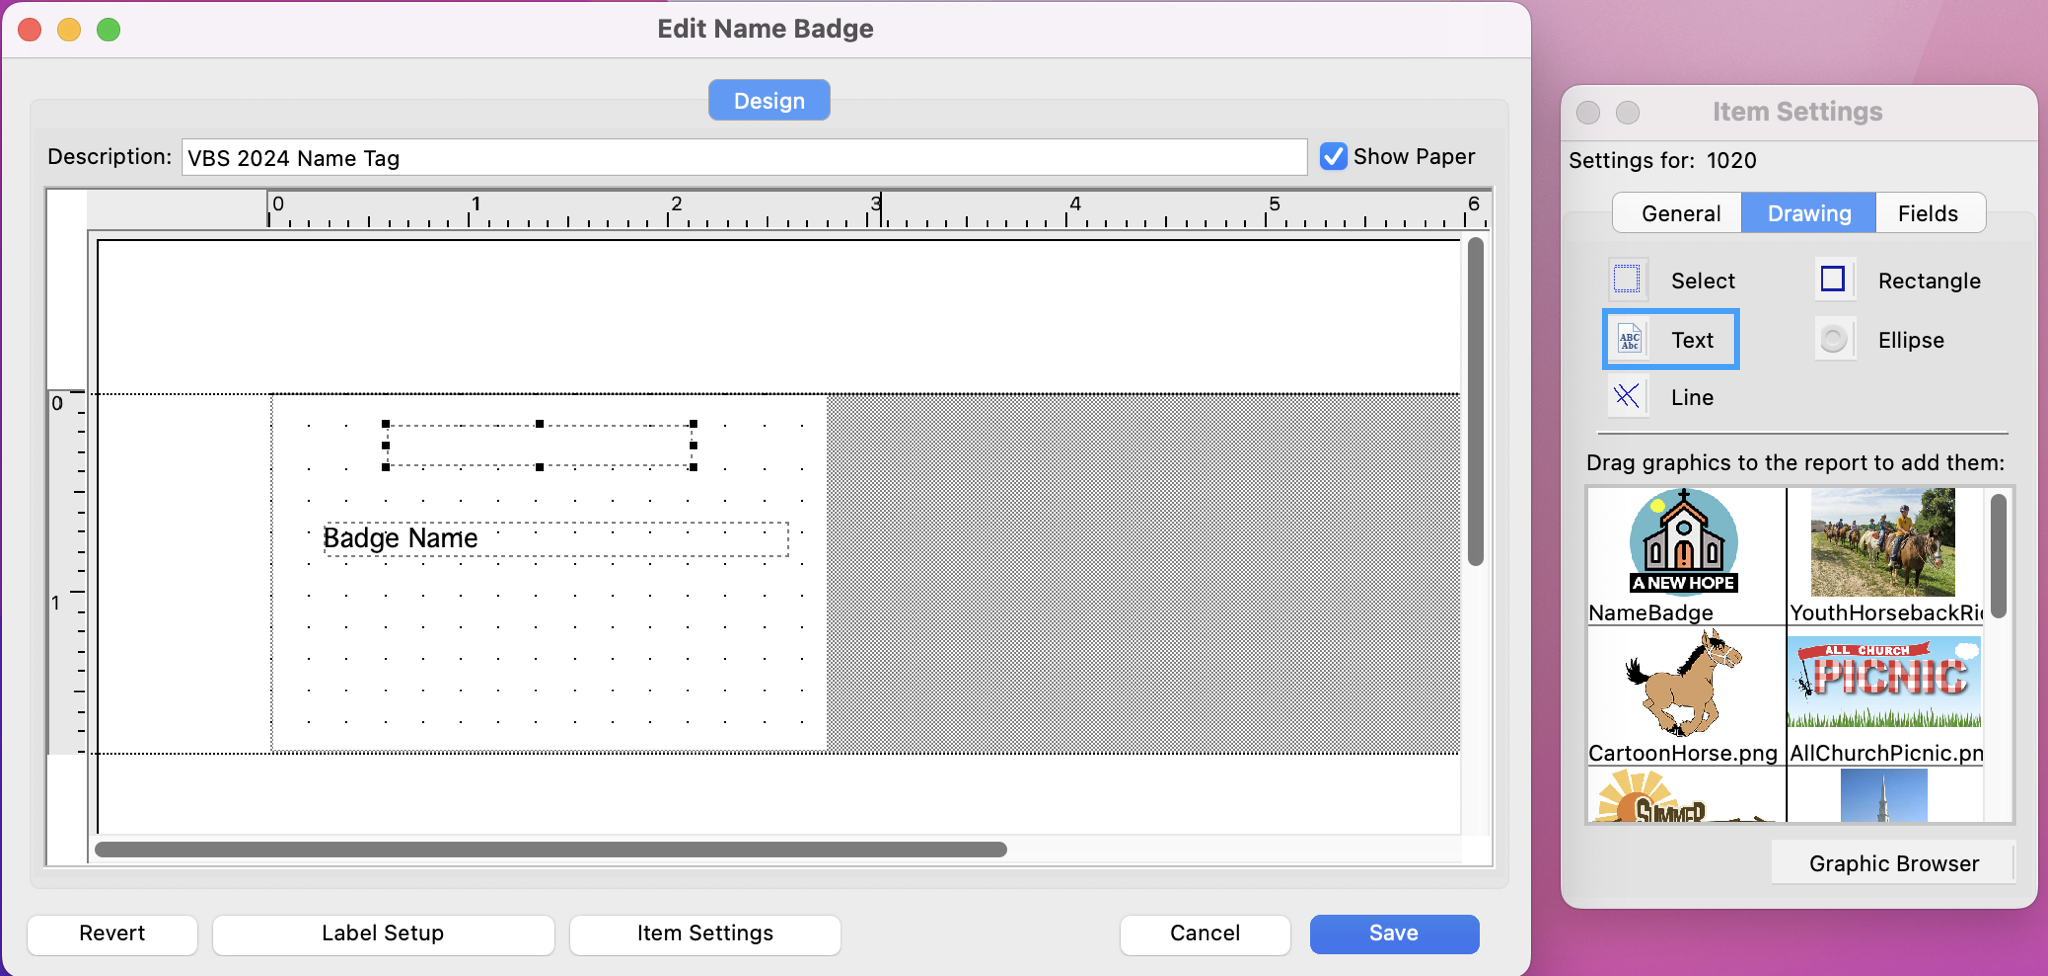
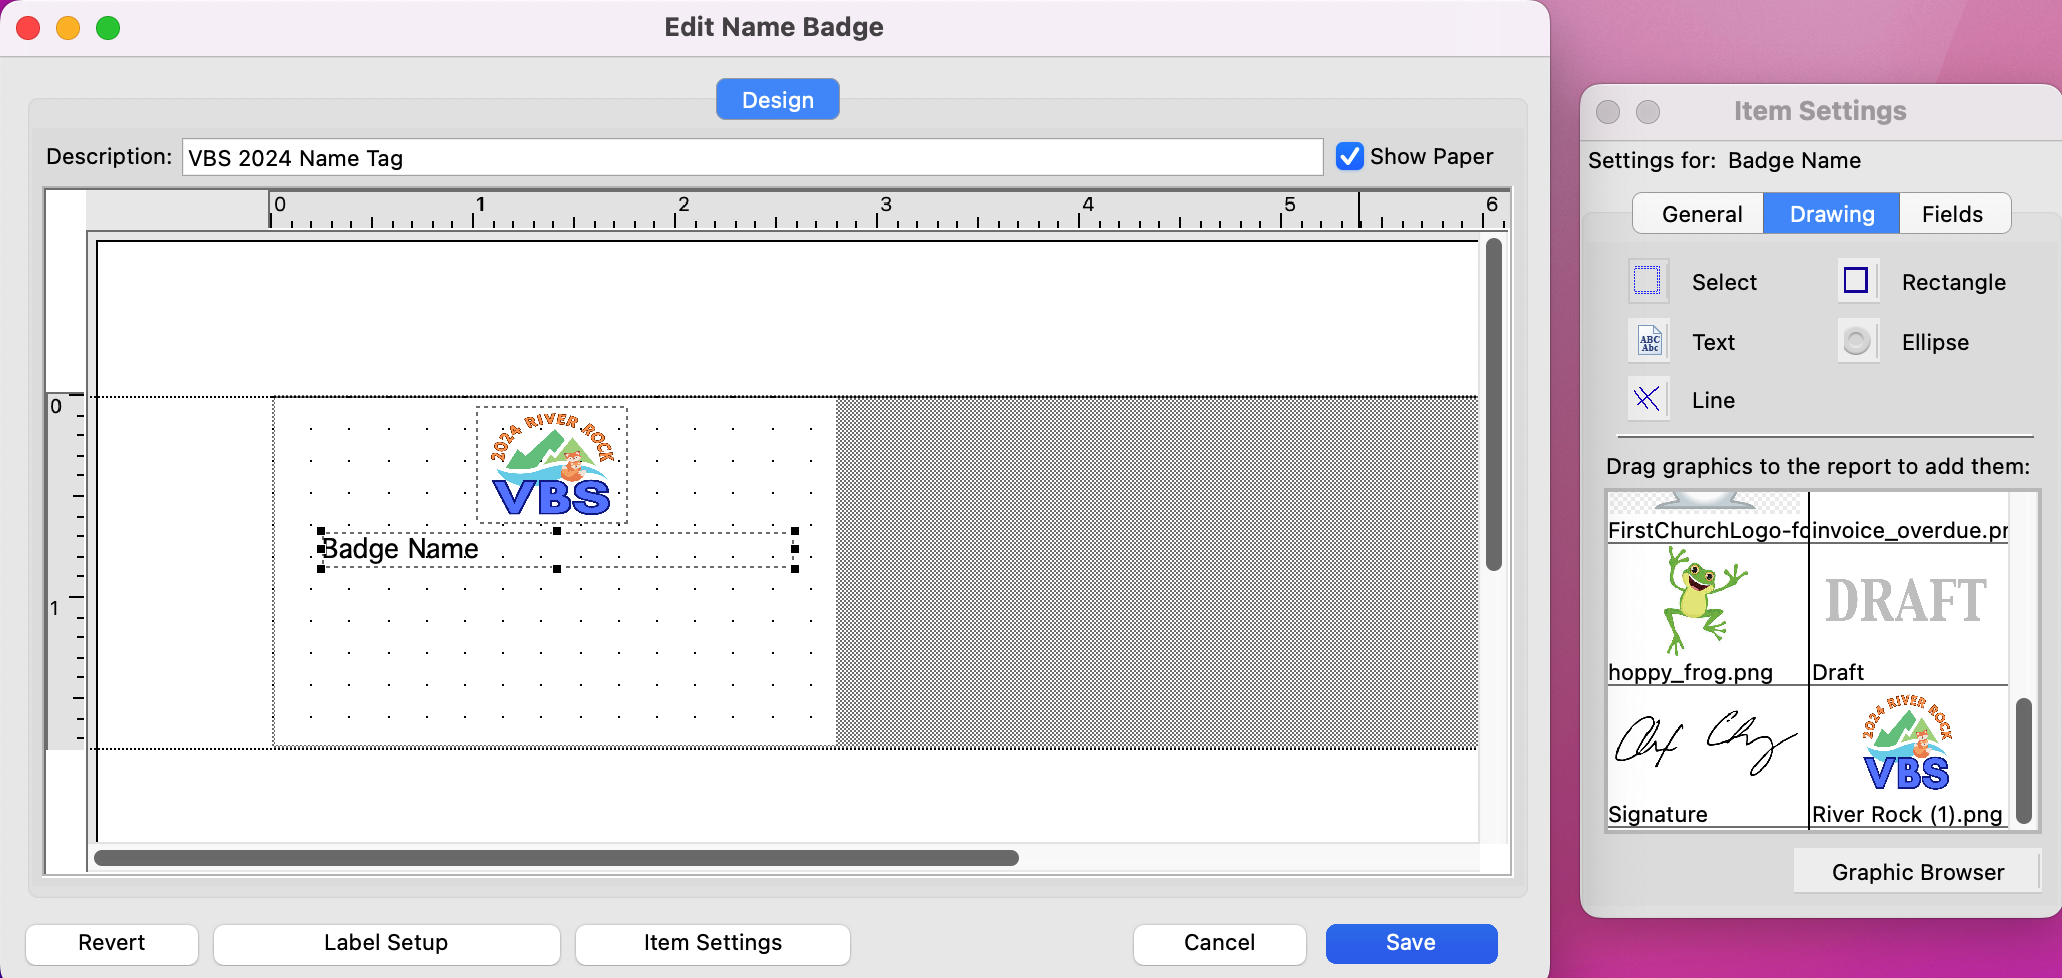
If you want to add text to your name badge, select the Drawing tab on the Items Settings menu, click on the box next to the word Text, then click back onto your canvas and draw a text box.
-
Click inside the text box and type the words you wish to include. Then, double-click on the text box to style the appearance of the words you've typed (color, size, font, etc.).
-
From the Drawing tab, you can also add a line, rectangle, or circle (ellipse). The Drawing tab is also useful for adding a graphic element, such as your logo, to the name badge. From the Drawing tab, click Graphic Browser and choose the image you wish to add. If you have not added the image to CDM+, you can choose Add in the Graphic Browser and upload the image to CDM+ from your computer. This function is the same in Name Badges as it is in Notices (click here to read more here about adding images to CDM+ graphic browser).
-
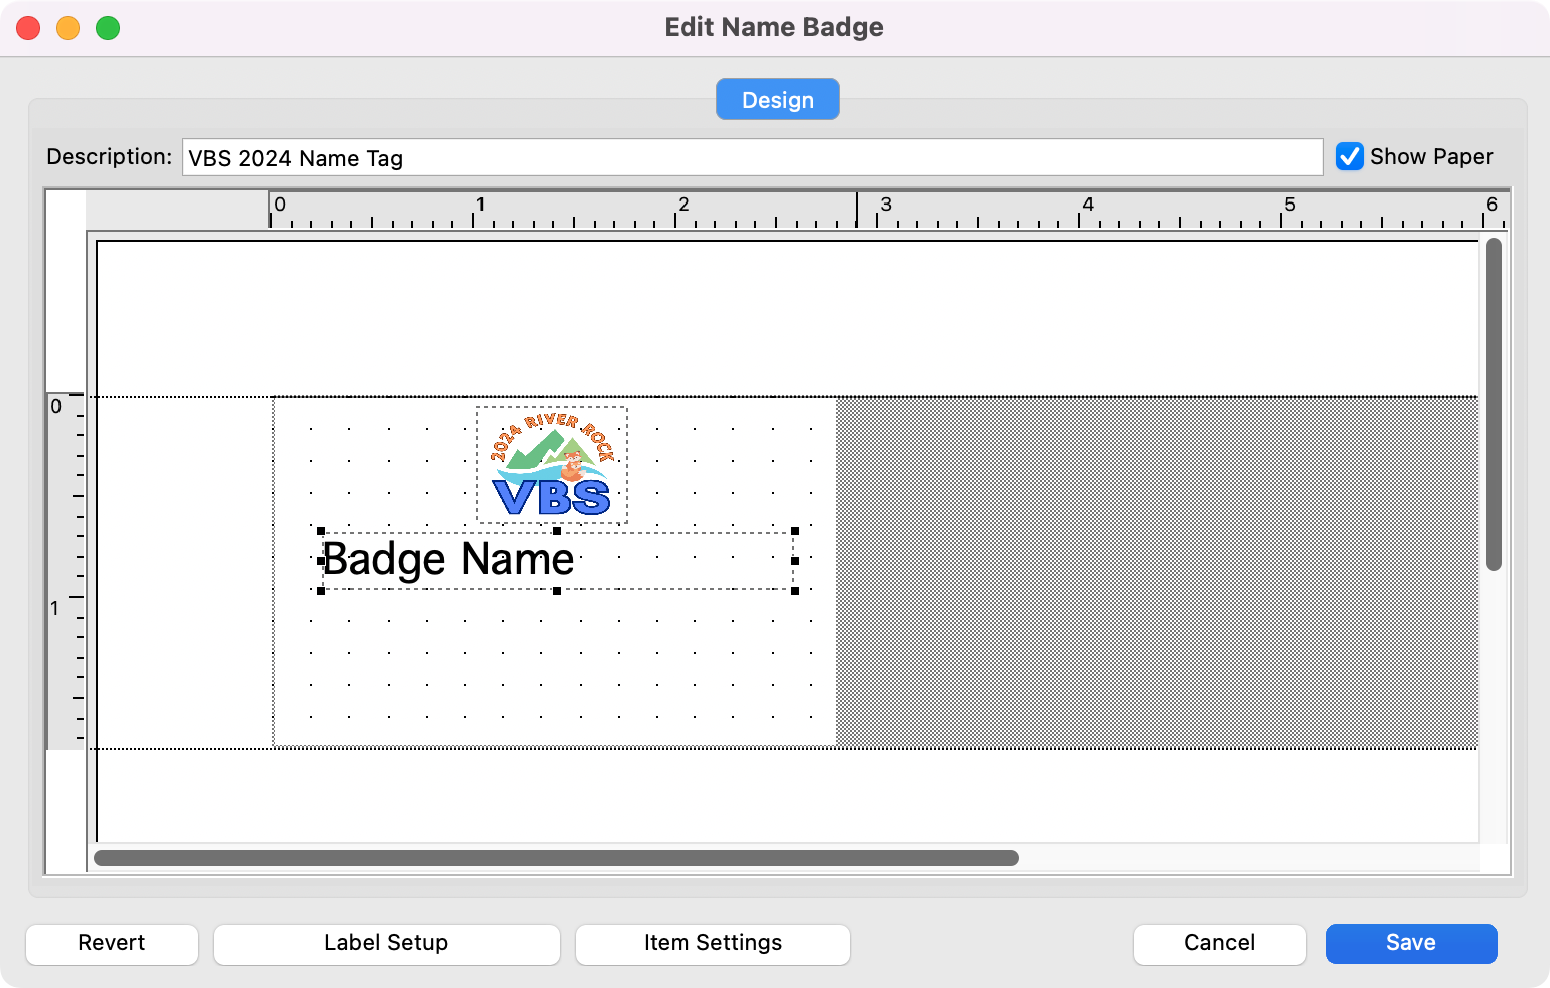
When you are finished designing your name badge, click Save on the Edit Name Badge window.
-
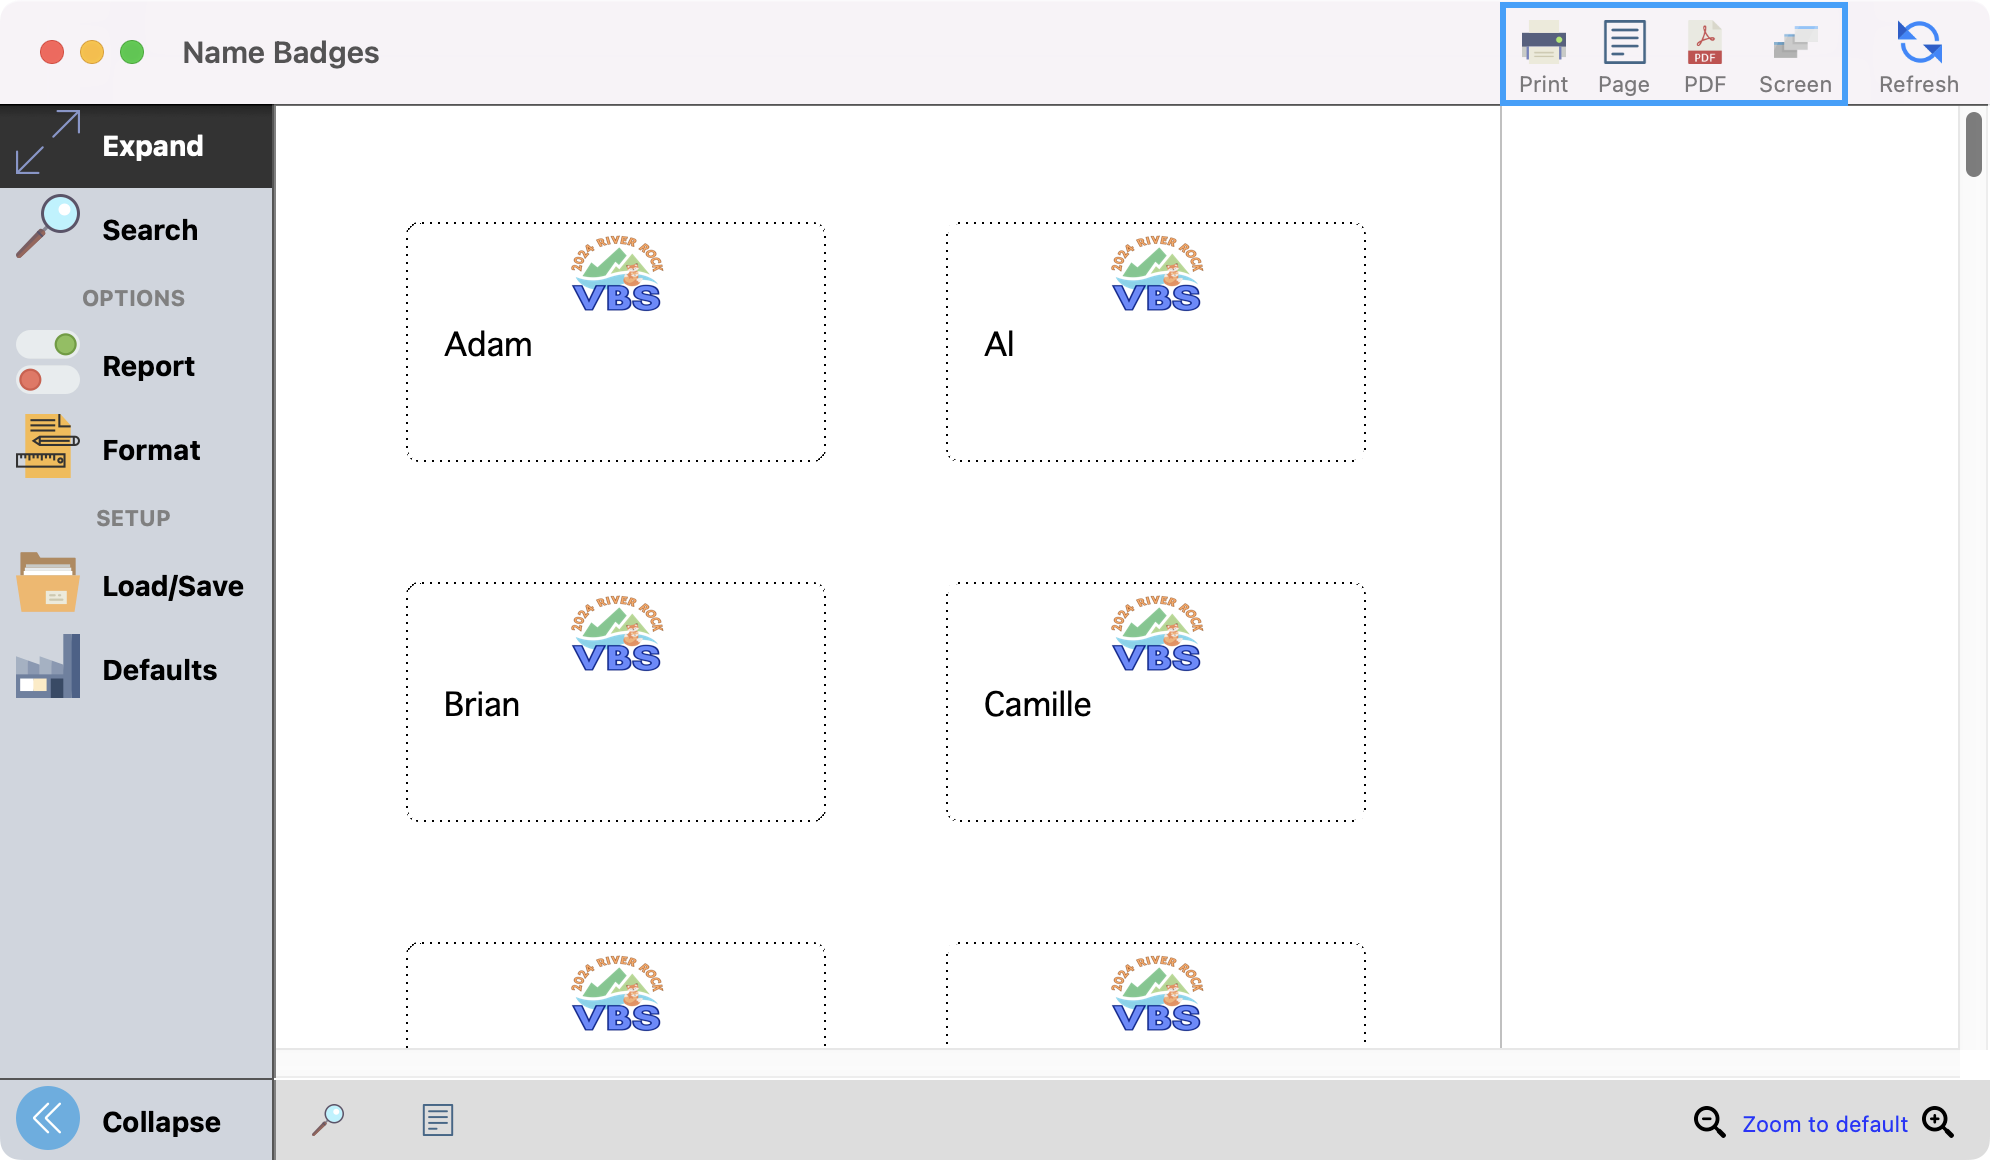
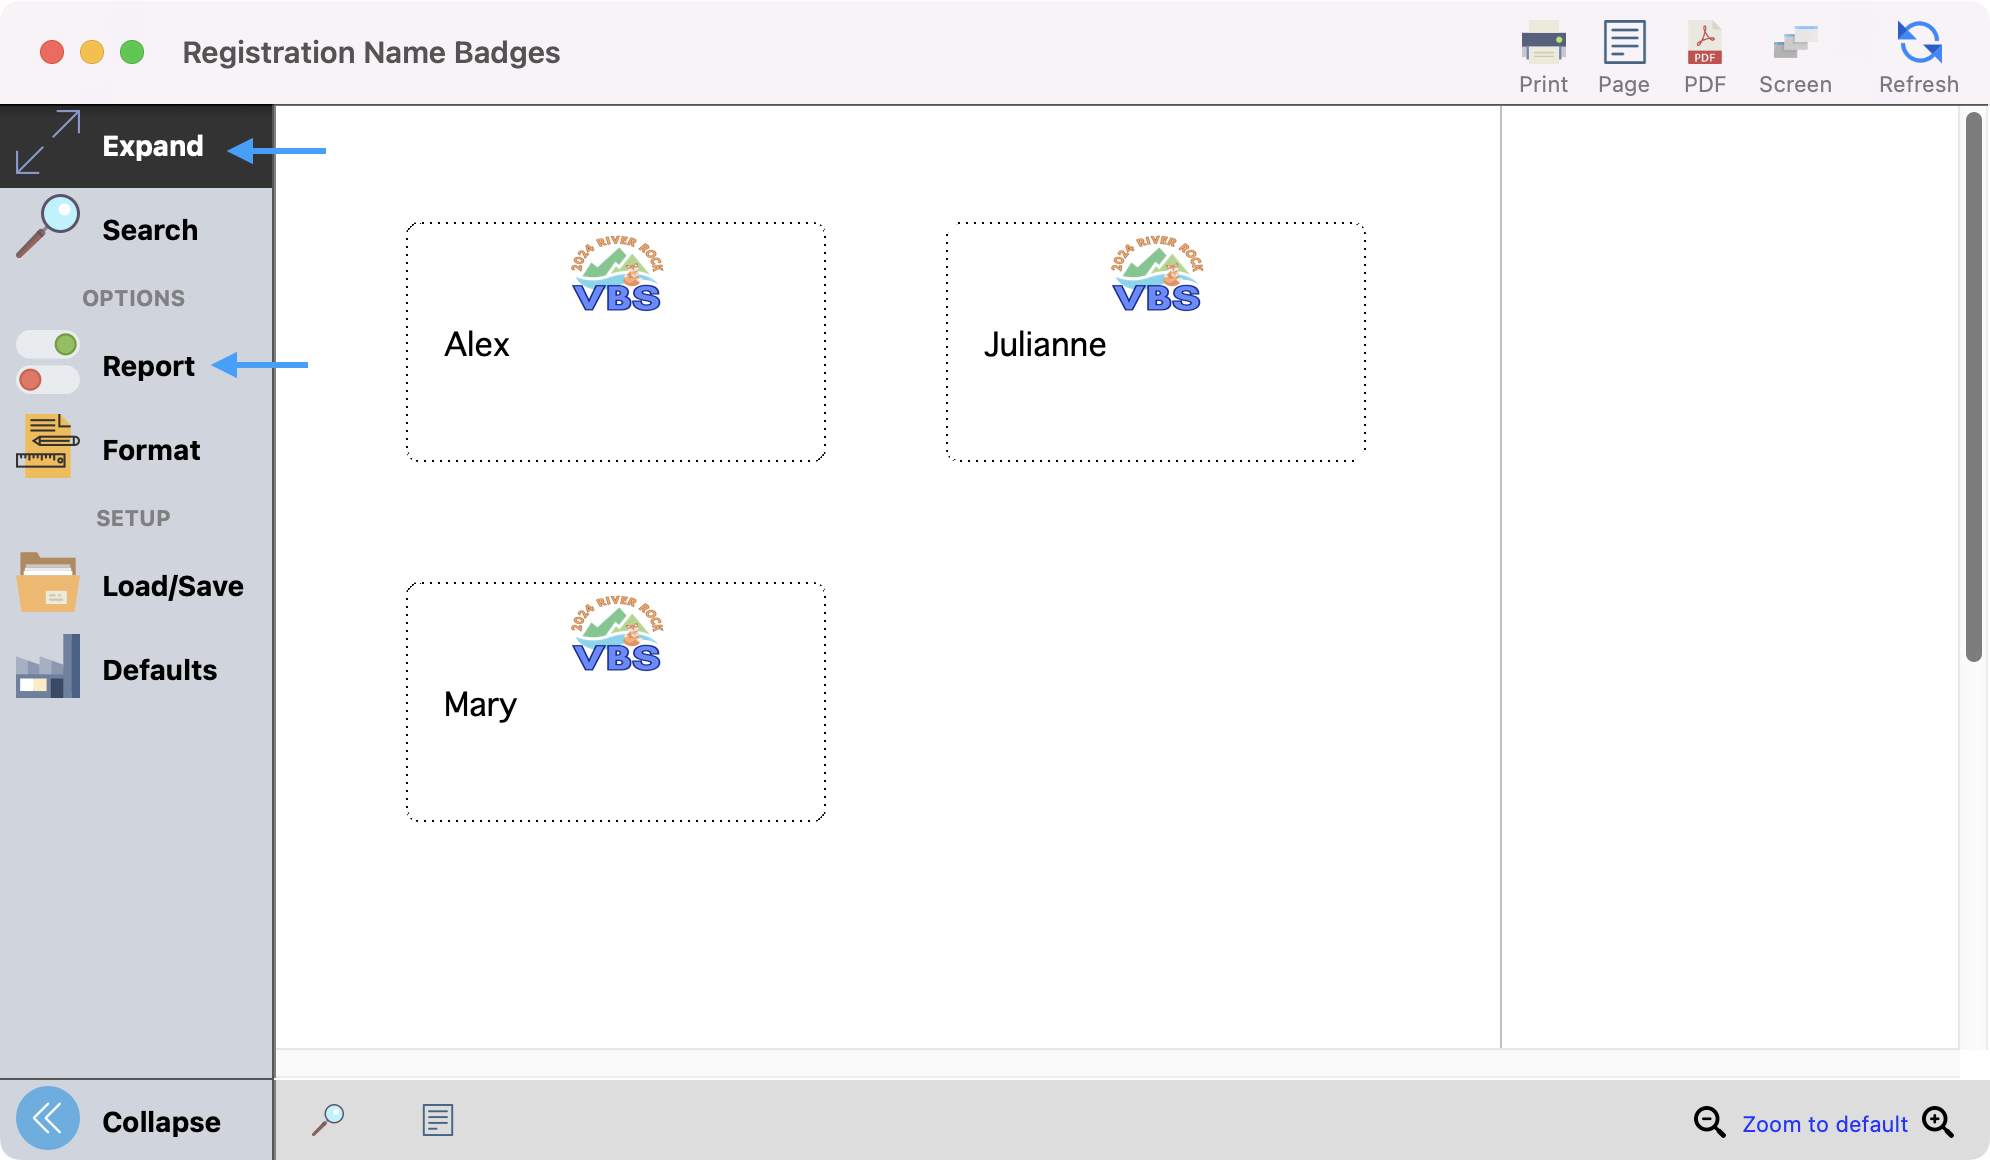
To see a preview of your name badges, click the Refresh icon in the upper right corner and Expand from the left sidebar to see a larger view.
-
If you need to edit the name badge again before printing, click on Report from the left sidebar then Edit and repeat the steps in 8-16.

-
Once you are ready to print or export your name tags, you can use the action buttons in the upper right-hand corner of the window.