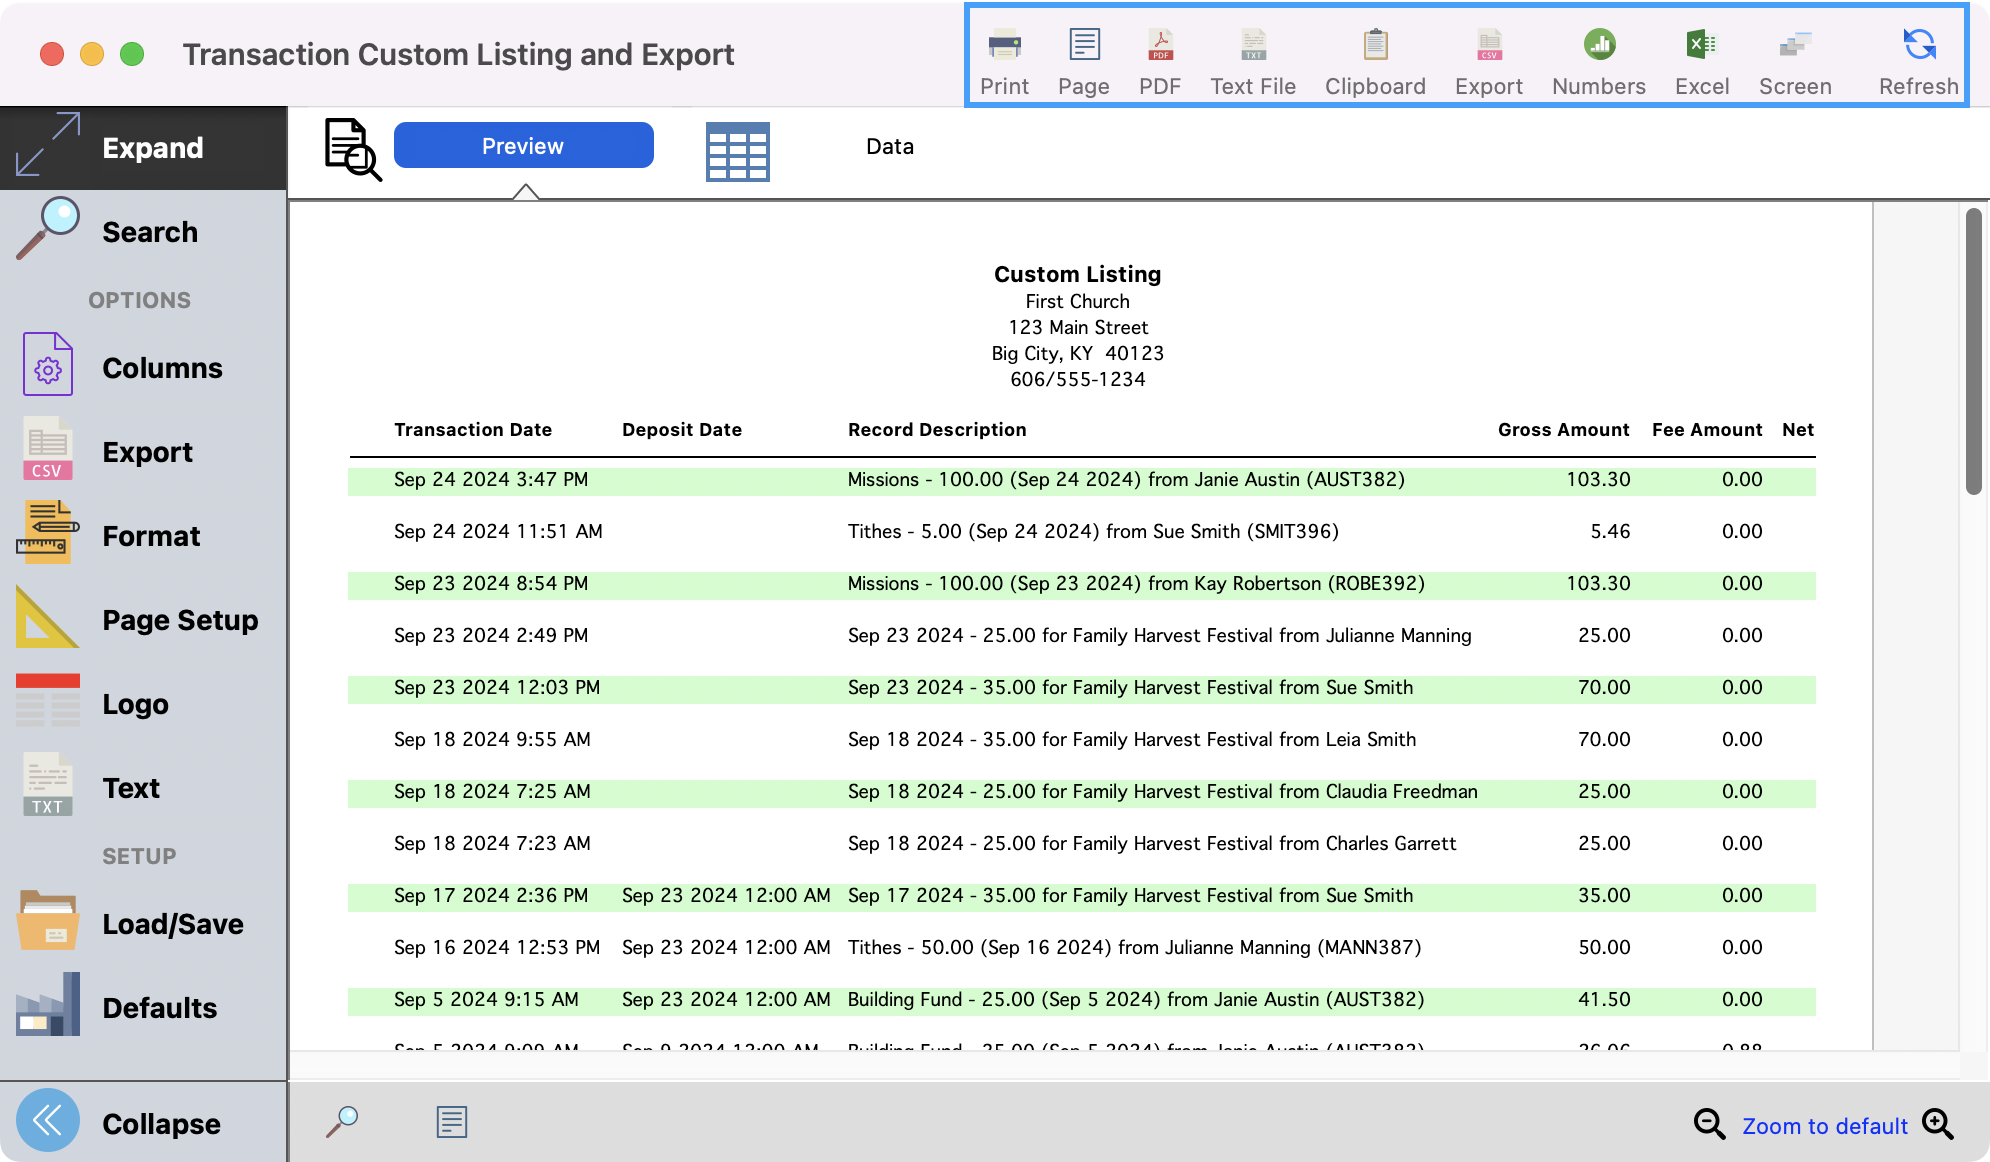
The Transaction Custom Listing and Export report pull in details for all online transactions, including transactions from online billing, event payments, and online giving.
-
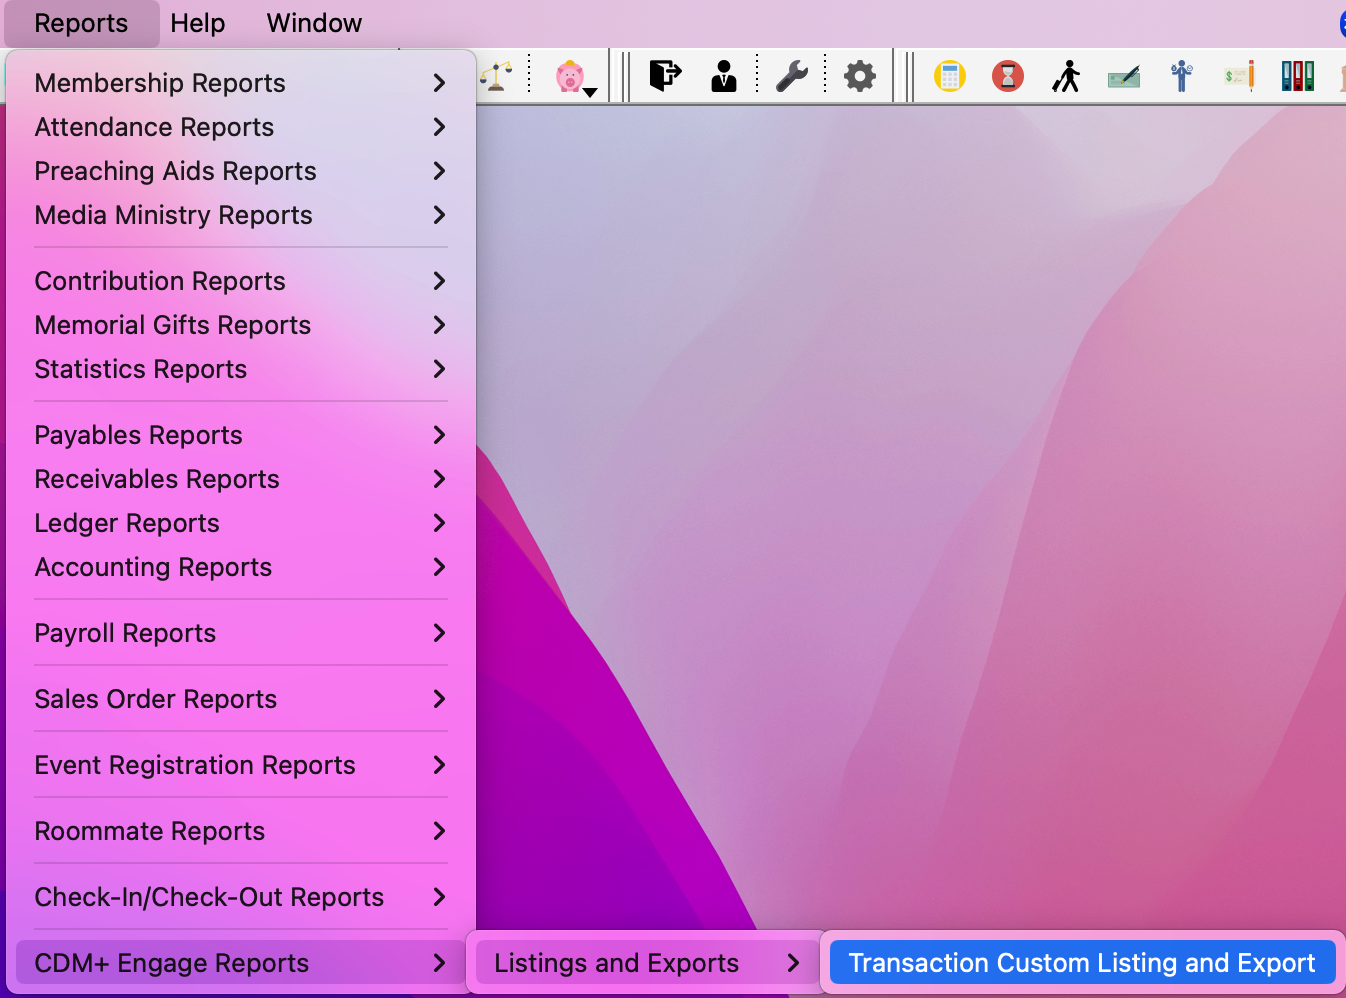
Go to Reports → CDM+ Engage Reports → Listings and Exports → Transaction Custom Listing and Export.
-
In the next window, determine your search criteria. You can first decide if you want to search by Transaction or Deposit date.
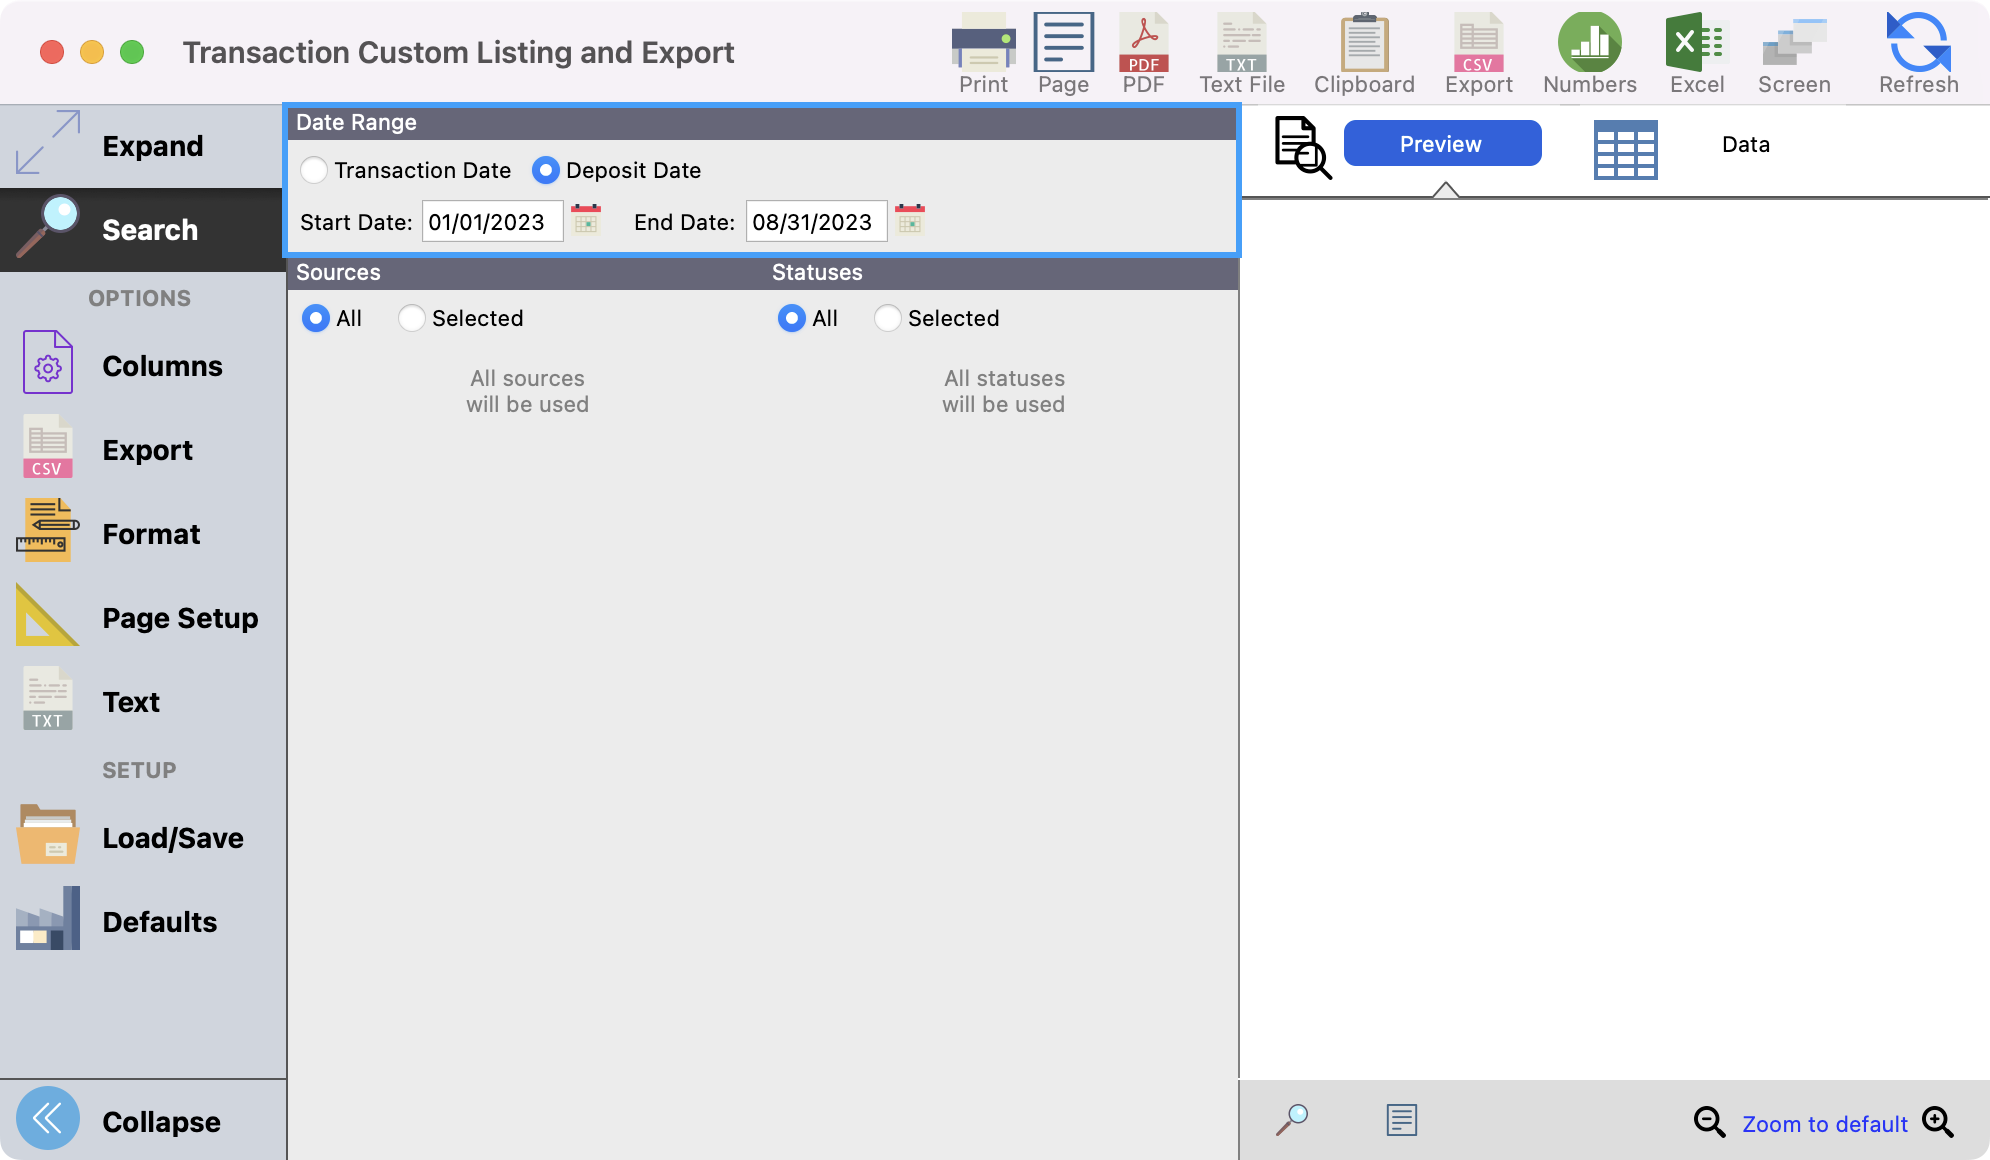
You can also choose if you want to search on All Sources or click on Selected and choose just the sources you want to see.
You can also choose if you want to search on All Statuses or click on Selected and choose just the statuses you want to see. Selecting a specific status may come in handy if you're looking for transactions that were recently refunded, declined, etc, and you only want to see those specific transactions.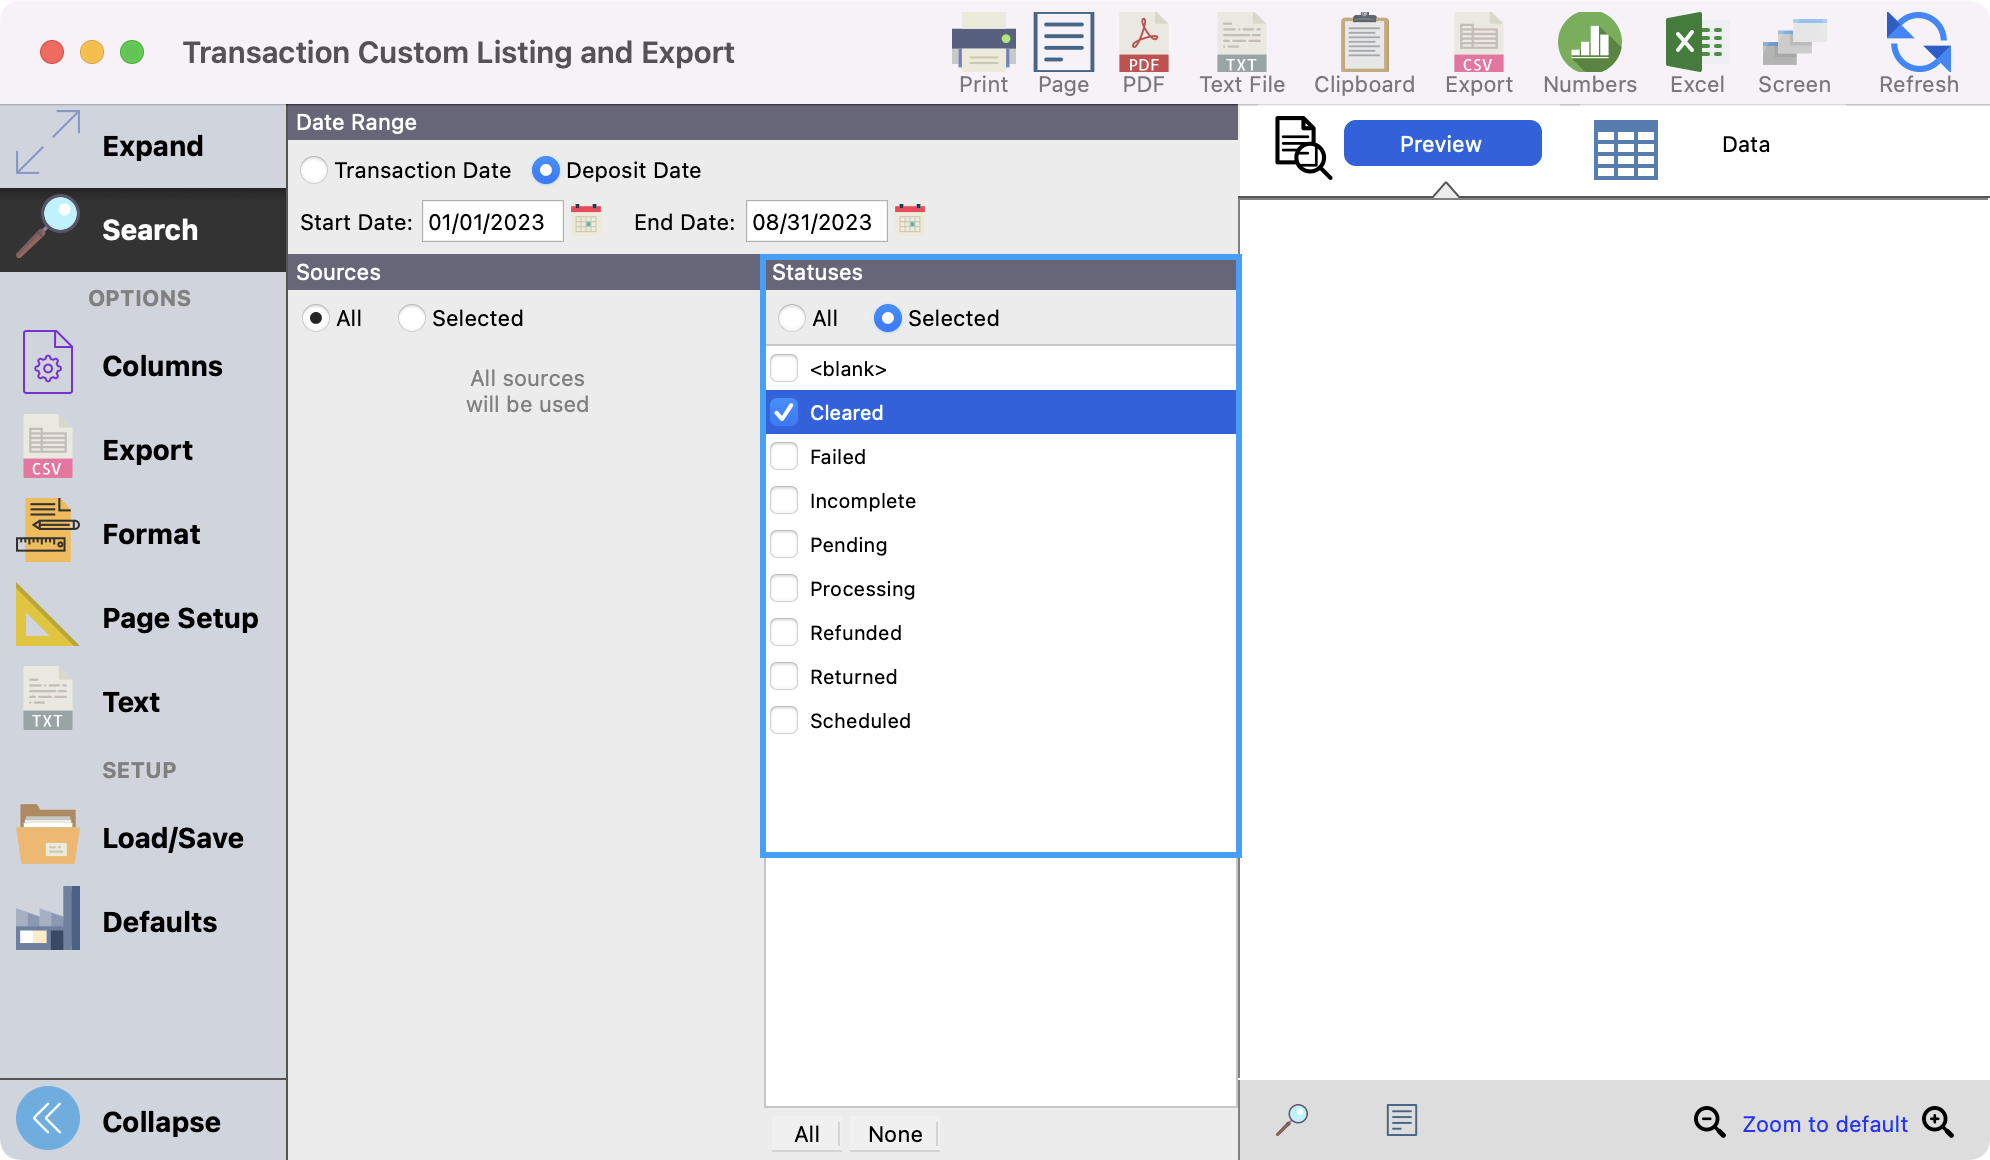
-
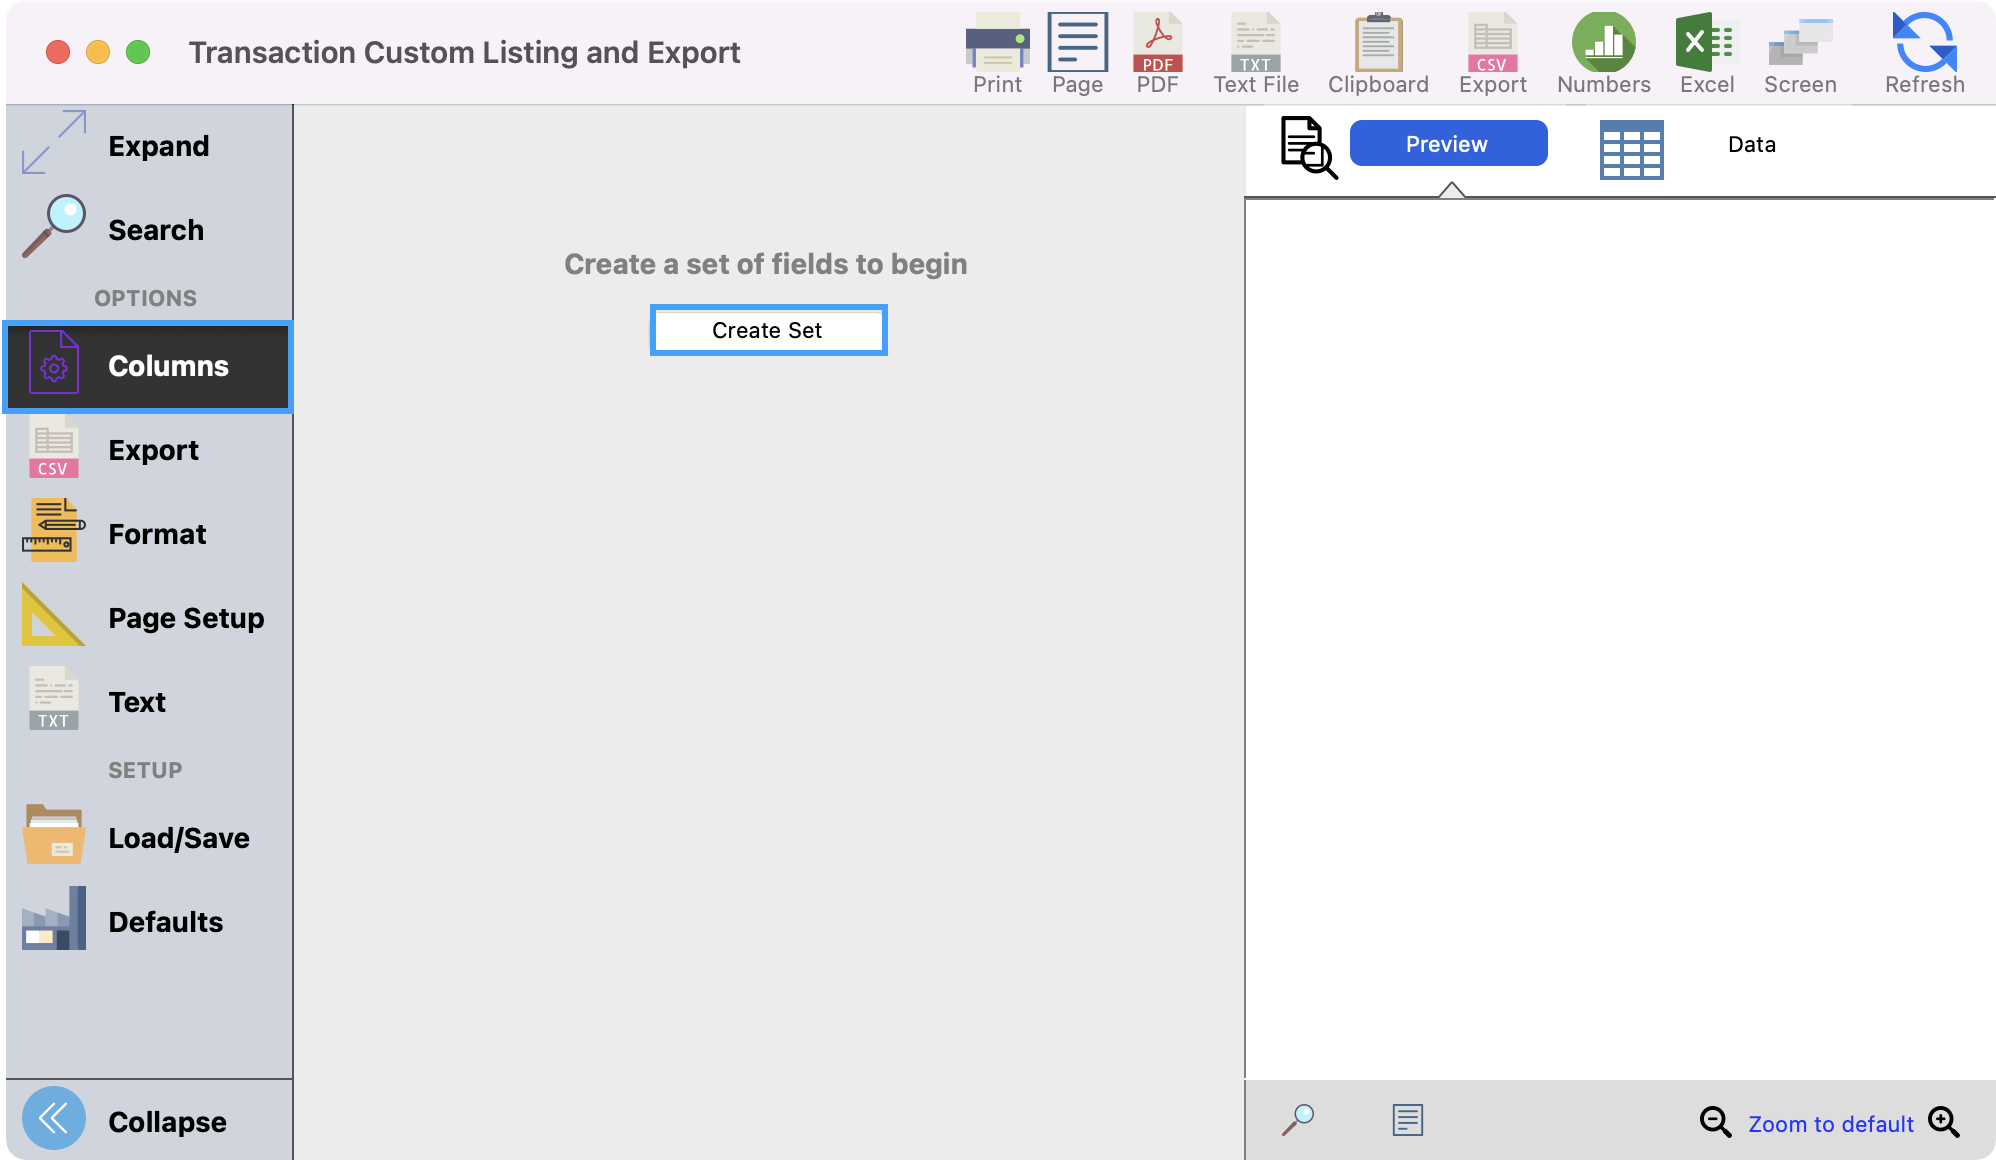
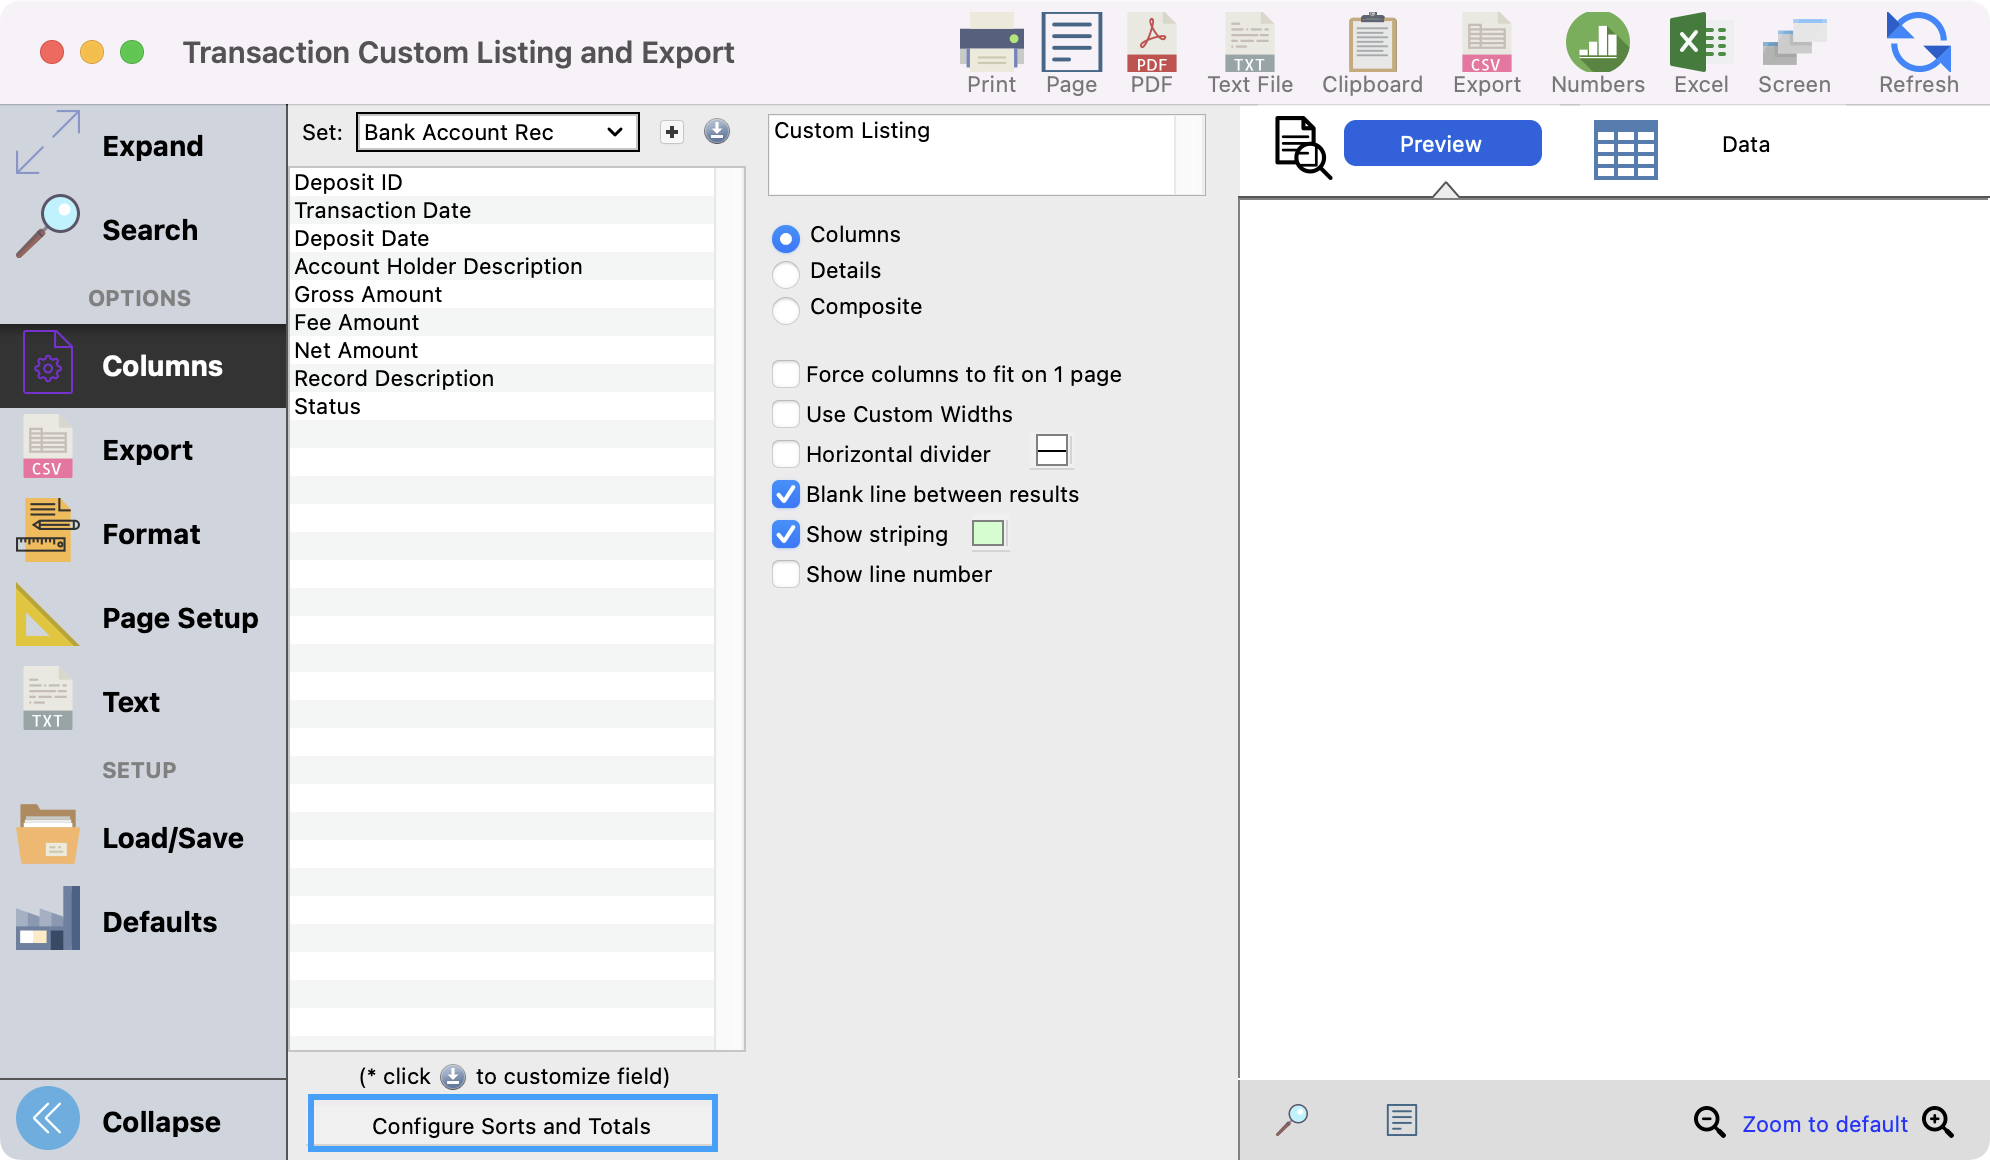
After you choose your Search criteria, click Columns from the left sidebar. Then, click Create Set.
-
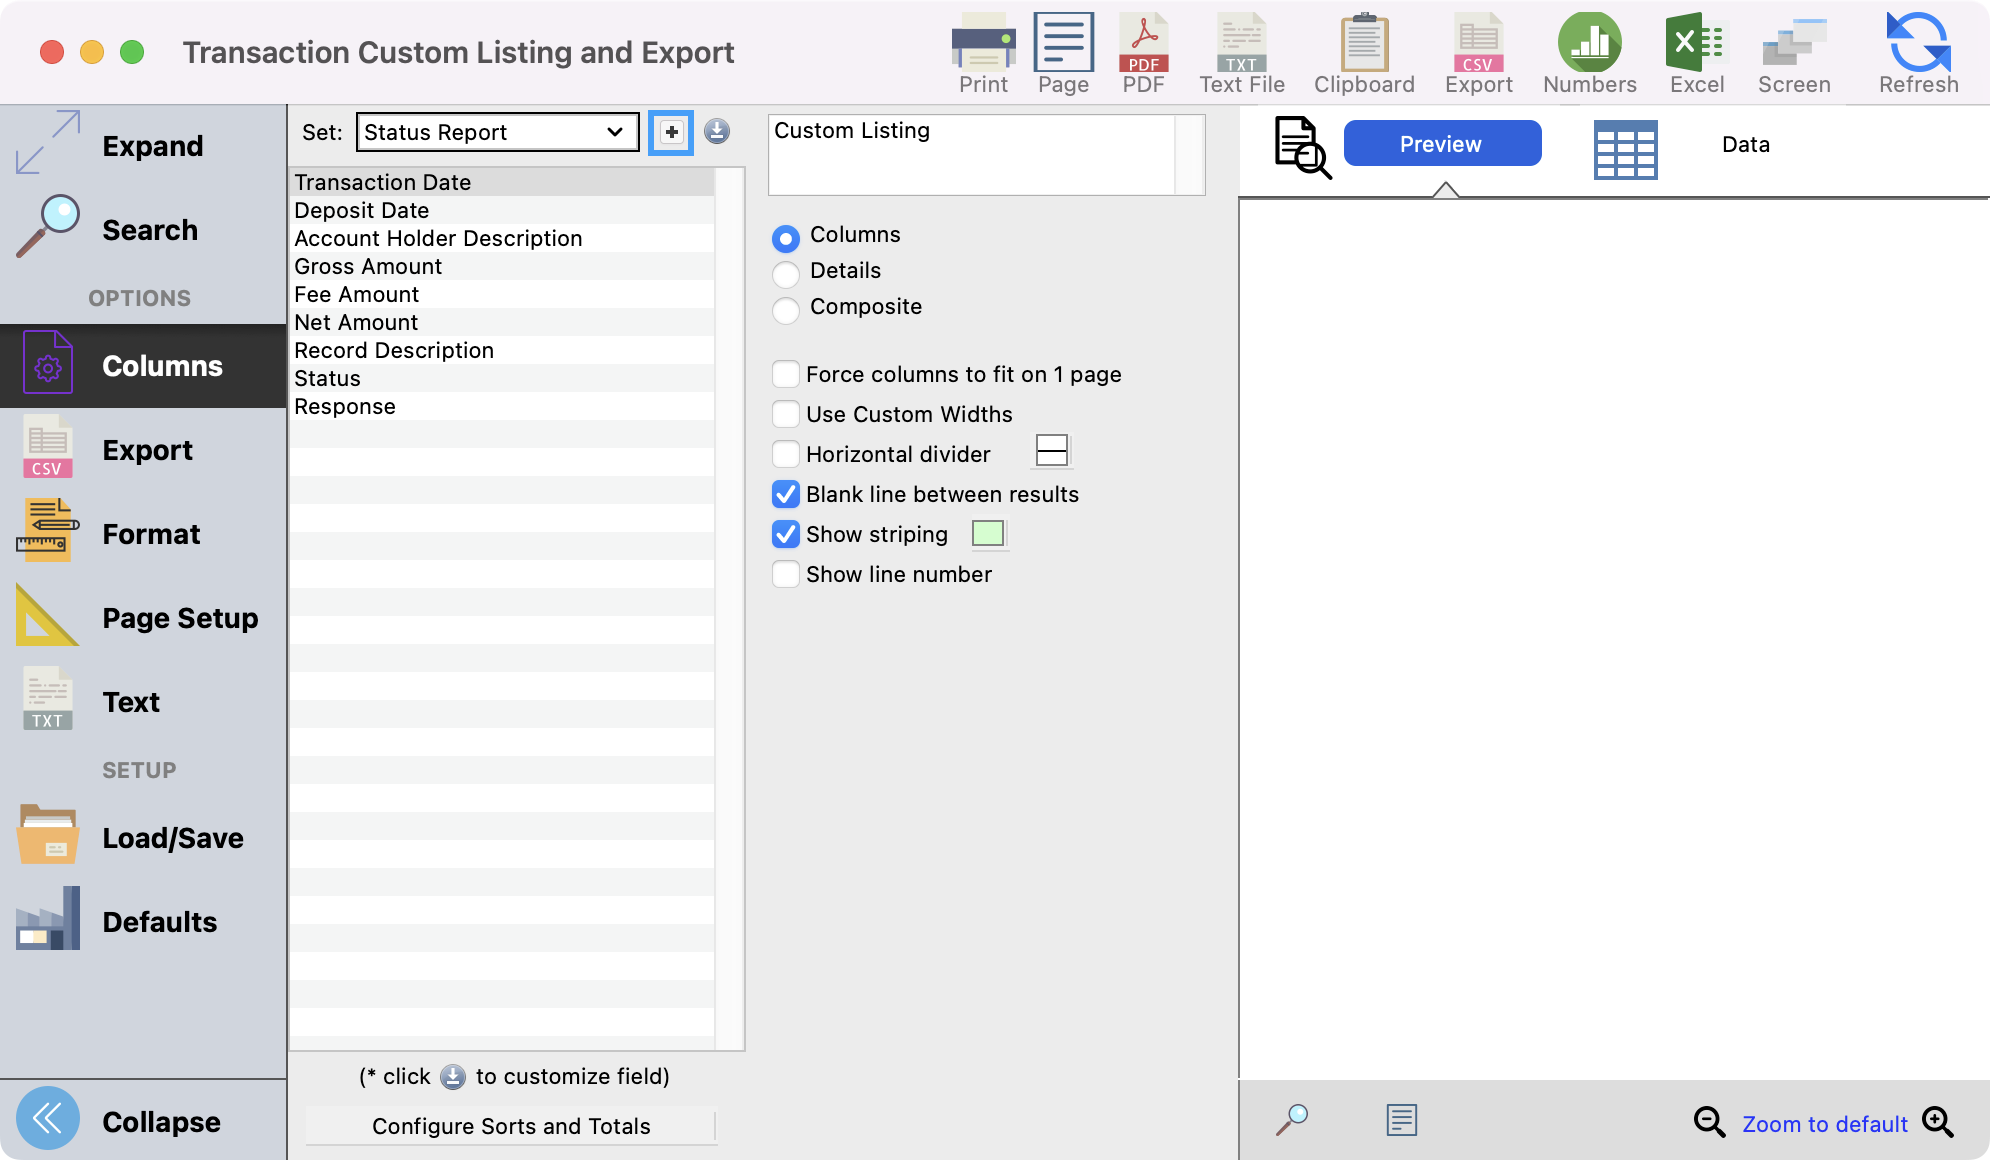
If a set already exists and you want to create a new one, click the + button to add a new set. You can also change the fields in a set by clicking the blue circle with a down arrow.
-
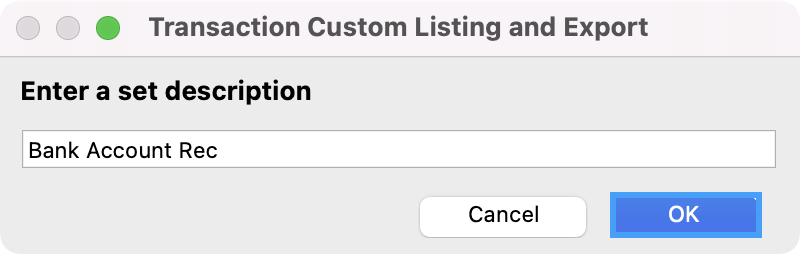
Give your report a name and click OK.
-
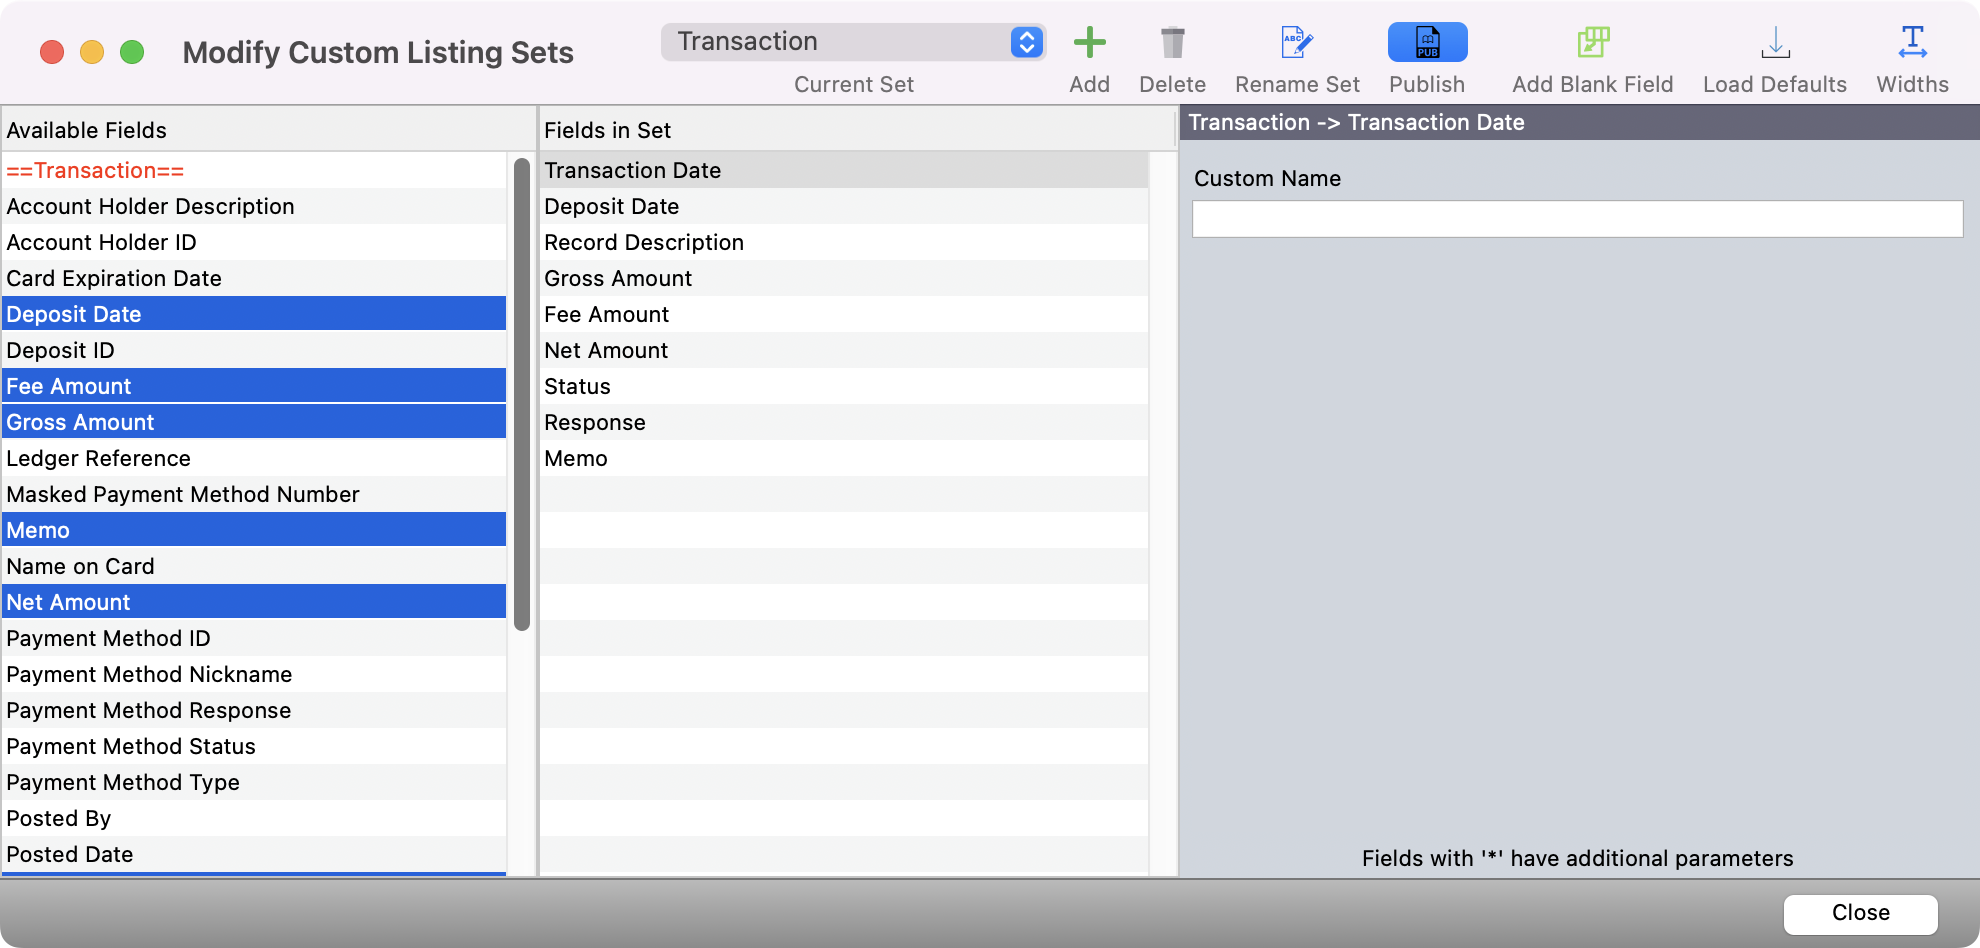
You will then see a list of fields that you can choose from to pull into your report. You can double-click a field or drag it to the Fields in Set column to choose your fields. Click Close when you have selected all the fields that you need. Some fields we recommend pulling into this report are below:
-
Deposit ID
-
Transaction Date
-
Deposit Date
-
Account Holder Description
-
Gross Amount
-
Fee Amount
-
Net Amount
-
Record Description
-
Status
-
-
Next, click the Configure Sorts and Totals button.
-
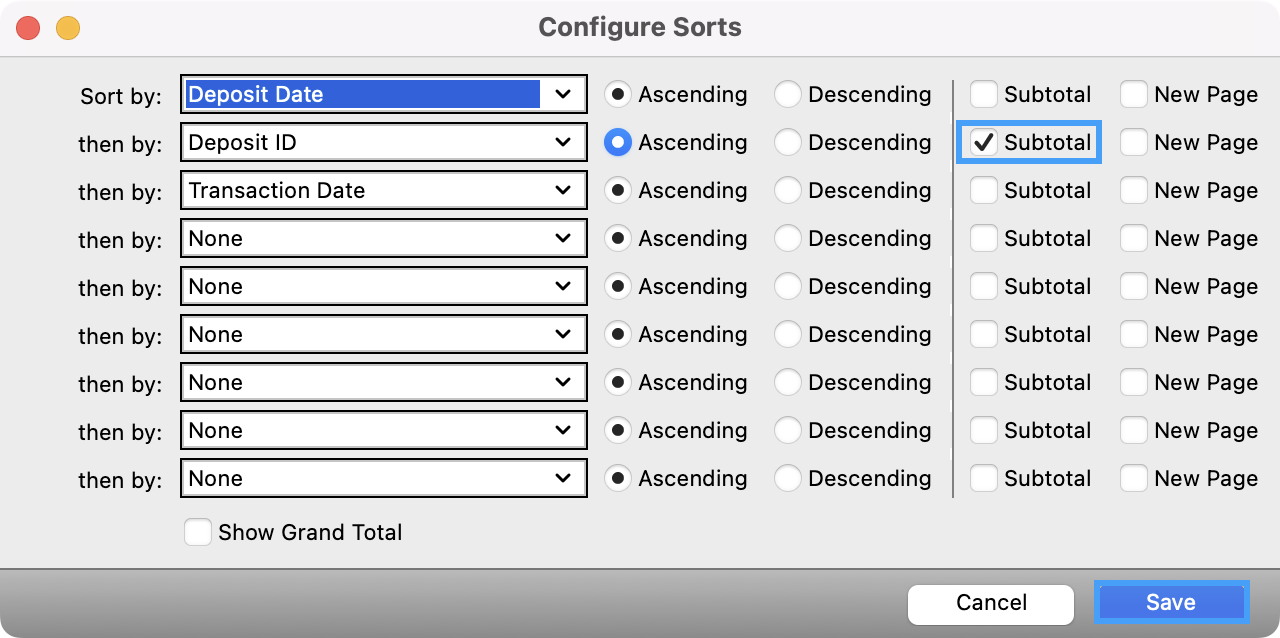
Choose how you want to sort your report based on the data that you are looking for. If you're wanting to reconcile your bank statement, a best practice is to sort first by Deposit Date, then by Deposit ID and choose to Subtotal by Deposit ID, and lastly by Transaction Date. Save all your changes at the bottom of the window.
-
Lastly, you can click Refresh to see a preview of your report. You can then print or export the report as you wish.