
Under Contribution Statements, you can create a statement for your givers that you can print and deliver.
Preparing Your Statements
-
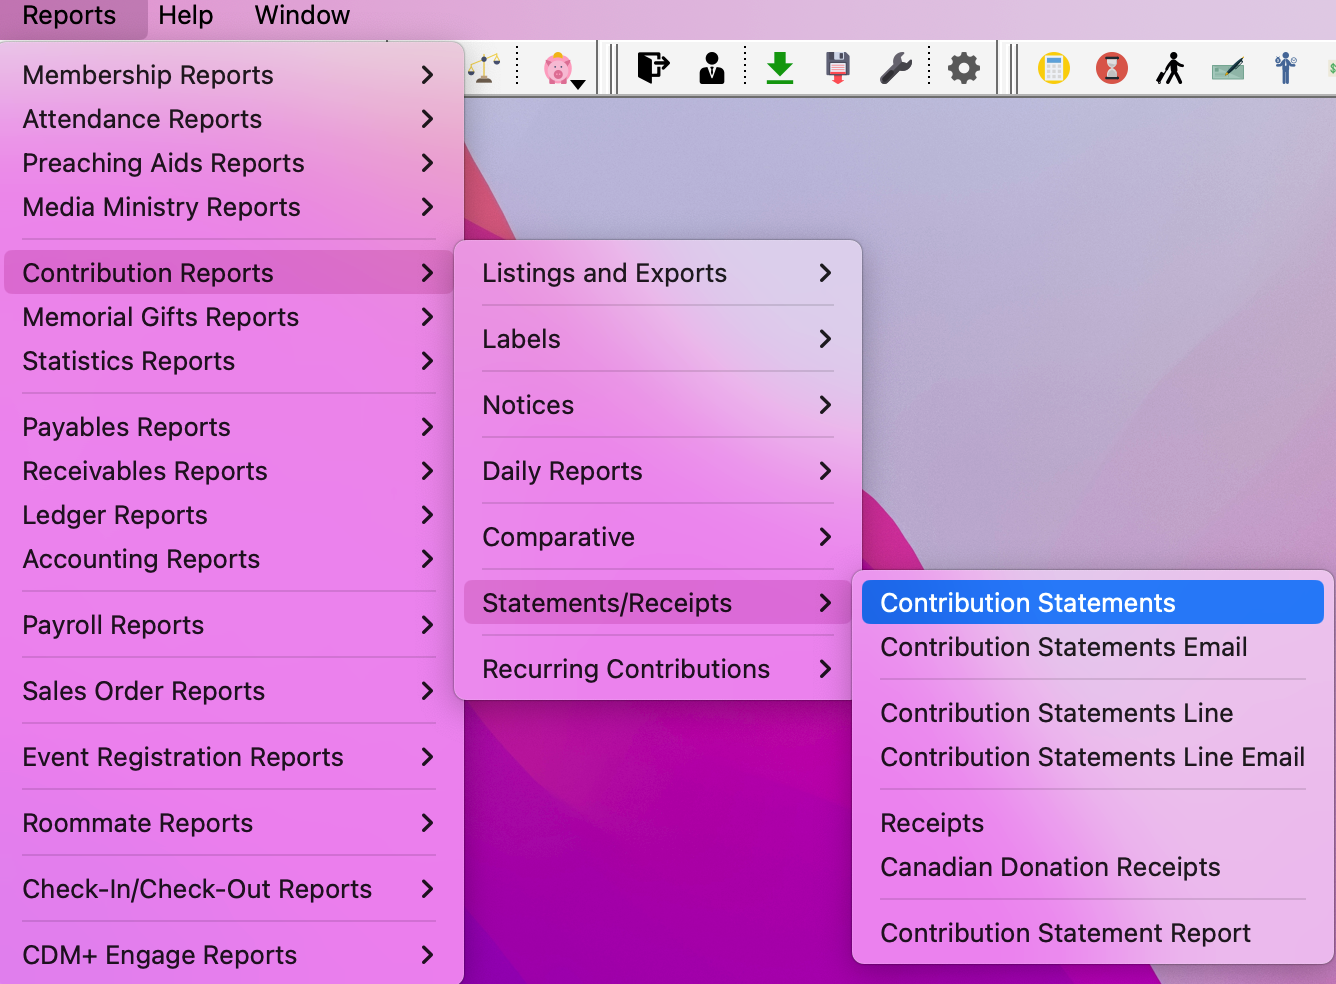
To get started, go Reports → Contribution Reports → Statements/Receipts → Contribution Statements
-
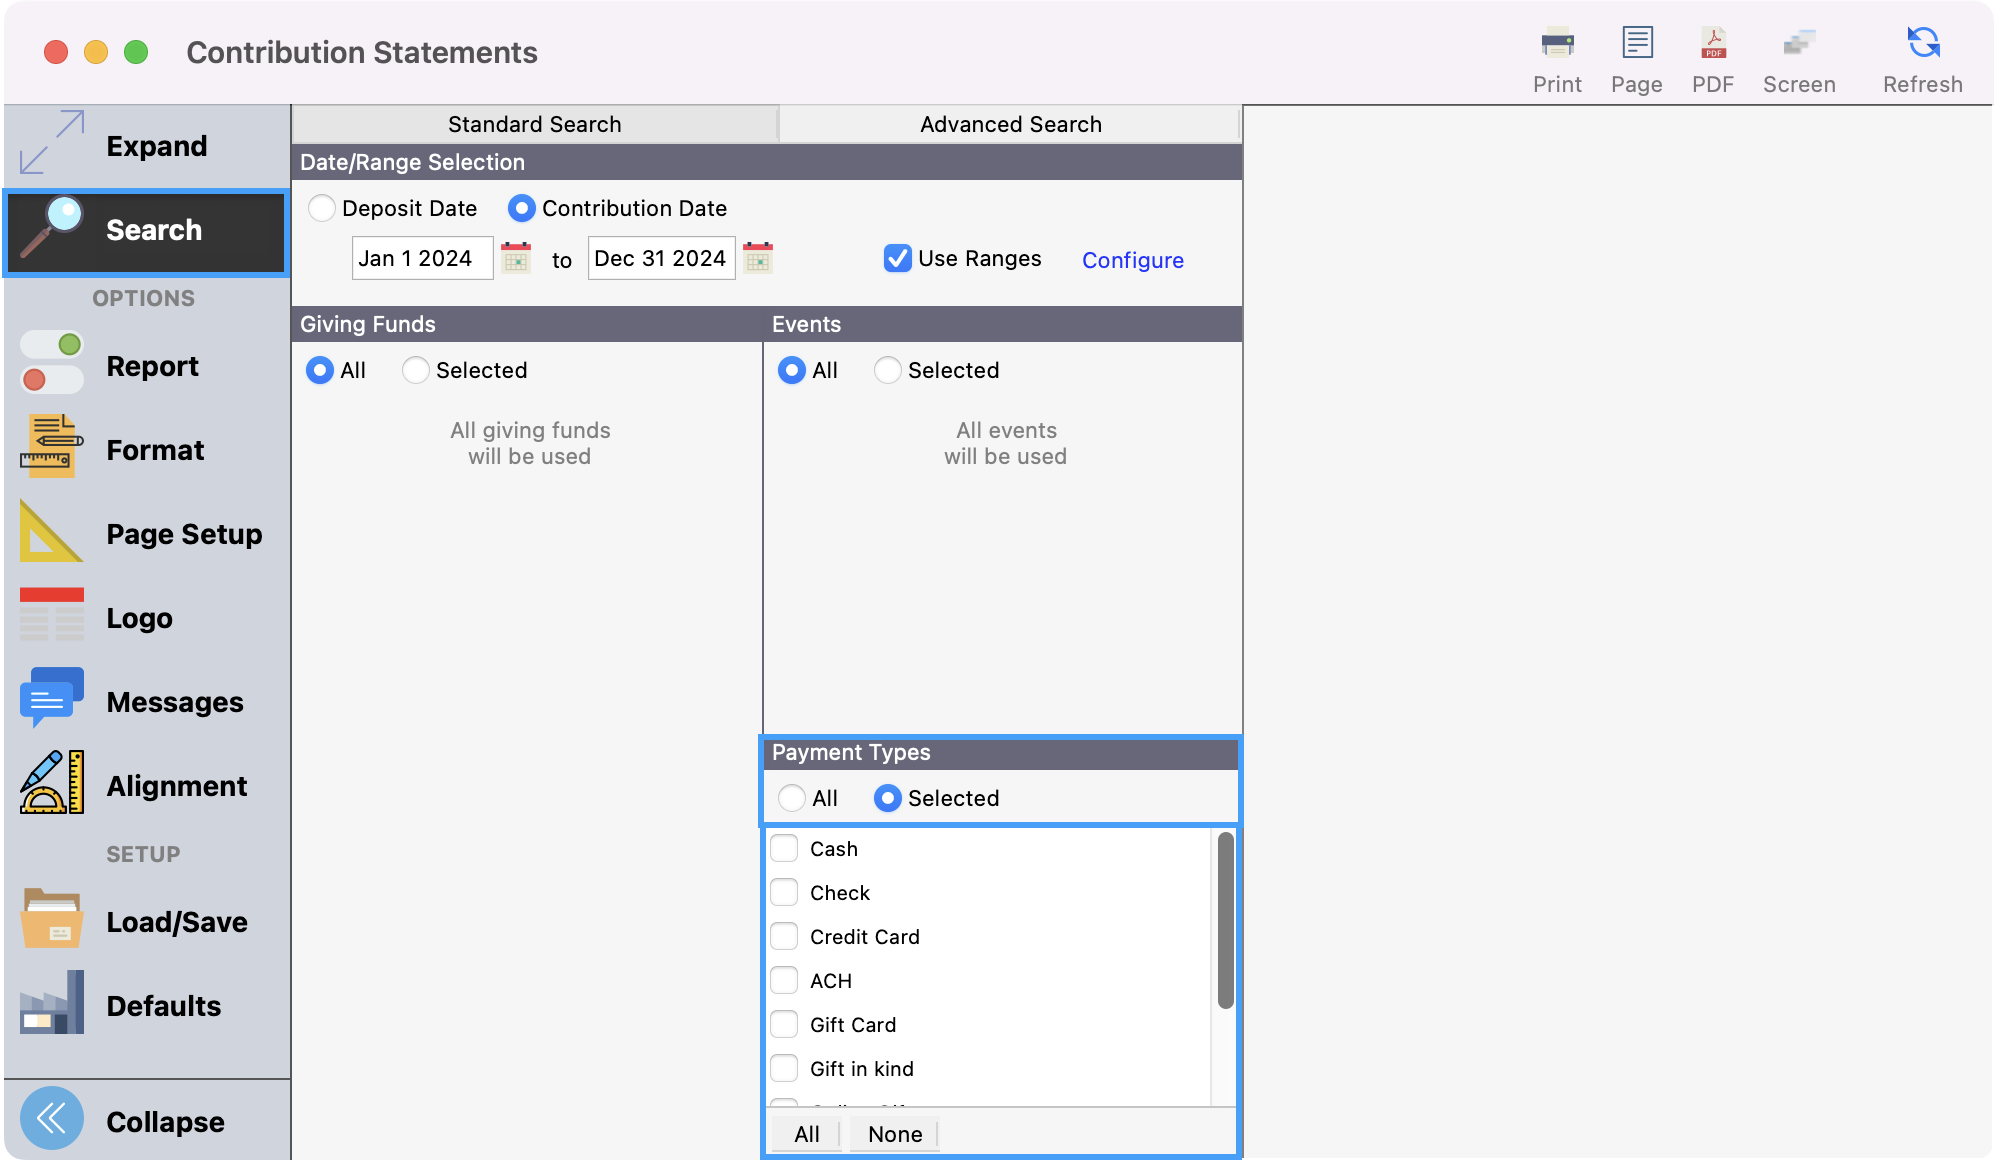
The basic configuration of giving statements is to produce a statement for all giving units that have contributed within the particular date range you specify. Under Search, select the appropriate date type (Deposit or Contribution) under the Date/Range Selection section and enter the beginning and ending date of the date range.
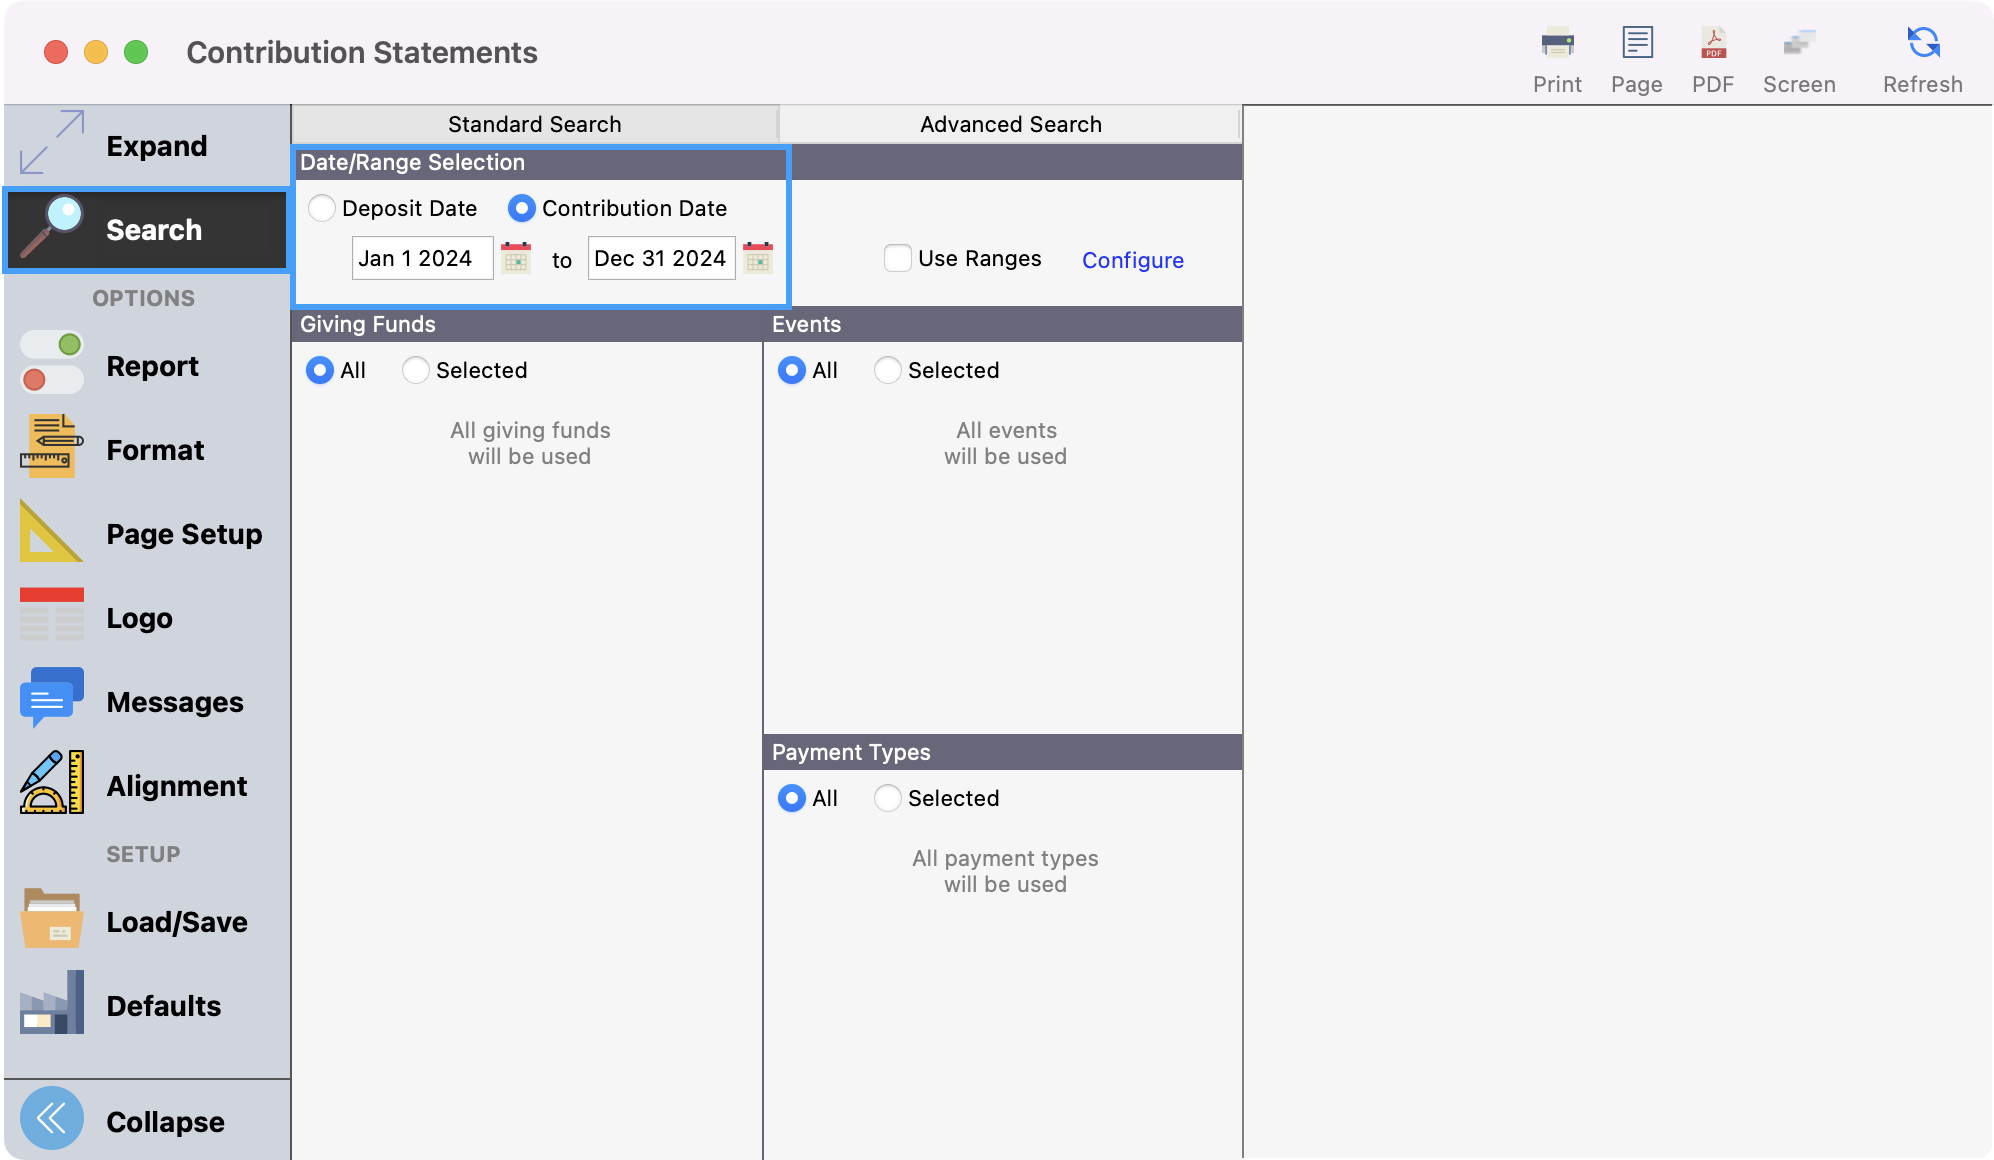
If you want to refine your search based on a donation amount range you can do so by using our Use Ranges feature.
-
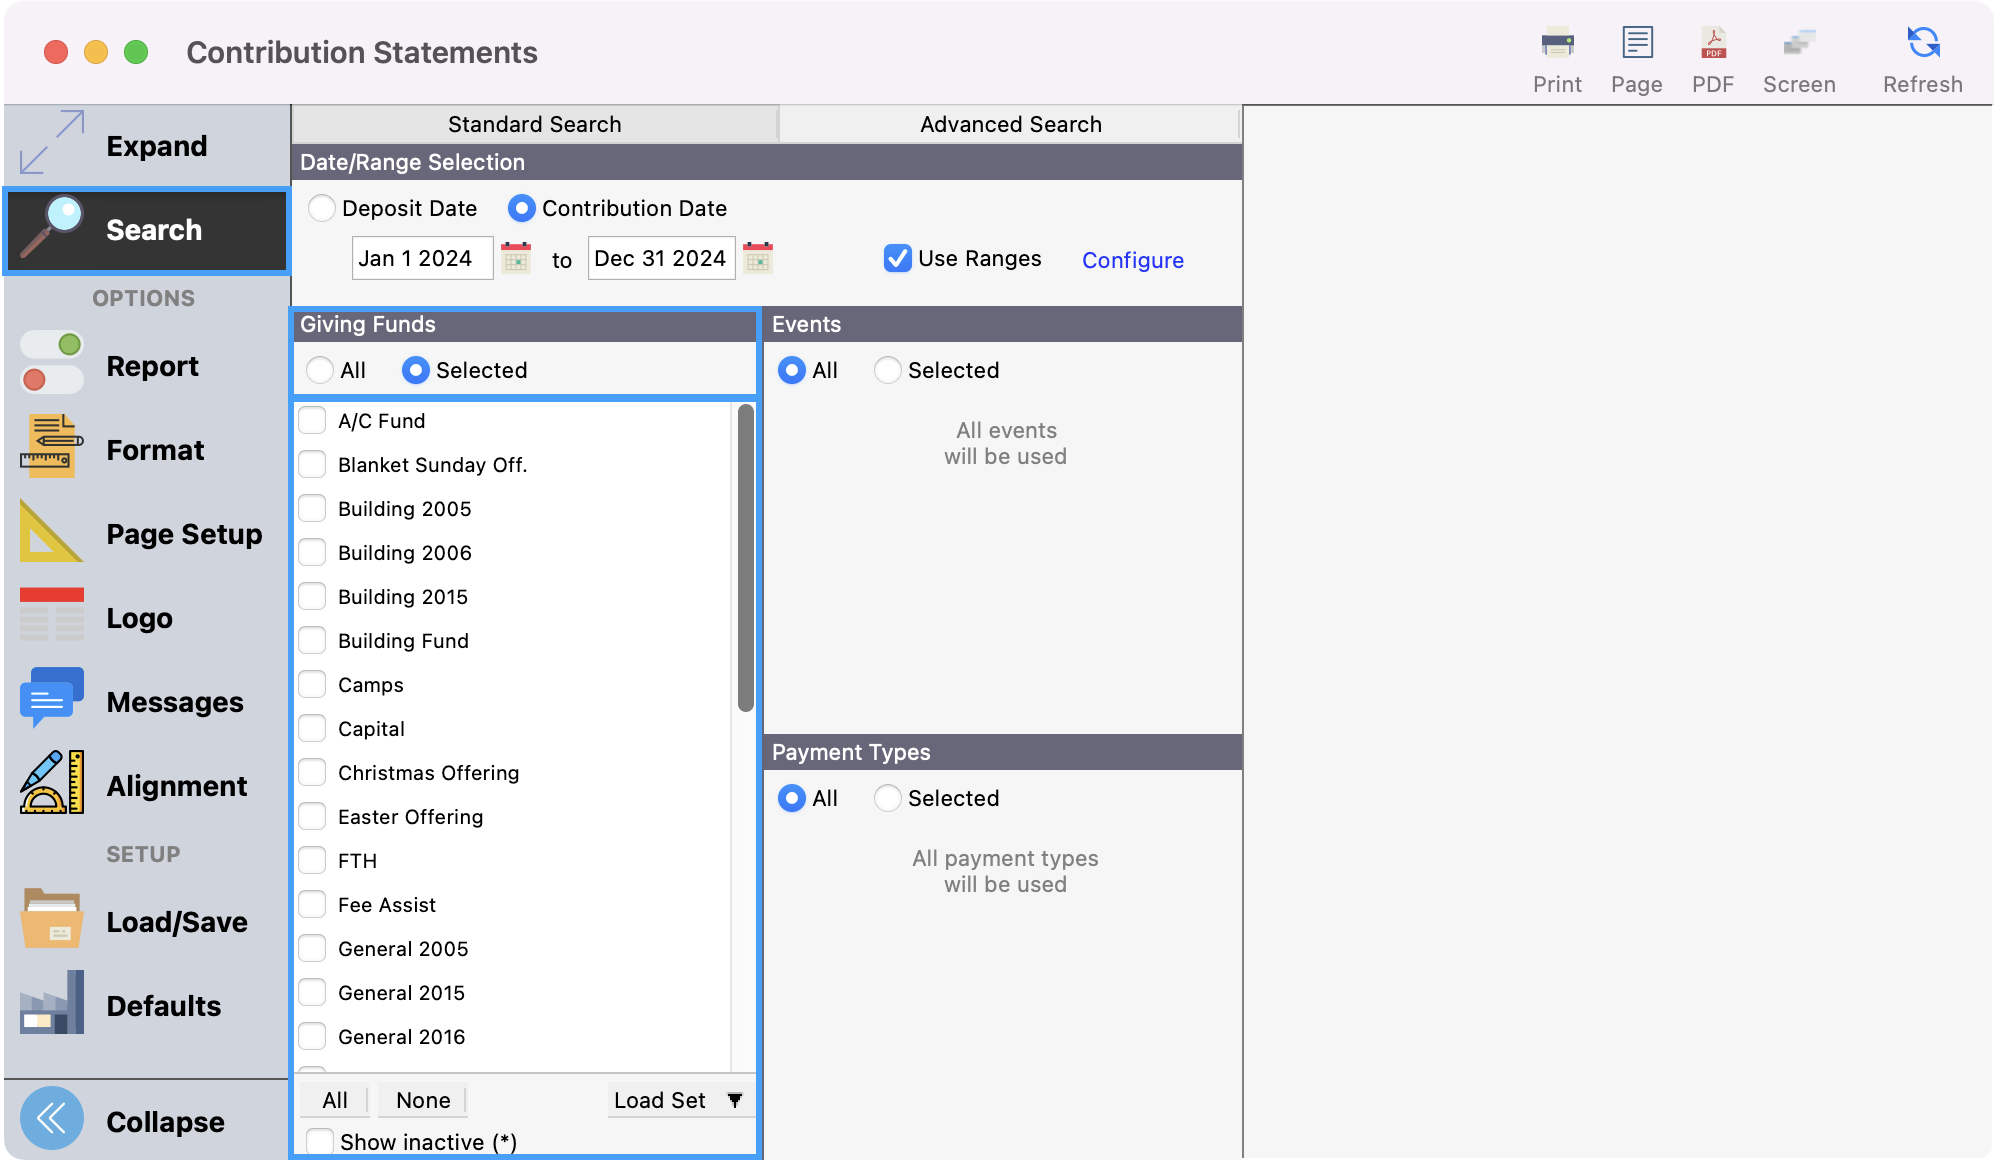
Under the Giving Funds section, either select the giving funds you wish to use by clicking Selected or choose all using the All radio button. Keep in mind that when choosing All, this will include any inactive funds as well.
-
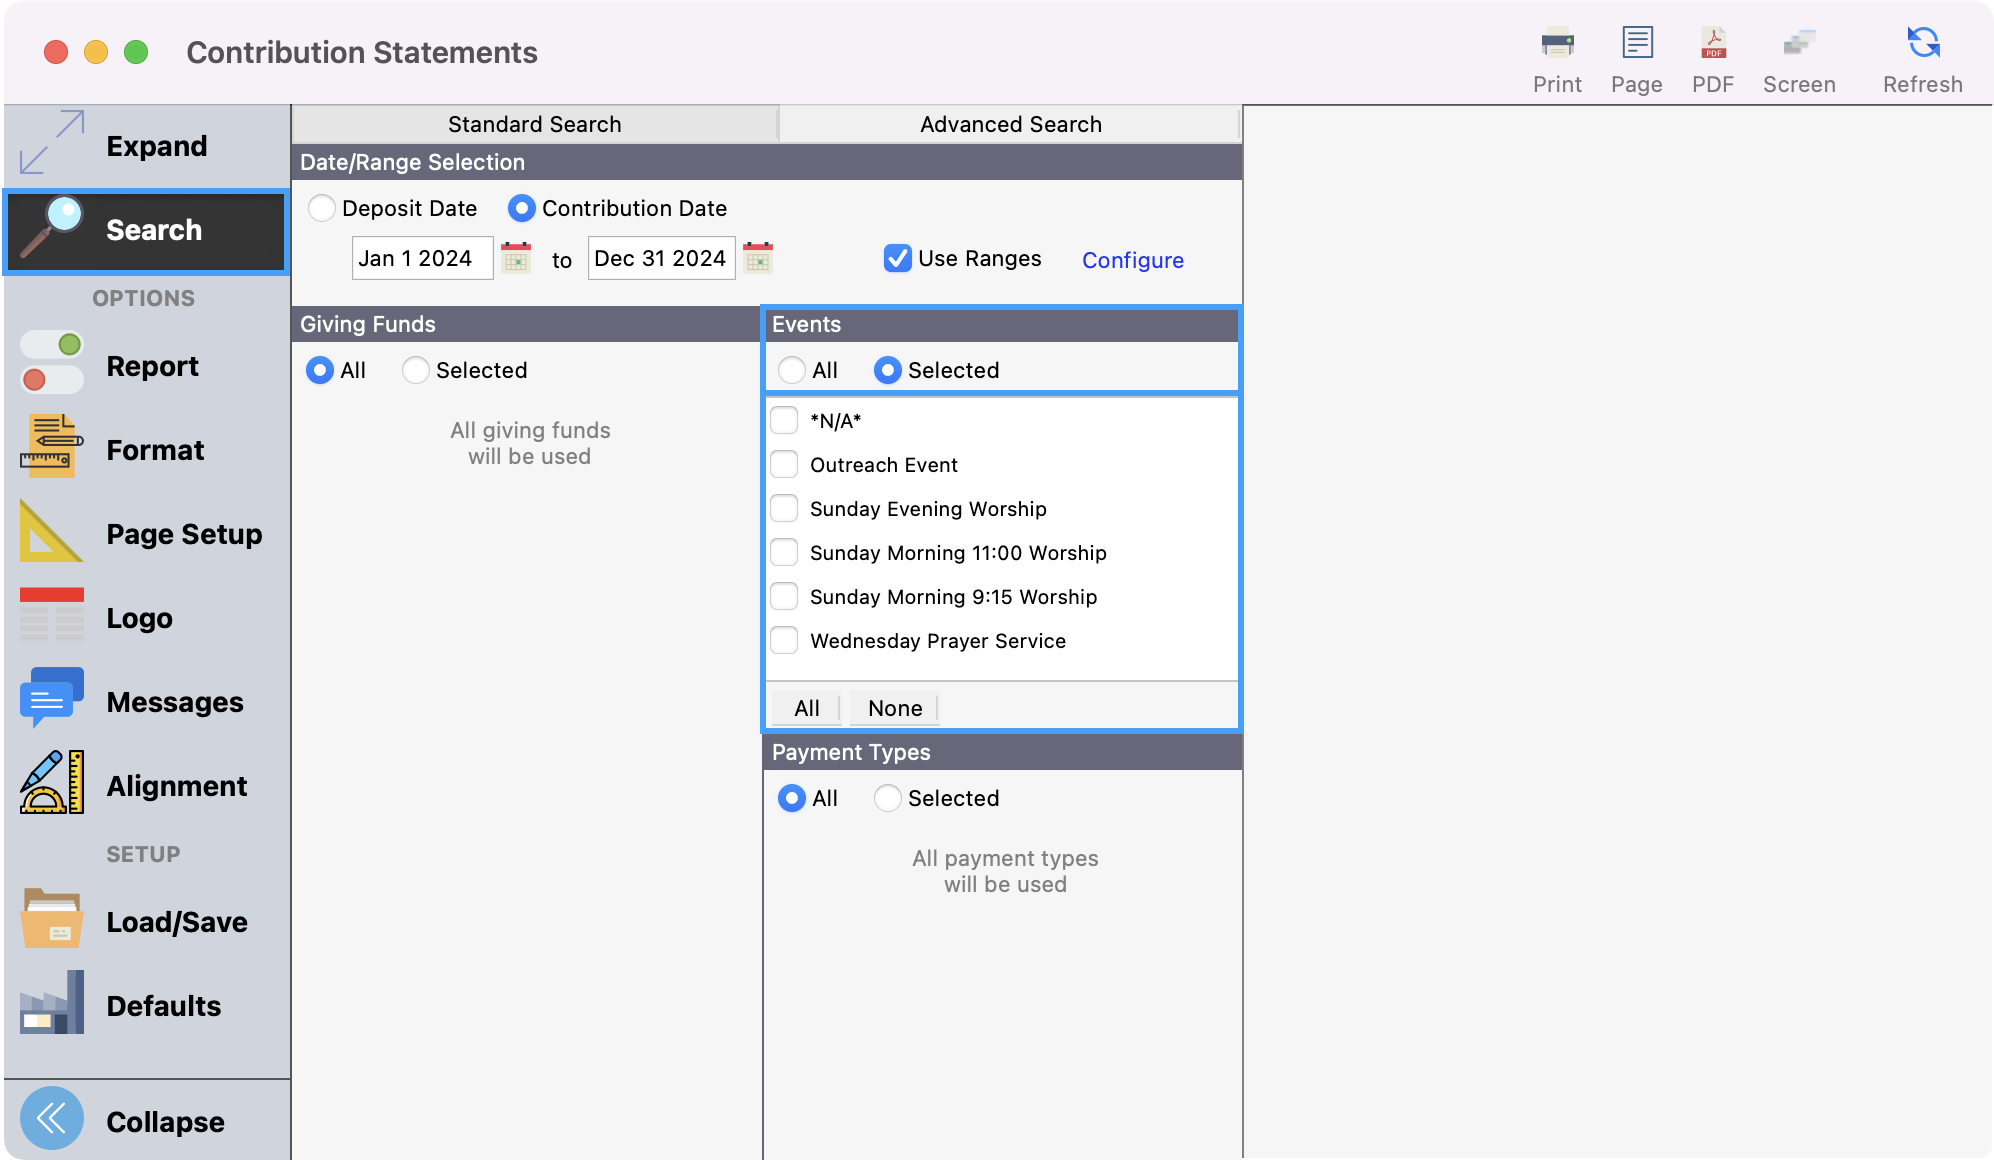
Next, under the Events section, you can select the individual events under the Selected radio button or choose all using the All radio button.
-
The final section to set up is Payment Types. You select individual payment types under the Selected radio button or choose all using the All radio button.
Set Report Options
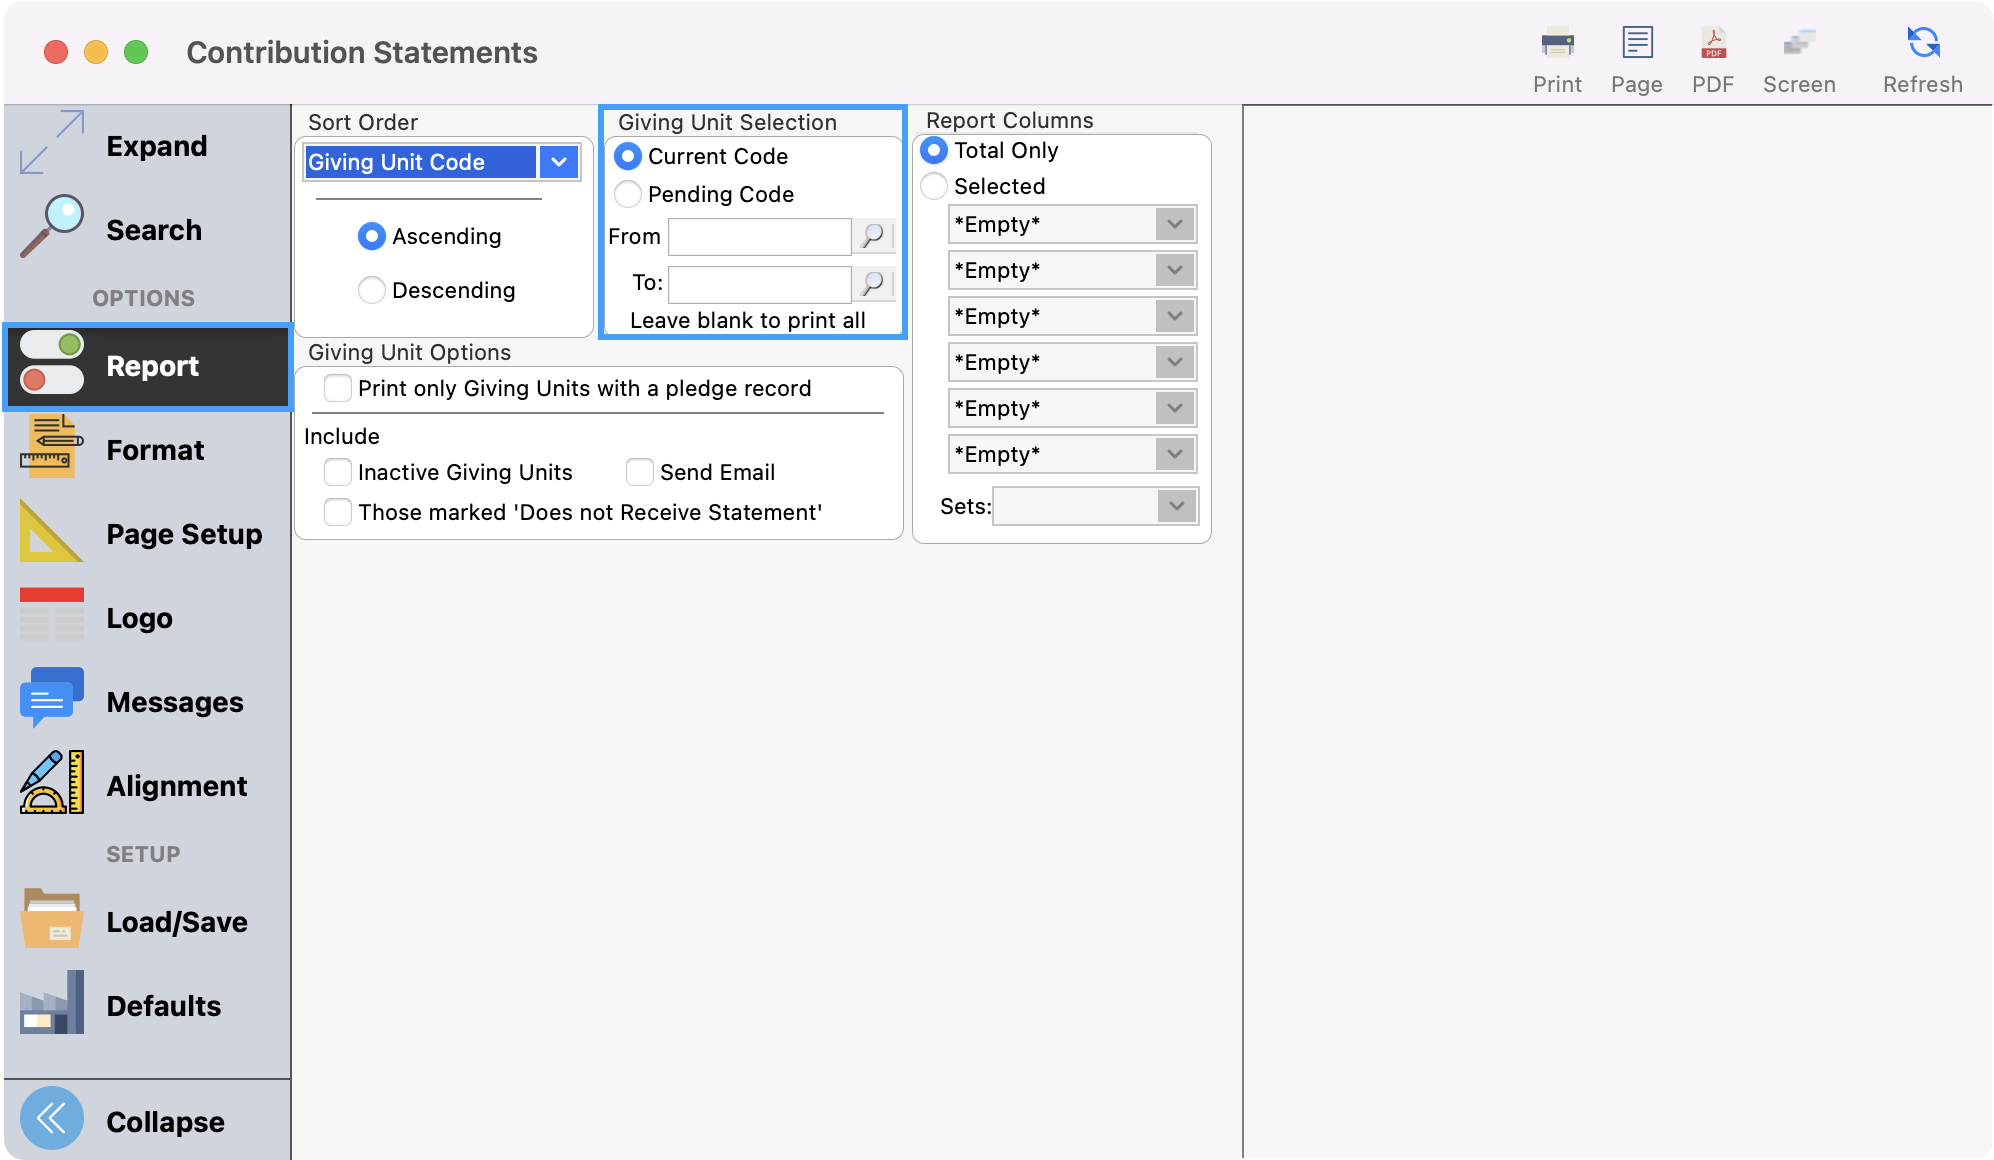
Under Report, you can select how you wish to generate the giving statement.
-
First, you can determine your Sort Order. You can choose to sort by Name, Giving Unit Code, Pending Code, or Zip Code in Ascending or Descending order.

-
You can choose one giving unit, a range of giving units, or leave this section blank to send a statement to all contributors.
-
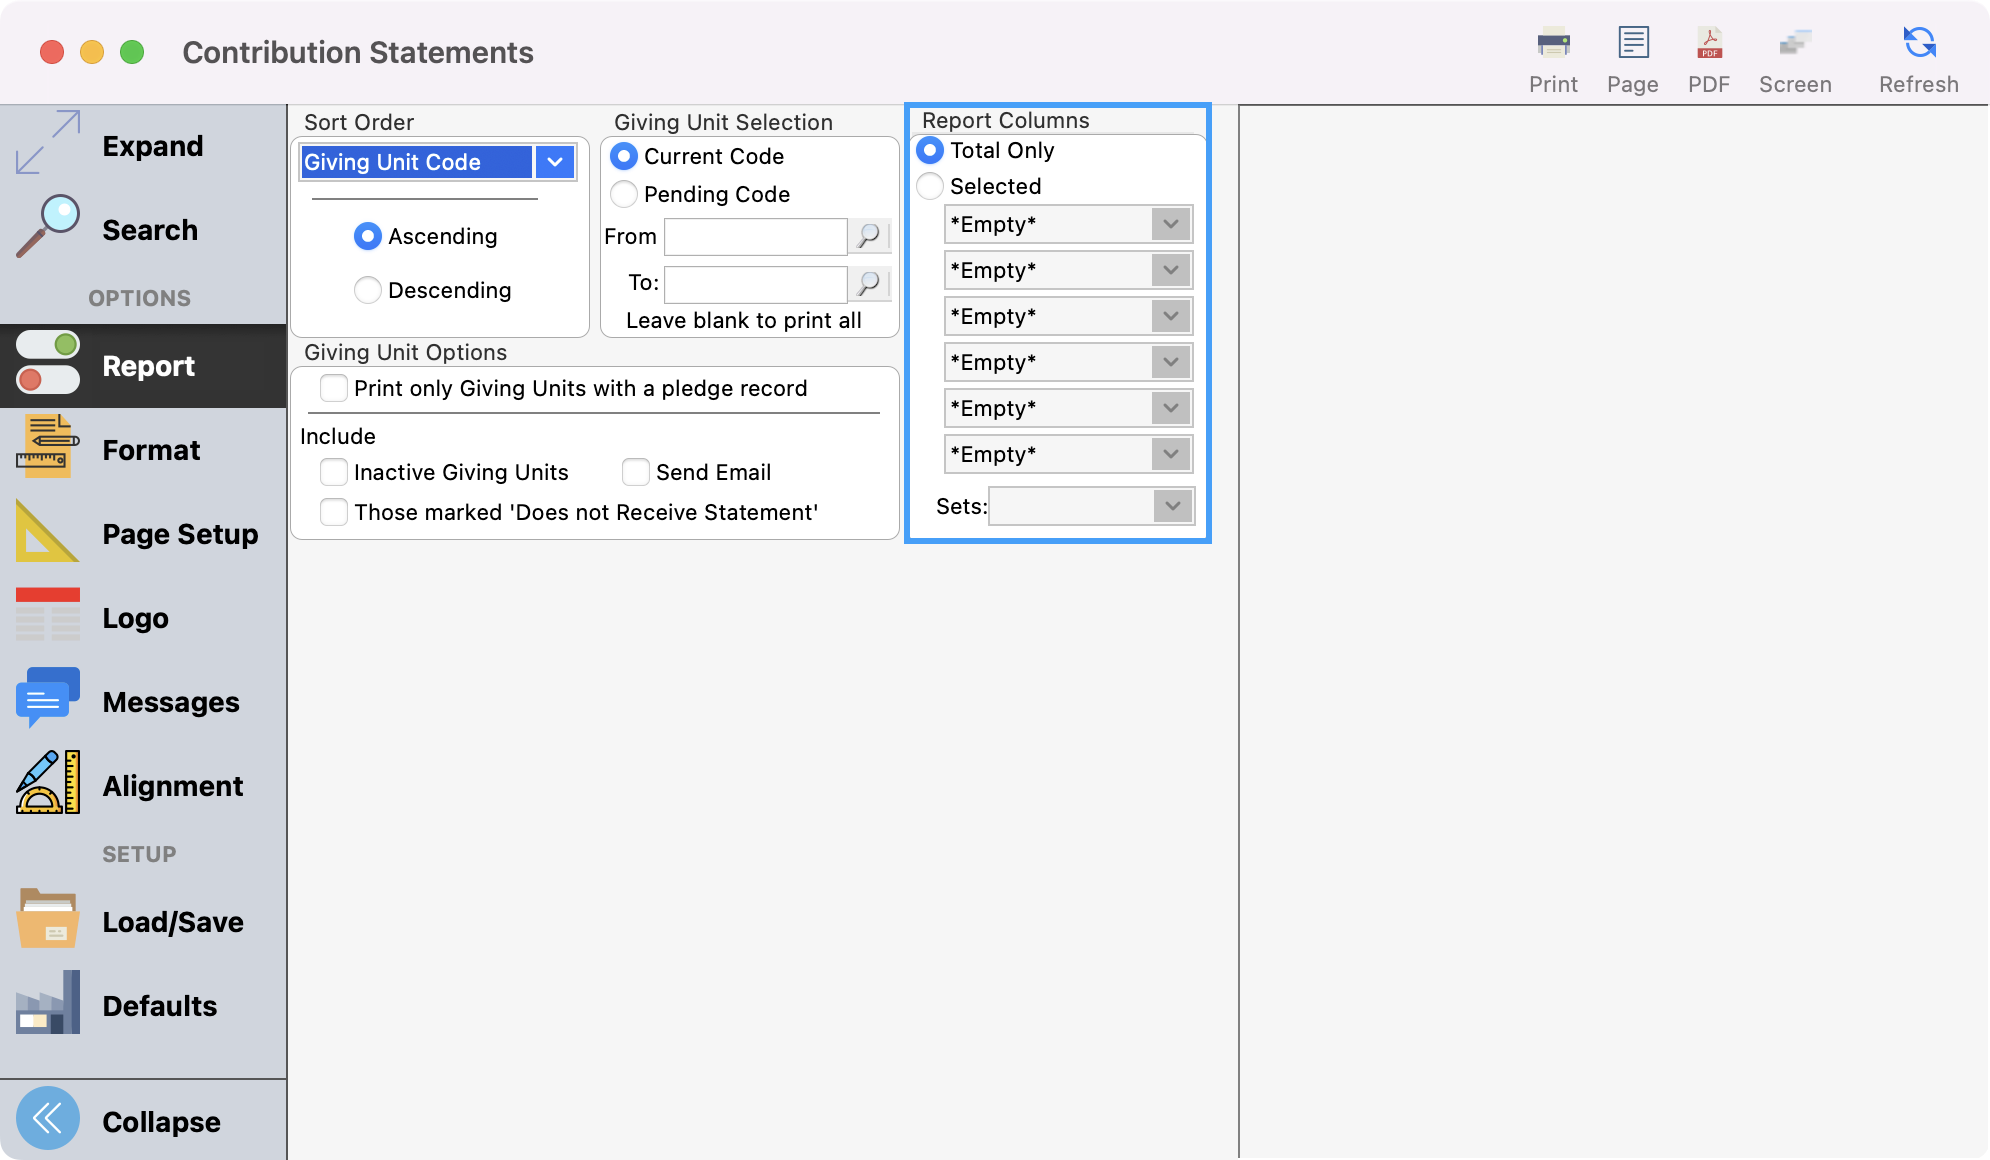
You can select to print total giving, Total Only, or select the giving funds to display in columns. You can select six giving funds with additional funds combined into an Other column on the report. For our example, we’re going to select Total Only.
-
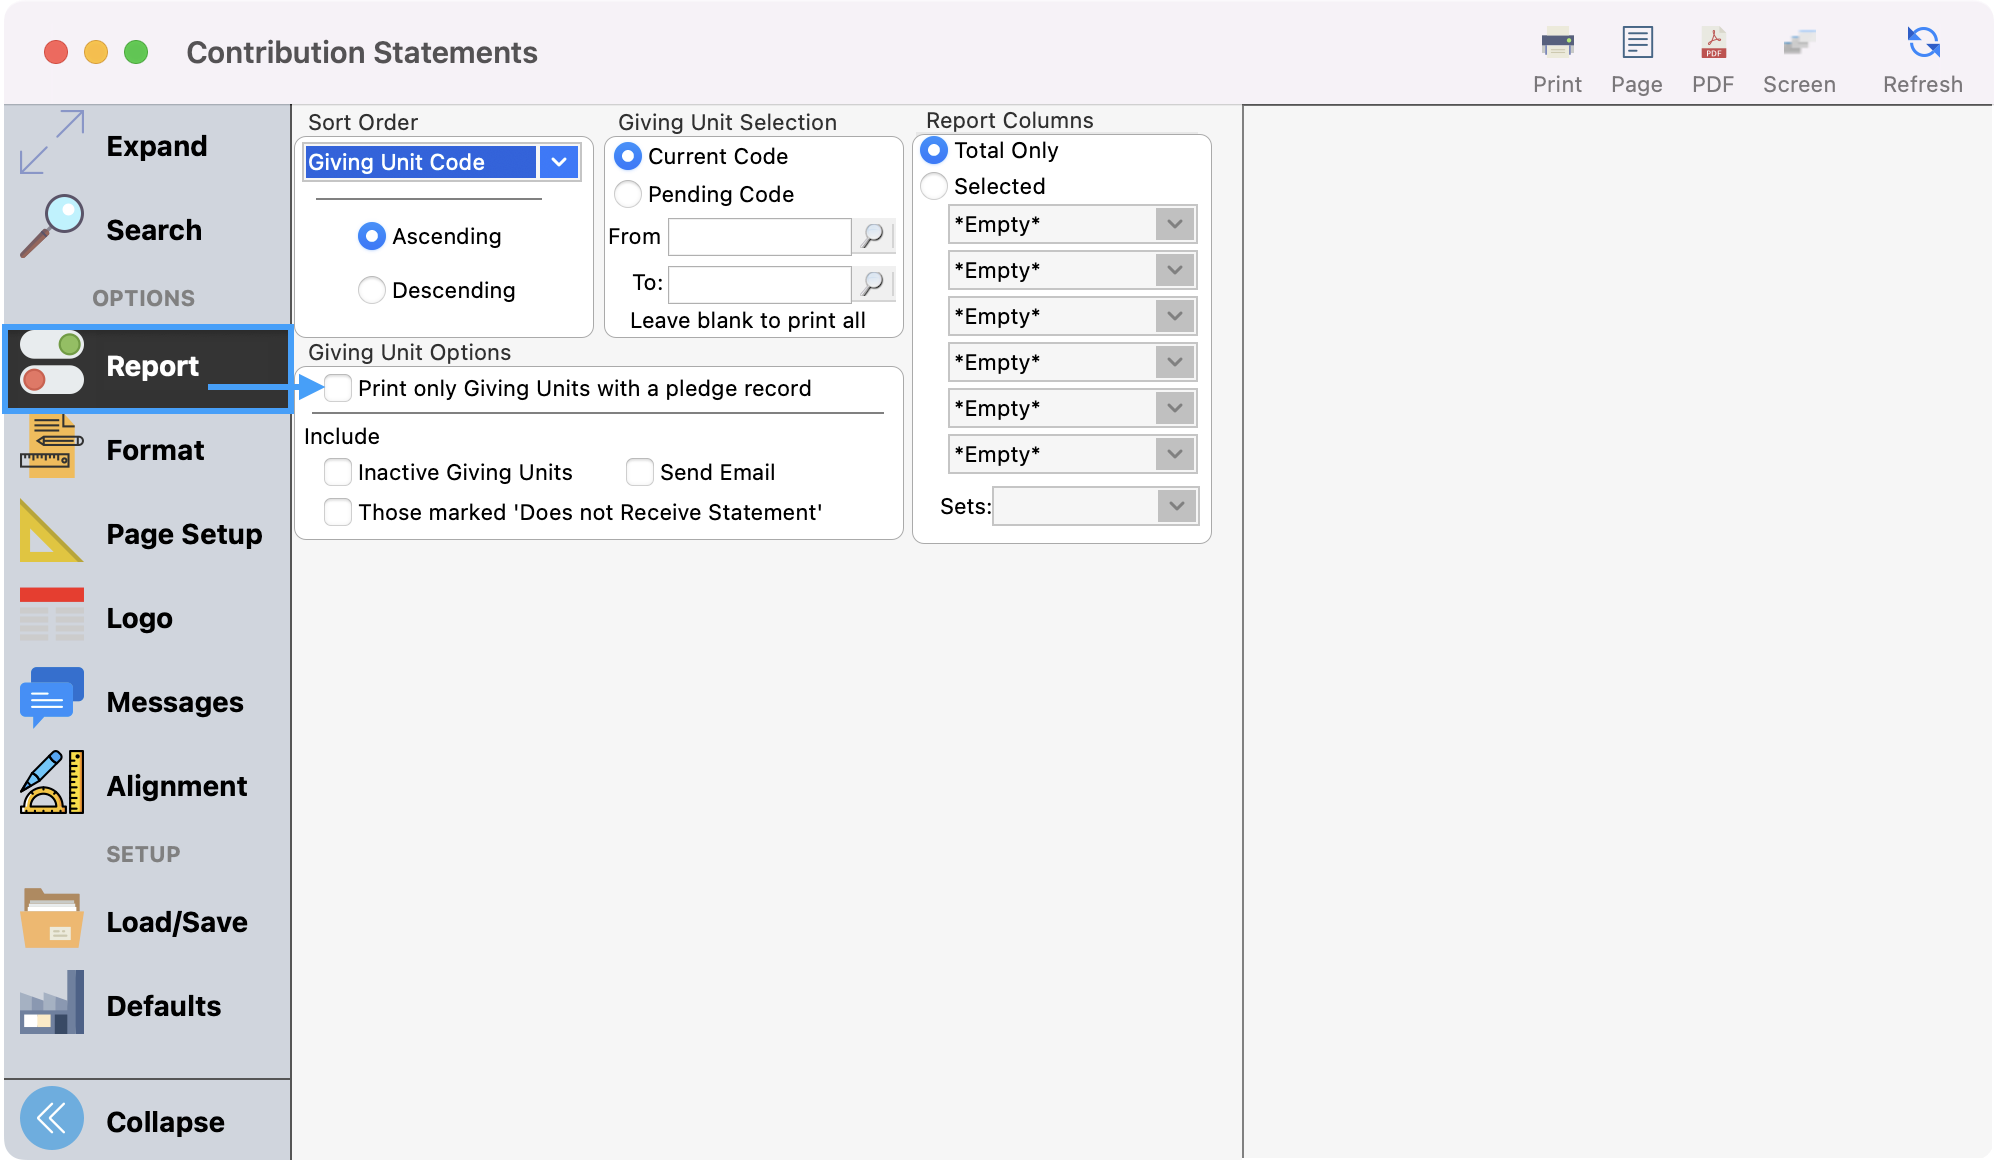
Under Giving Unit Options, you can choose to Print only giving units with a pledge or keep this box unchecked to generate all statements.
-
By default, a Contributions Statement will not be printed for those Giving Units that are marked as Inactive, Does Not Receive Statement, or Send Email. If you wish to generate a printed statement for a record marked as such in their Giving Unit record, use the checkboxes under Include to override this default and generate a printed statement.

If you wish to print statements for all giving units, whether they have given or not, check Use Ranges in the Search sidebar menu. Then click Configure and activate the radio button next to Range. Enter 0.00 and 99999999.99 or something that exceeds your highest giver’s total. This will result in statements printing for all giving units.
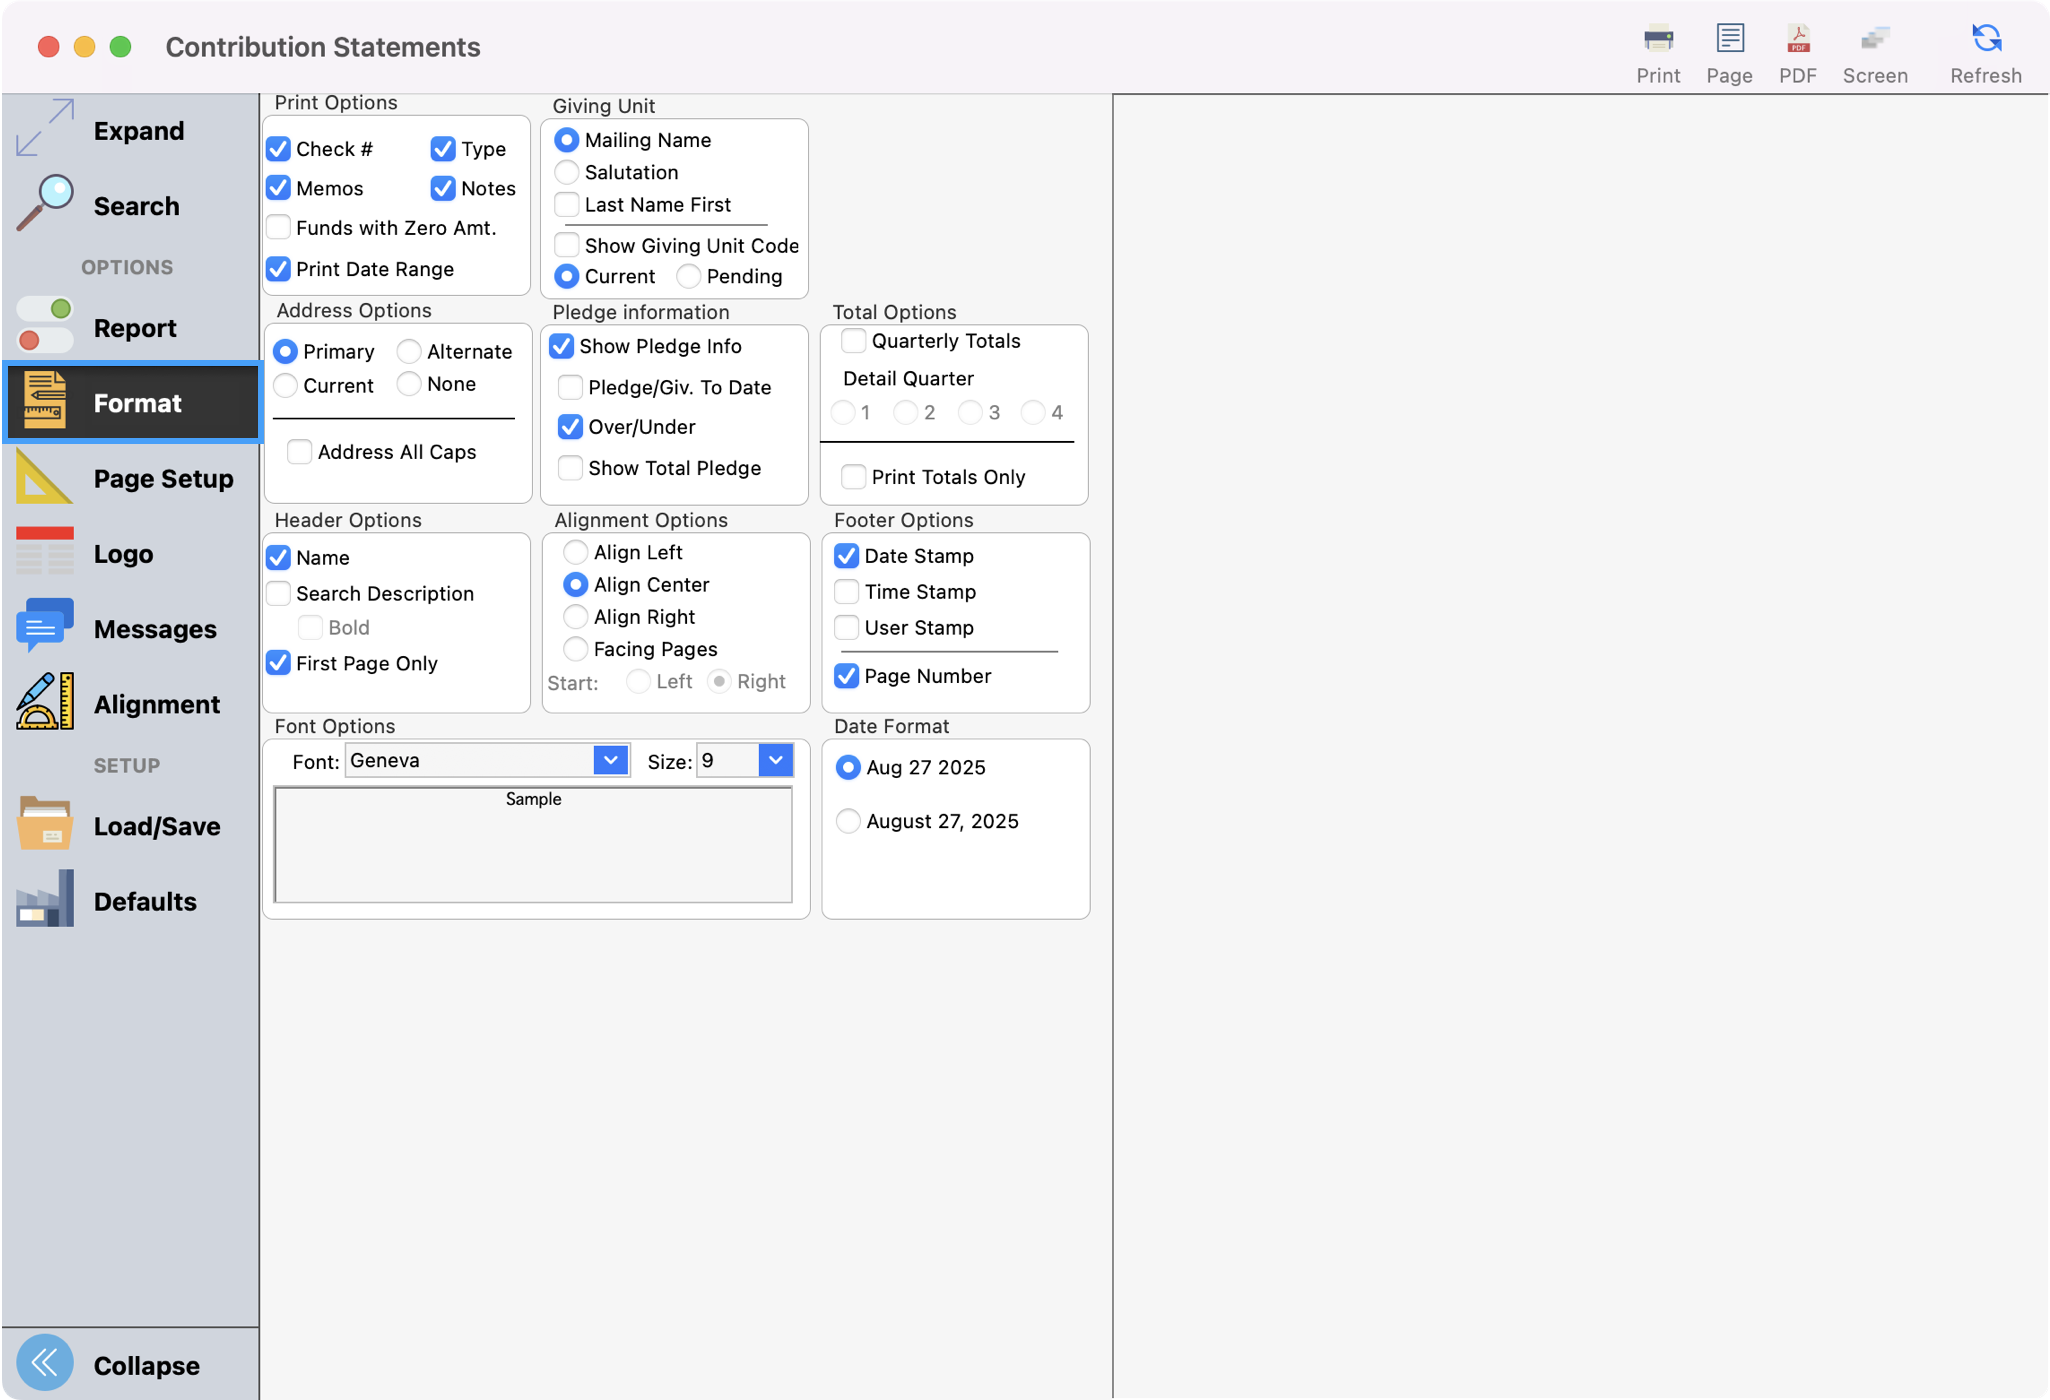
Review Format Options
-
The Format menu allows you to configure how statements will be generated. Review each section and put a check next to any options you wish to include.
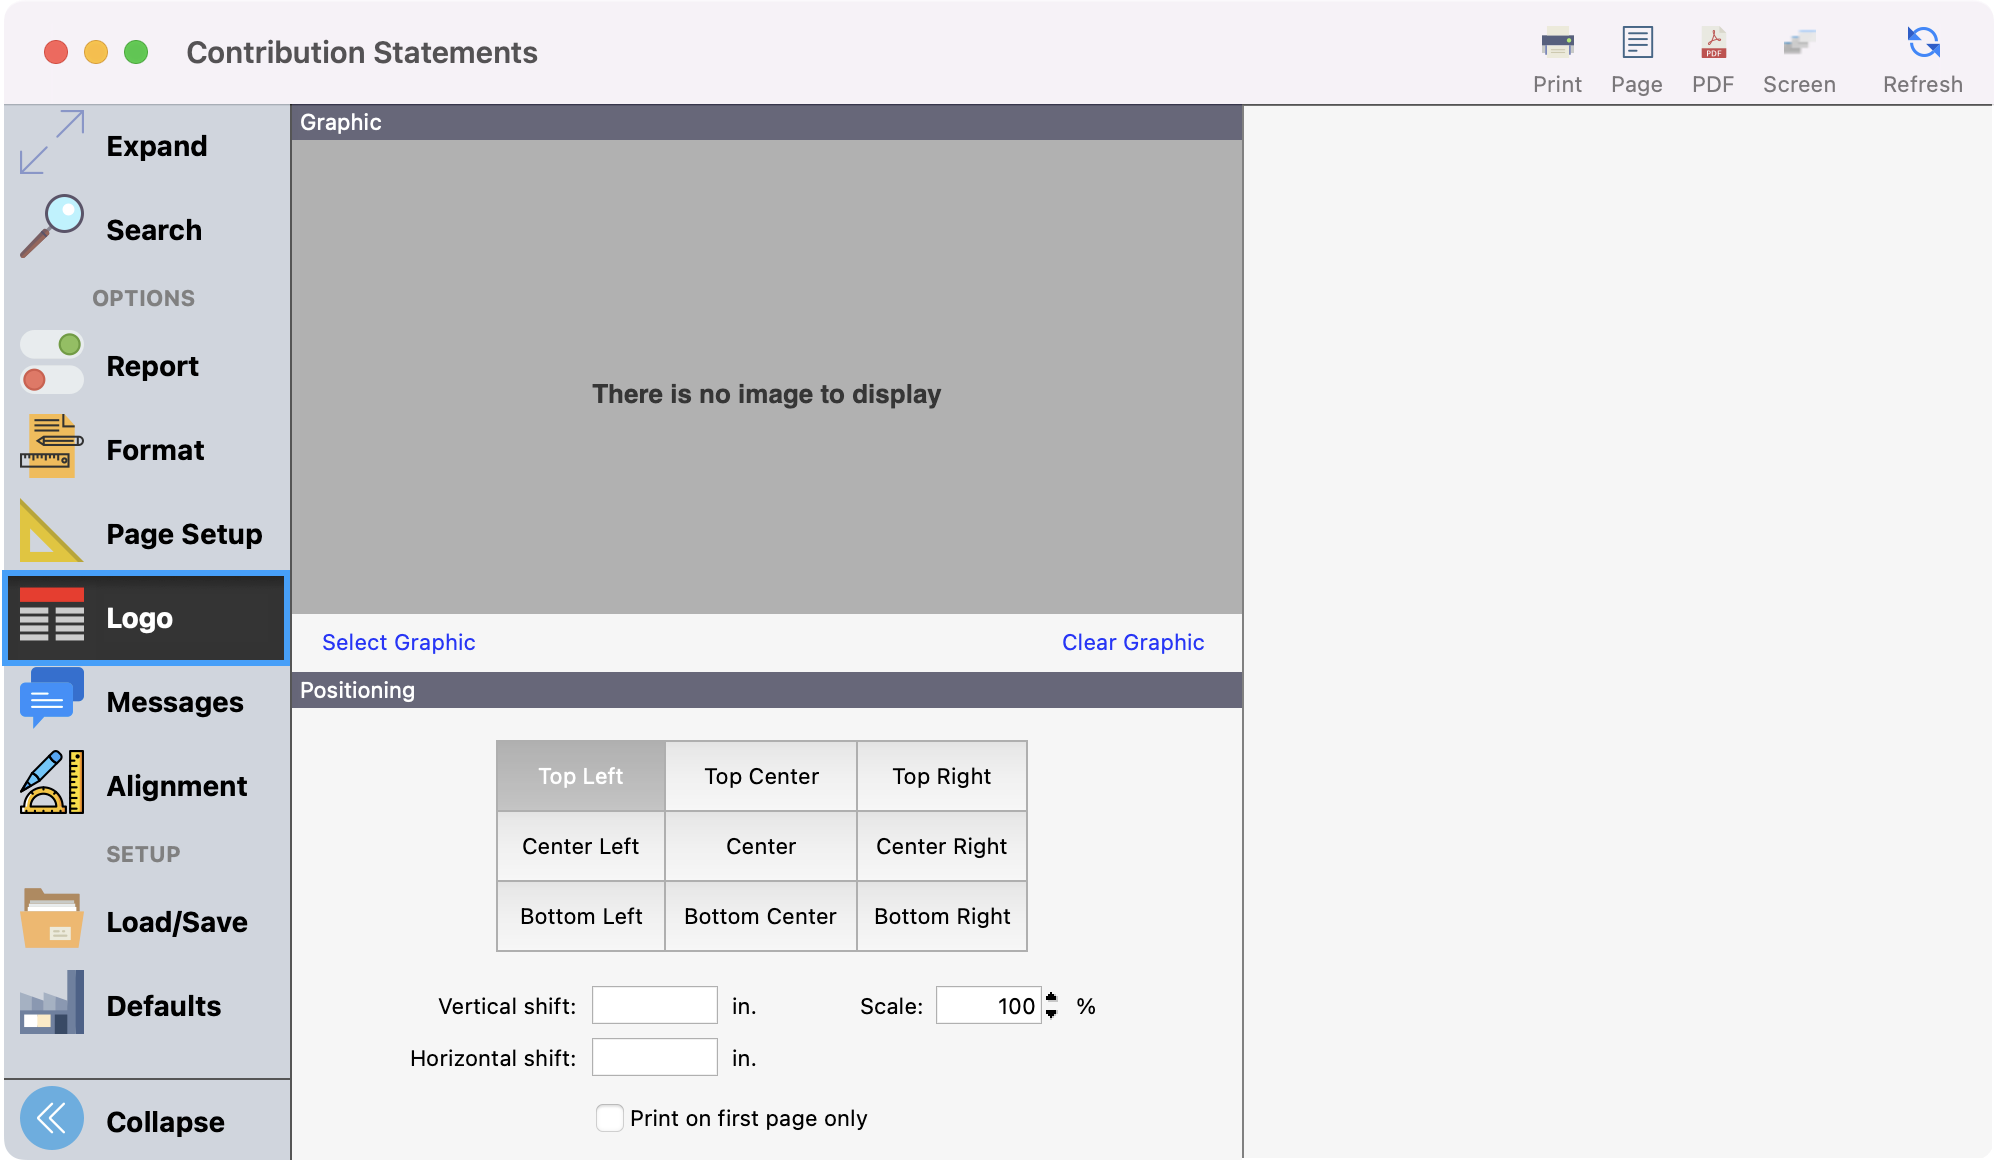
Adding a Logo
-
You can add a logo that will be displayed at the top of your Giving Statement. Under Fundamentals of CDM+ you can see the steps for how to add and customize your logo.
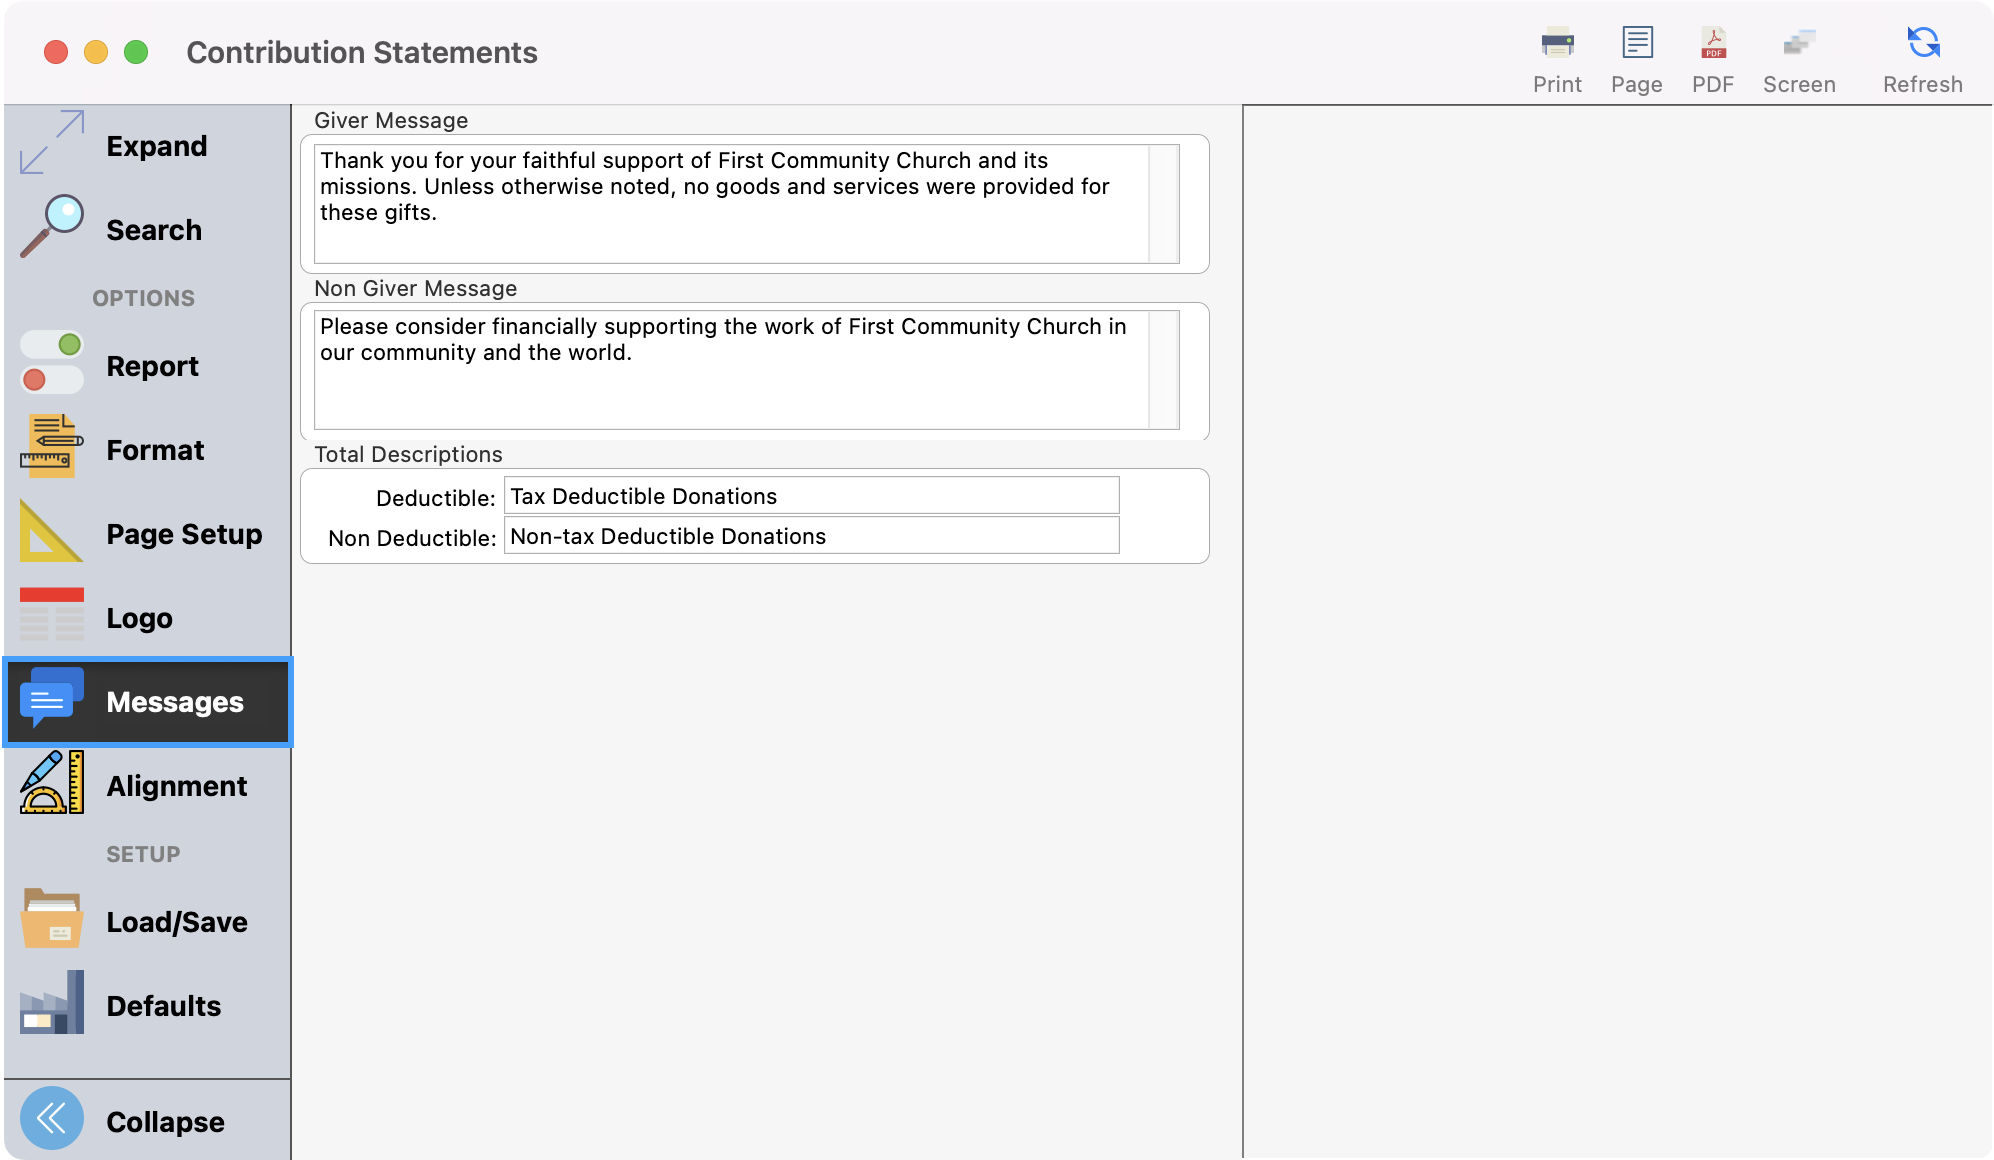
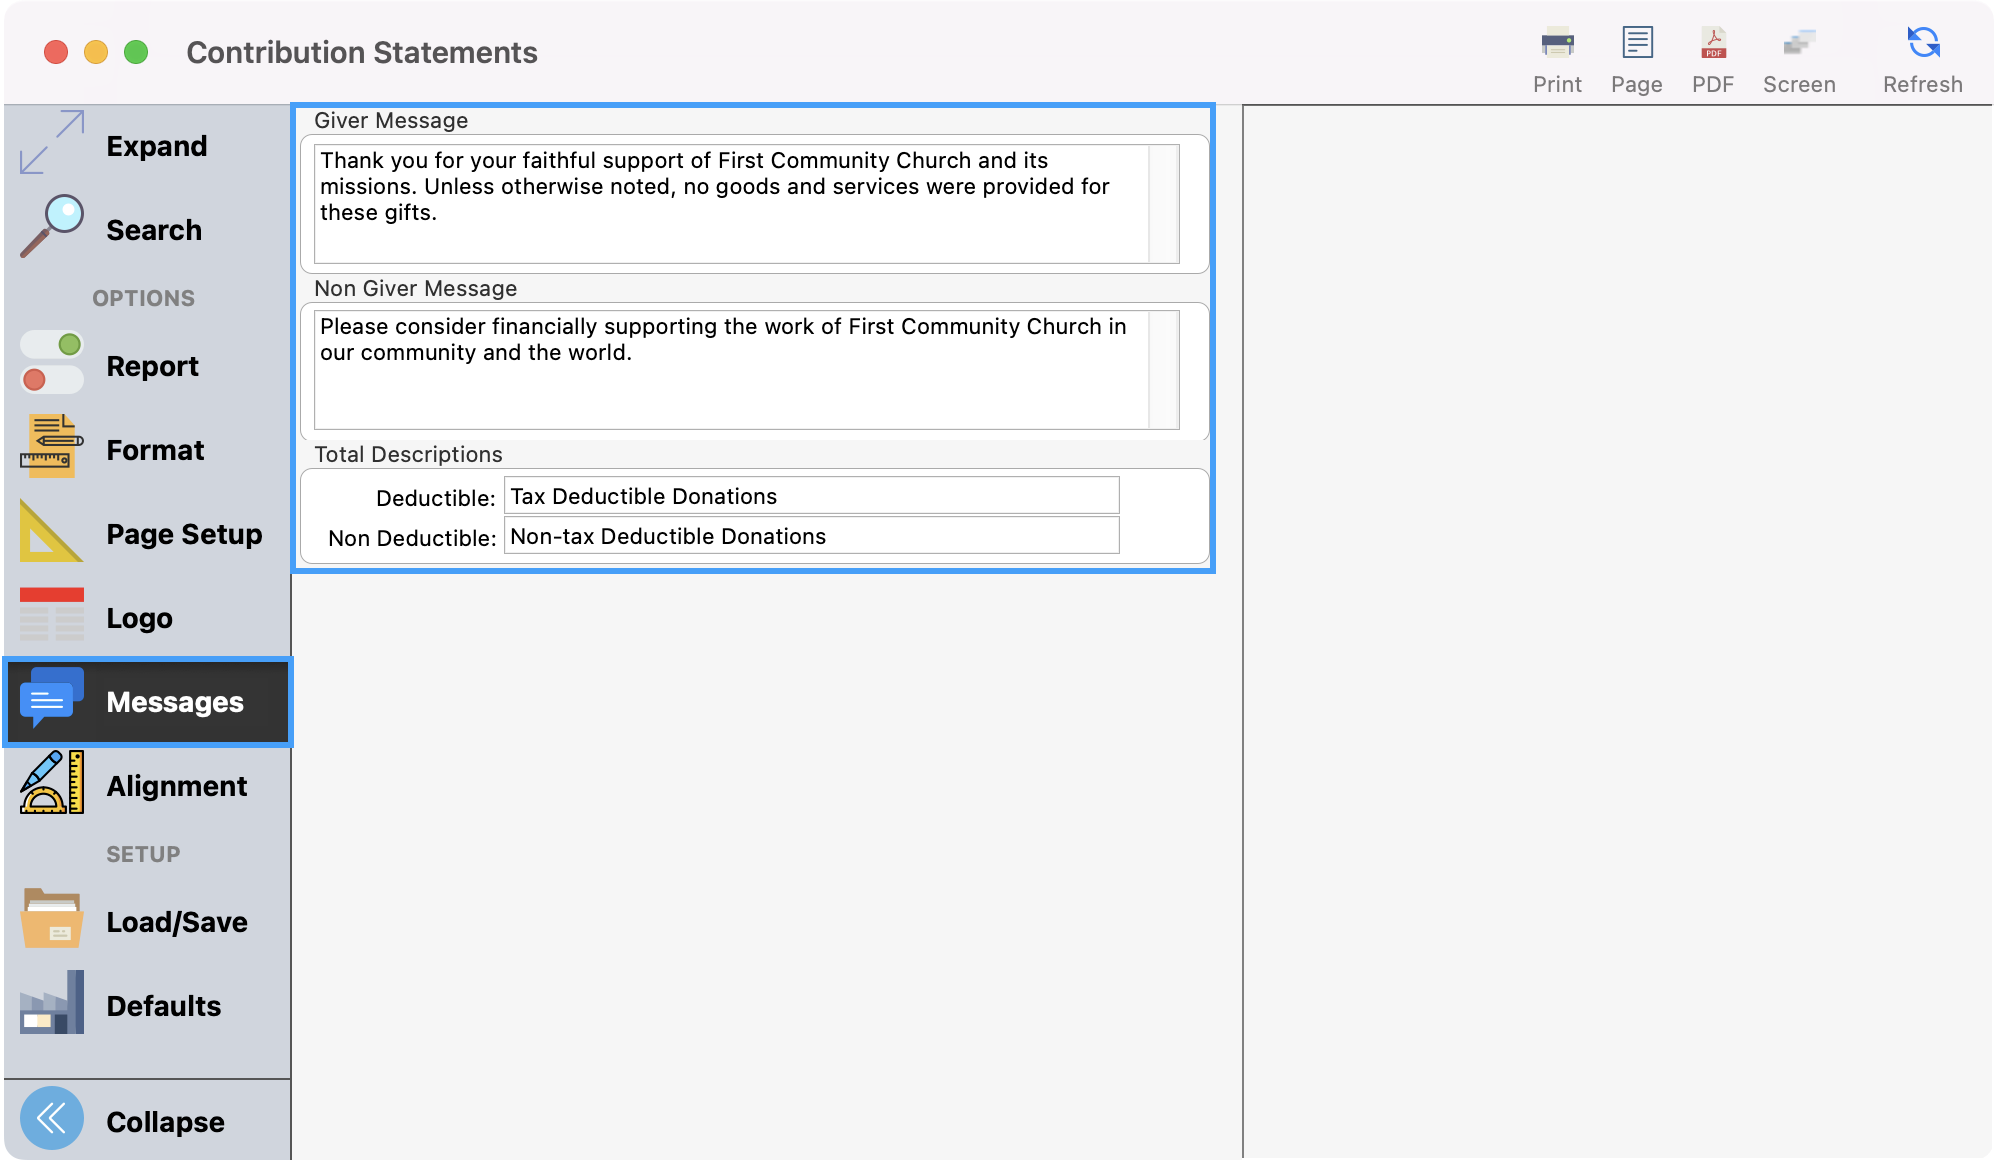
Messages Option
-
Next, click Messages. This is where you can customize a message you want to send to specific types of users.
-
Enter Giver Message, Non-Giver Message, and the term descriptions for the Total Descriptions (deductible and non-deductible terms).
Printing Your Statements
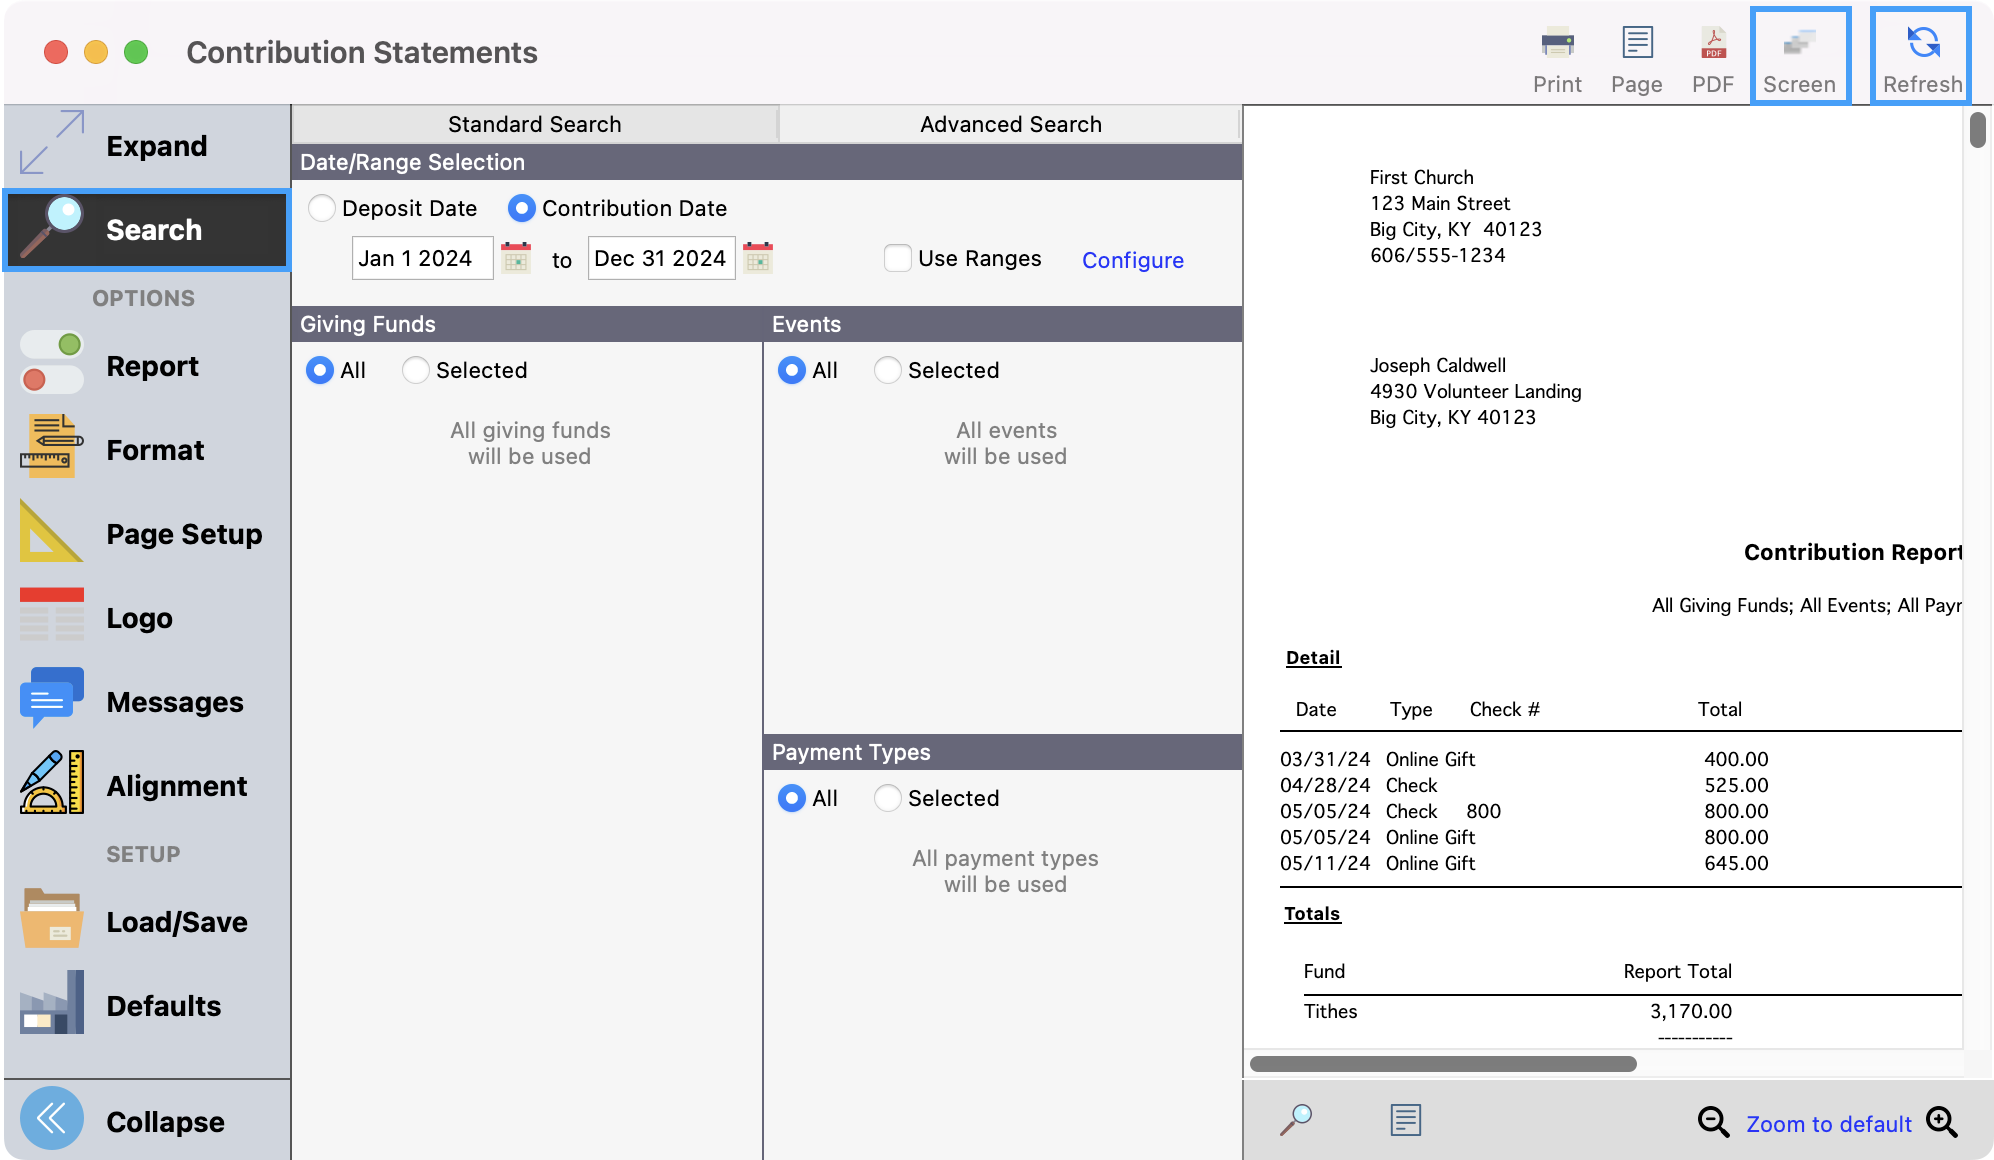
1. Click Search from the left sidebar. Then, click Refresh or Screen to see a preview of your statements.
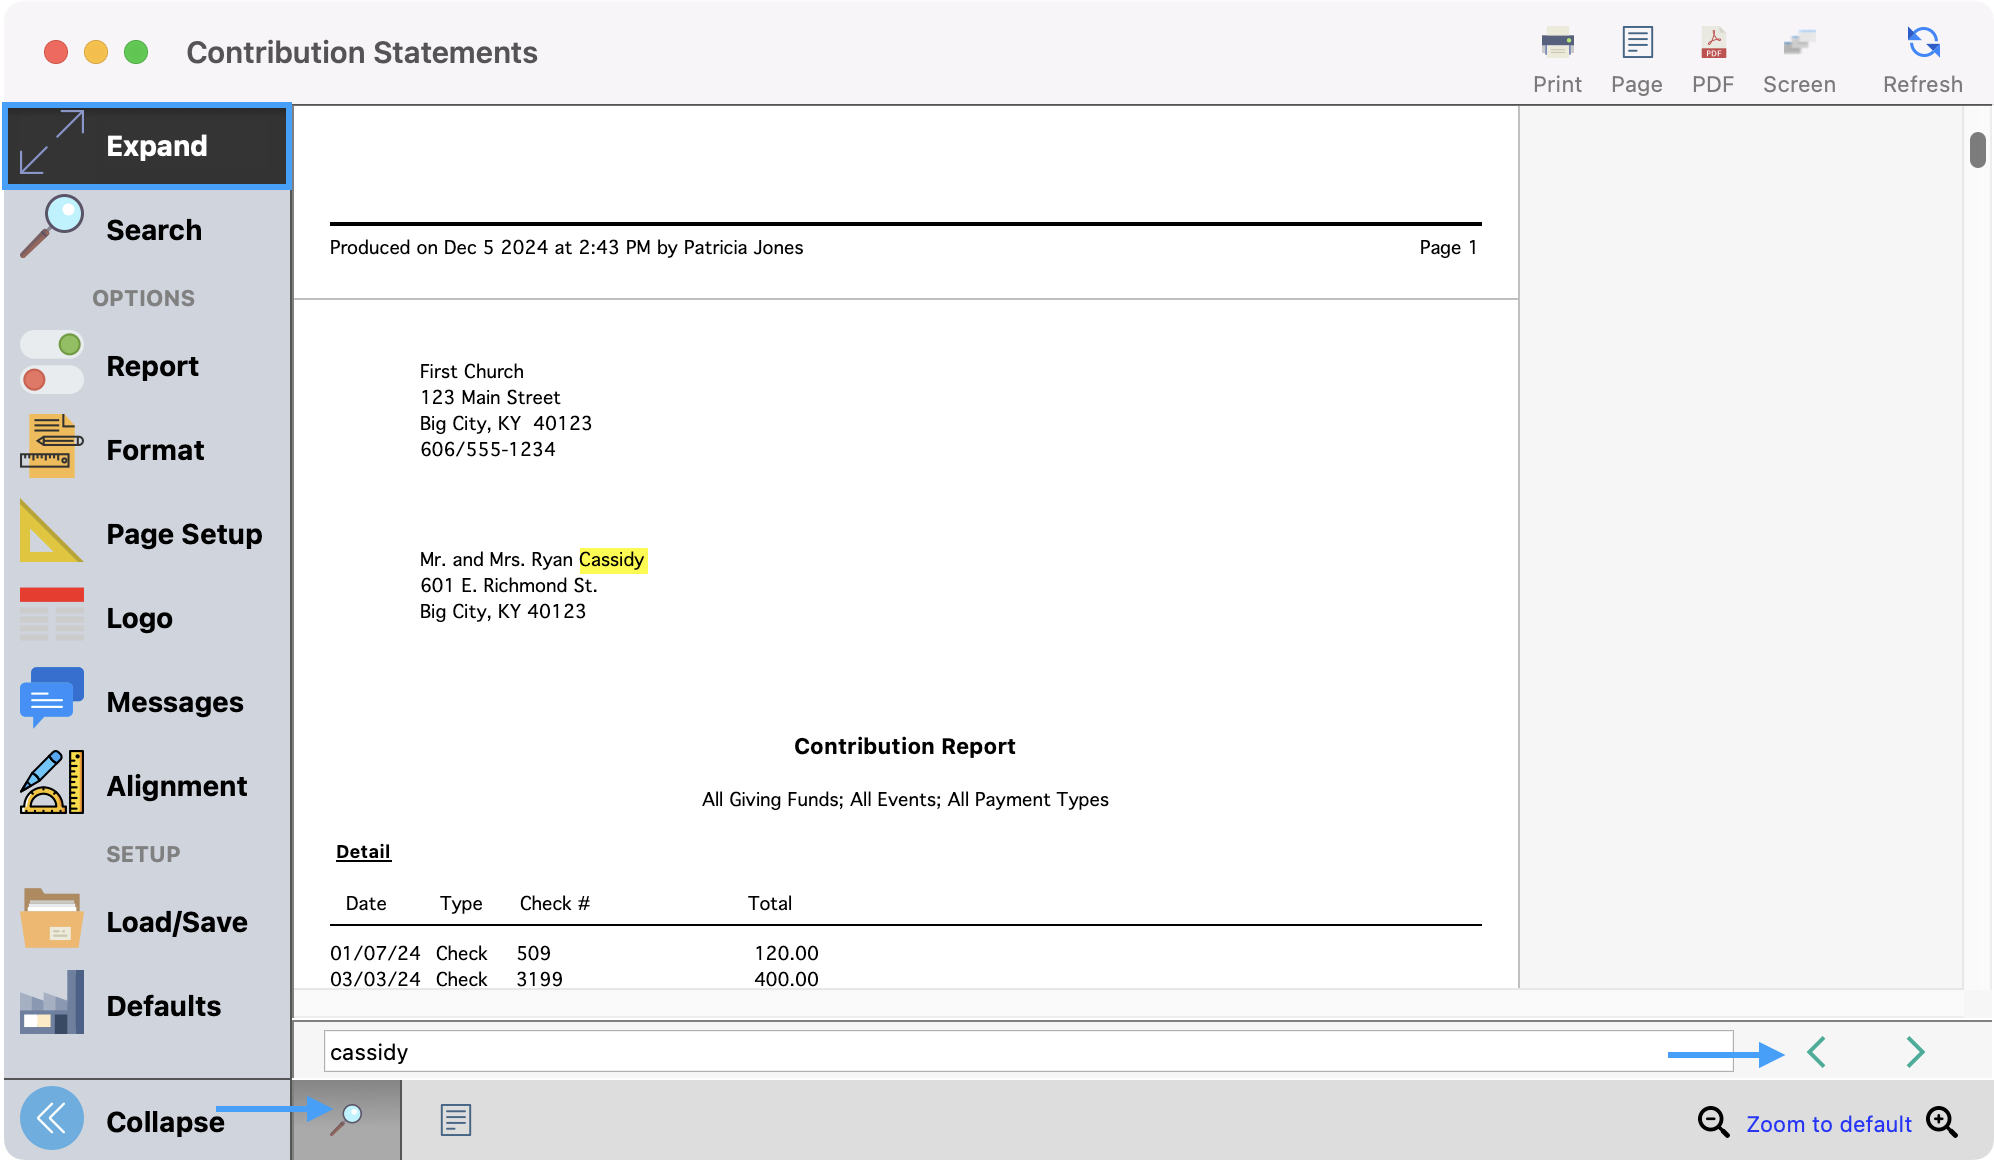
You can click Expand from the left sidebar to see a larger preview of your statements. You can also use the microscope to search for keywords and use the arrow keys to tab through your results.
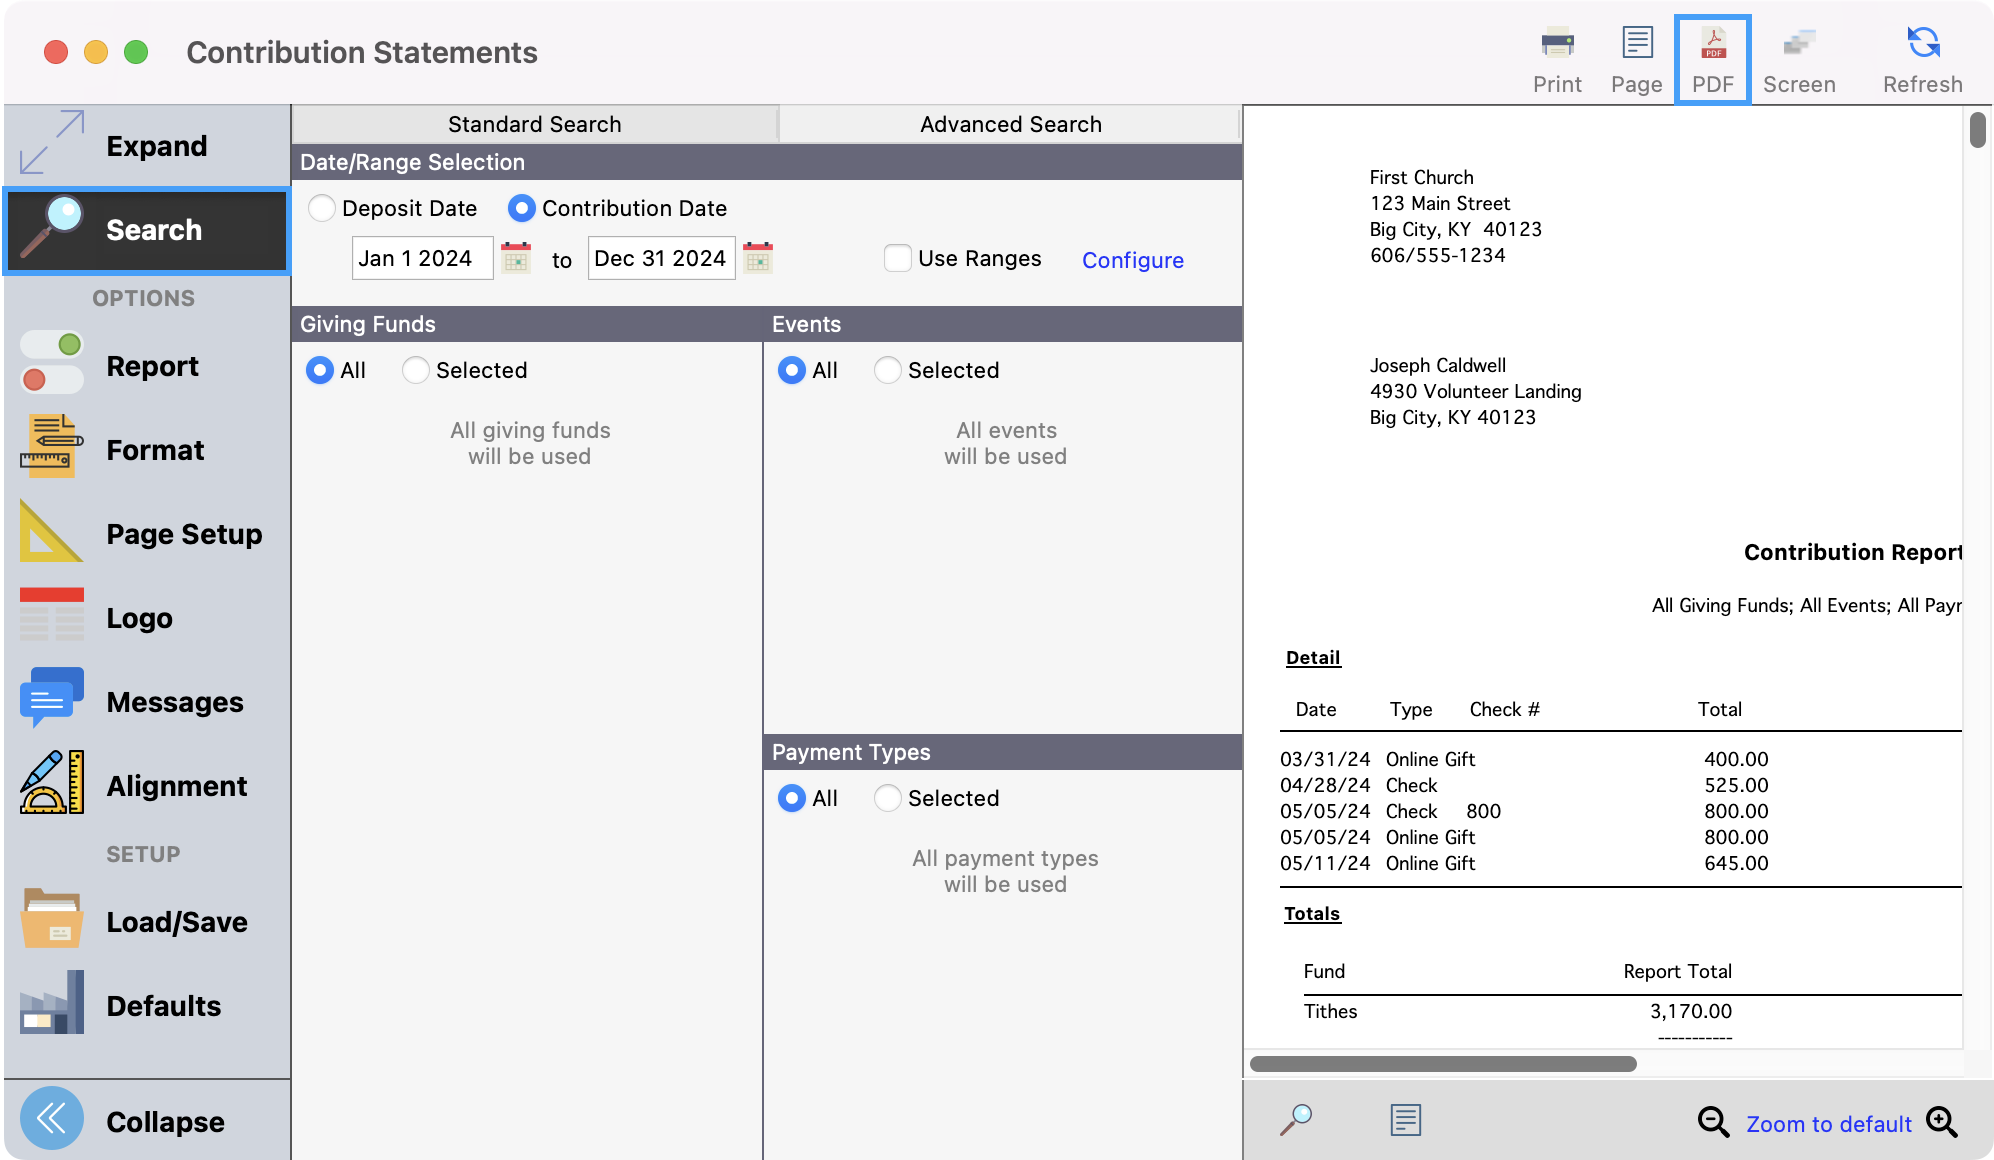
You can also save a copy of your statements as a PDF in case you want to save this specific batch of statements to refer to in the future.
-
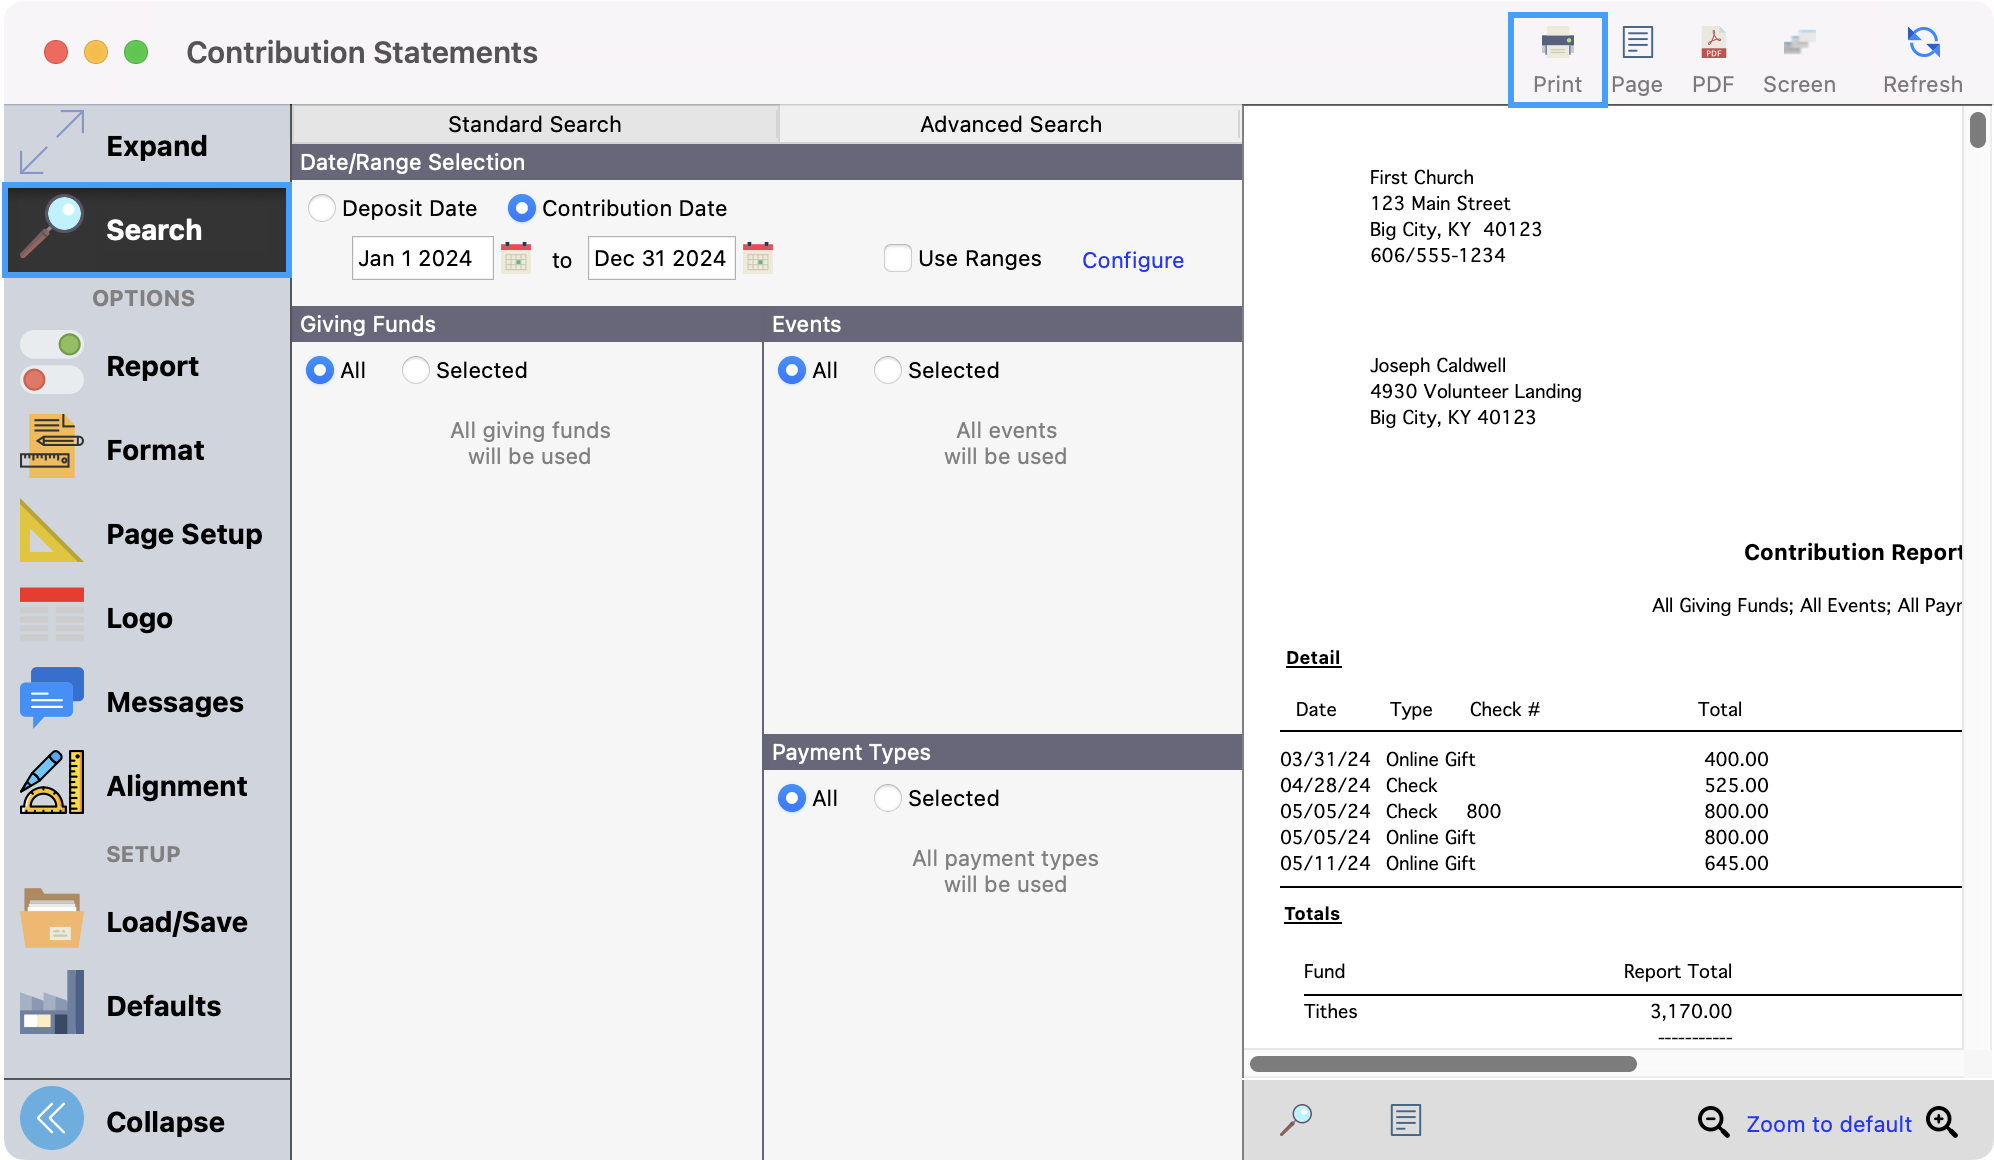
After reviewing the statements you’re ready to Print.
-
Congratulations! Your statements are done!