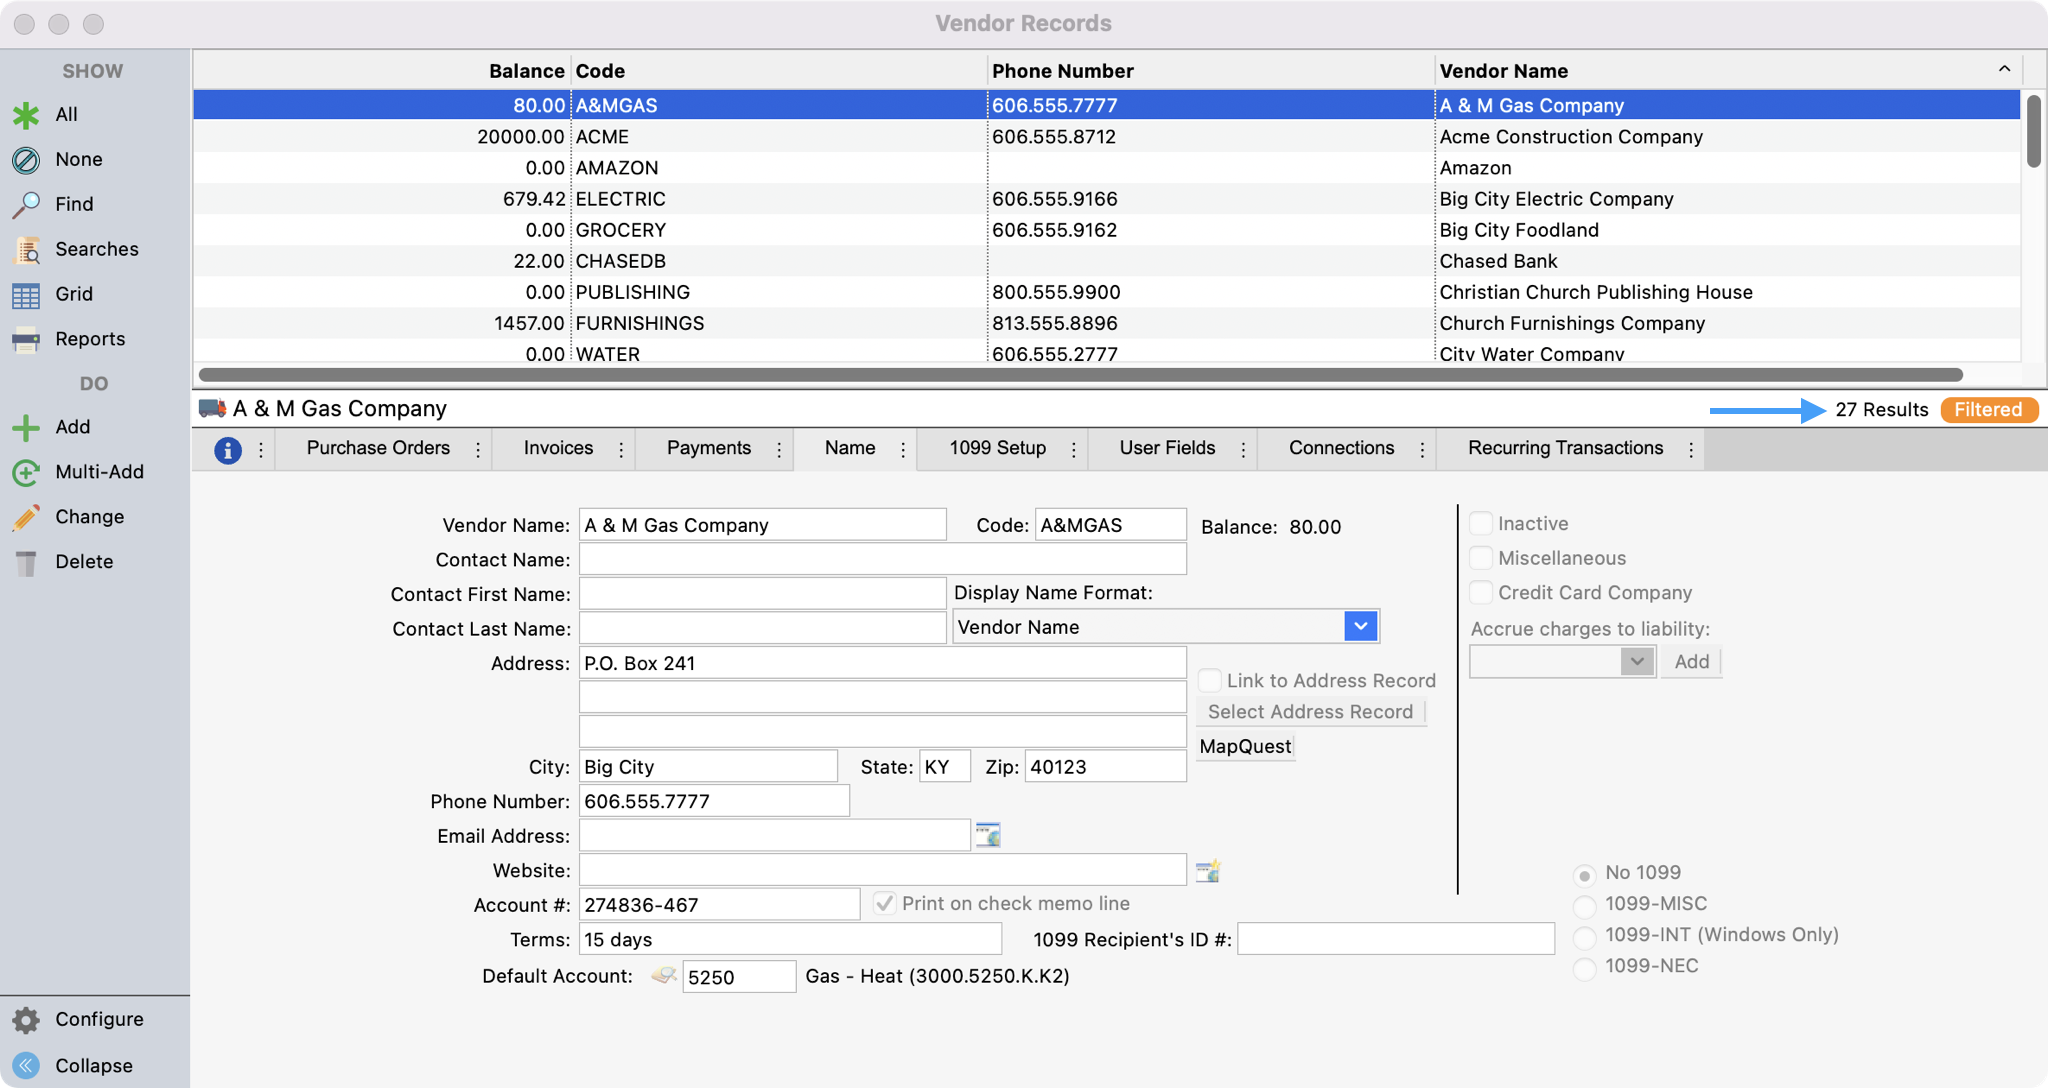
Sometimes you need a vendor to stop showing on the Vendor Lists. They may have gone out of business or you are no longer using their services. Making a vendor inactive helps to filter your vendor list to just the active vendors you need.
-
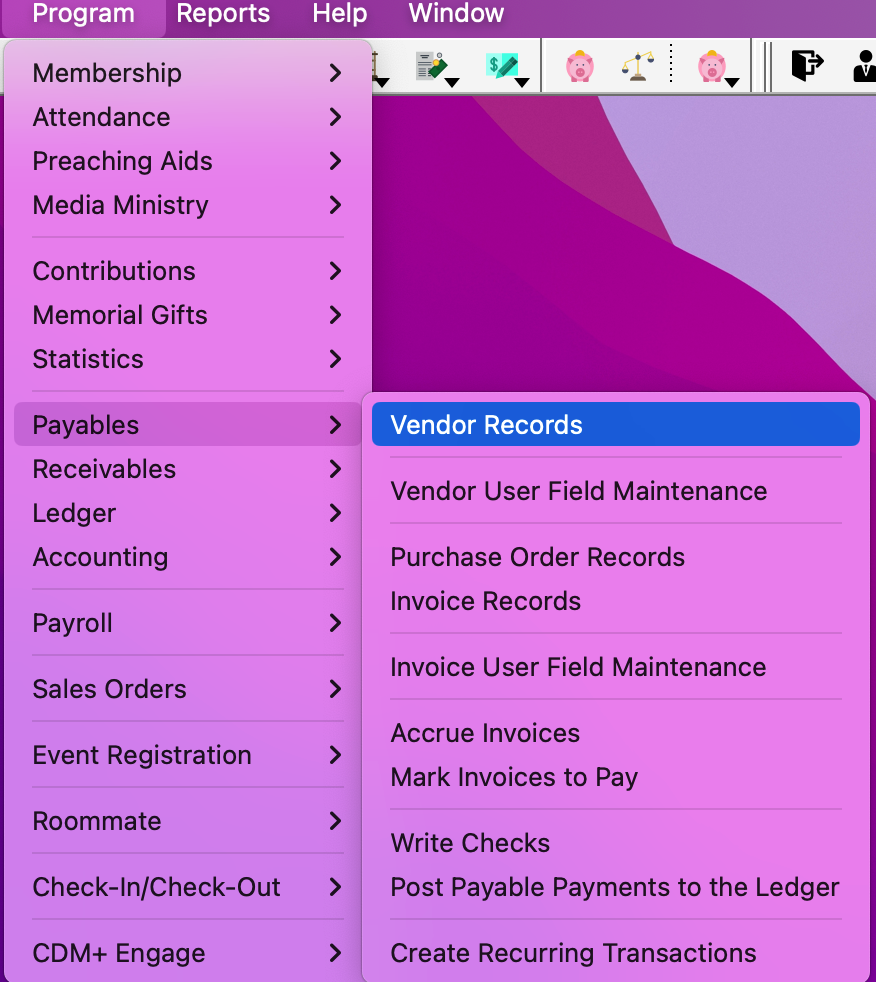
To inactivate a vendor go to Program → Payables → Vendor Records.
-
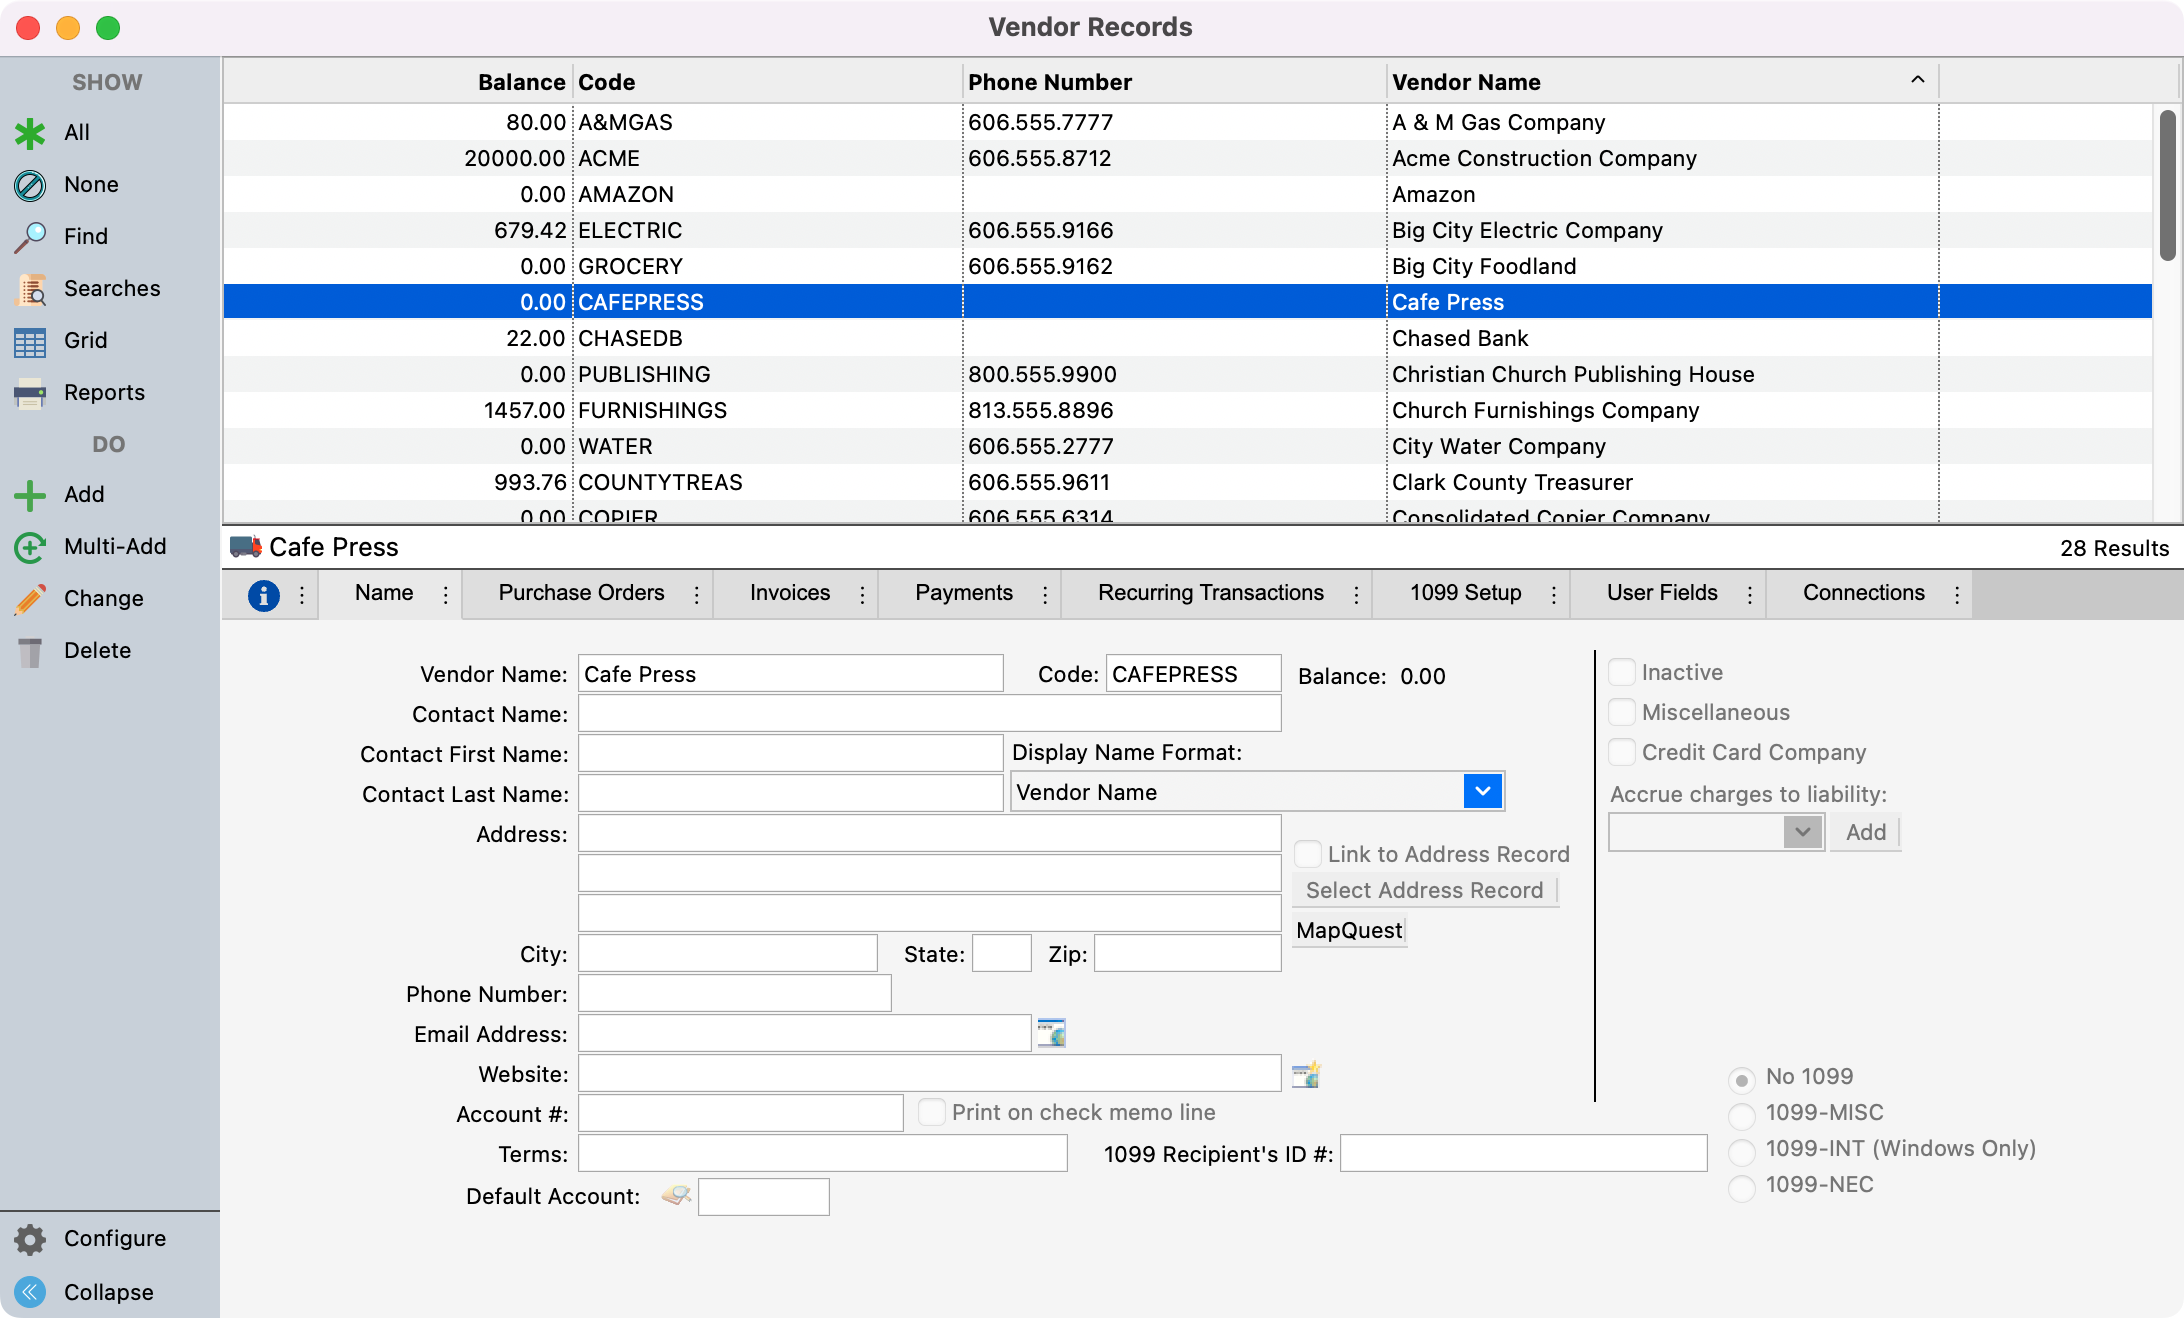
Select the vendor you would like to inactivate.
-
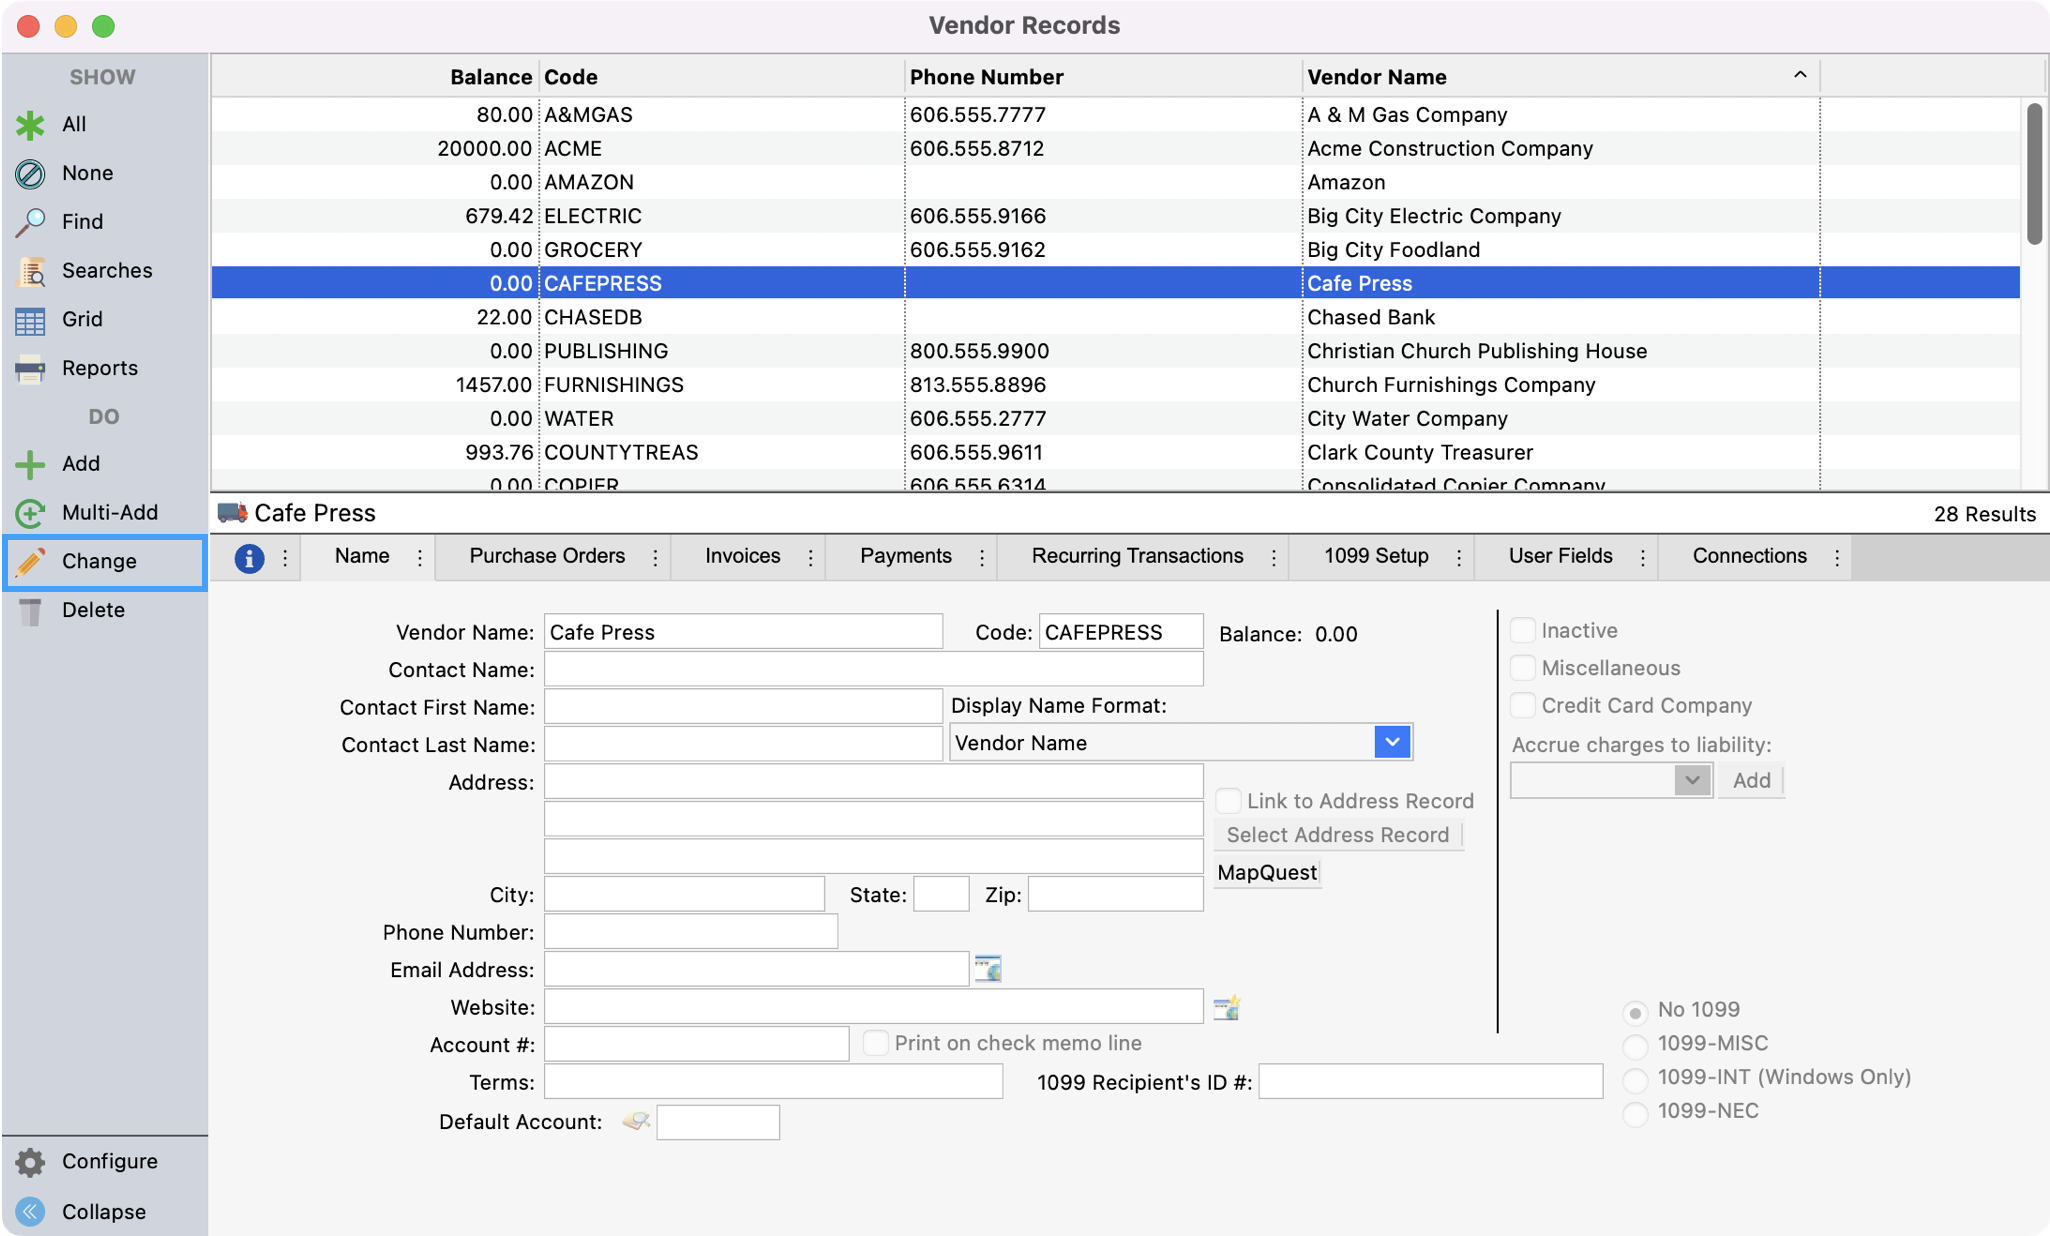
Click Change from the left sidebar.
-
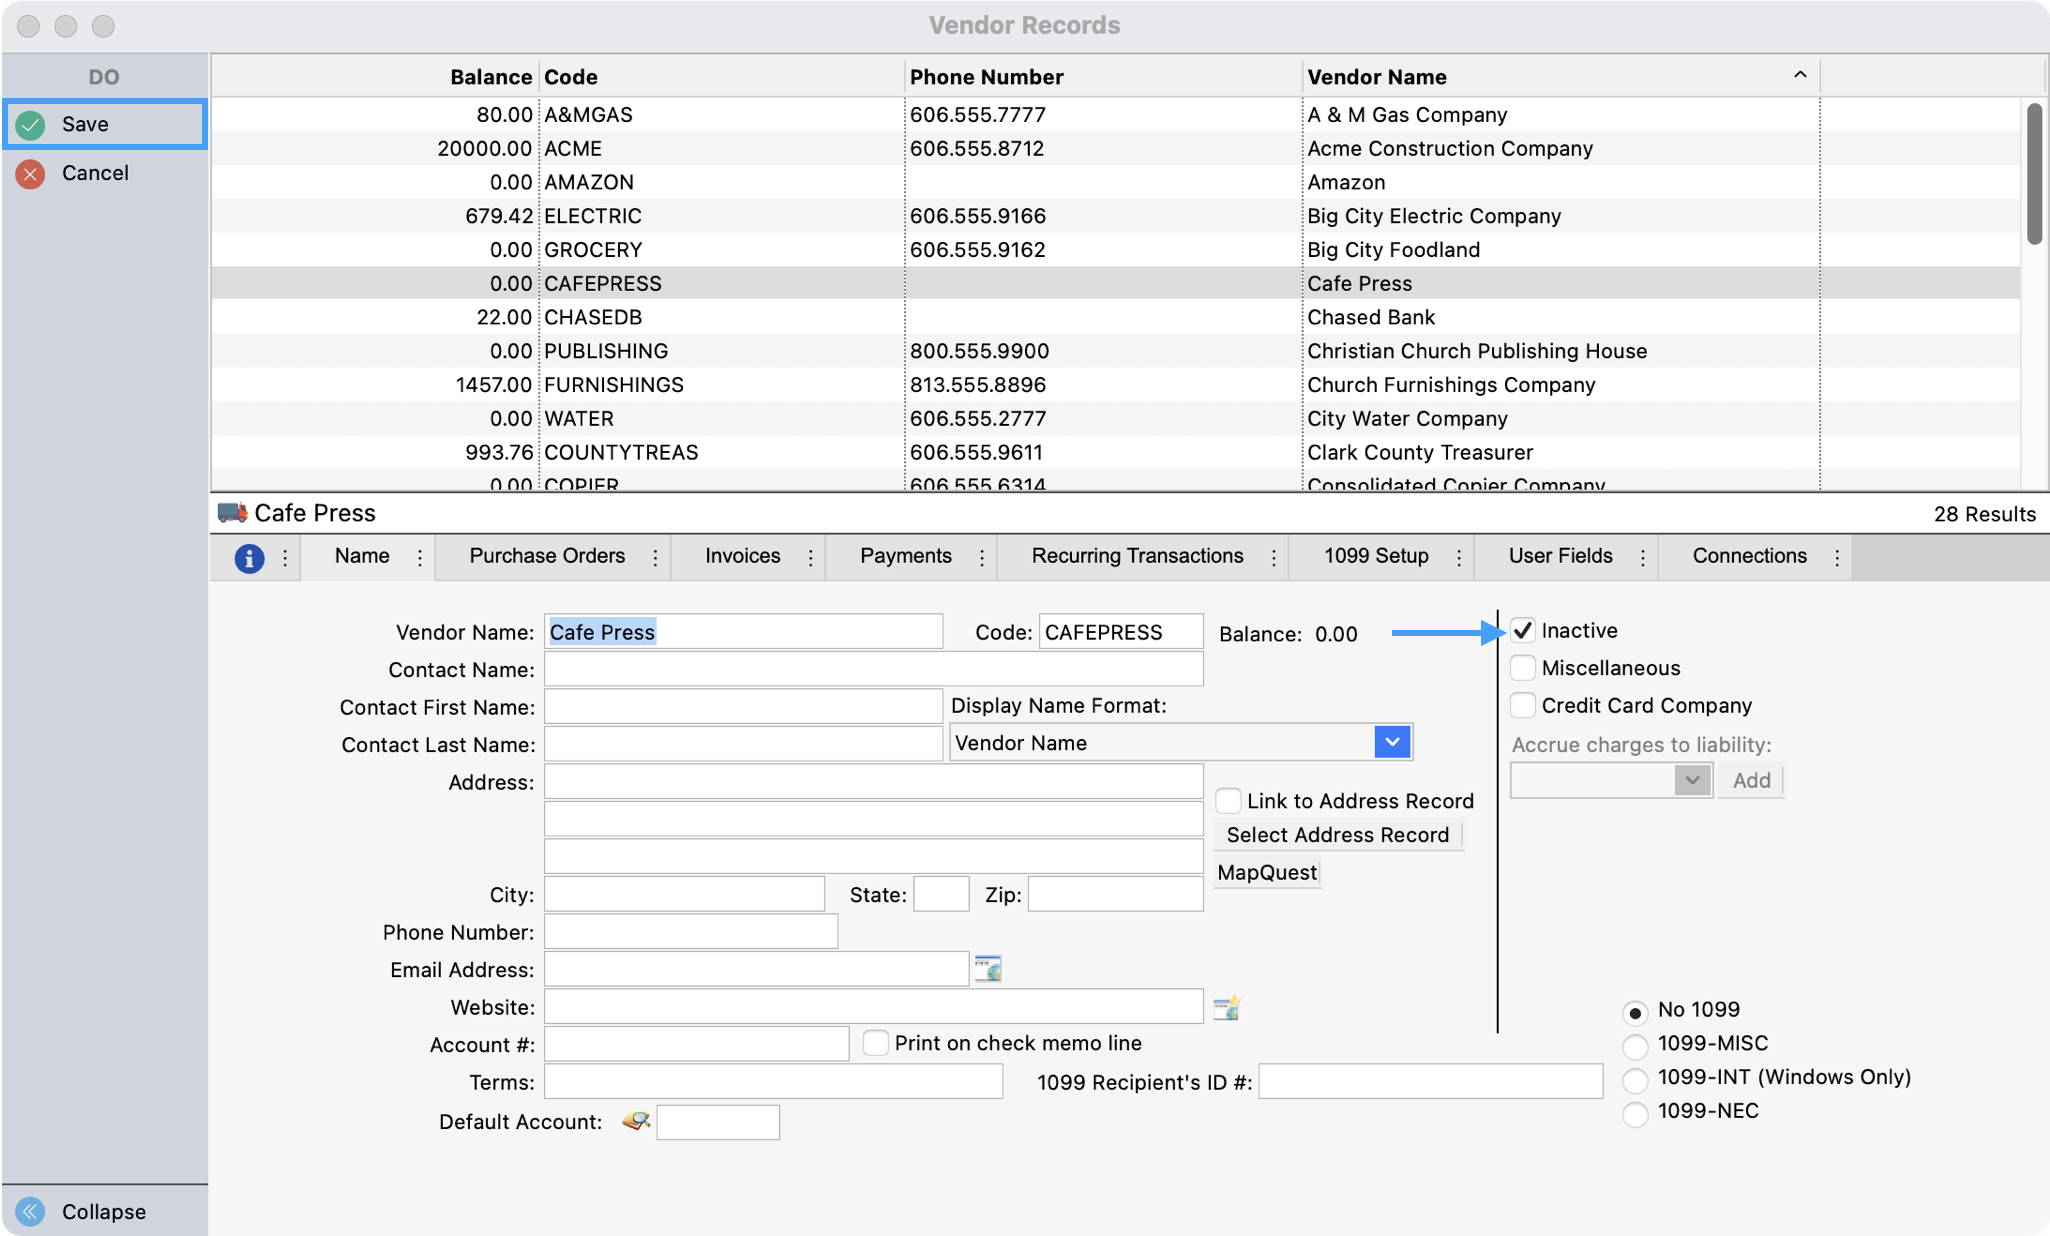
Mark the Inactive checkbox on the right-hand side of the window and Save your changes.
-
Now when you select List from the Ledger Entry Record window, this vendor will not be listed.
Your record window is defaulted to only show active vendors. Once you inactivate a vendor, you will see a Filtered tag appear on the results pane. You can configure this window so you can see the results that you want.