
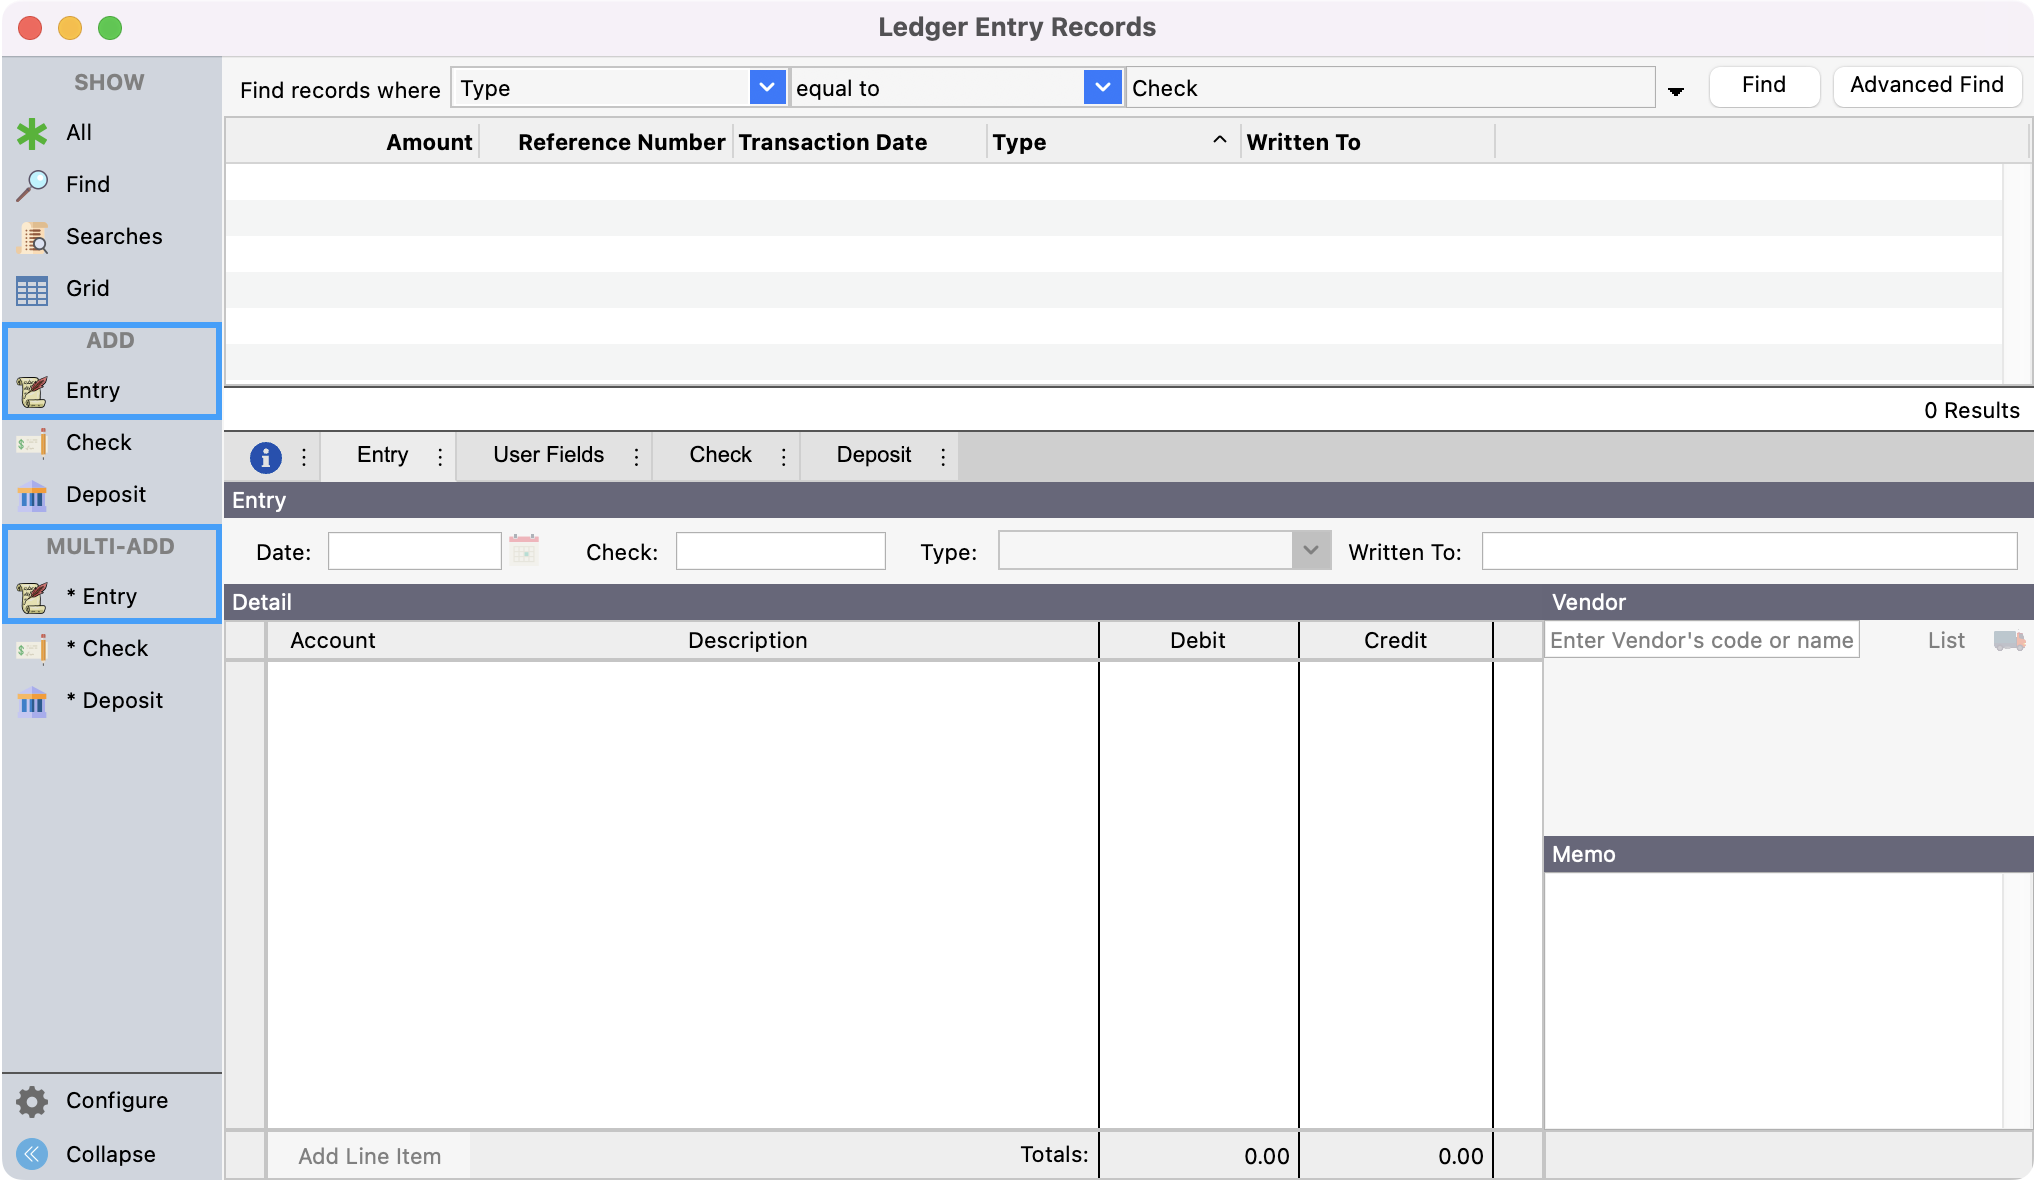
In the Ledger Entry Record window, you can enter Journal Entries, Checks, and Deposits.
-
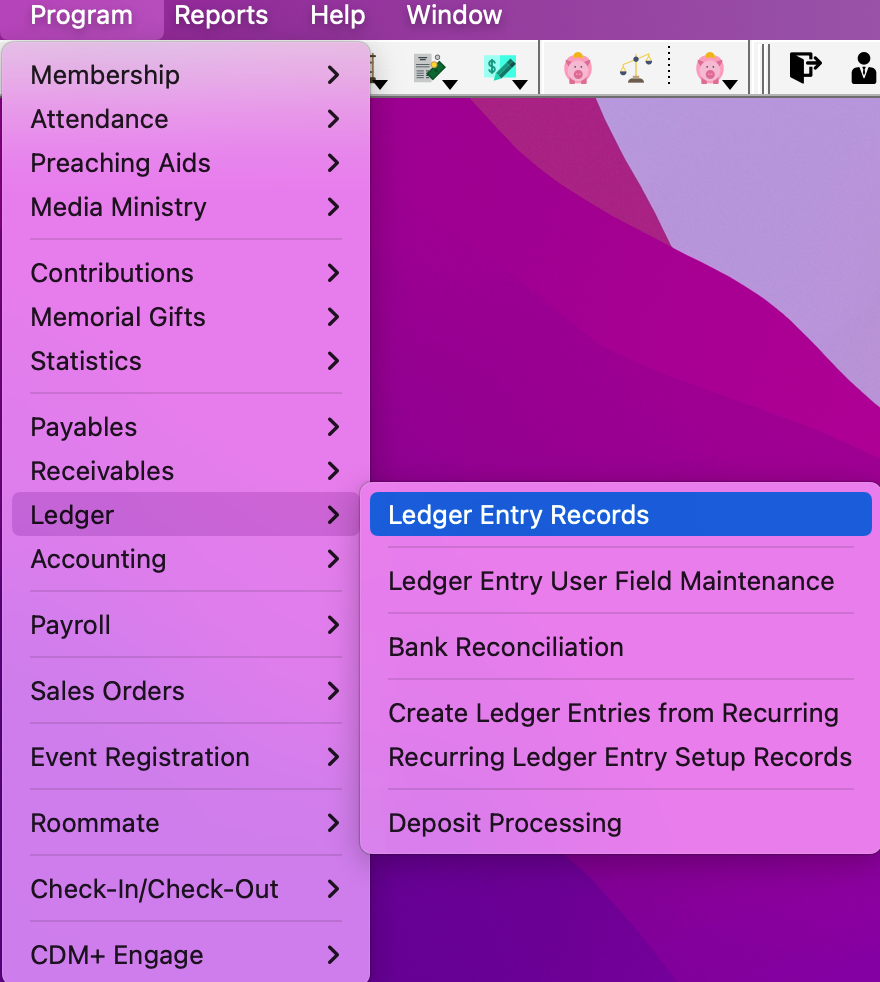
To get to the Ledger Entry Records window, go to Program → Ledger → Ledger Entry Records.
Entering Journal Entries
-
In the left sidebar of the Ledger Entry Records window, you’ll see two sections, Add and Multi-add. Depending on your workflow, you can click Entry under Add for a single entry or Entry under Multi-add if adding more than one.
-
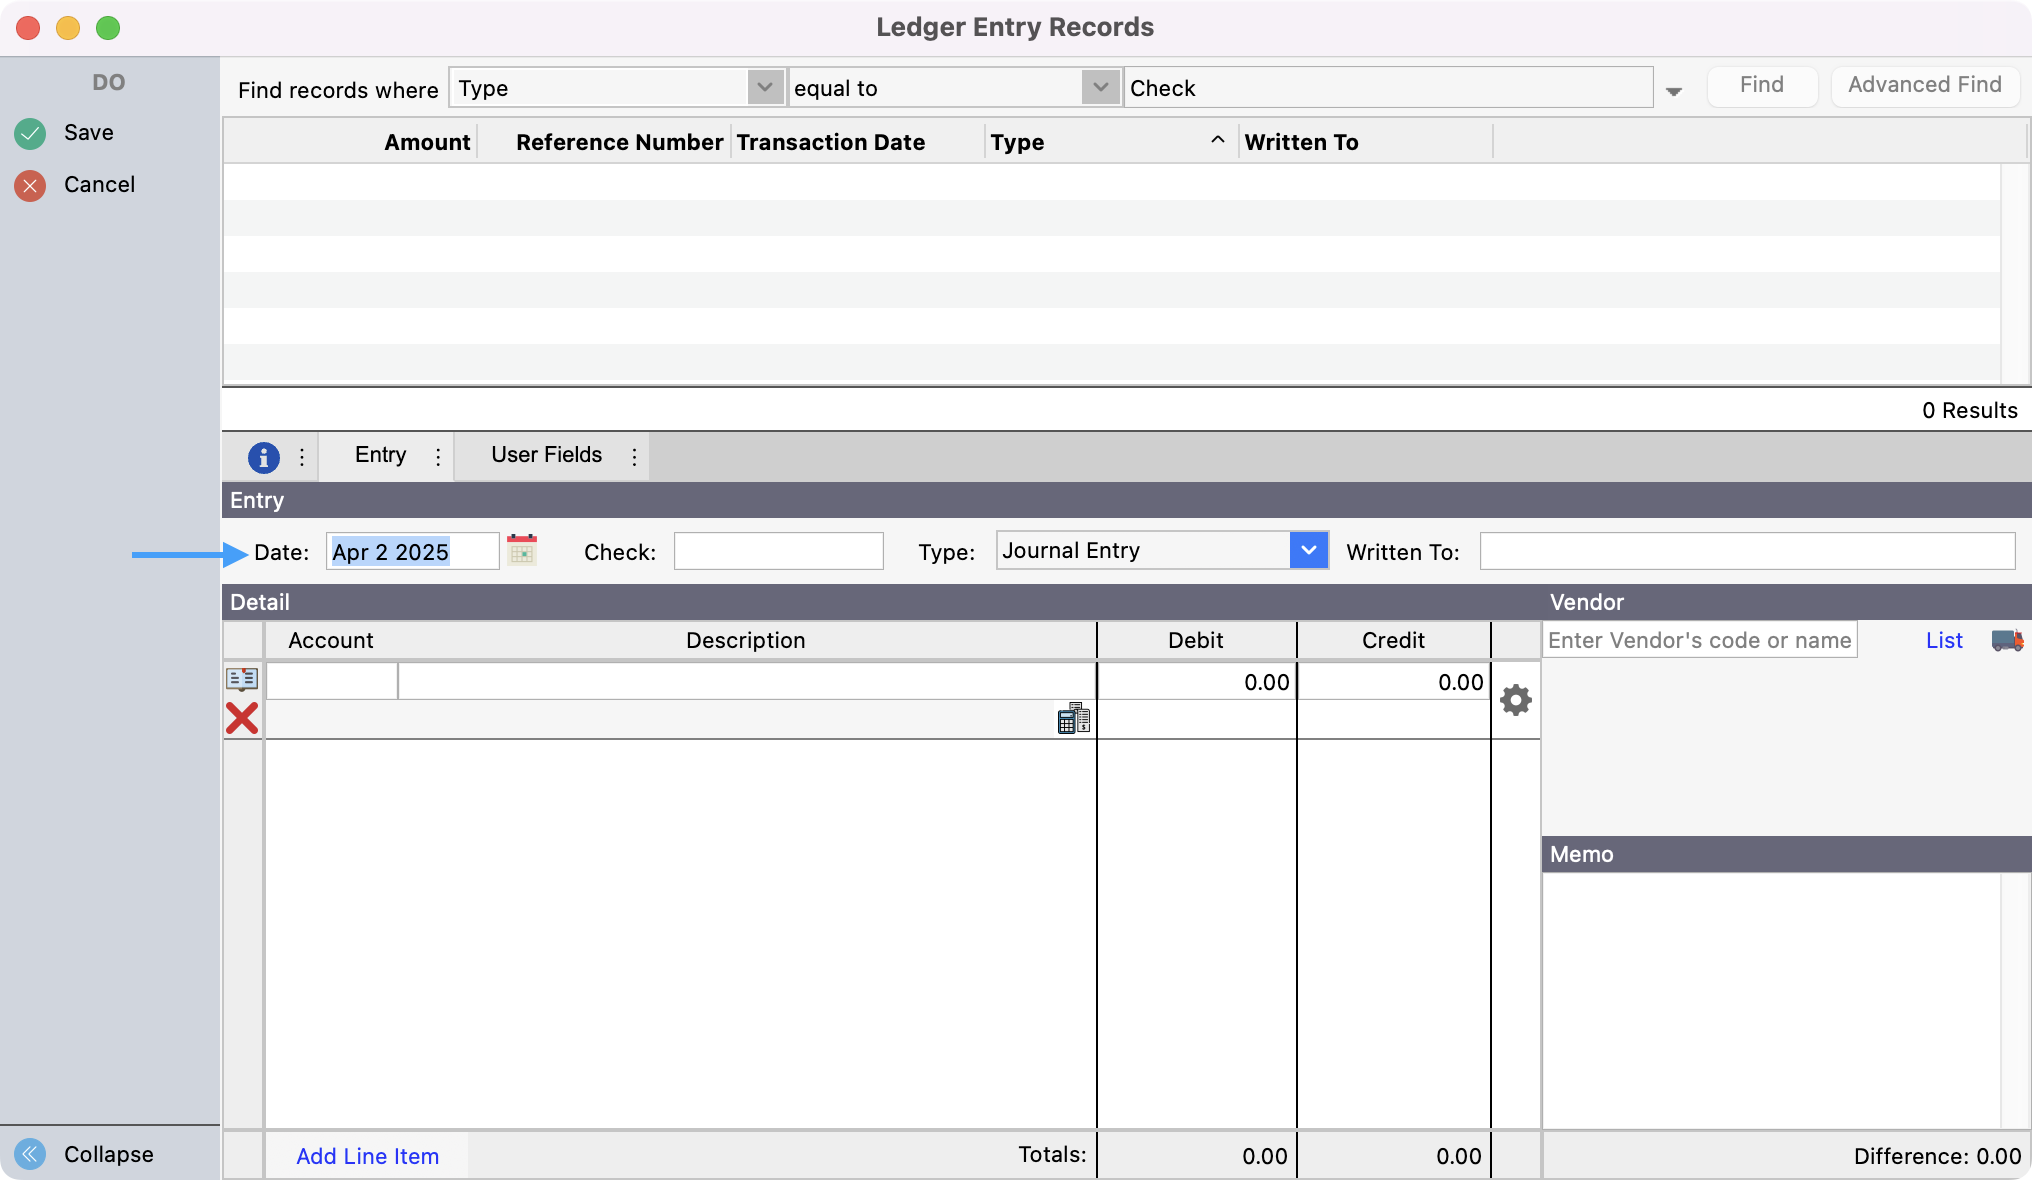
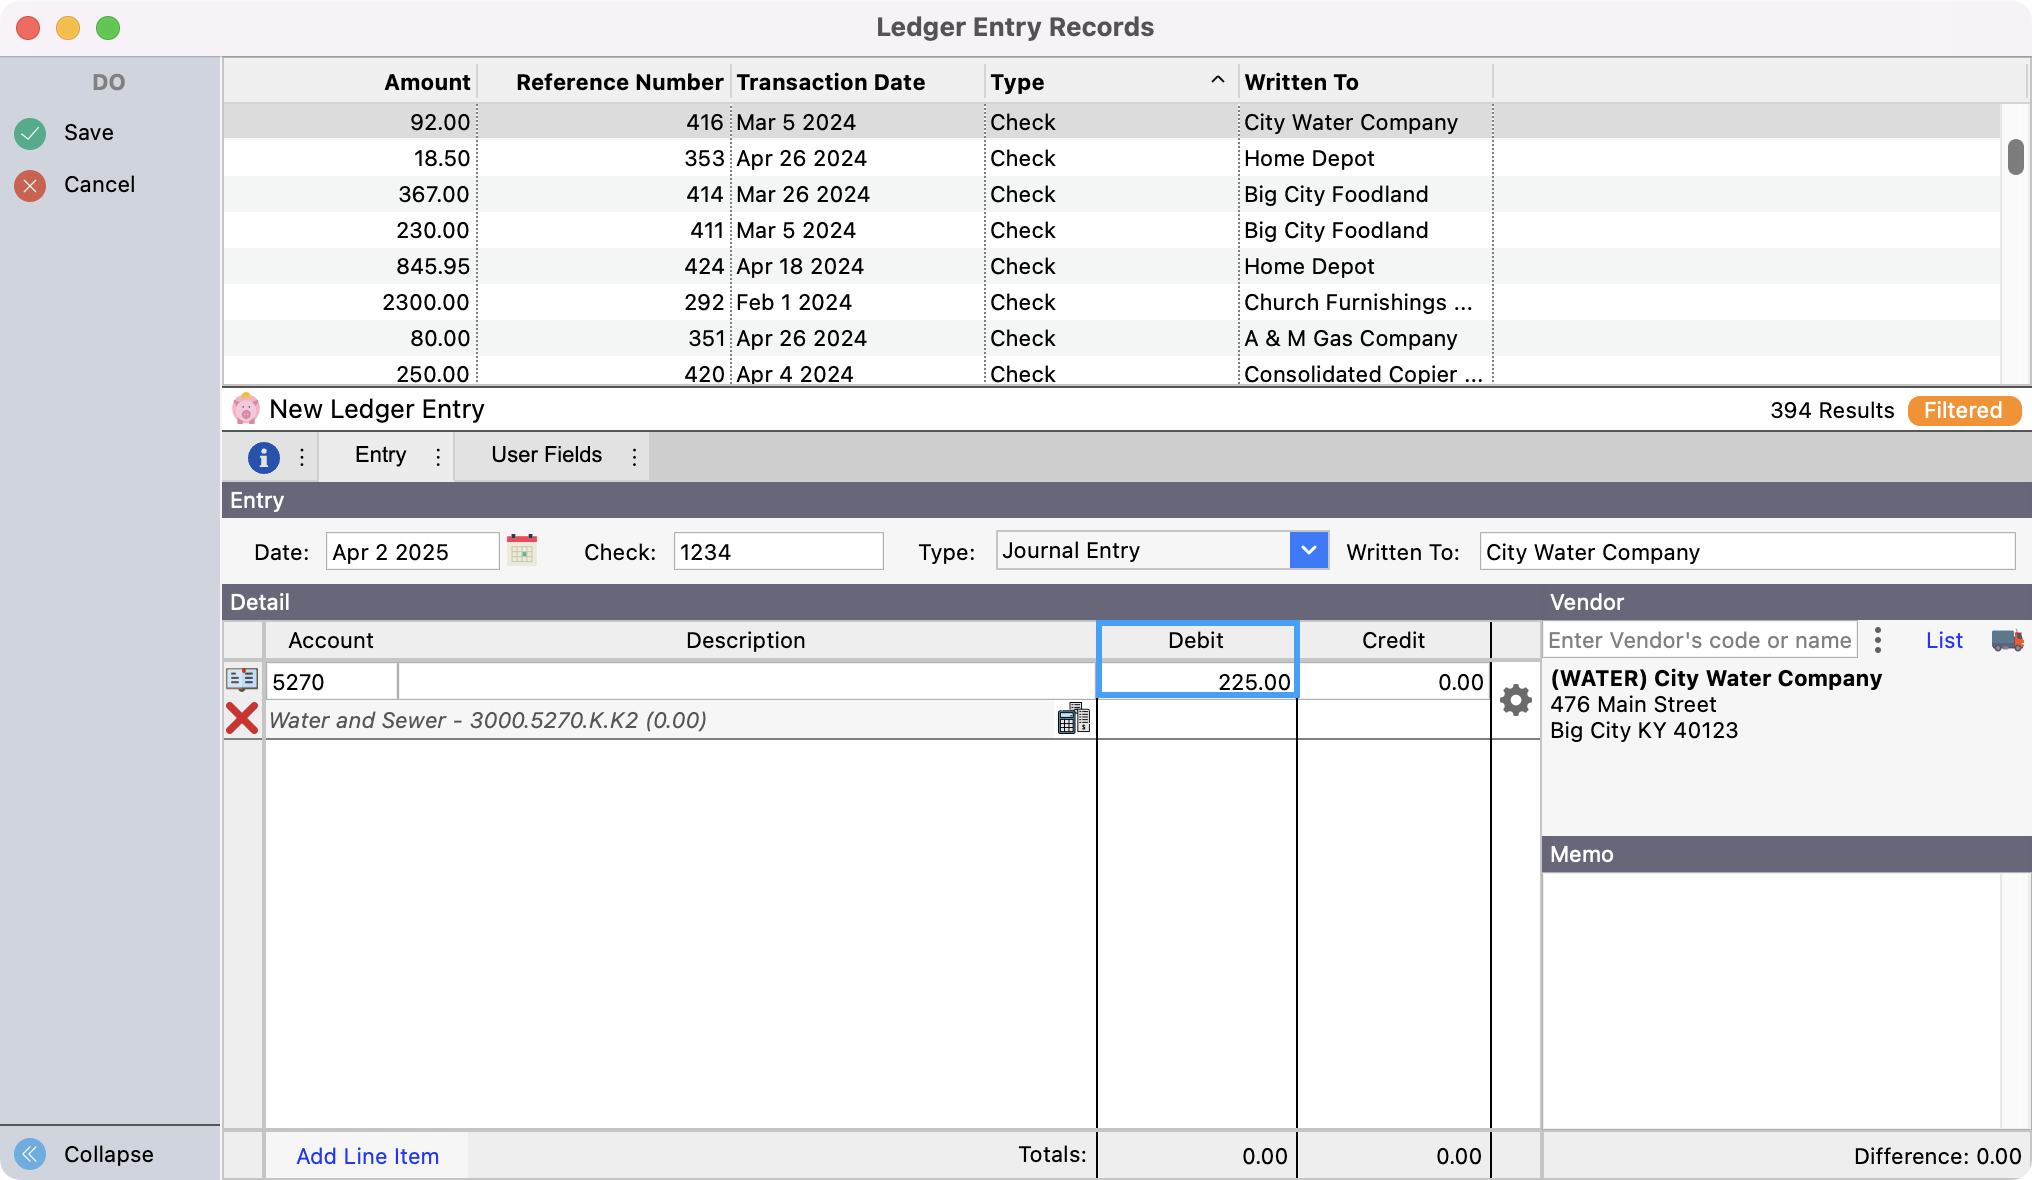
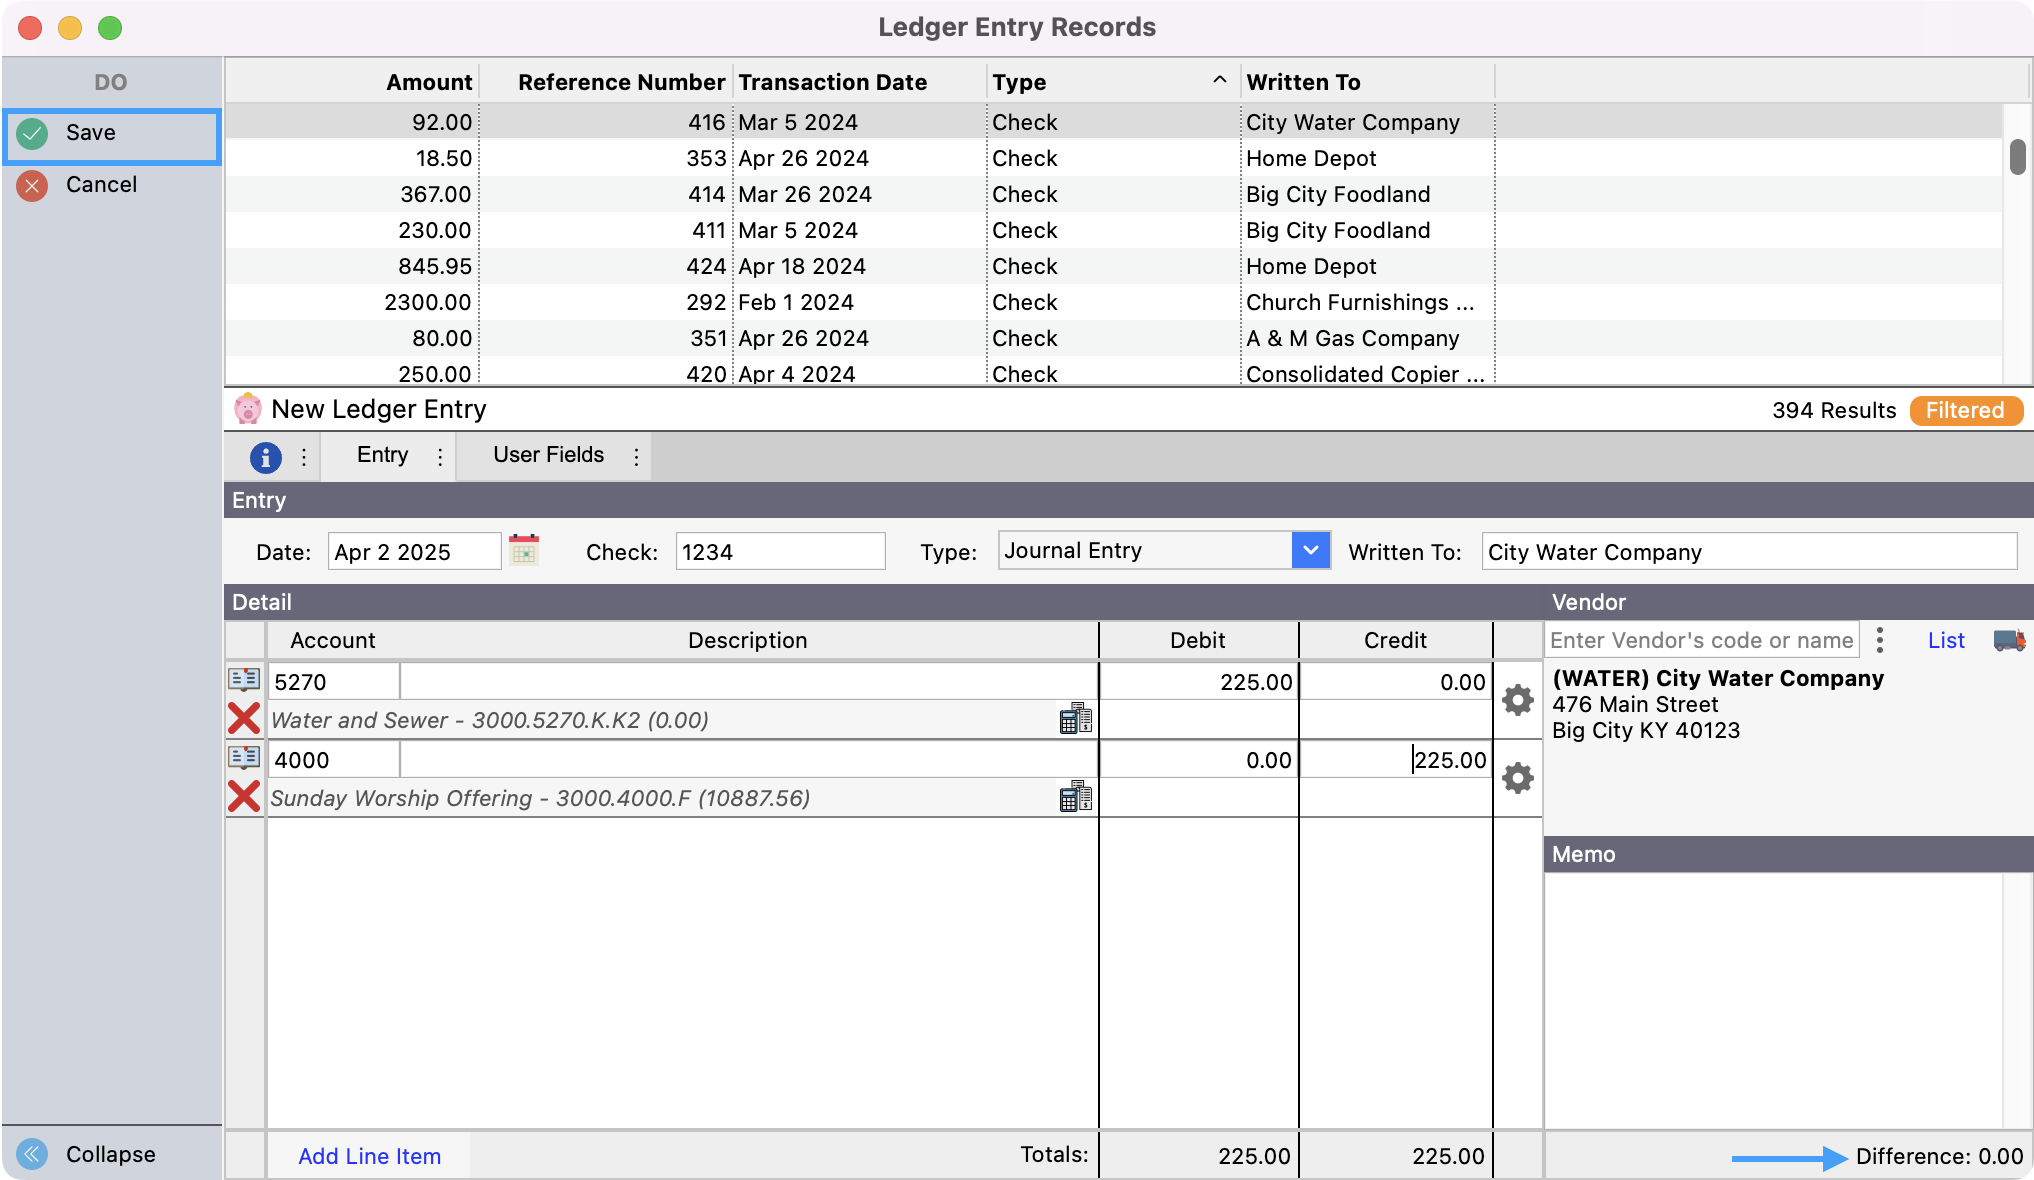
The Date will default to today's date. You may change it to the applicable transaction date, if needed.
-
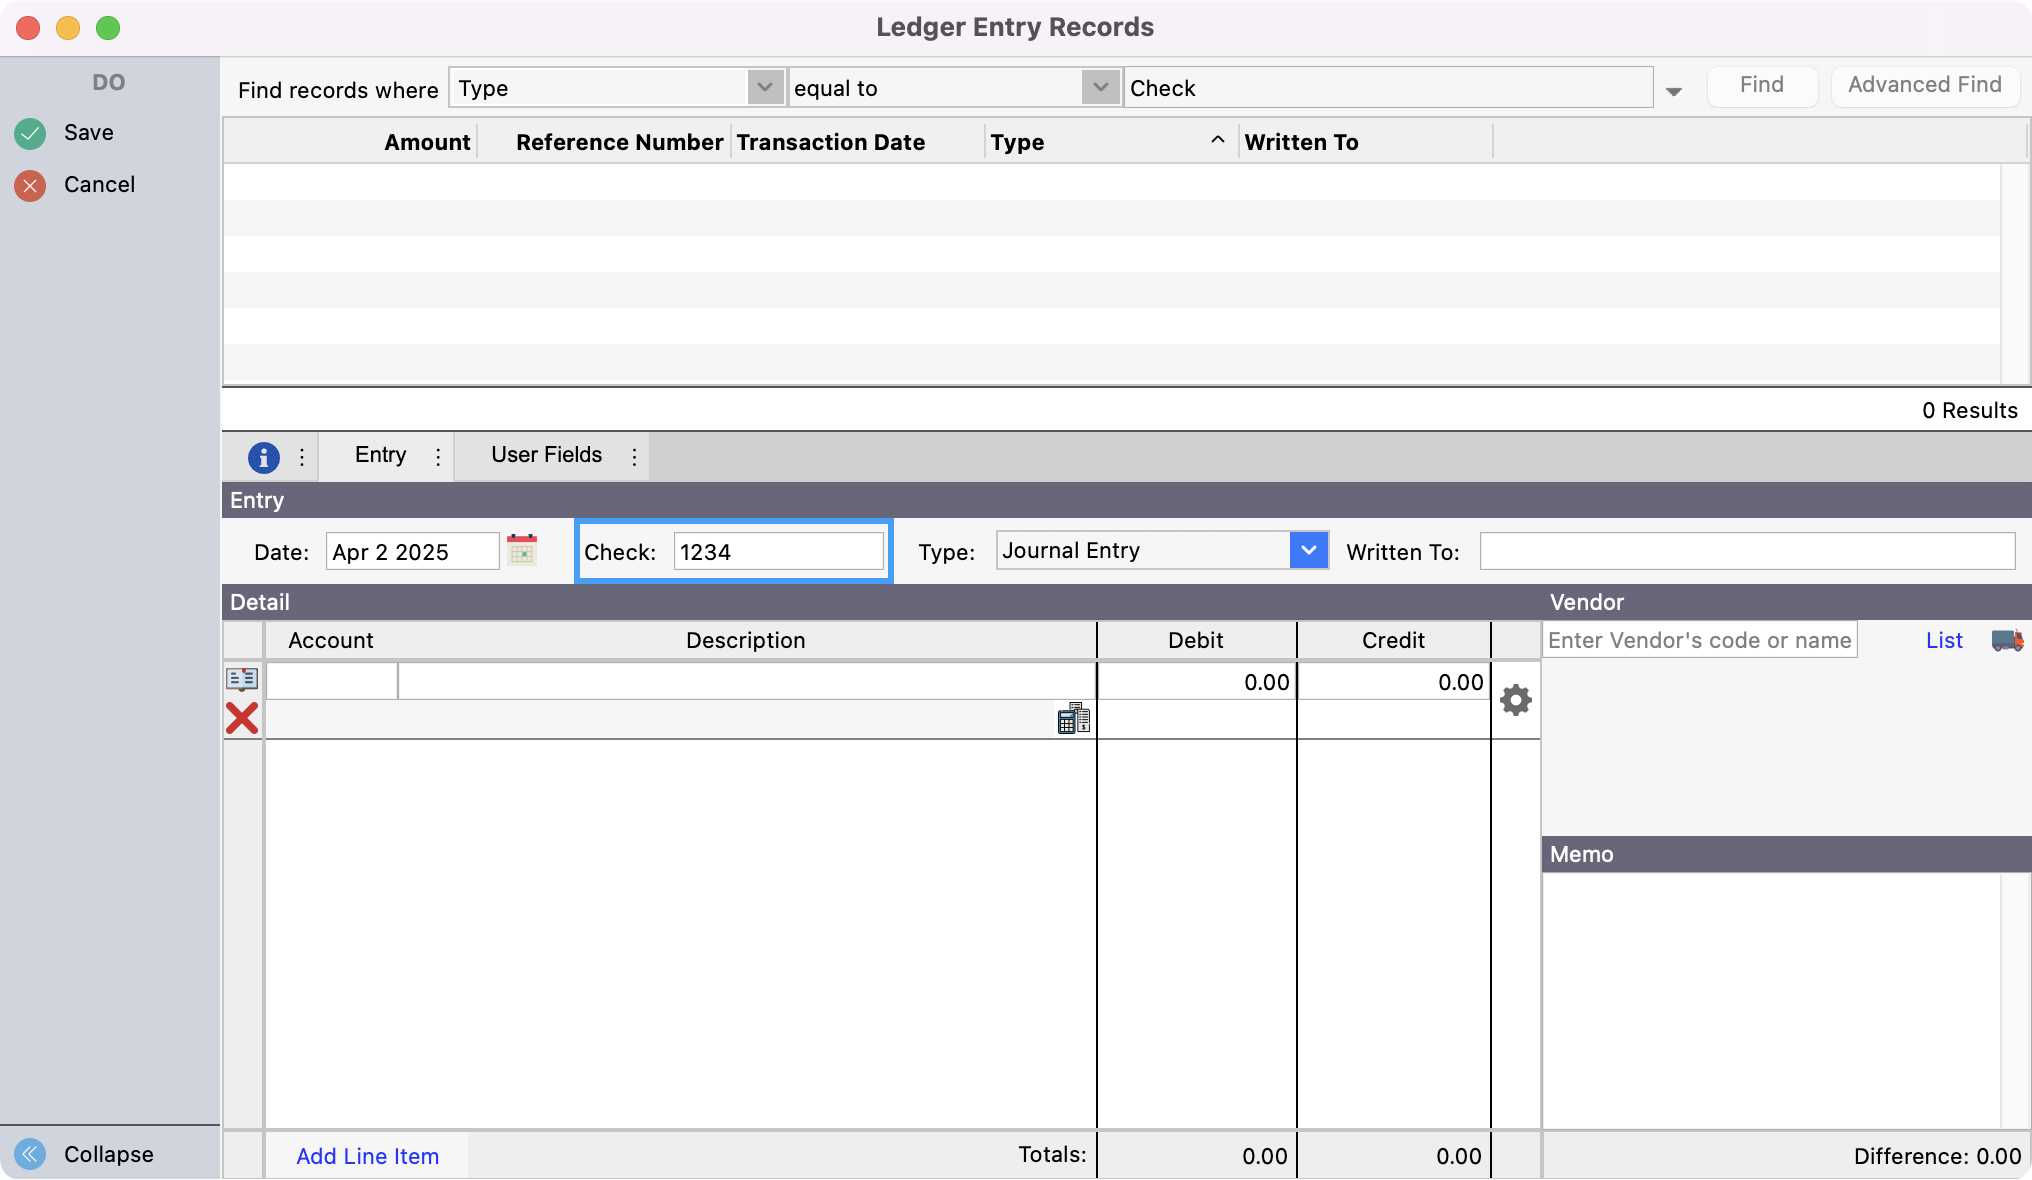
Press the Tab on your keyboard to go to the Check field and enter a check number, if applicable.
-
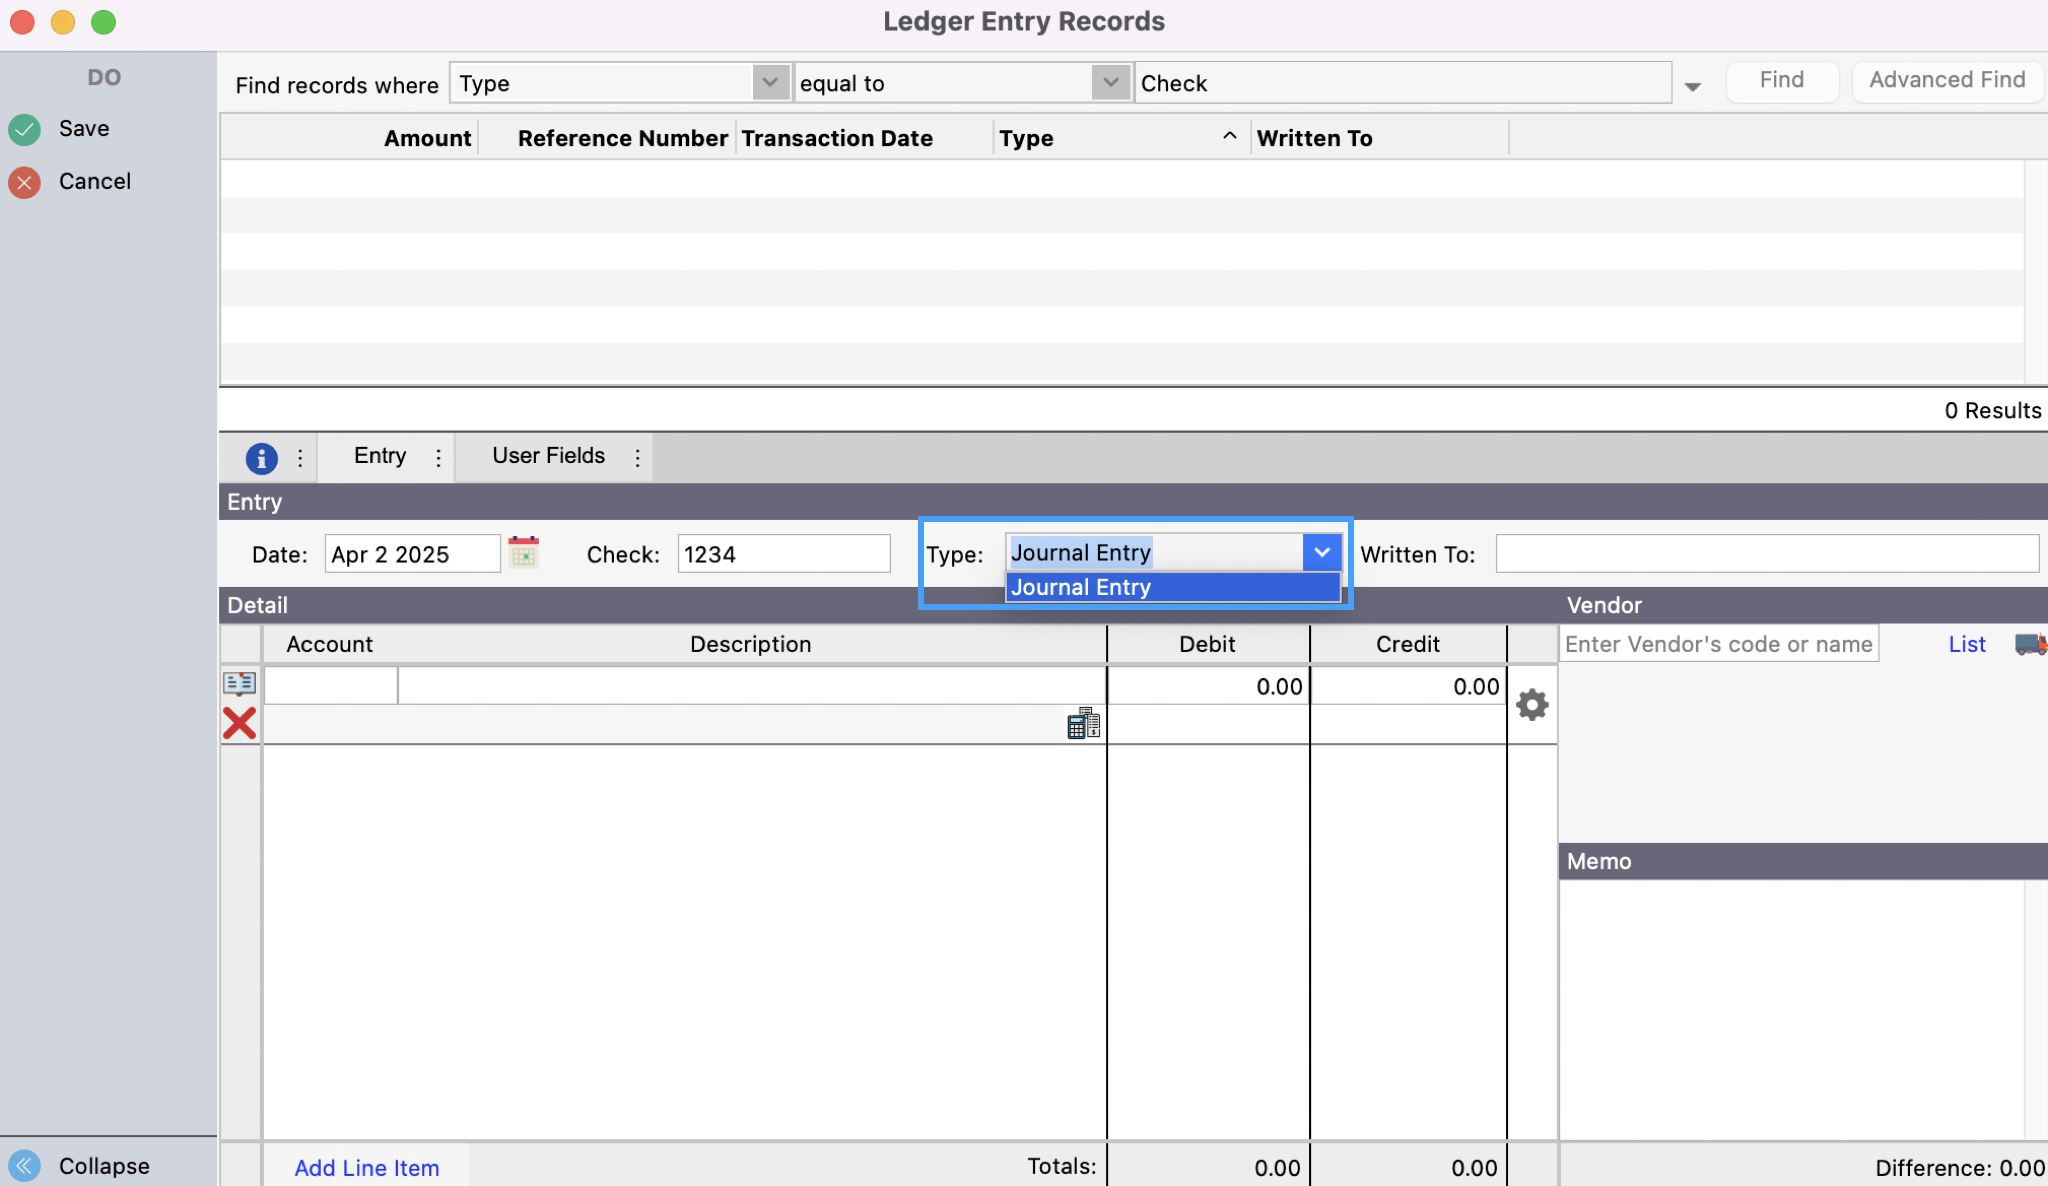
Press Tab again and click on the down arrow beside the Type field and choose the correct Type of entry from the drop-down list.
-
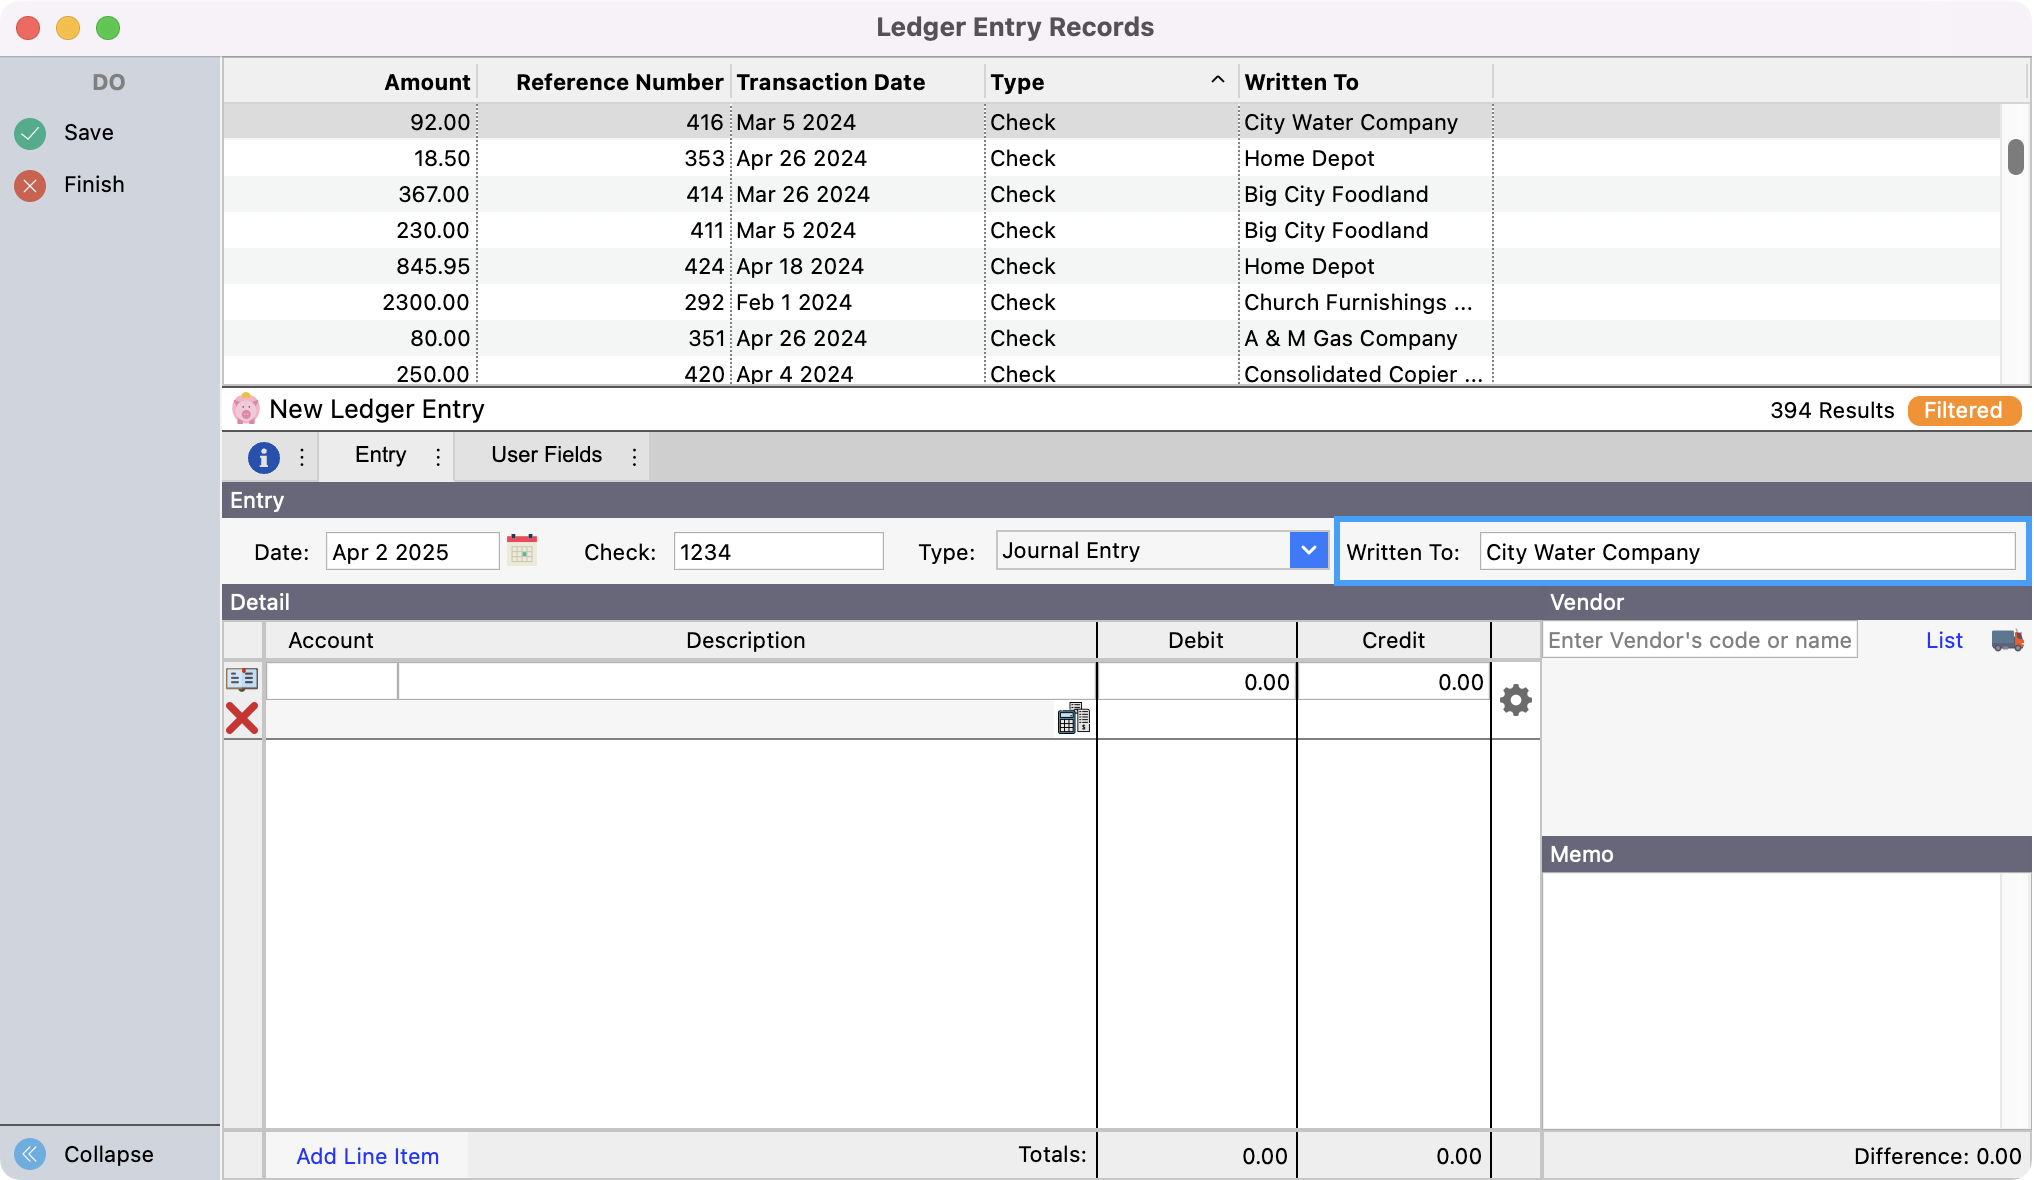
Press Tab and type Written To, if applicable.
-
Press Tab to be taken to the Vendor field. Here you can begin to type the name of a vendor and press Tab. If only one vendor matches what you have typed, you’ll see CDM+ auto-populate the result. If there is more than one vendor that meets that criteria you’ll see your options to select. You can also click List to see a list of vendors to select.

-
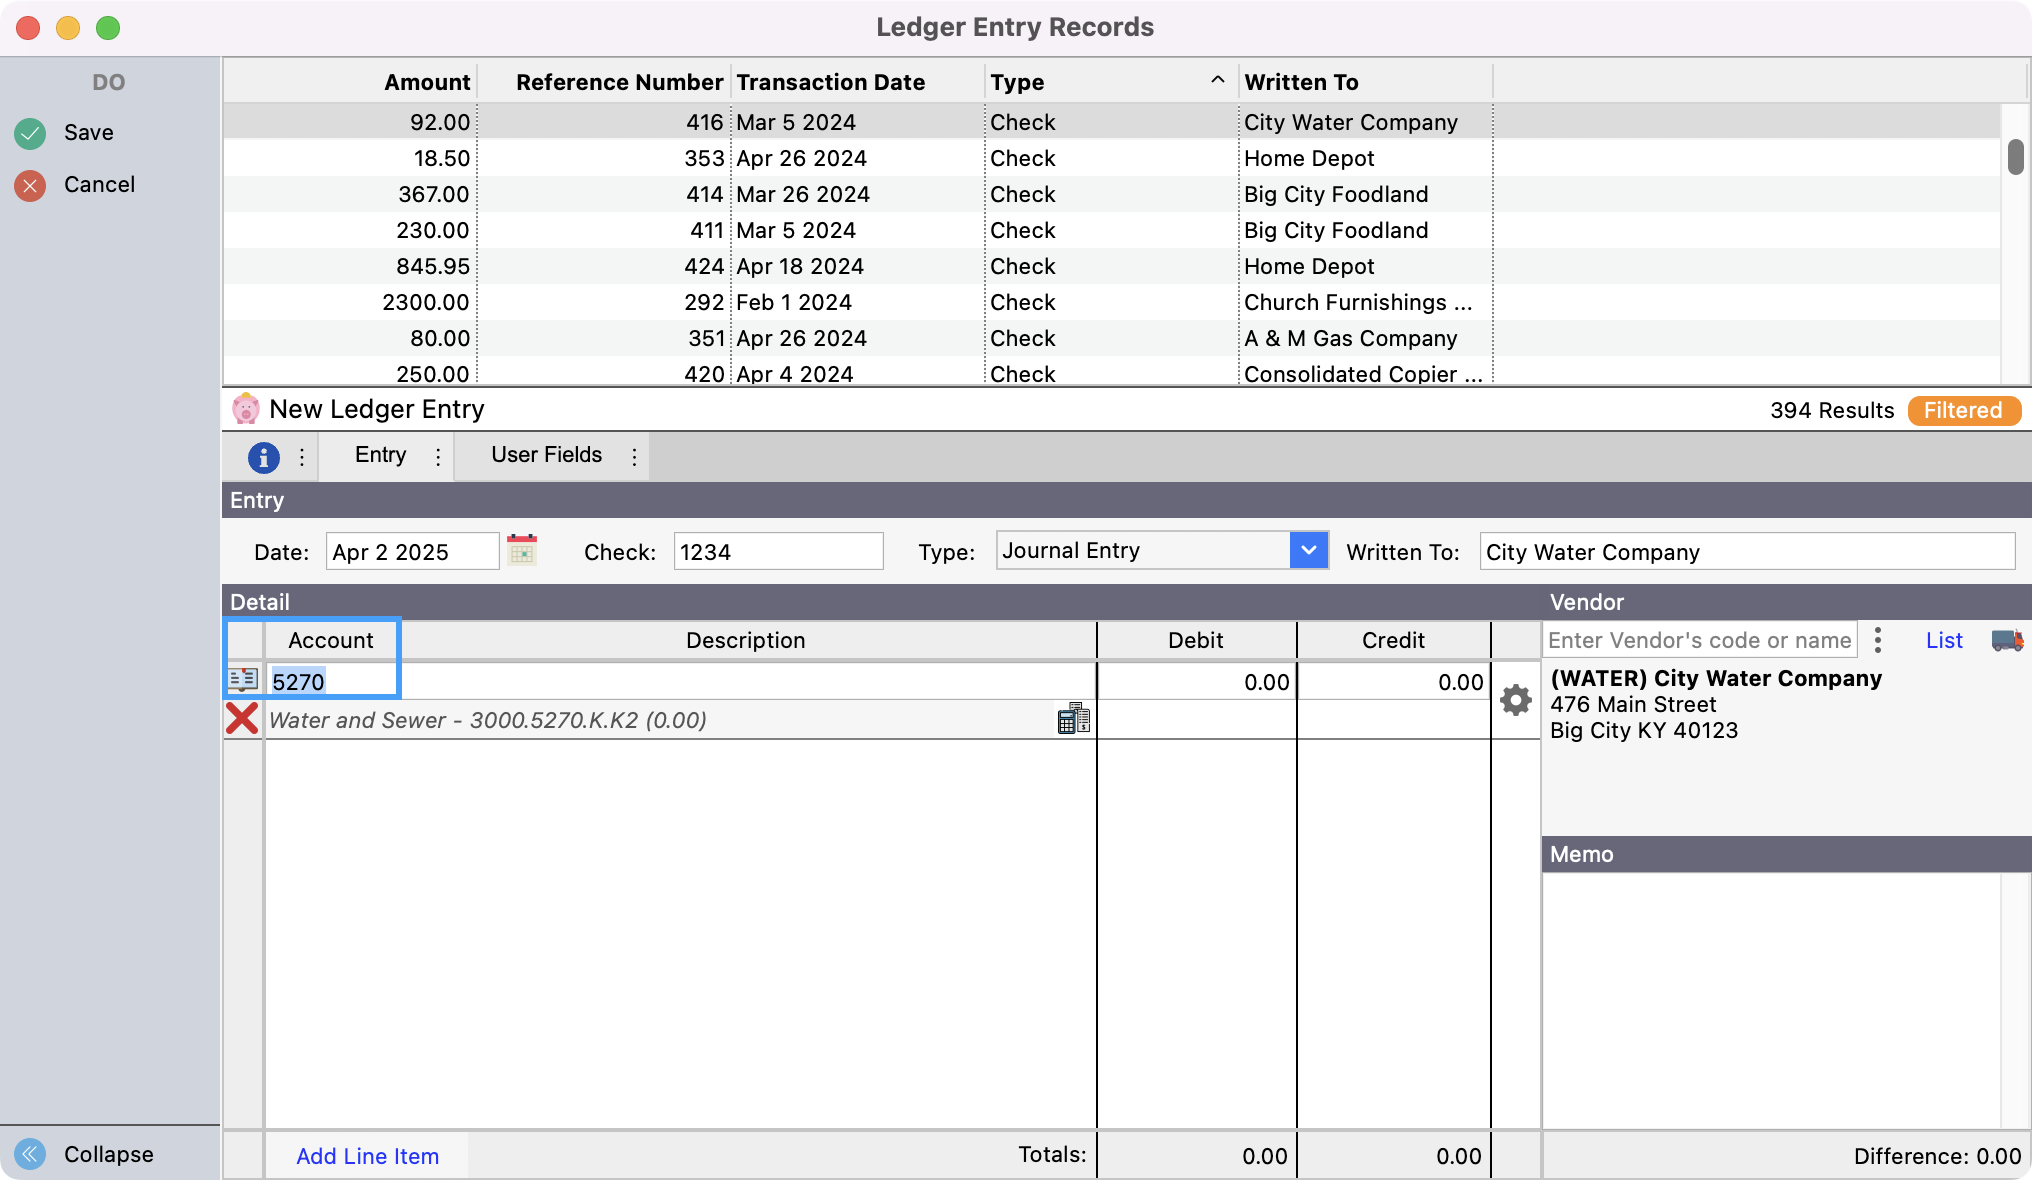
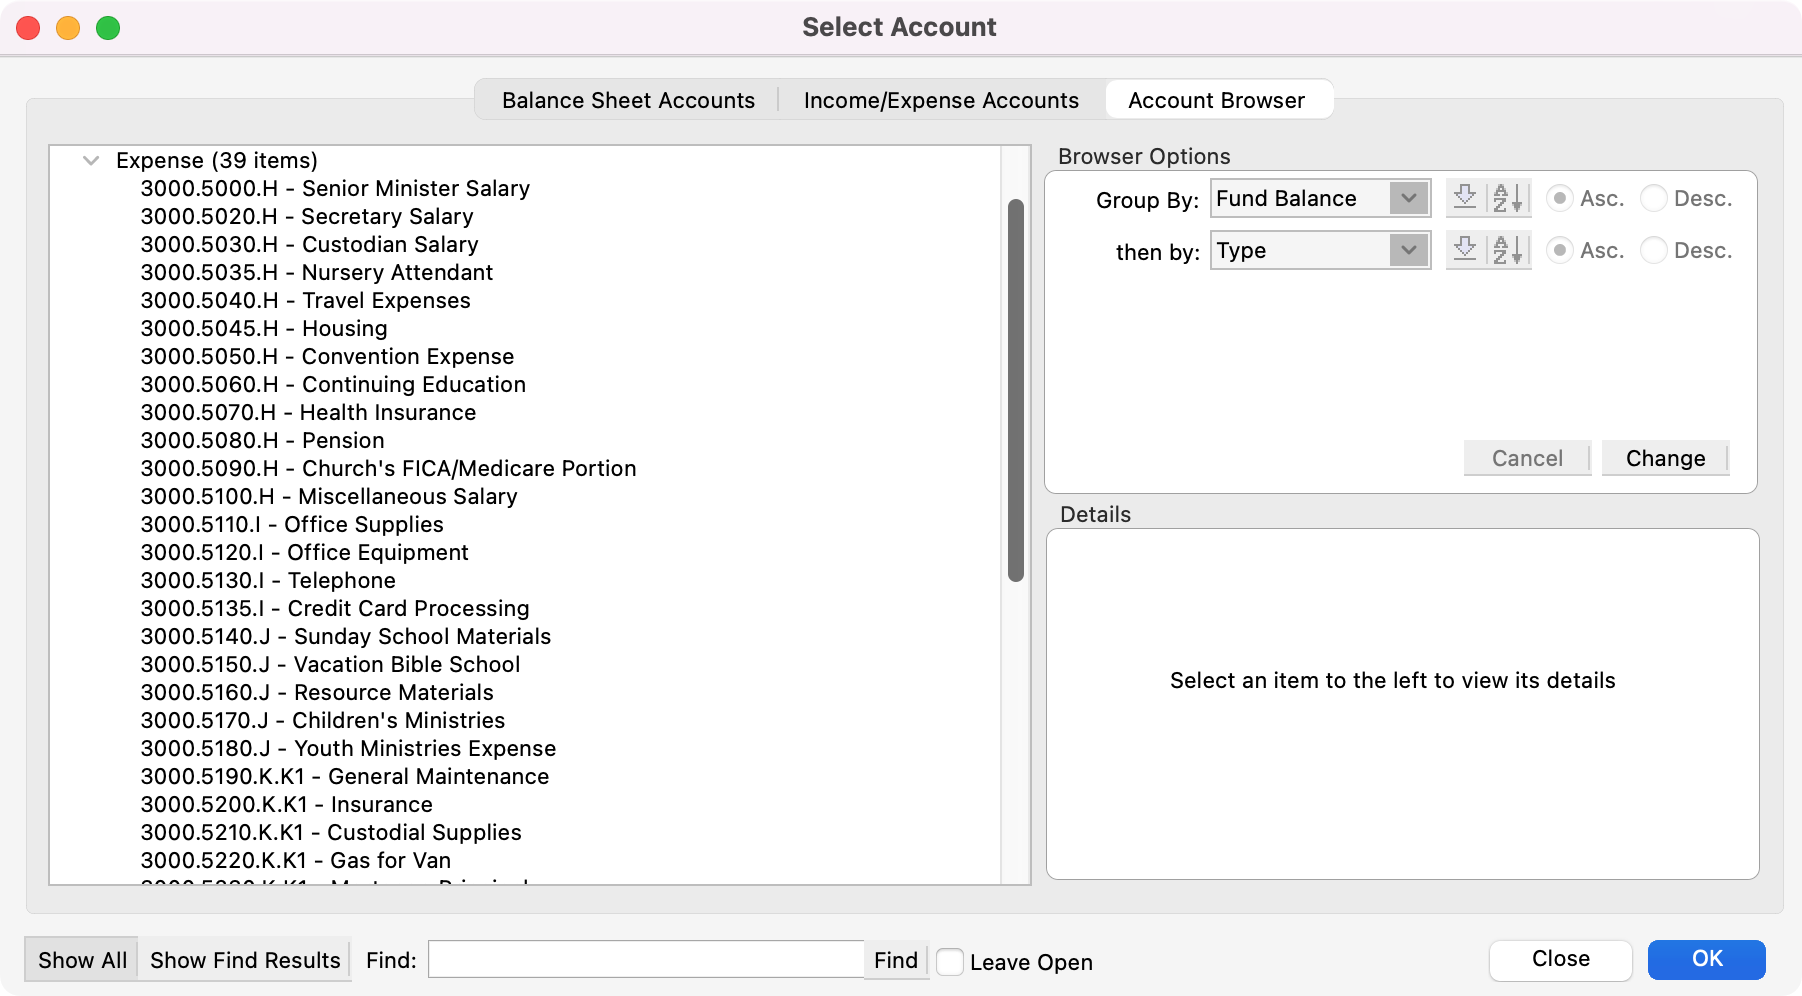
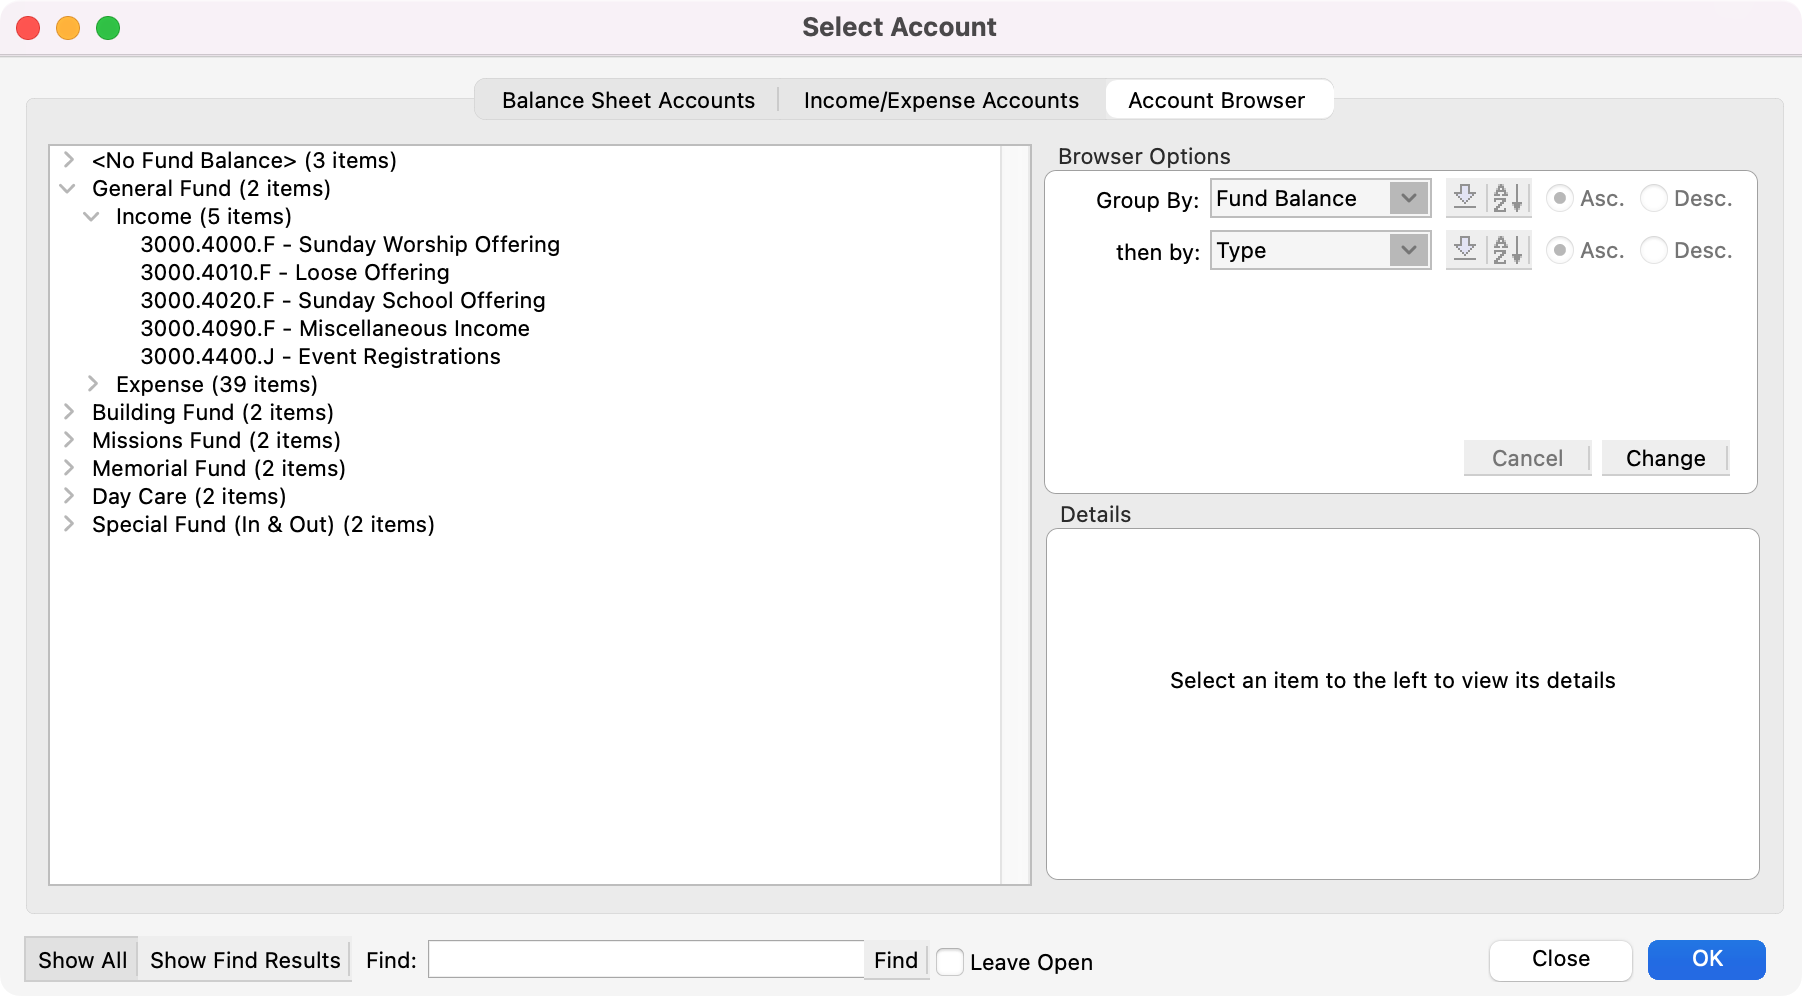
If you have setup a default account for the assigned vendor you will see the default account auto-populated in the Account field. If no default account is assigned to the vendor or you need to change it, enter an expense account number in the Account field. If you don't know the account number, click the book icon to open the Select Account window. Double-click on the account number you desire.
-
Press Tab and type the Debit amount.
-
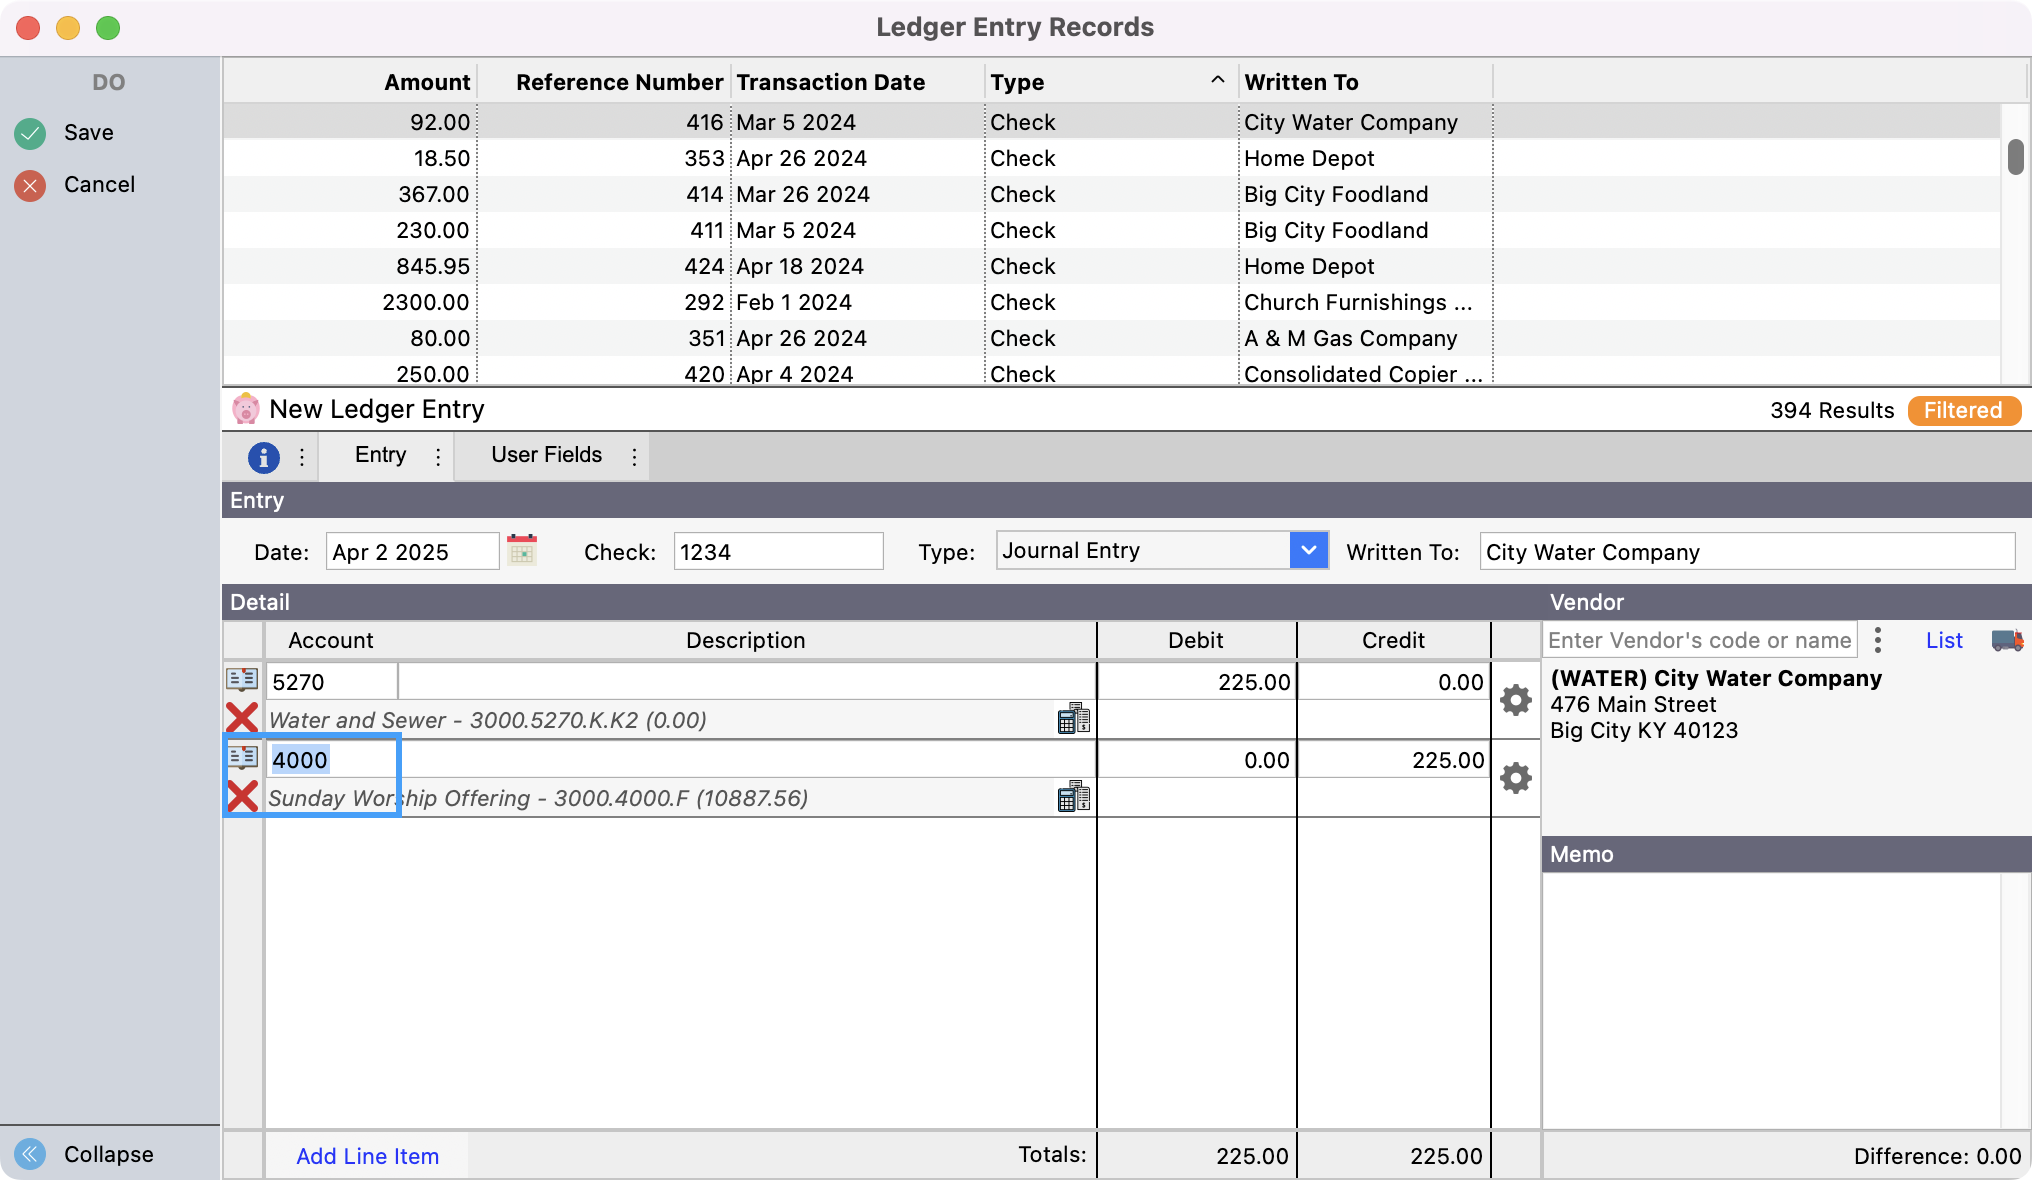
Press Tab twice, placing the cursor in the Account field. Enter an income account number in the Account field. If you don't know the account number, click the book icon to open the Select Account window. Double-click on the account number you desire.
-
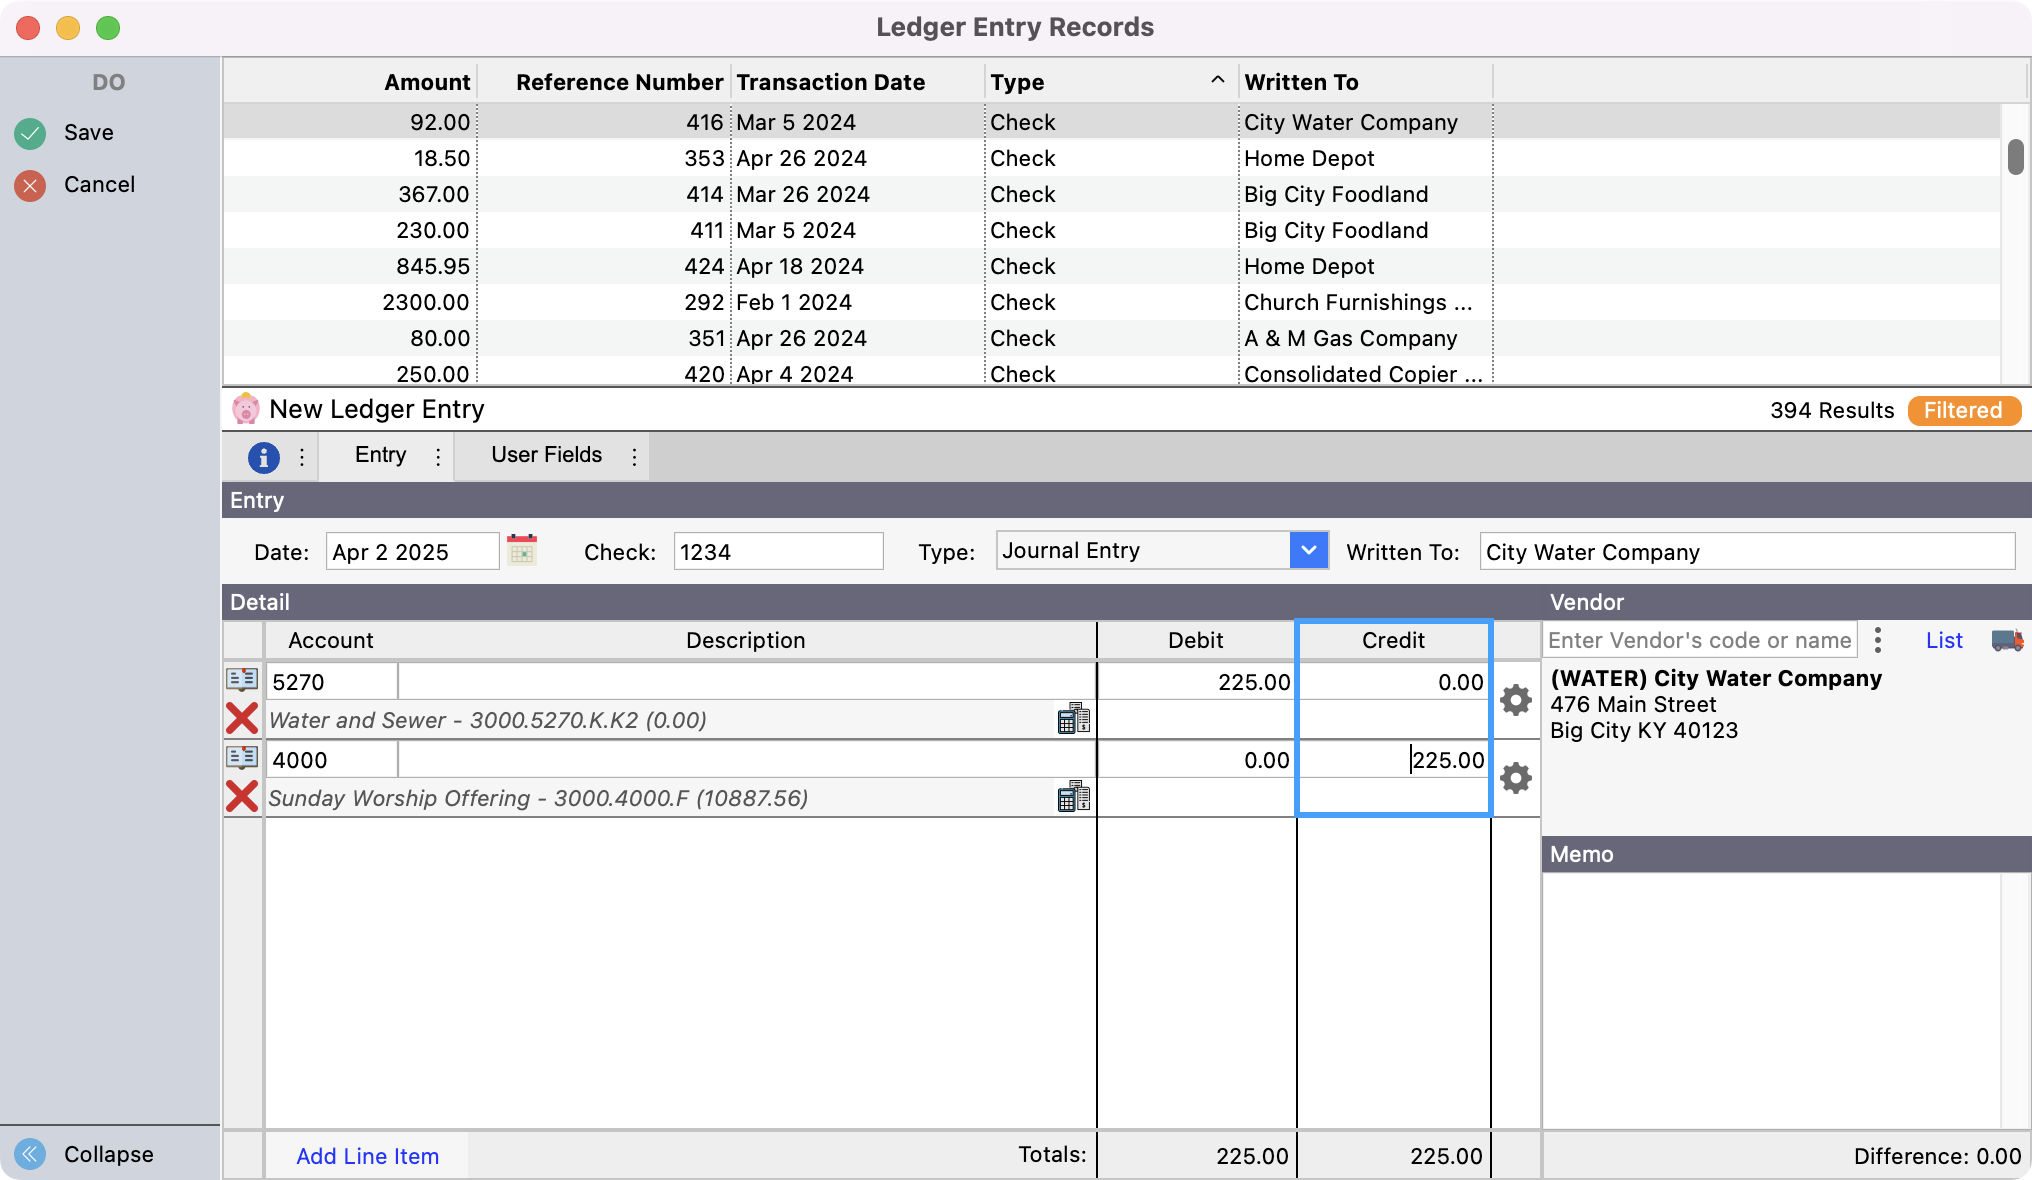
The credit amount will automatically be set to the debit amount entered in the first line. You may change this amount or enter a debit instead—just make sure that the total debits match the total credits. Continue to press Tab to add extra lines as needed.
-
Check to see that the Difference is 0.00 and click Save or press Return/Enter.
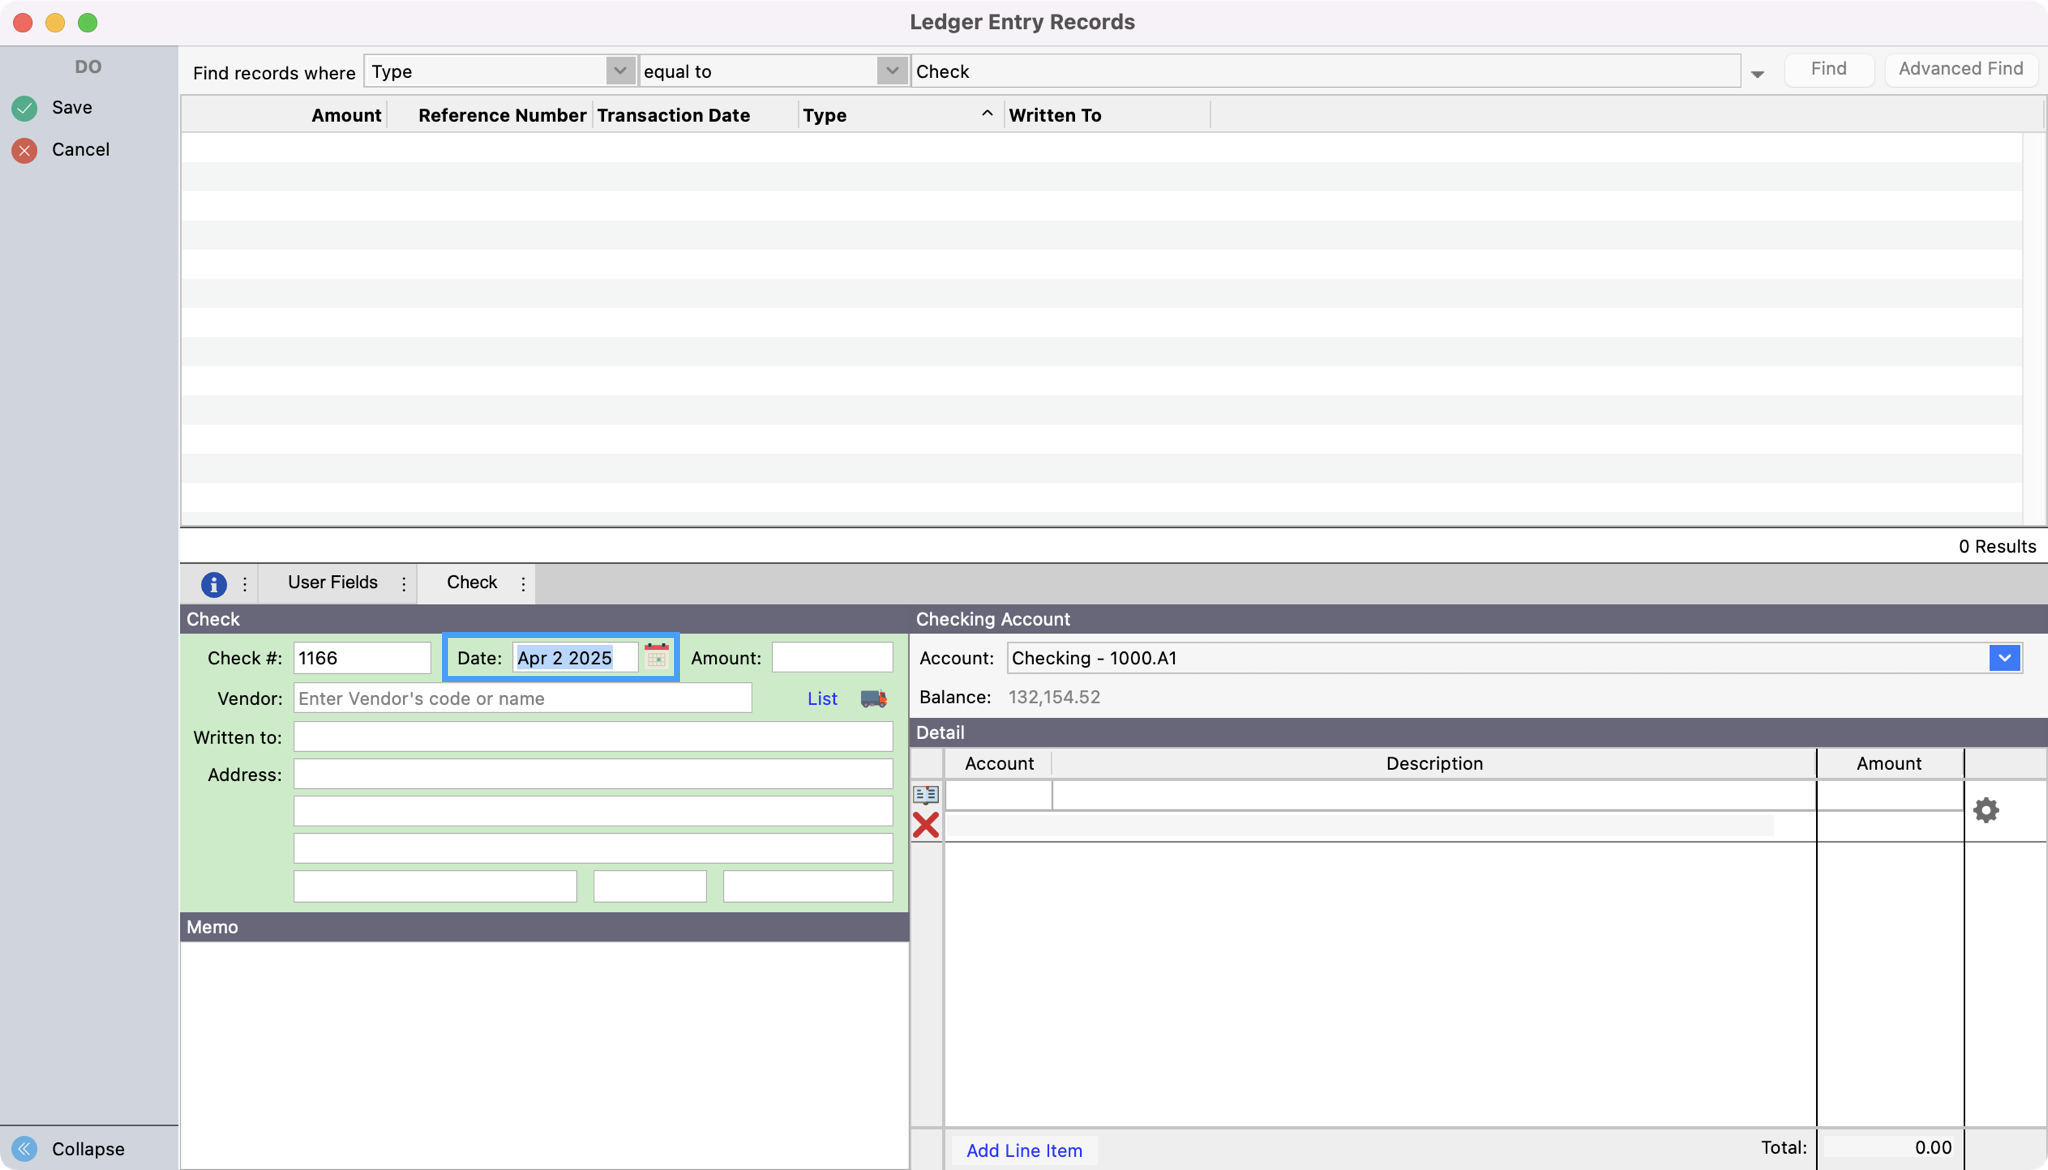
Entering Checks
Follow this procedure when checks are written by hand and manual ledger entries are to be made instead of using the Accounts Payable system in CDM+.
-
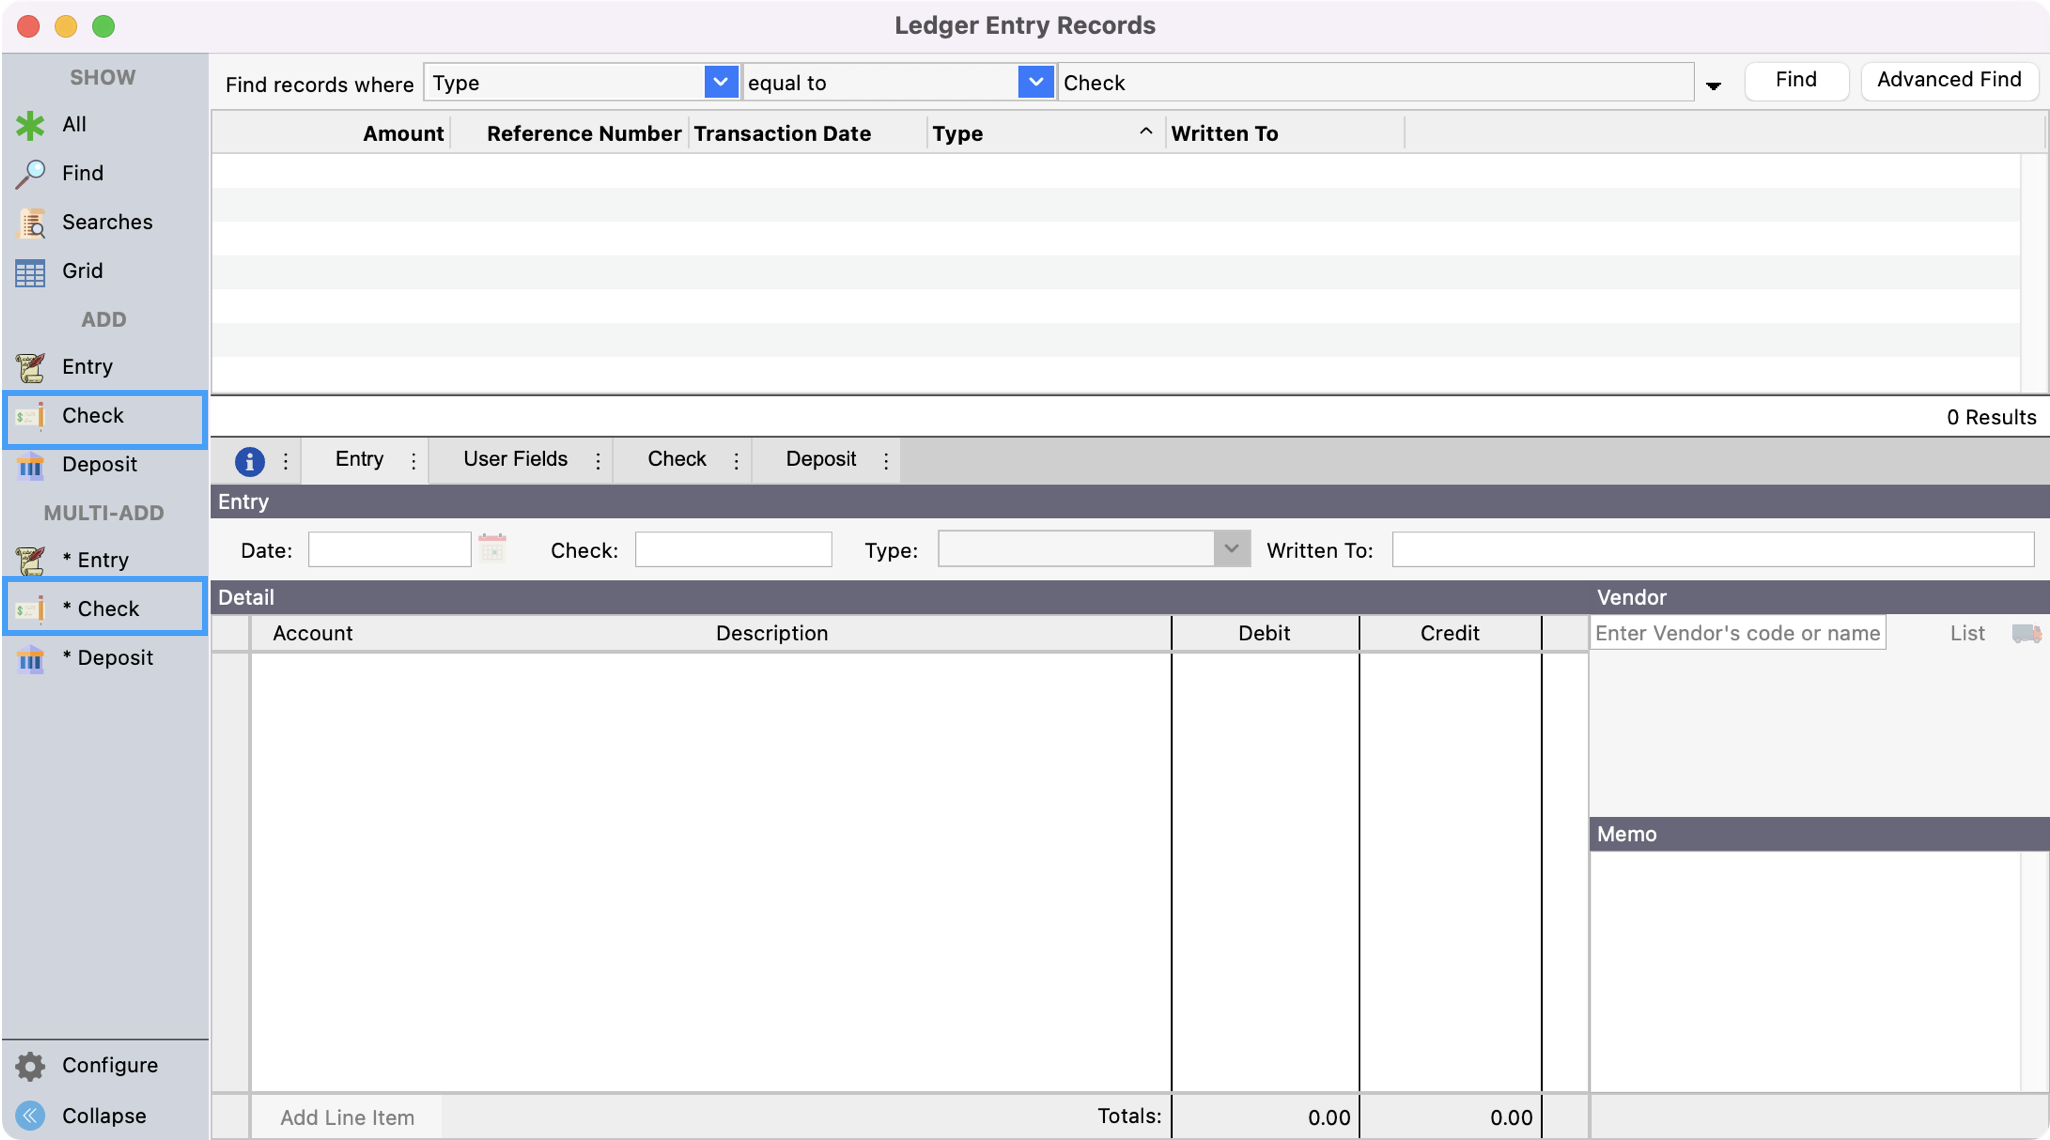
In the left sidebar of the Ledger Entry Records window, you’ll see two sections, Add and Multi-add. Depending on your workflow, you can click Check under Add for a single entry or Check under Multi-add if adding more than one.
-
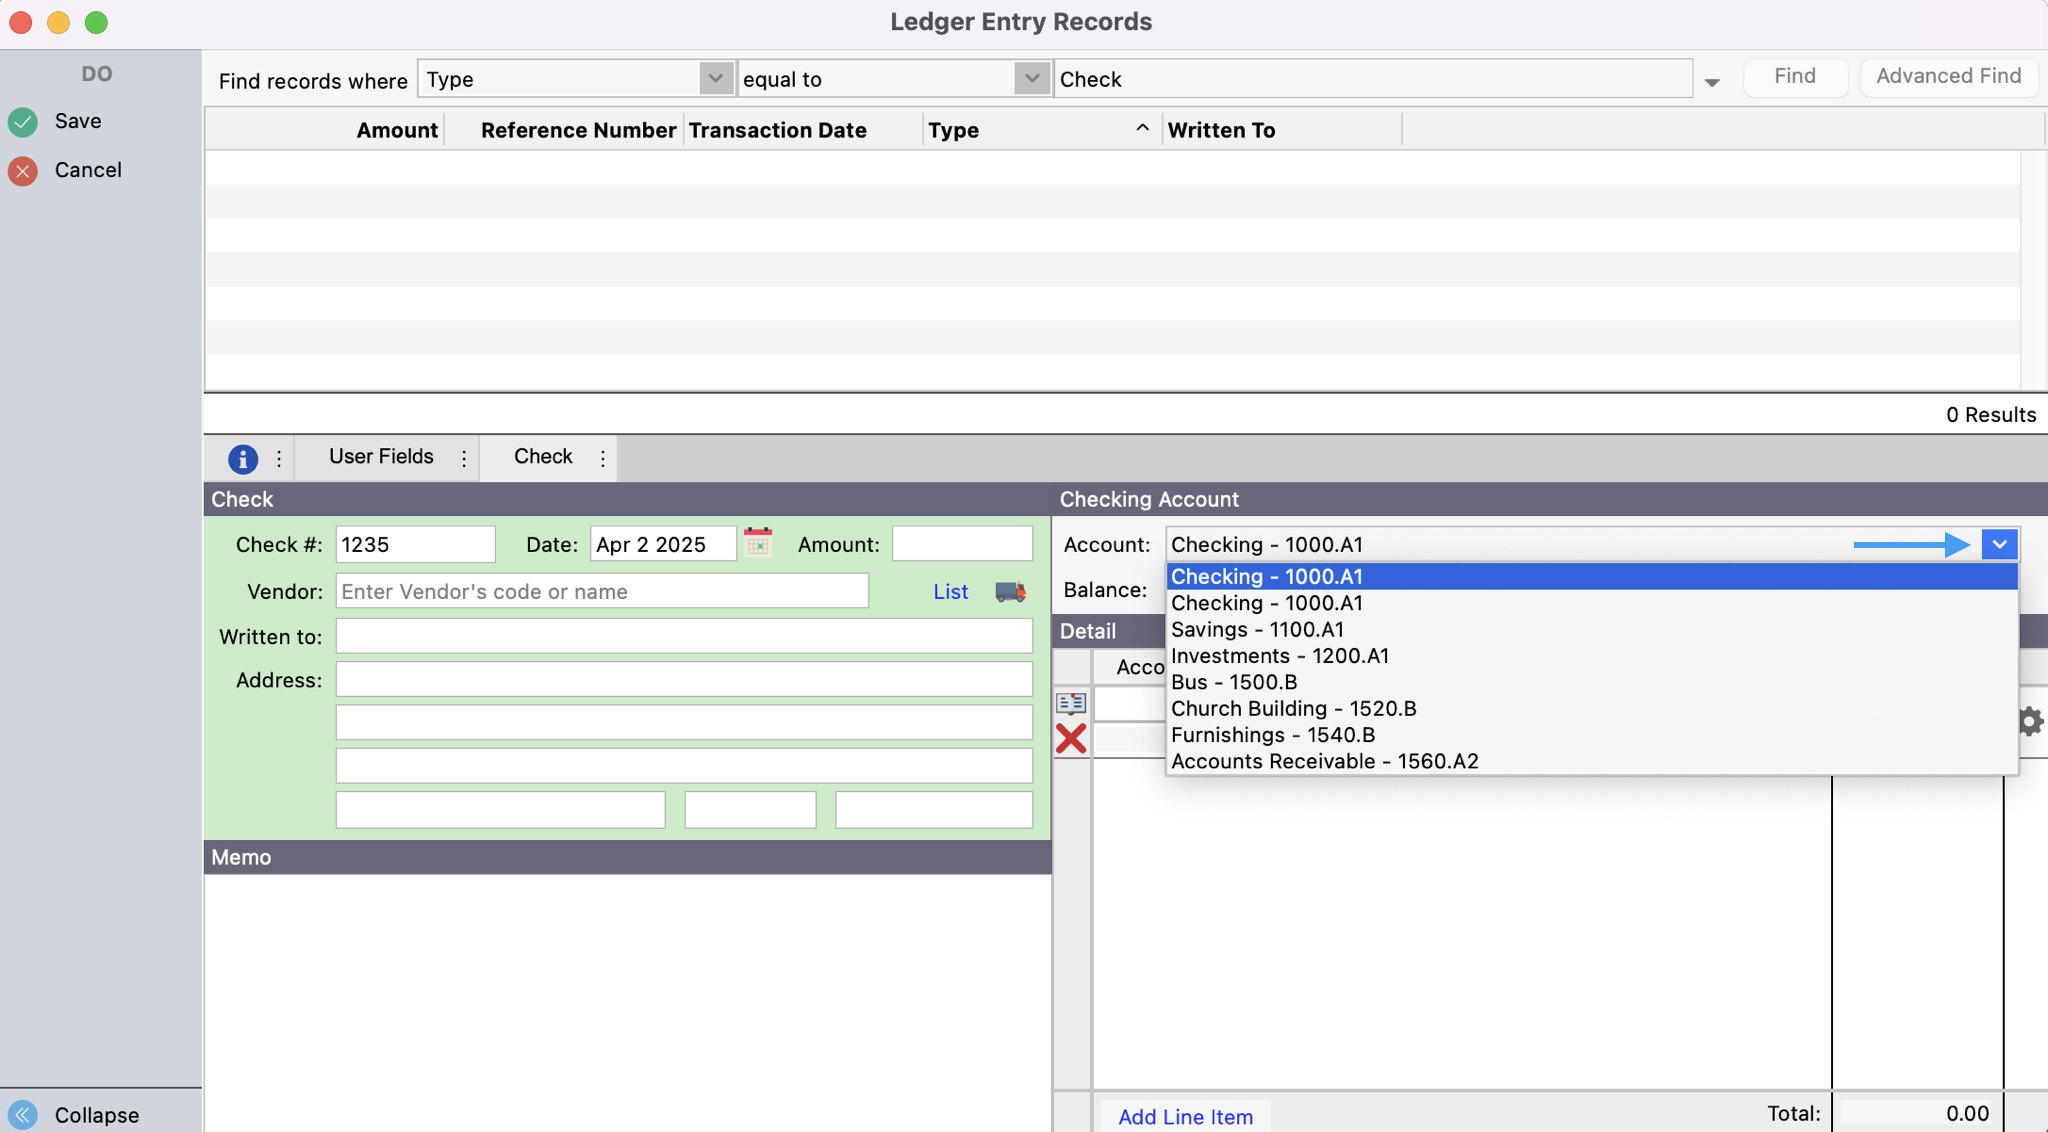
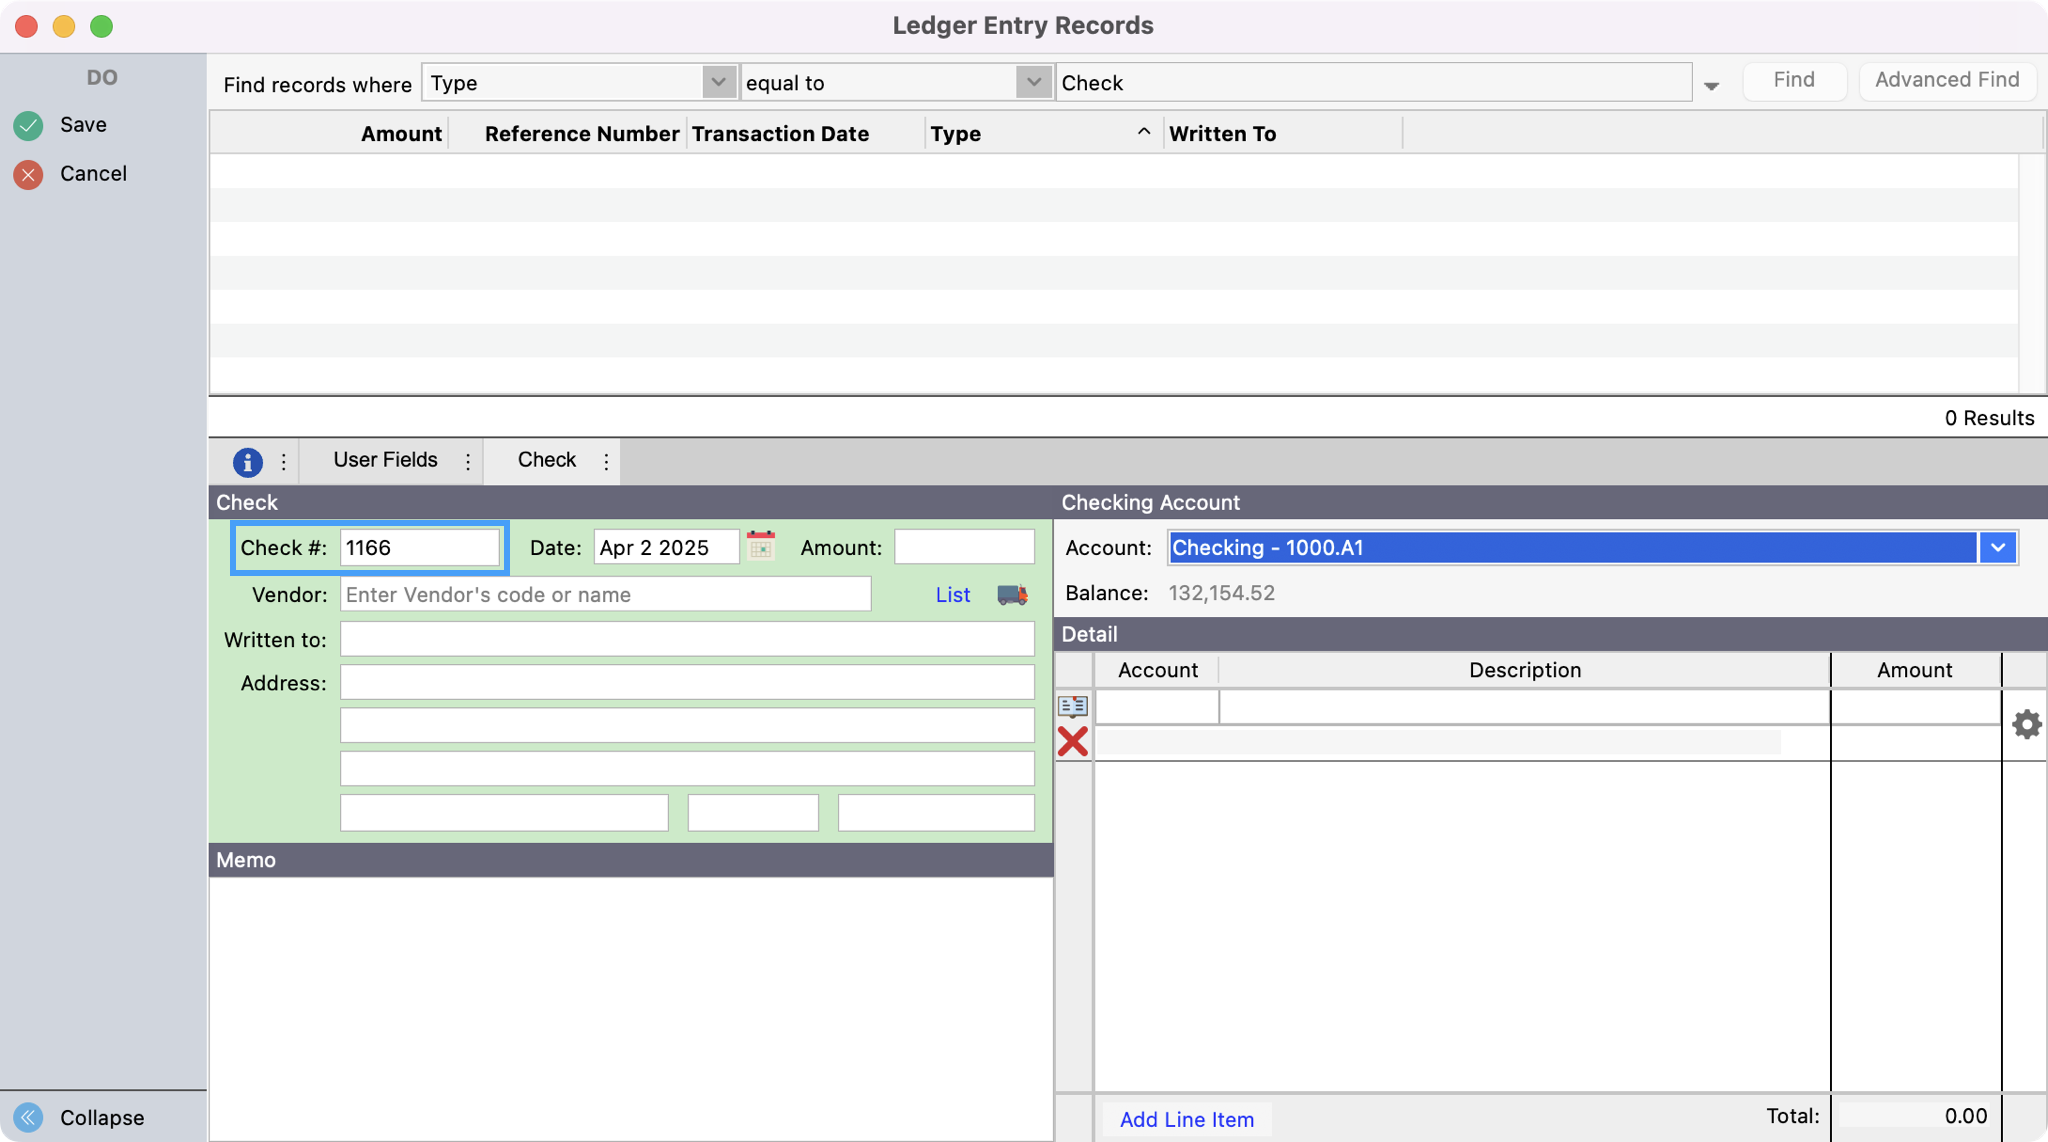
Click on the drop-down arrow beside the Account field, and choose the correct Asset account number (e.g.—1000 for Checking account) from the drop-down list.
-
Go to the Check Number field. The check number will default to the next sequential number. Change it if necessary.
-
Click in the Date field. The Date will default to today's date. You may change it to the applicable transaction date, if needed.
-
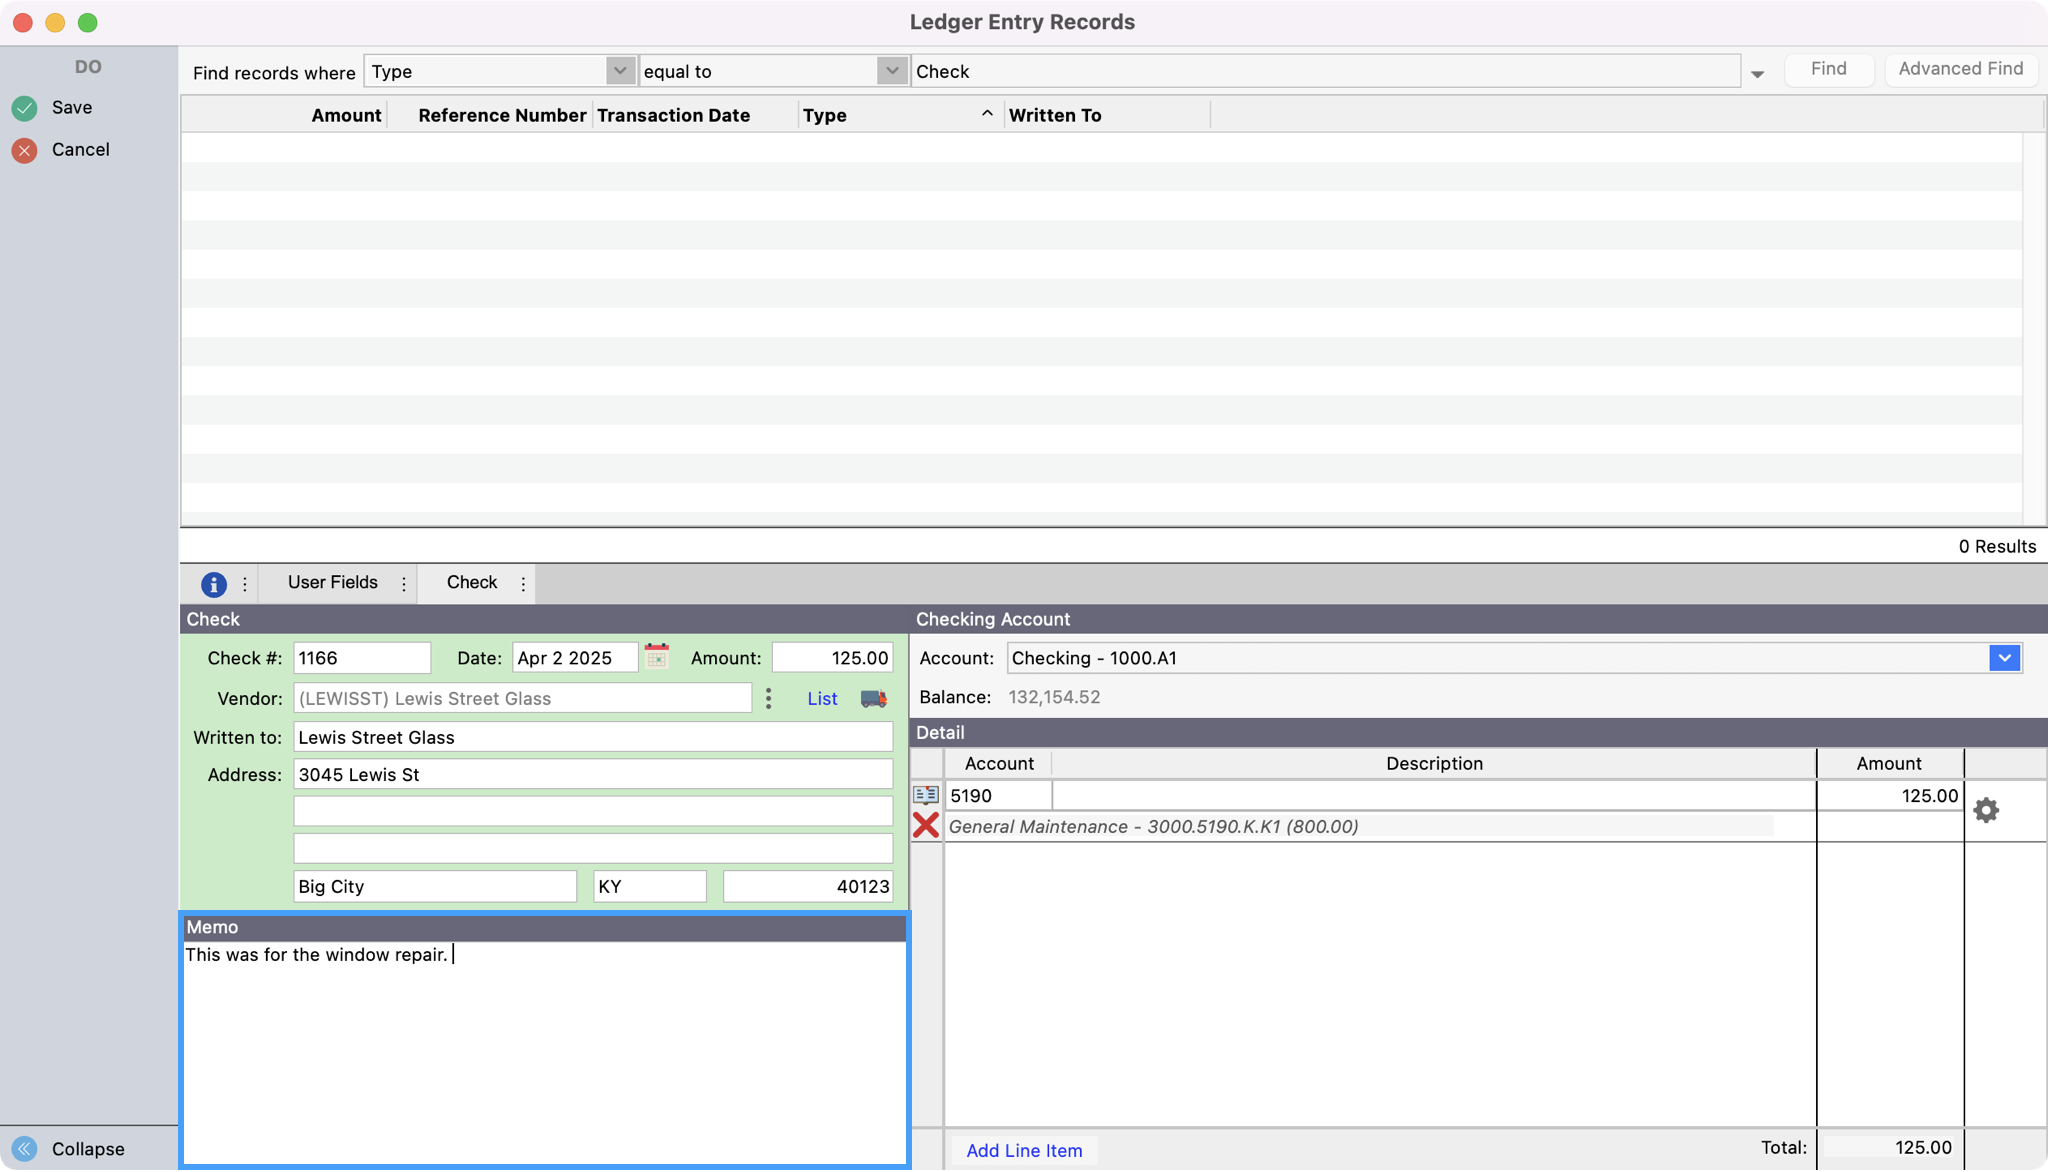
Next, click Tab on your keyboard to go to the Amount field and type the amount of the check.

-
Press Tab and enter the Vendor. Here you can begin to type the name of a vendor and click Tab. If only one vendor matches what you have typed, you’ll see CDM+ auto-populate the result. If there is more than one vendor that meets that criteria you’ll see your options to select. You can also click List to see a list of vendors to select.

-
Next, you can click in the Memo field and type a note, if desired.
-
Place the cursor in the Account field. If you have setup a default account for the assigned vendor you will see the default account be auto-populated. If no default account is assigned to the vendor or you need to change it, enter an expense account number in the Account field. If you don't know the account number, click the book icon to open the Select Account window. Double-click on the account number you desire.


-
Press Tab to go to the Description field and enter a description, if desired.

-
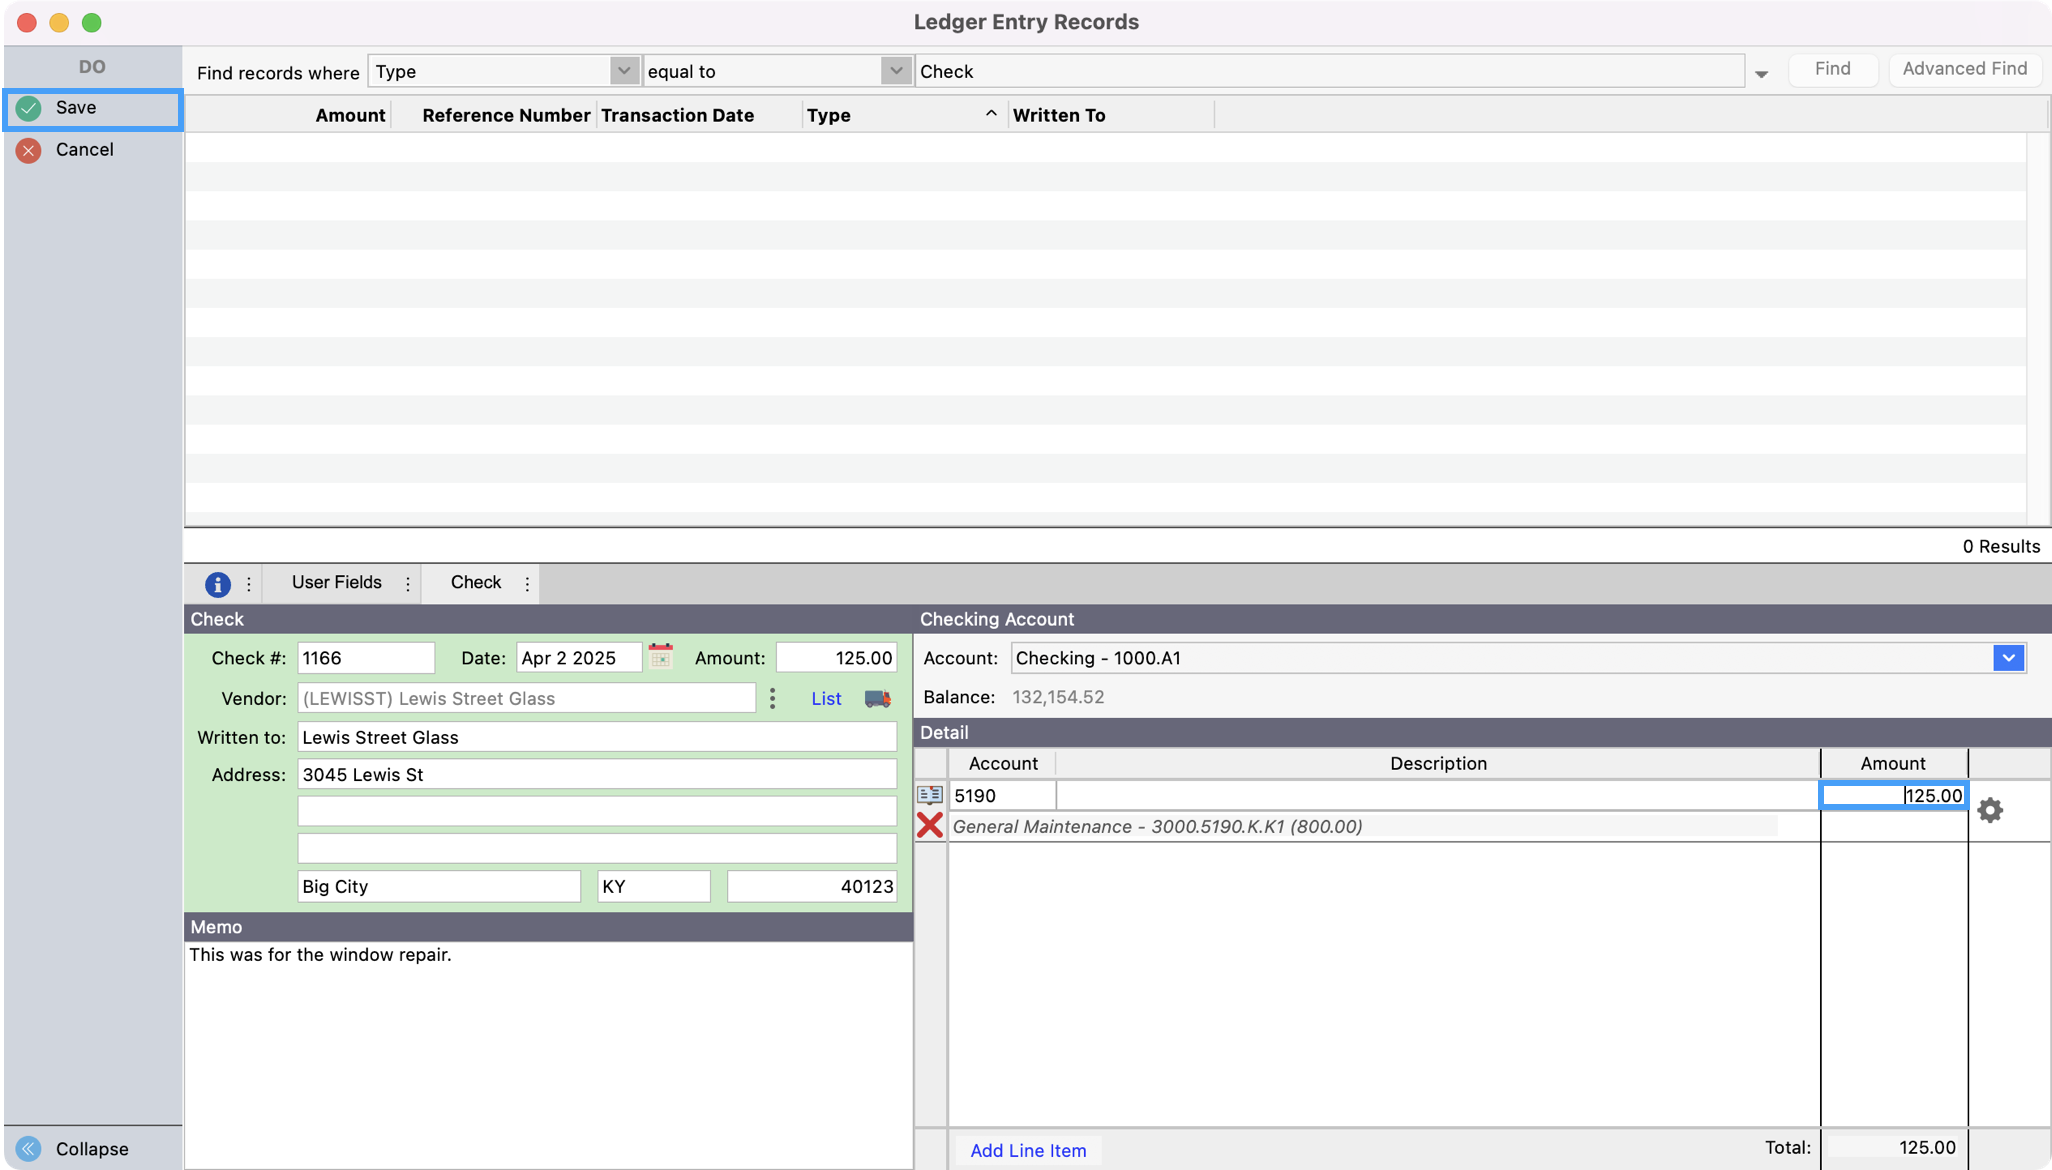
Press Tab again. The Total amount of the check should appear in the Amount field. If the check is to be assigned to a single account number, click Save or press Return/Enter.
If the check is to be assigned to more than one expense account number, change the number in the Amount field, and press the Tab key (or click the small Add button). Repeat Steps 8-9 above, adding lines for different expense numbers and different amounts until the Total equals the check Amount and then click the Save button.
You can leave the check amount blank and CDM+ will automatically set it to the total amount for the detail line items upon saving.
You can print a “quick pay” check from the Ledger Entry window after recording the check by clicking Print Check from the left sidebar.

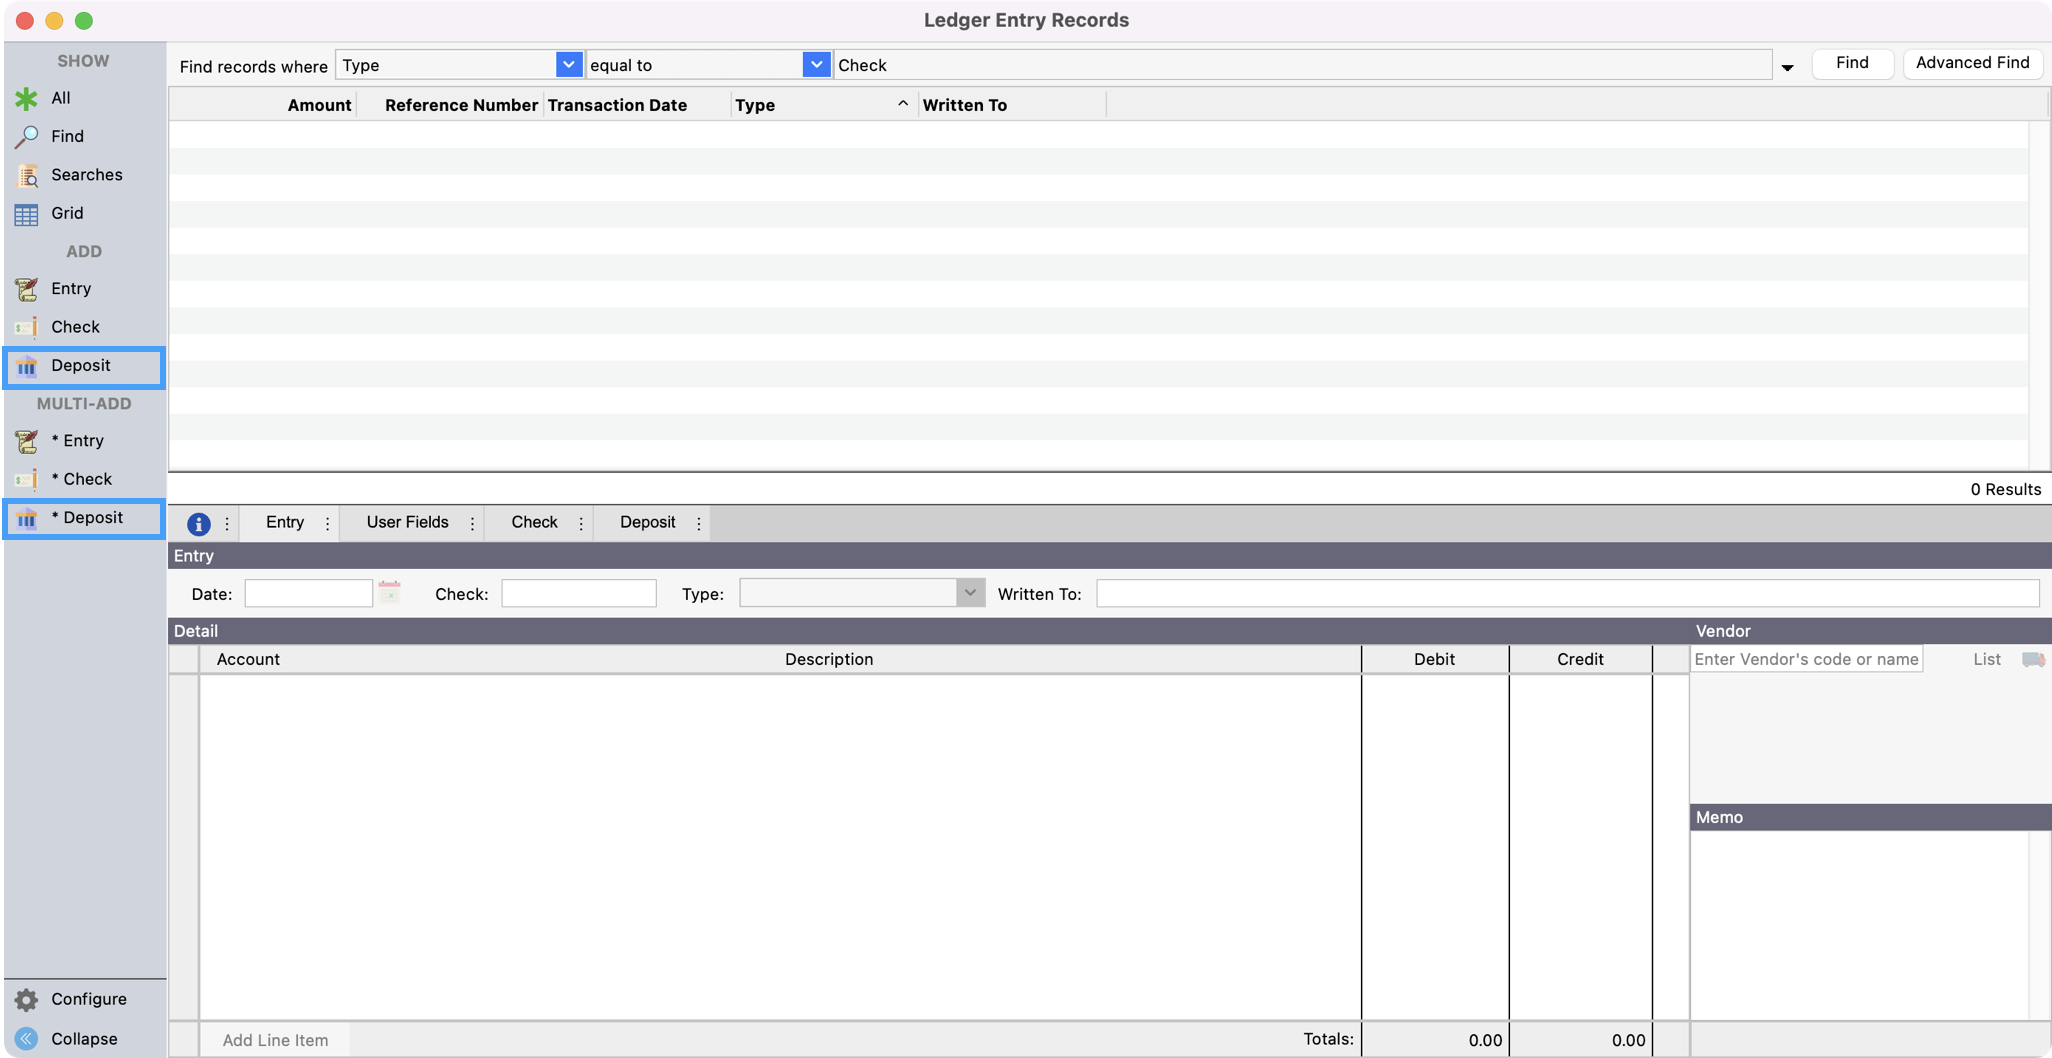
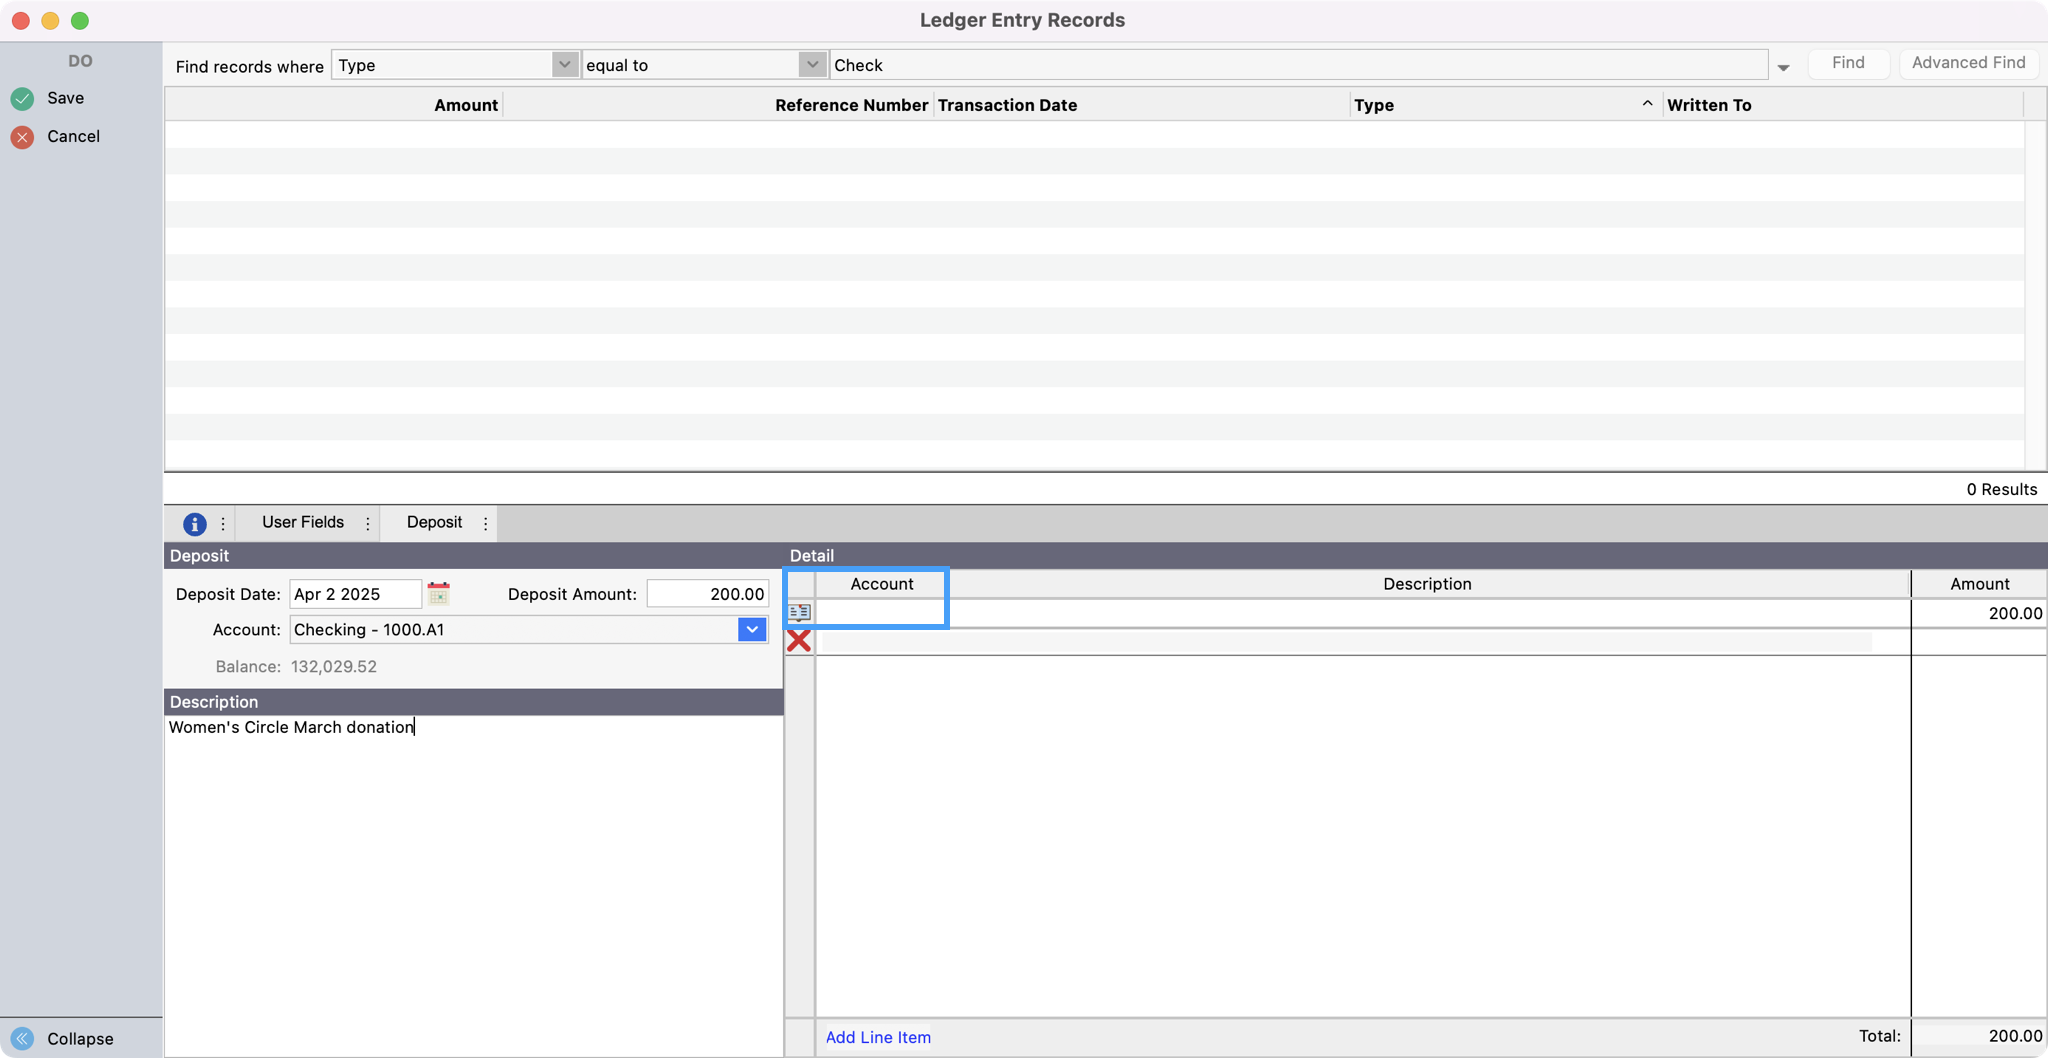
Entering Deposits
-
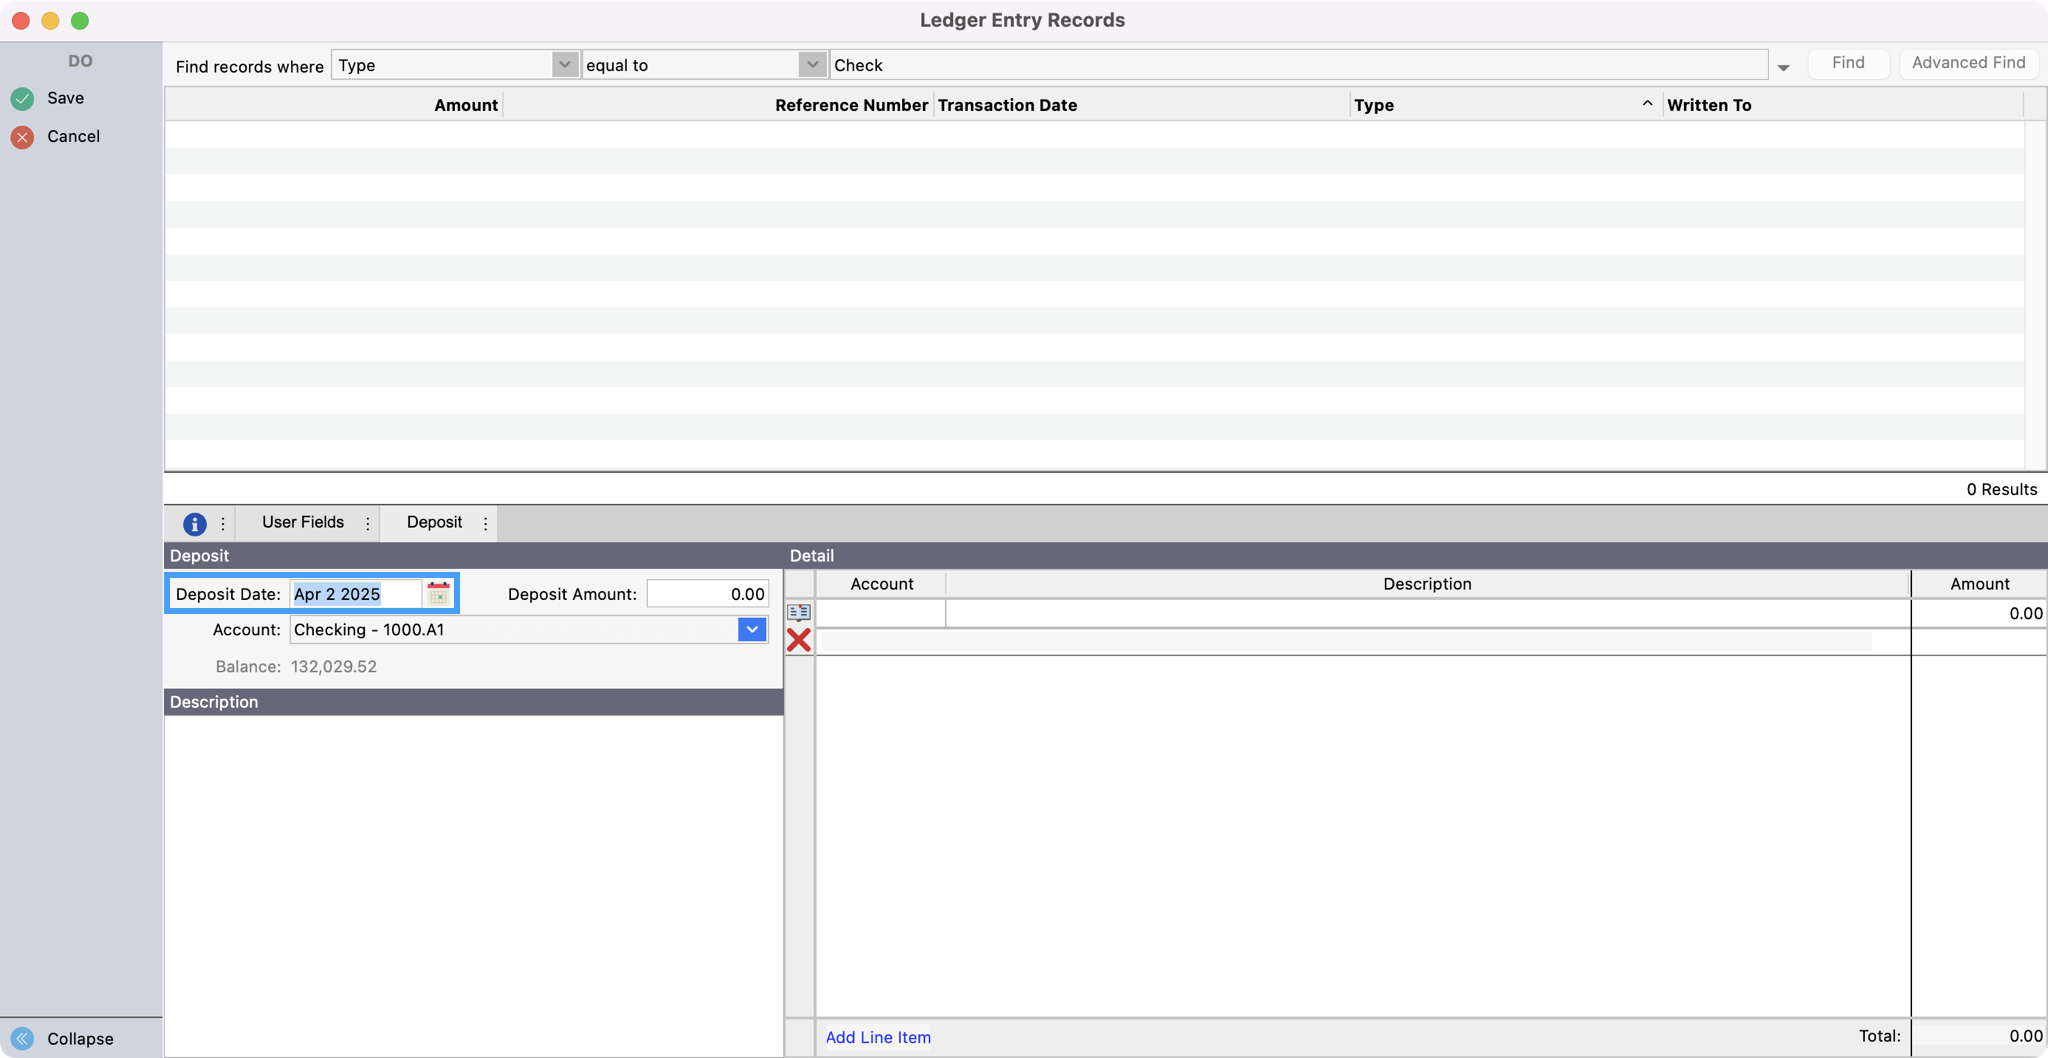
In the left sidebar of the Ledger Entry Records window, you’ll see two sections, Add and Multi-add. Depending on your workflow, you can click Deposit under Add for a single entry or Deposit under Multi-add if adding more than one.
-
The Deposit Date will default to today's date. You may change it to the applicable deposit date, if needed.
-
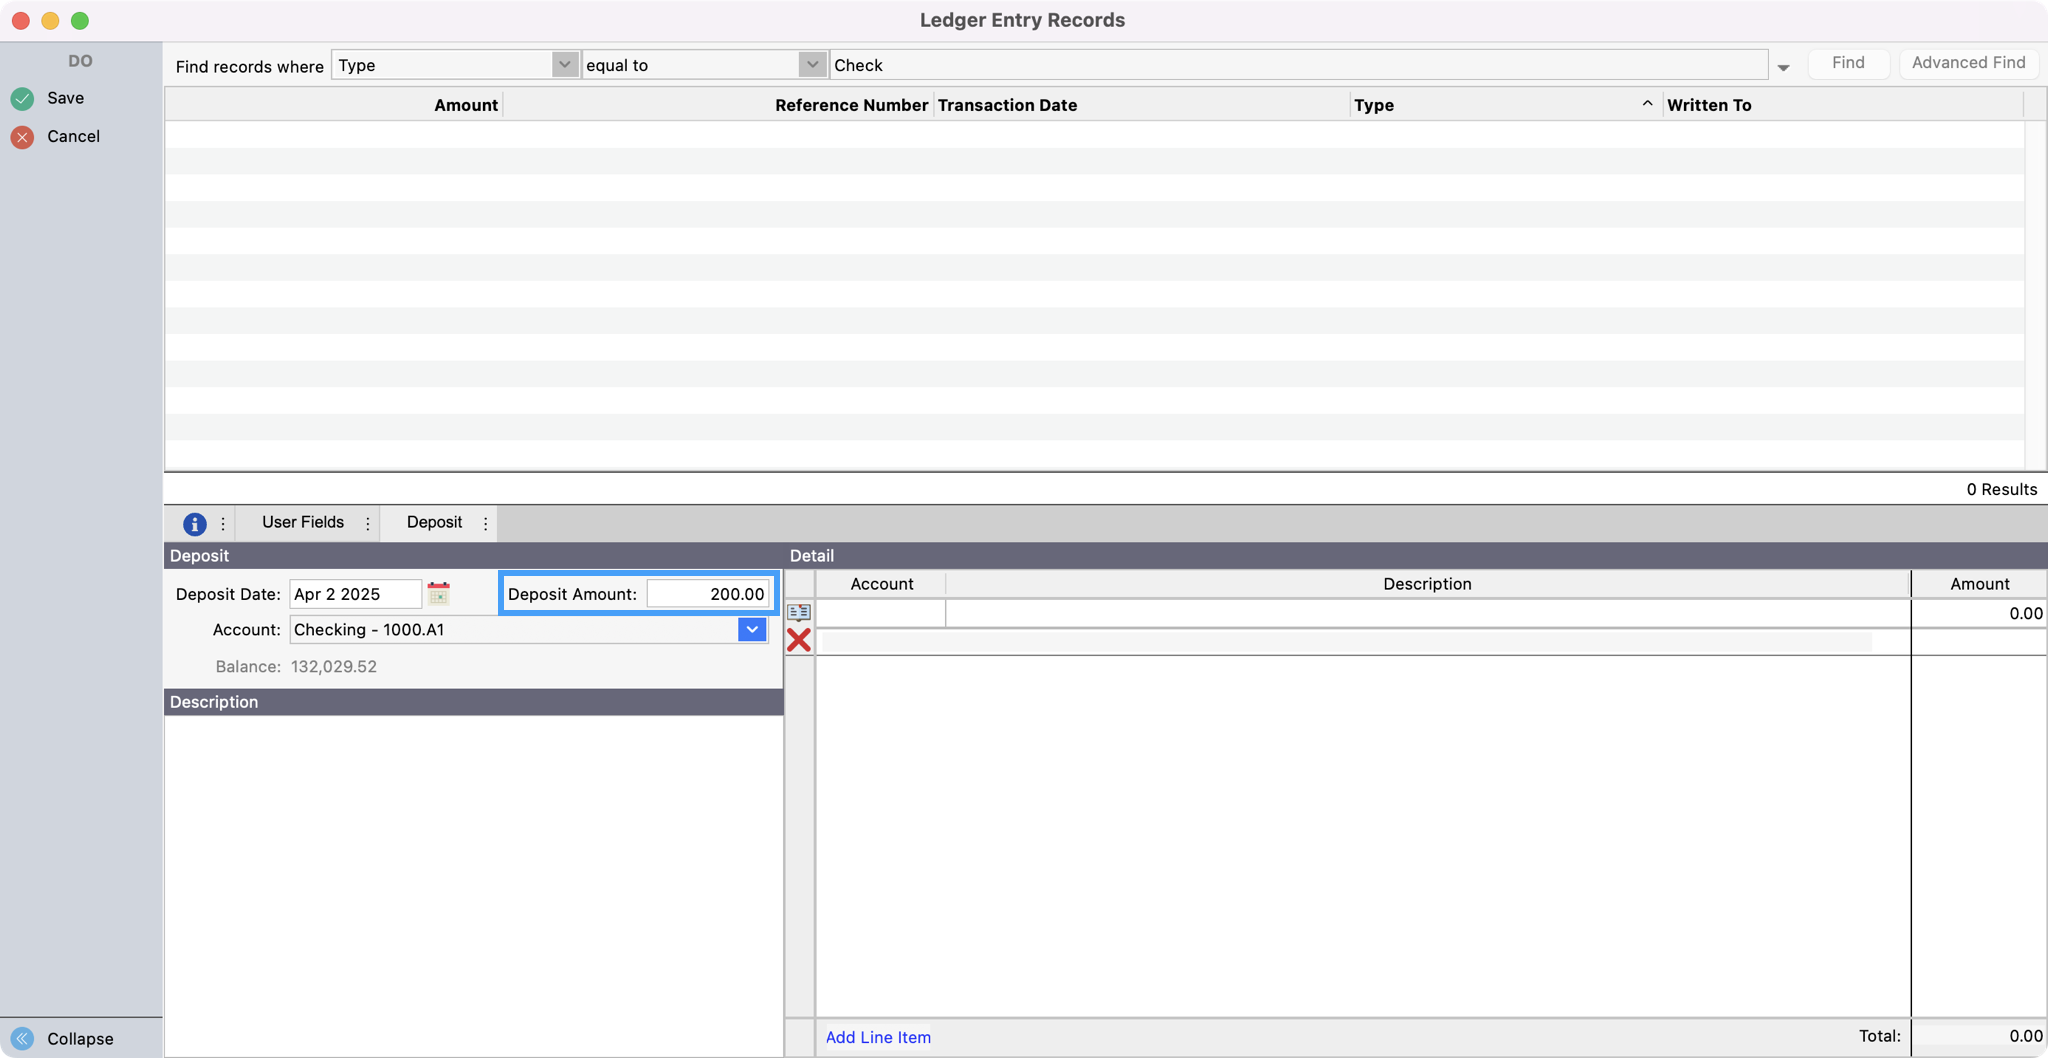
Press Tab on your keyboard and type the deposit amount.
-
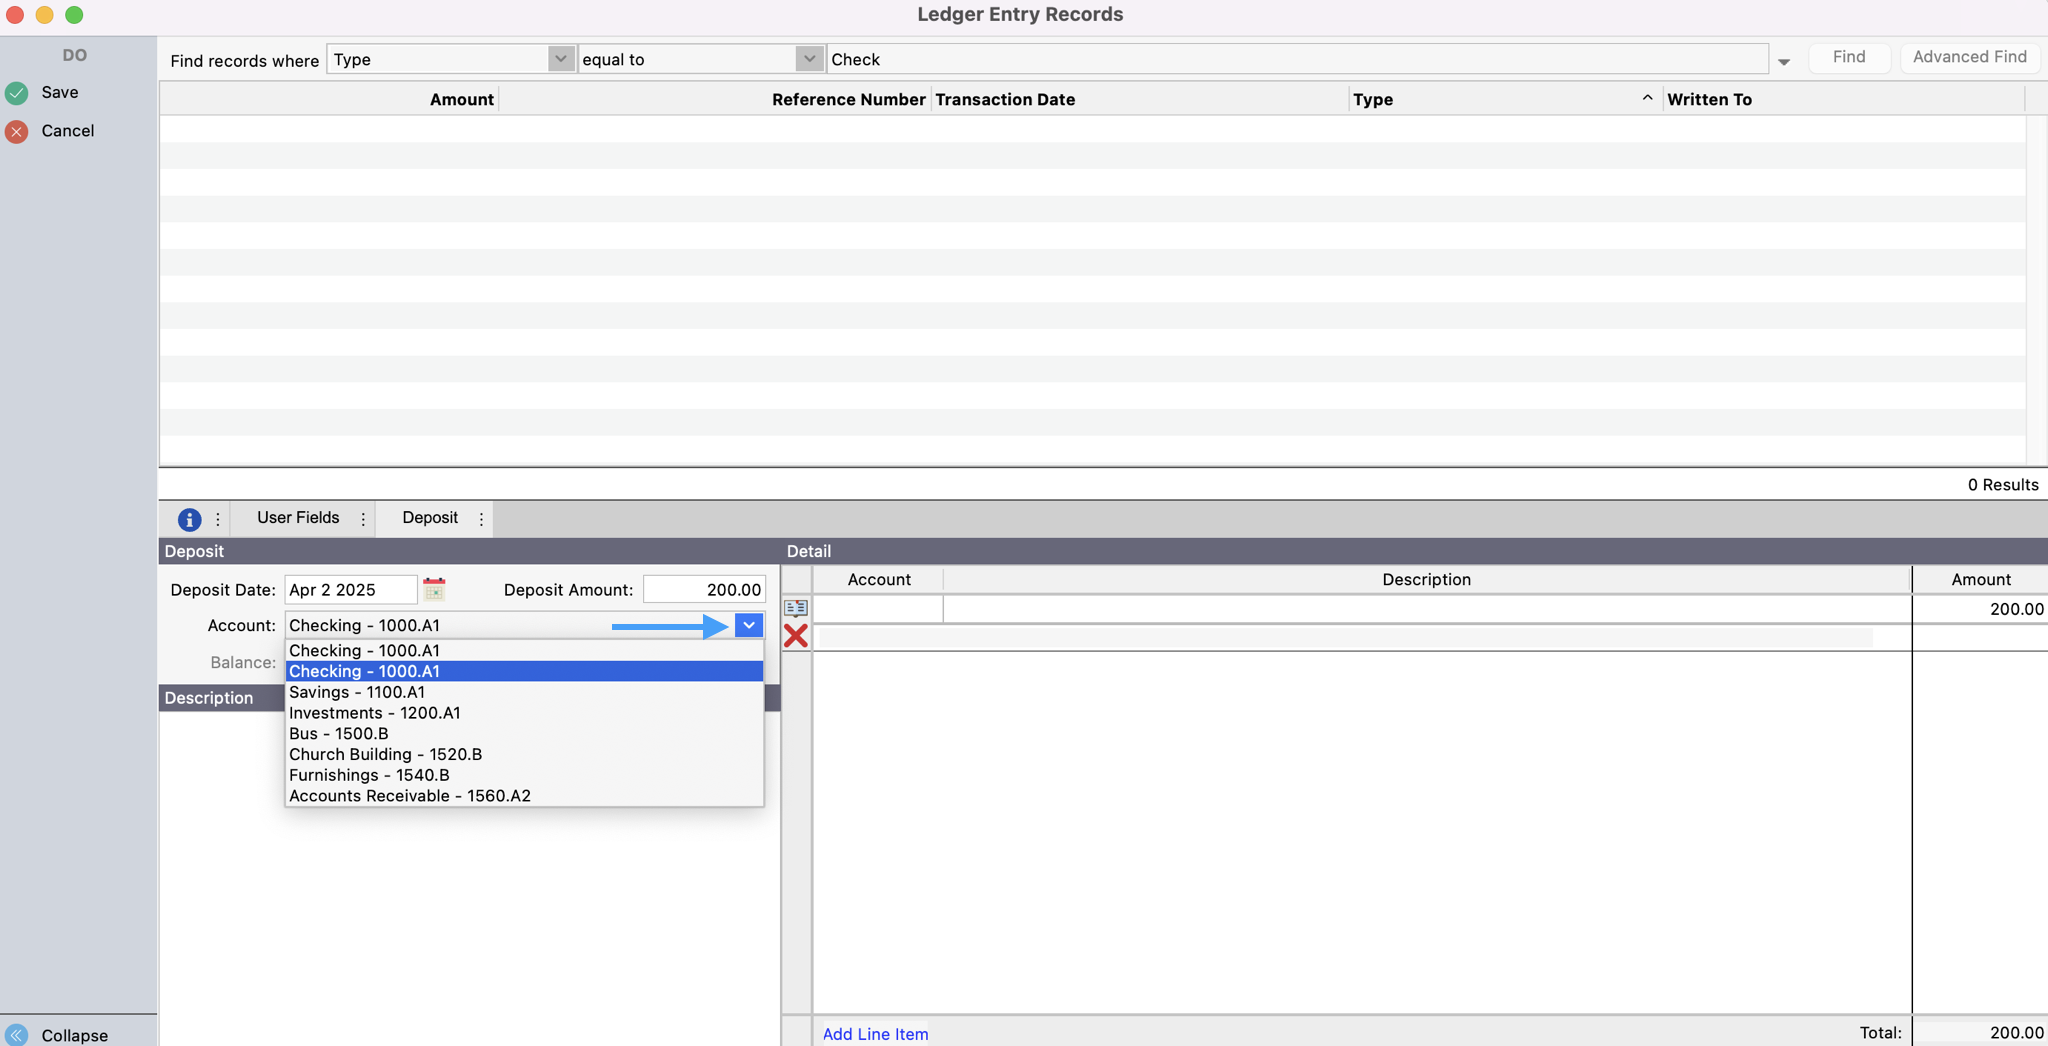
Press Tab, moving into the Account field. Click the drop-down arrow beside the Account field, and choose the correct Asset account number (e.g.—1000 for Checking account).
-
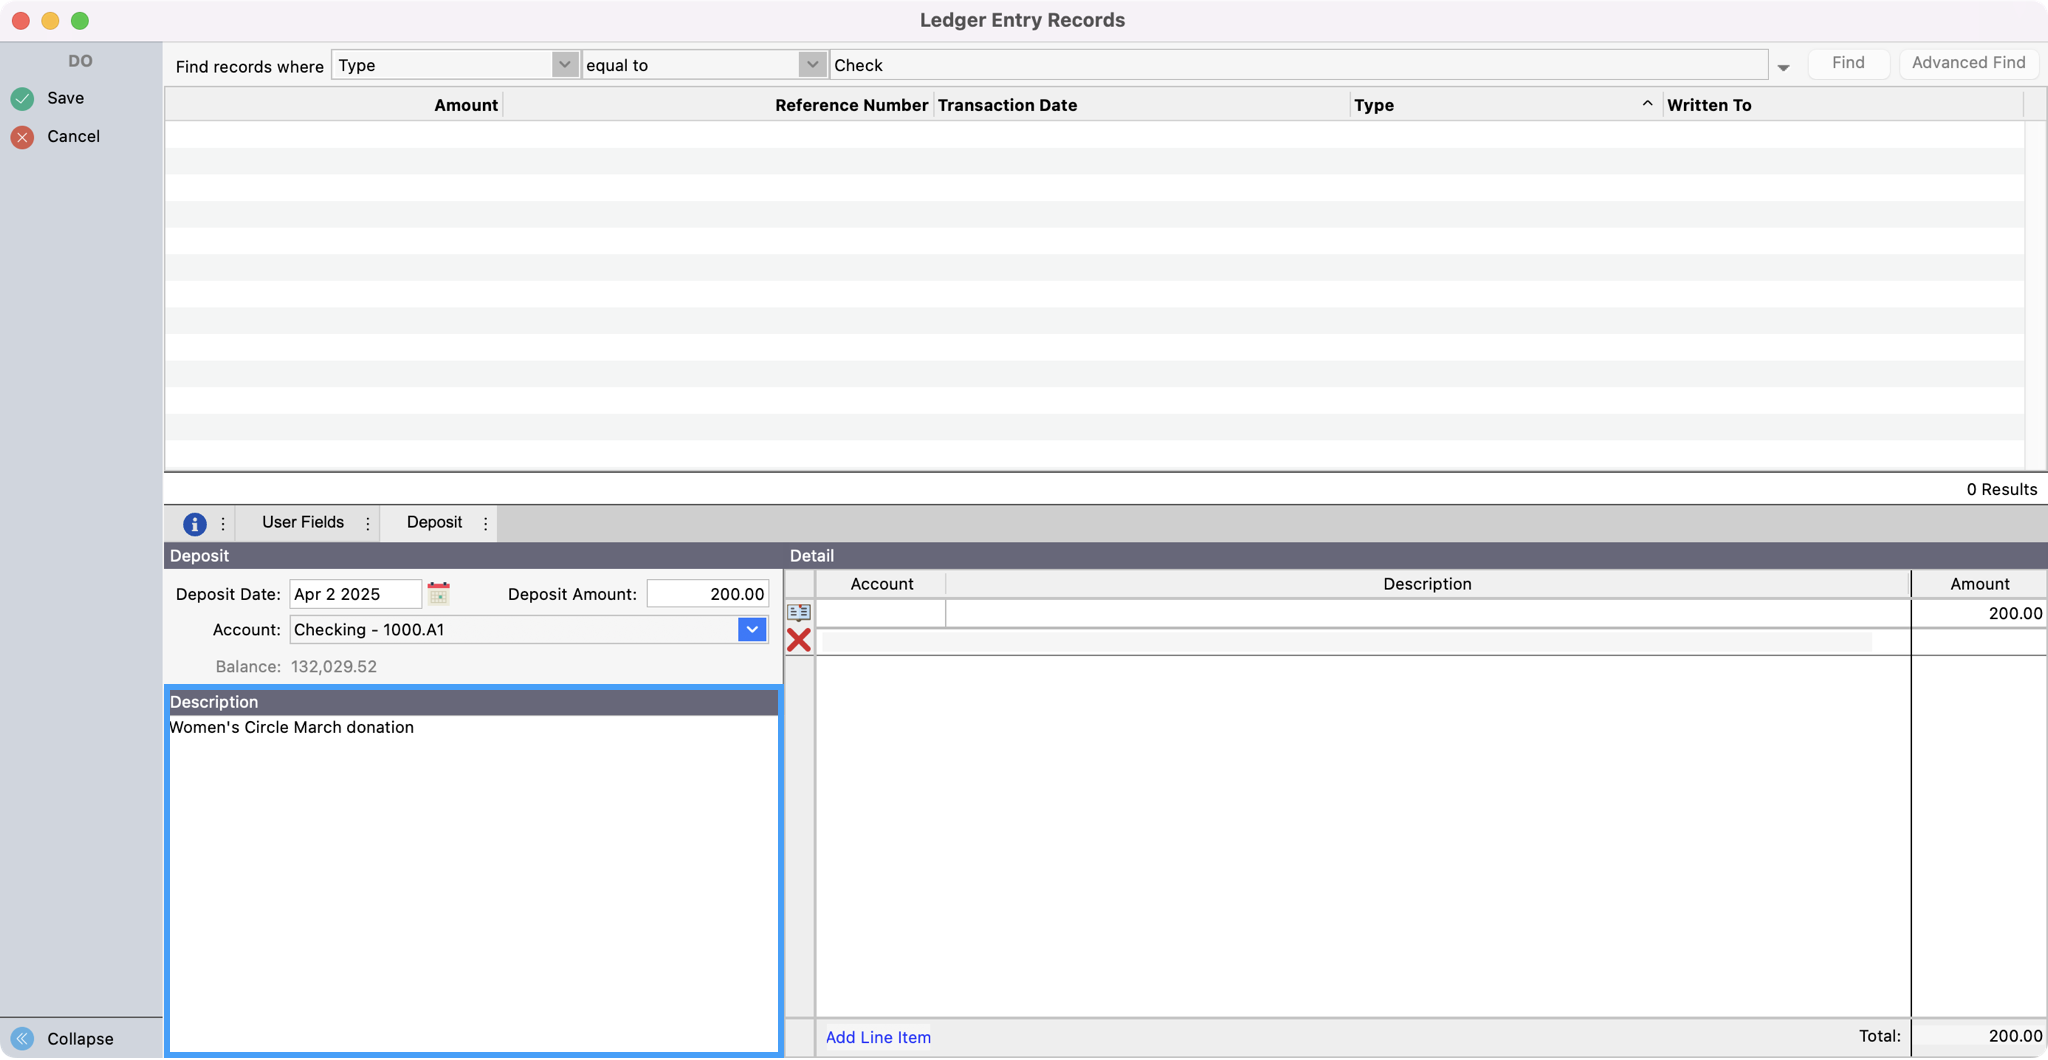
Press Tab and type the Deposit Description (e.g. - Women's Circle March donation).
-
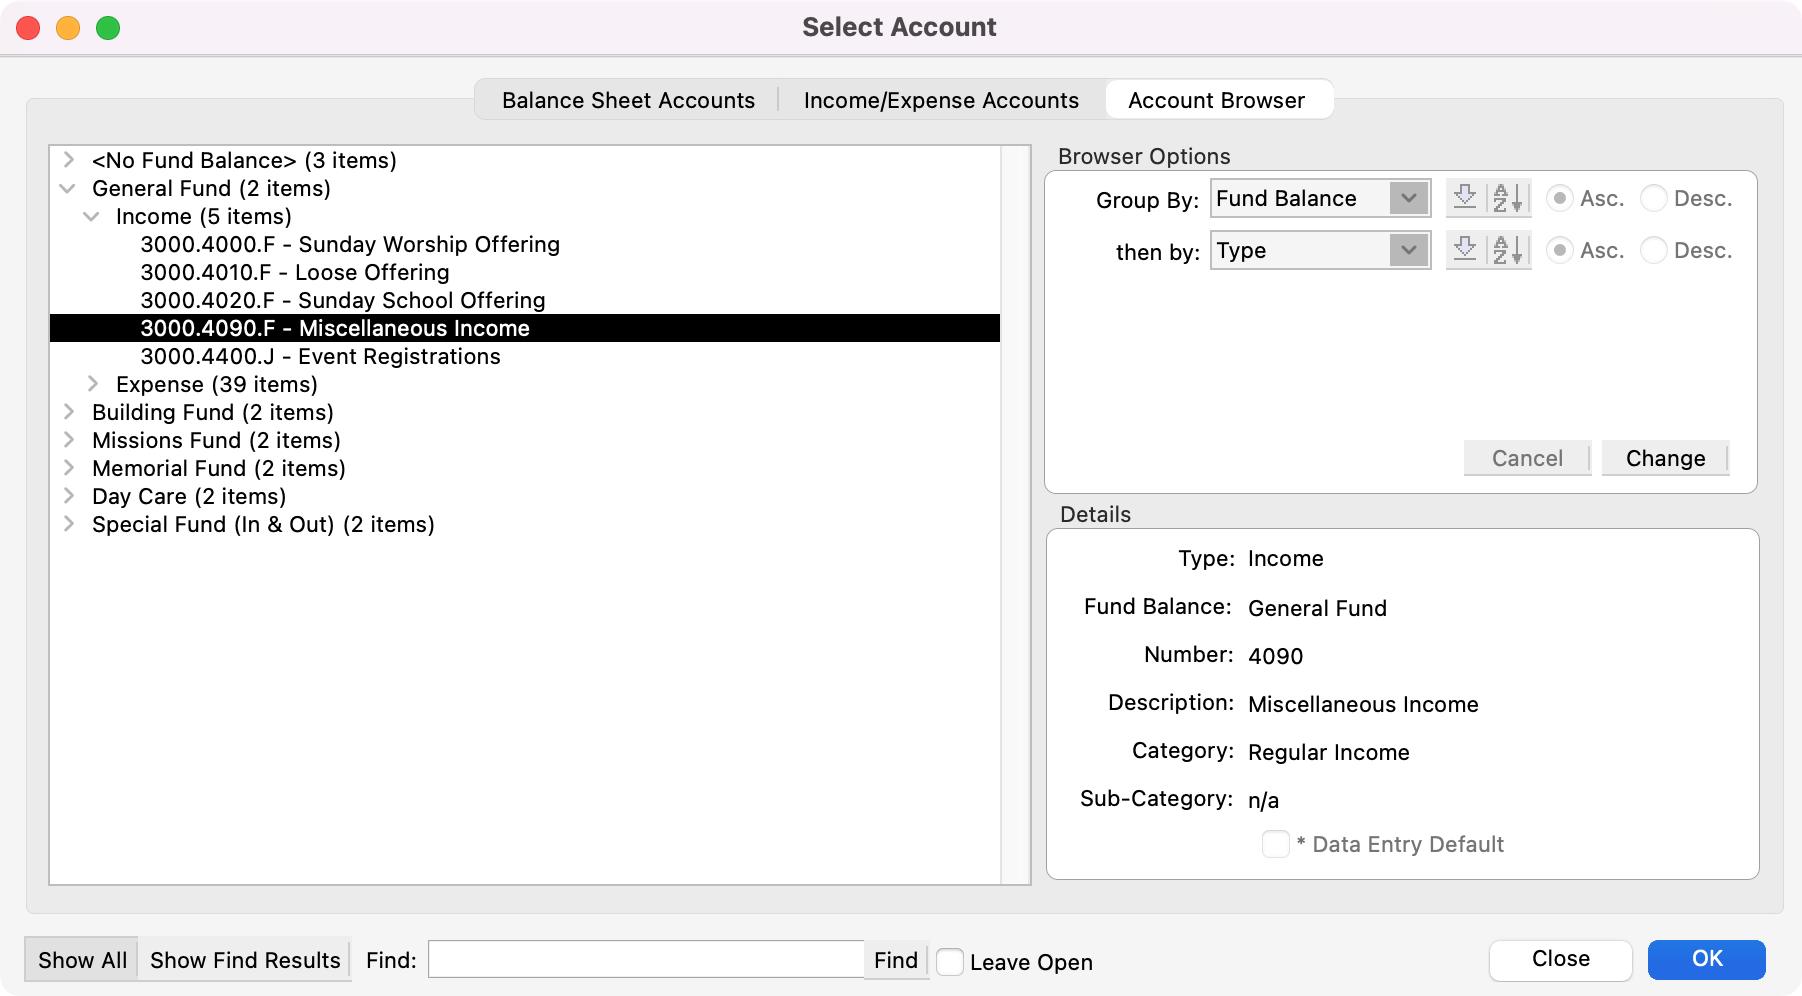
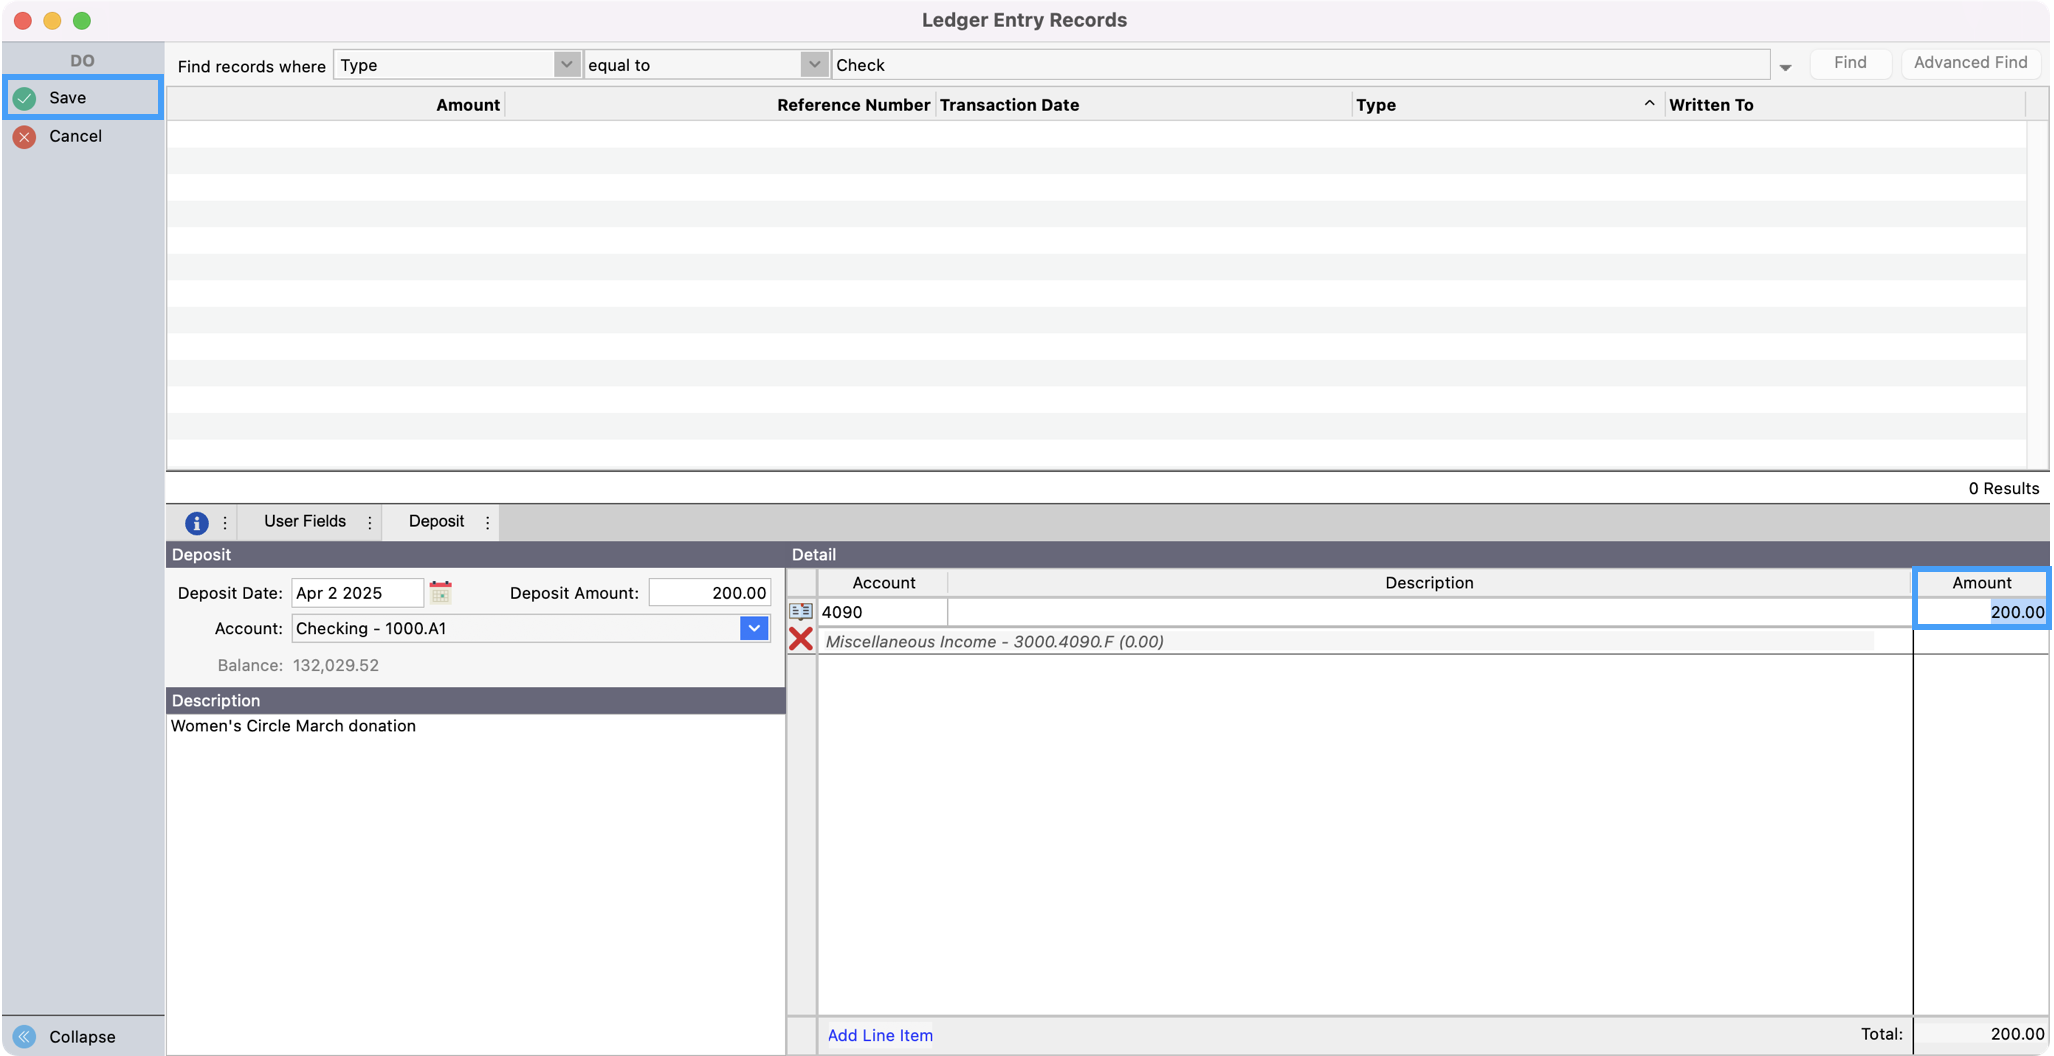
Press Tab, placing the cursor in the Account field. Enter an Income account number in the Account field (i.e. - 4110 for Missions Fund Offering). If you don't know the account number, click the book icon to open the Select Account window. Double-click on the account number you desire.
-
Press Tab. The total amount should appear in the Amount field. If the deposit is to be assigned to a single income account number, click Save or press Return/Enter.
If the deposit is to be assigned to more than one income account number, change the number in the Amount field, and press Tab (or click the small Add button). Repeat Step 6 above, adding lines for different income numbers and different amounts until the Total equals the Deposit Amount and then click the Save button.
You can leave the total deposit amount blank and CDM+ will automatically set it to the total amount for the detail line items upon saving.