-
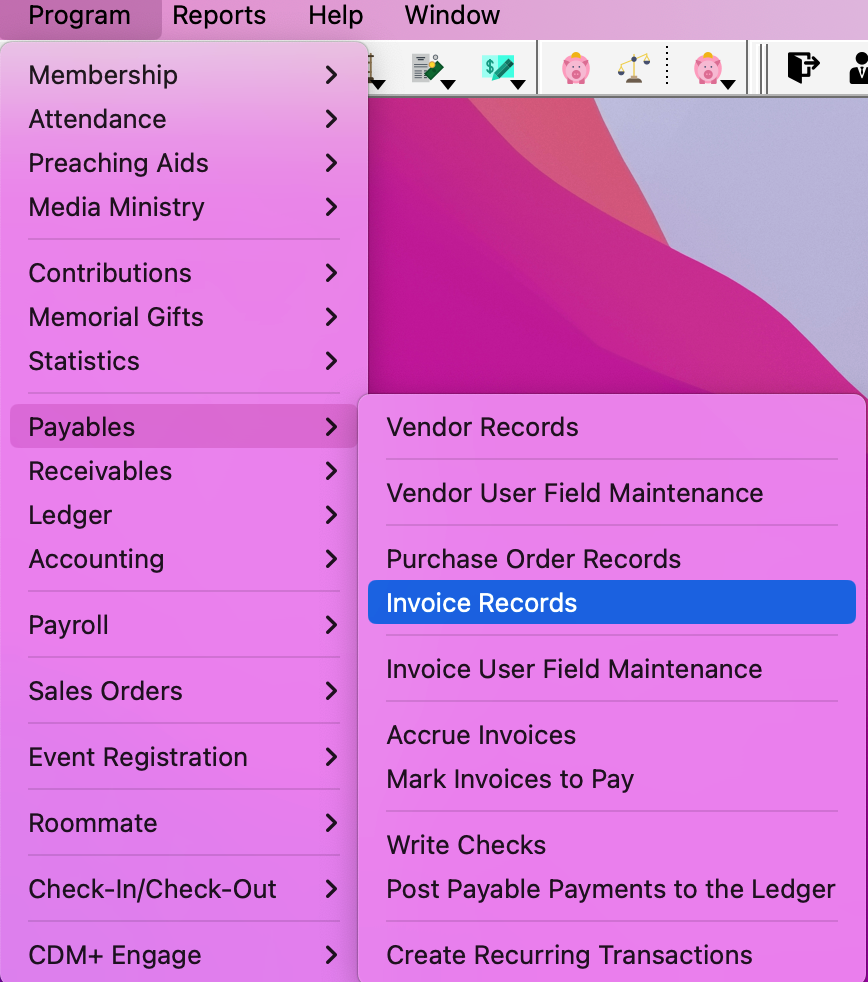
To create an invoice, go to Program → Payables → Invoice Records.
-
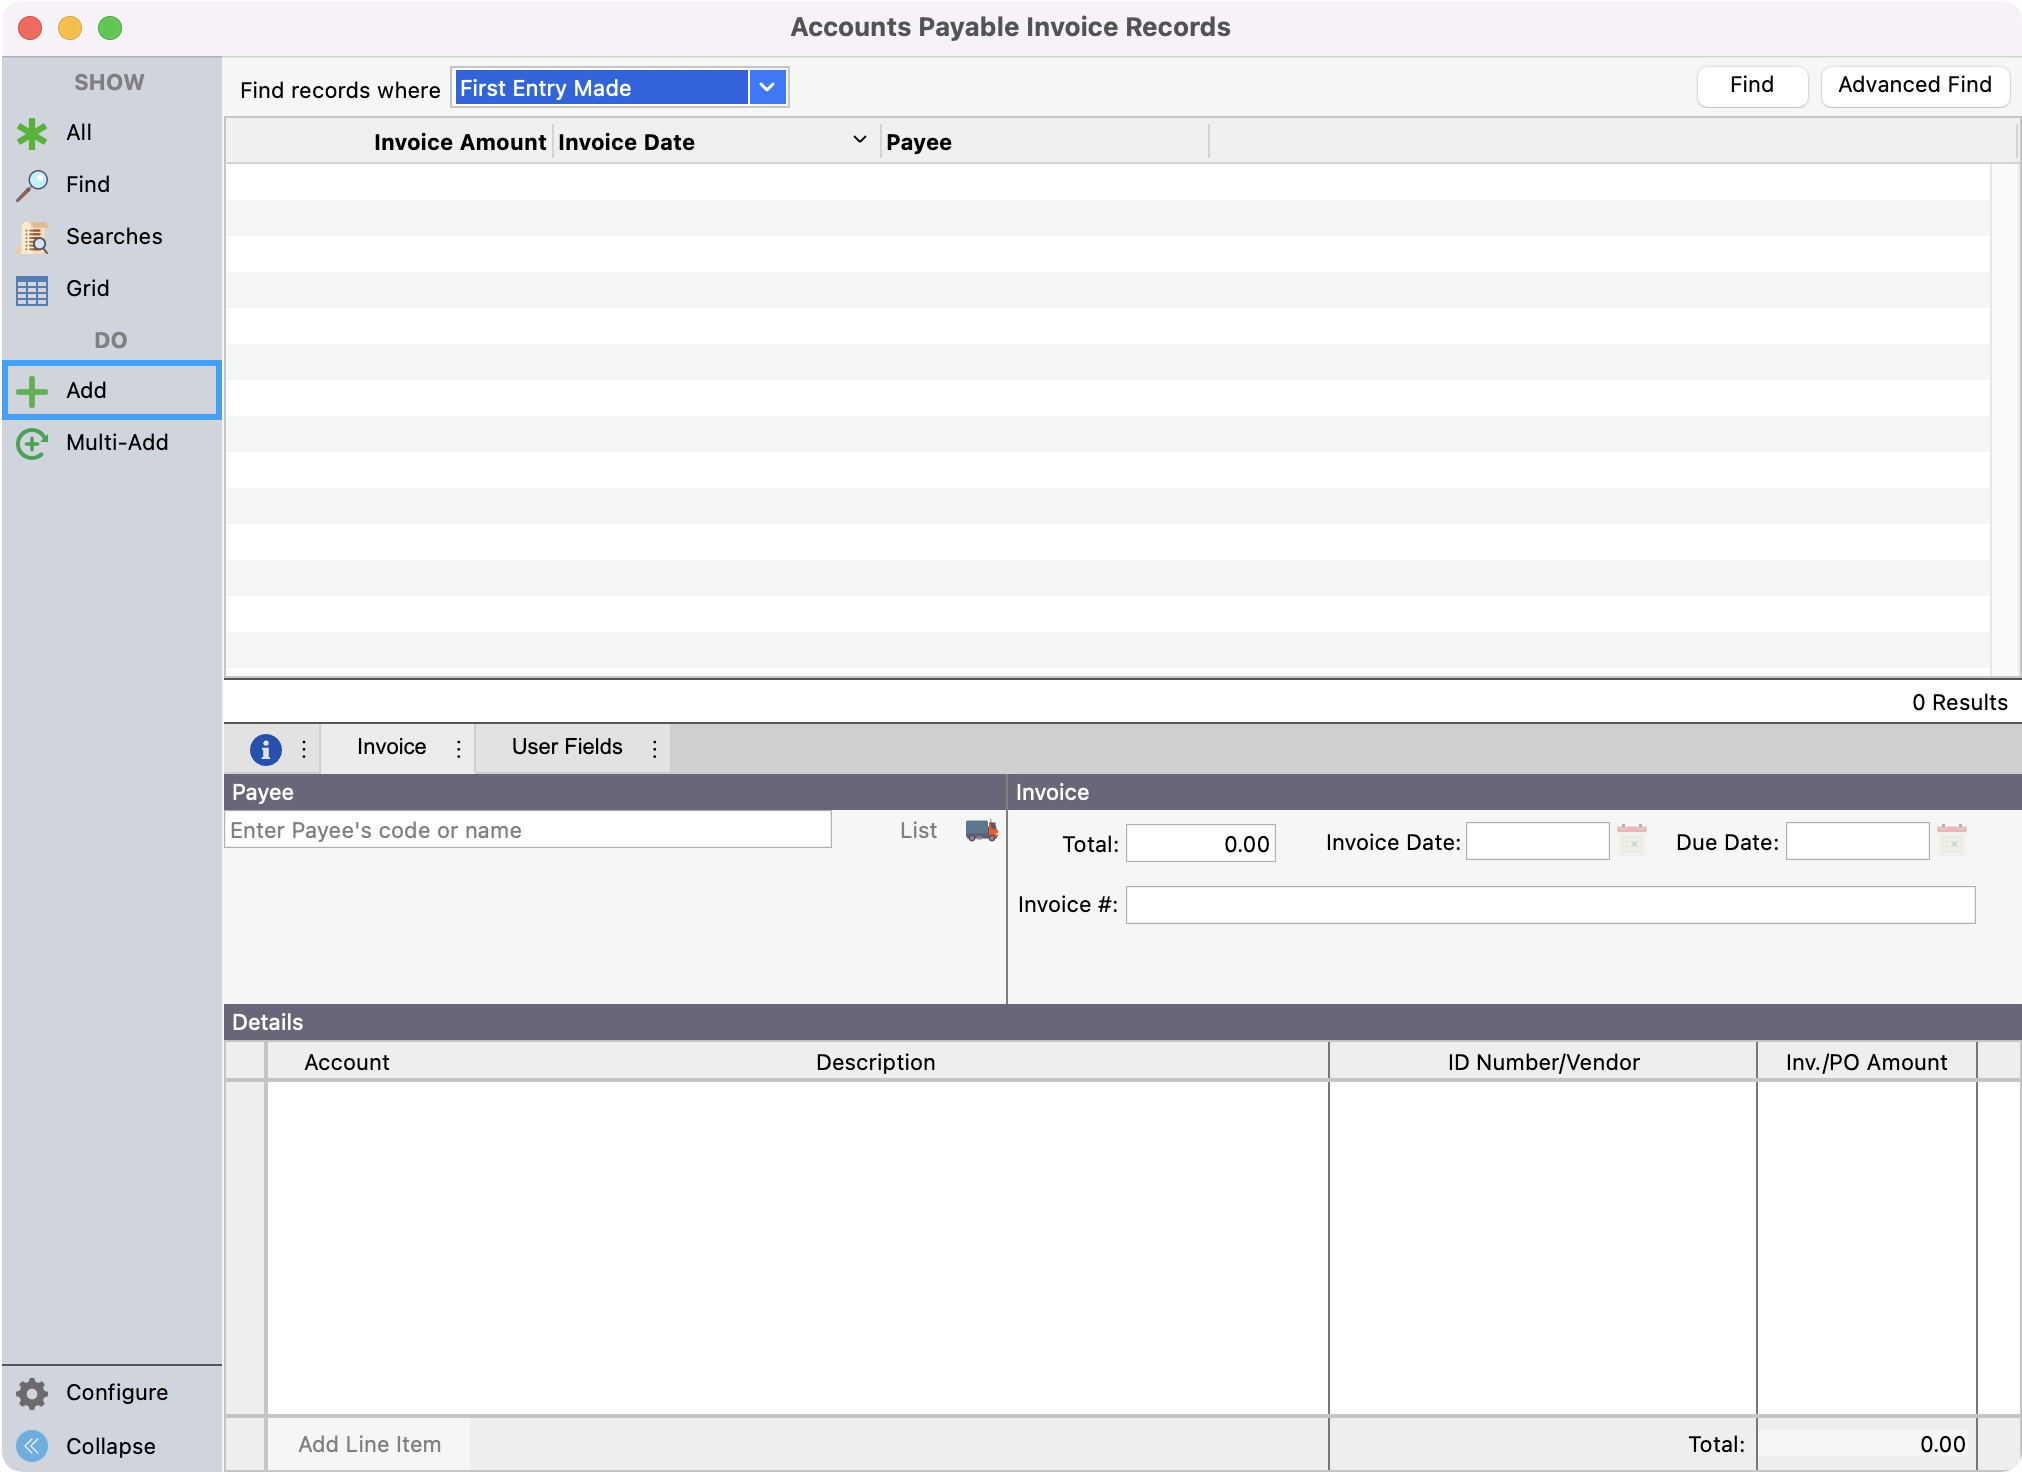
Click Add from the left sidebar.
-
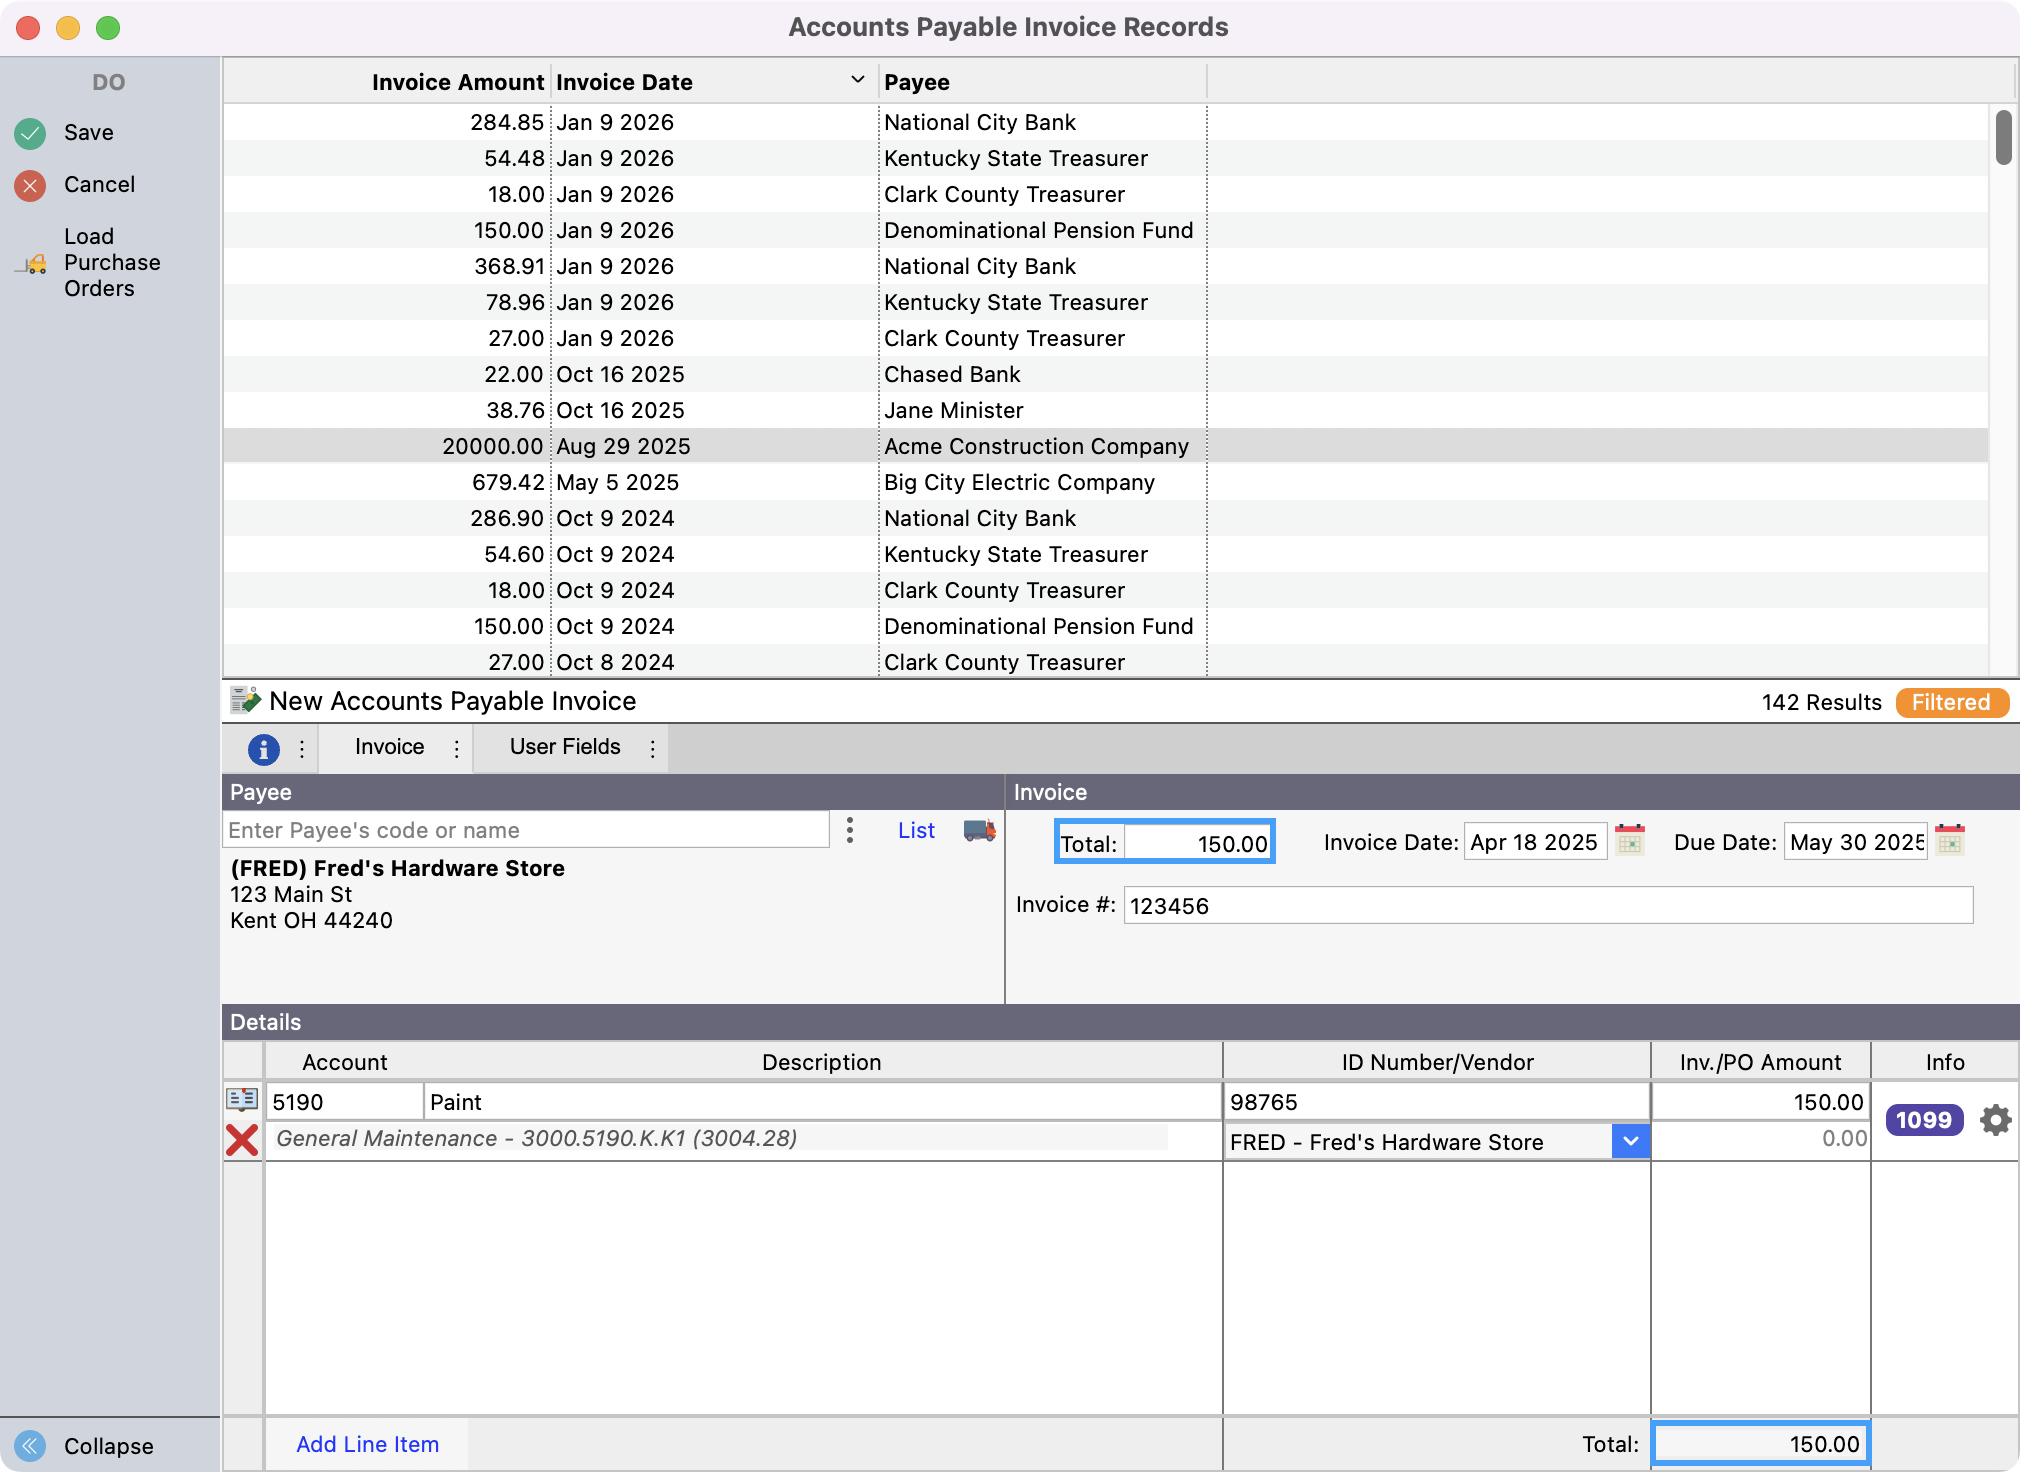
Click List to select the desired Payee from the list of vendors or begin typing the vendor name or code and press Tab. CDM+ will autofill the information.
To create an invoice using a miscellaneous vendor, first setup at least one miscellaneous vendor. Then, select a miscellaneous vendor from the Vendor drop list or type “Miscellaneous” in the Vendor field on the purchase order and press Tab. Click the name/hand icon to open the Rename Vendor window and type the vendor information.
-
Tab through the next four fields, entering the Total, Invoice Date, Due Date, and Invoice #, if applicable.
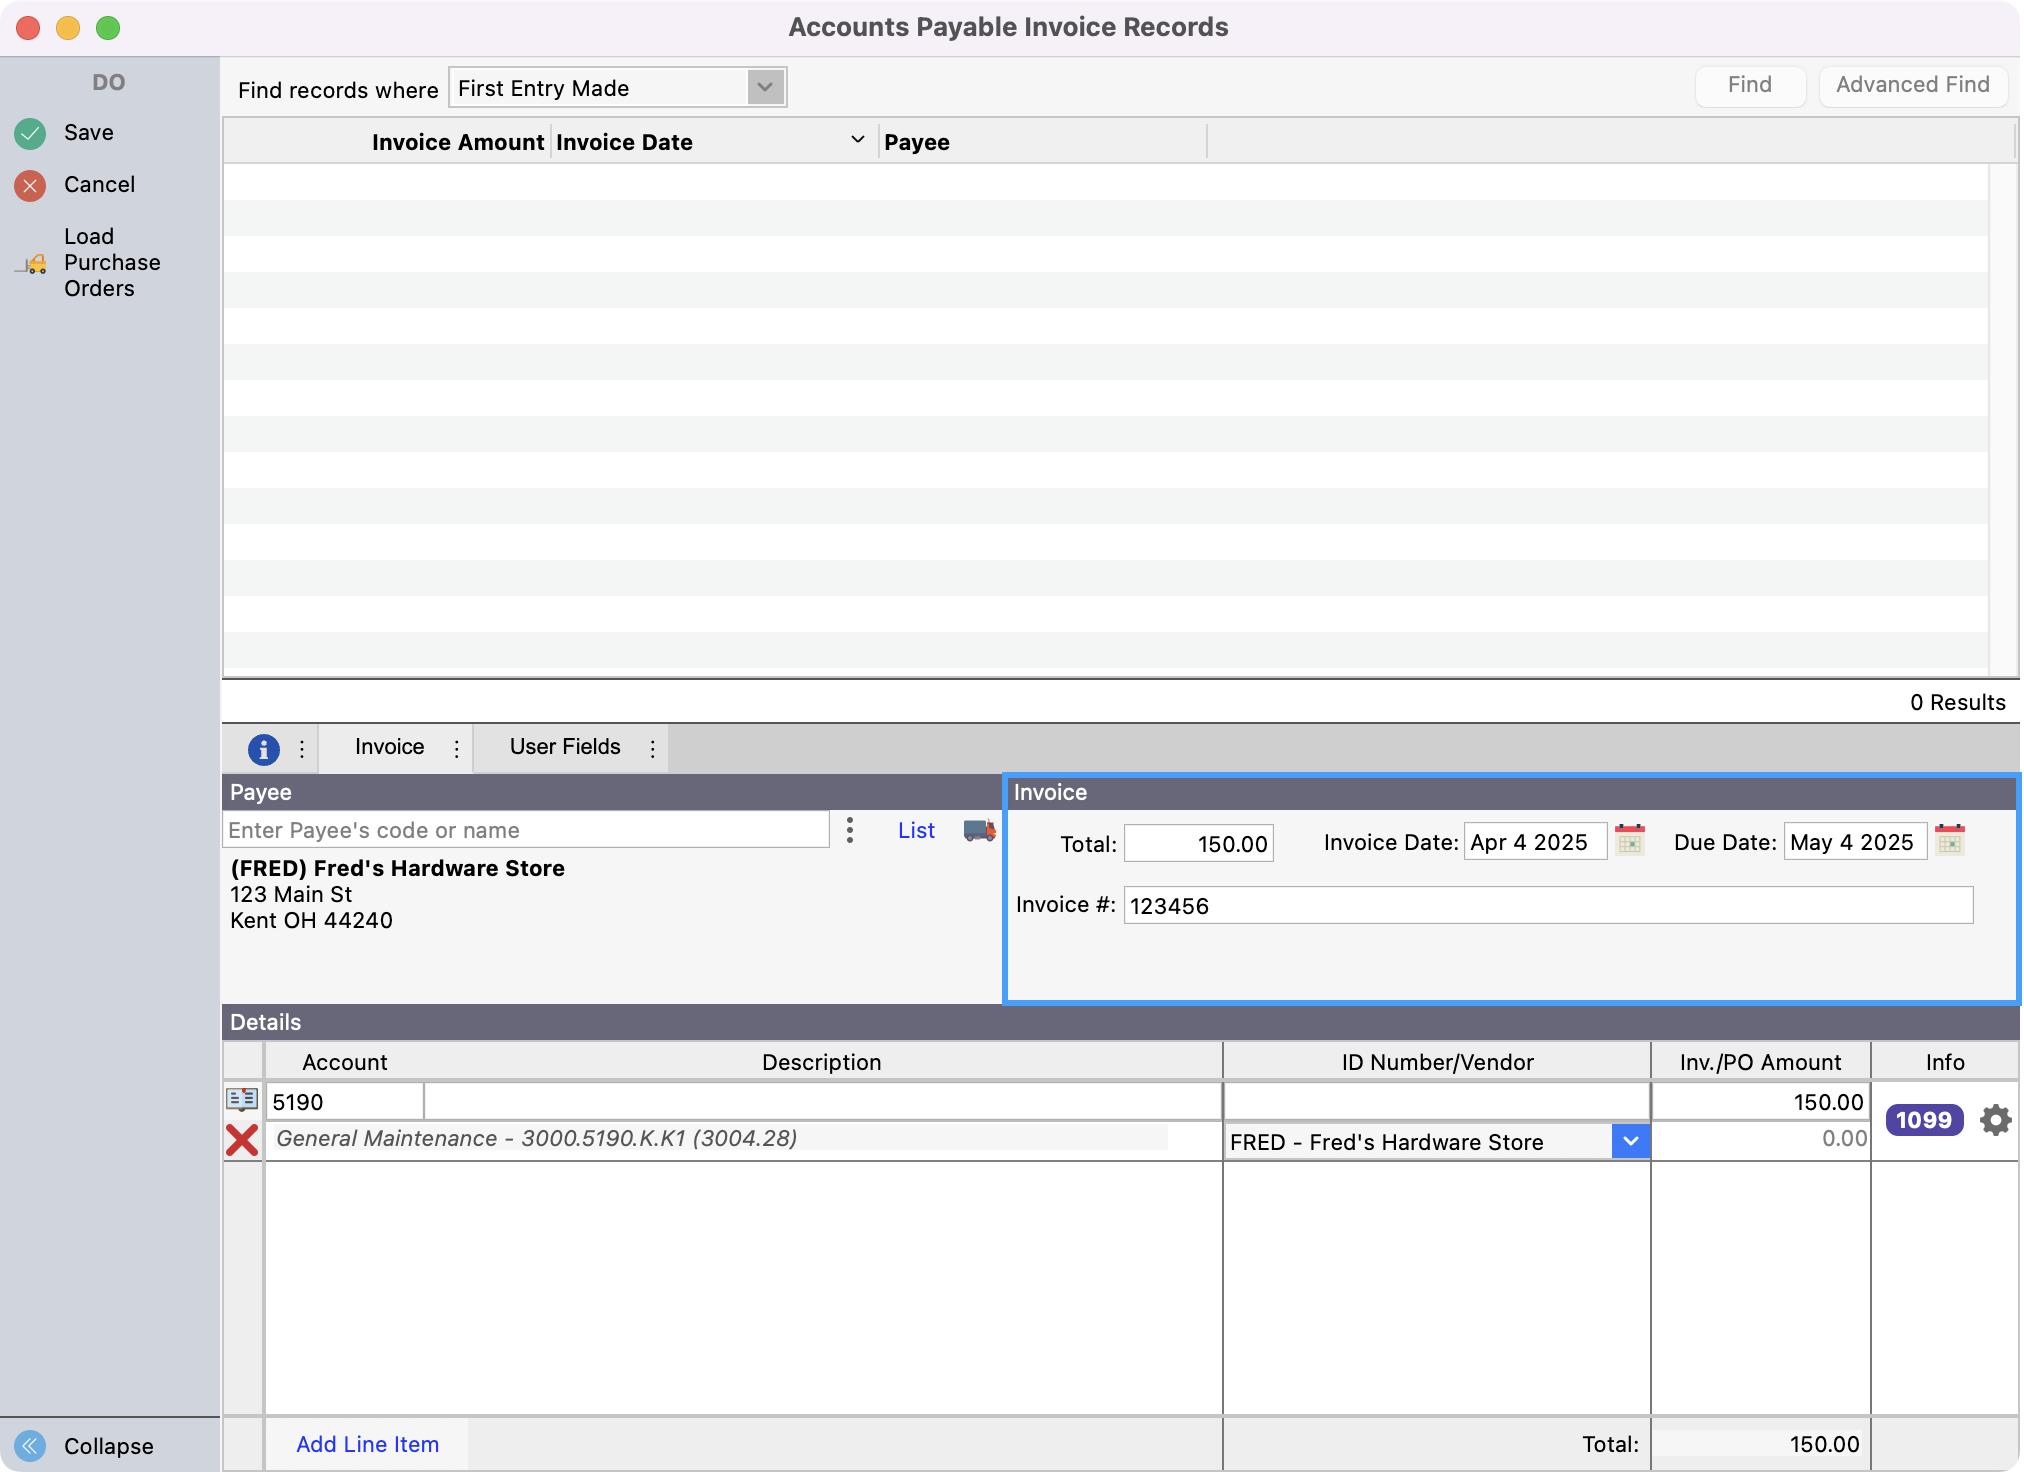
An Invoice Date is required but the use of the Due Date and Invoice # are optional. However, entering a Due Date allows you to sort the Invoice Records by due date and aging period.
-
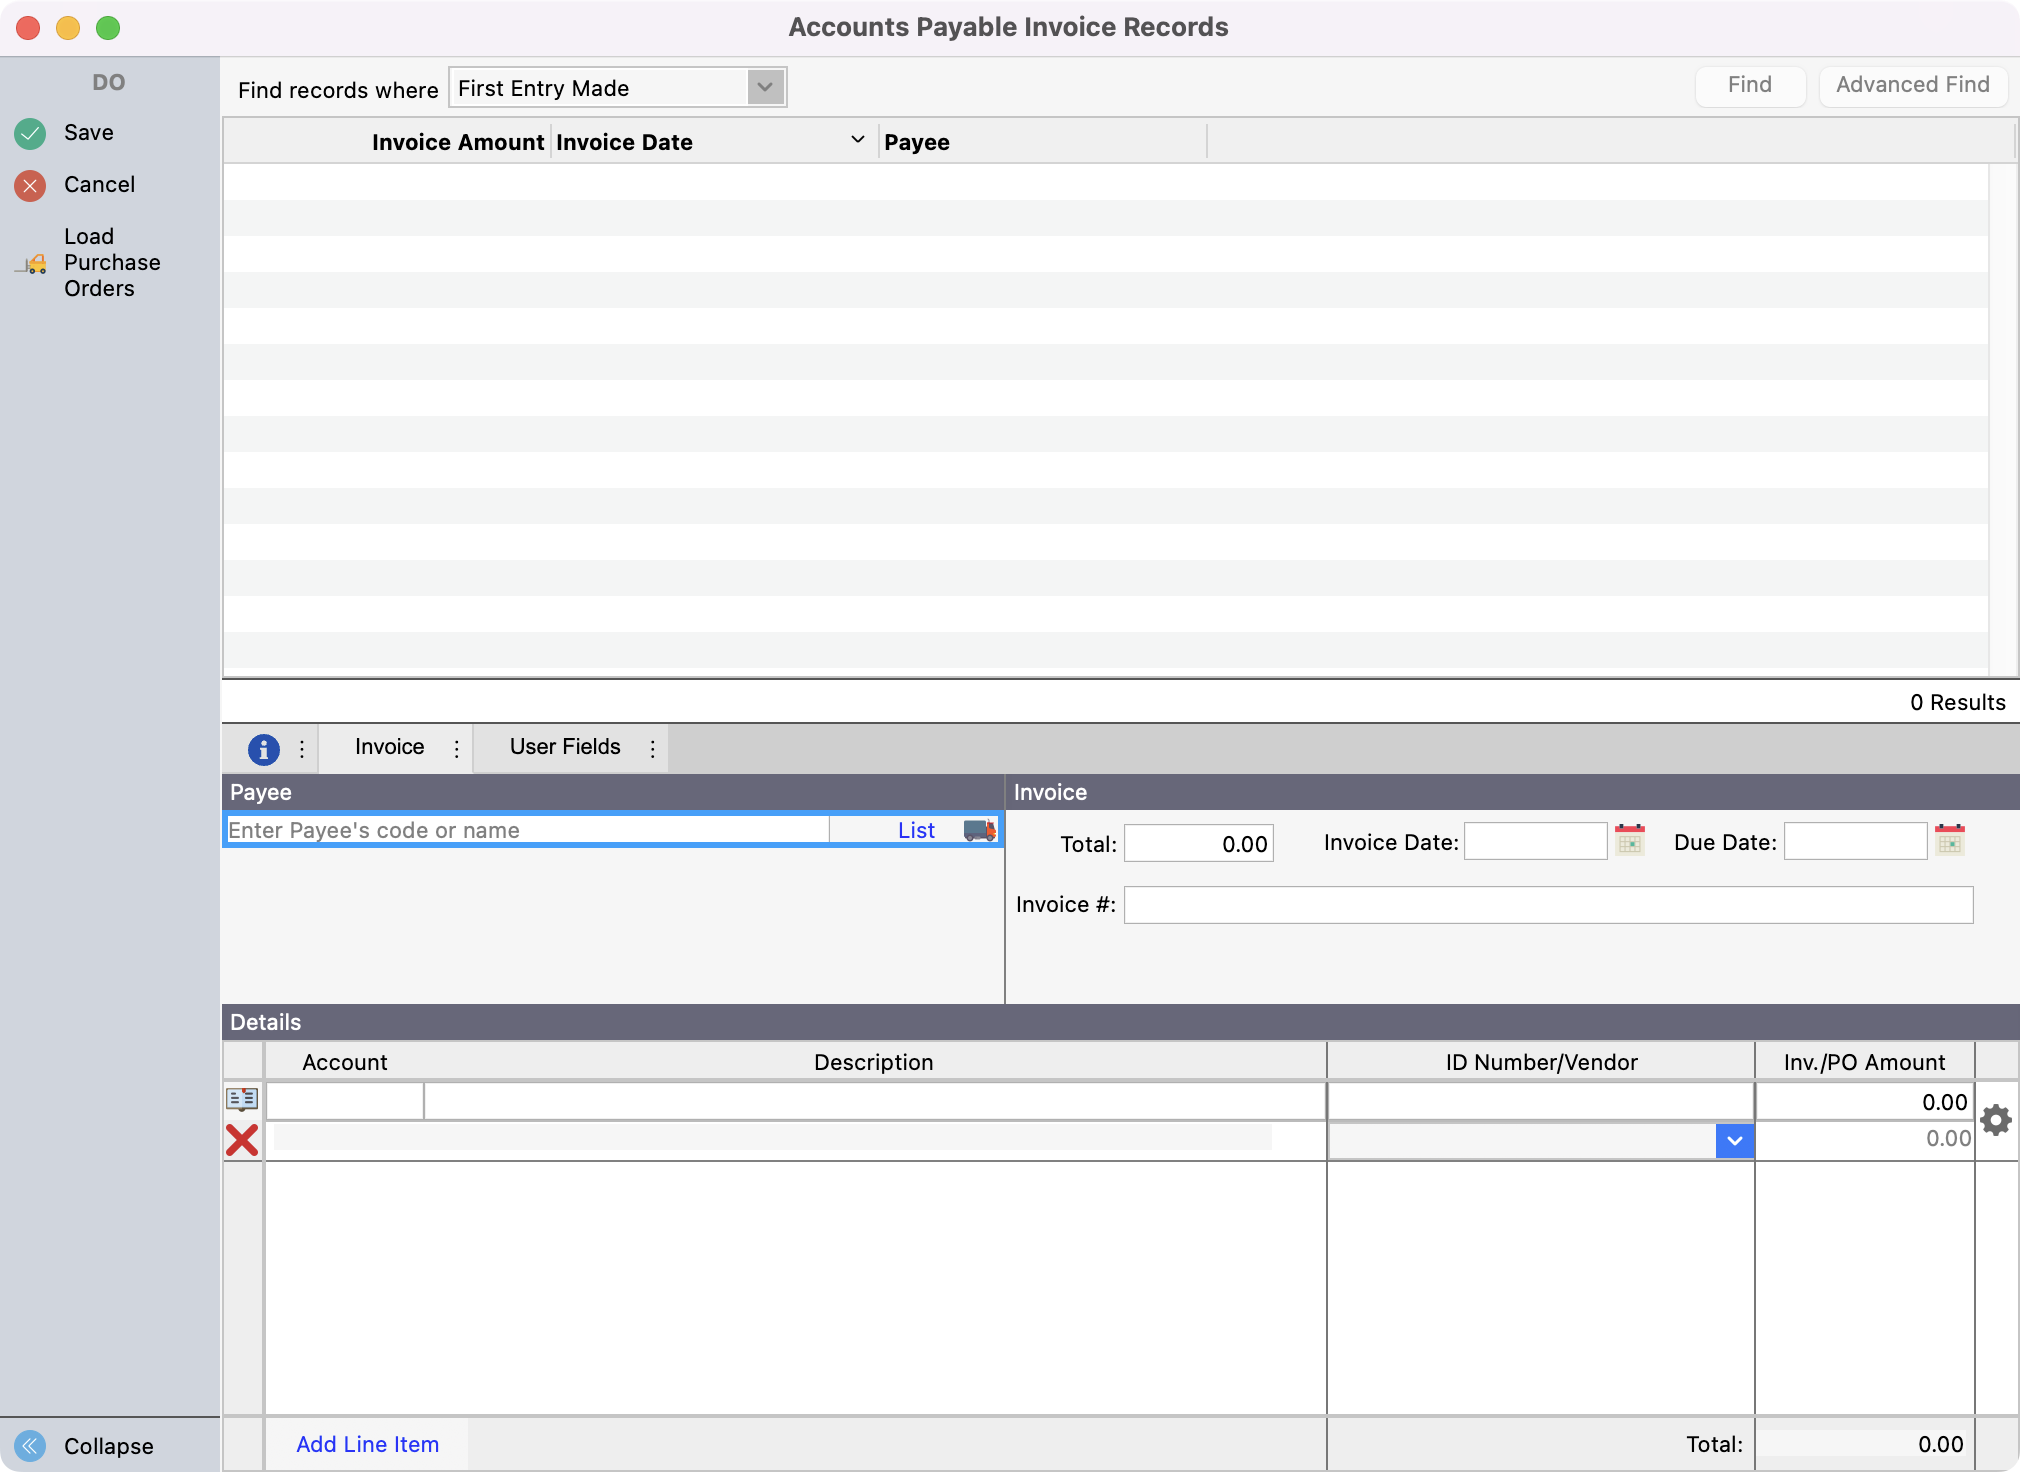
If any purchase orders to this payee exist, the Load Purchase Orders button will be active. Click it to bring up a list of existing purchase orders.
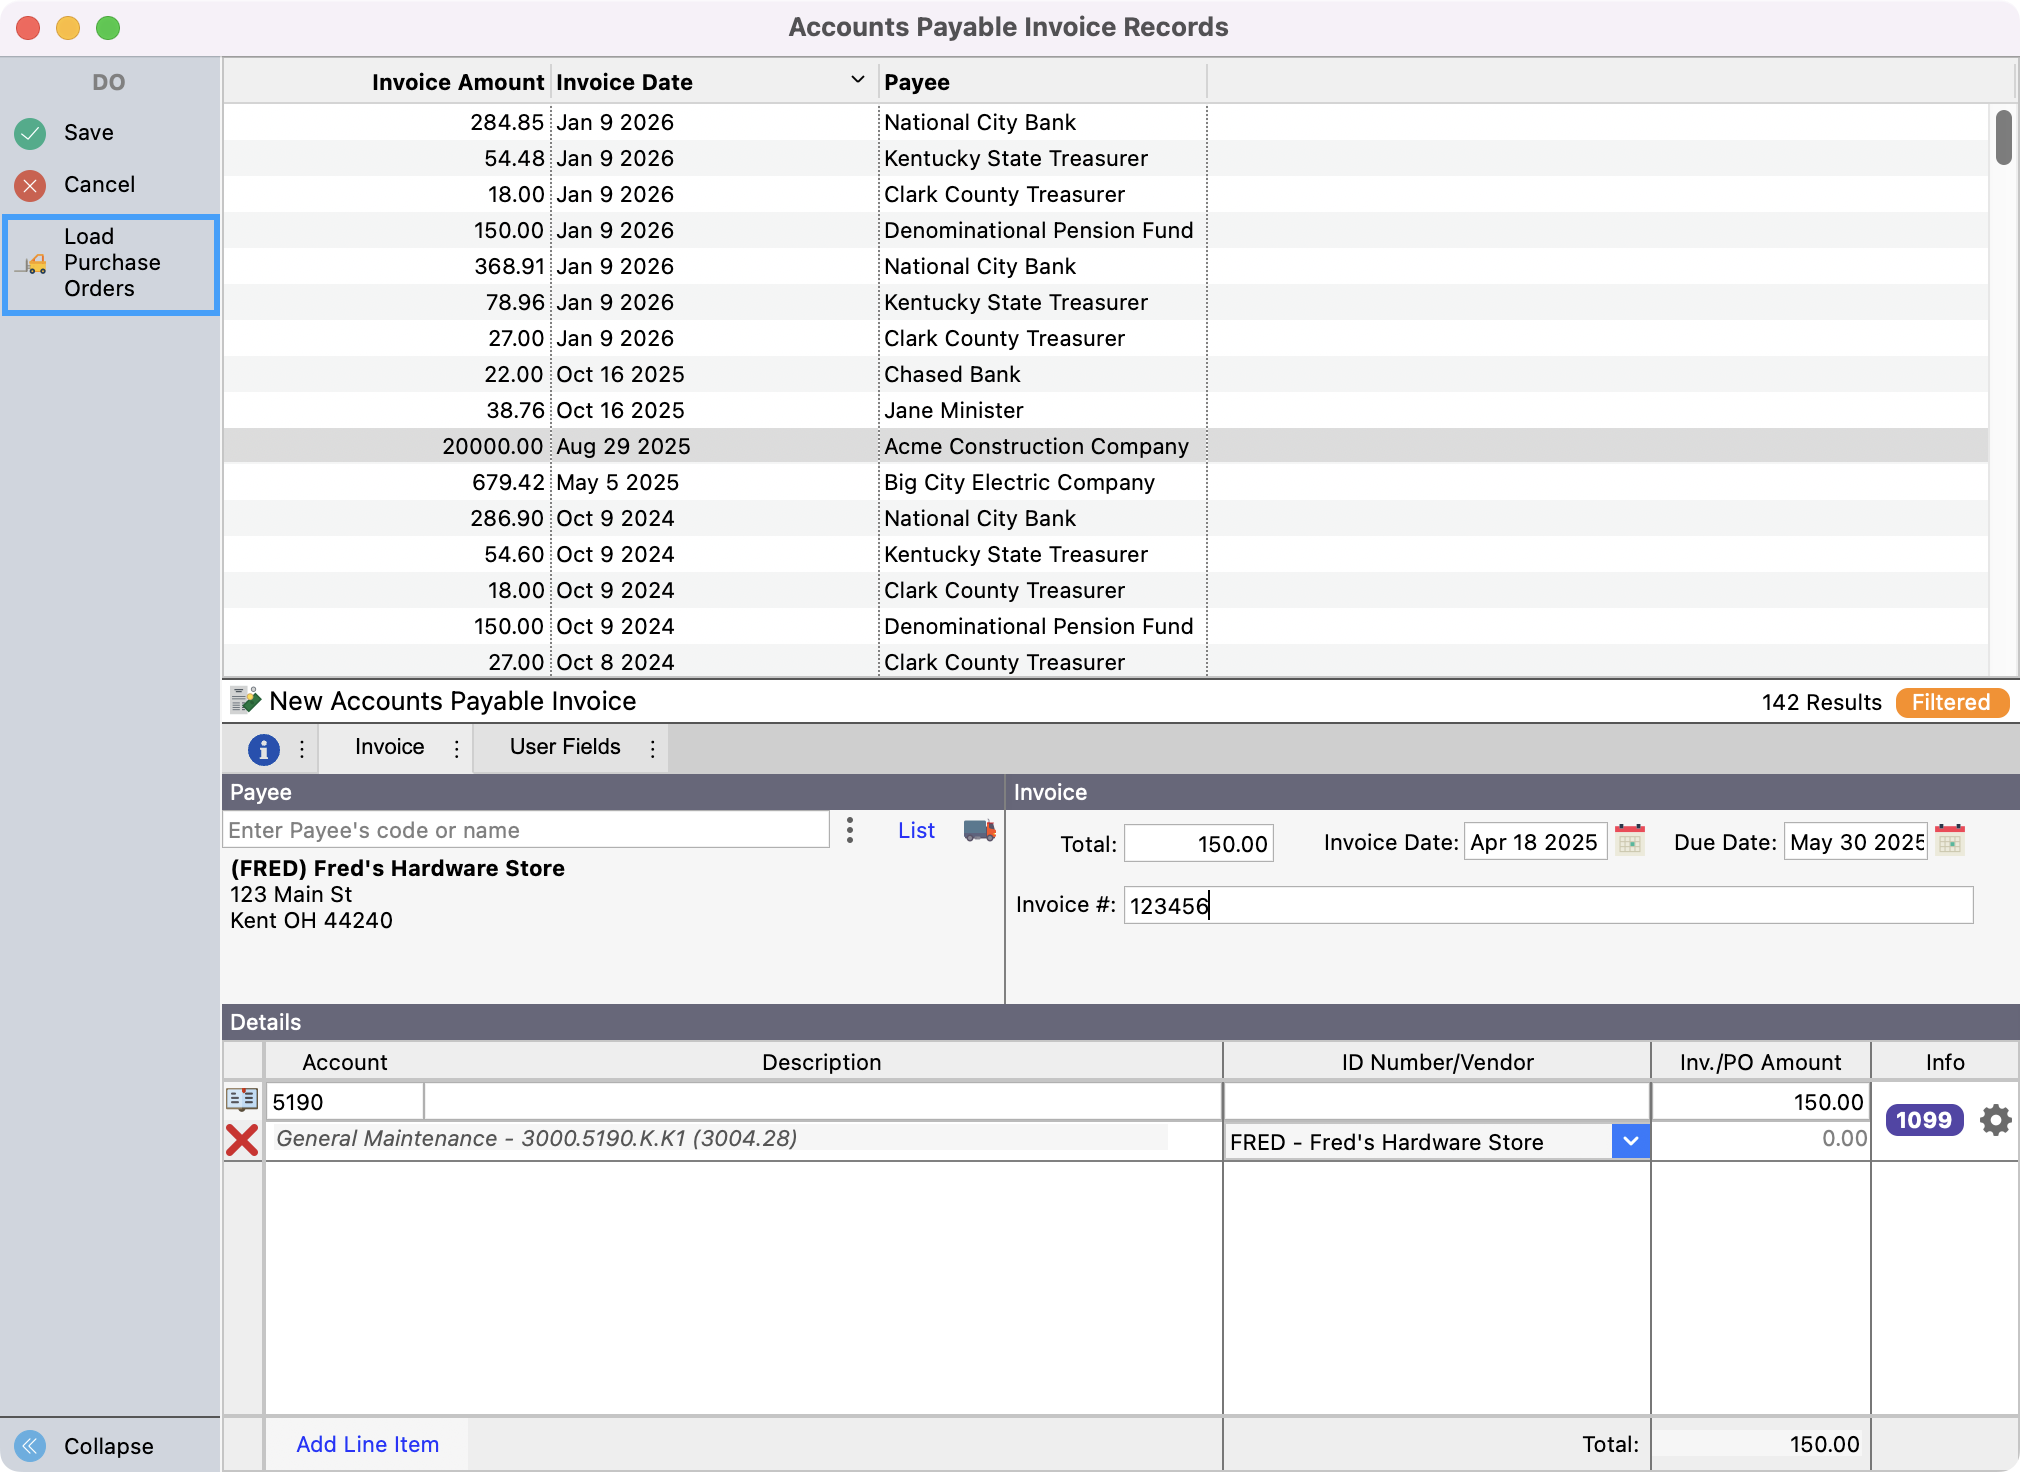
If you are not using purchase orders, proceed to Step #7.
-
Select the desired Purchase Order from the list and click Load. Make any necessary changes to the information and skip to Step #12.
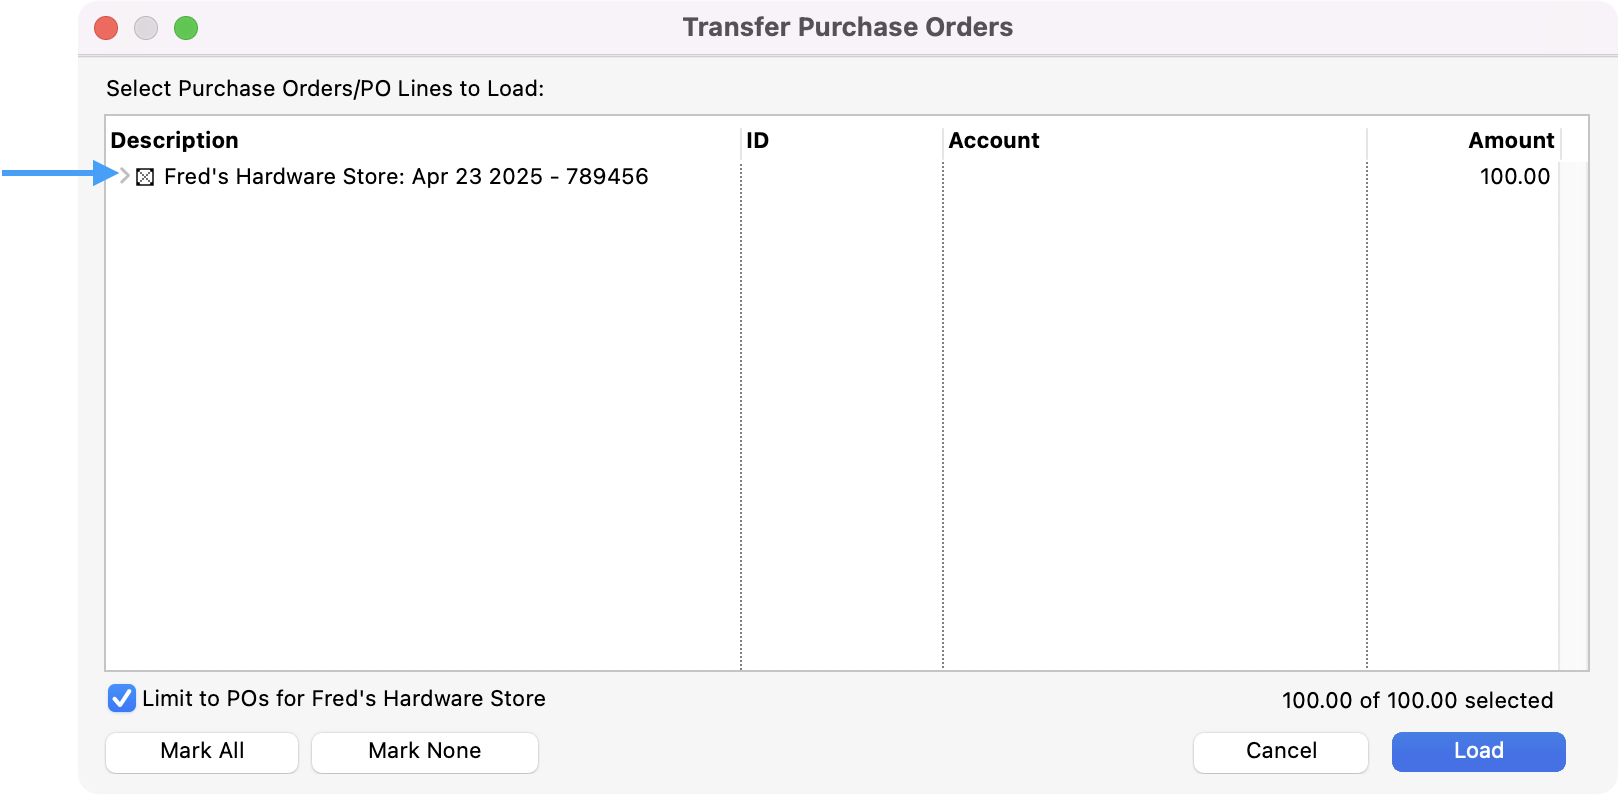
CDM+ maintains separately the information from the purchase order, invoice and payment functions. Therefore, you can see if the amount on the purchase order matches the invoice received and the amount that actually is paid.
-
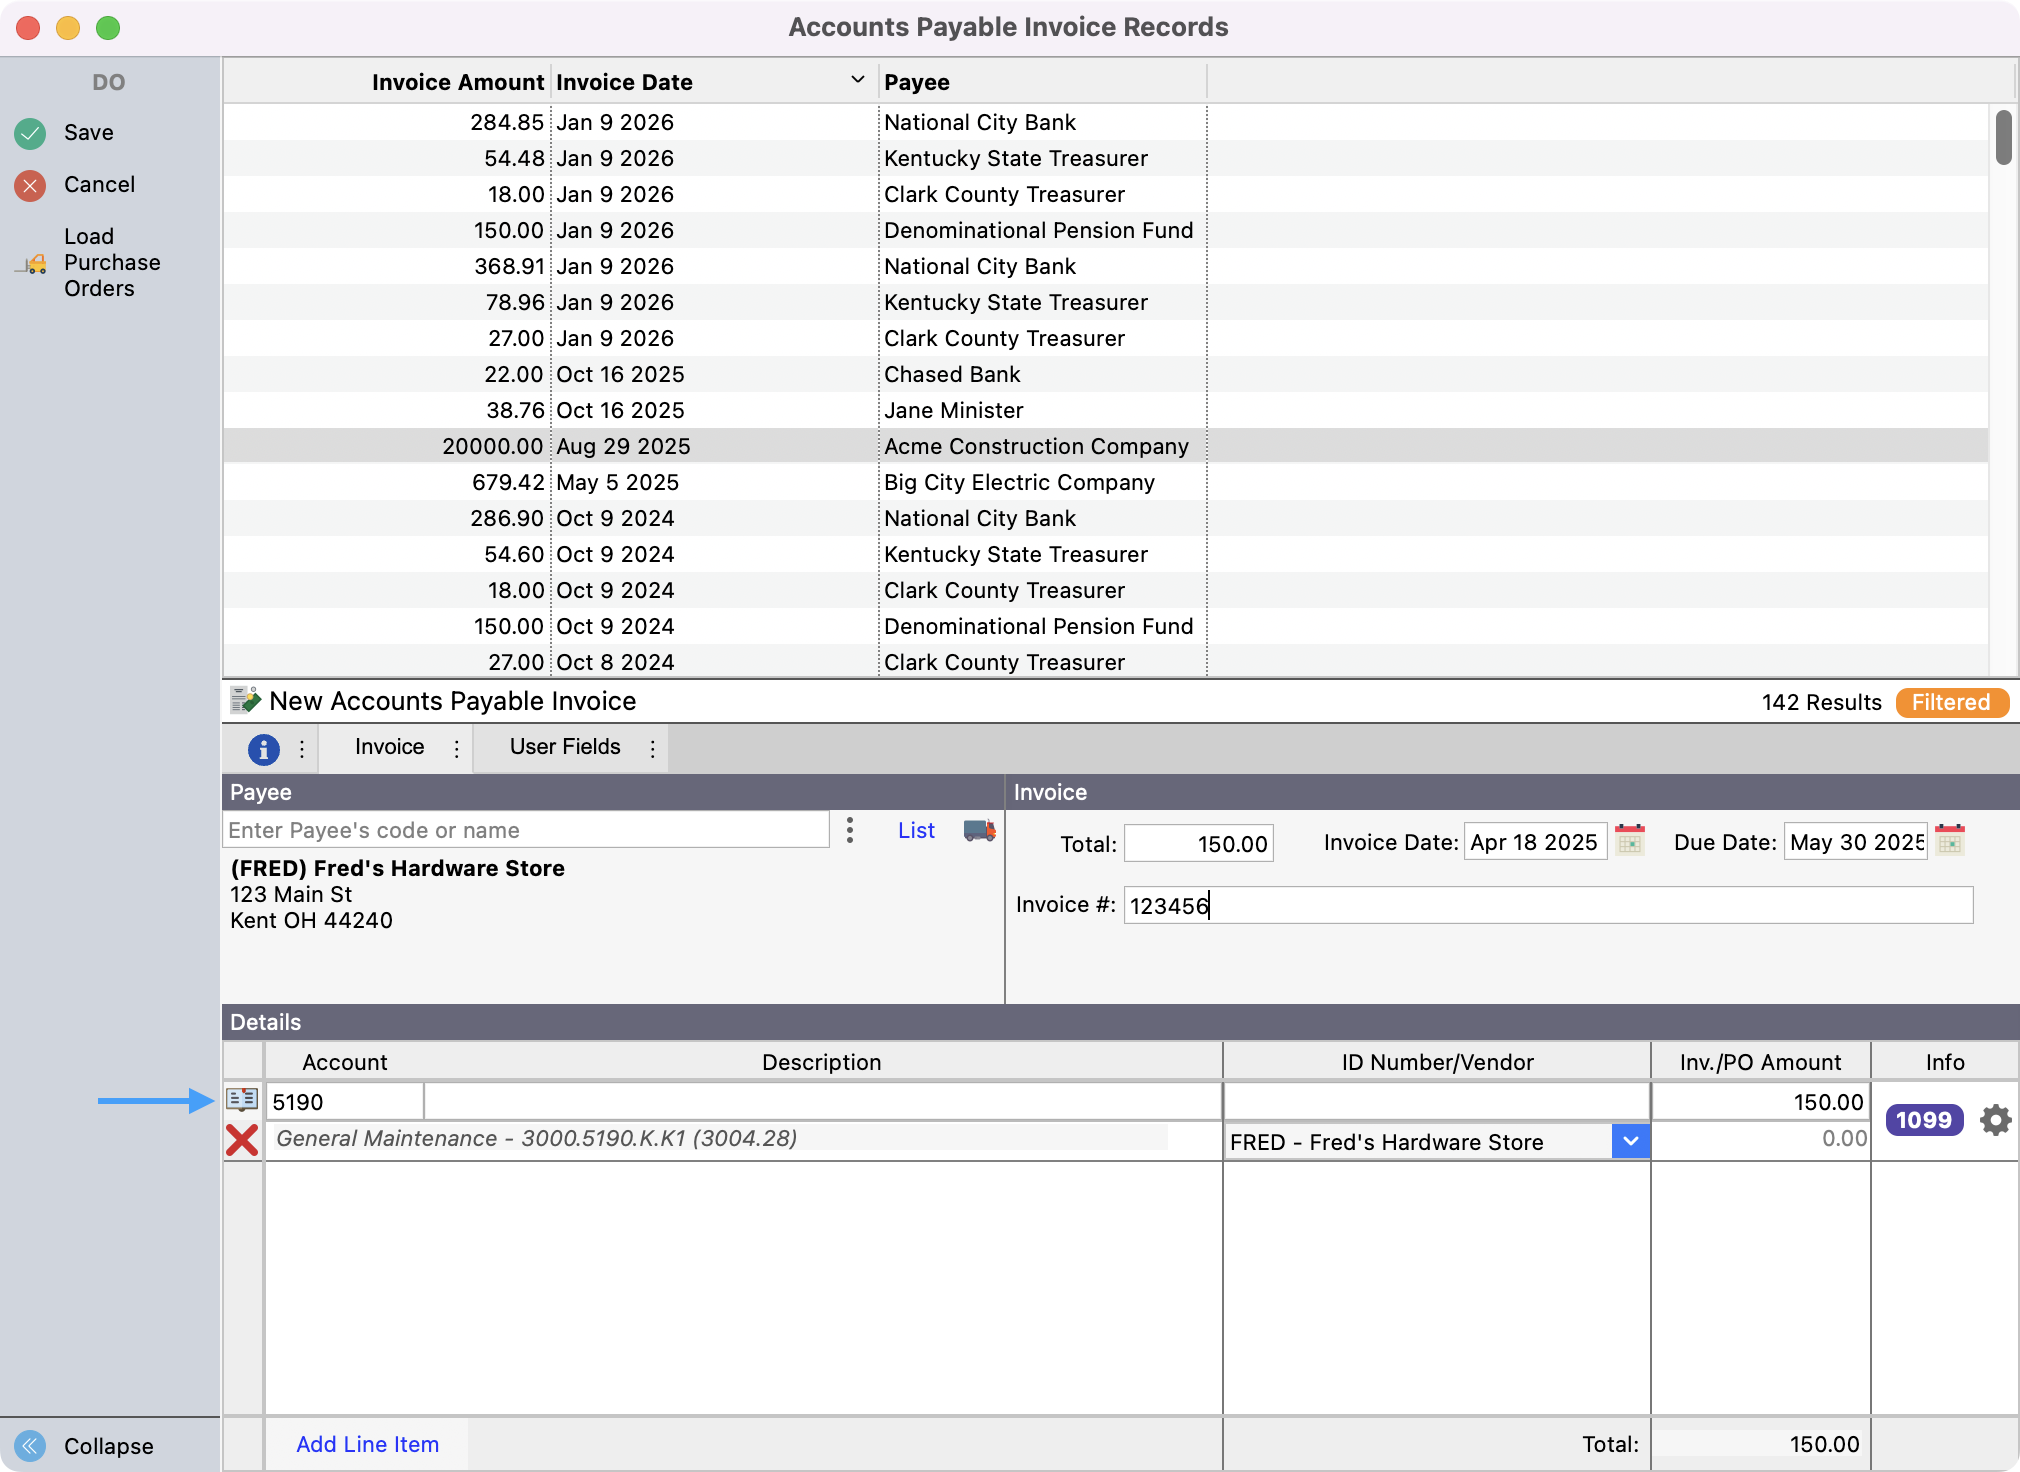
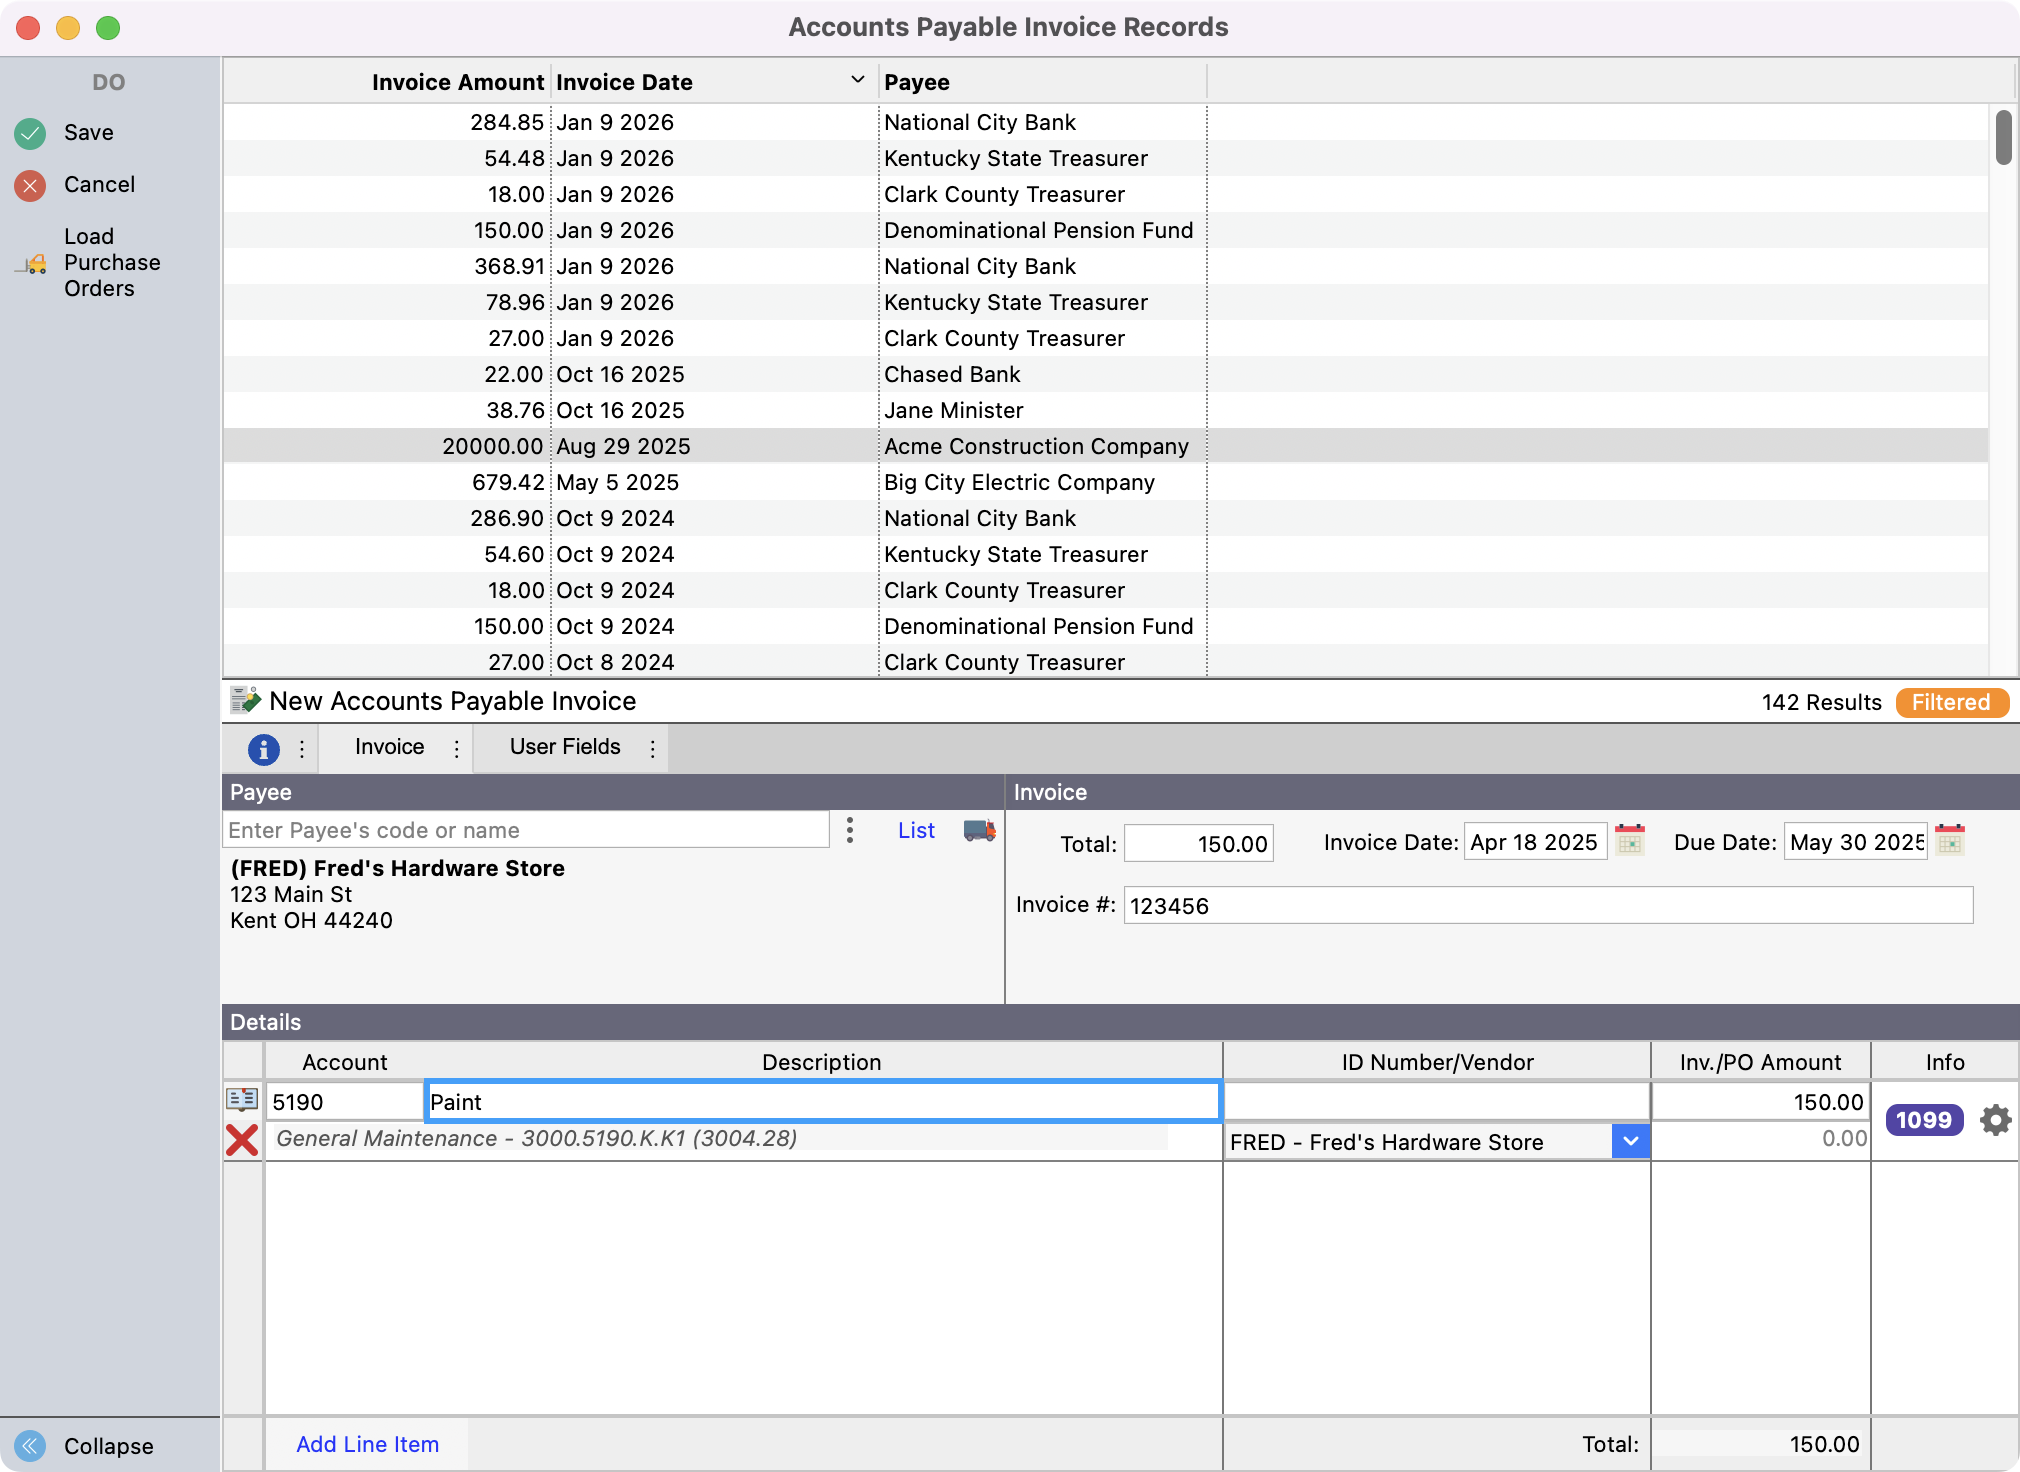
If you have not loaded information from a Purchase Order, you need to enter it now. If you have assigned a default expense Account number to this vendor, it will show in the Account field. If not, or if you need to change it from the default, click the book icon beside the Account field and double-click the Account number from which this invoice is to be paid.
-
Press the Tab key and enter the Description of the invoice.
-
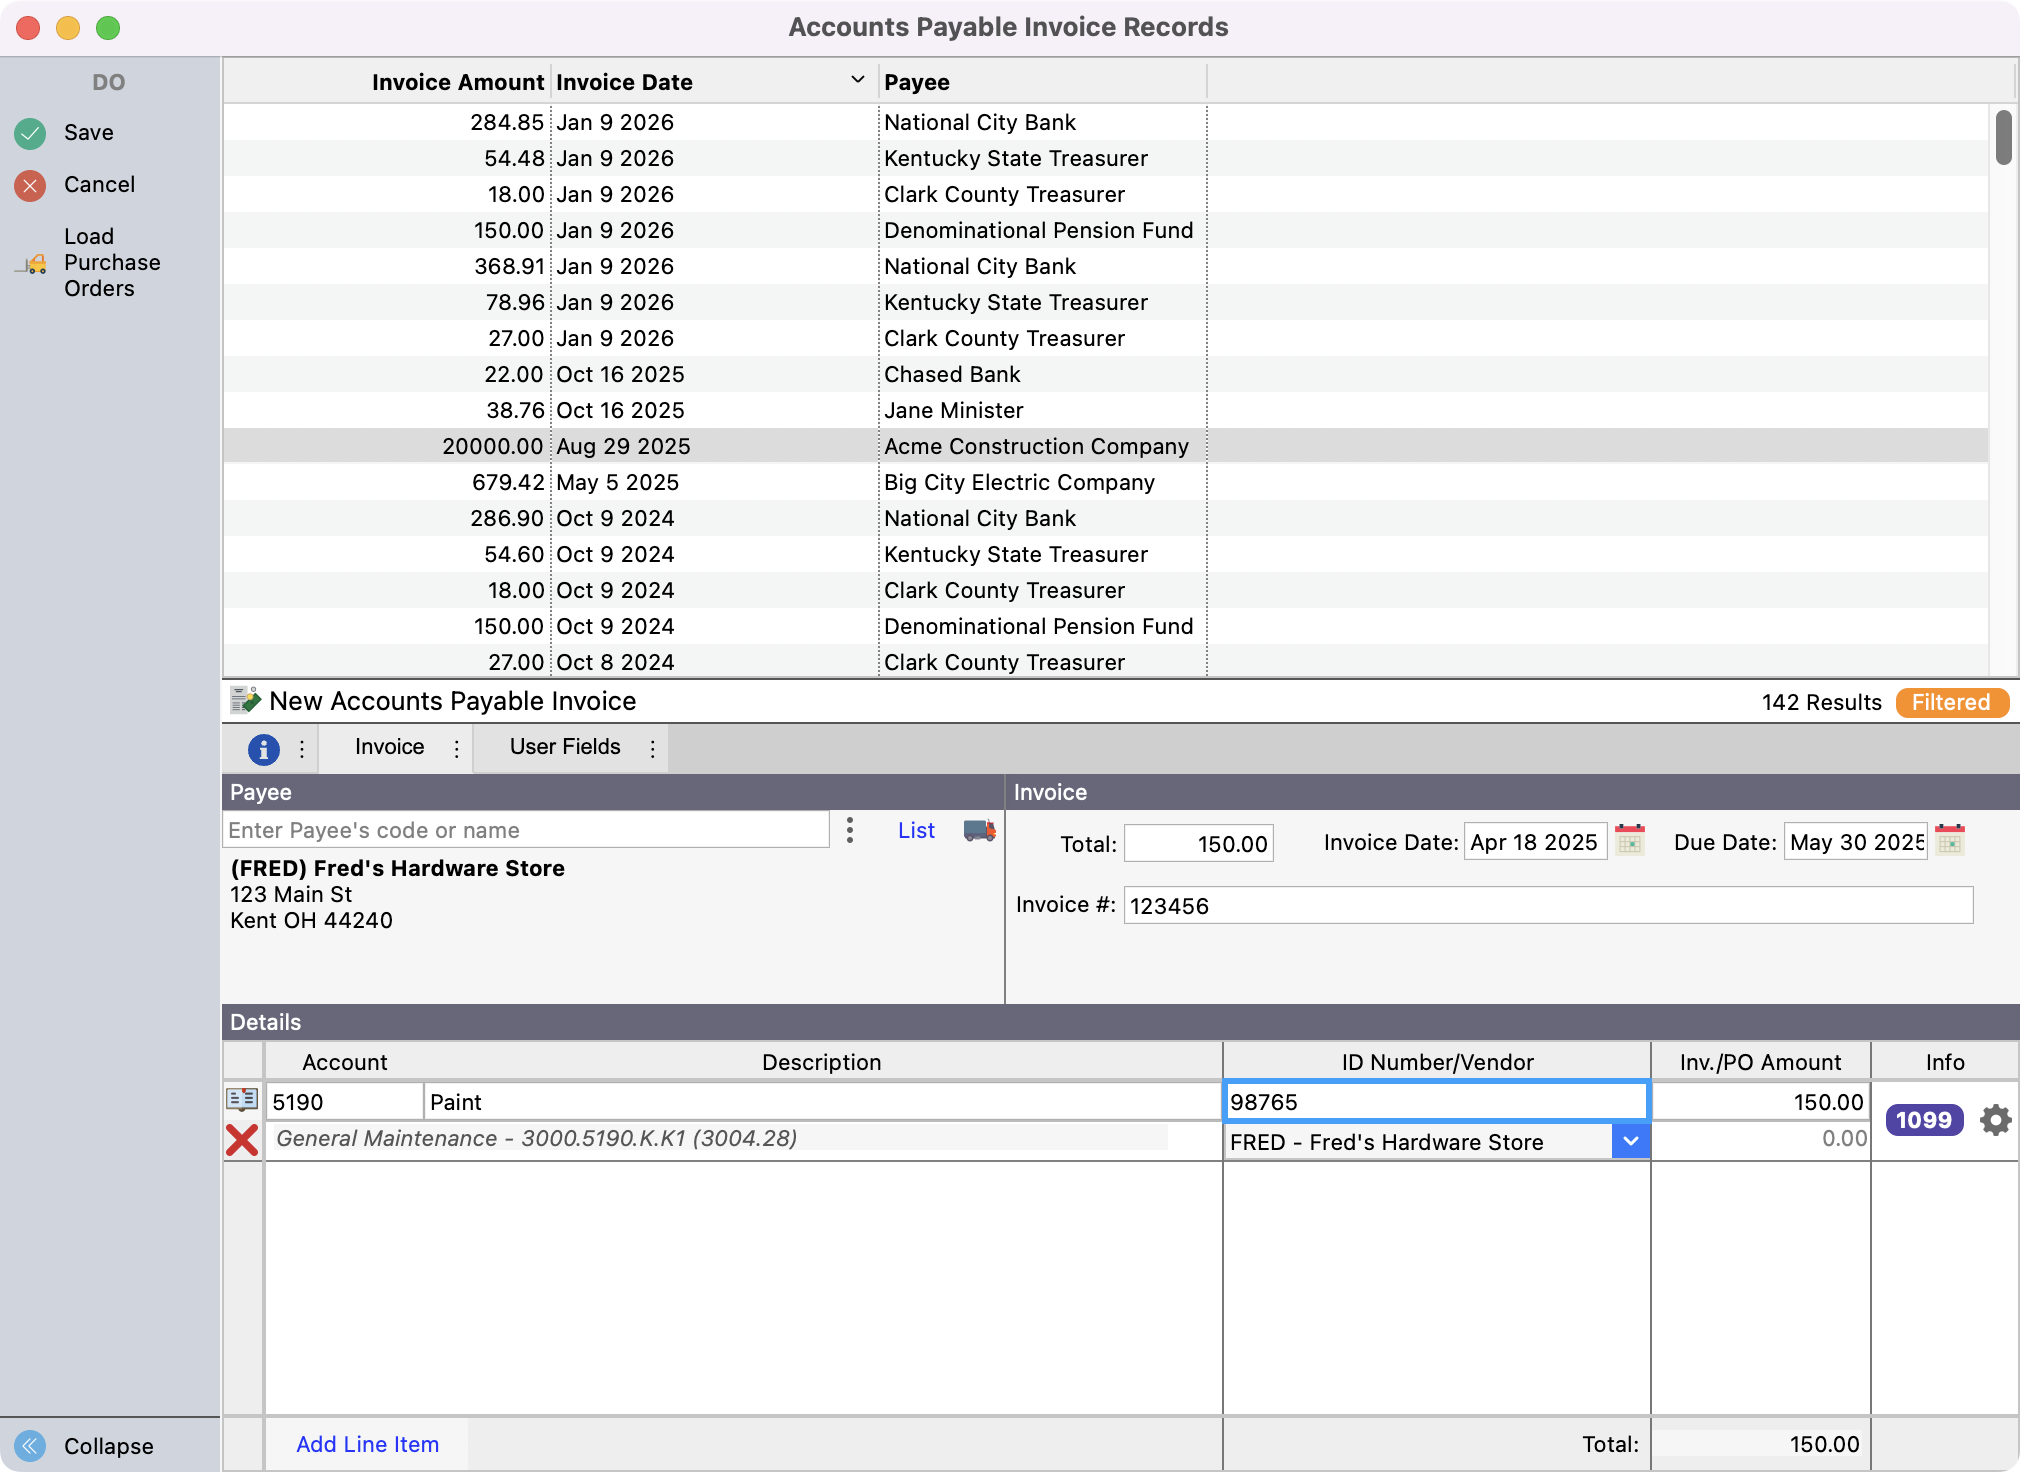
Press the Tab key and enter an ID# if you wish to identify this invoice (e.g.—Each staff member could be assigned an ID#, and all their purchases could later be reported.)
-
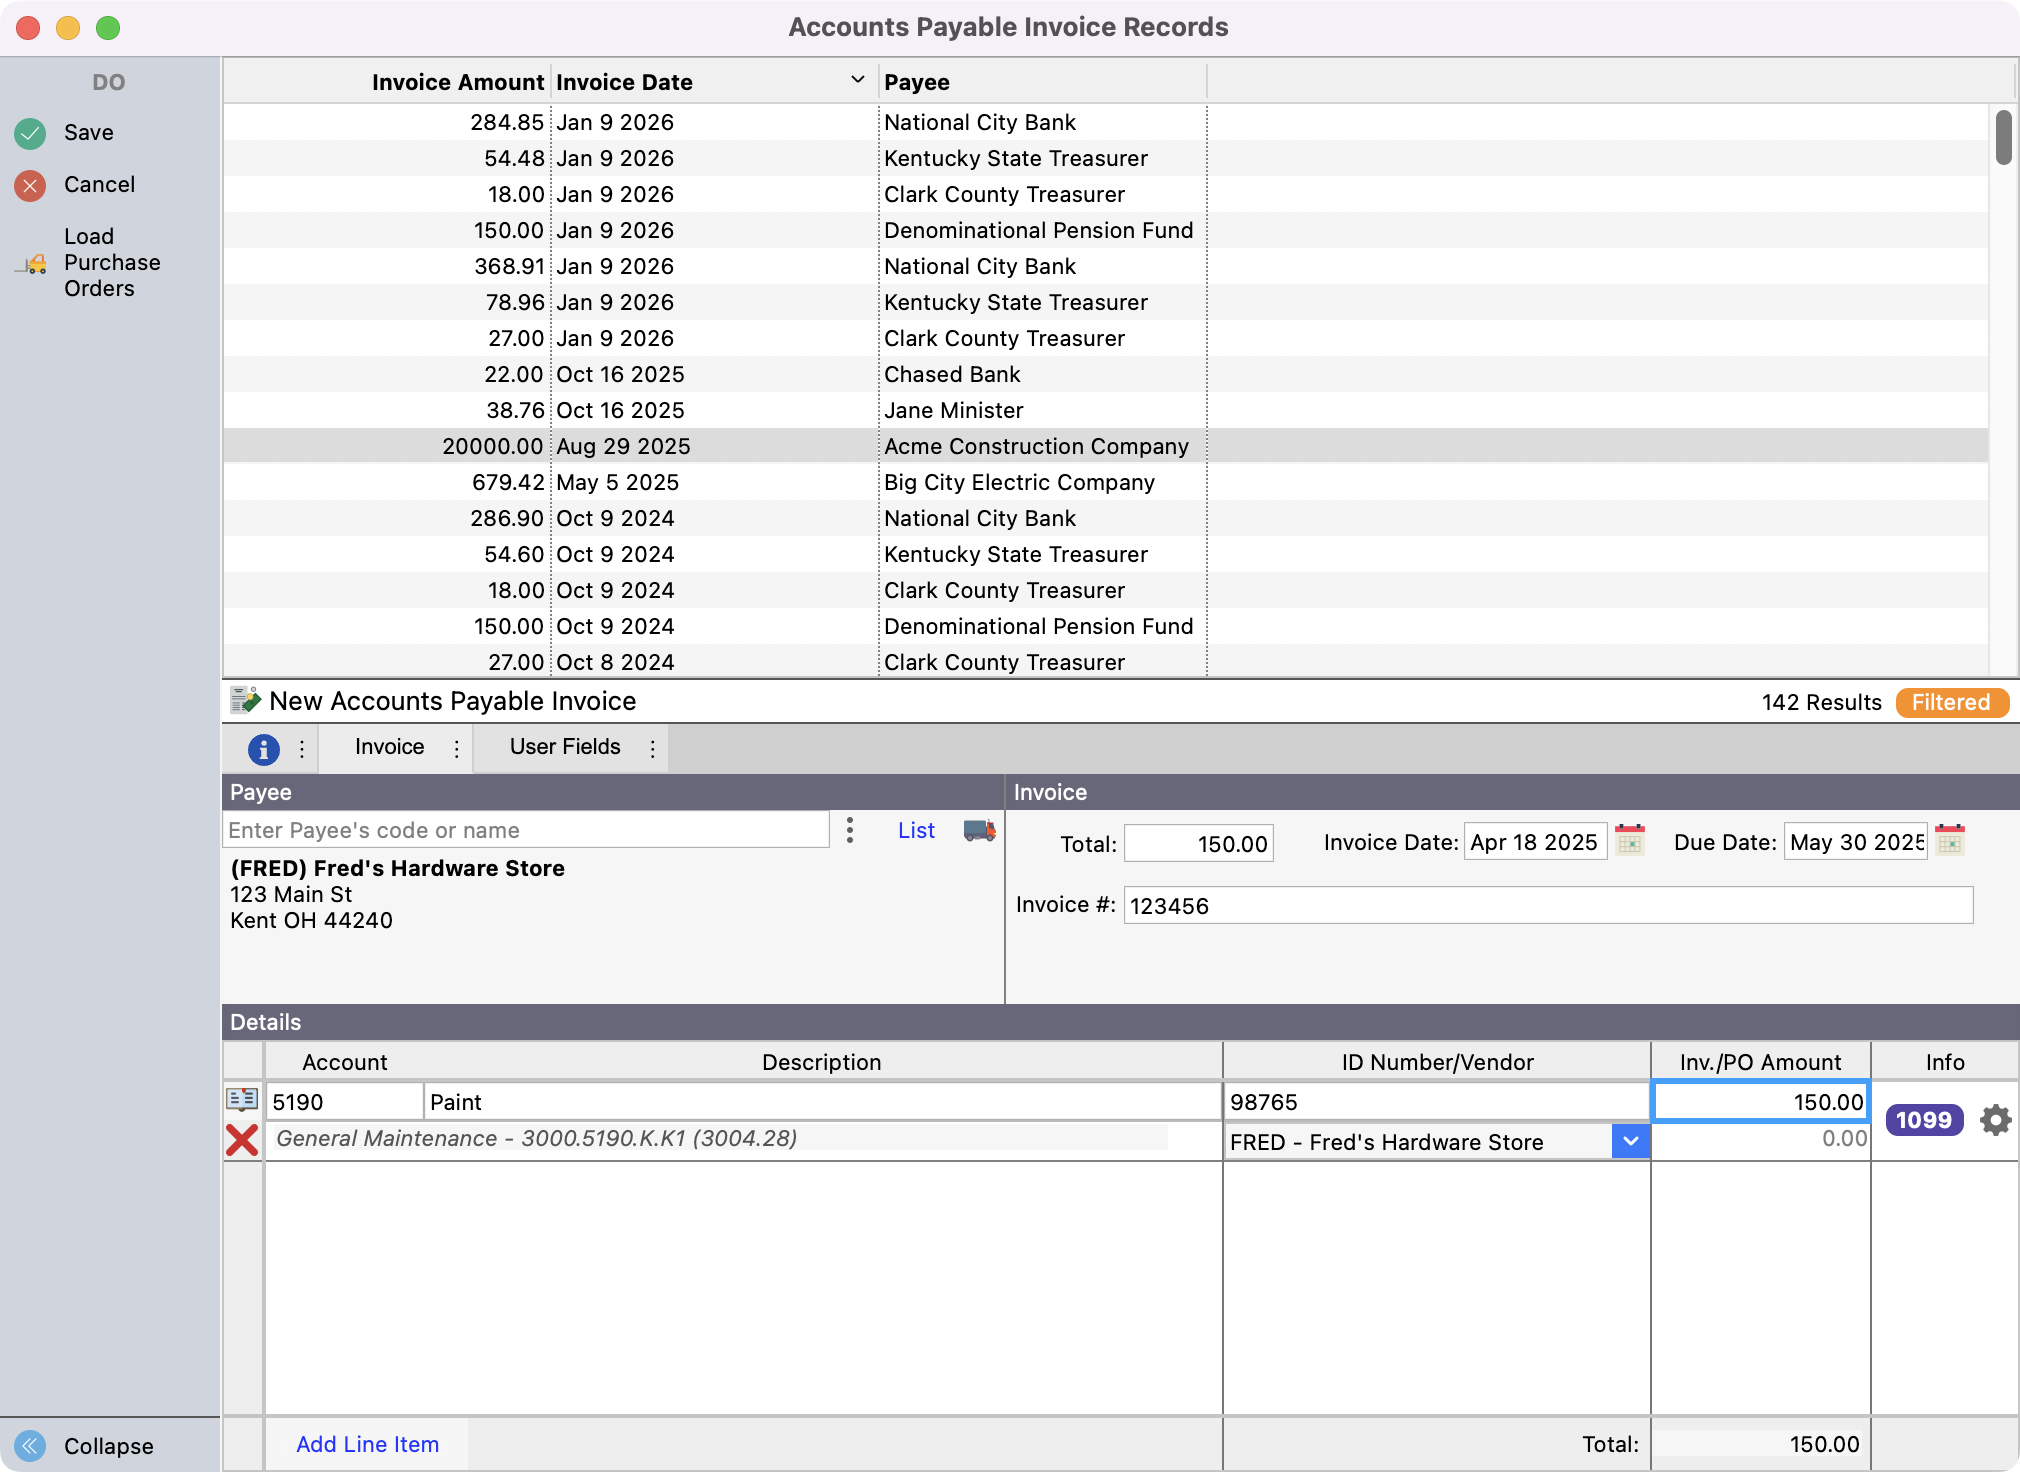
Press the Tab key and enter the Amount of the invoice. If you want, you may break down the invoice into several line items. Line items may be assigned different expense account numbers within the same invoice. To enter more line items, press Tab and repeat steps 8-10.
-
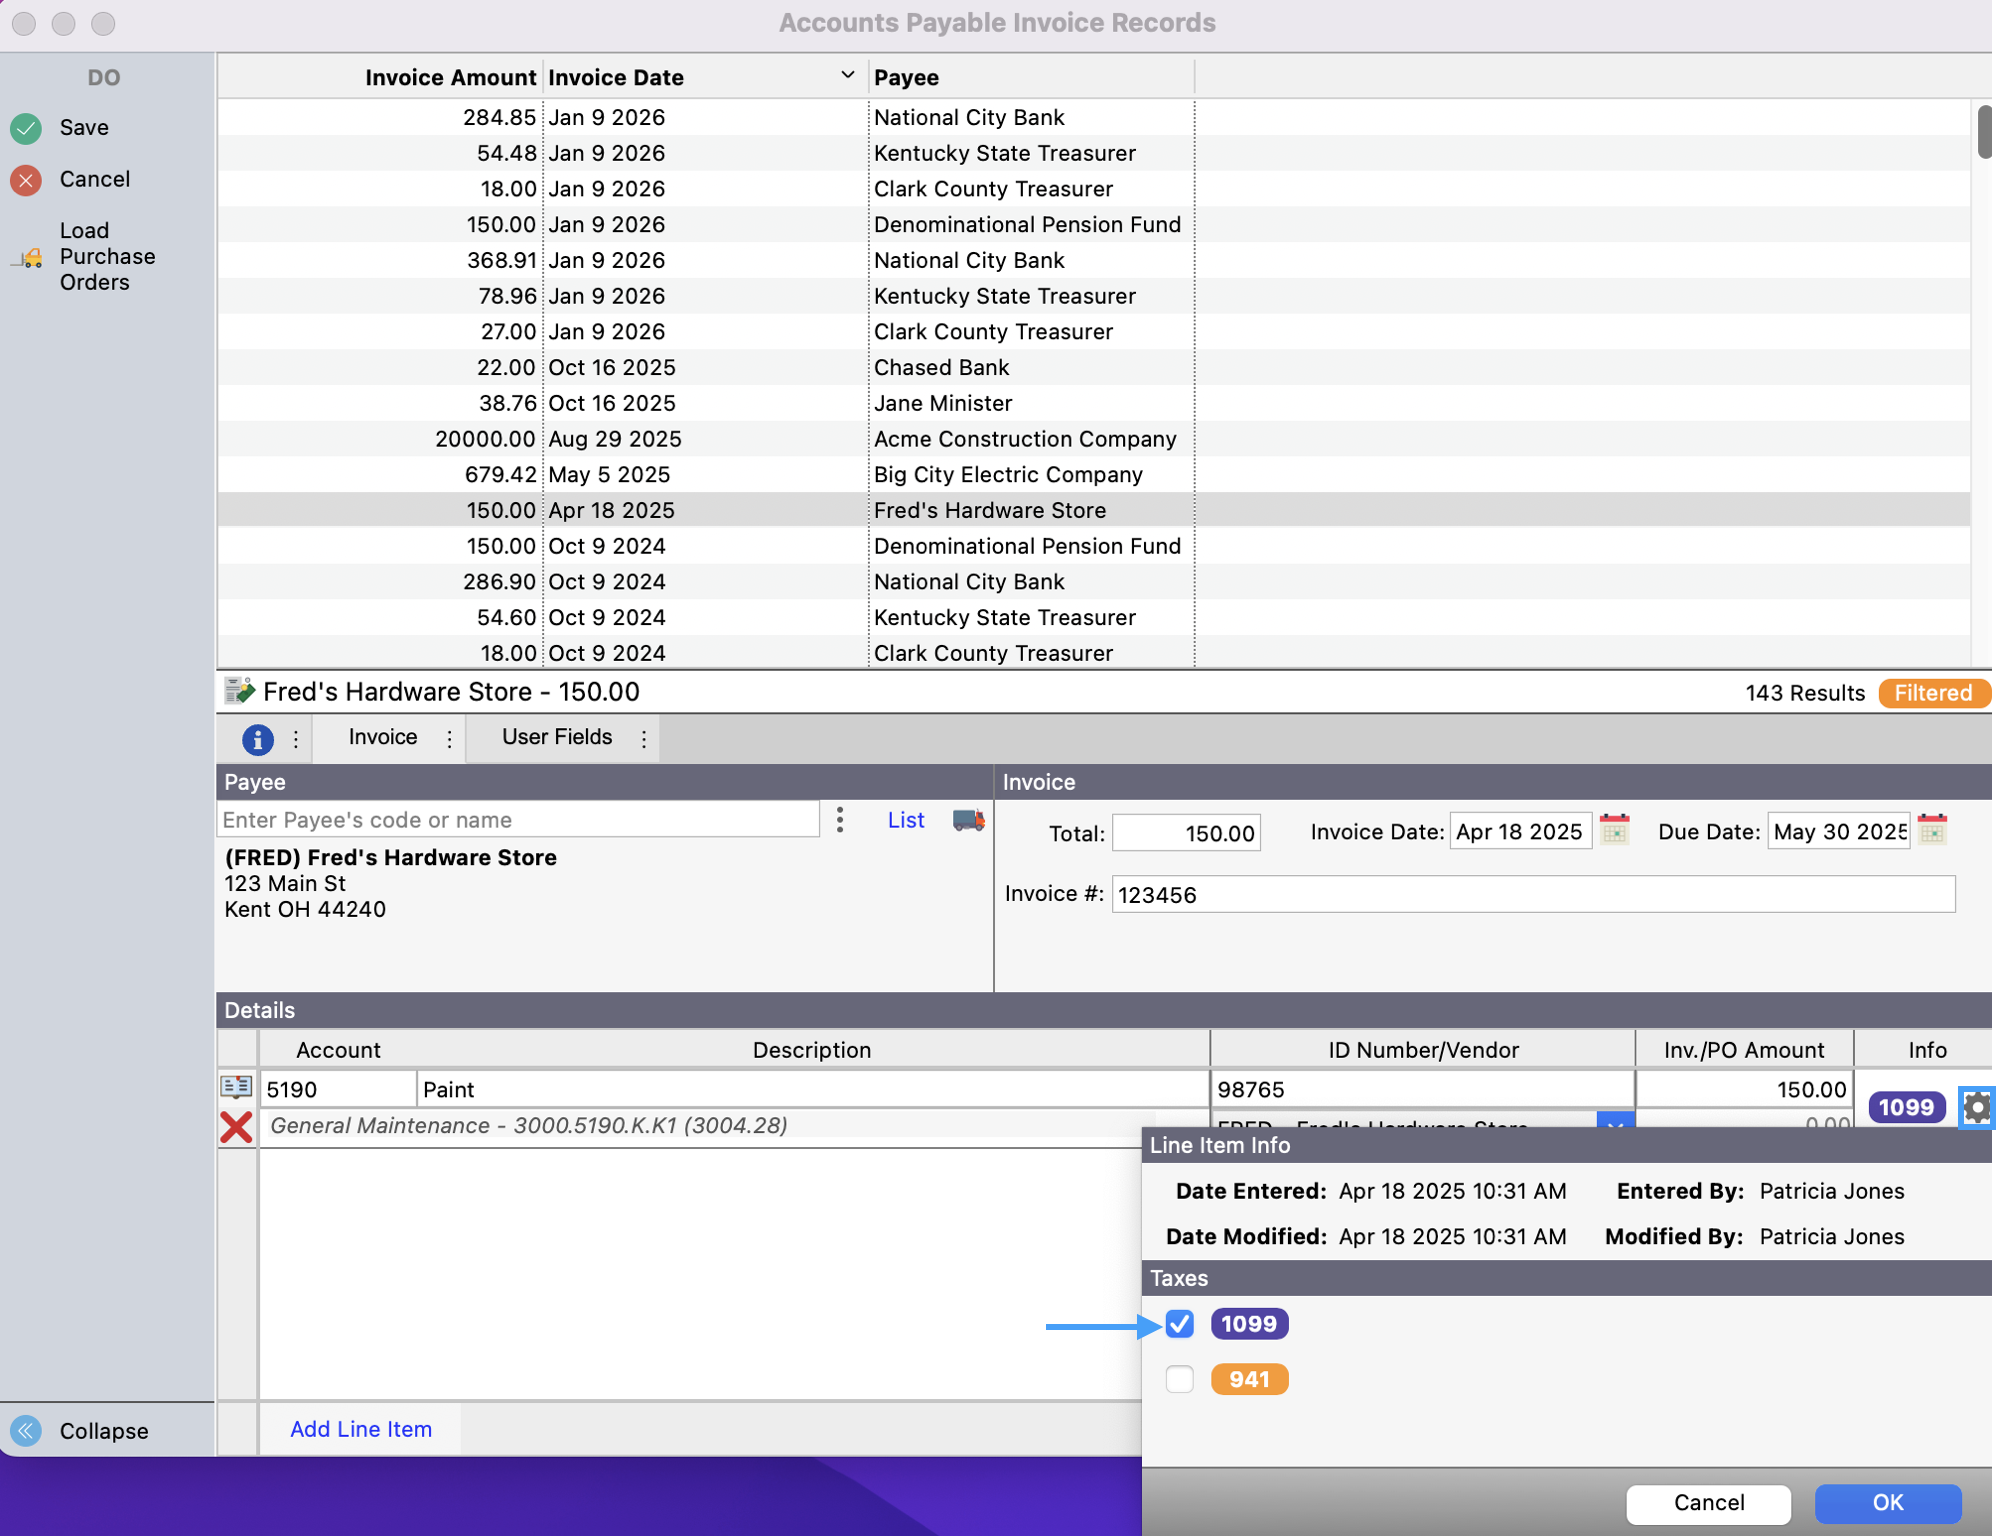
Mark the appropriate 1099 and 941 fields for the invoice by clicking the gear icon under Info and make the appropriate selection.
-
When you finish this invoice, check that the Total field at the bottom agrees with the Total above (if it doesn't it will display in red) and press Return/Enter or click Save.