If you are using the budget feature of CDM+ Accounting for the first time, you will enter the budget using the Add Accounts button. If you already have at least one budget year in the system, you can use the Copy Year button. Following are instructions for both methods.
Budget Window
-
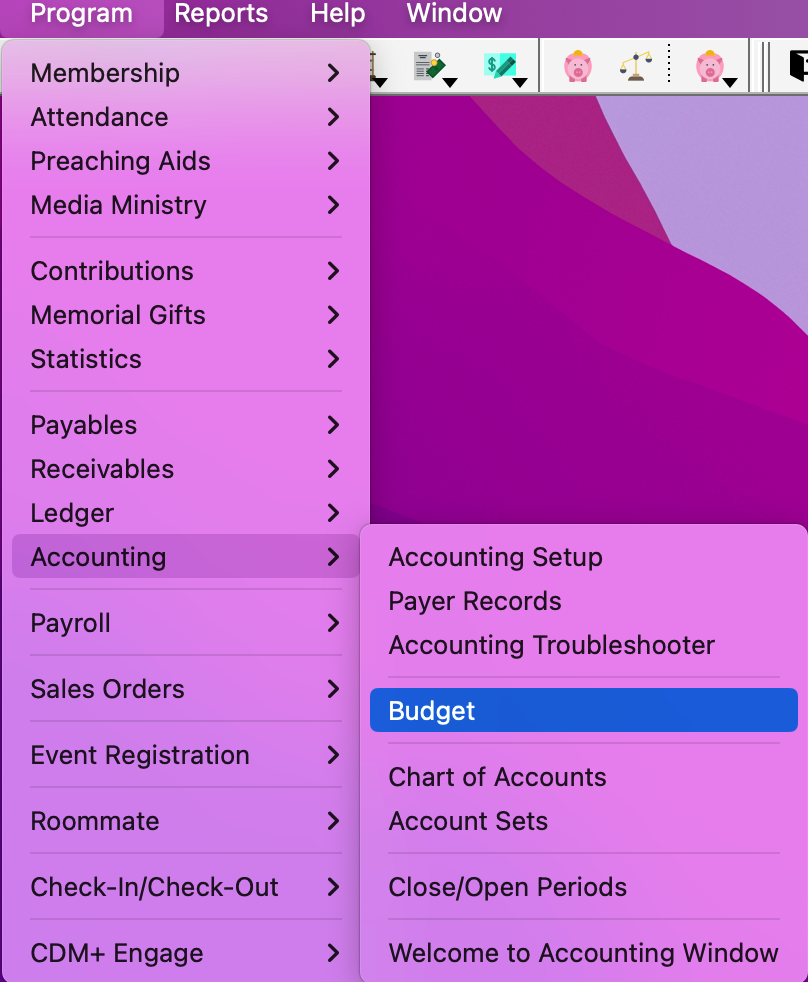
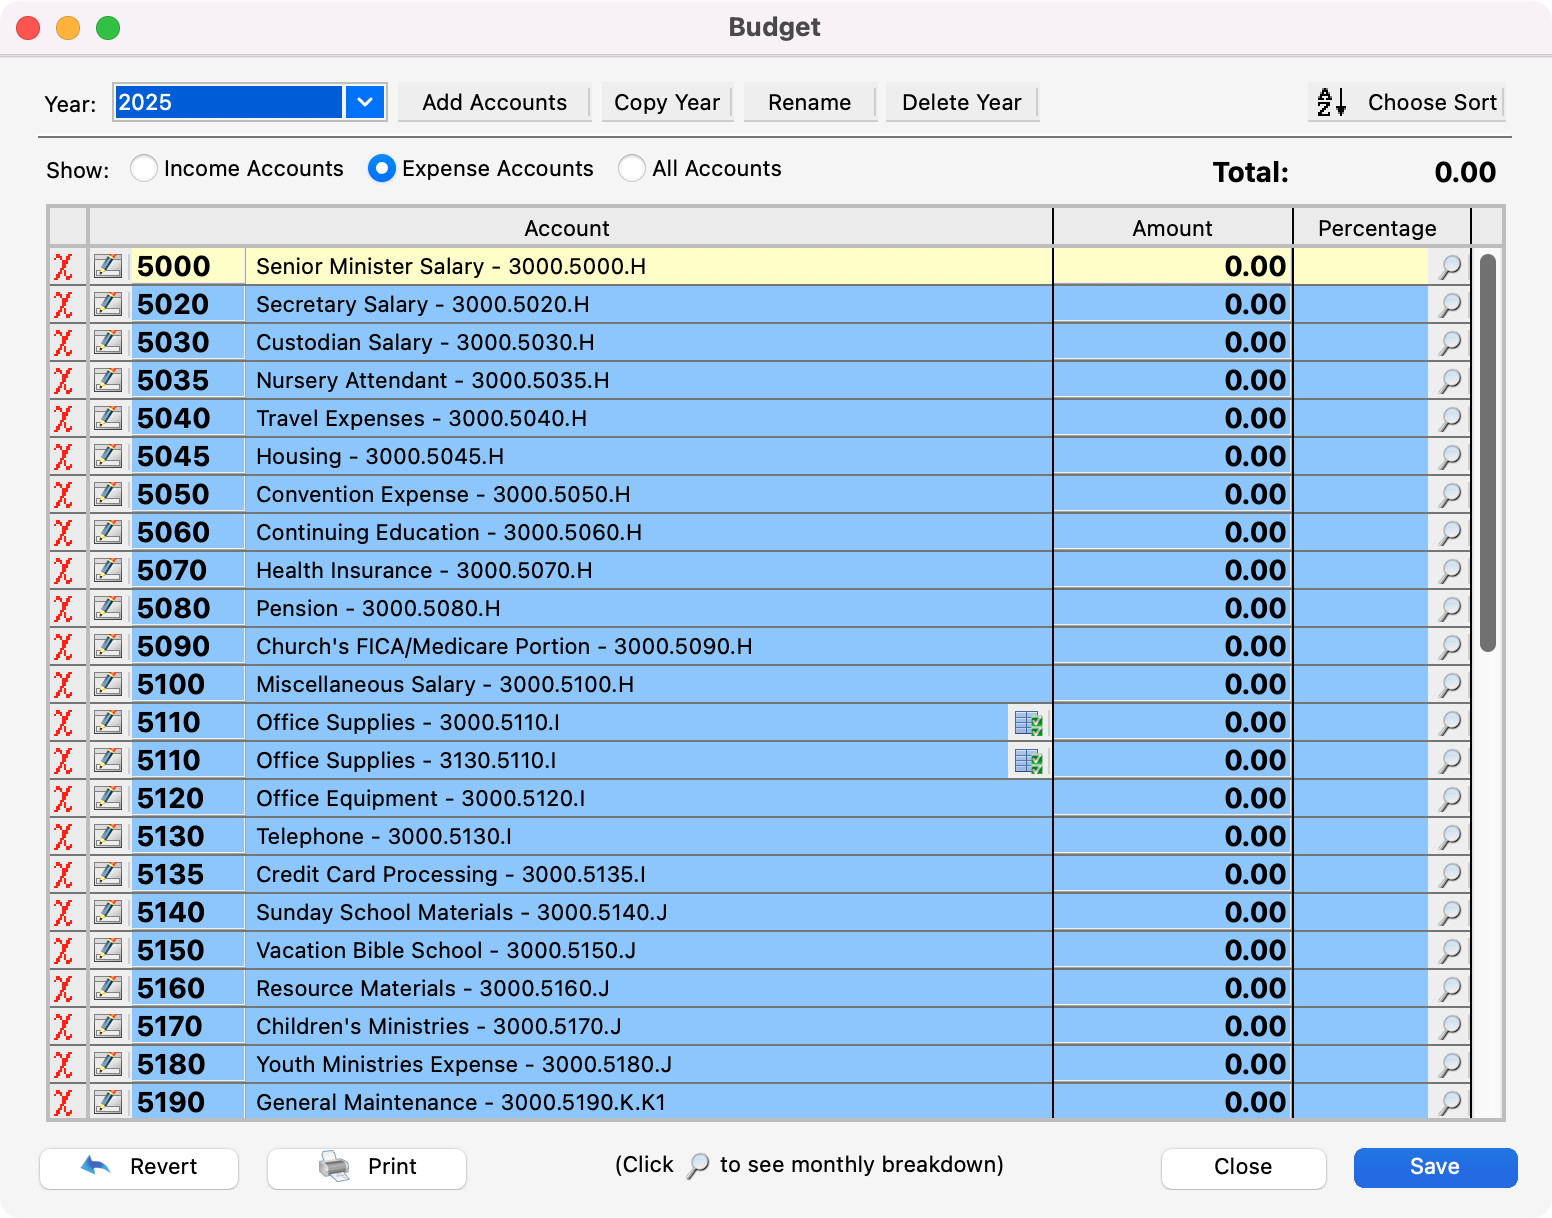
To get to the Budget window in CDM+, go to Program → Accounting → Budget.
Option 1: Using the Add Accounts Button
-
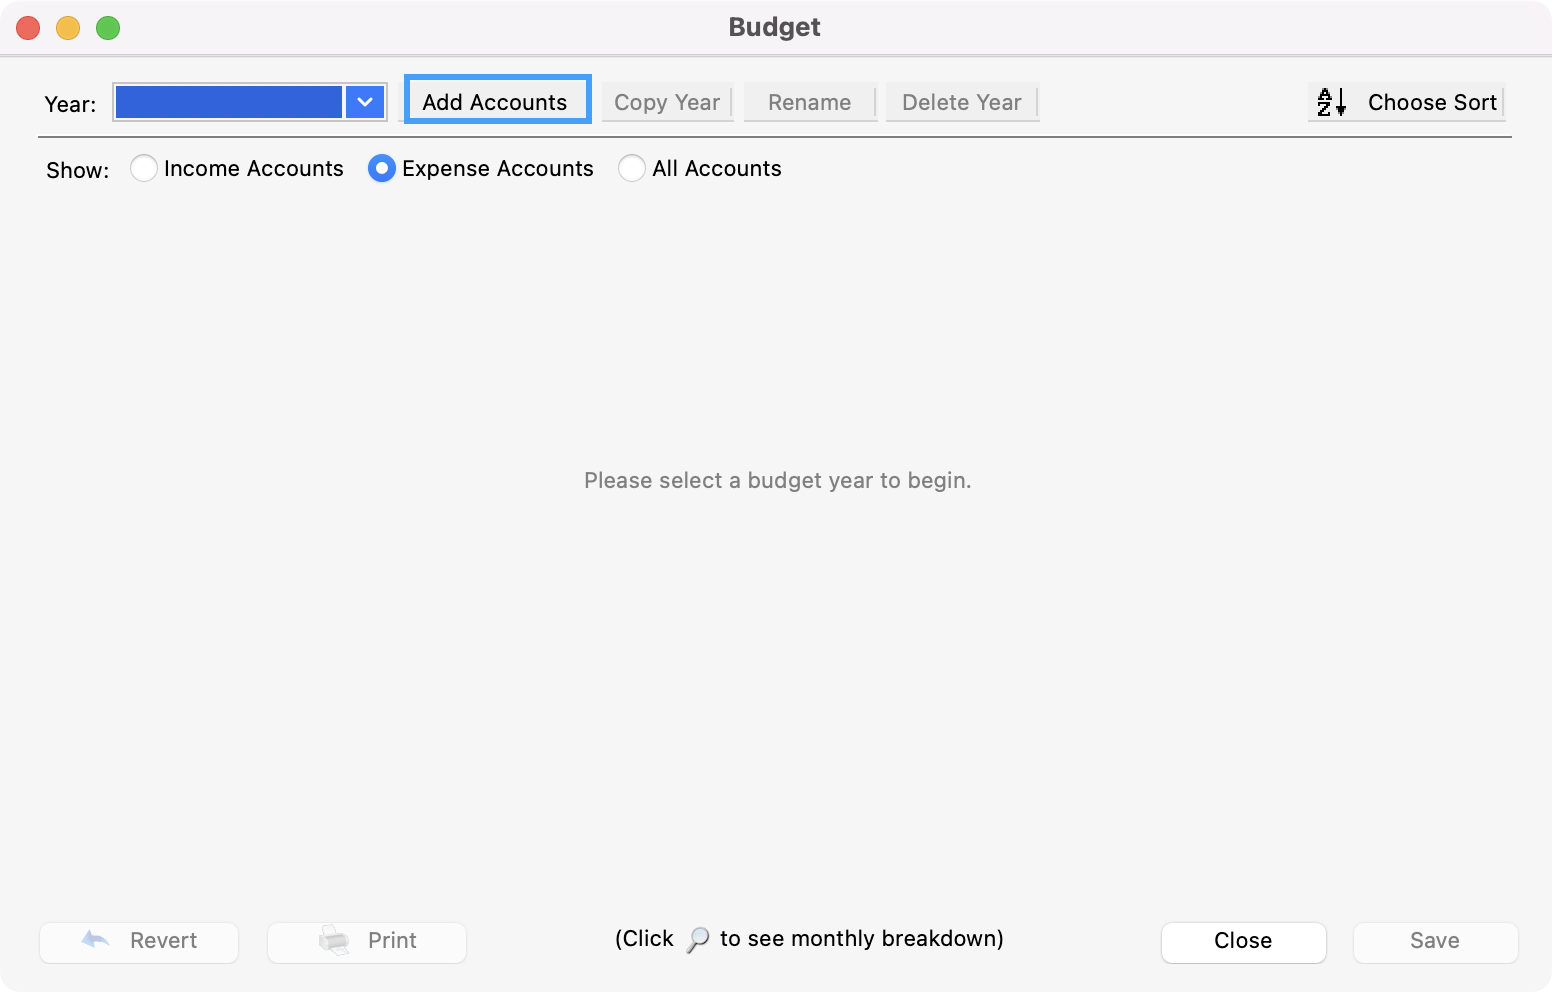
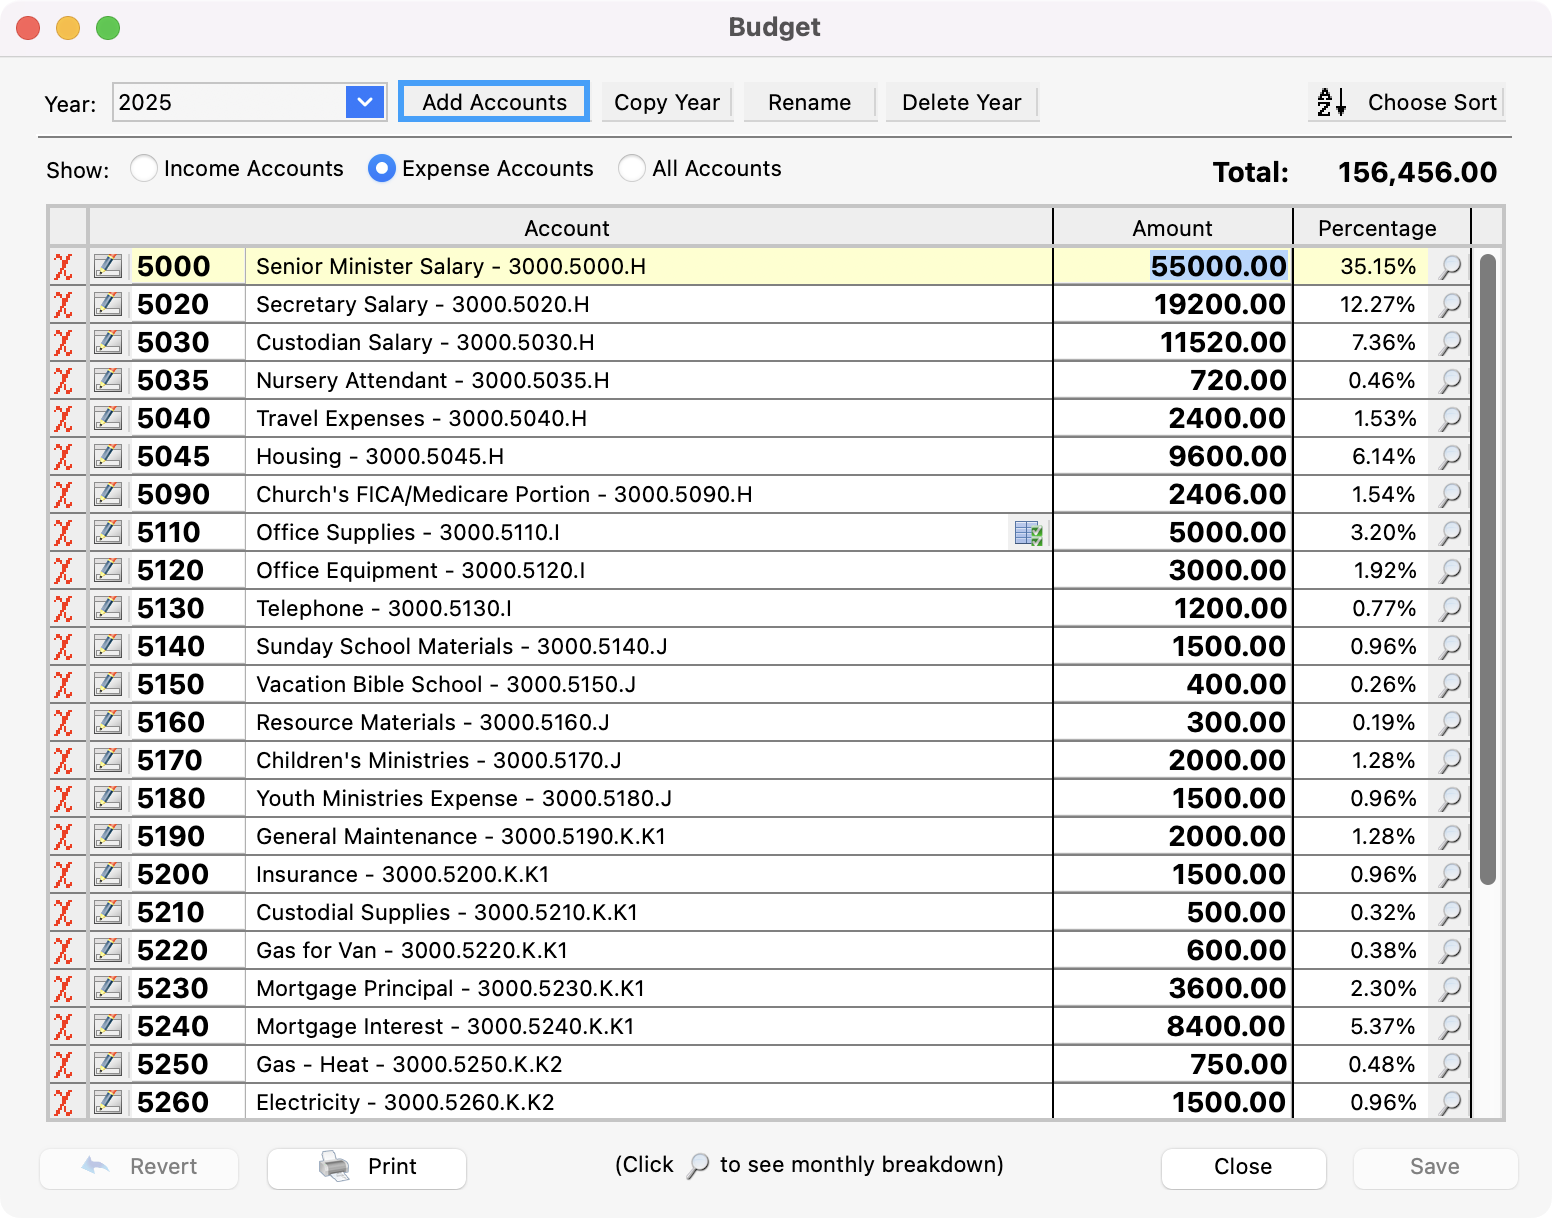
In the Budget window, click Add Accounts at the top of the window.
-
A dialog box appears that allows you to select the year for the added accounts for the budget you are creating. Enter the New Year, for example, 2025. Press Return/Enter or click OK.
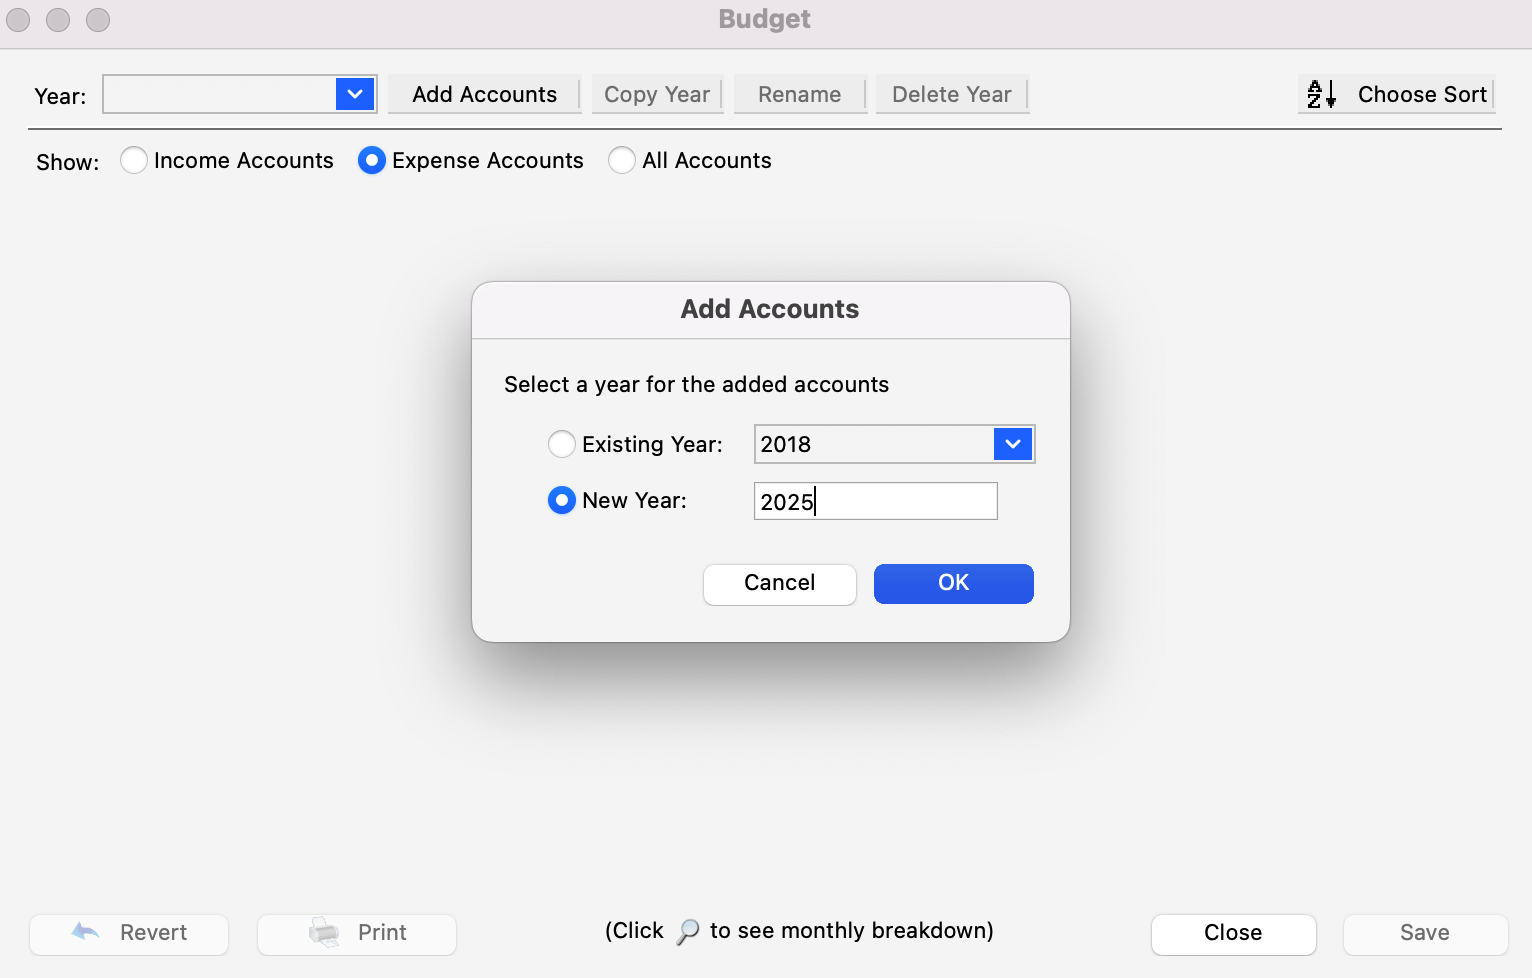
The Add Accounts function can also be used to add more accounts to an existing budget. In that case you would select an Existing Year from the drop-down list.
-
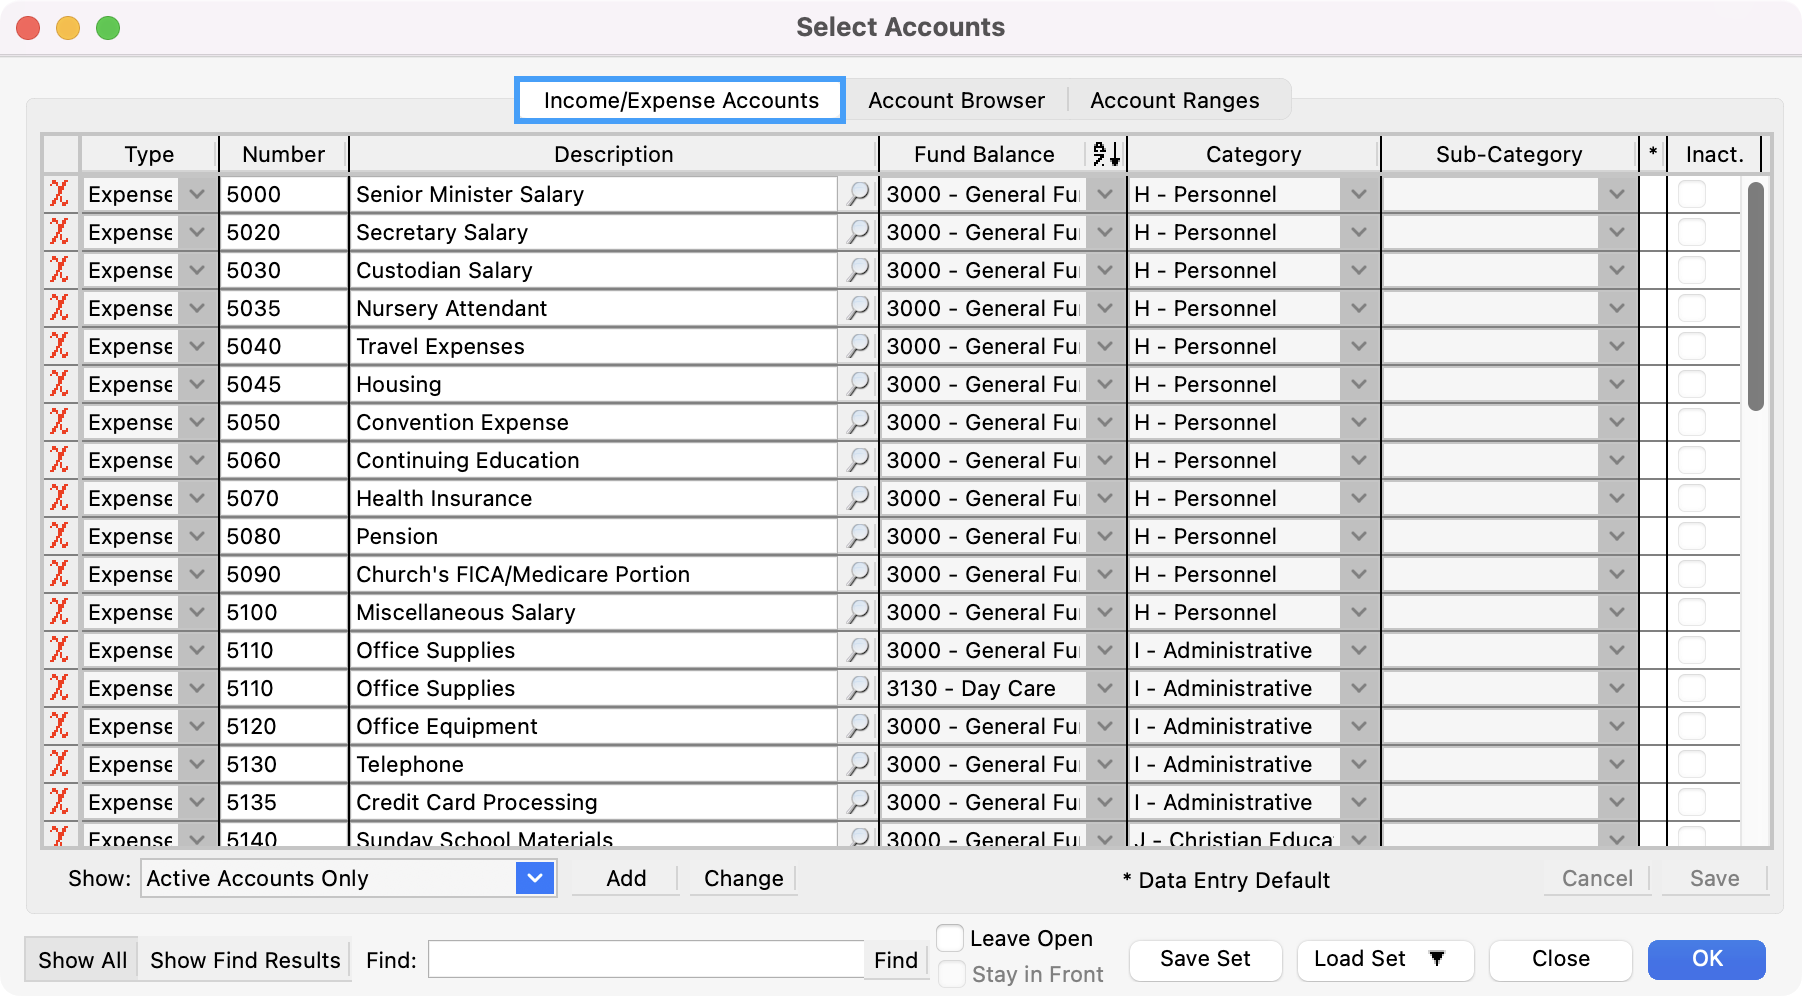
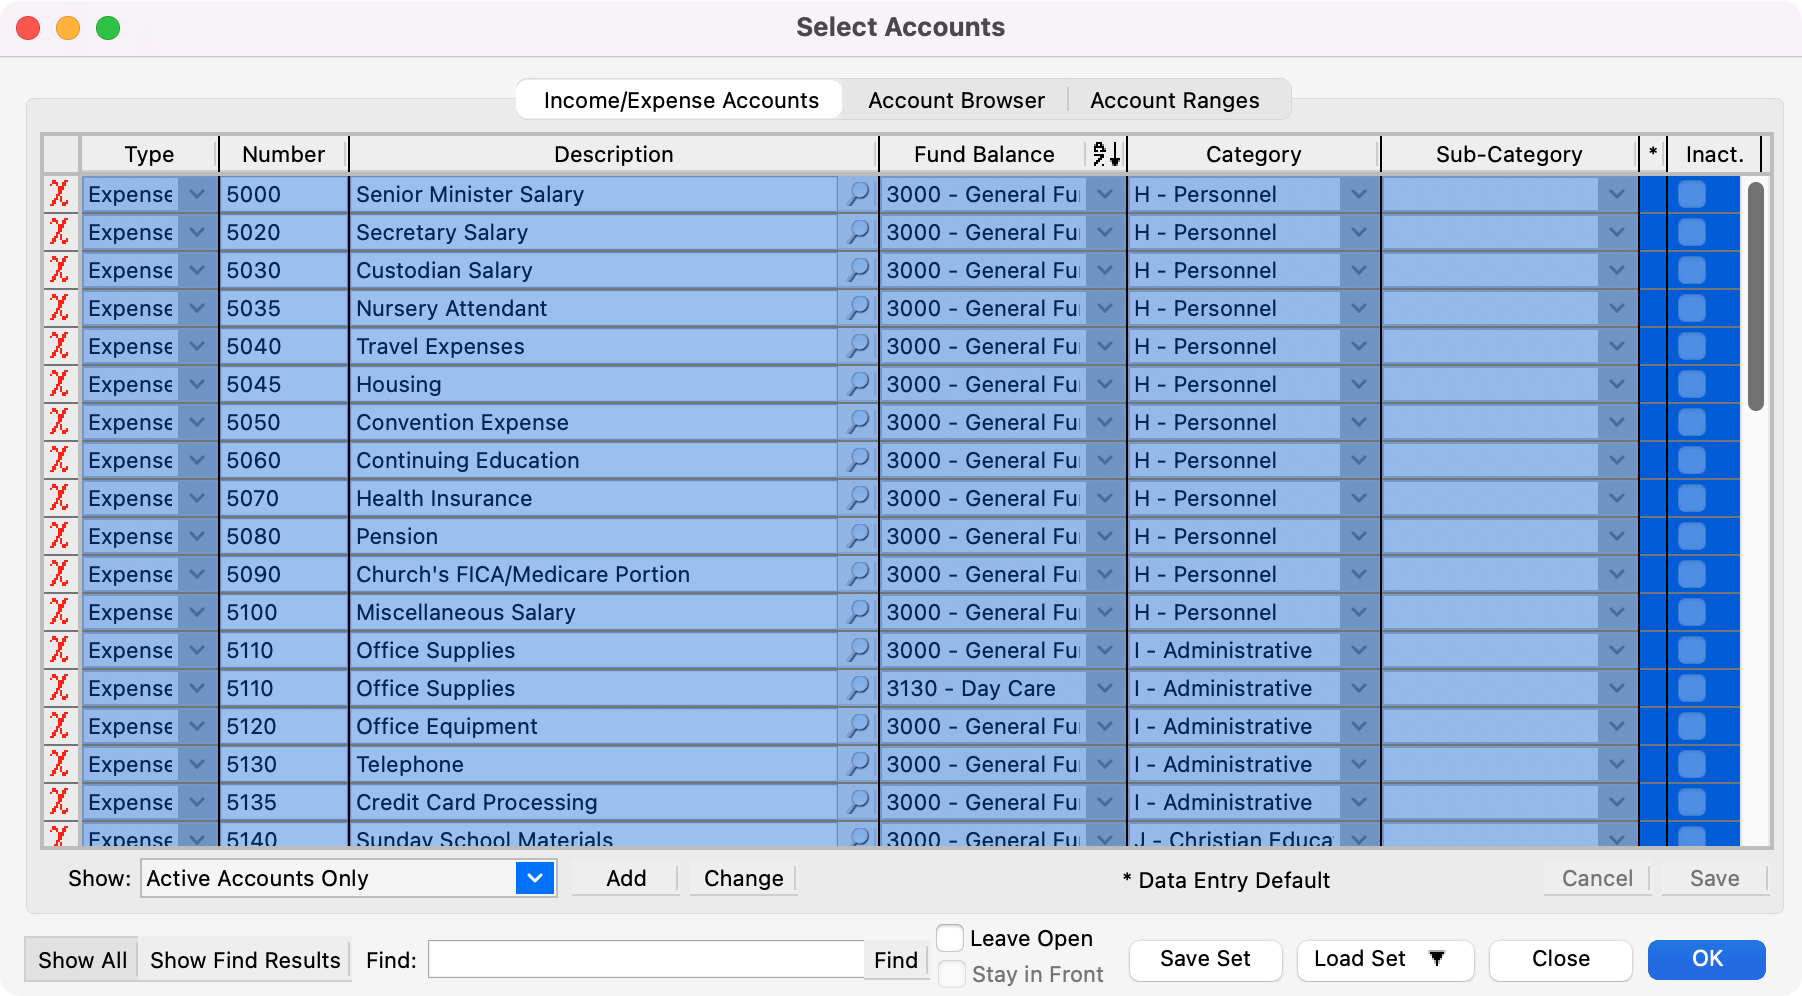
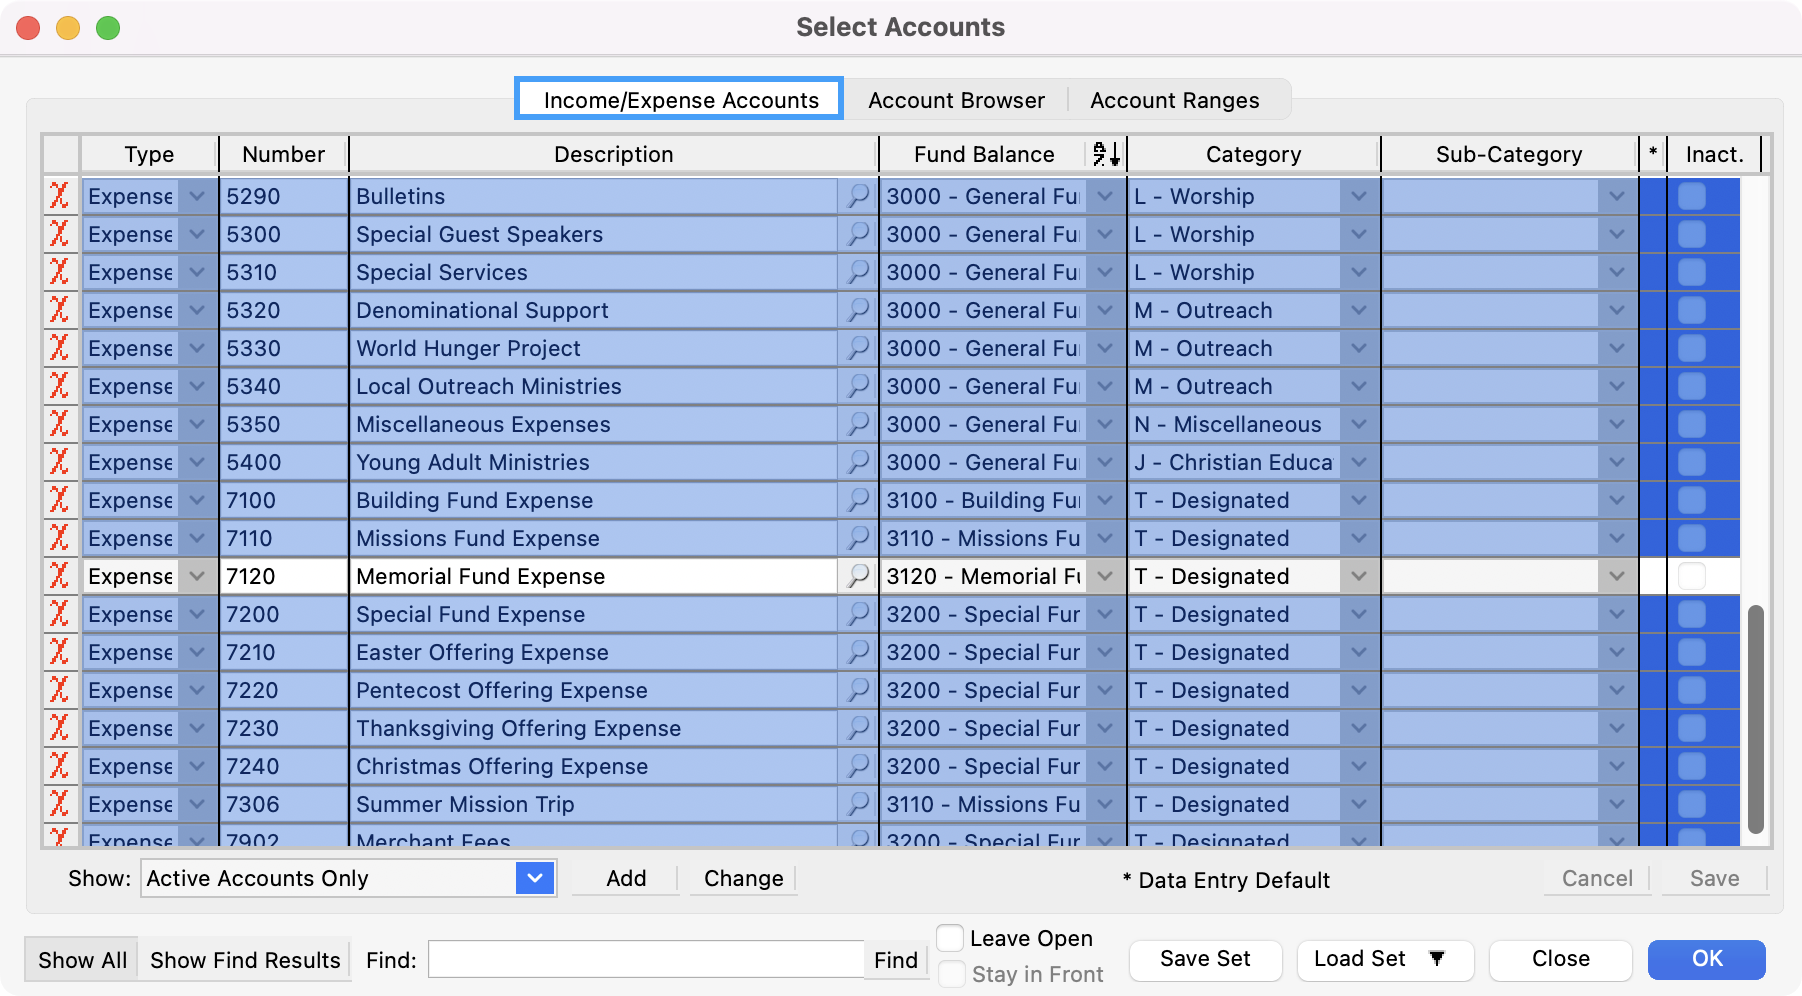
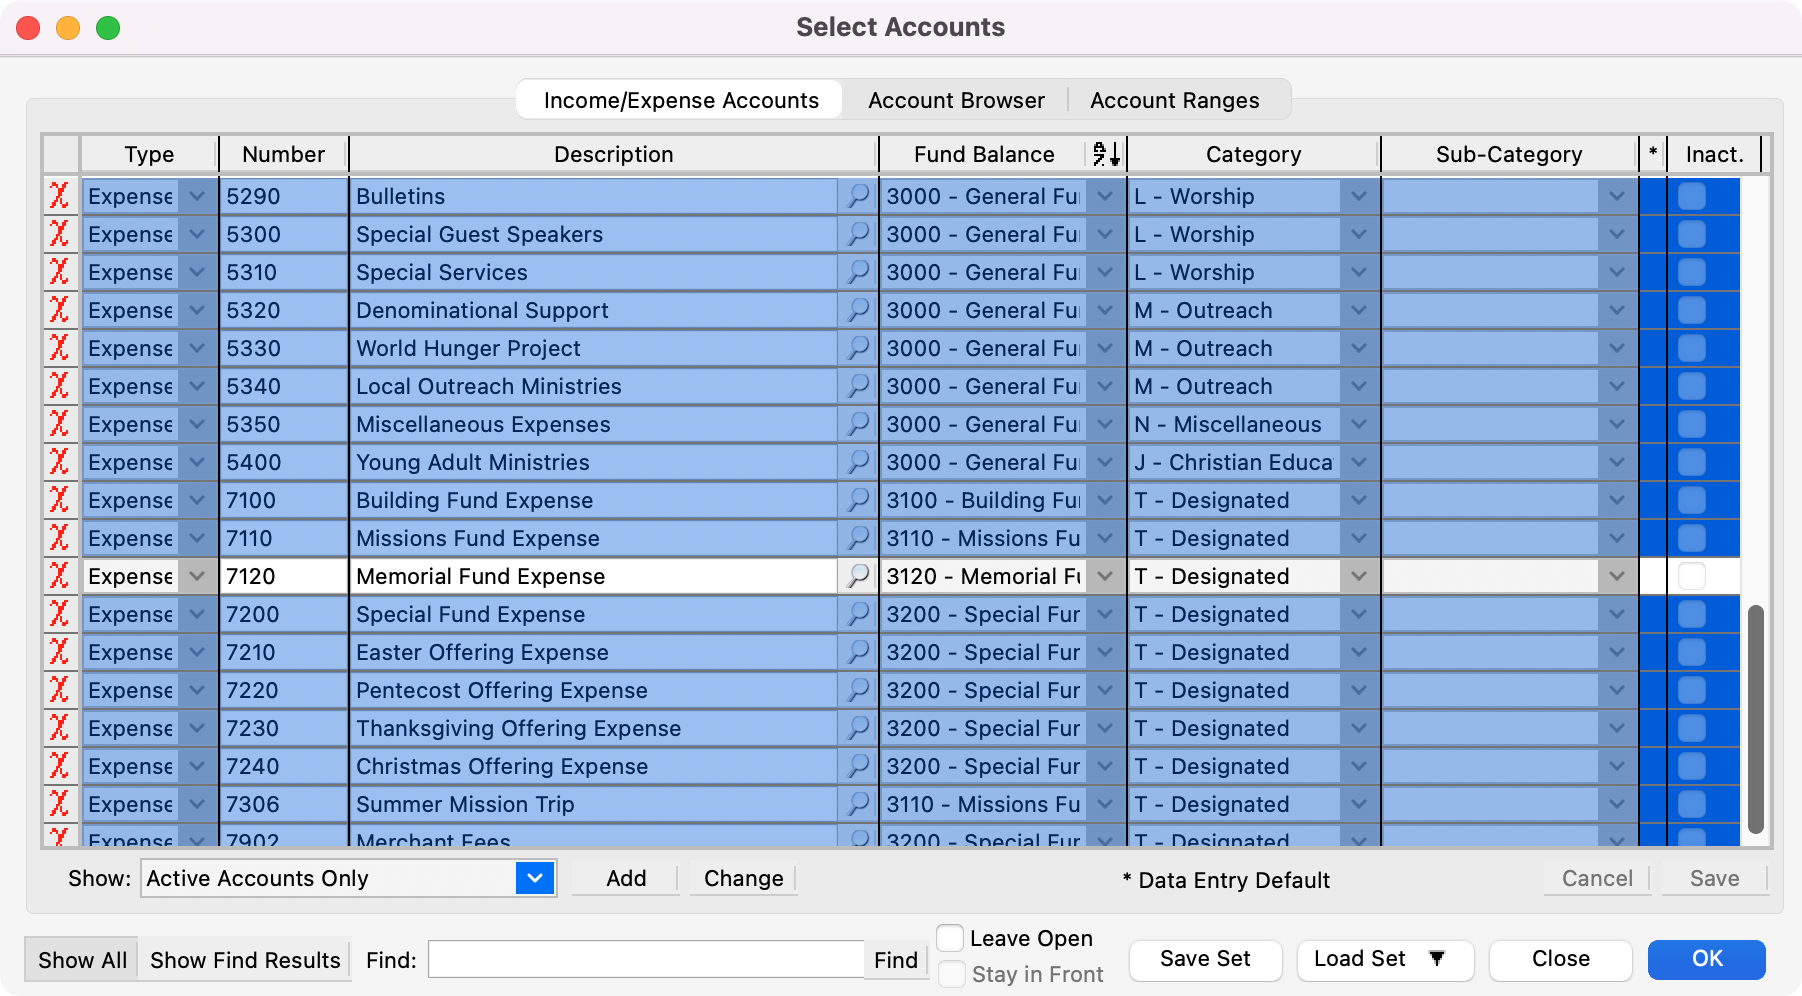
After you click OK, you will see the Select Accounts window open. This is where you can select the accounts you want to use for your budget. The window opens to the tab you were last in when in this window. Click the Income/Expense Accounts tab if you’re not already in this tab.
-
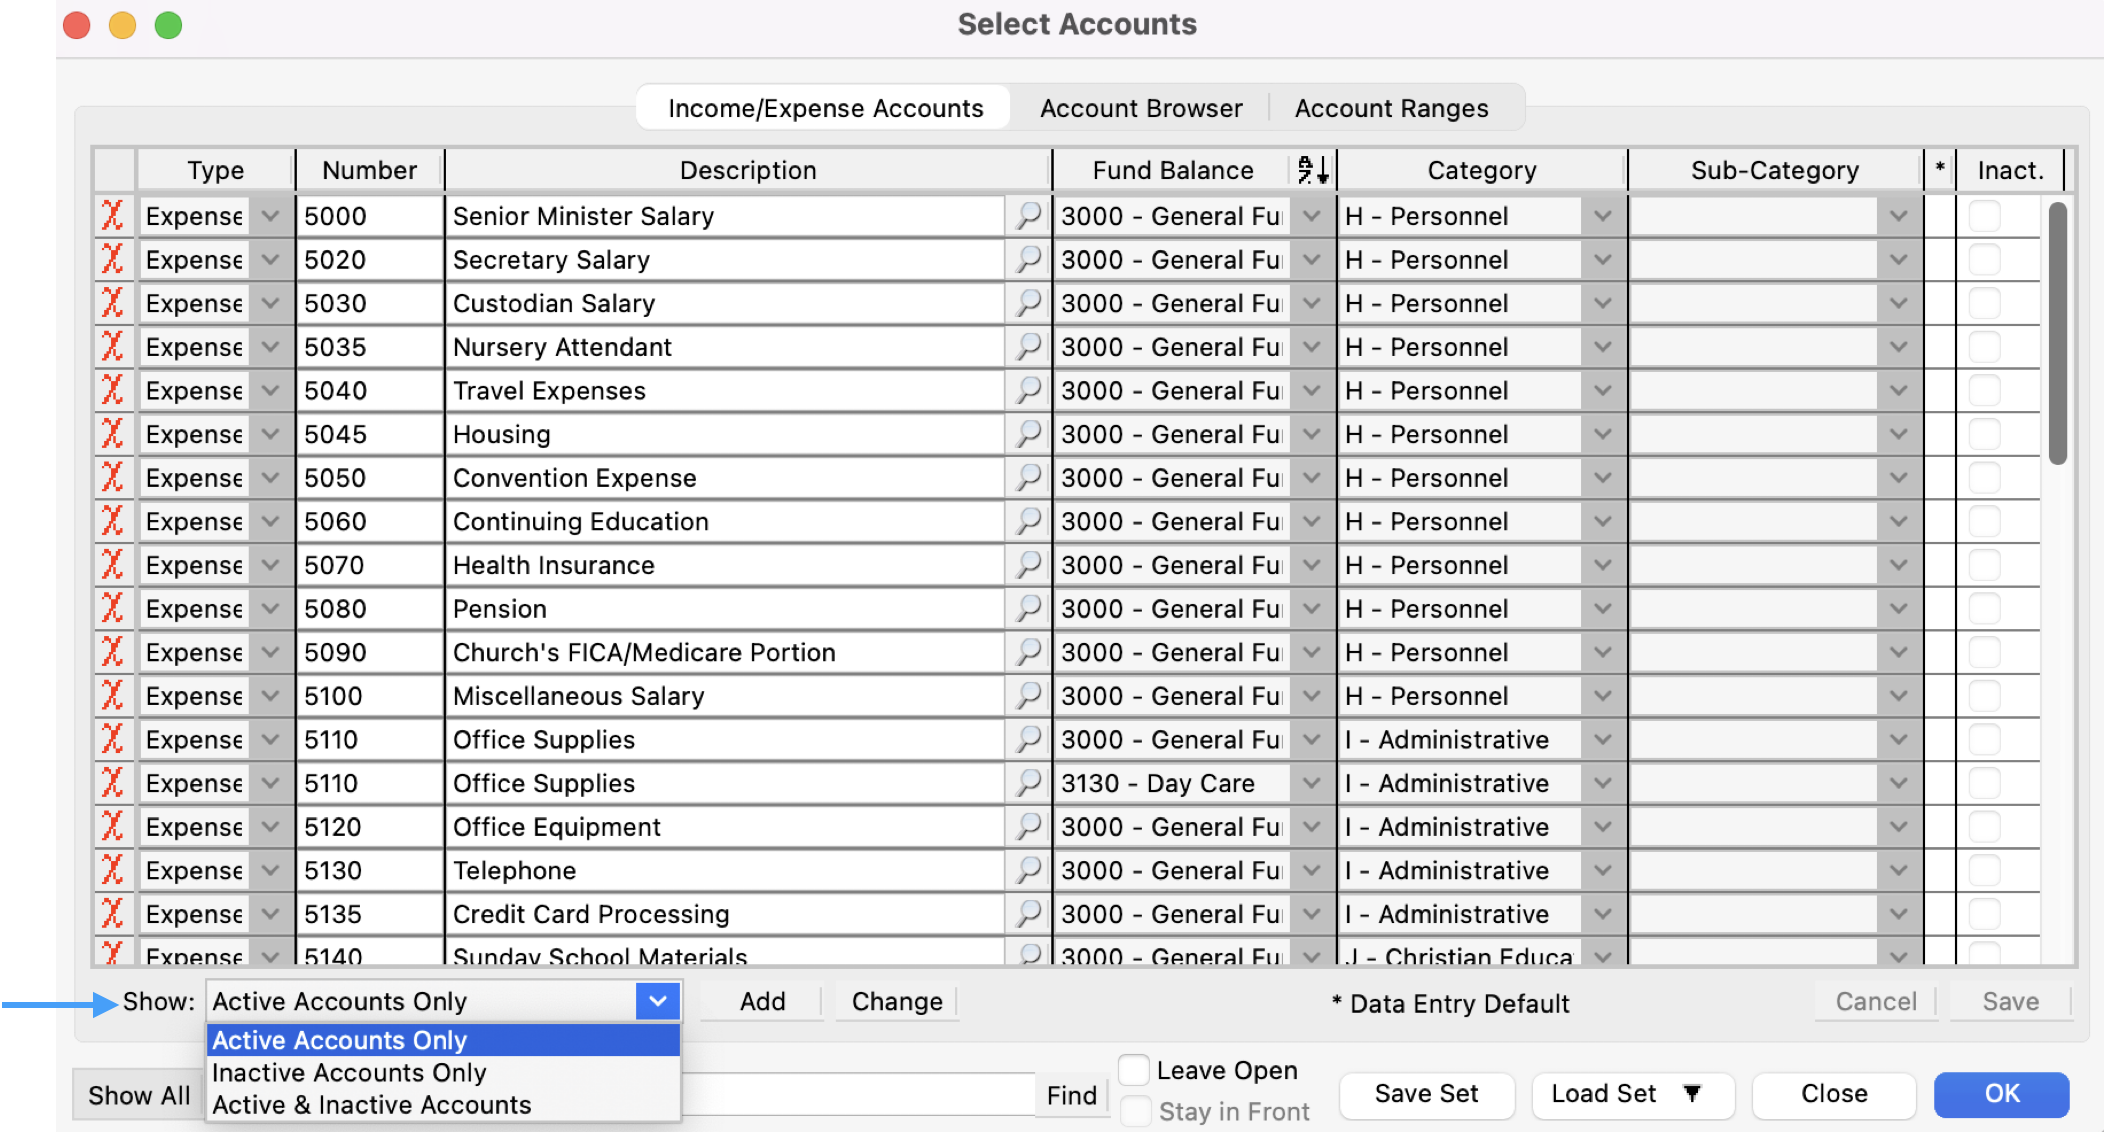
You may choose from a drop-down list at the bottom of the window to Show: Active Accounts Only, Inactive Accounts Only or both Active & Inactive Accounts.
-
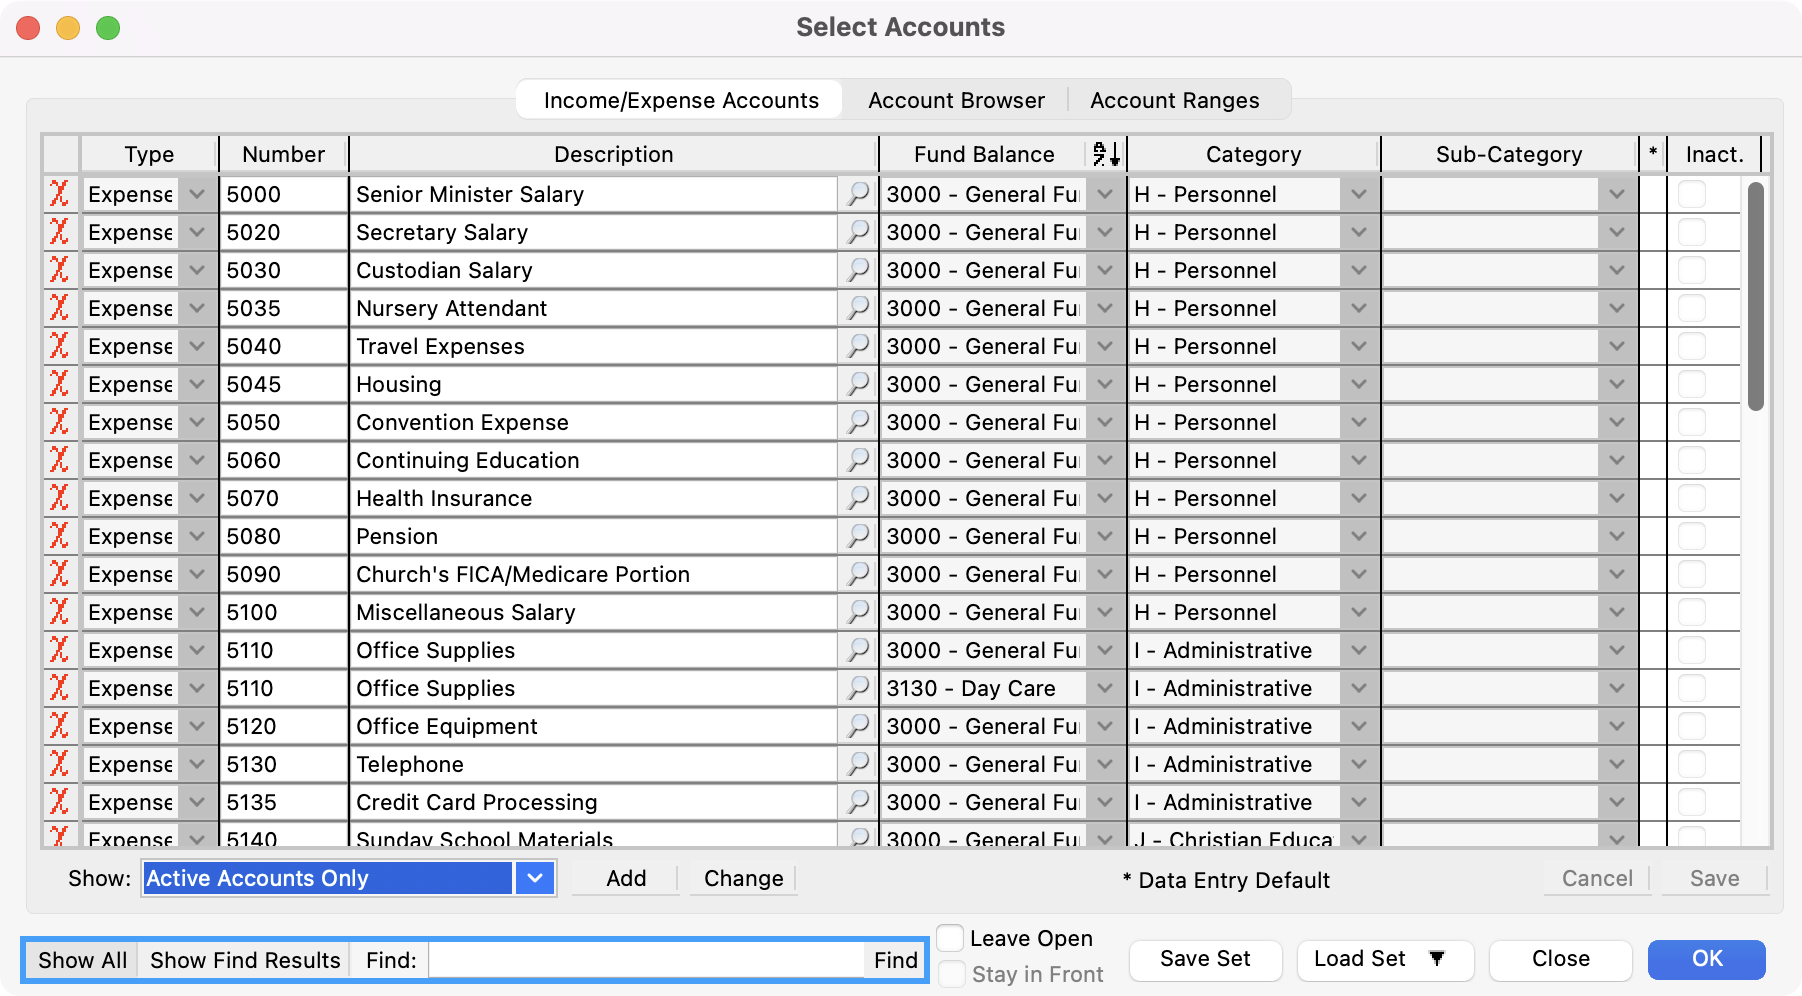
Below this drop-down list, you can click a button to Show All accounts (within the selection from the drop-down list). Or click on Show Find Results, type a keyword in the Find: box and click Find. All accounts (within the selection from the drop-down list) containing that keyword will be displayed. Using the Find feature allows you to work with smaller groupings of accounts.
Accounts do not have to be added to the budget all at once. You may always save your work and later return to Add Accounts to the now-existing budget year.
-
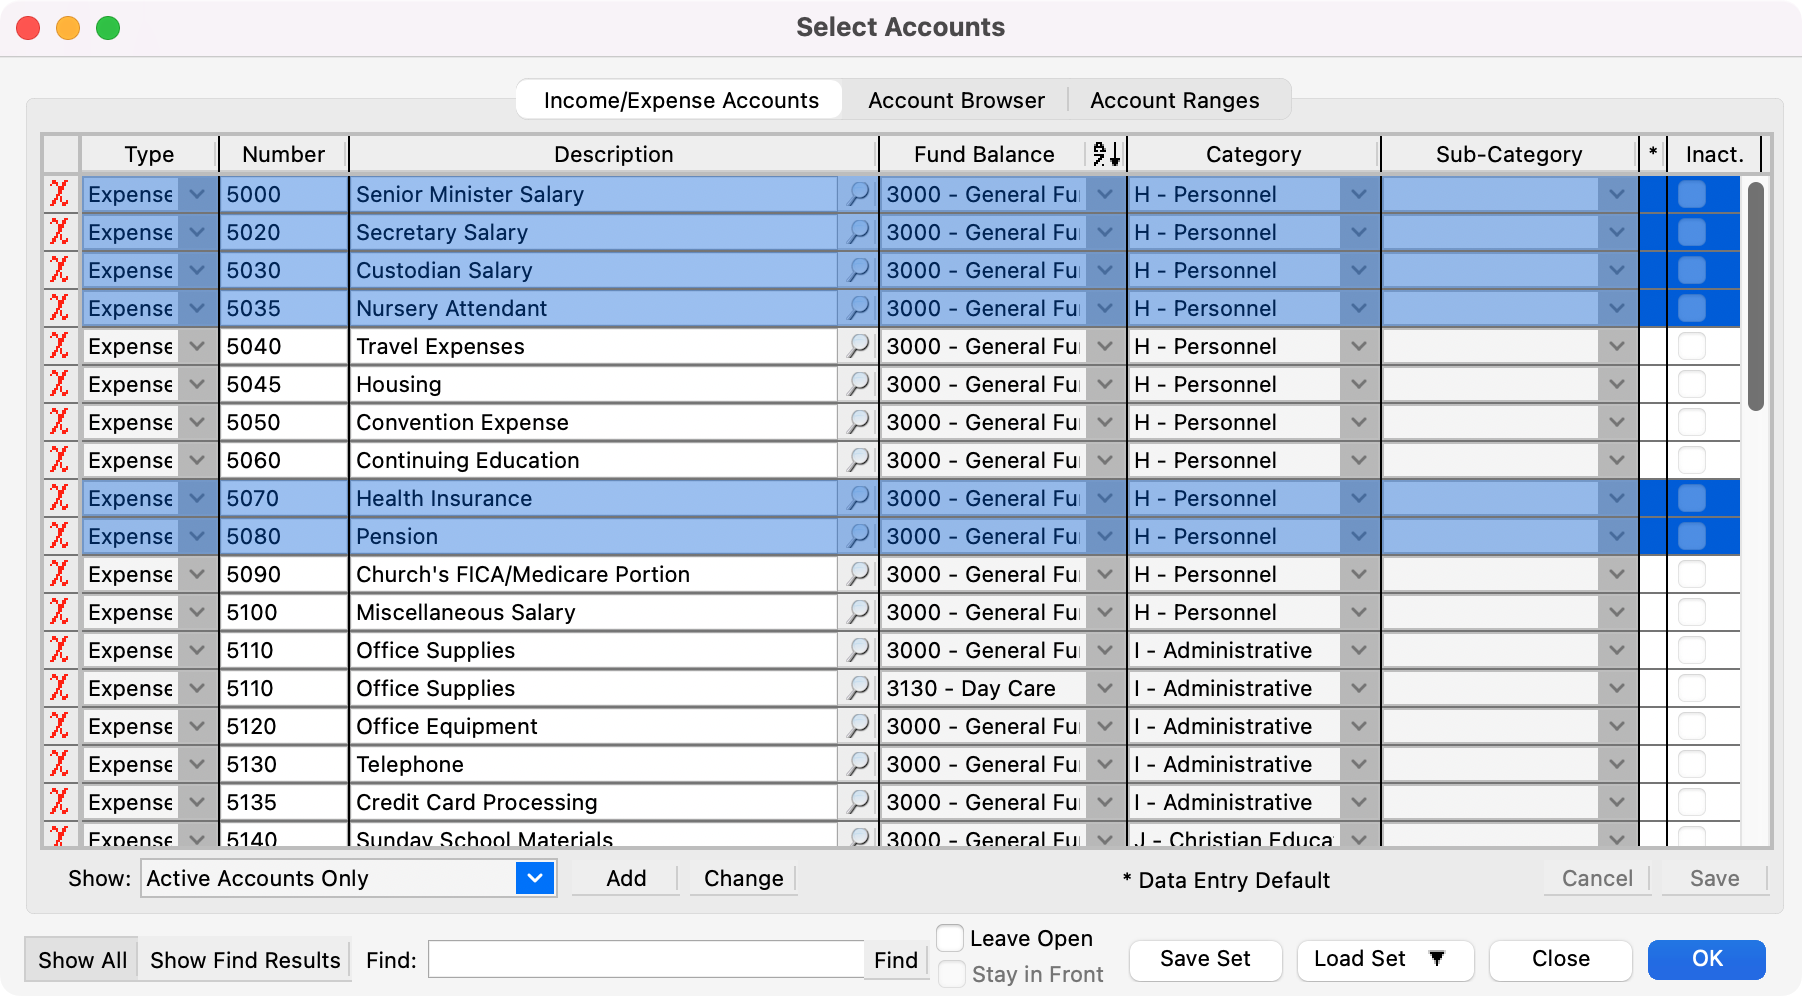
Now that you have the desired list of accounts to choose from, you need to select which accounts you want to appear as budget line items. You can do this in several ways:
-
Click to highlight each line. Hold down the Control (Windows) or Command (Macintosh) key and click to select non-contiguous lines.
-
Press Control-A (Windows) or Command-A (Macintosh) to select all accounts. If there are accounts you do not want to include in the budget, hold down the Control (Windows) or Command (Macintosh) key and click those line items.
-
Click the Account Browser tab at the top of the Select Accounts window. This will show the Income and Expense accounts in a tree-list format. The advantage to this is the ability to group the accounts by Type, Fund Balance, Category and/or Sub-Category.
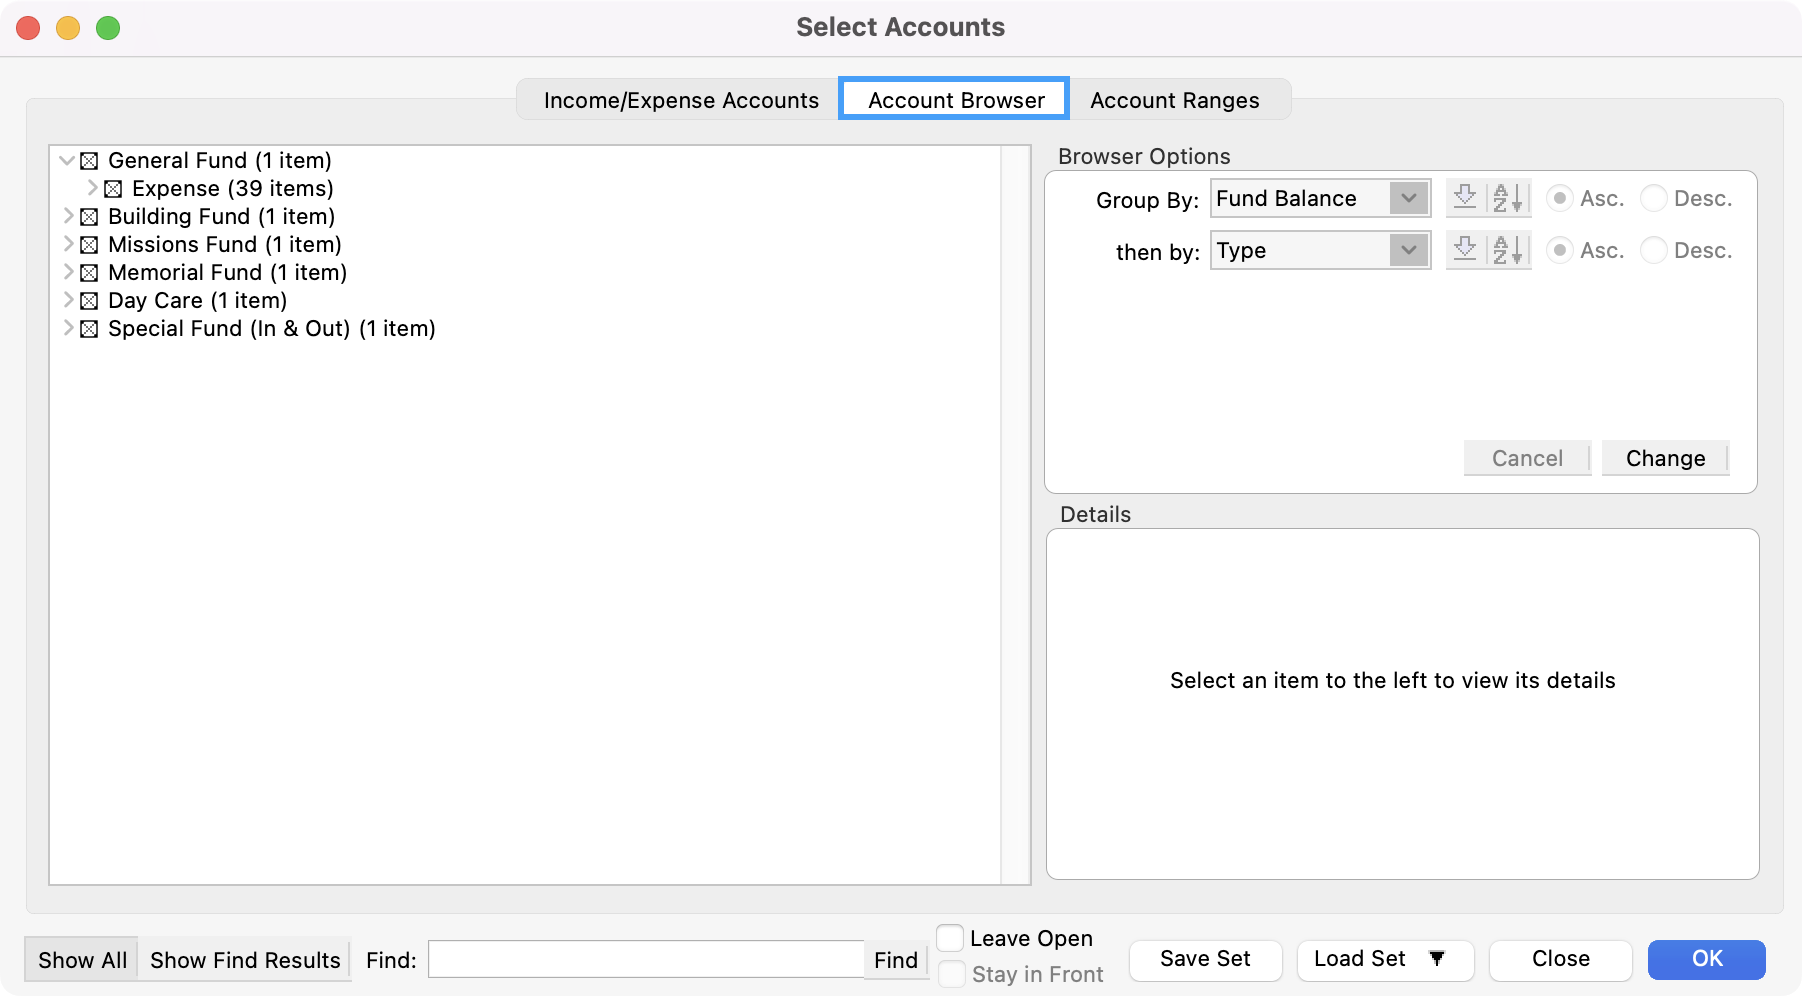
To sort the tree list, click the small Change button in the Browser Options section of the window.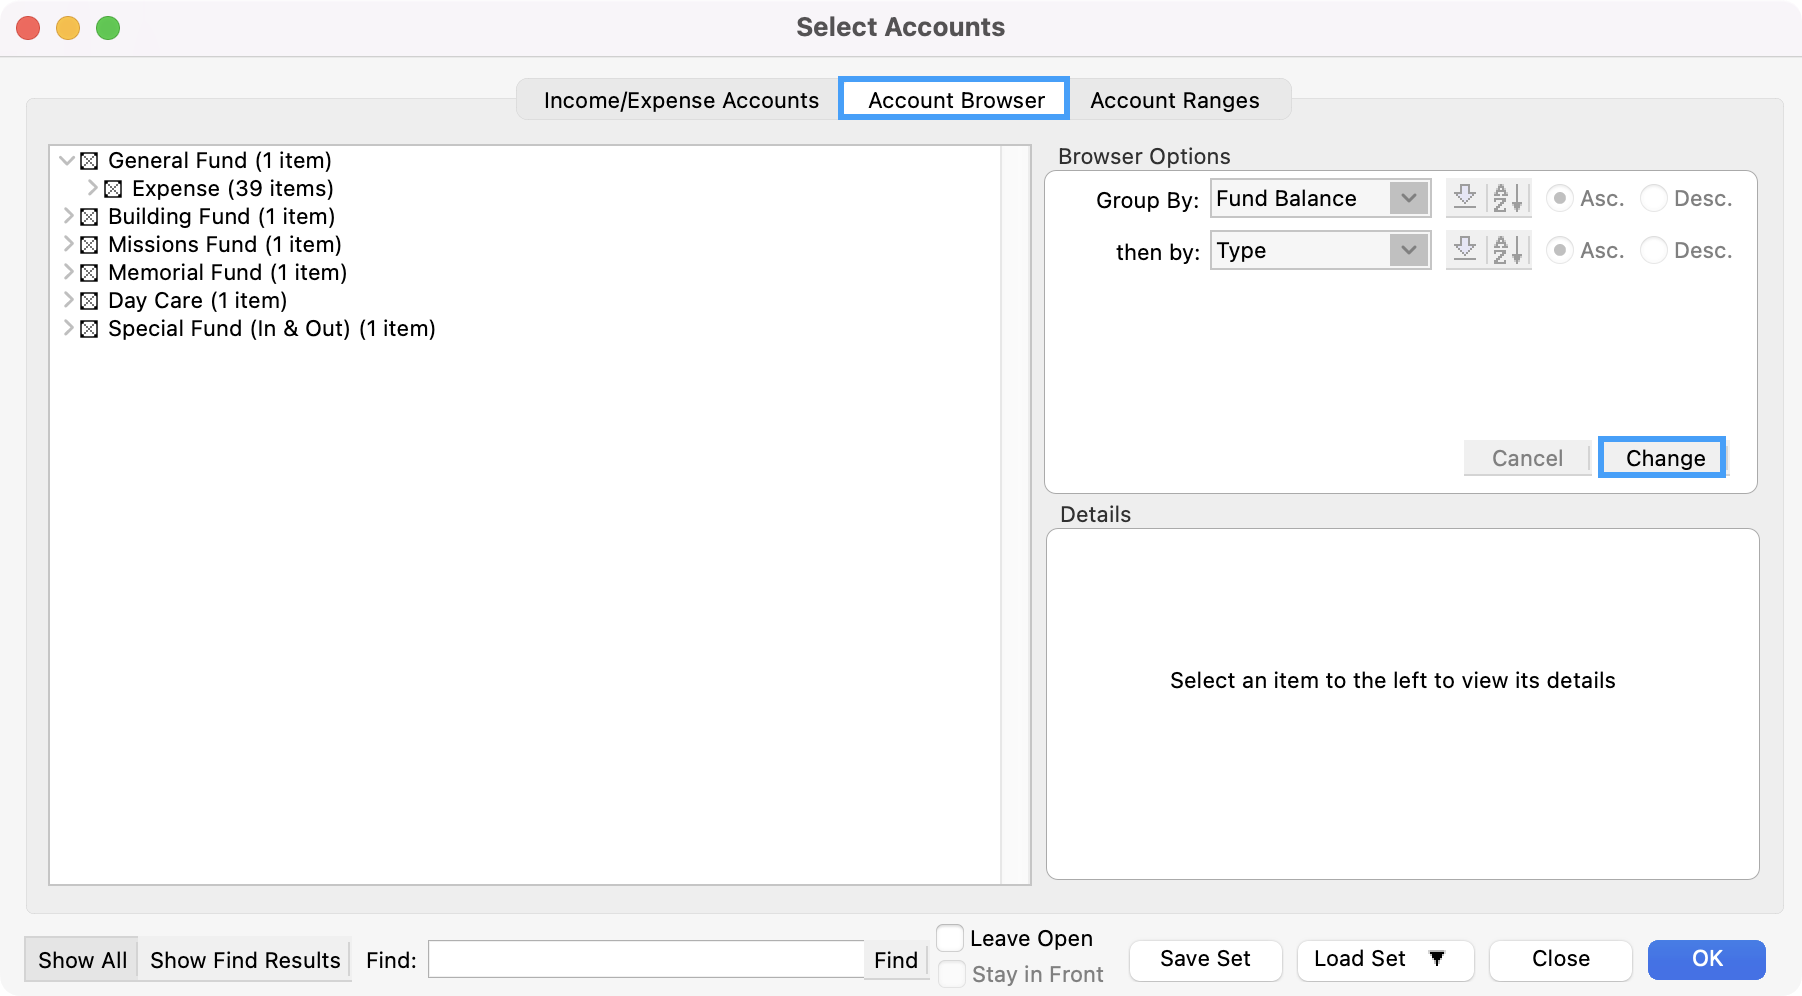
Select the first criteria by which you want to group accounts from the drop-down list. If you want to refine the grouping, press Tab and select another criteria and so on. You may choose to show the list in ascending or descending alphabetical order by clicking on the Asc. or Desc. radio button. Click OK to view your sortation in the window on the left.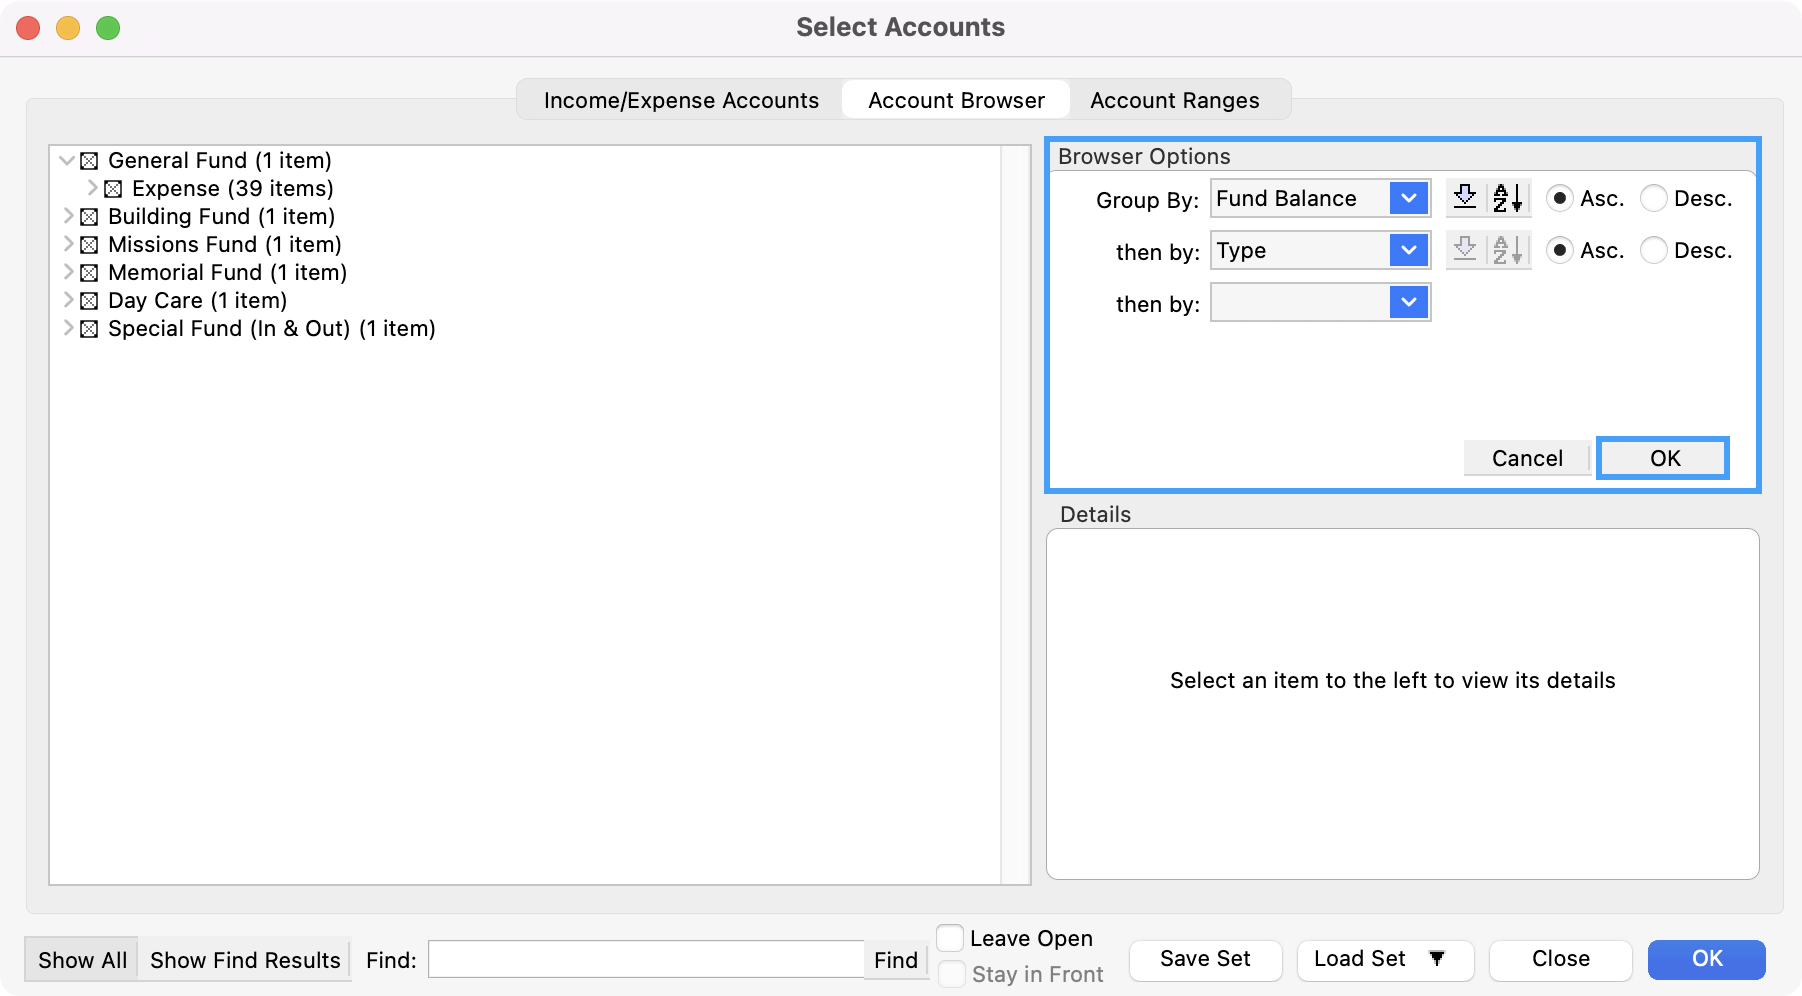
Putting an X in the box next to a group heading will select all accounts within that group. If you wish to select accounts individually or deselect some of the accounts in the group, click on the triangular arrow (Mac) or plus sign (Windows) to display checkboxes for the sub-groups (if any) and individual income and expense accounts. Check and uncheck the boxes as you wish.

For example, you could choose to group accounts by Fund Balance, then by Type (Income or Expense) then by Category. The resulting tree list would look like the illustration below.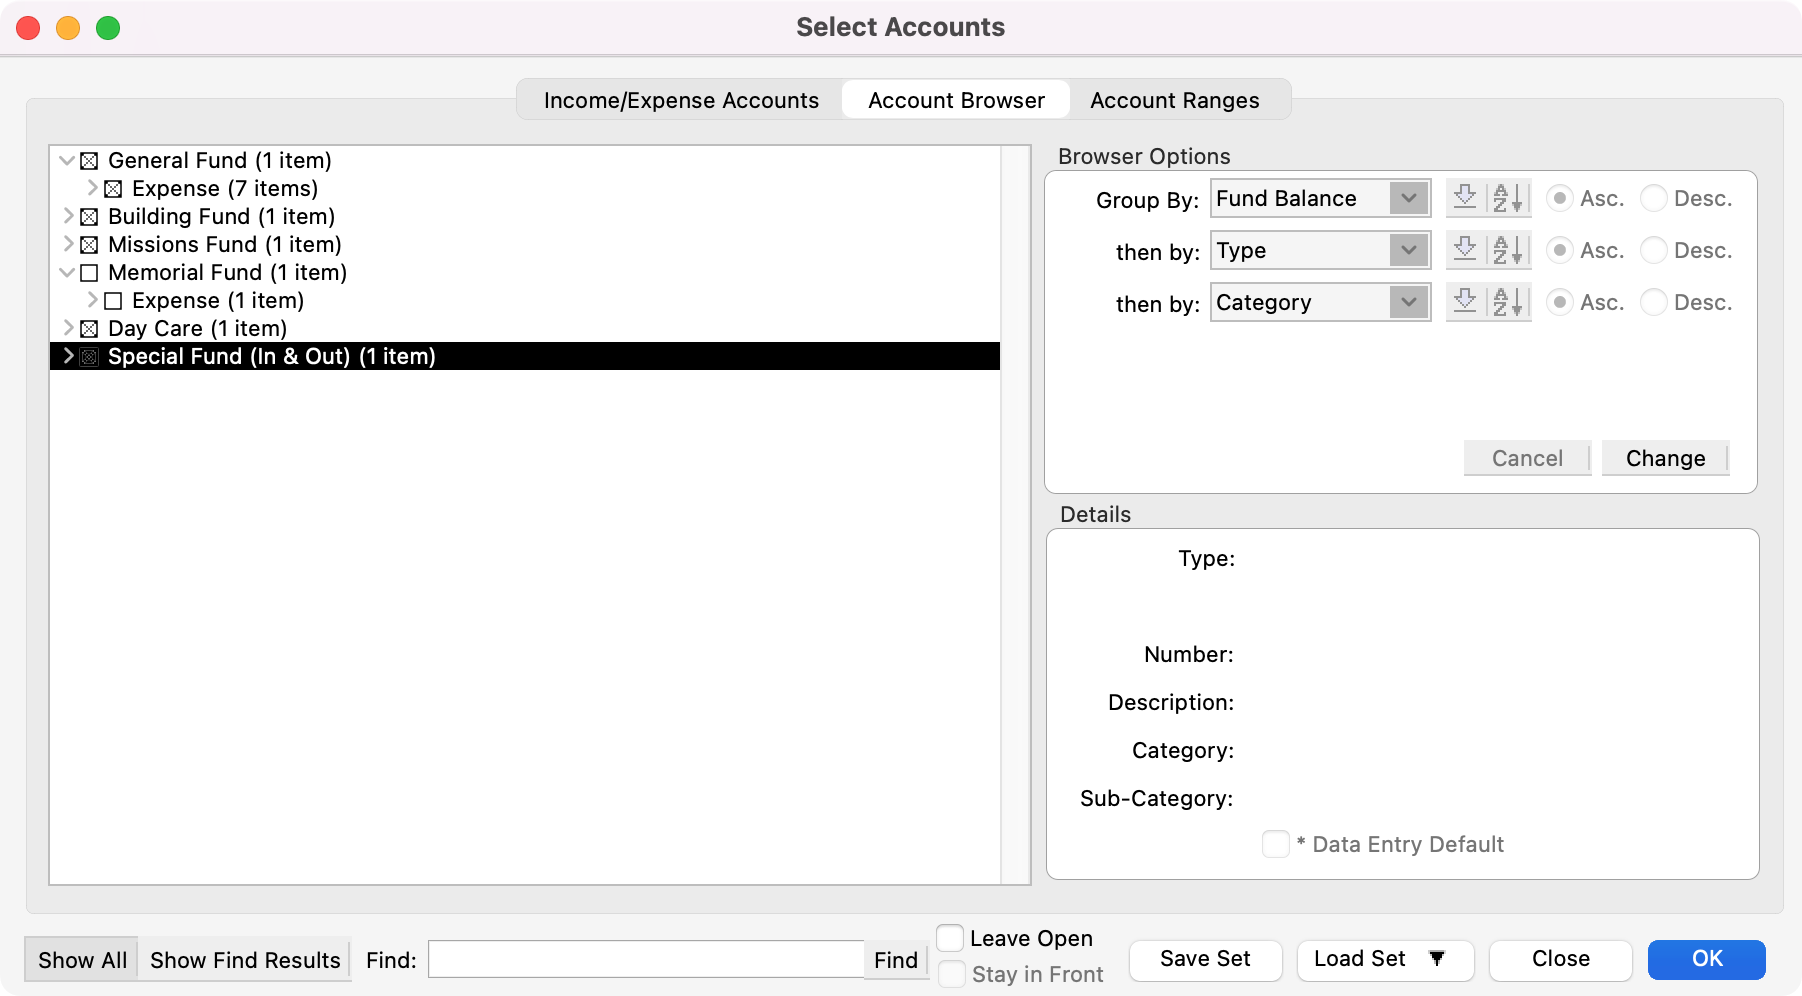
The accounts you select on the Account Browser tab of this window (by clicking on or off checkboxes) will automatically highlight on the Income/Expense Accounts tab.
No matter which selection method you use, once you have the income and expense accounts selected that you want to appear on your budget, you can save them in a set which can be loaded the next time you enter a budget. Click the Save Set button at the bottom of the window, type a Set name and click OK. To load a saved set of accounts into a budget, click on the Load Set button.
-
-
Click OK.
-
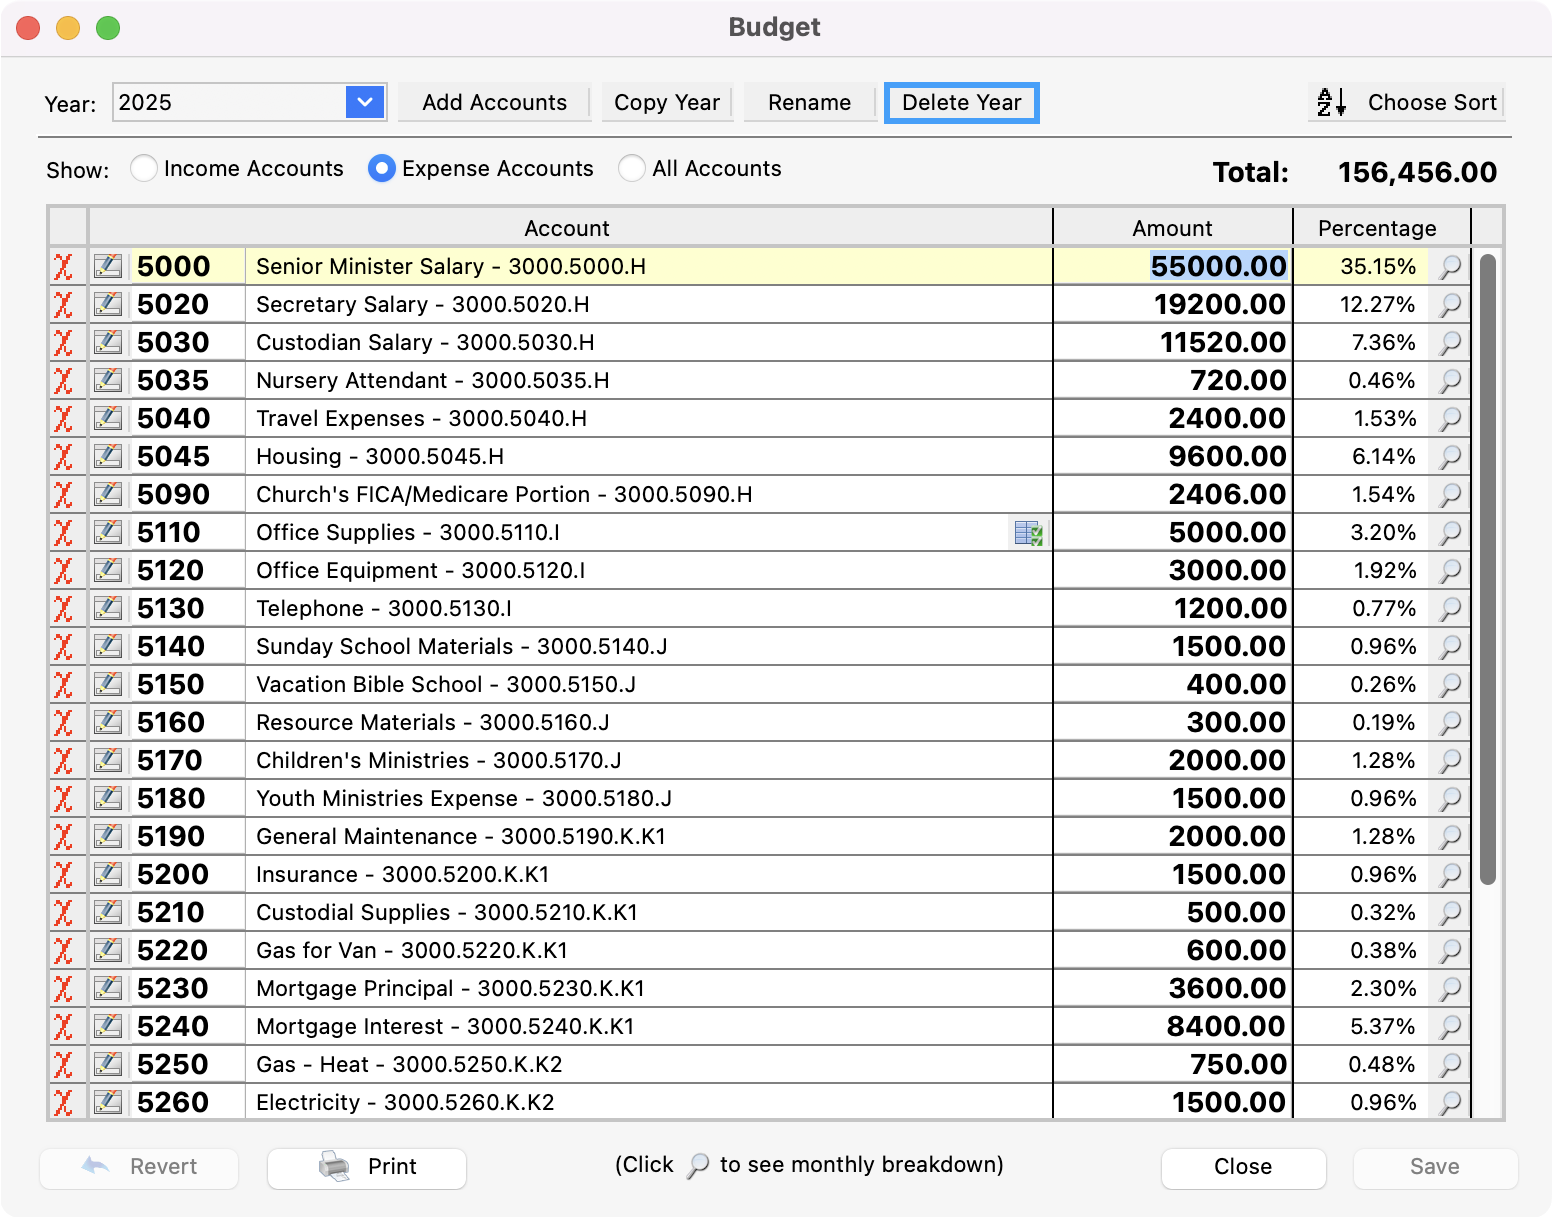
Accounts you just added will appear in blue in the Budget window. As you move through each account, the color will revert to yellow when selected, and white when not selected.
-
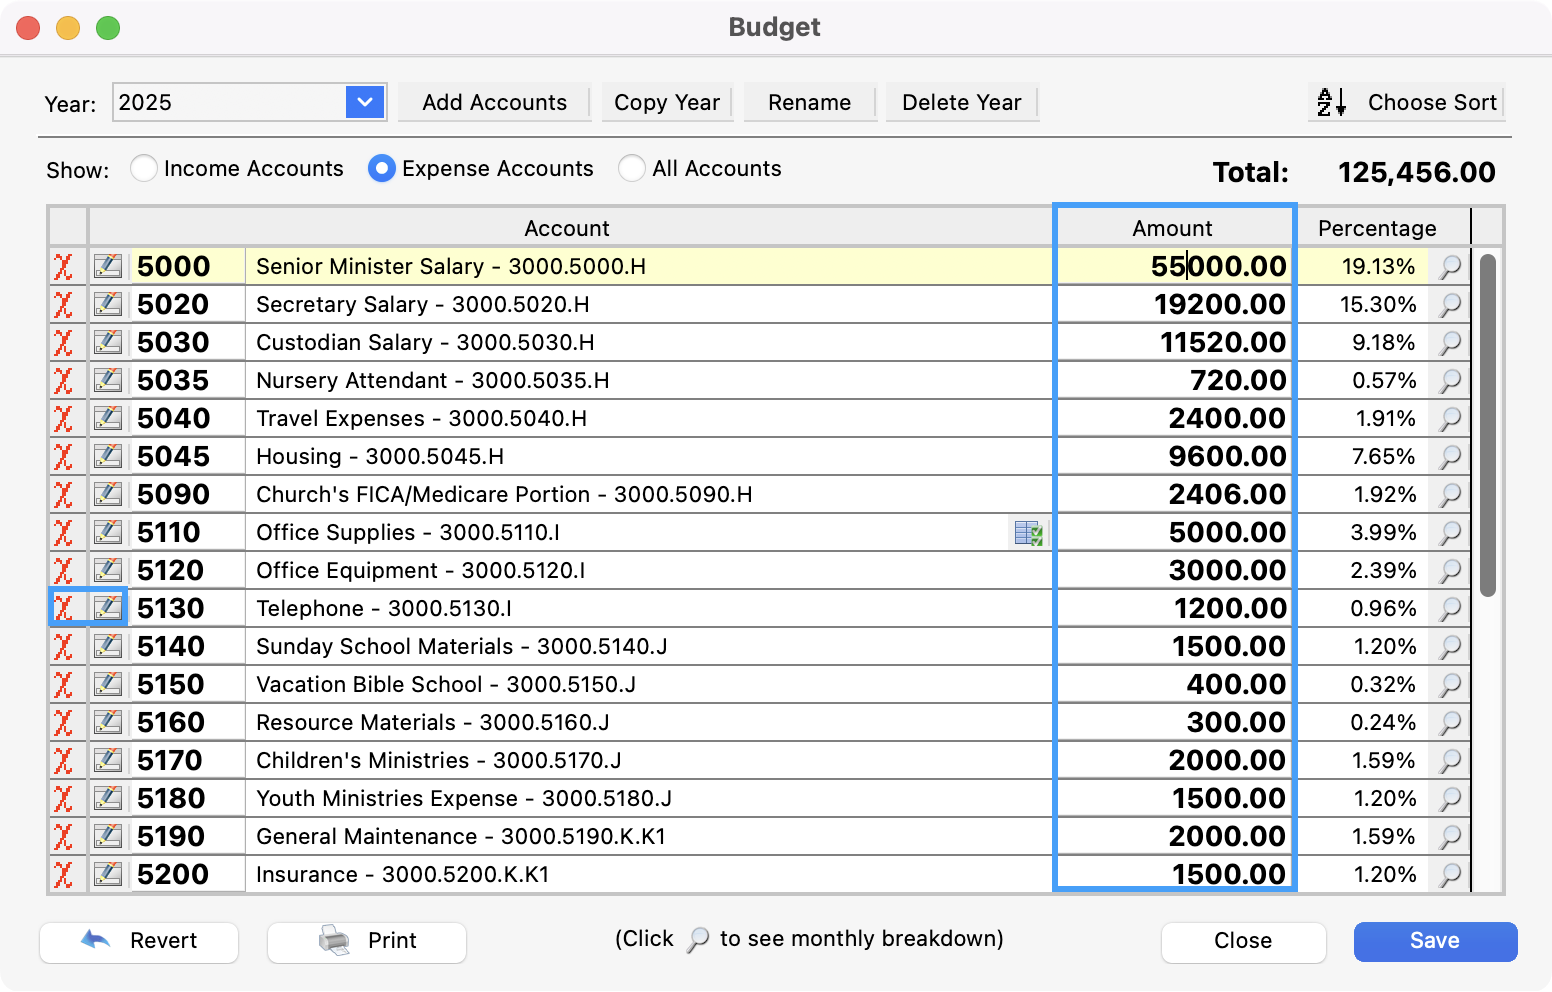
Enter the annual Amount for the first budget line and press the Tab key. The annual amount will be divided by 12 and entered into the 12 monthly breakdown fields. You may change these to different amounts as long as the Breakdown total equals the annual Amount. Refer to the documentation on the Budget Inspector for how to specify month breakdowns.
When you are finished entering amounts, press Return/Enter or click Save.
Options 2: Using the Copy Button
When the budget you wish to enter will have many of the same accounts and amounts as a previous budget, using the Copy Year function can be a real time-saver, eliminating the need to re-enter a significant amount of data.
-
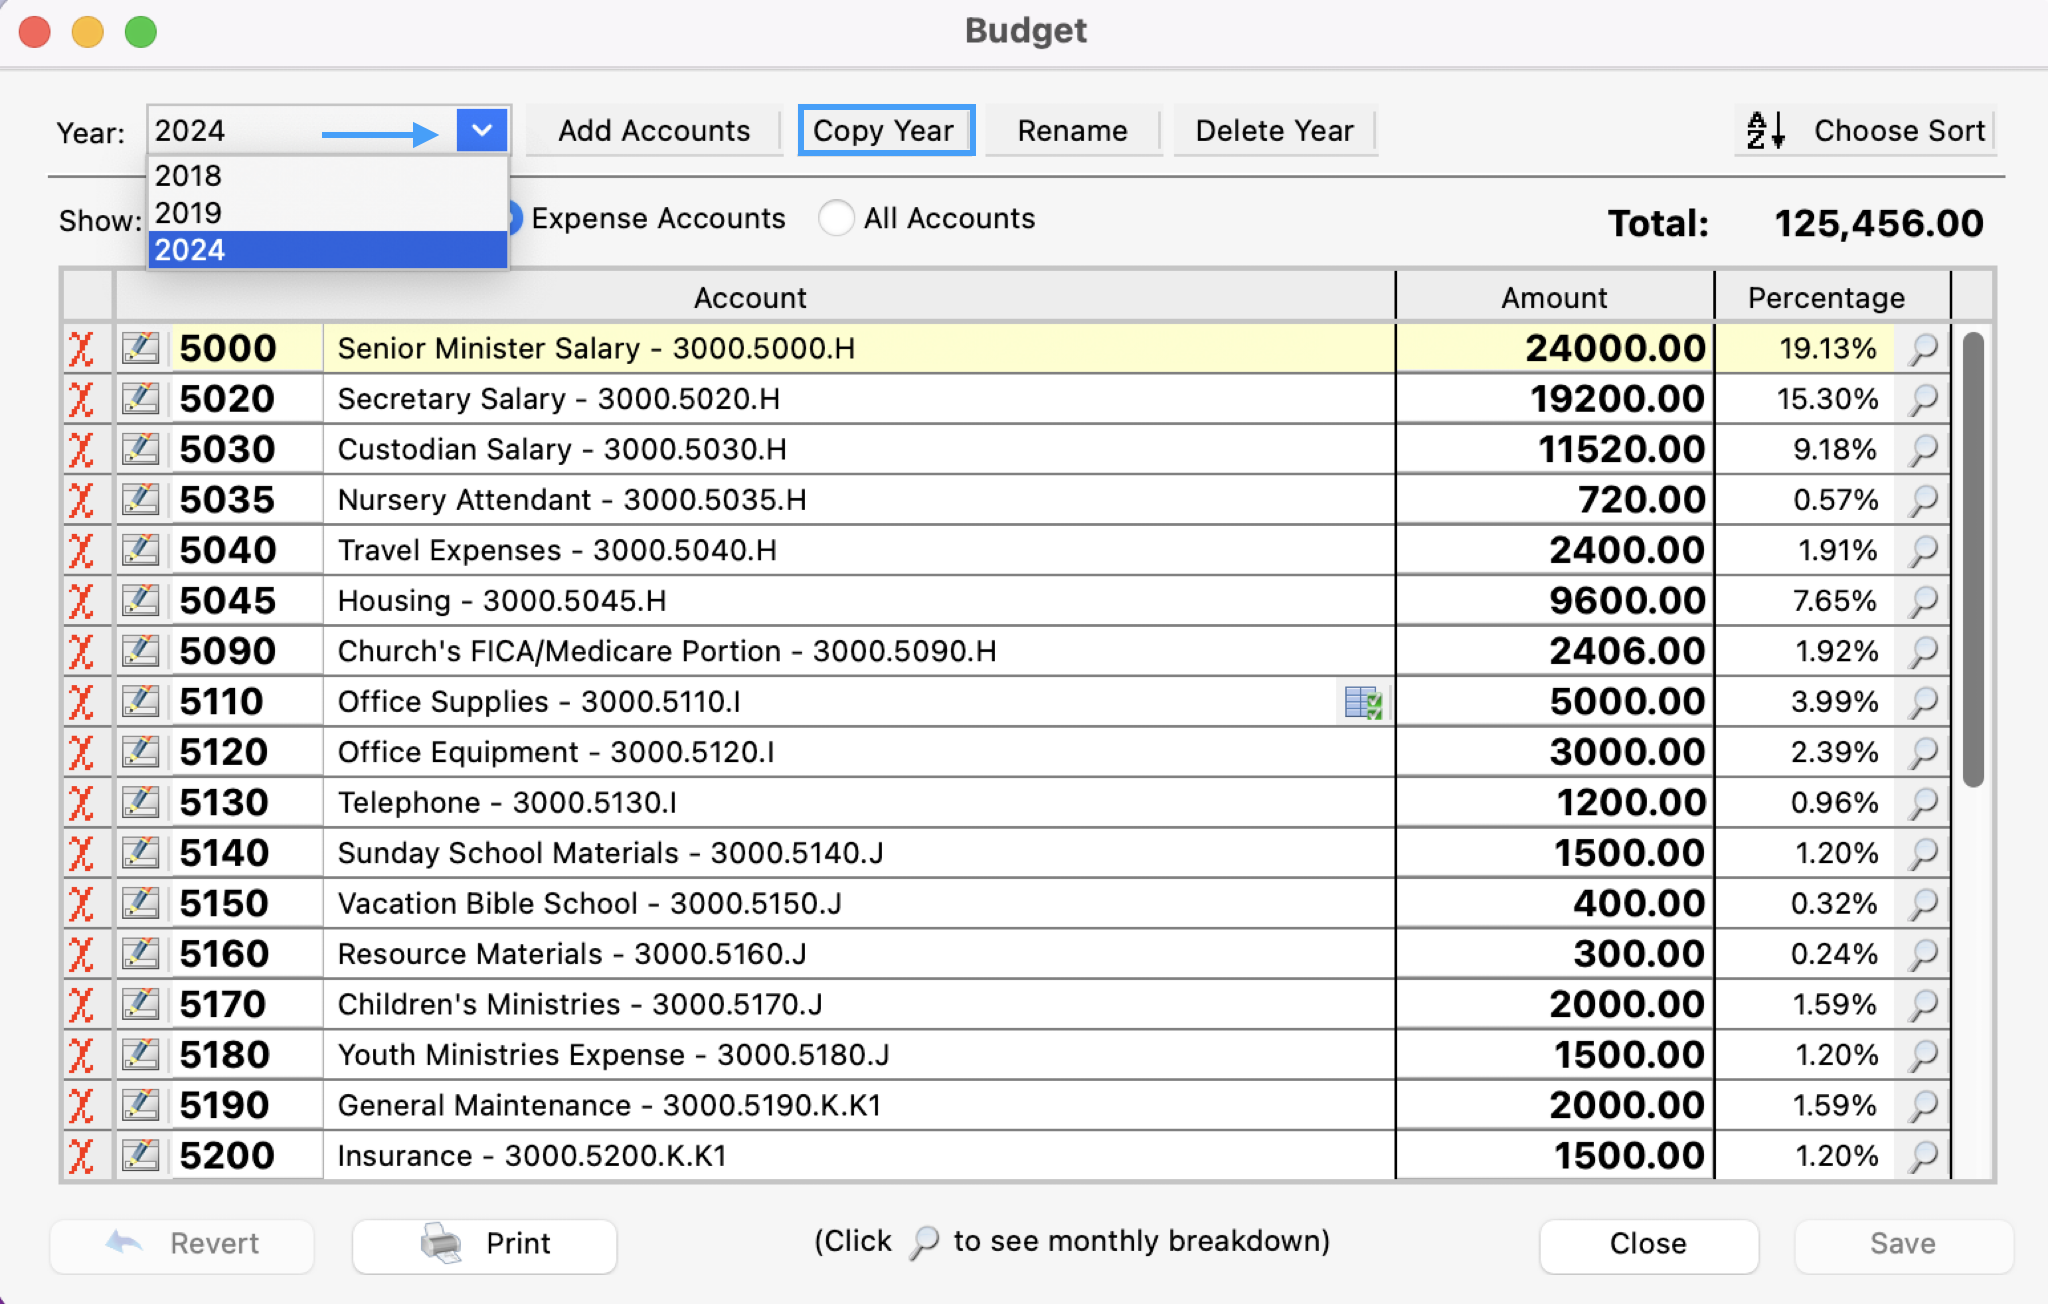
At the top of the Budget window, use the Year drop-down to select the year you wish to copy and then click Copy Year.
-
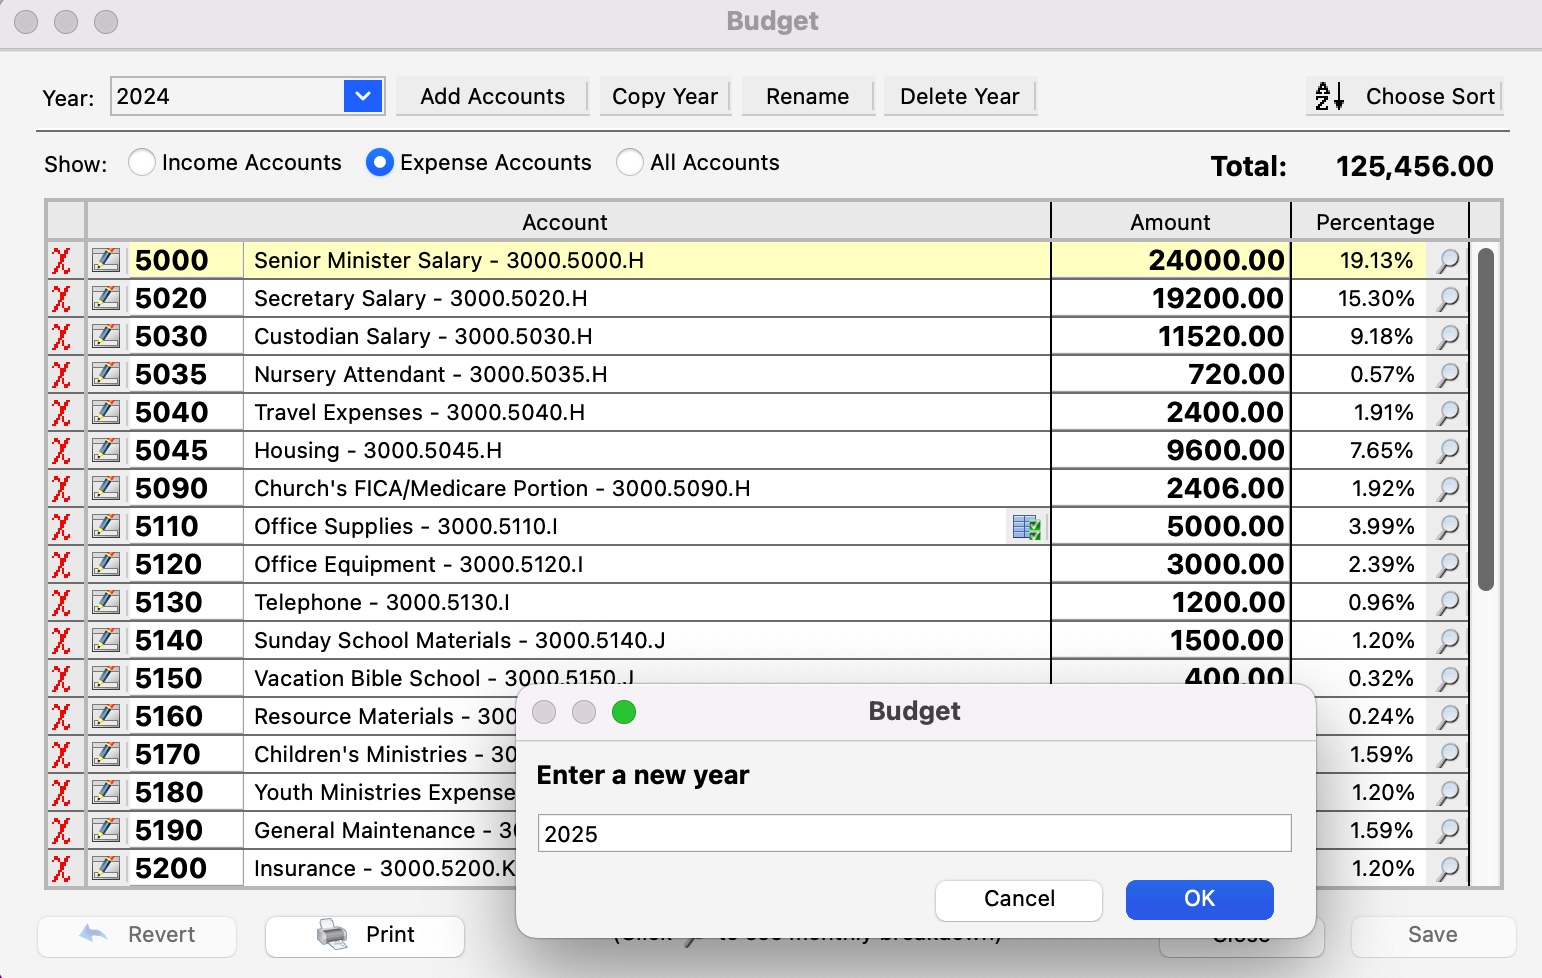
You’ll see a dialogue box appear where you can enter a new year. Press Return/Enter or click OK.
-
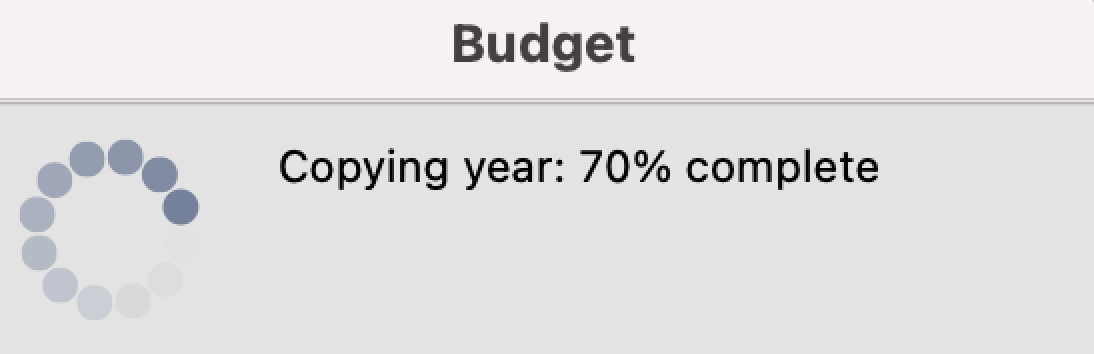
You’ll see a dialogue box letting you know your budget is being copied.
-
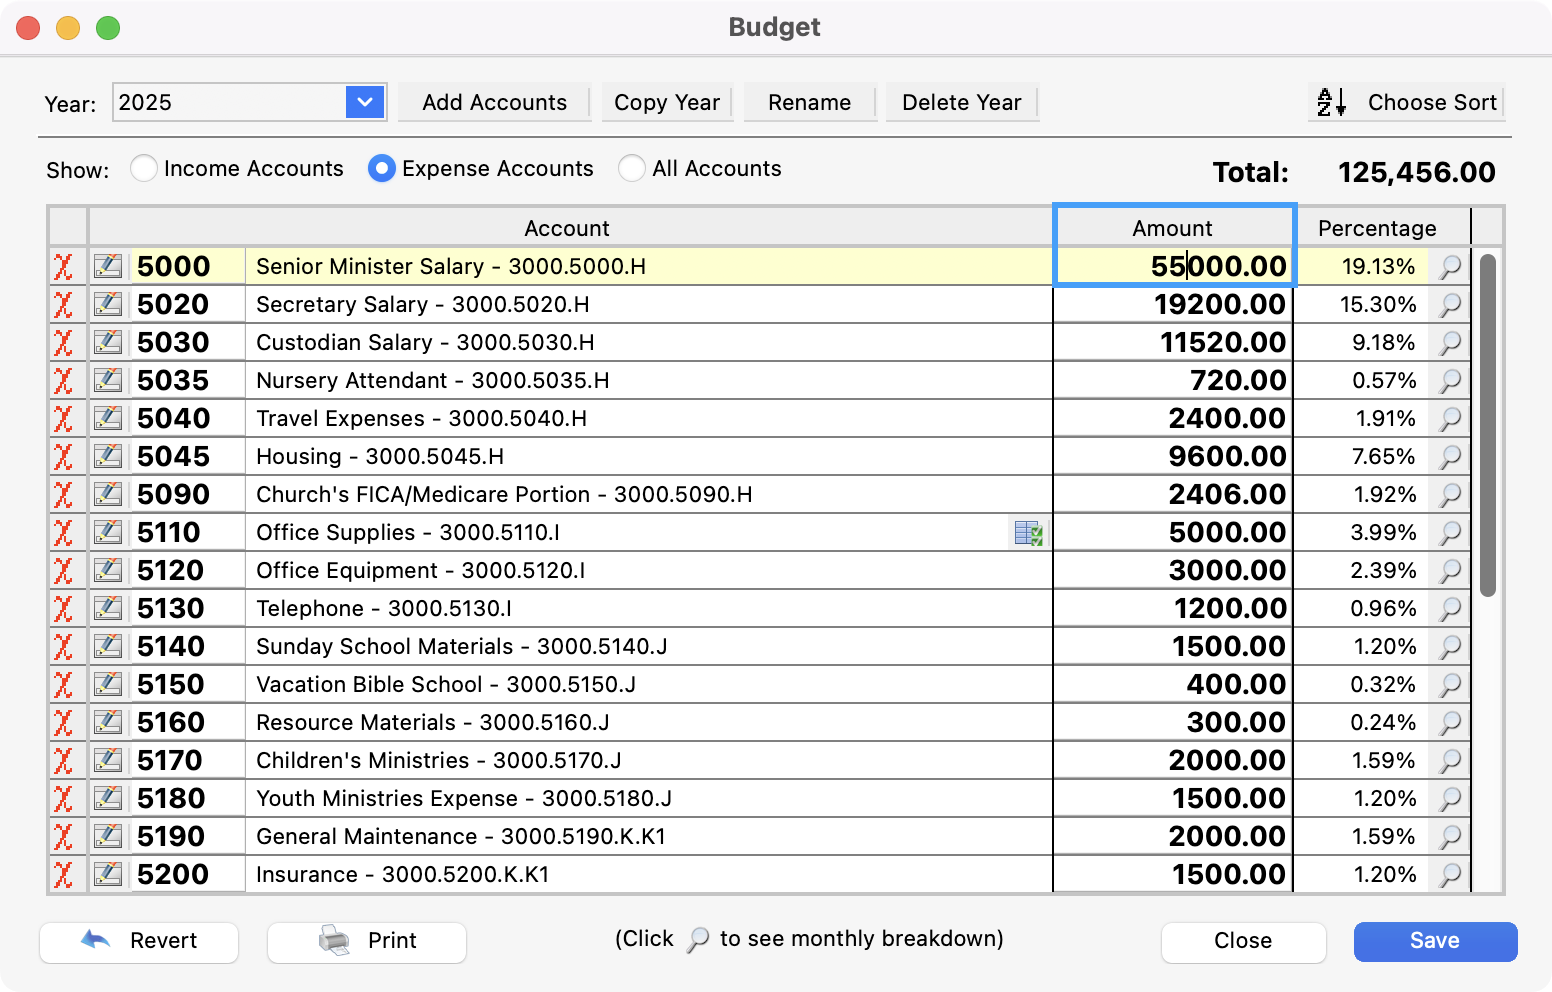
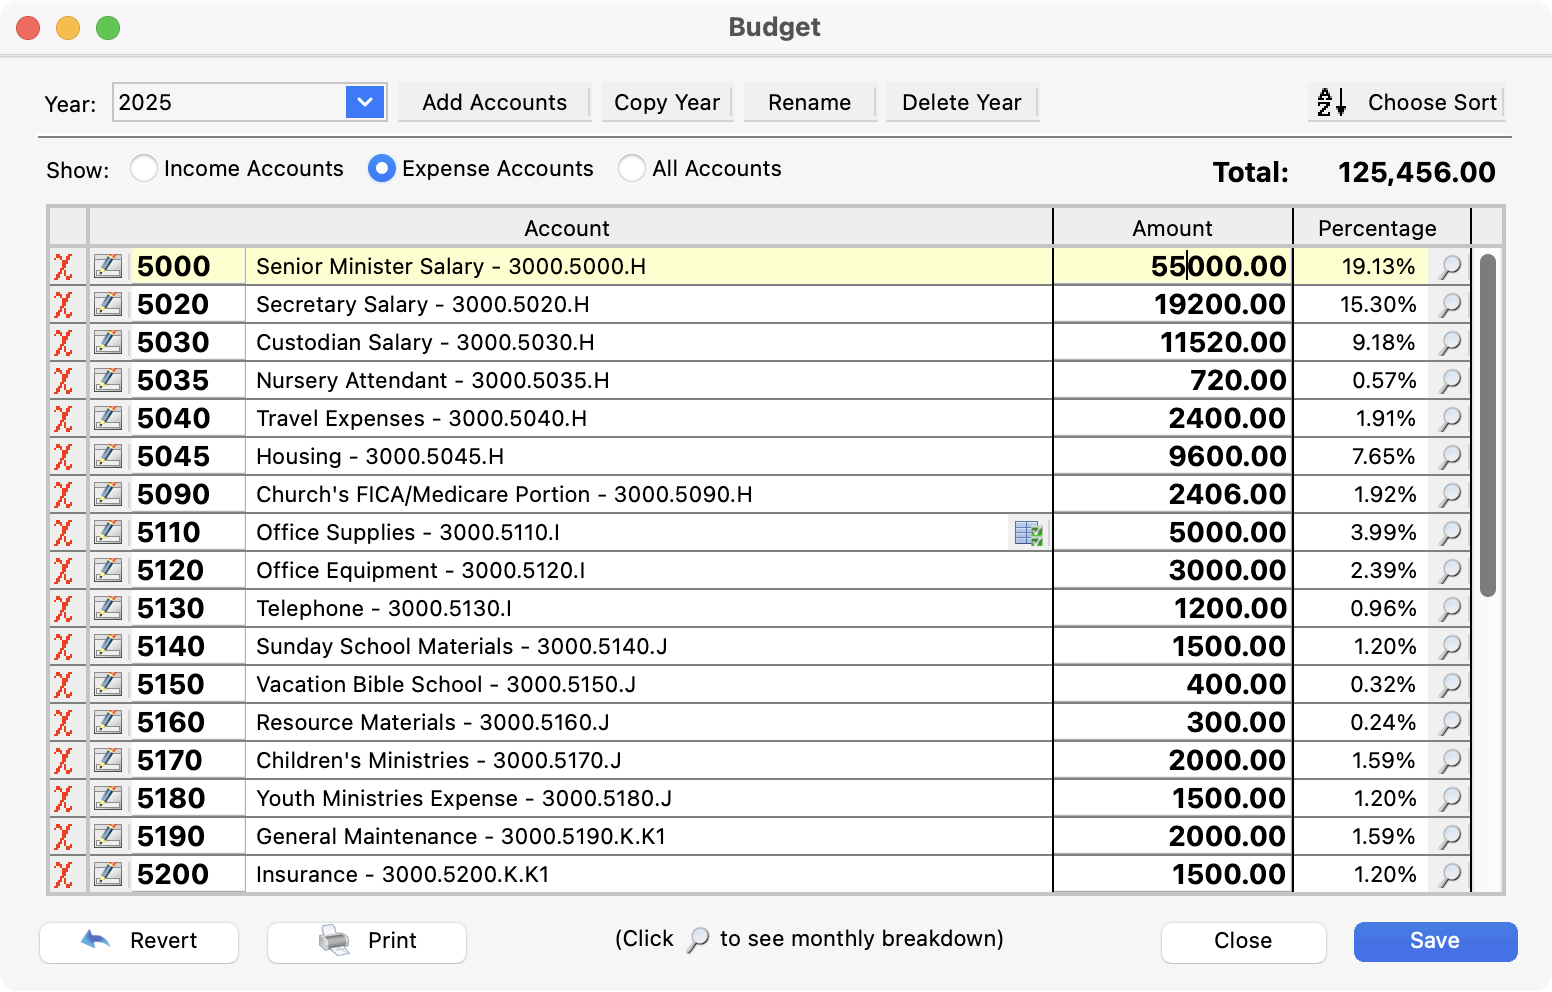
Highlight the annual Amount in the first line of the new budget and, if necessary, enter a new amount.
-
Press the Tab key, moving through the budget line items, and making changes as necessary. To delete a budget line item entirely, click on the red X. Clicking on the pencil icon will open the Select Account window.
-
The annual amount will be divided by 12 and entered into the 12 monthly breakdown fields. You may change these to different amounts as long as the Breakdown total equals the annual Amount. Refer to the documentation on the Budget Inspector for how to specify month breakdowns.
-
Press Return/Enter or click Save.
-
If you want to add line items to the copied budget. Click the Add Accounts button and select the accounts you want to add.
-
Clicking the Rename button at the top of the Budget window simply allows you to change the name of the budget year.
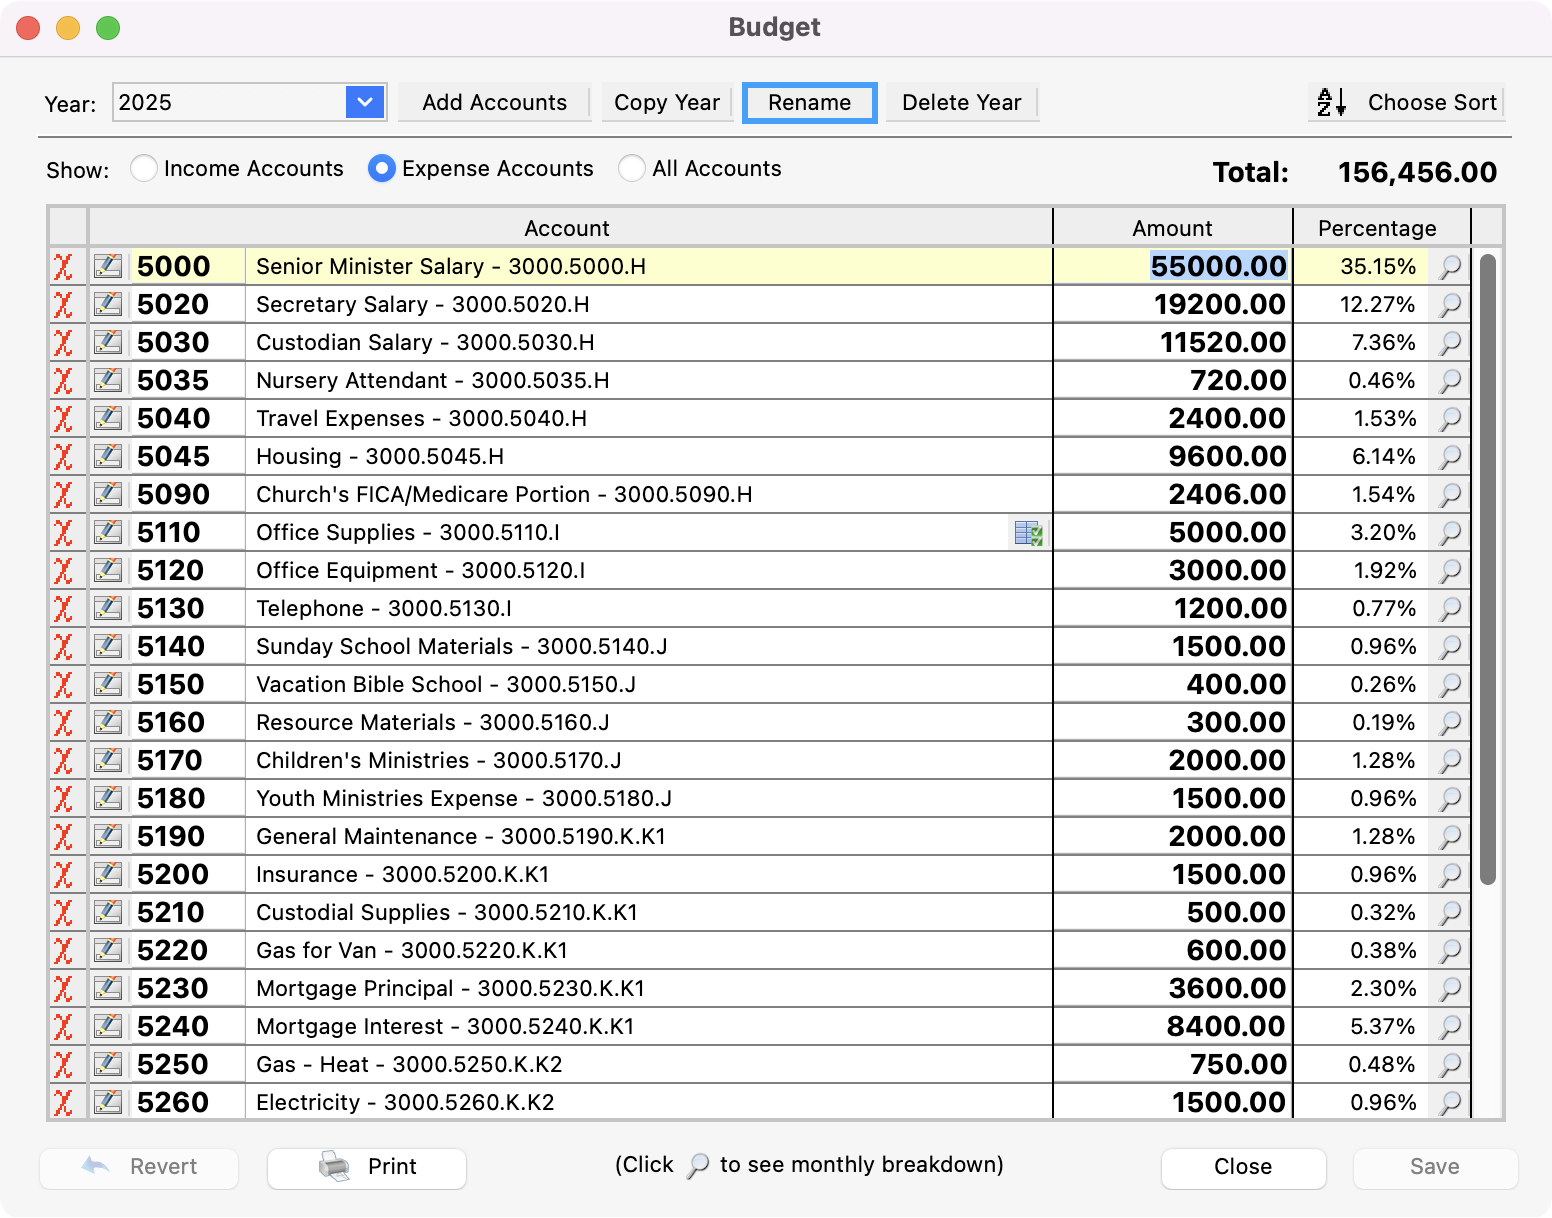
If you Rename the budget, the existing budget will no longer be displayed in the current year and will have an effect on all reports involving the current budget such as the Ledger to Budget Report and the Monthly Comparison Report.
-
Click Delete Year to delete a budget.