Sending Event Registration Notices
Once you have registered people for an event or camp, you can (optionally) send registration notices. You can create multiple notices for the same event, such as an initial registration confirmation notice and follow-up notices.
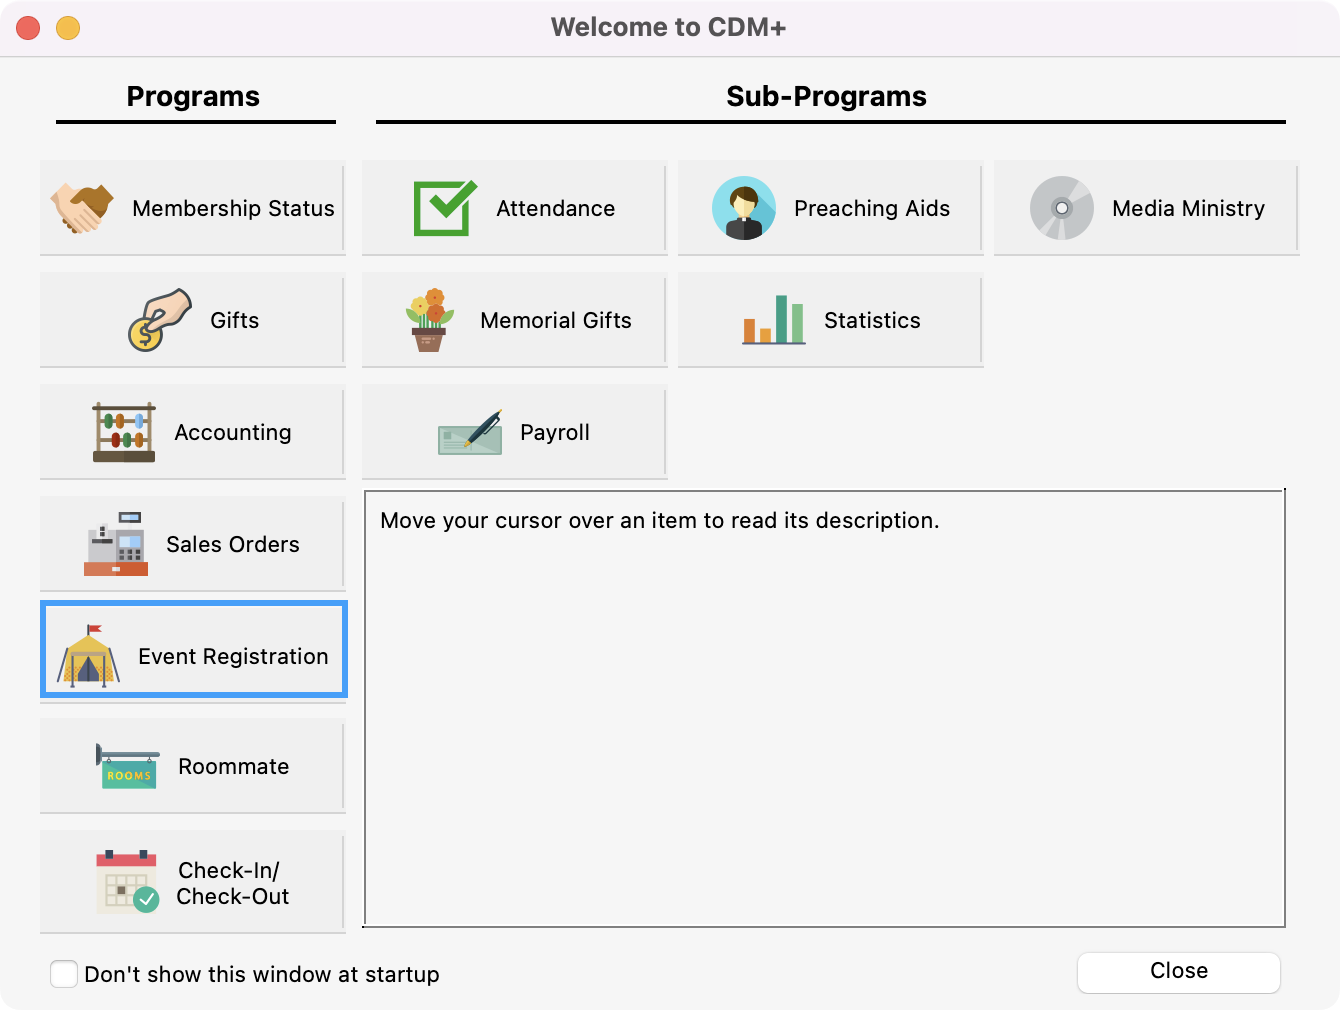
To Navigate to Event Notices, from the Welcome to CDM+ window, click on Event Registration.
Then, click on the Reports tab → Notices → Registration Emails.
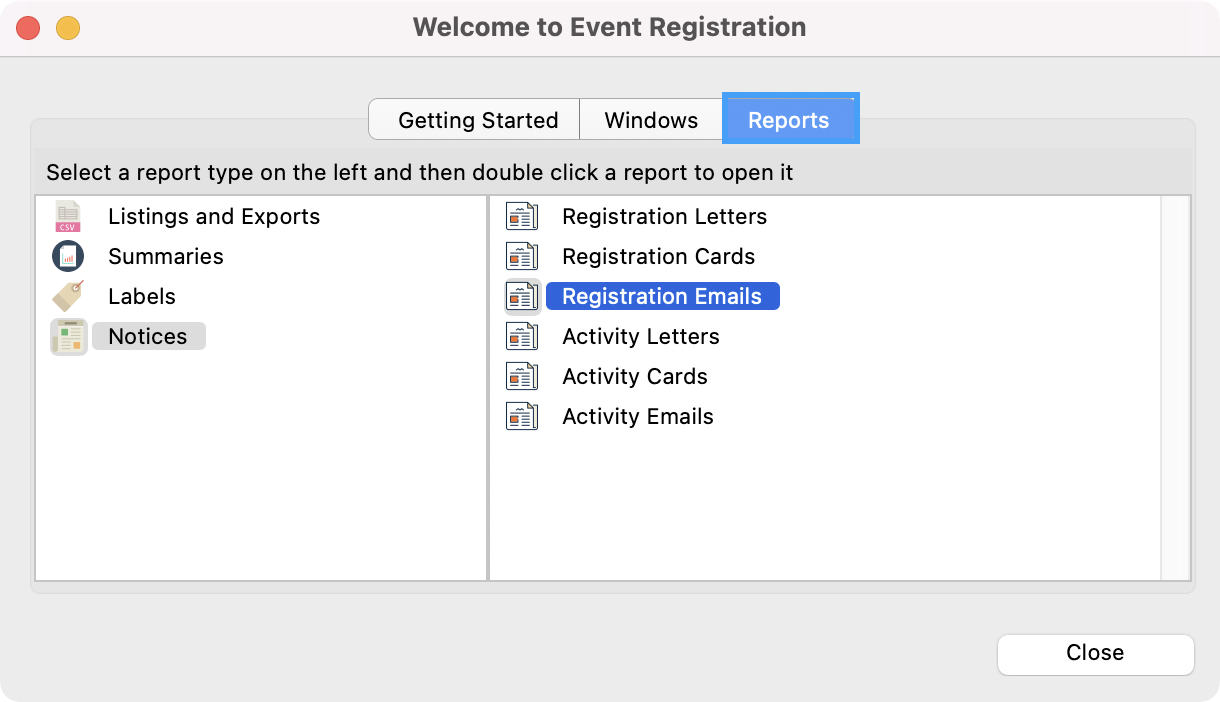
or
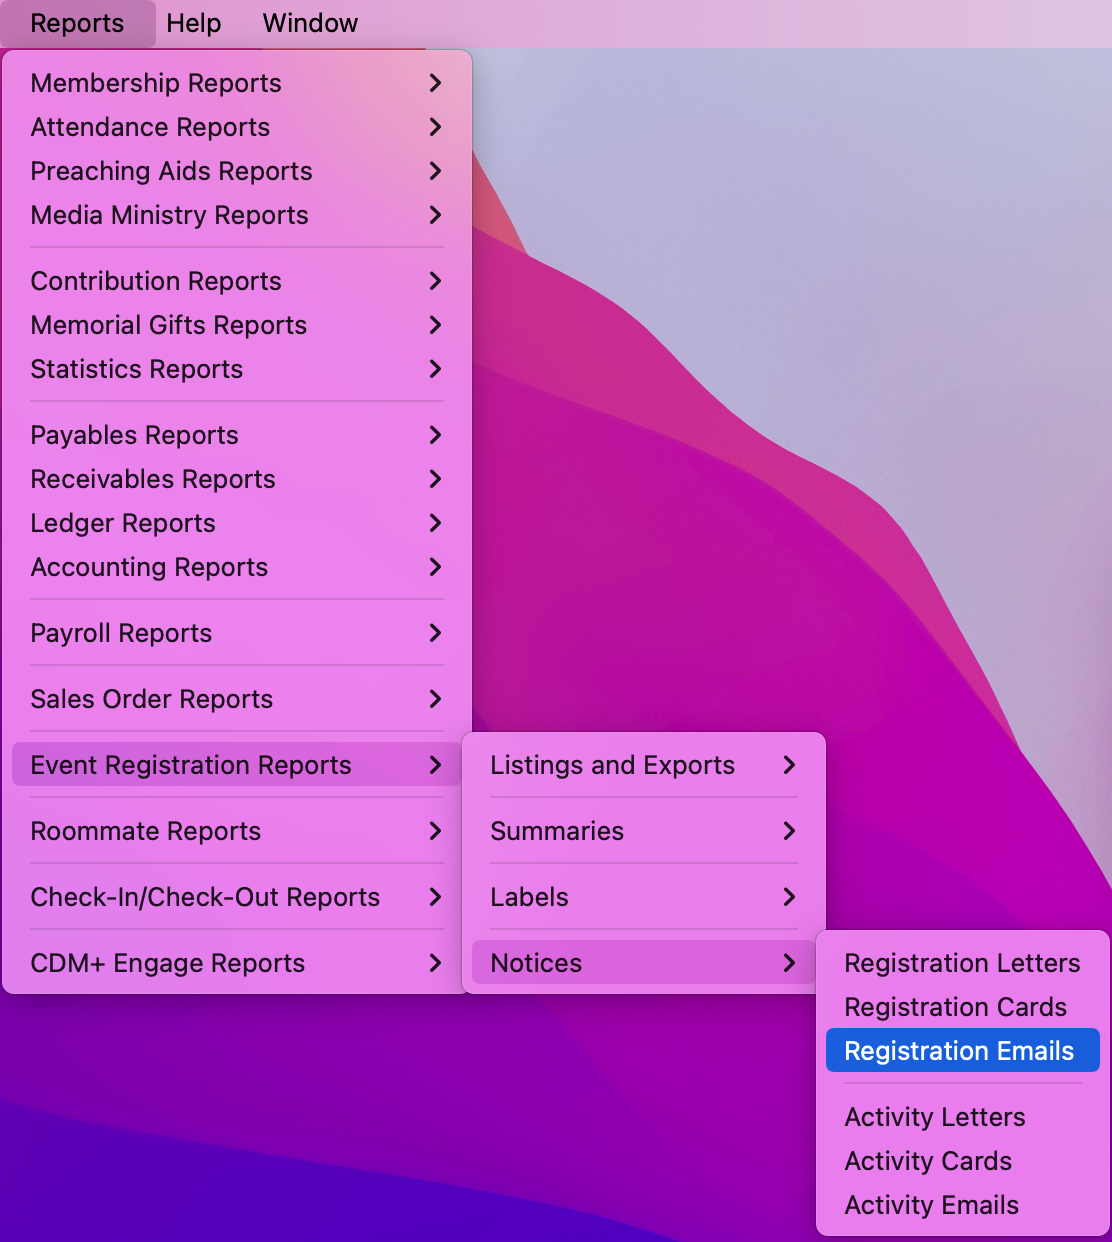
Go to Reports → Event Registration Reports → Notices → Registration Emails
If you have chosen under Preferences-Toolbars to show the Event Registration toolbar, you may click on the Event Registration icon.
Regardless of if you are creating a Registration Letter, Card, or Email, the process for the setup is the same.
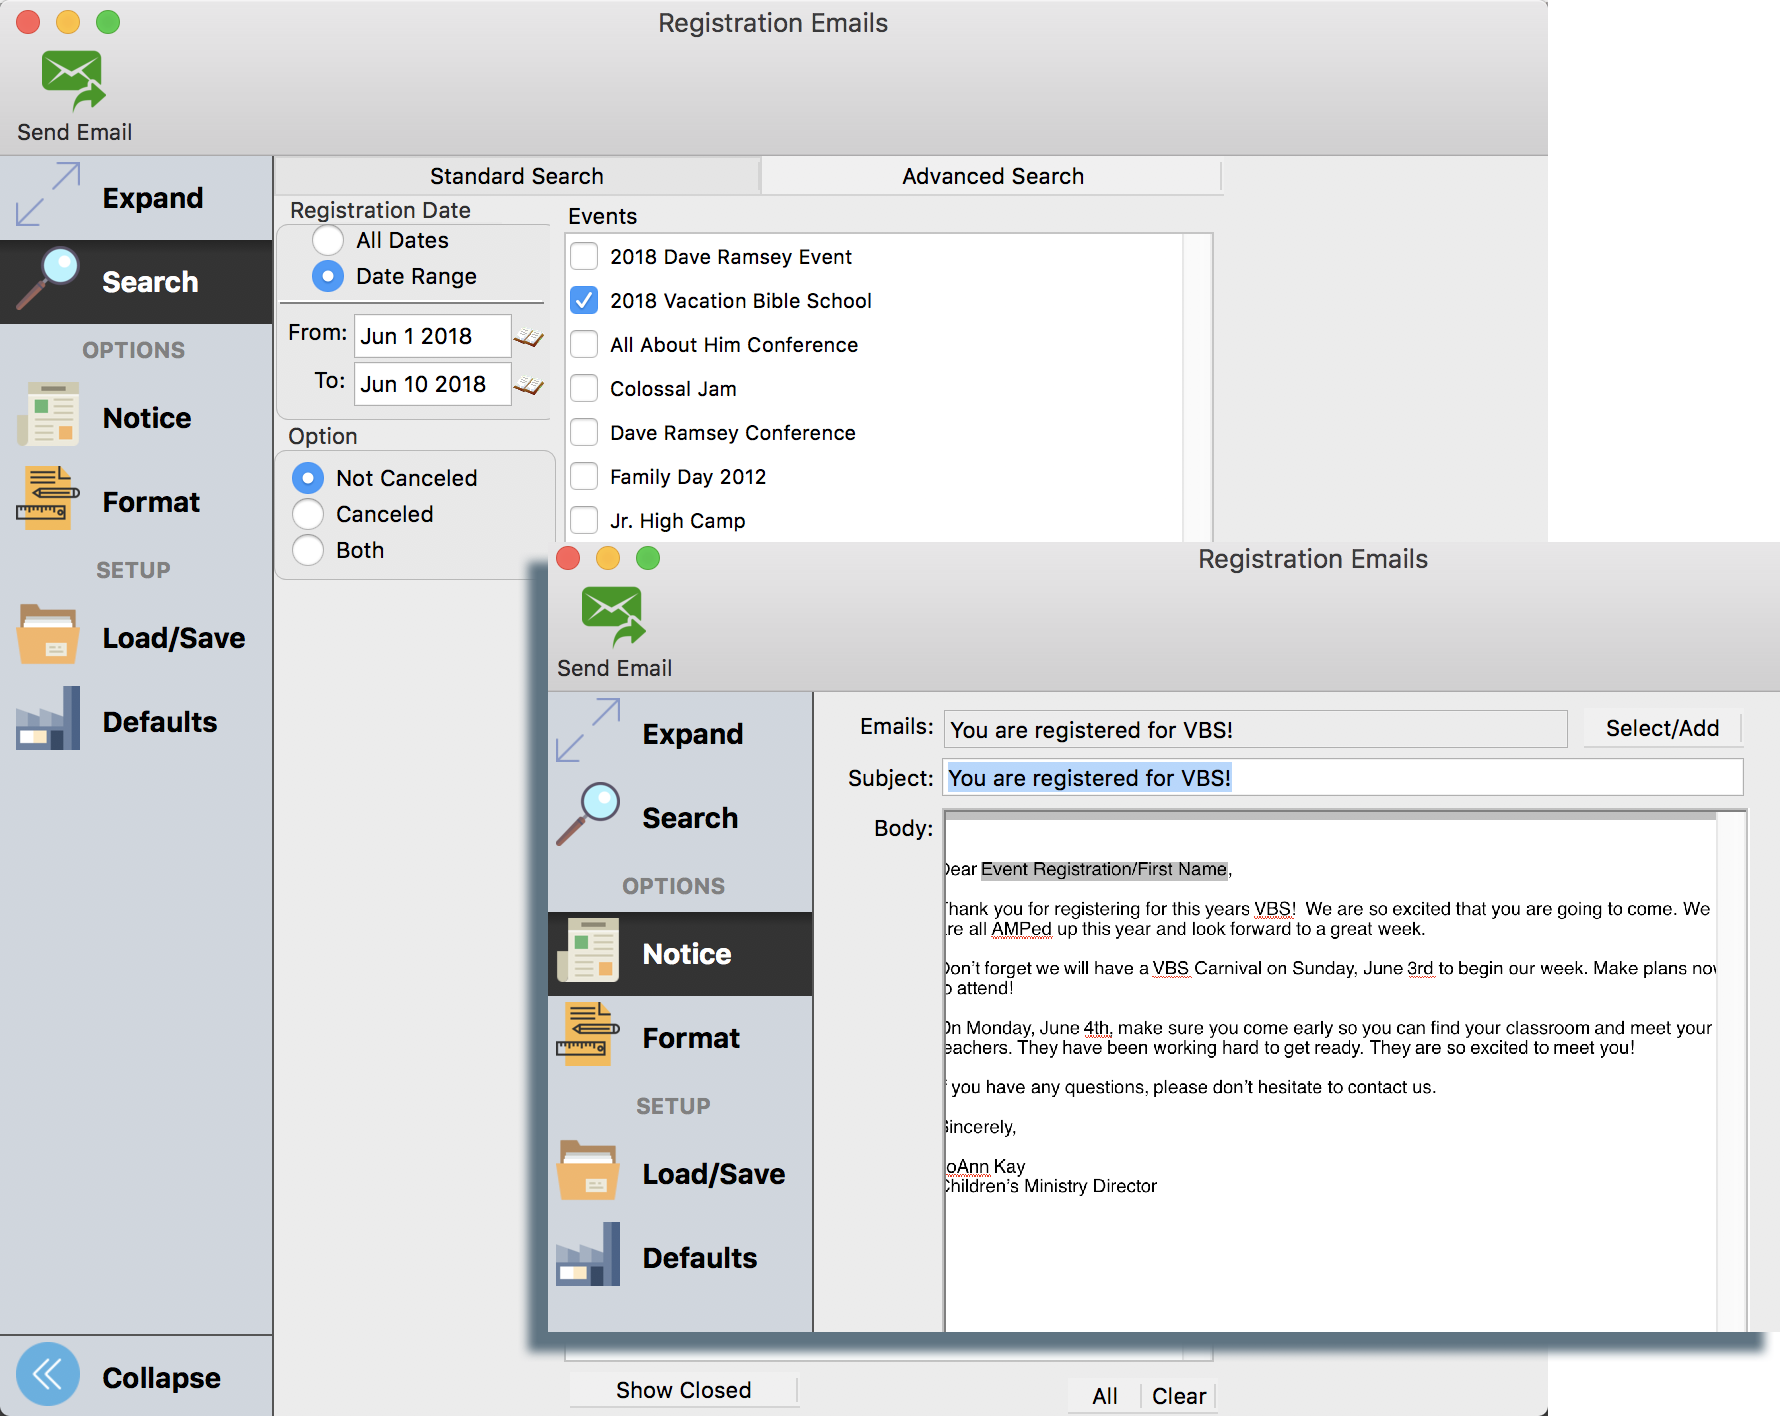
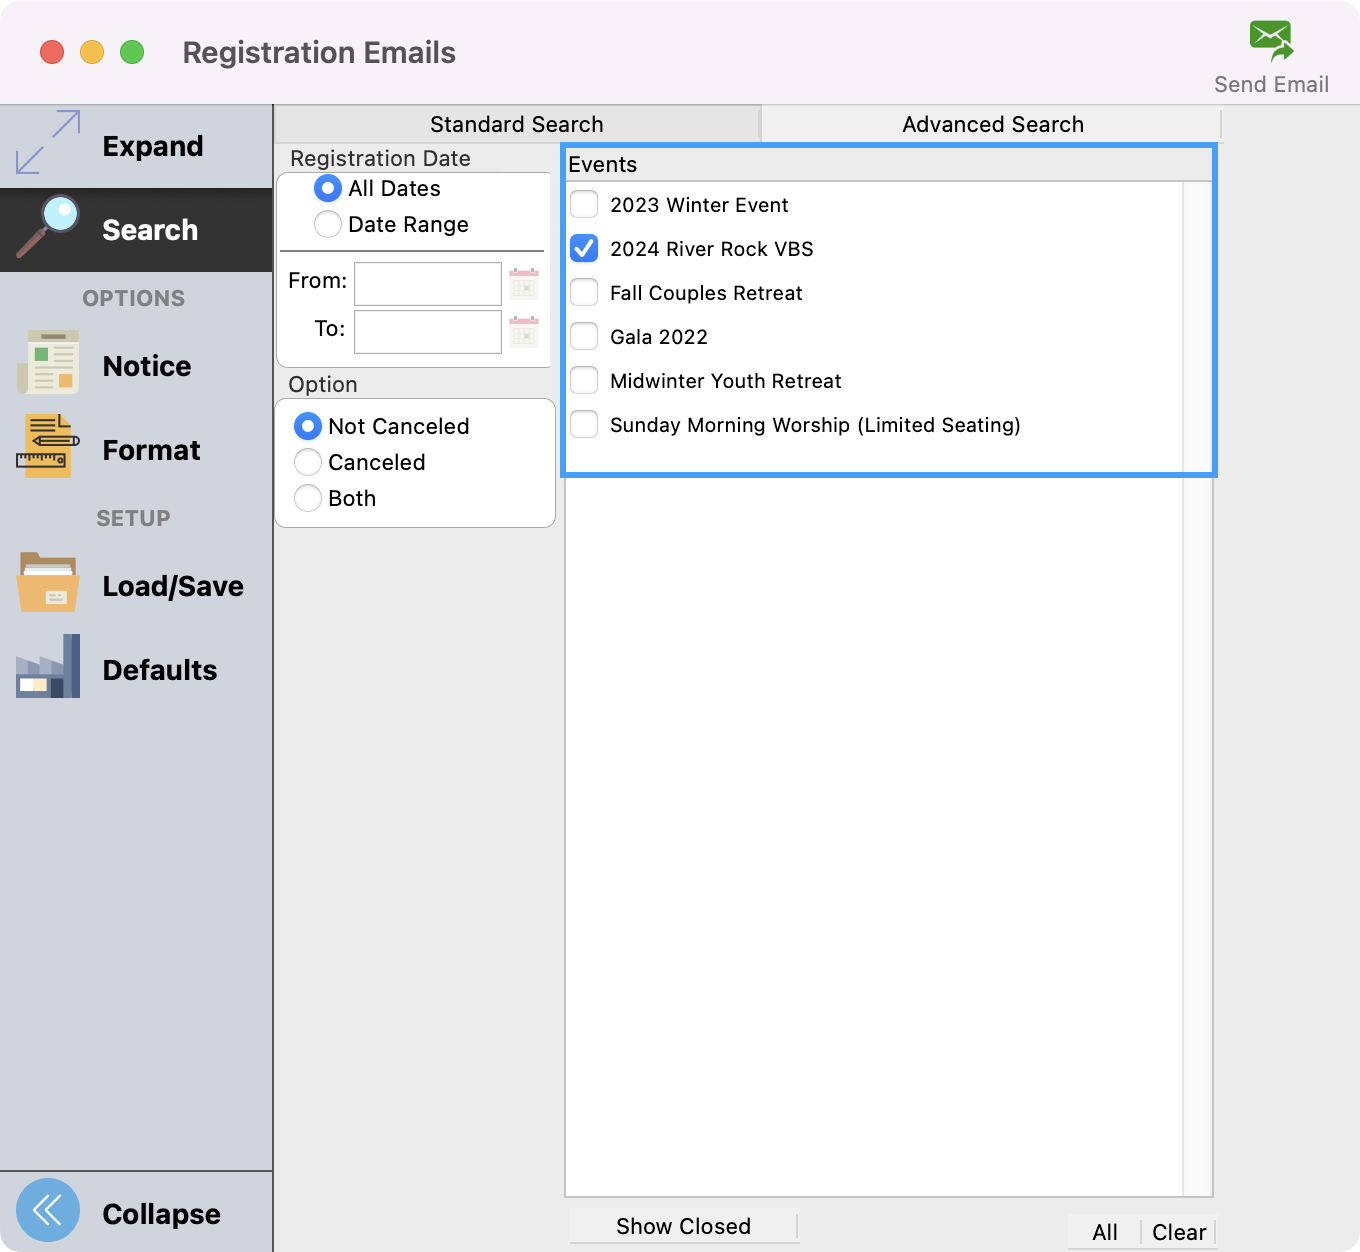
In the Registration Emails window under Search, in the top half of a Registration notice report setup window, click the checkbox next to the Event in the list on the right.
Choose which registrants will receive the notice based on their Registration Date. You may choose to send the notice to all registrations by clicking the All Dates radio button. Or you can click the Date Range radio button and enter a From and To date to limit it to registrations entered during a certain period. This is particularly useful if you are receiving registrations over a period of time, but wish to send confirmation within a certain time frame.
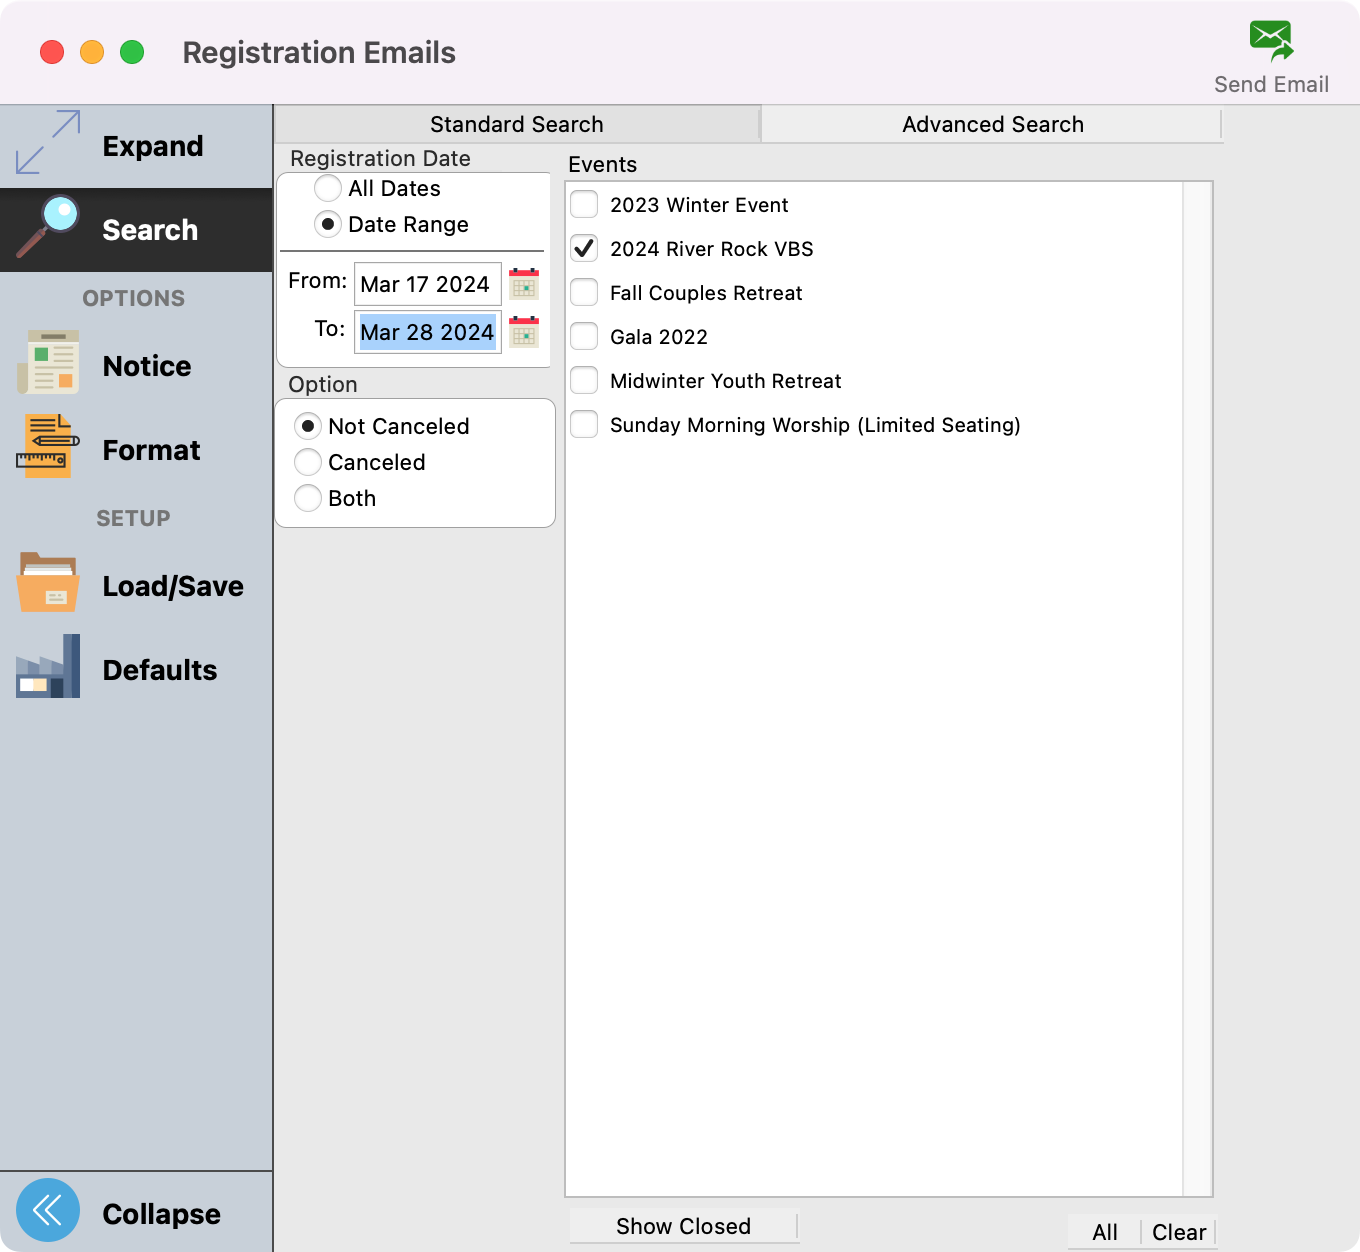
For example, if you want to send confirmation emails weekly, you could choose to send the notice first thing each Monday morning and set your From date to be the previous Monday and the To date to be yesterday (Sunday). If you follow this pattern you will send the notice only to those who registered in the last week and avoid sending the same notice to registrants repeatedly. By not including today's date, you will avoid either missing sending a notice for the registrations that come in later today or sending the notice duplicate times. If in the example of weekly confirmation notices sent on Monday, you made the From date to be the previous Monday and the To date today (Monday), you would end up sending duplicate emails to those persons who registered on a Monday.
To send confirmation notices more frequently, simply change the From and To dates more often. For example, to send notices twice a week, each Monday send notices to registrants entered From the previous Friday To yesterday (Sunday). Then on each Friday send notices to registrants entered From the previous Monday To yesterday (Thursday).
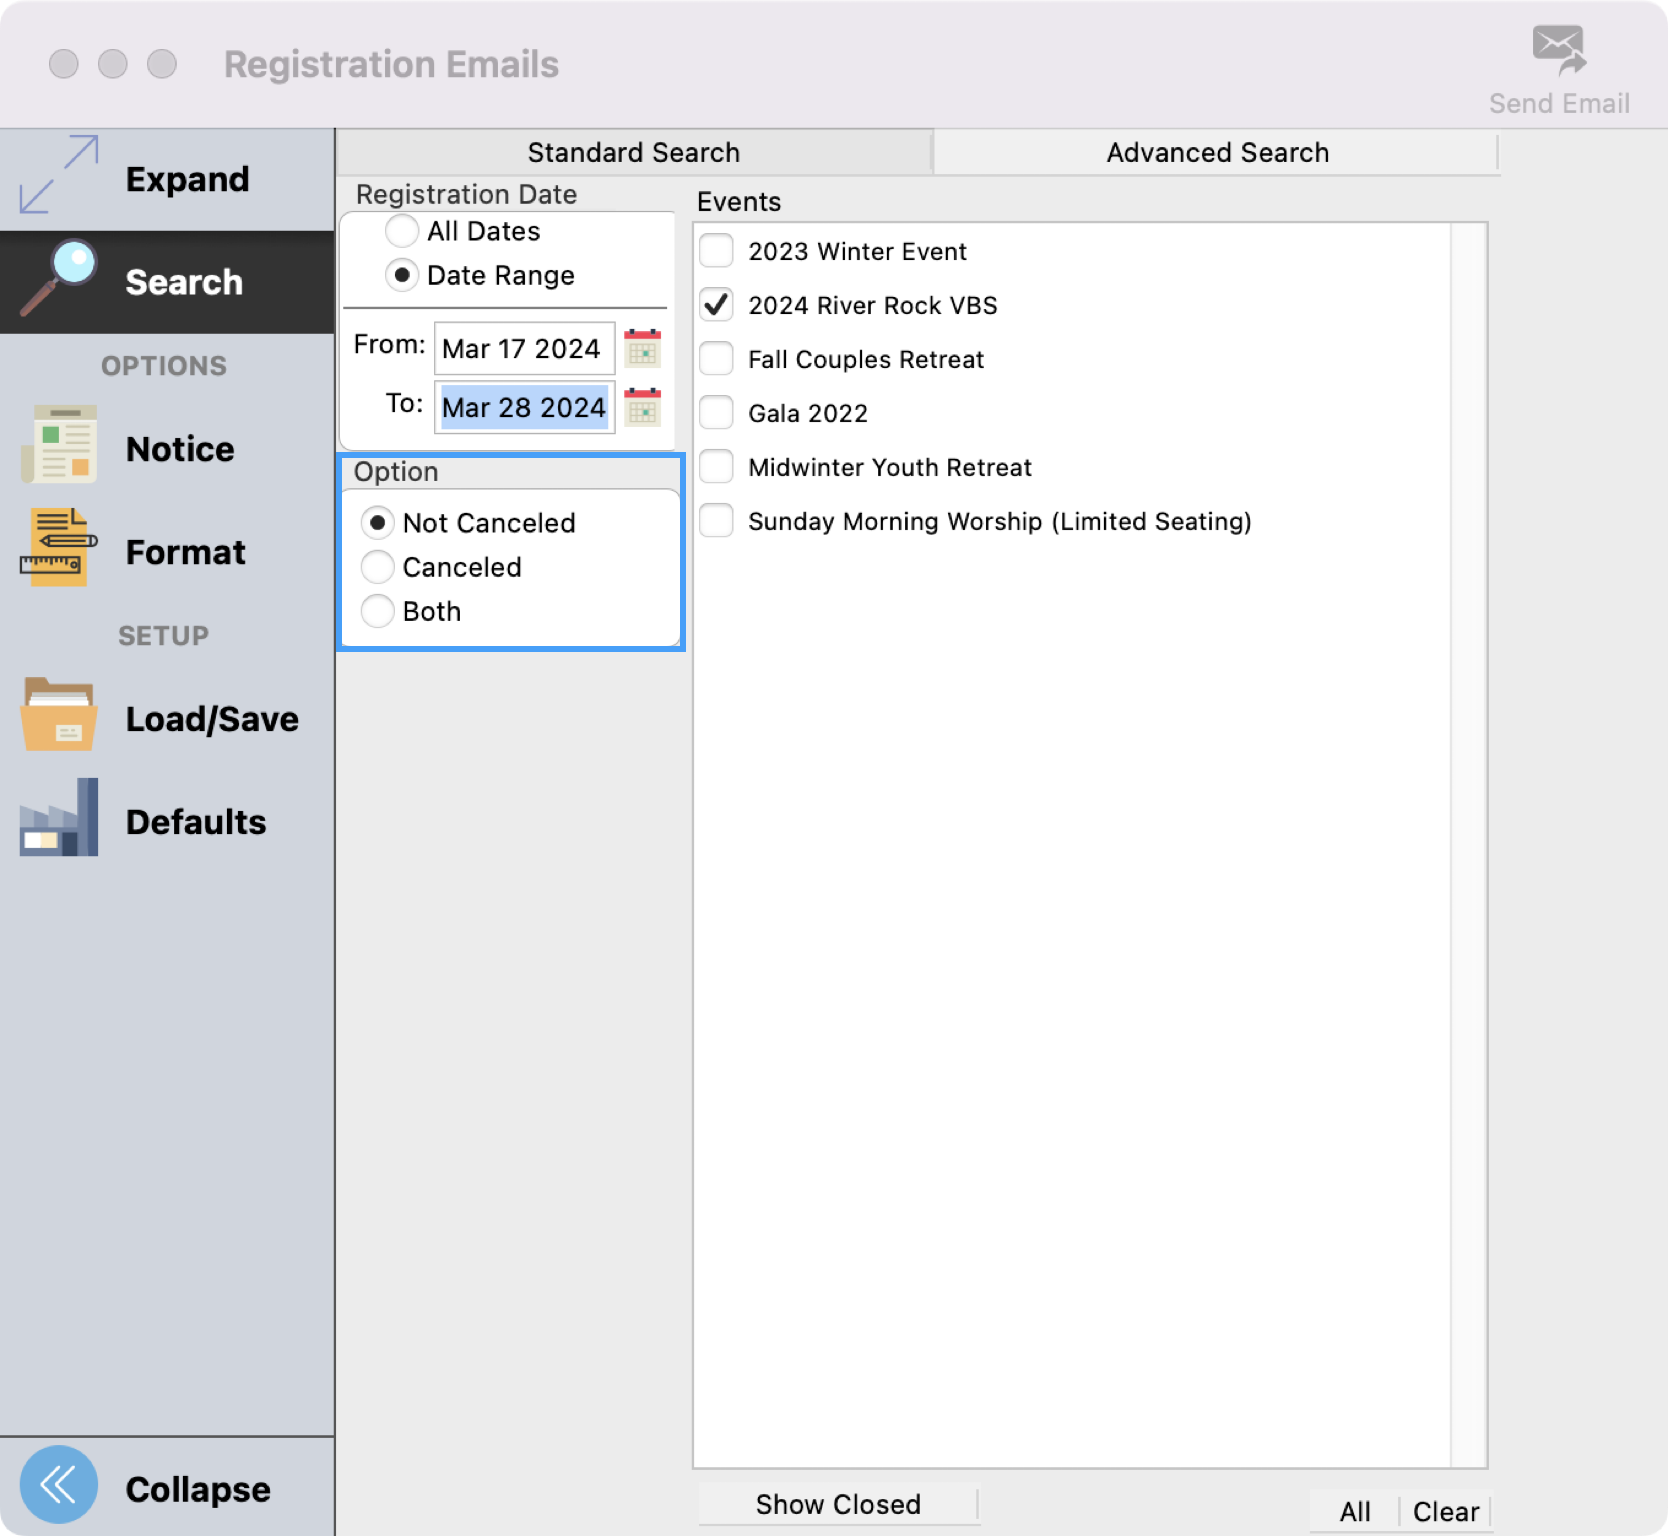
Under the Option heading, you can choose to send the notice to persons whose registration is Not Cancelled, Cancelled, or Both.
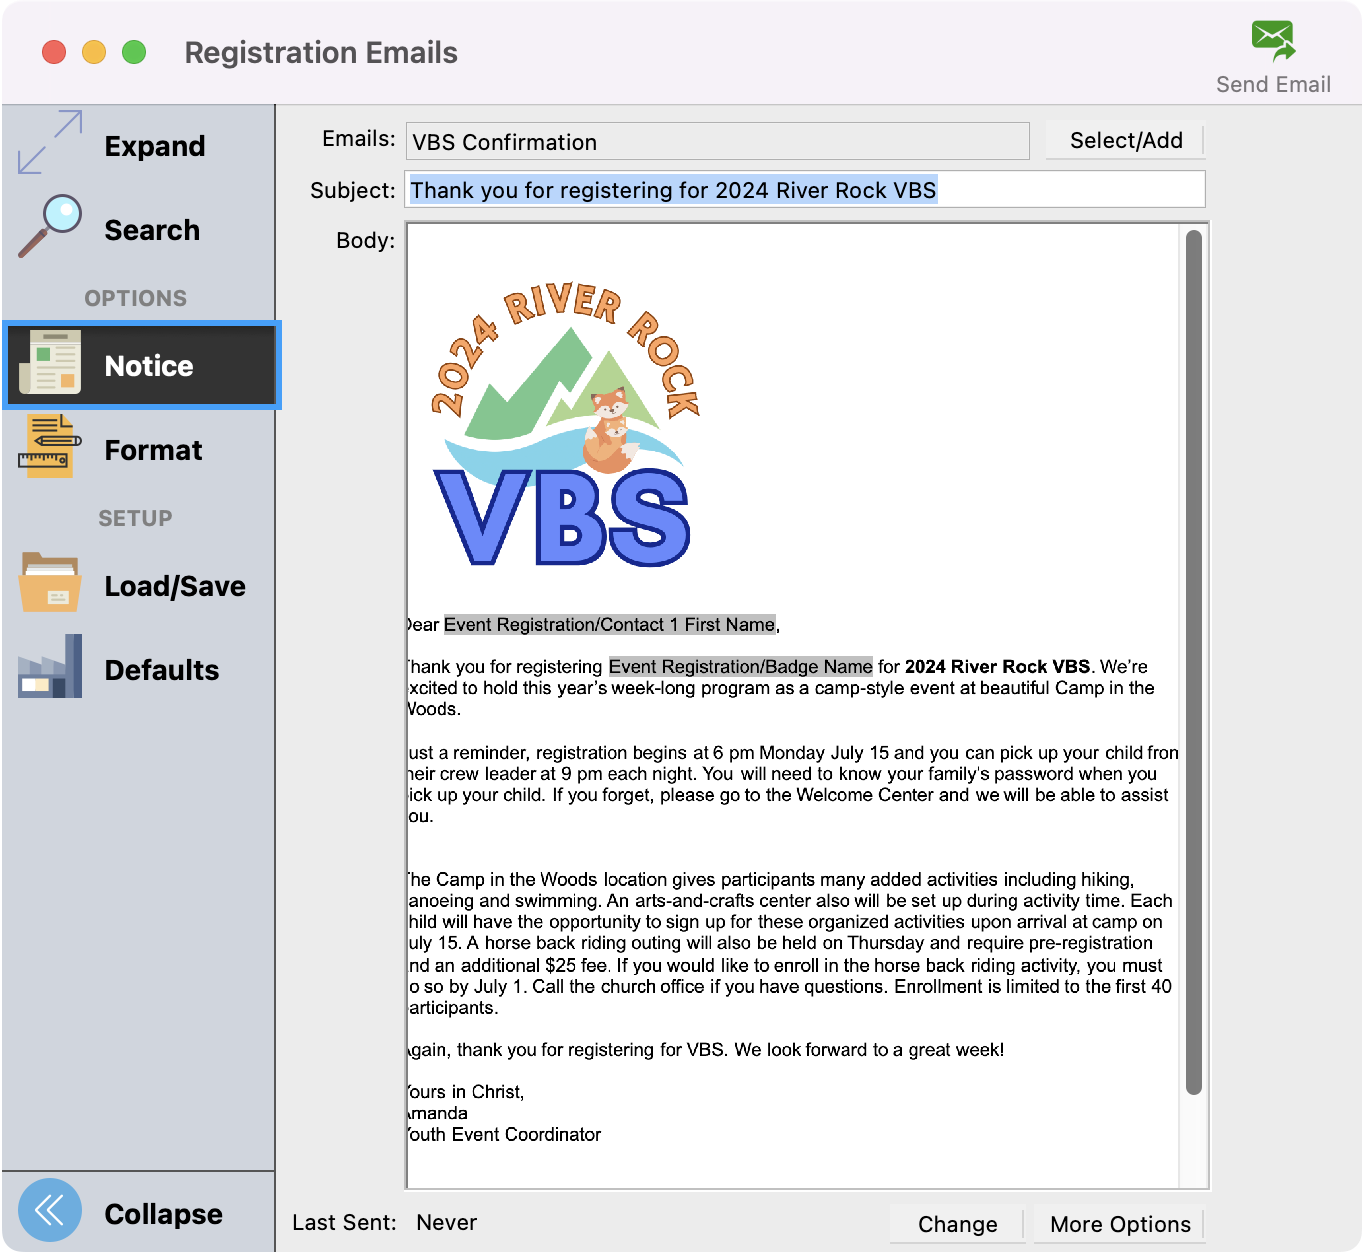
Next, click on Notice from the left sidebar. This is where you can select which notice you want to send to your registrants. To see how to create, edit, and organize notices, click on this link.
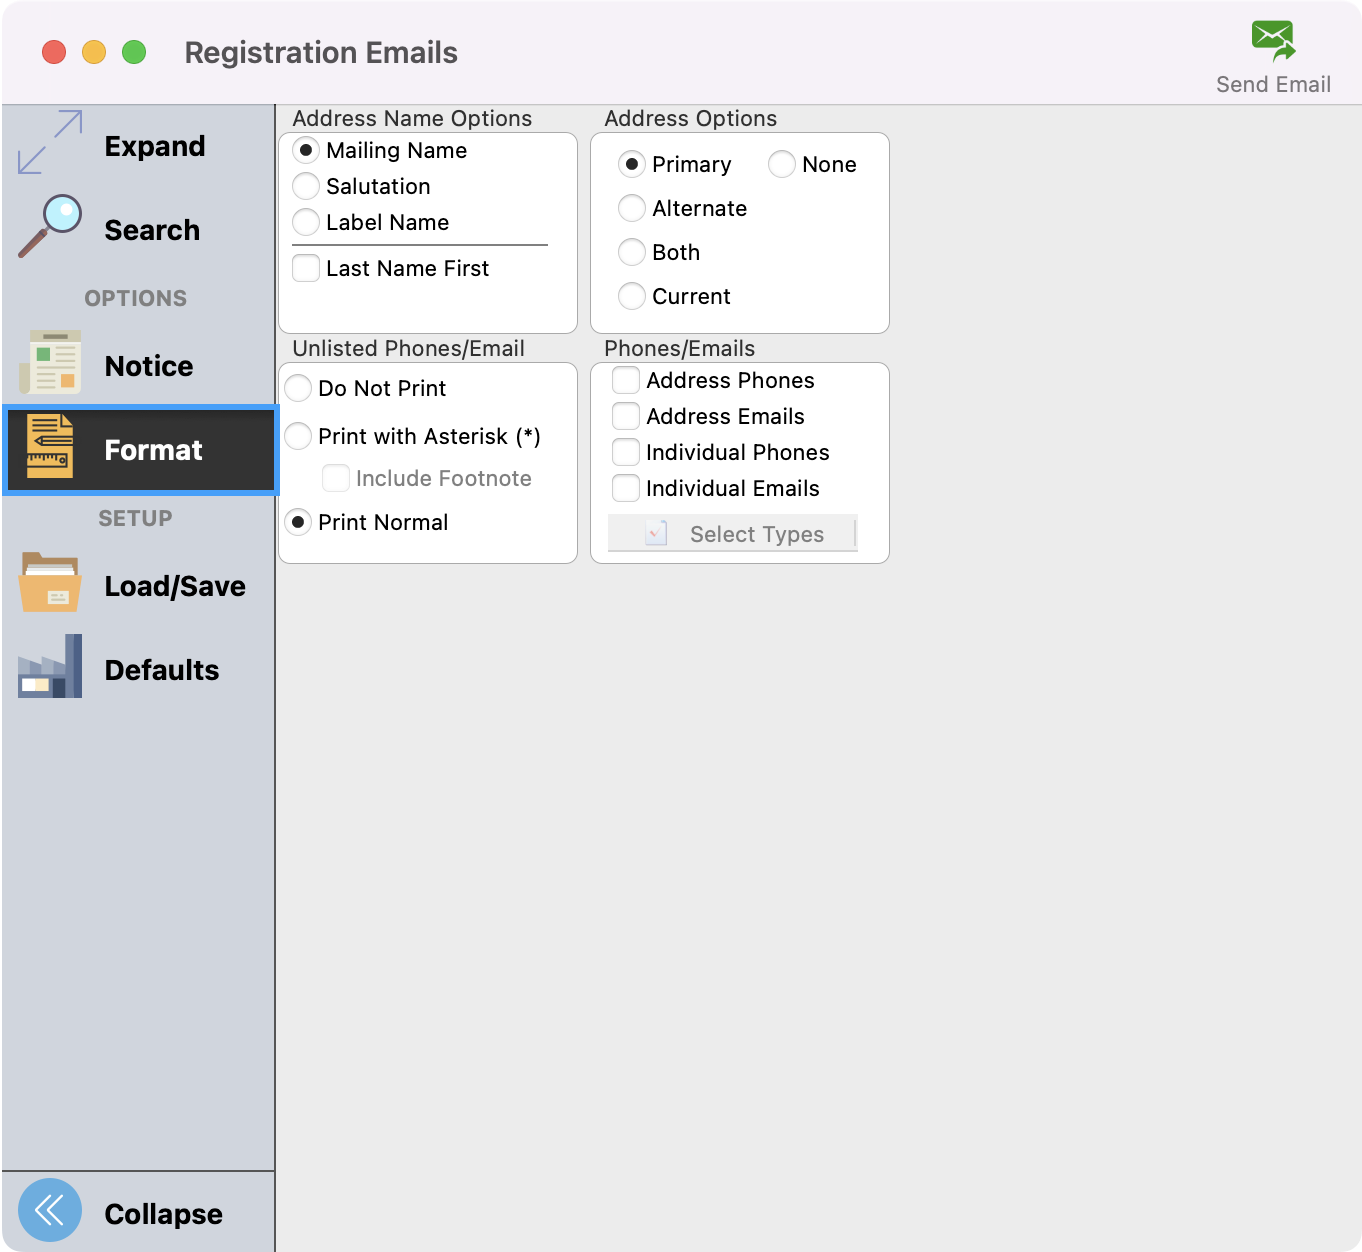
If creating a notice that you are going to print, you can click on Format from the left-hand side window to choose what Address Name and Address Options you want to utilize.
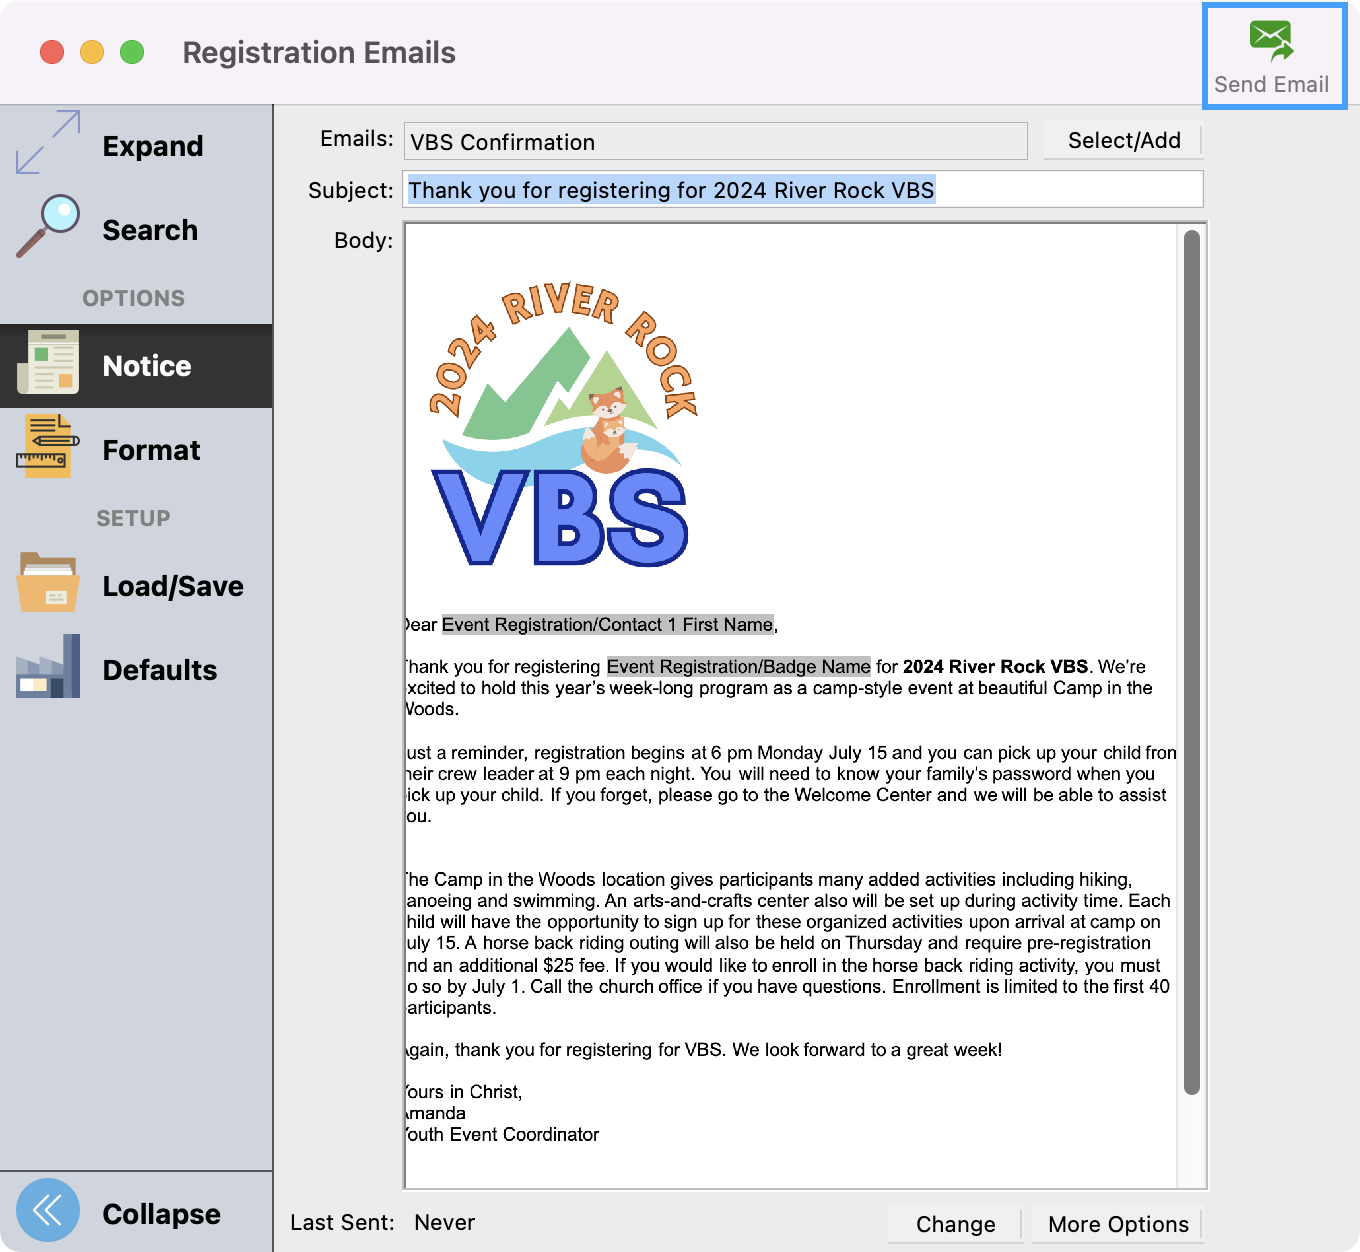
When you’re ready to email the notice, click on Send Email in the upper right-hand corner.
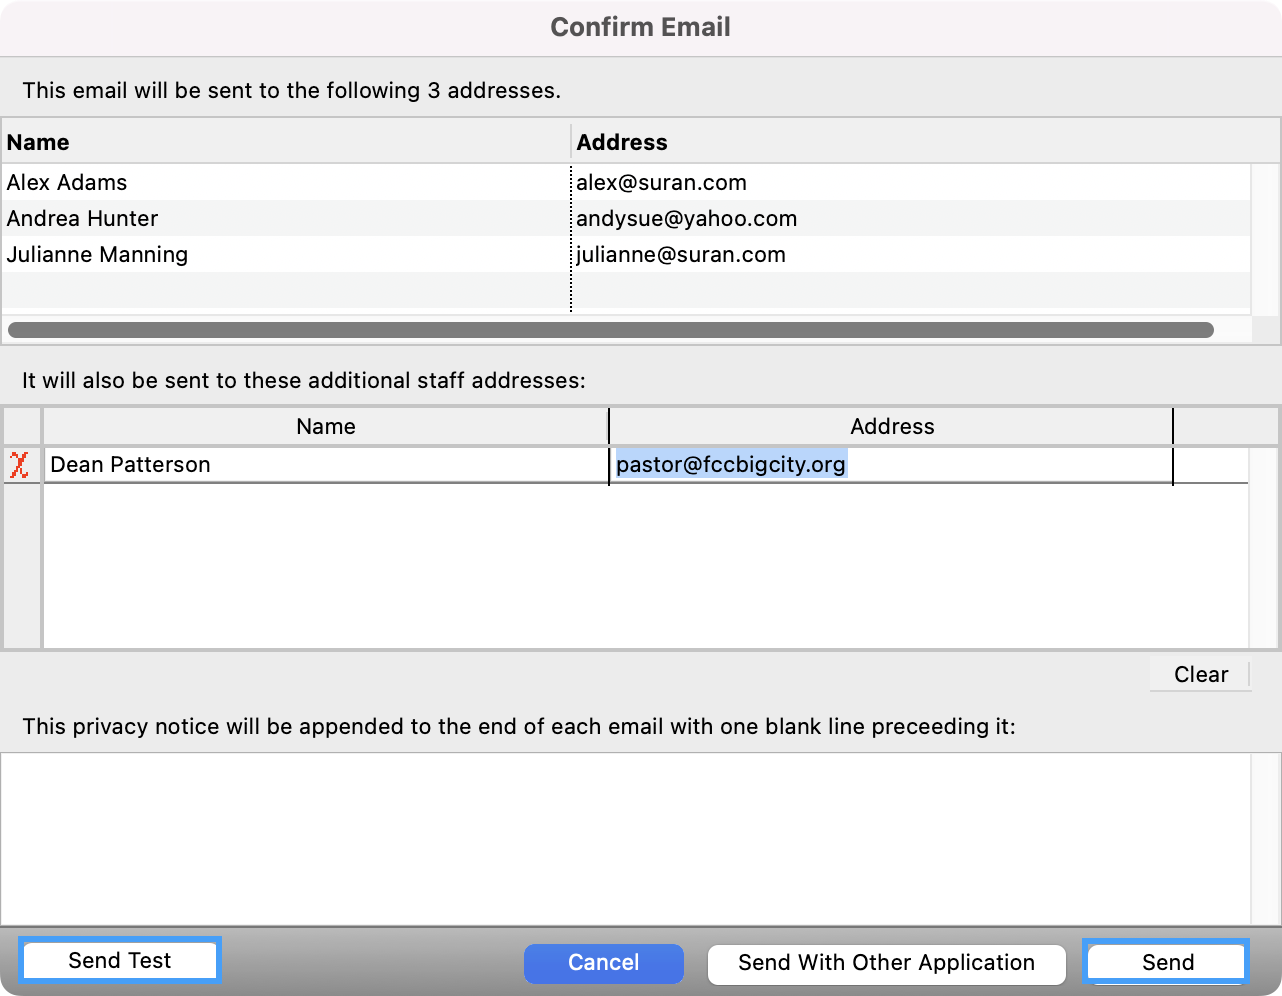
You’ll see a window pop-up that will show you the list of people the notice will be sent to. You also have the option to send a test email before sending the notice to all recipients. When you’re ready, click on Send.
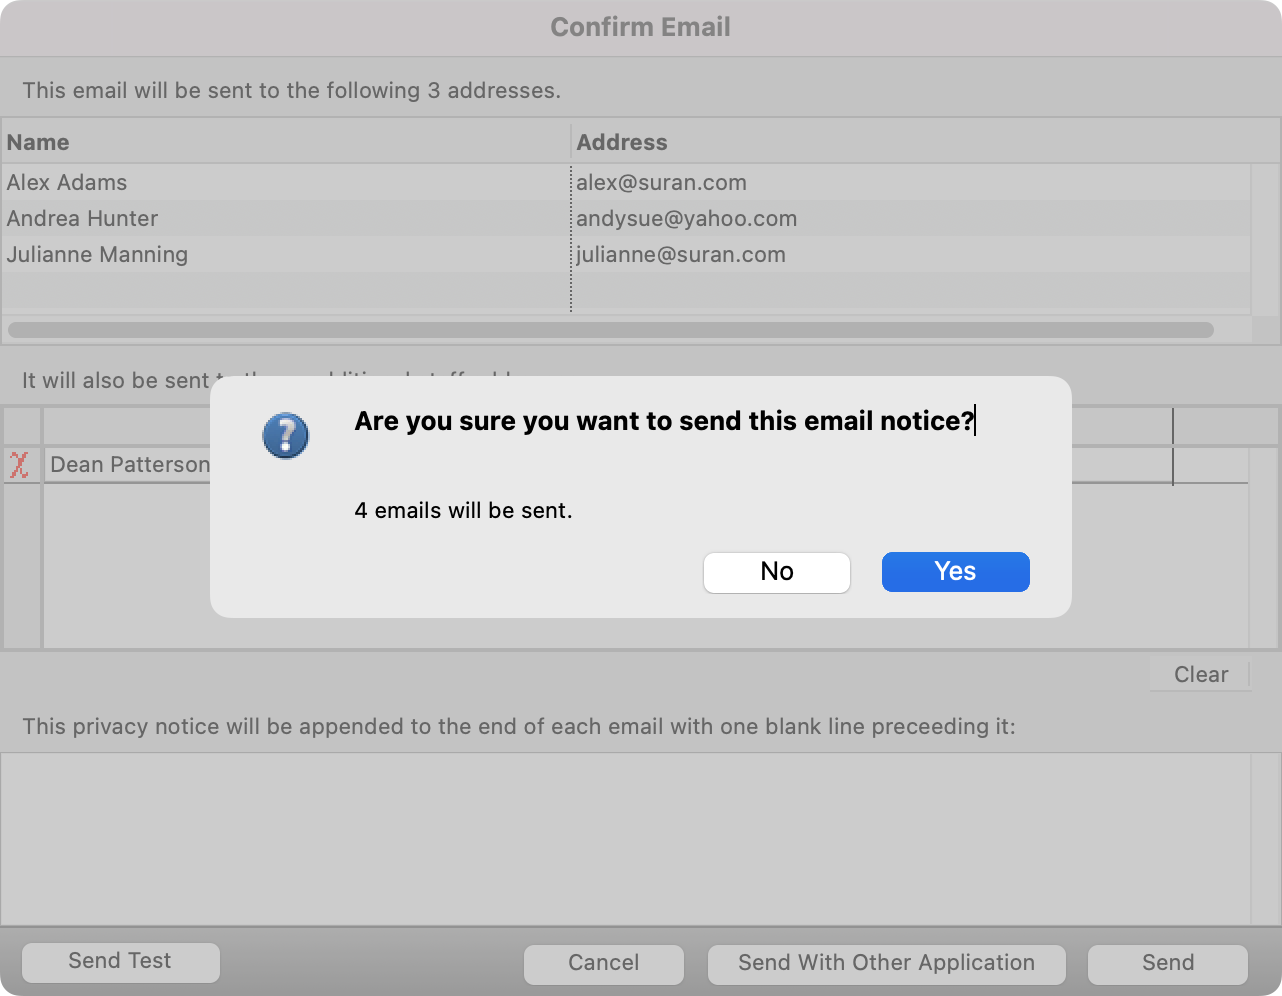
You’ll see a confirmation pop-up window appear asking if you’re sure you want to send this email notice. When ready, click Yes.
Lastly, you’ll see a progress window that will show you the progress of your emails being sent and then a confirmation once all emails have been sent.
