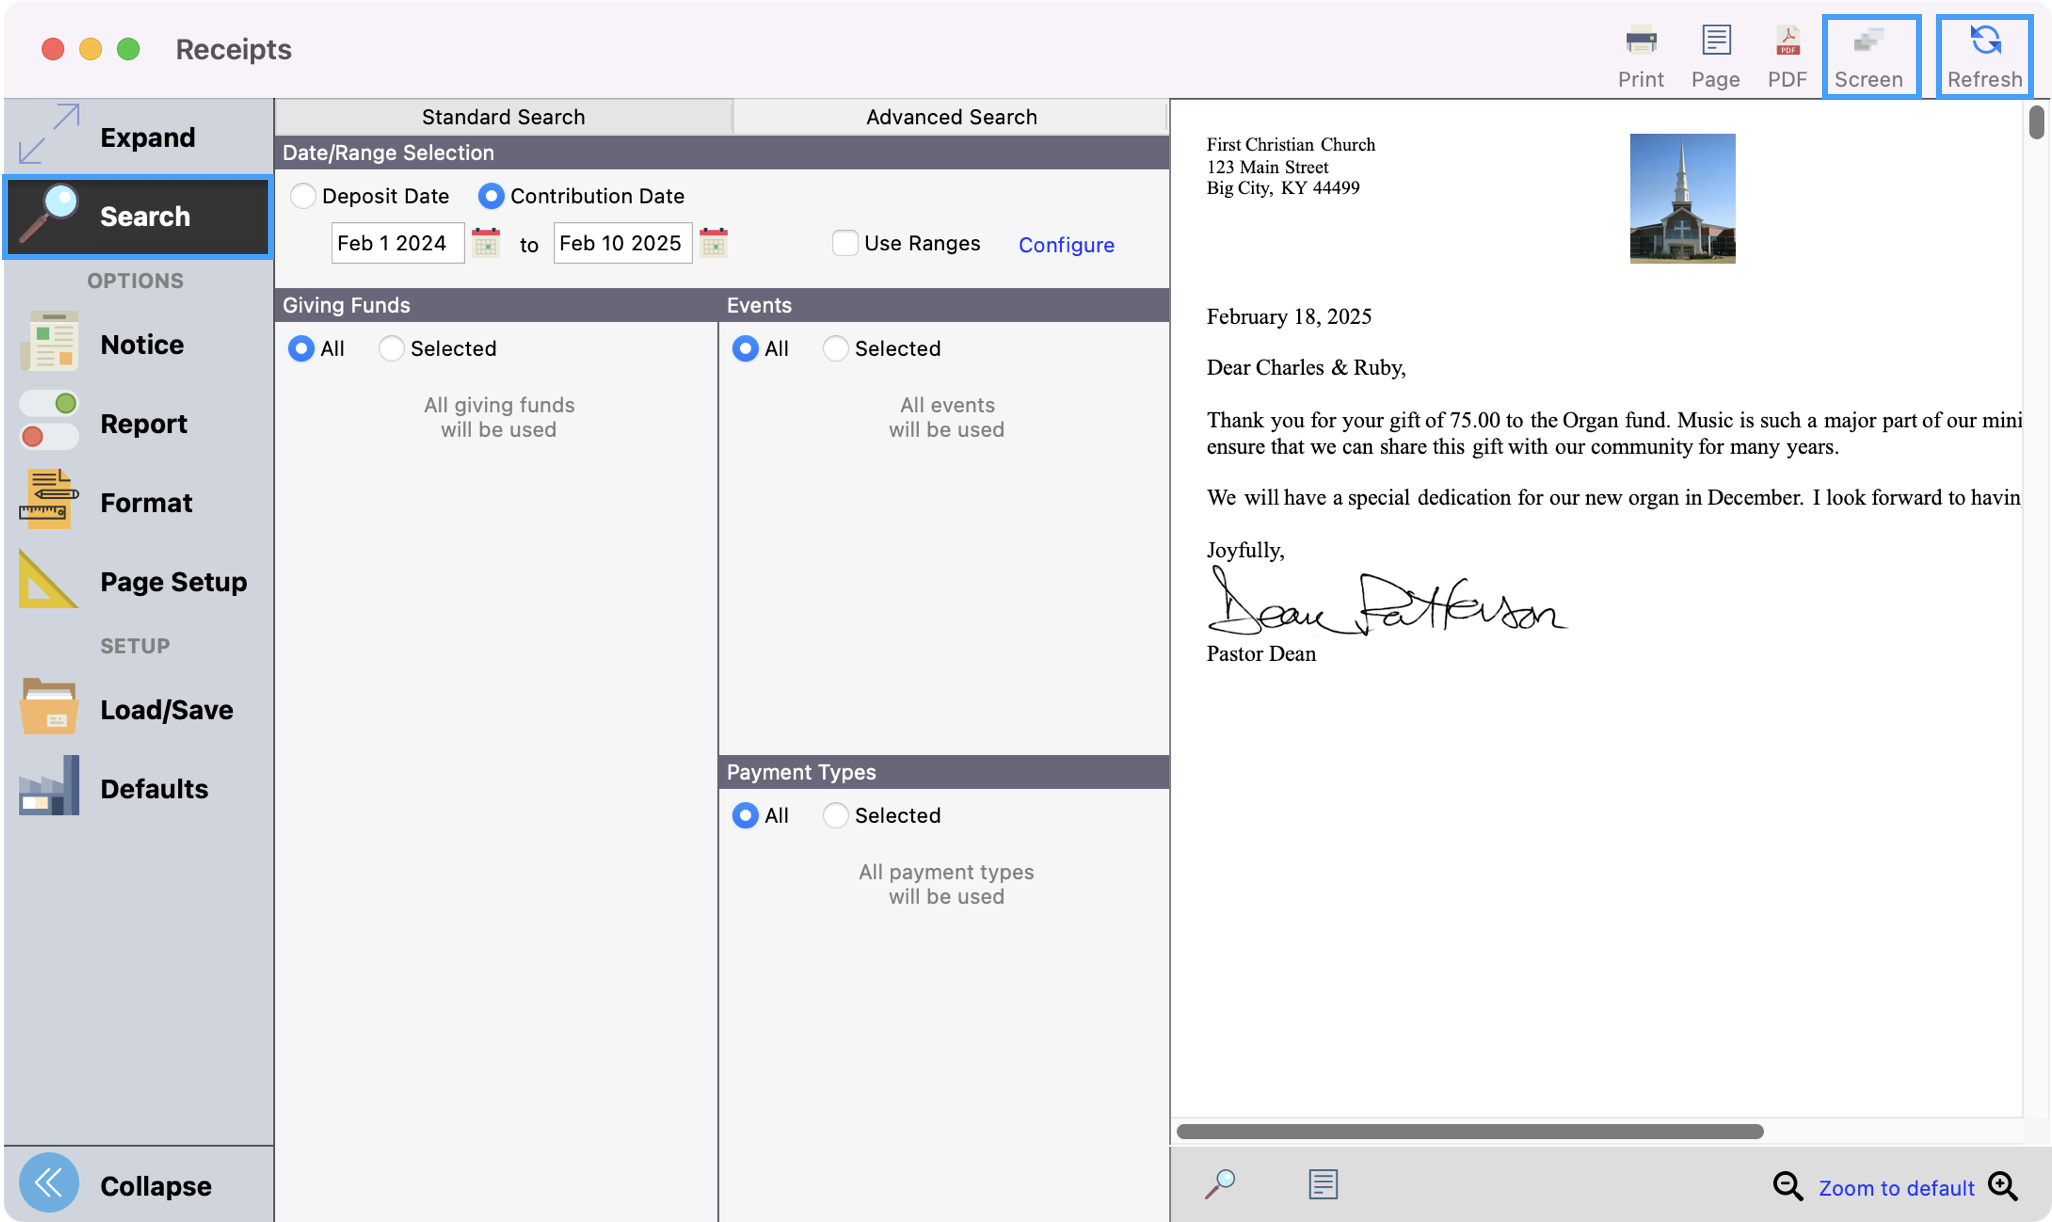
Receipts report setup window allows you to add a personalized note with formatted fields and a signature graphic to your receipts,
-
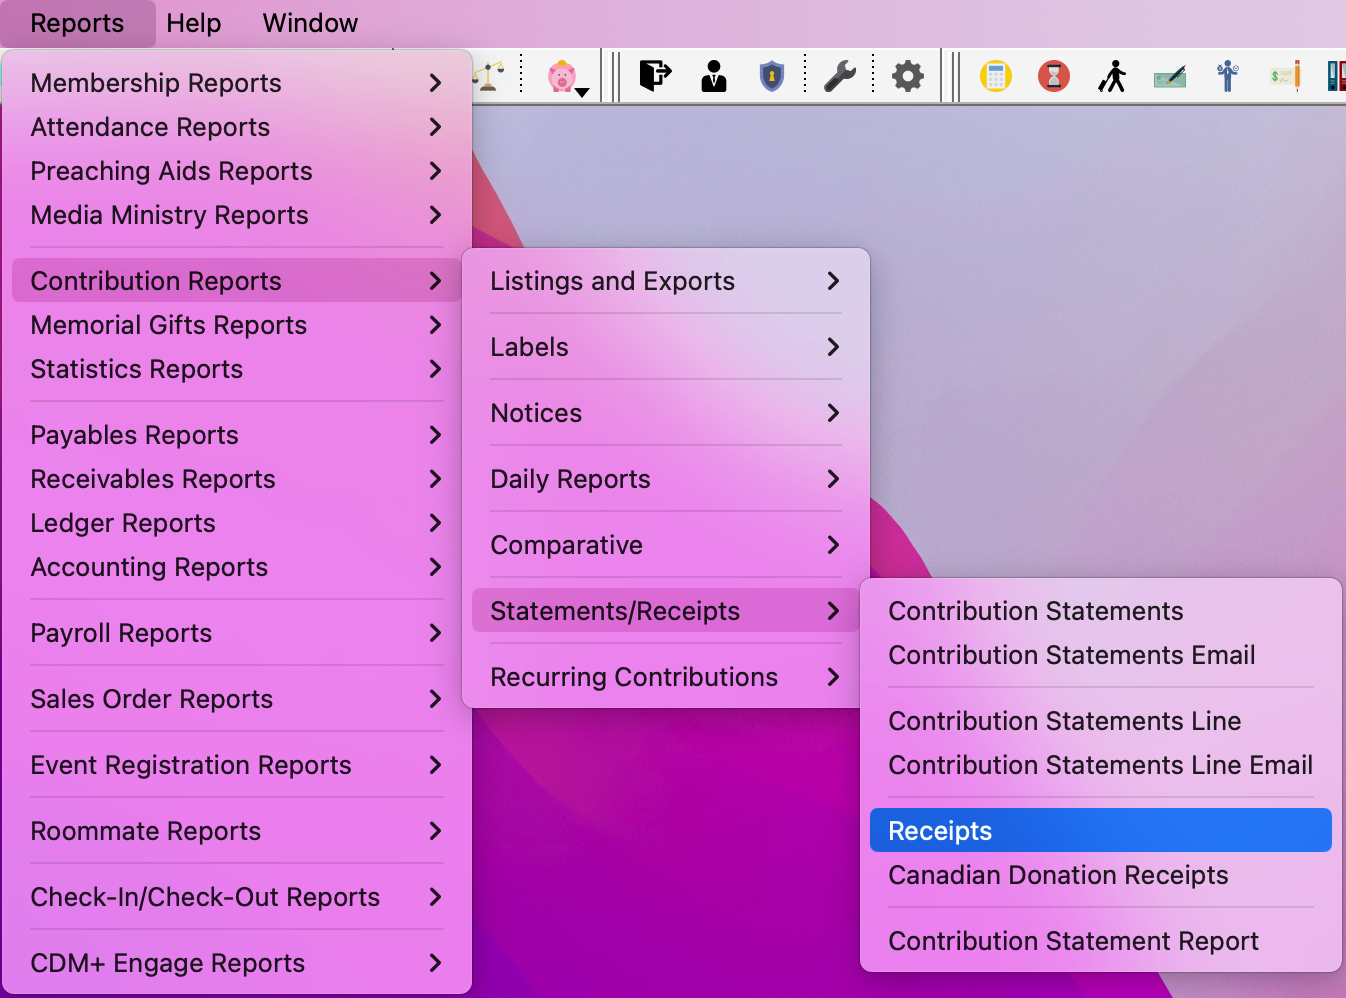
To create a receipt, go to Reports → Contribution Reports → Statements/Receipts → Receipts
-
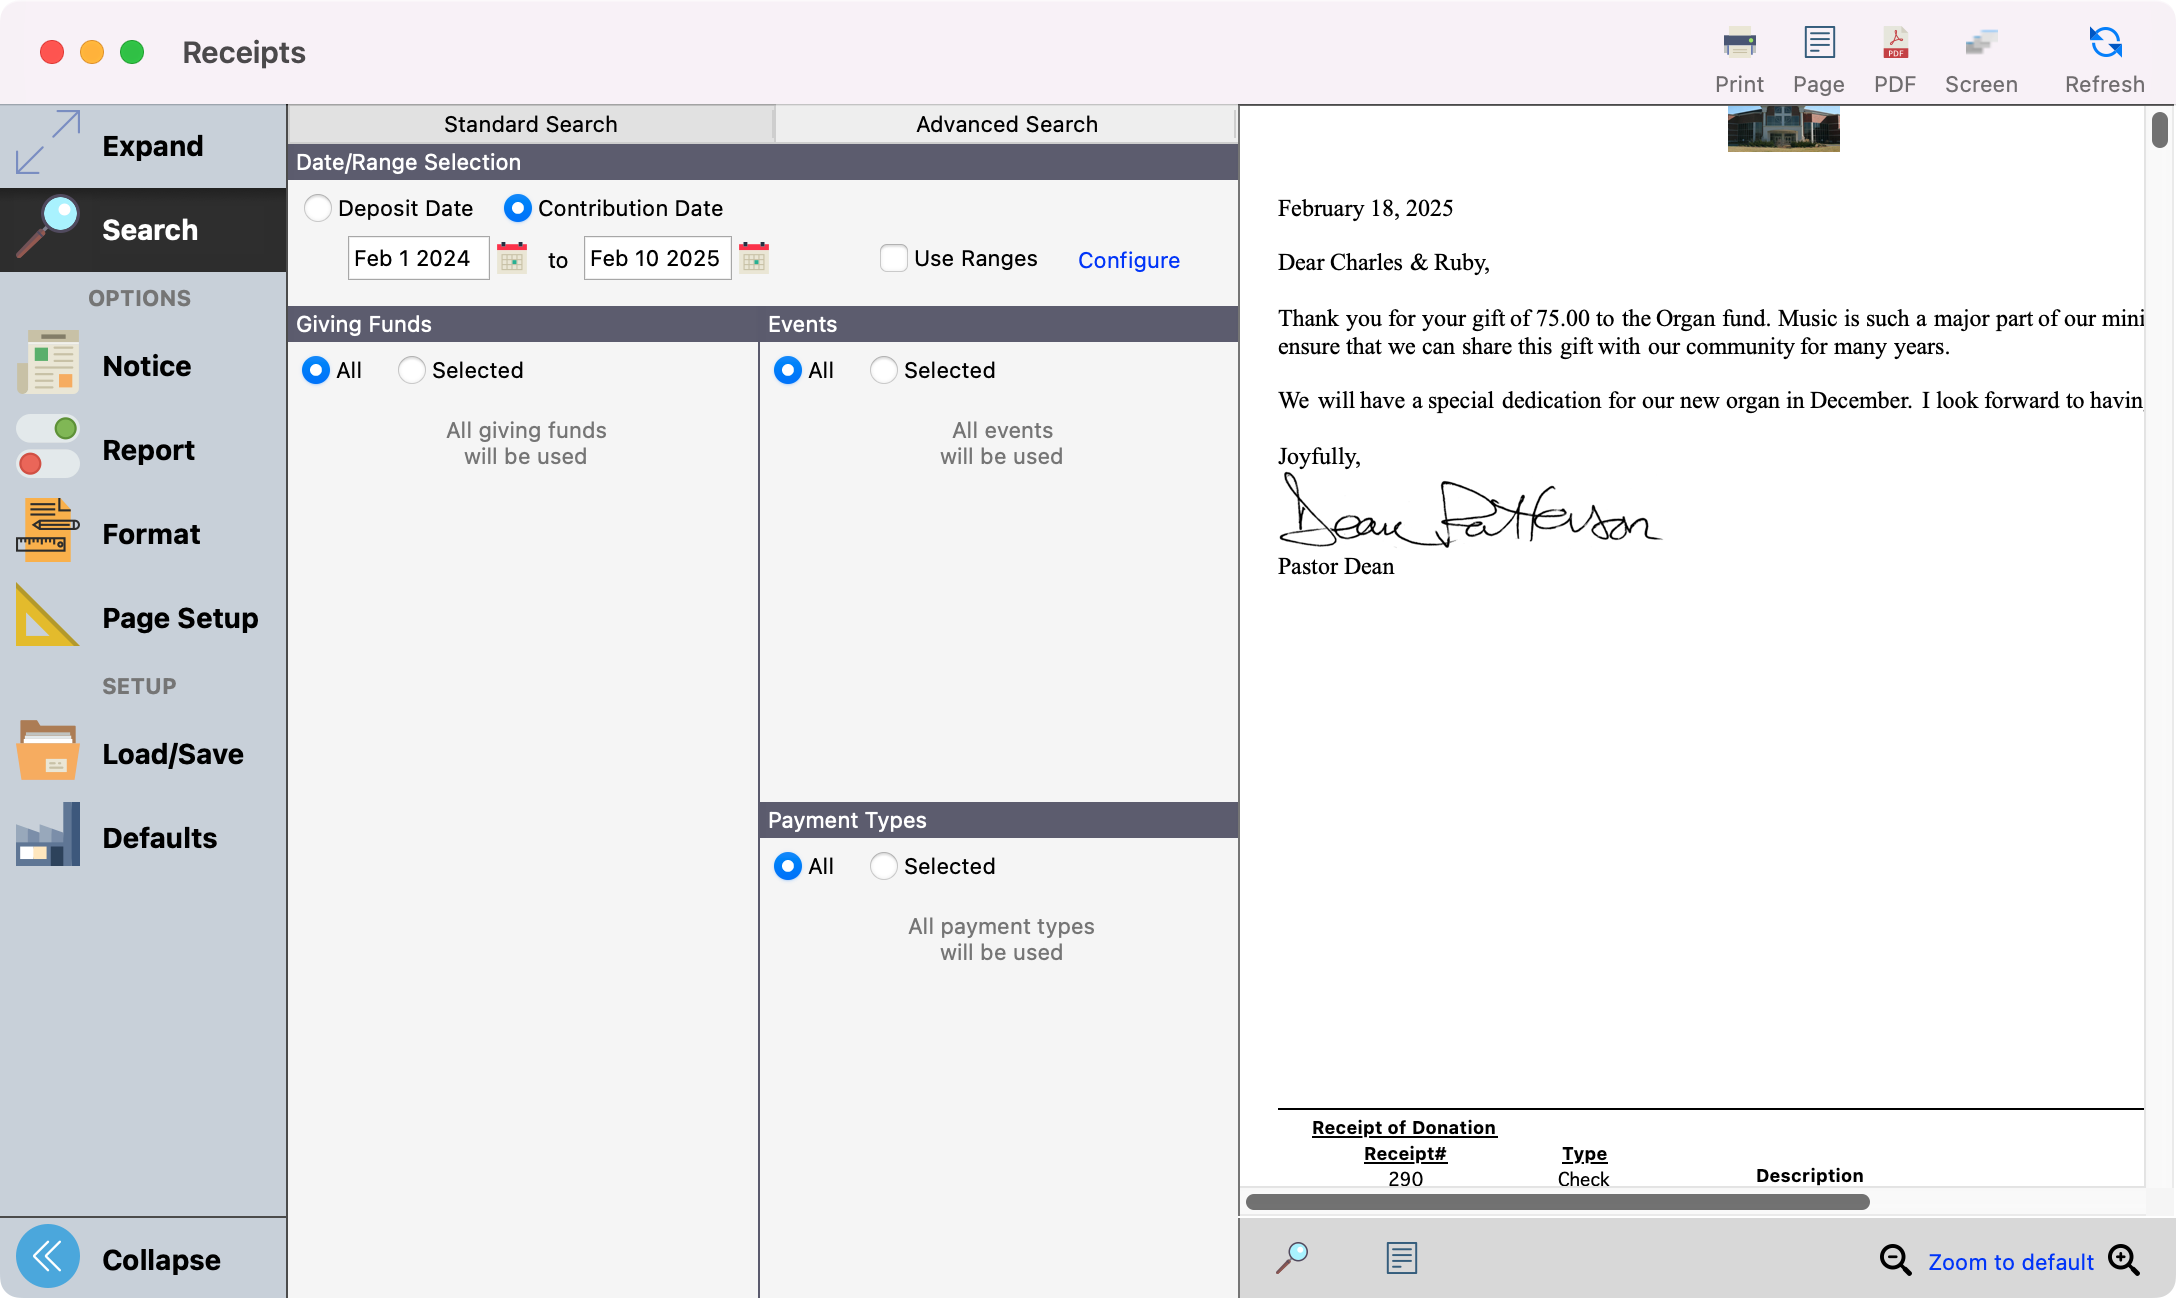
Under Search, select the appropriate date type (Deposit or Contribution) under the Date/Range Selection section and enter the beginning and ending date of the date range.
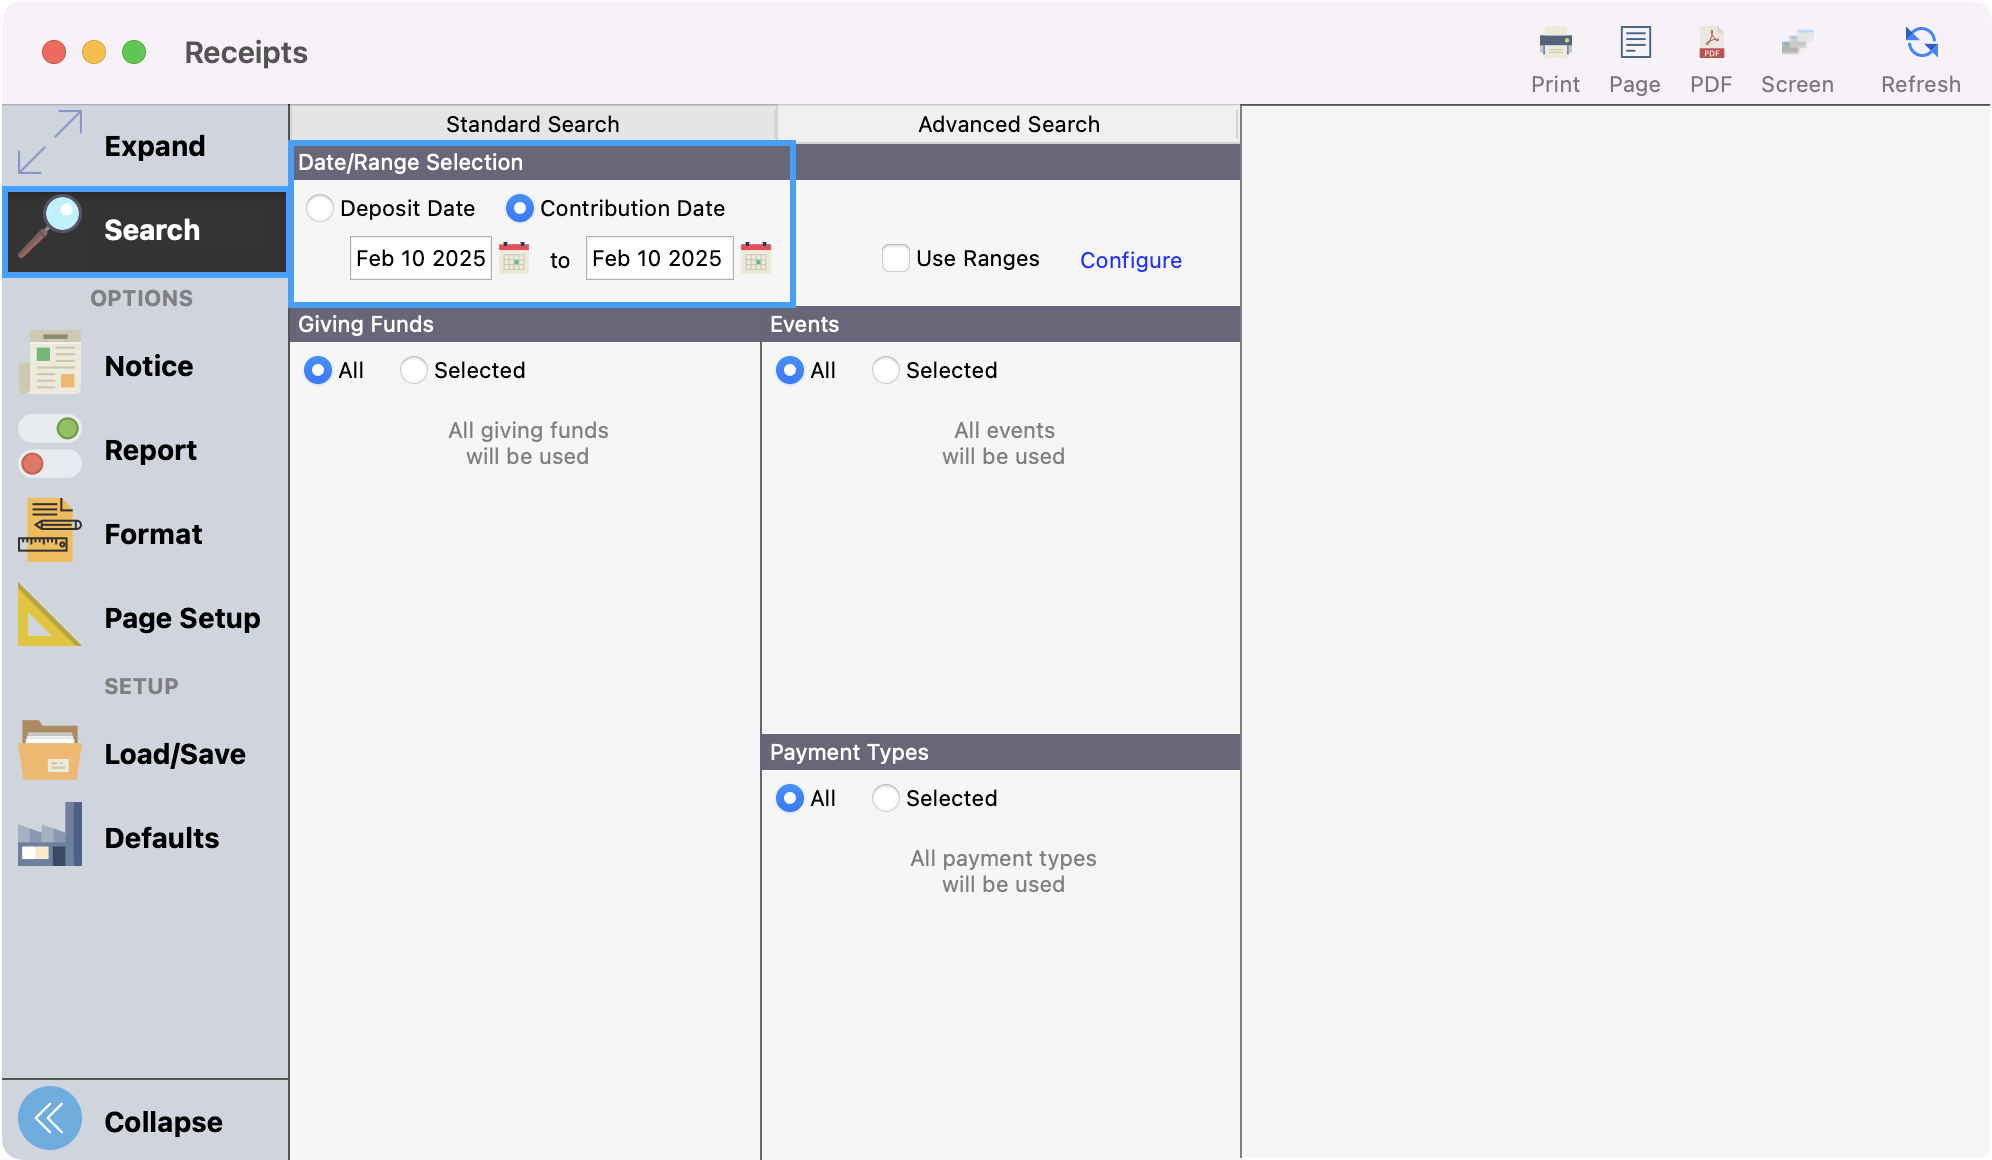
If you want to refine your search based on a donation amount range you can do so by using our Use Ranges feature.
-
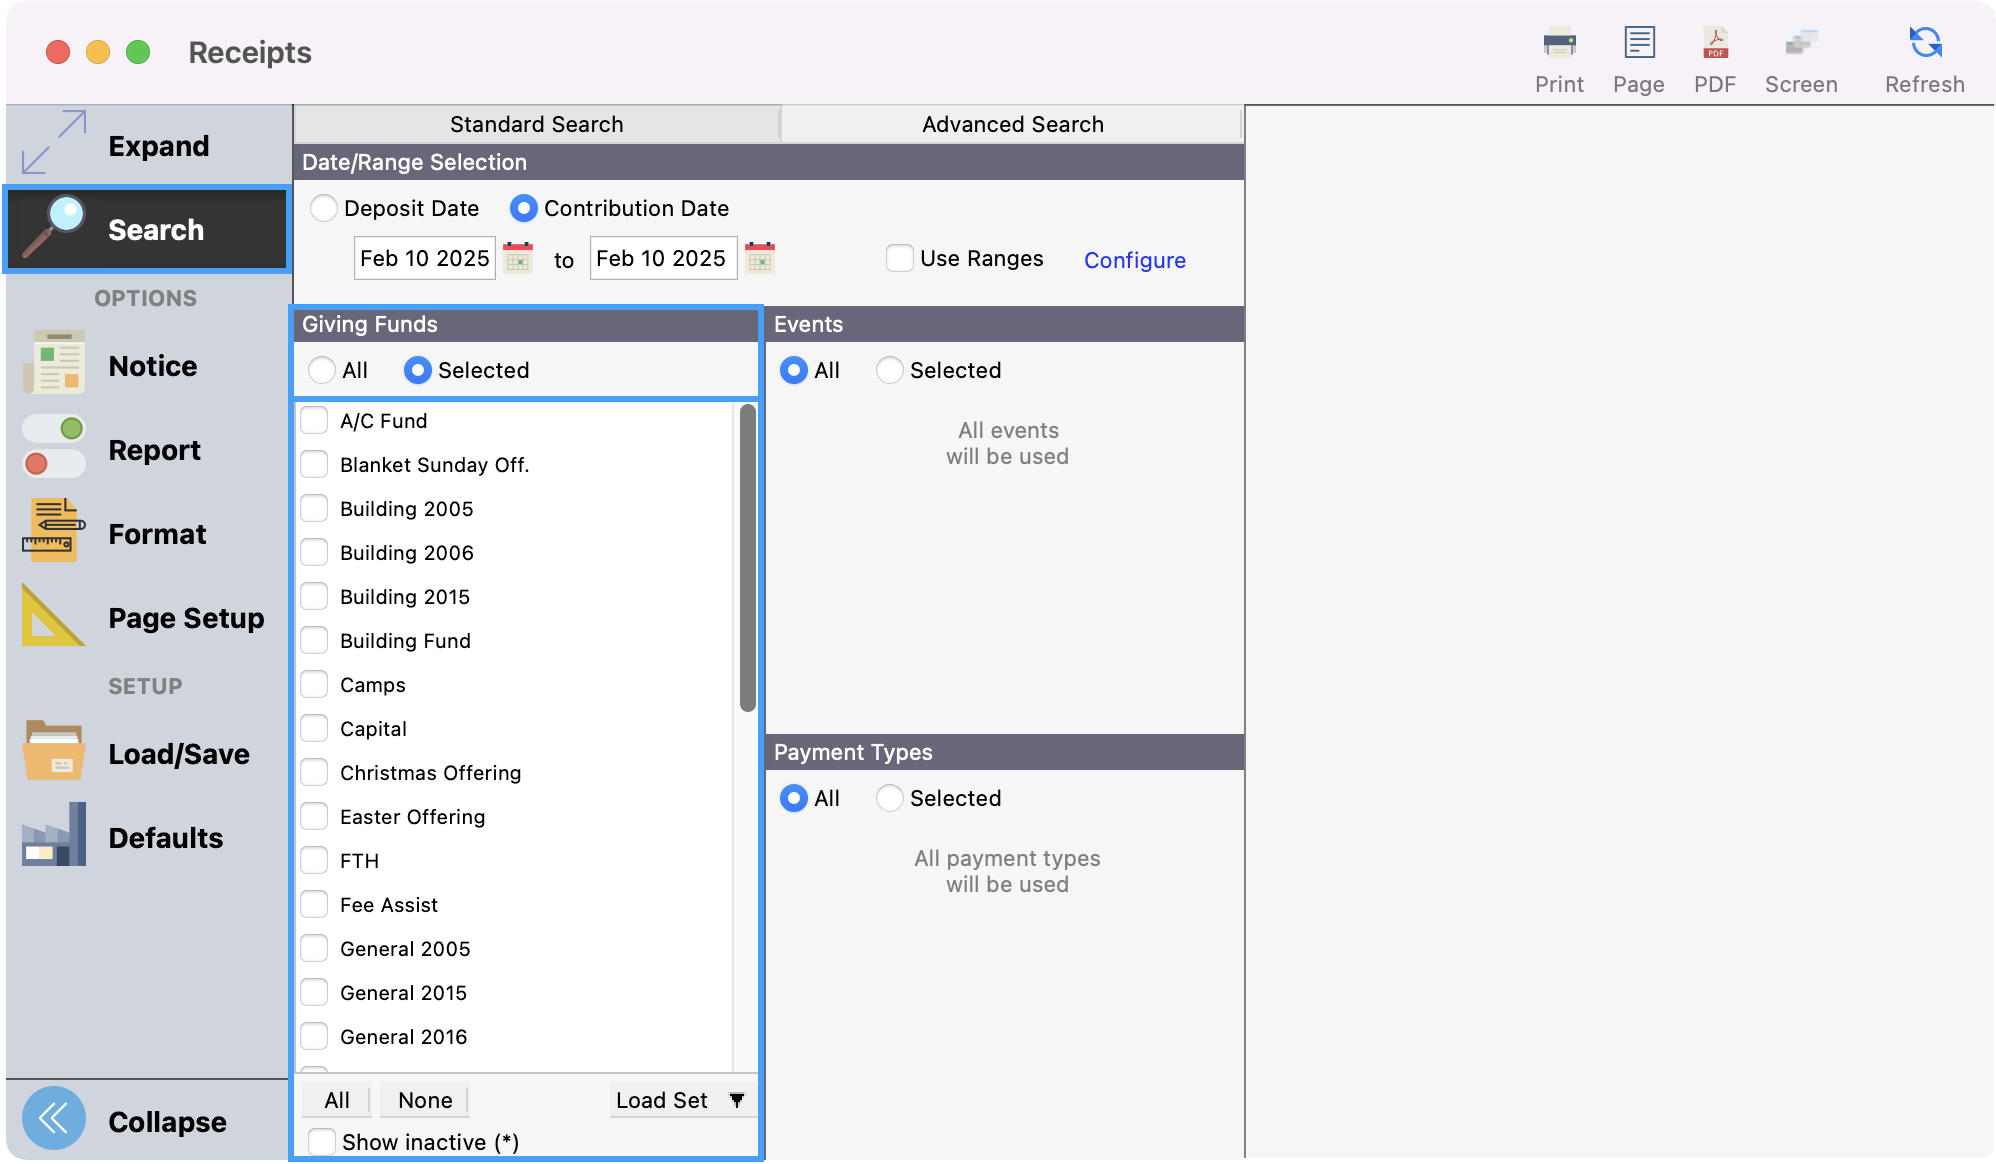
Under the Giving Funds section, either select the giving funds you wish to use by clicking Selected or choose all using the All radio button. Keep in mind that when choosing All, this will include any inactive funds as well.
-
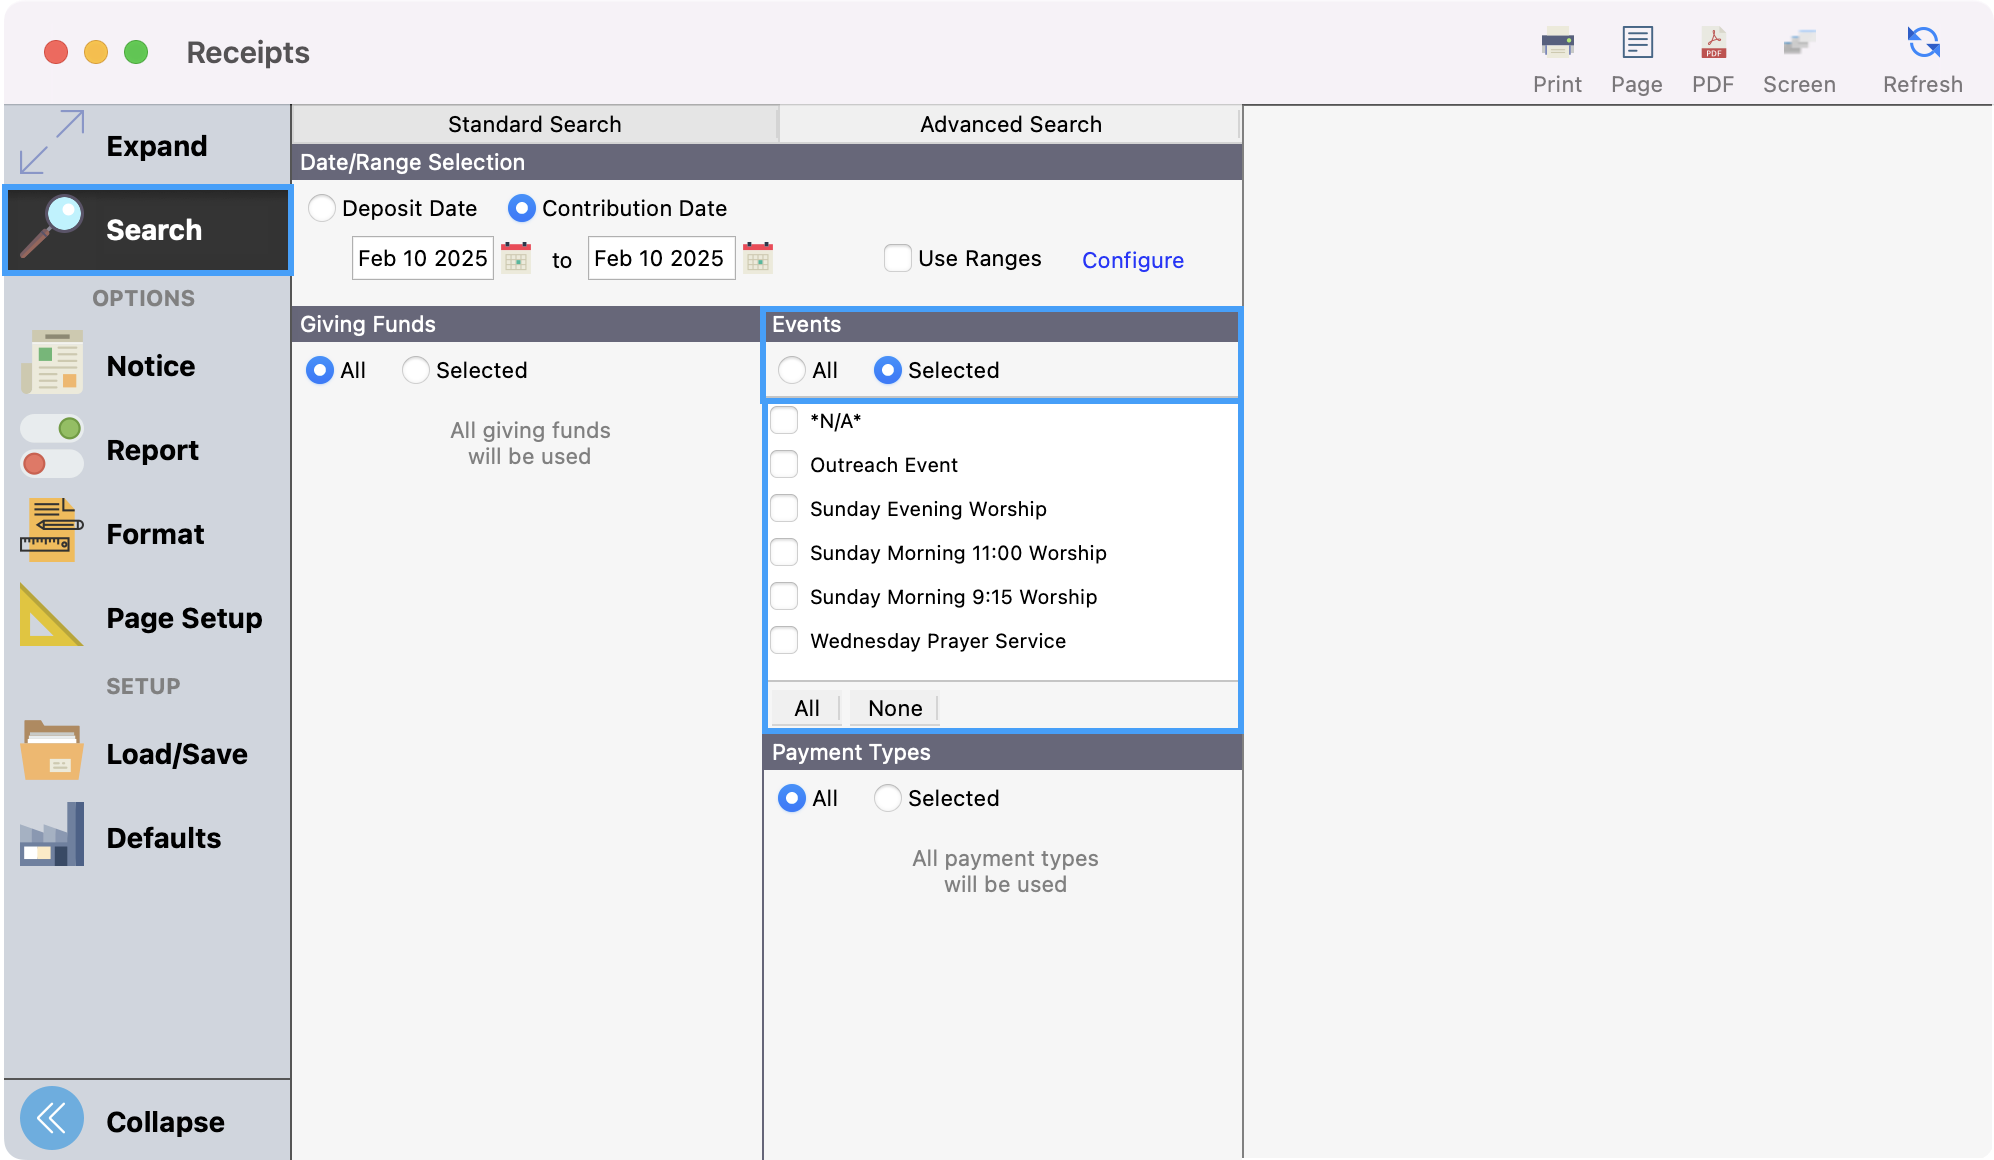
Next, under the Events section, you can select the individual events under the Selected radio button or choose all using the All radio button.
-
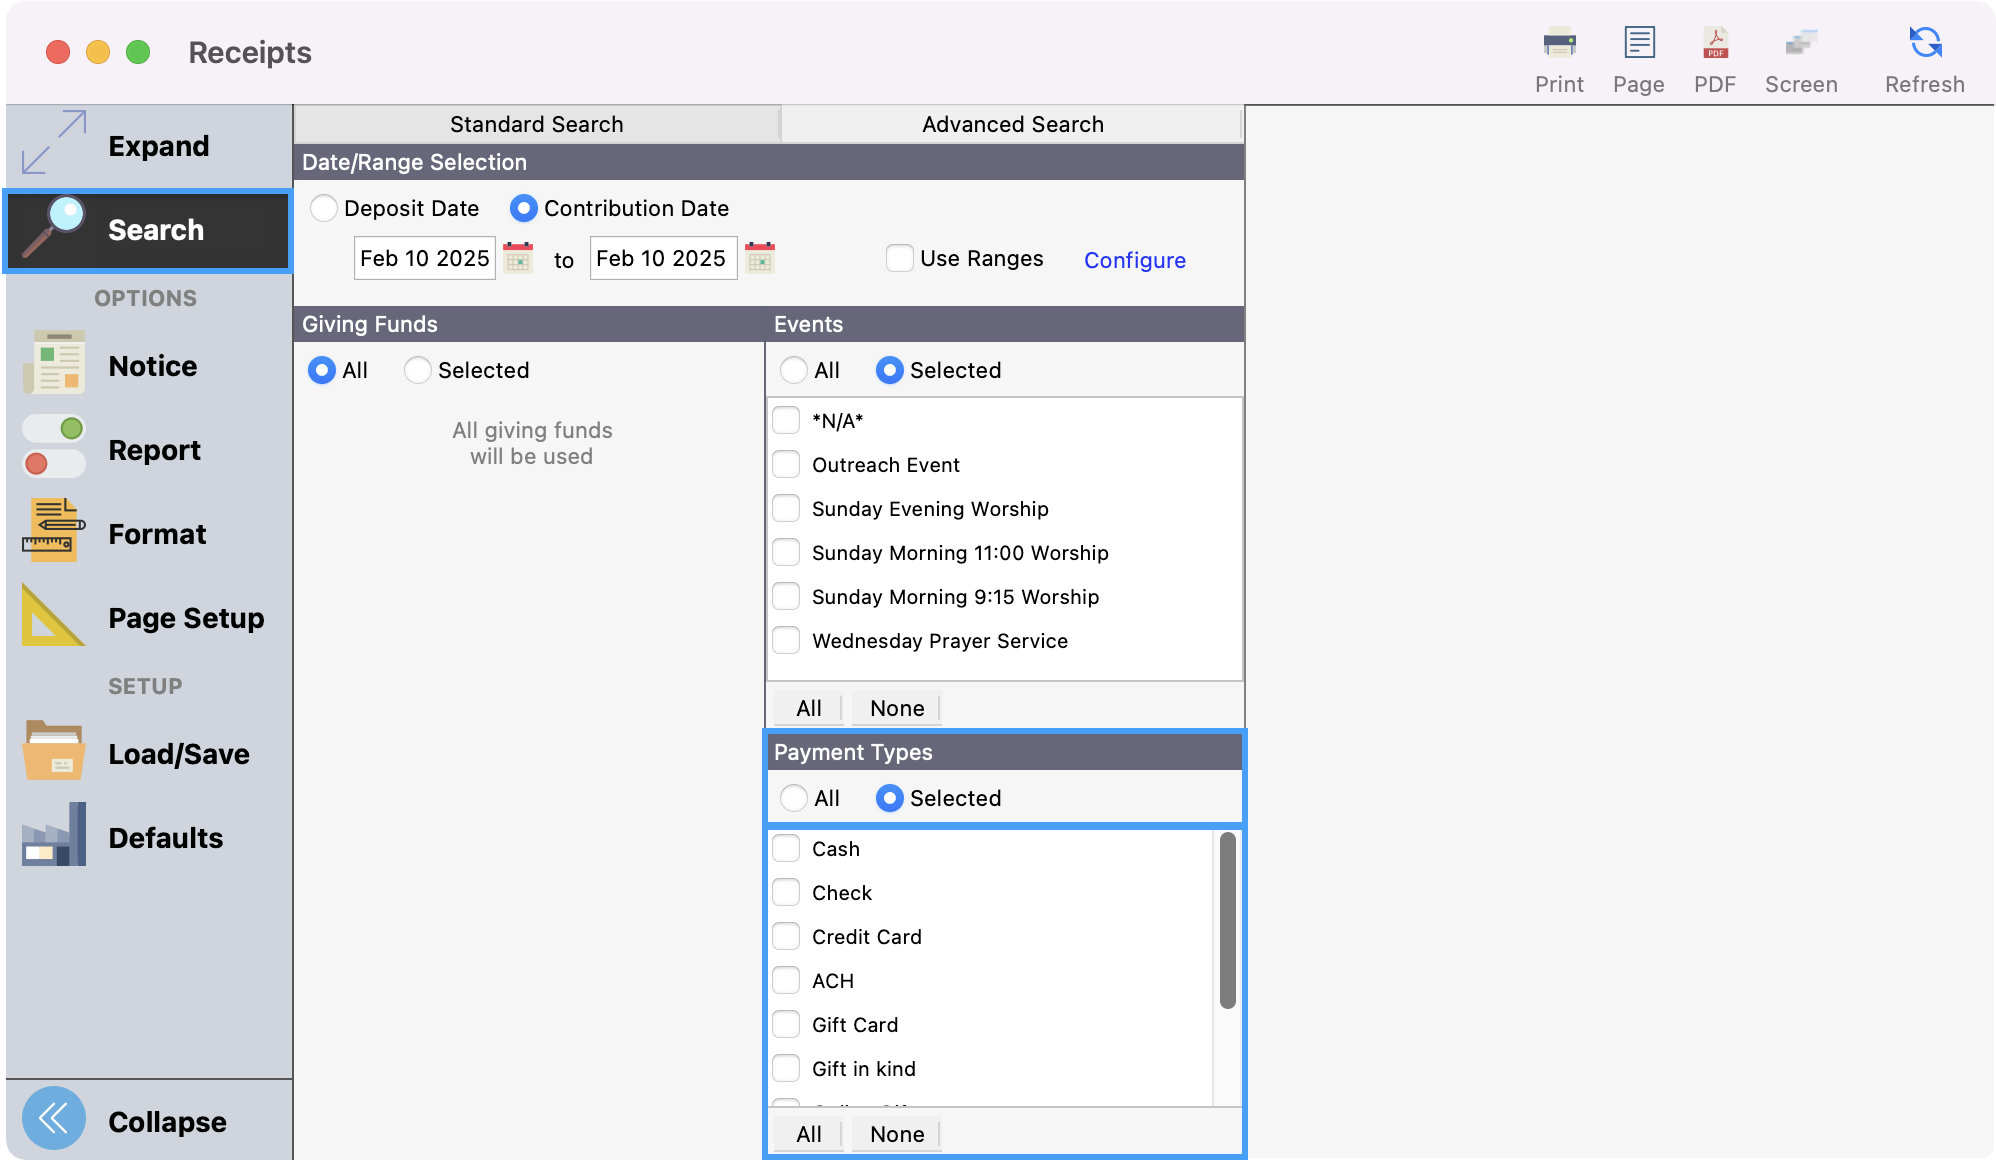
The final section to set up is Payment Types. You select individual payment types under the Selected radio button or choose all using the All radio button.
-
Under Notice, you can create your personalized message. Visit CDM+ Notices for step-by-step instructions.

-
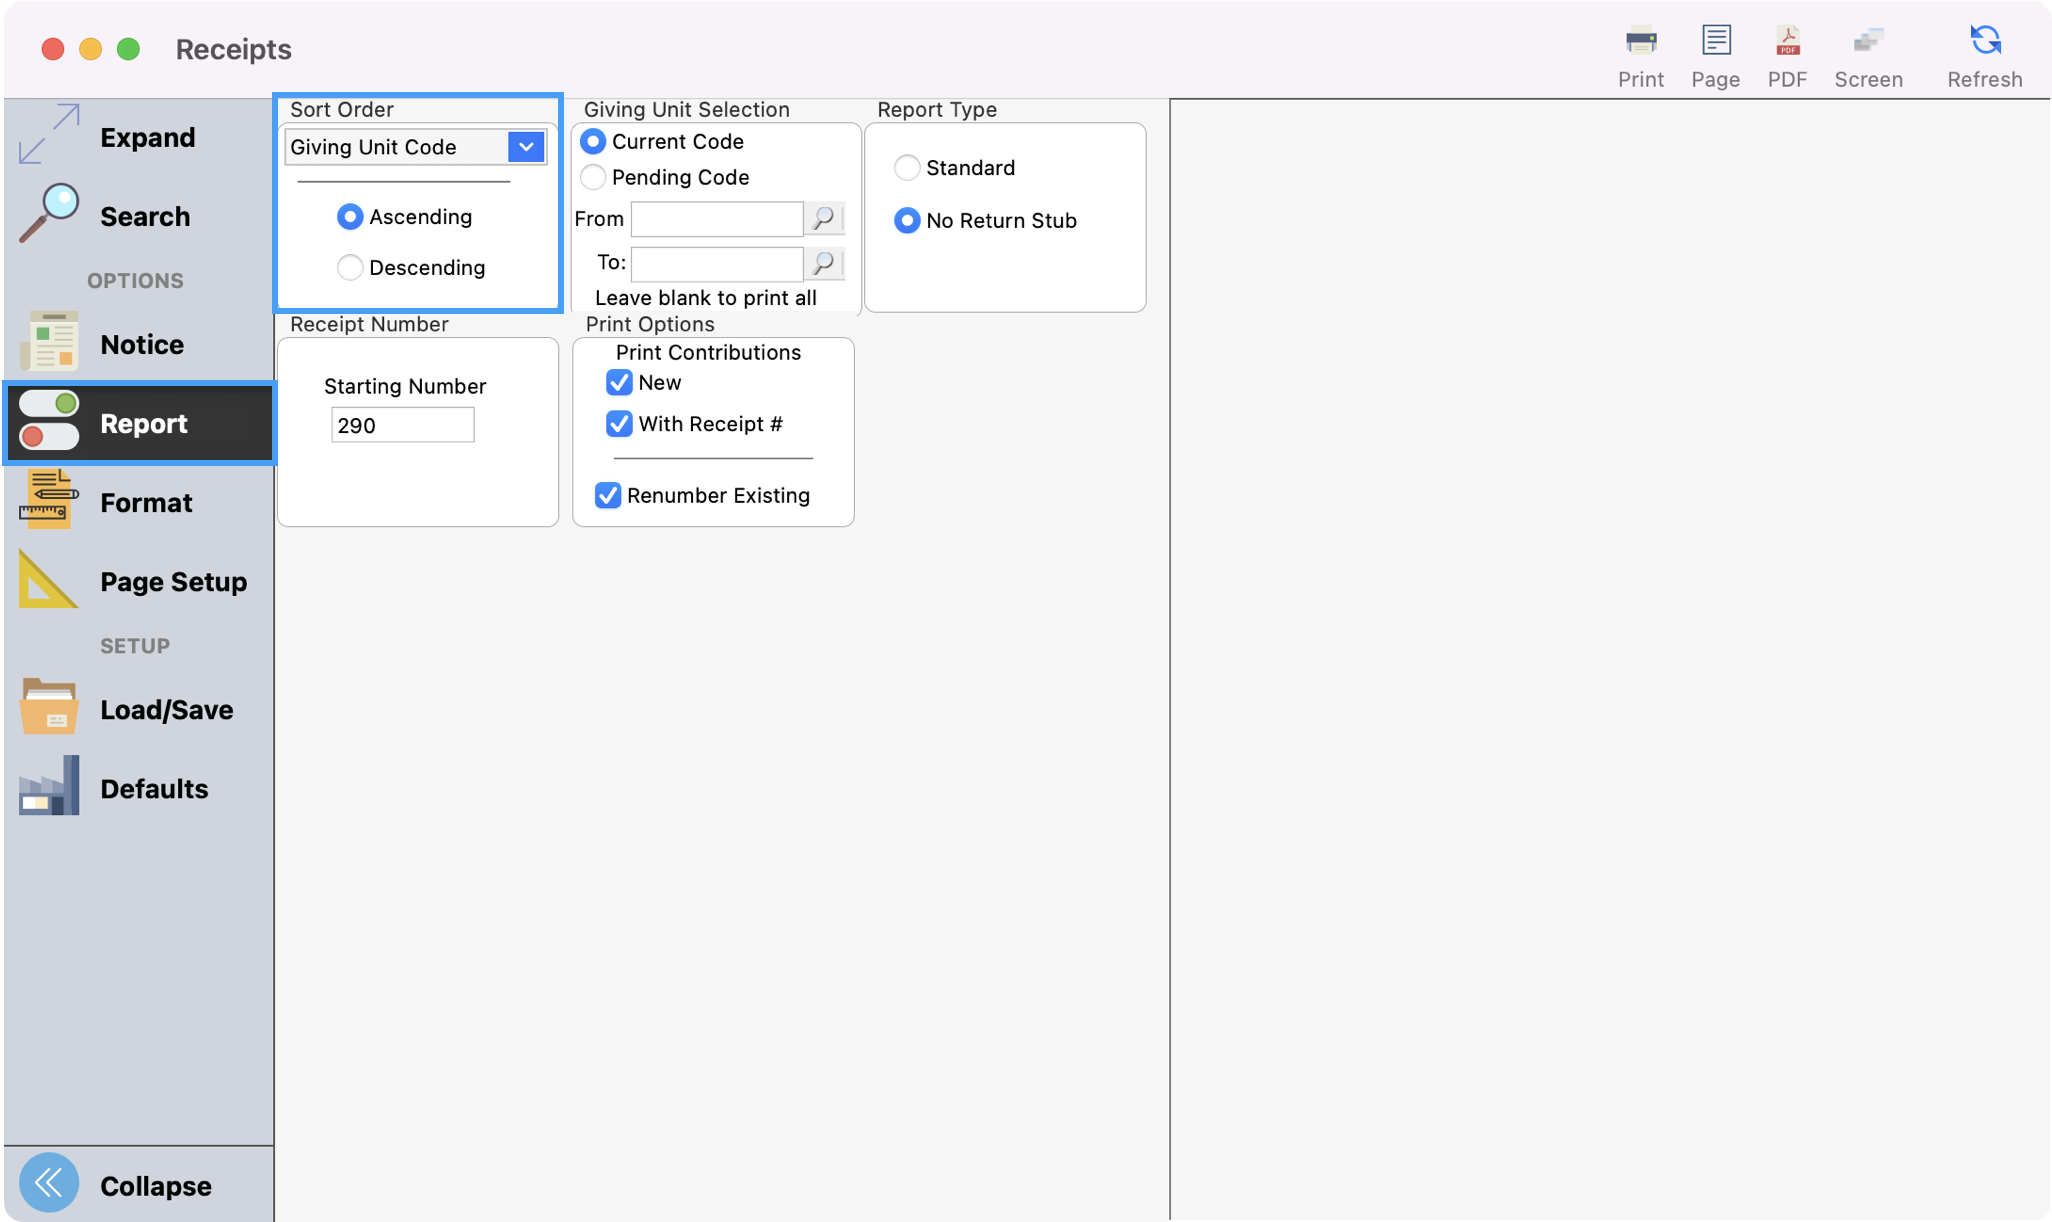
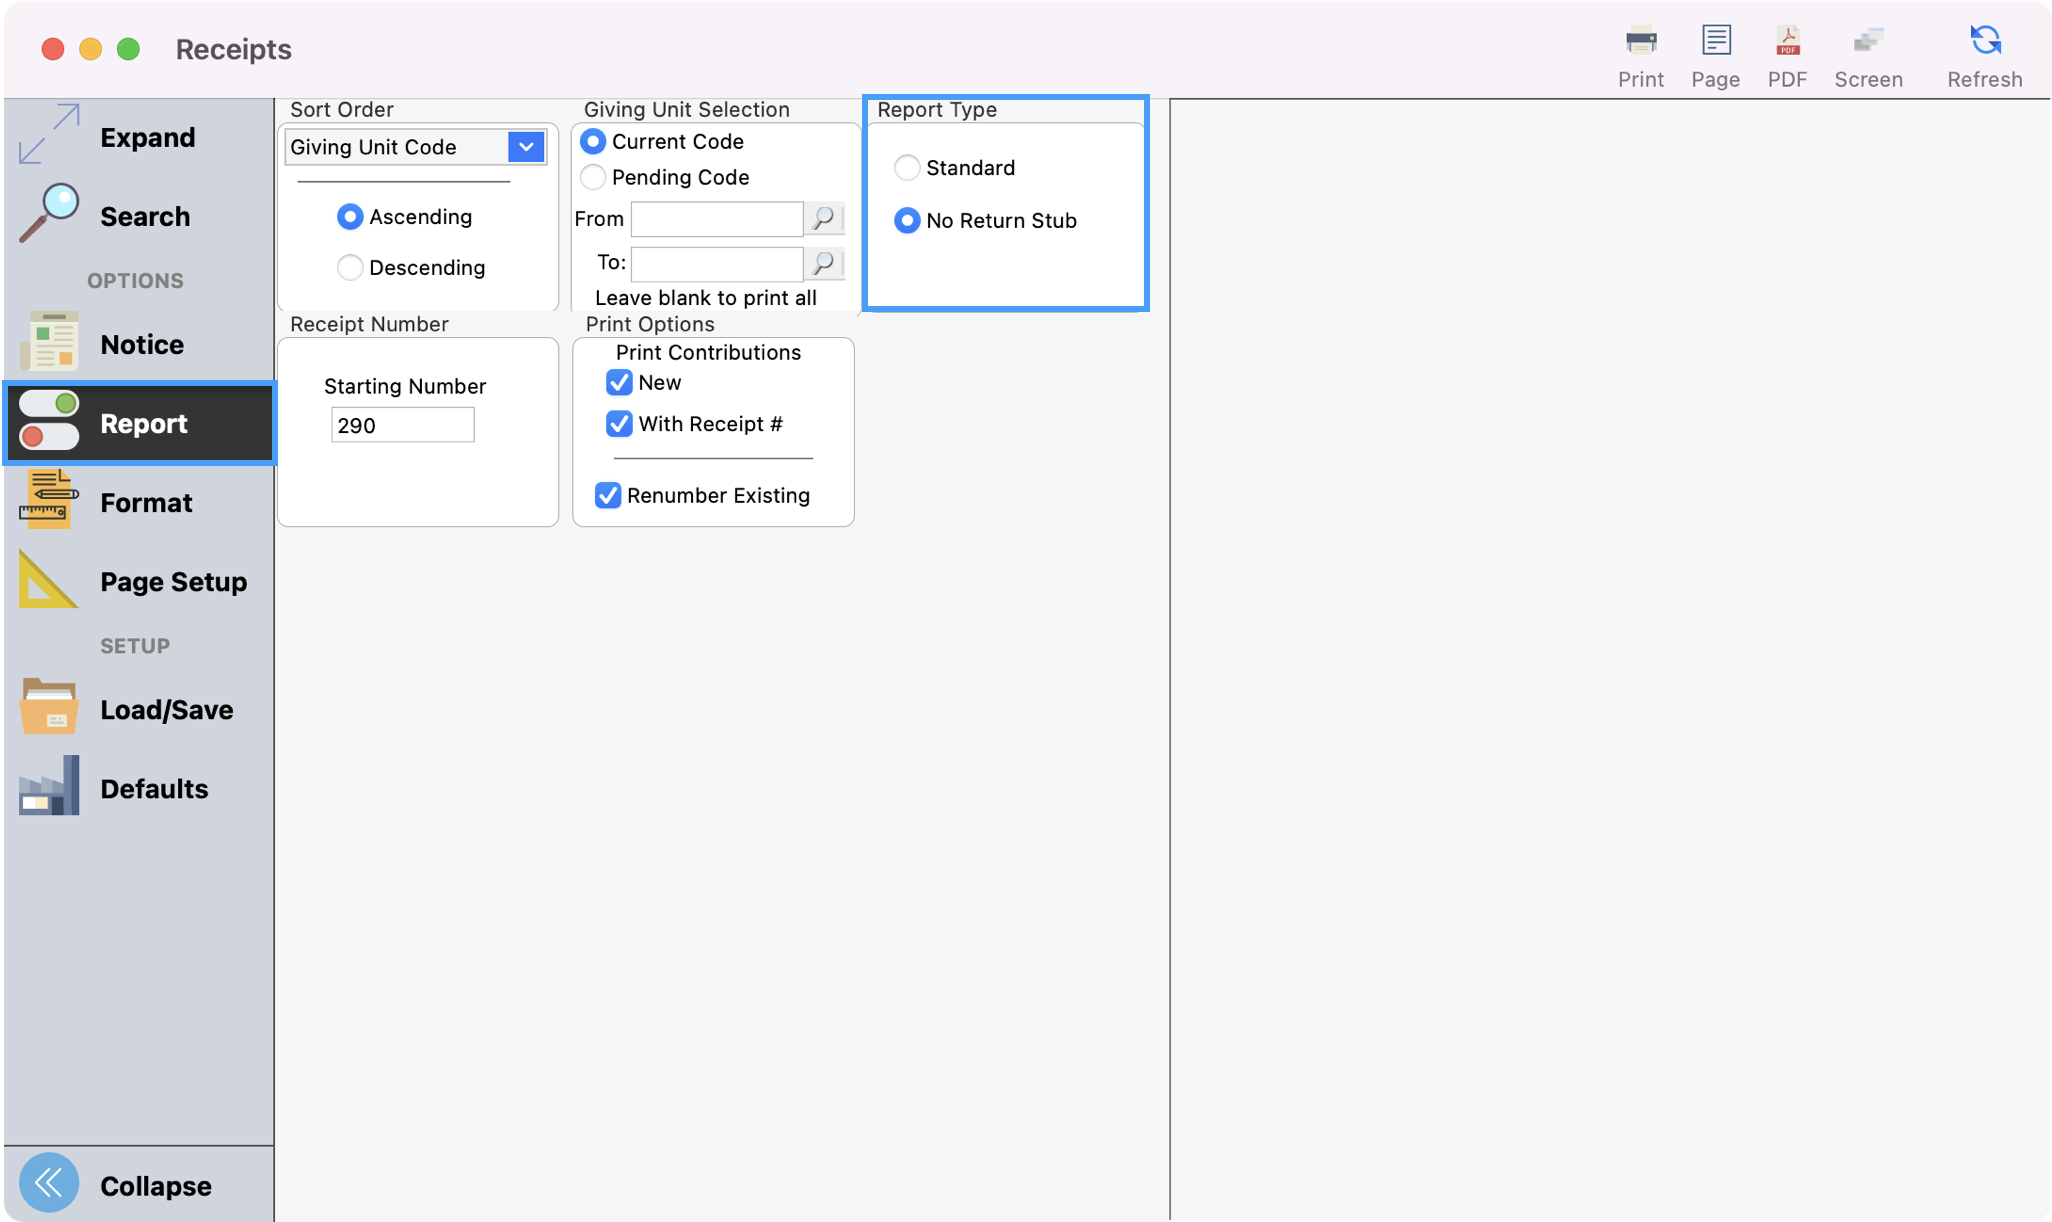
Under Report, you can select how to generate the giving statement. First, you can determine your Sort Order. You can choose to sort by Giving Unit Name, Giving Unit Code, Pending Code, or Zip Code in Ascending or Descending order.
-
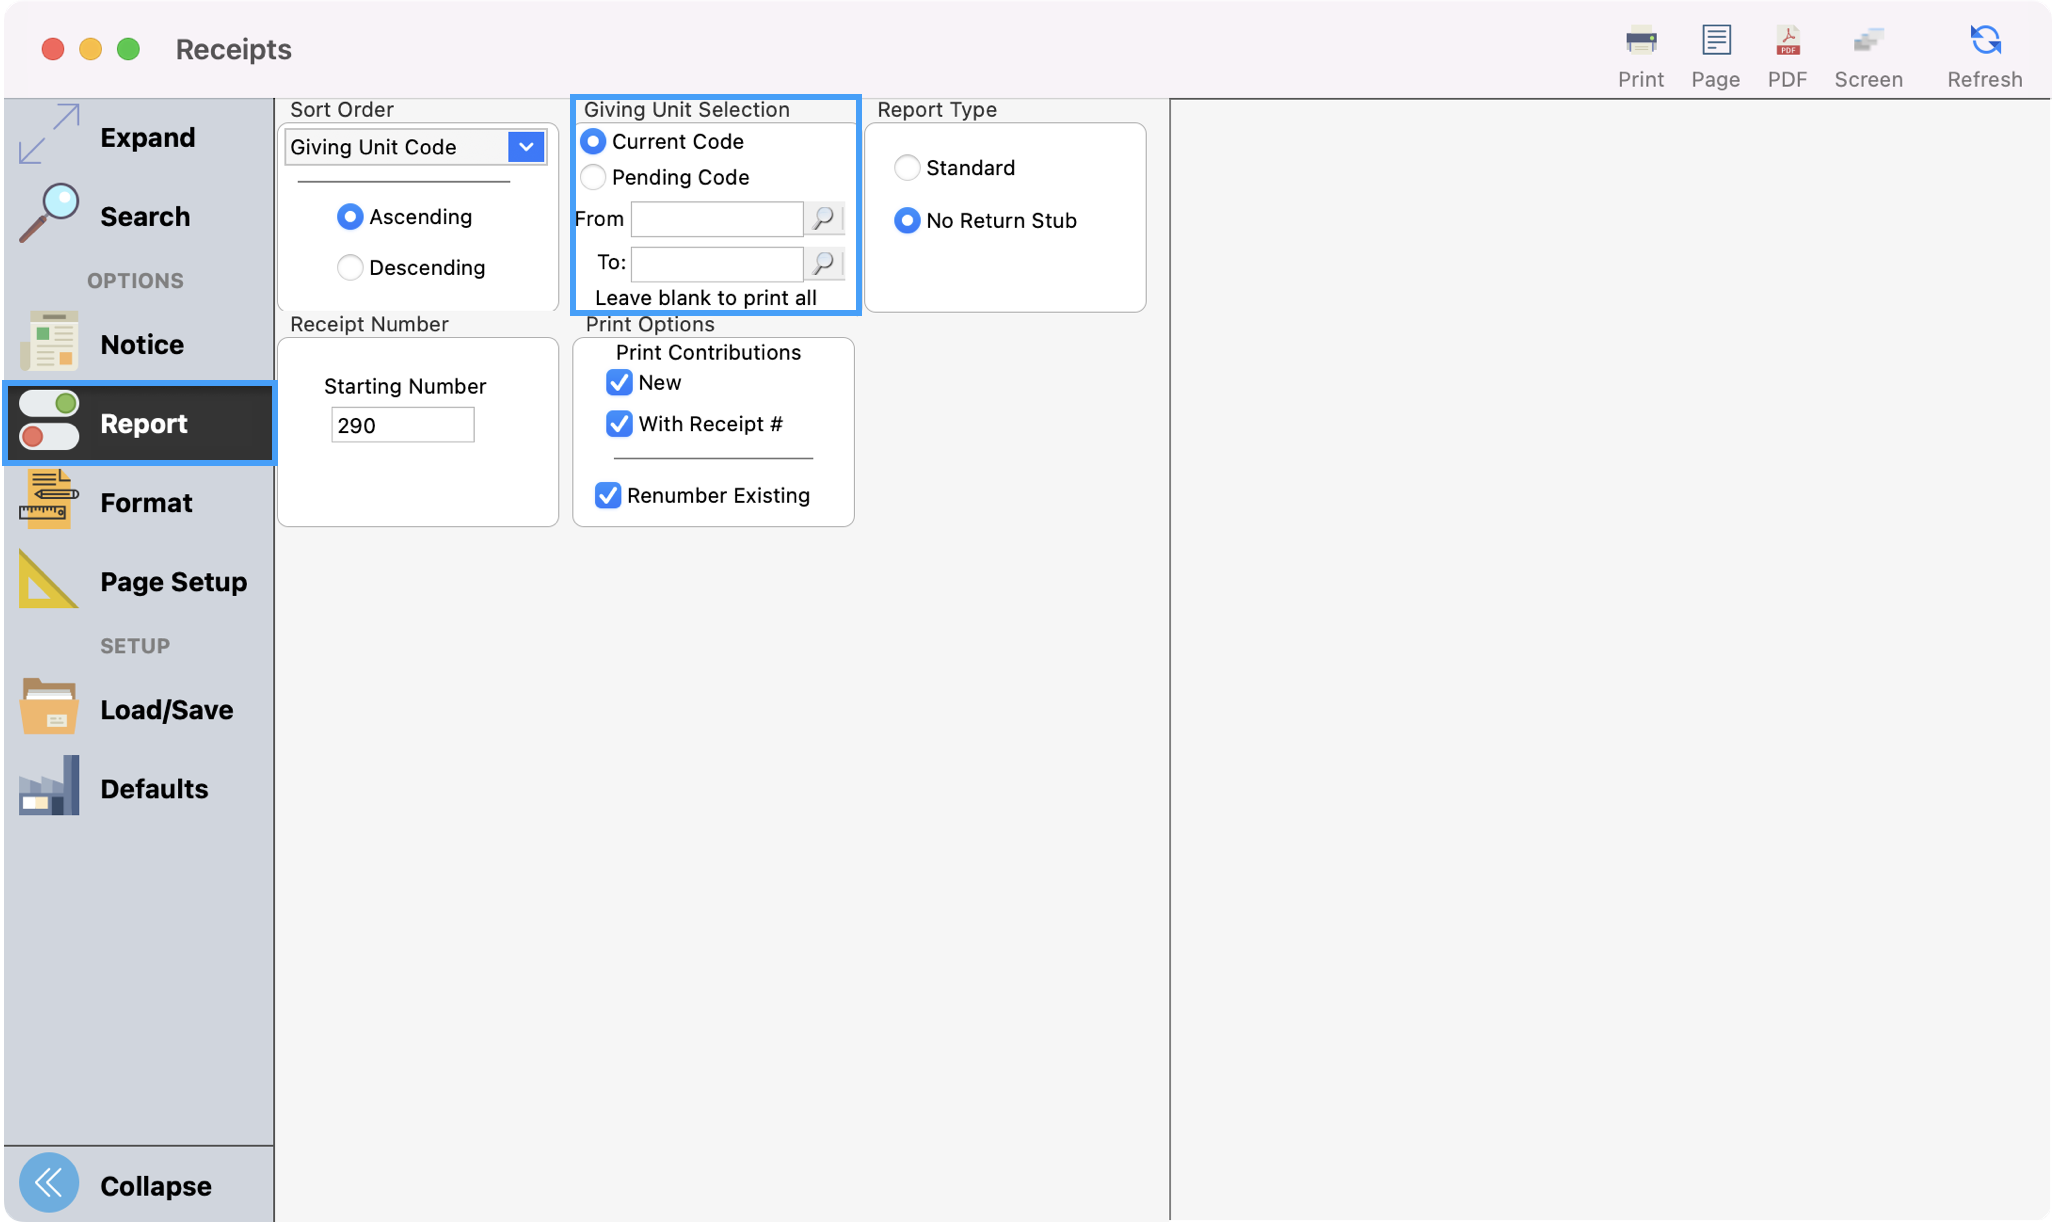
You can choose one giving unit, a range of giving units, or leave this section blank to generate a receipt to all contributors.
-
The Report Type gives the option to print receipts with a return stub for additional gifts or without a stub.
-
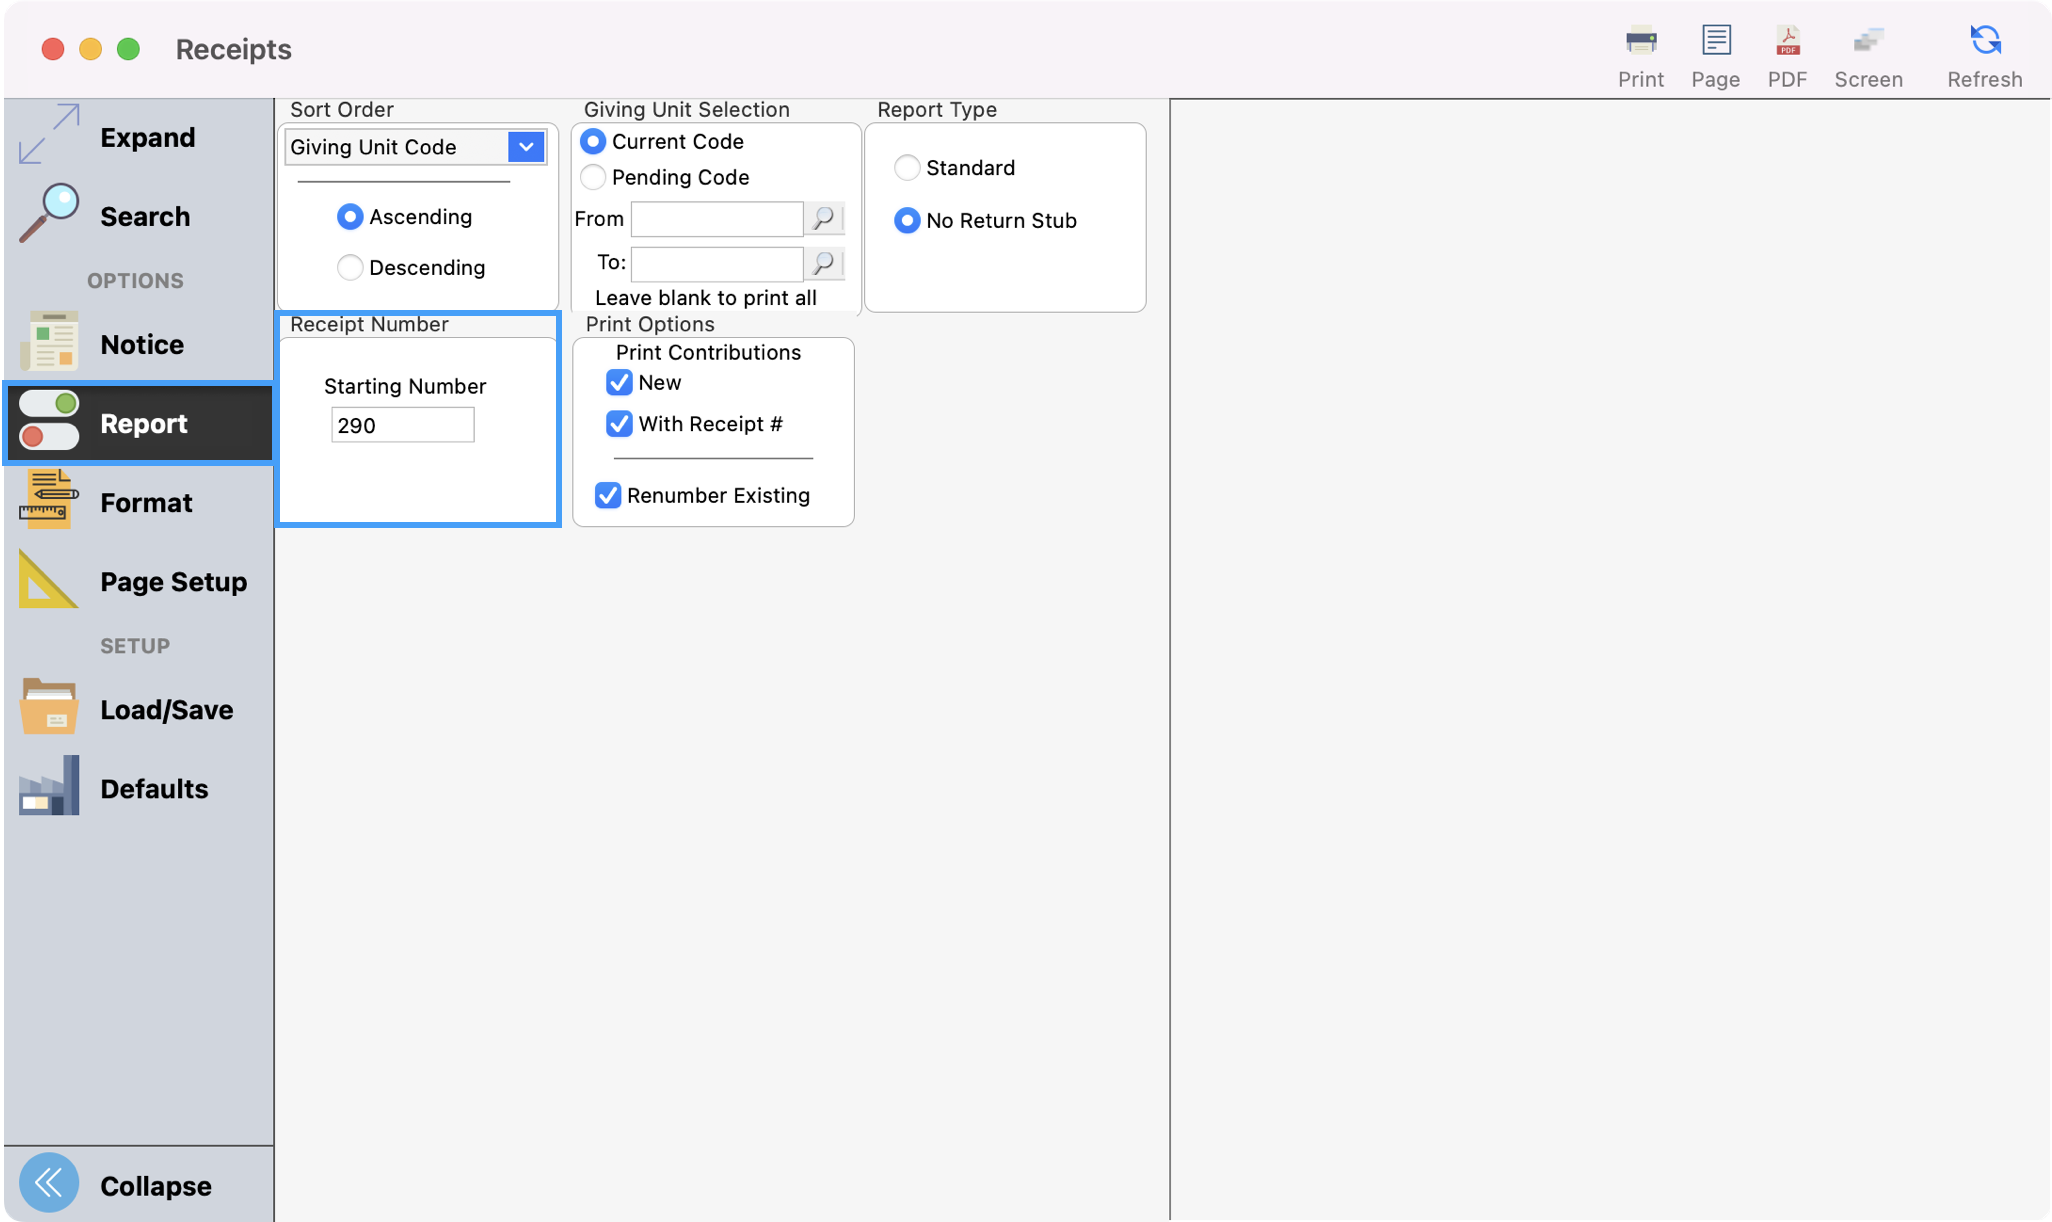
Next, determine the Starting Number for your receipts.
-
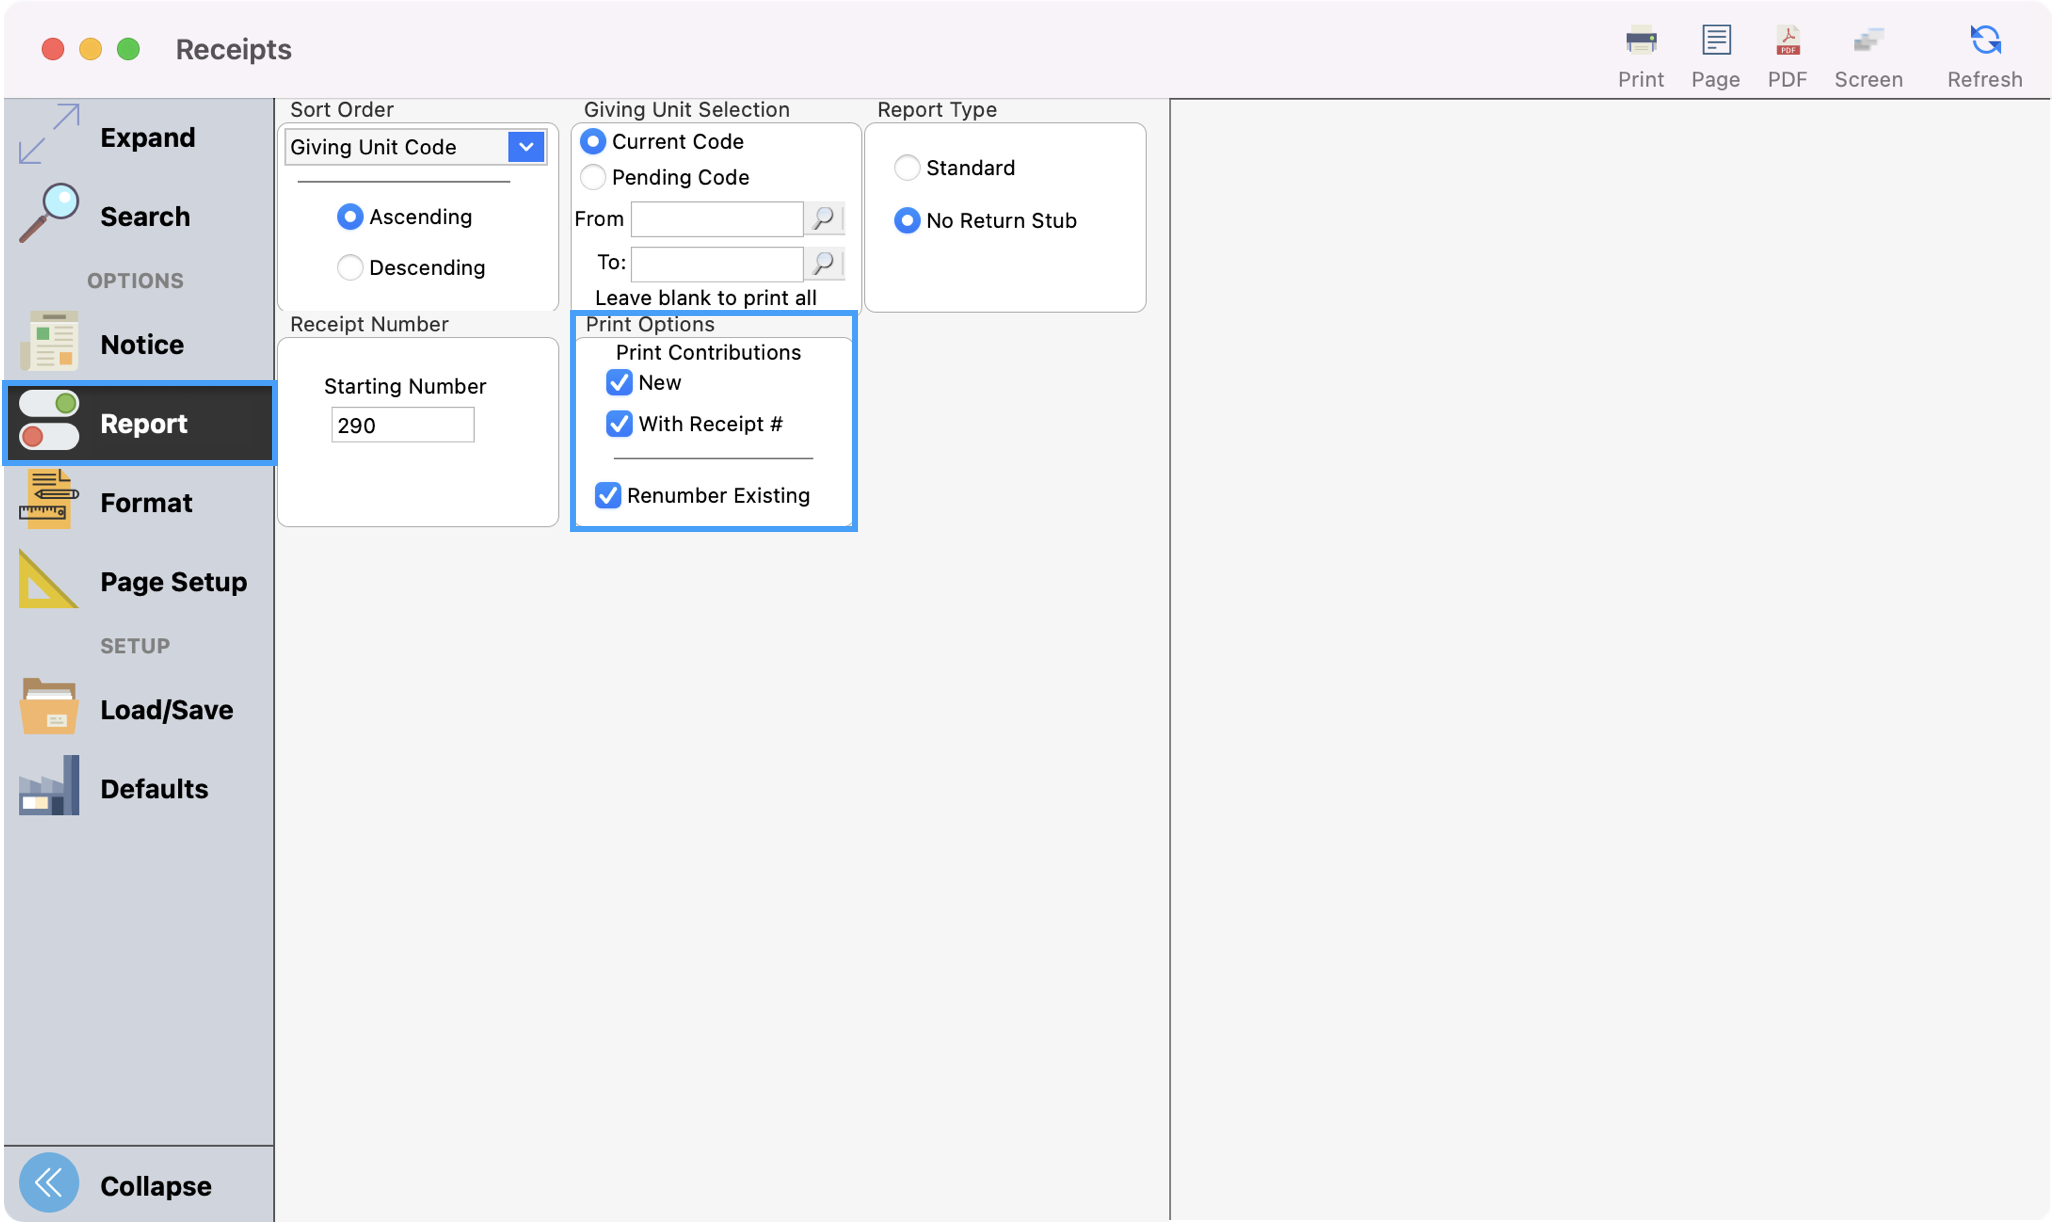
Lastly, under Report, you can determine your Print Options.
-
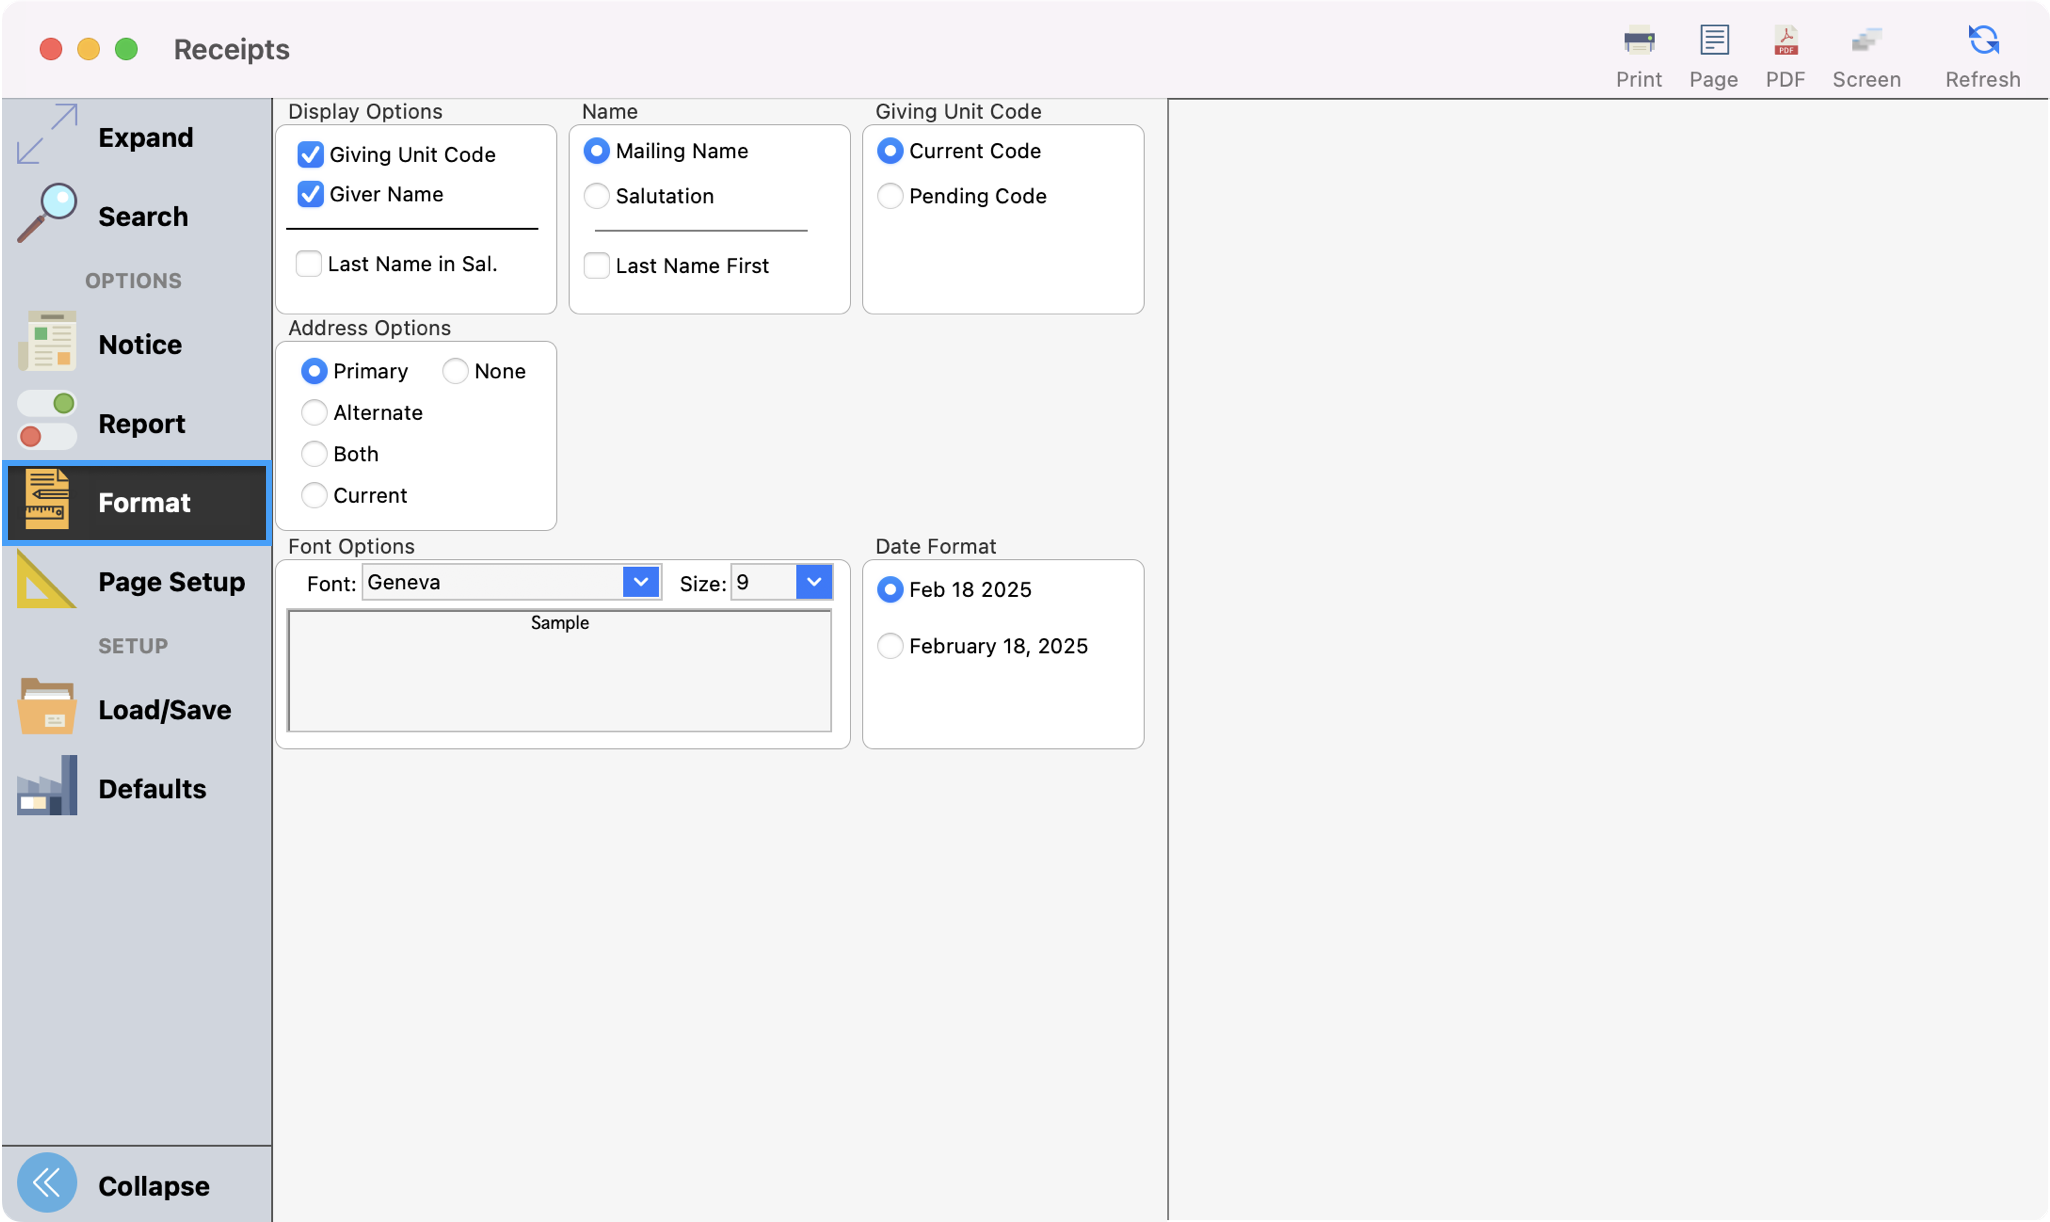
The Format menu allows you to configure how receipts will be generated. Review each section and put a check next to any options you wish to include.
-
Click Search from the left sidebar. Then, click Refresh or Screen to see a preview of your receipts.
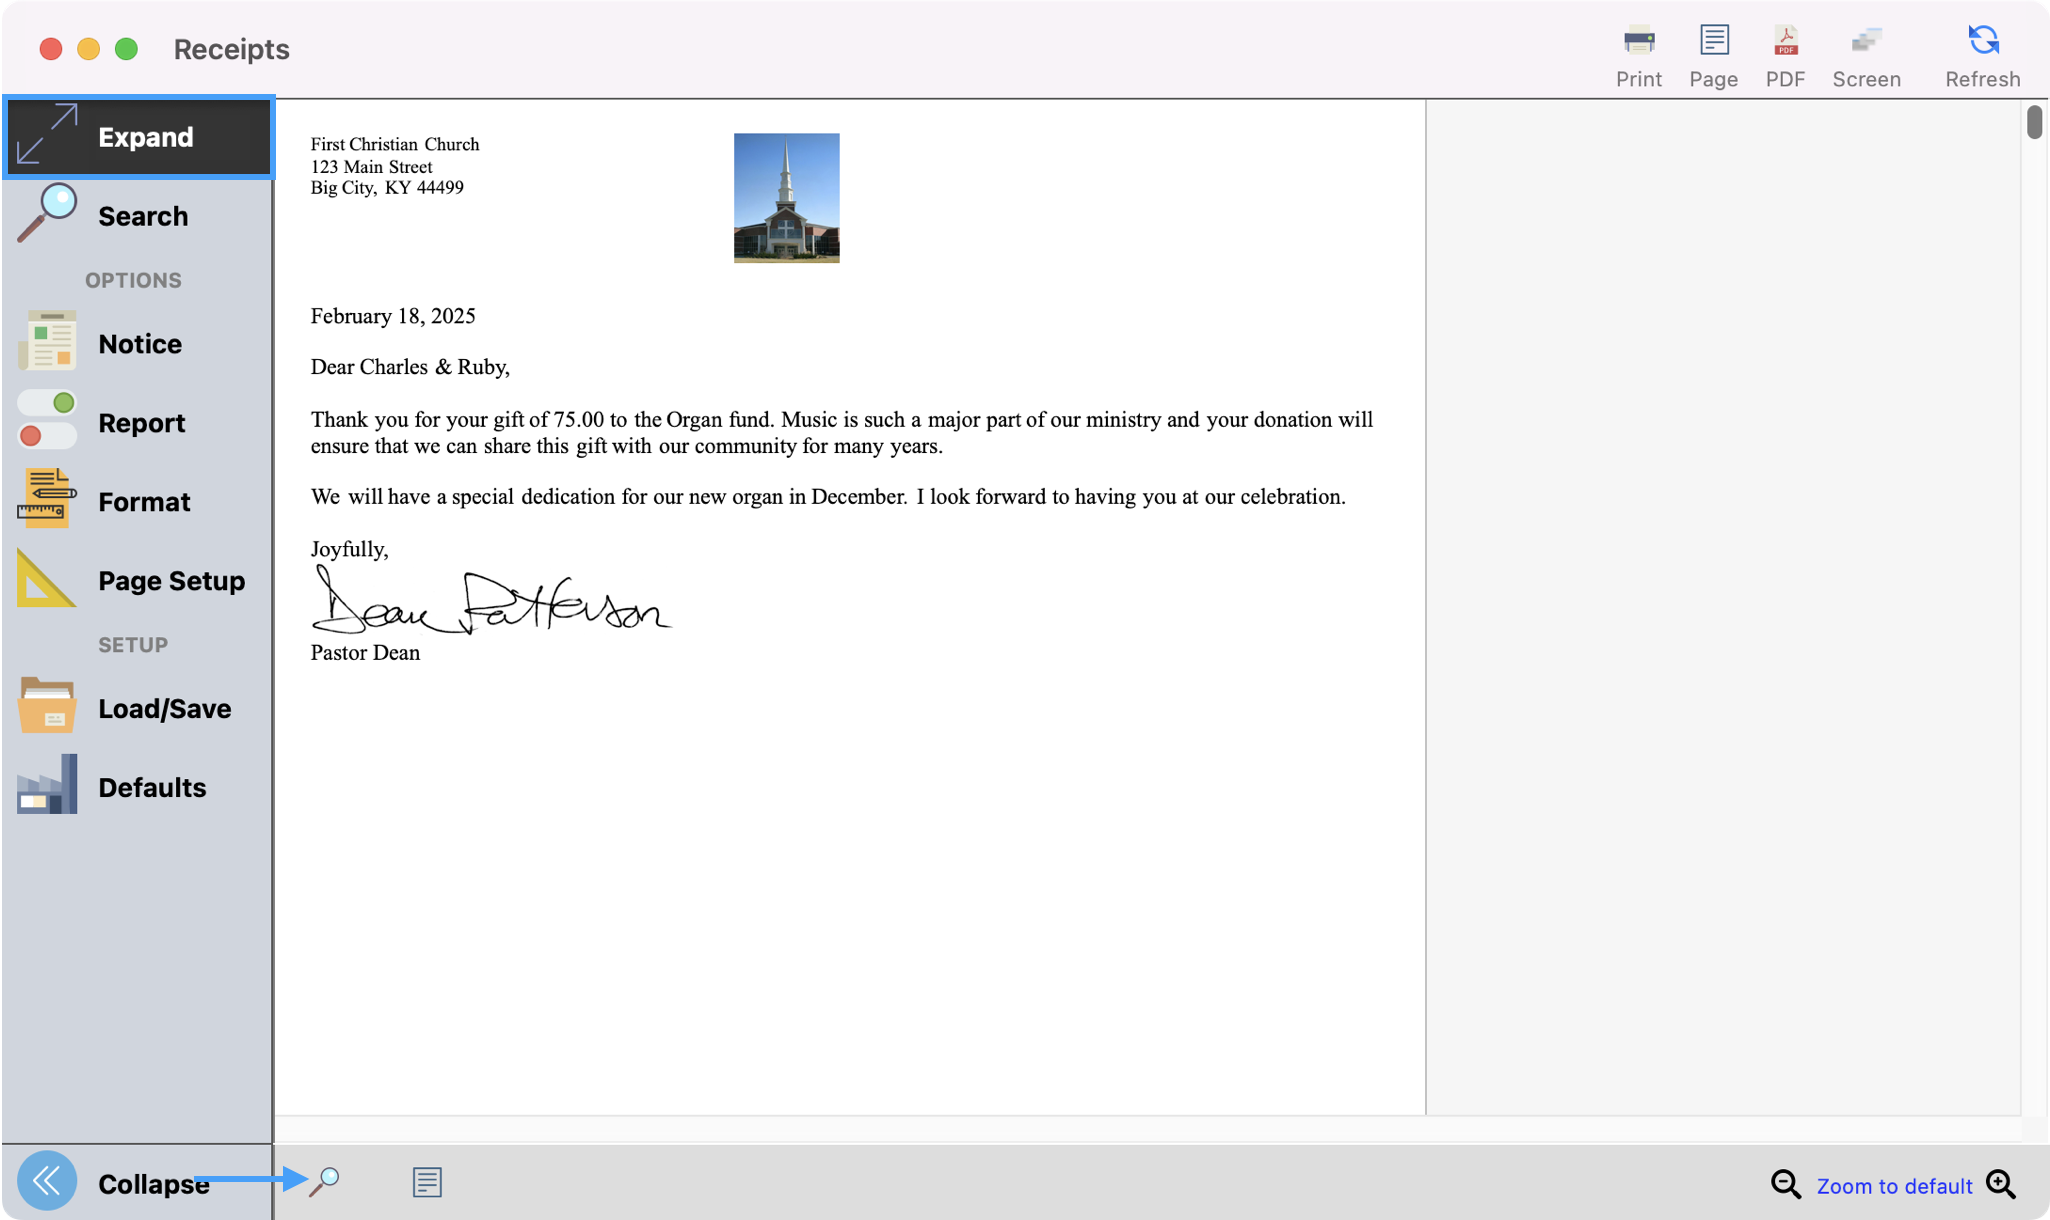
You can click Expand from the left sidebar to see a larger preview of your receipts. You can also use the microscope to search for keywords and use the arrow keys to tab through your results.
-
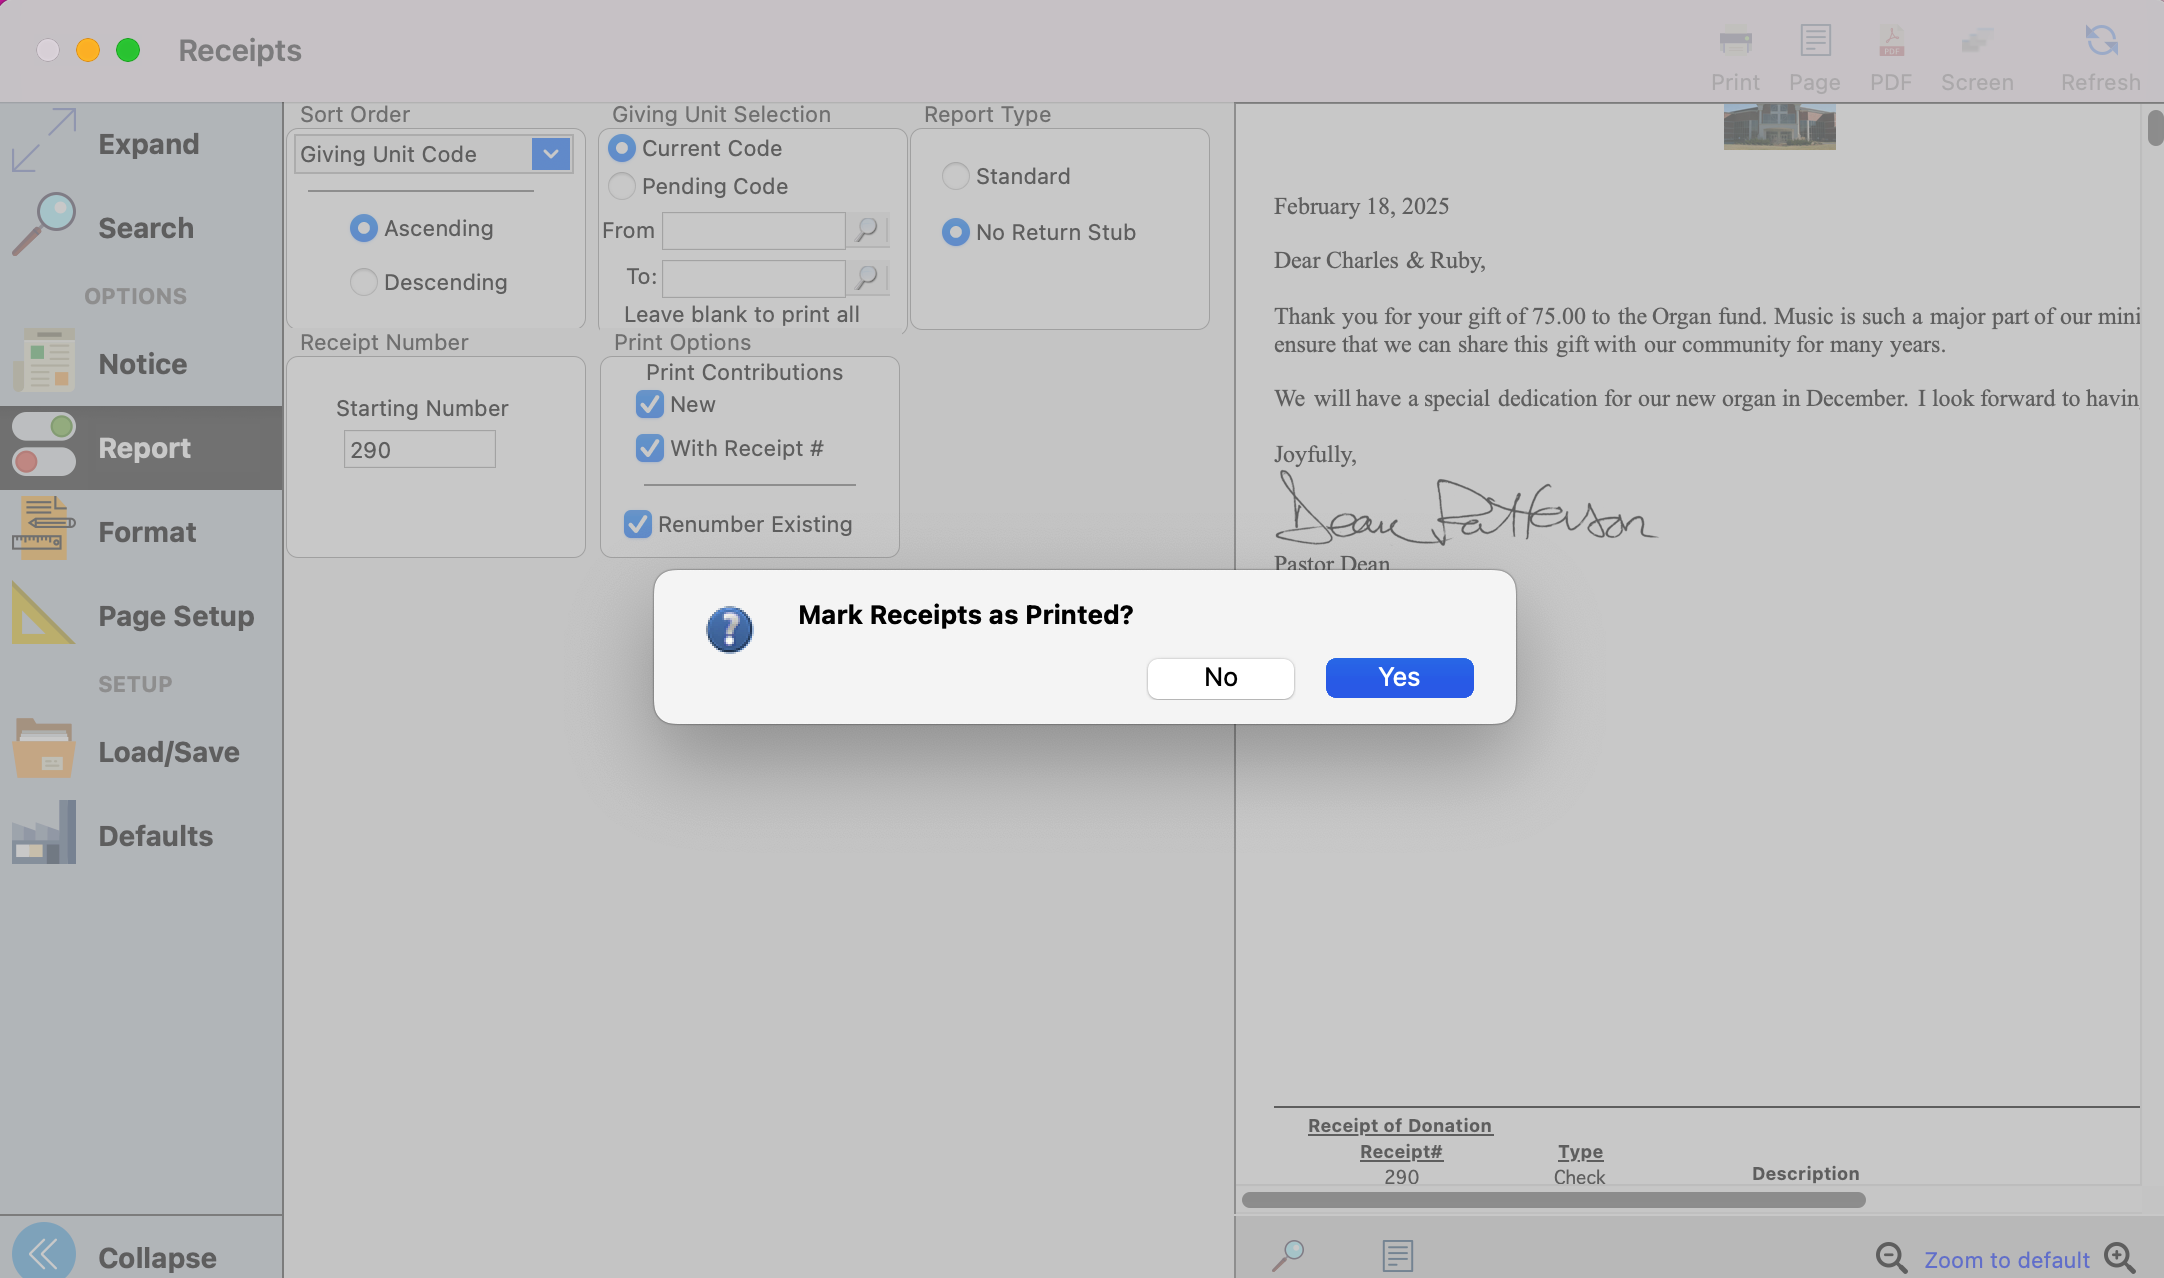
After reviewing the receipts you’re ready to Print.
-
When closing the window, you will see a pop-up asking if you want to mark these receipts as printed. Click Yes, if you wish for them to be marked this way.