Contribution Statements Email
With Contribution Statement Email, you have a lot of control over the look and feel of the email and Contribution statement. This is a great option when it comes to delivering a Contribution statement to your givers.
Before emailing your Contribution Statements, make sure you have prepped your database and records so that you are ready to send emails. This includes having SMTP Hosting setup on your account.
Preparing Your Statements
To get started, go Reports → Contribution Reports → Statements/Receipts → Contribution Statement Email
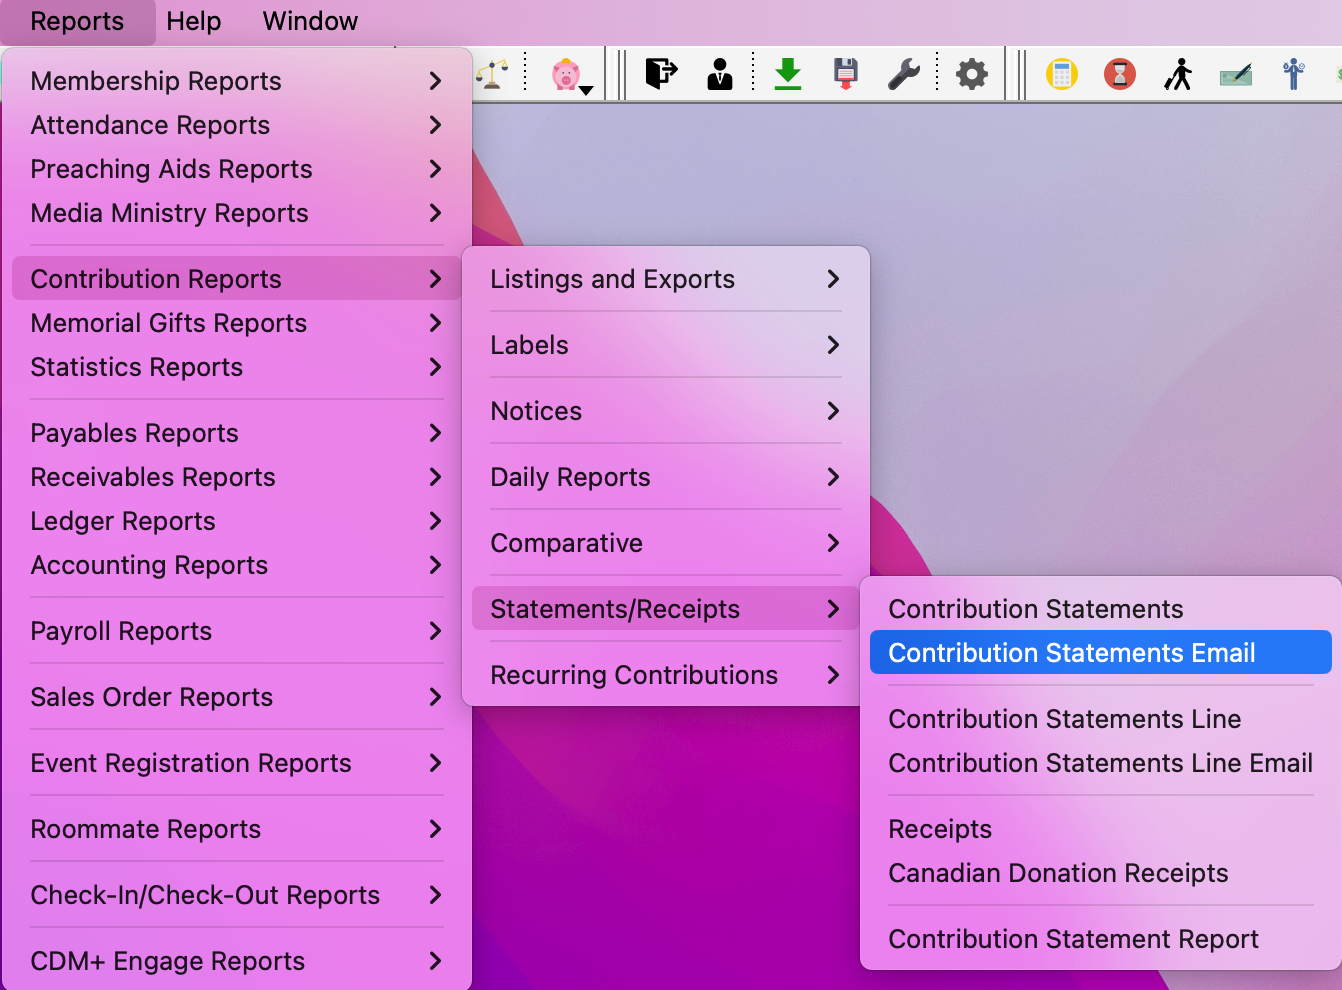
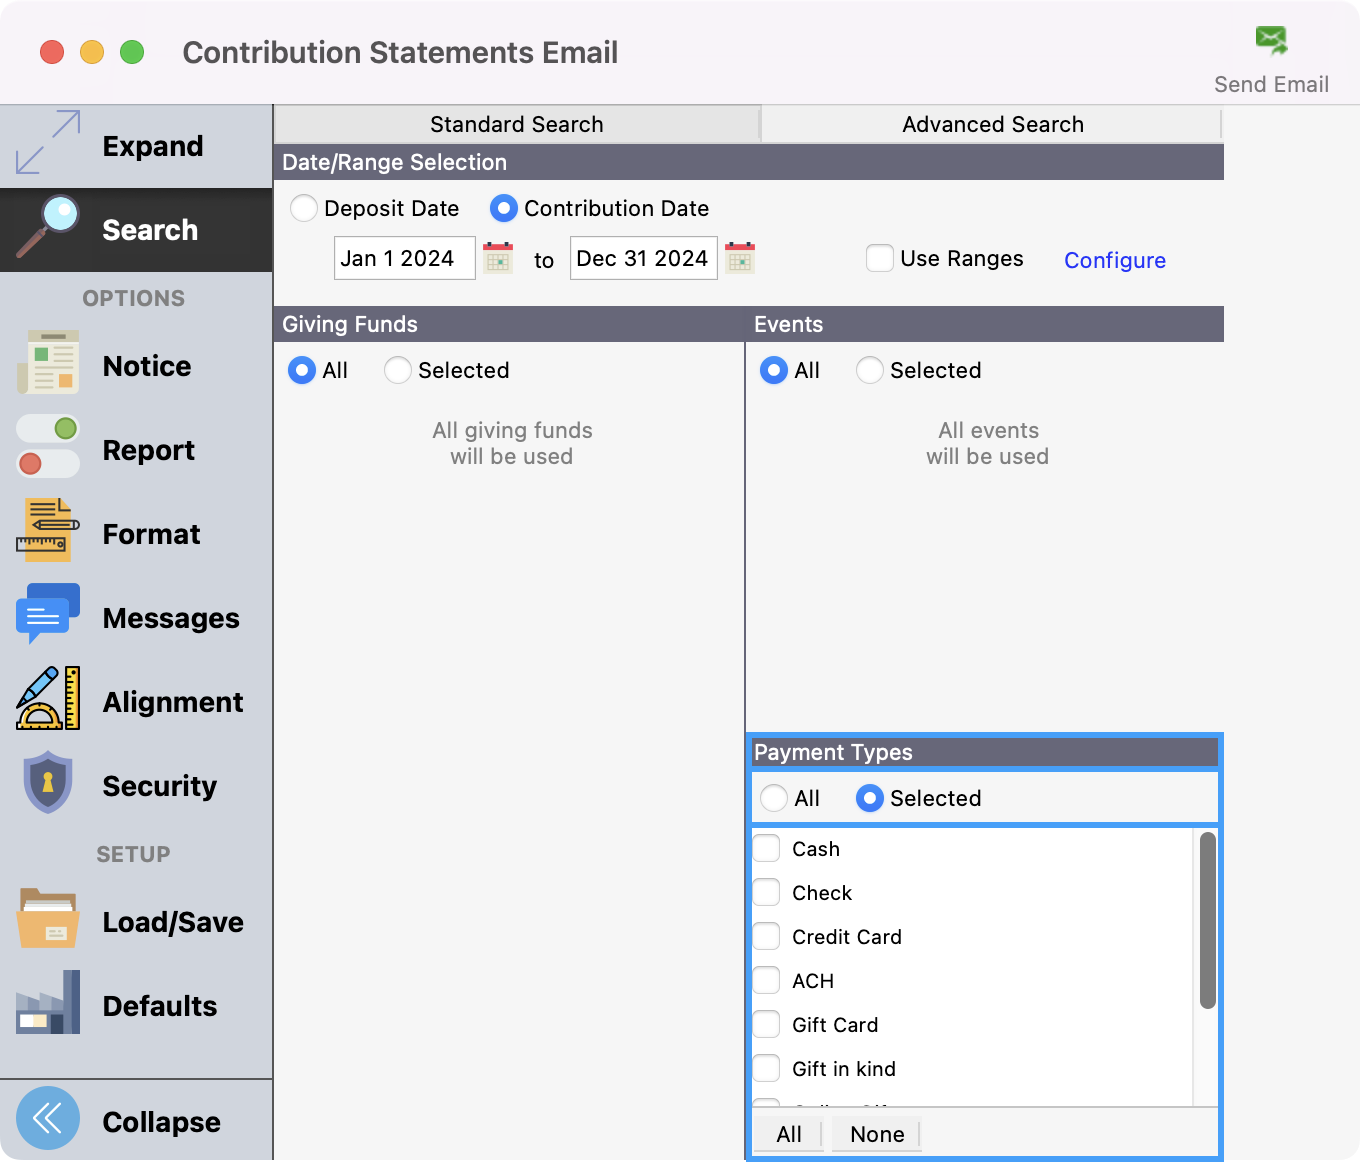
Under Search, select the appropriate date type (Deposit or Contribution) under the Date/Range Selection section and enter the beginning and ending date of the date range.
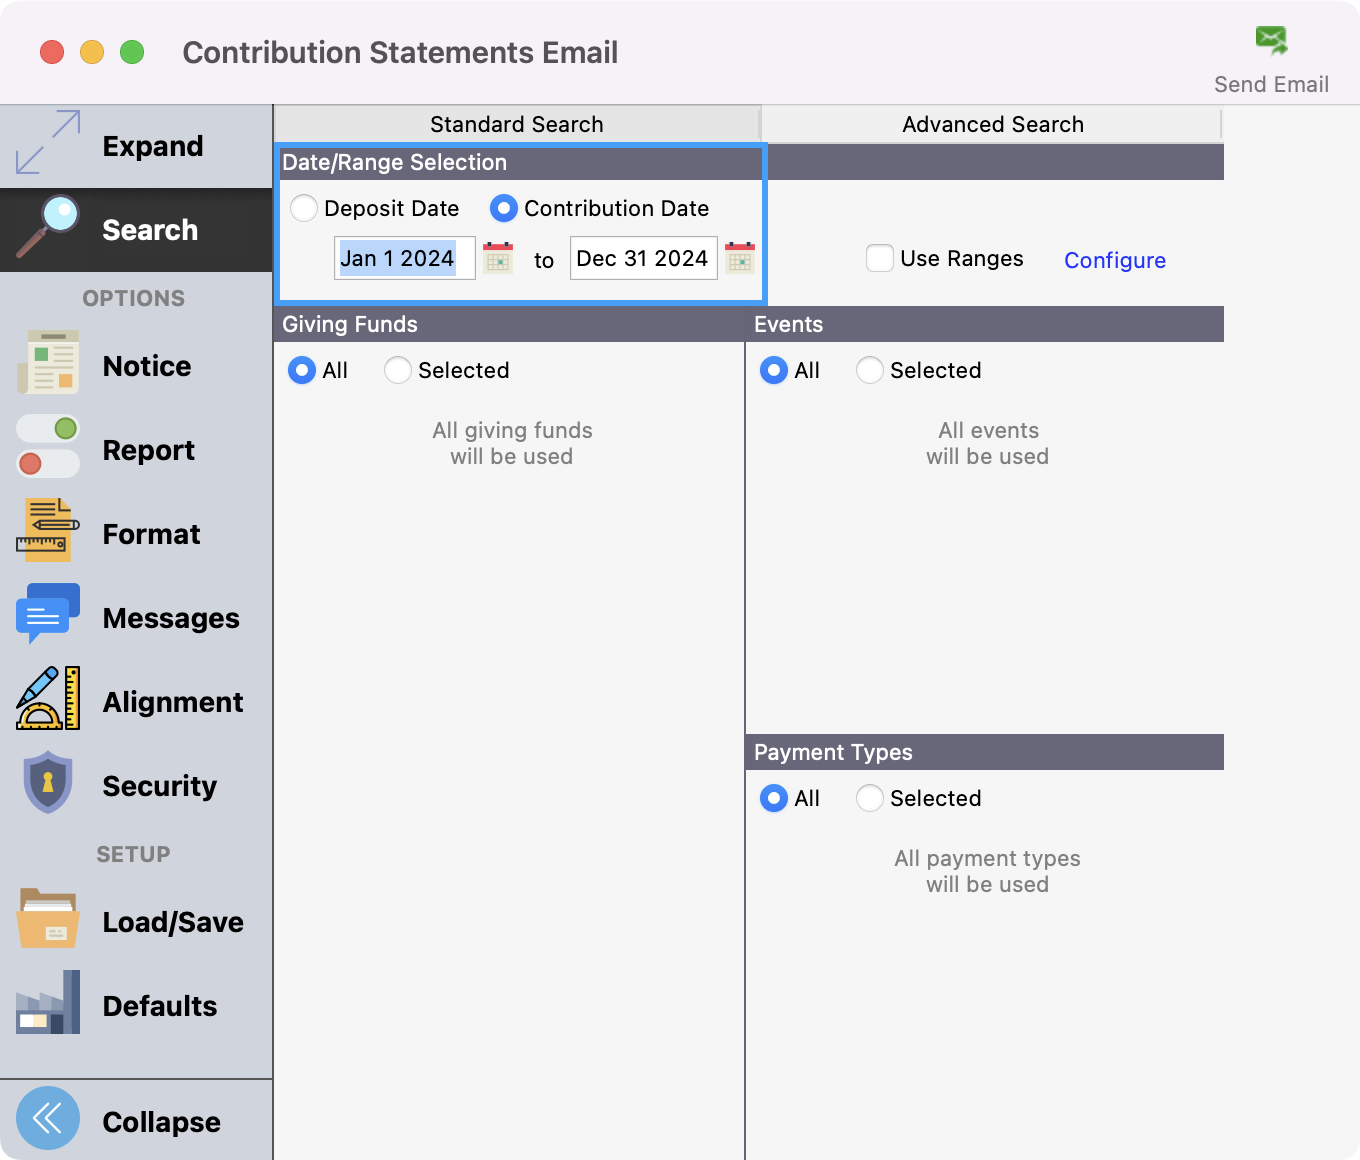
Under the Giving Funds section, either select the giving funds you wish to use by clicking Selected or choose all using the All radio button. Keep in mind that when choosing All, this will include any inactive funds as well.
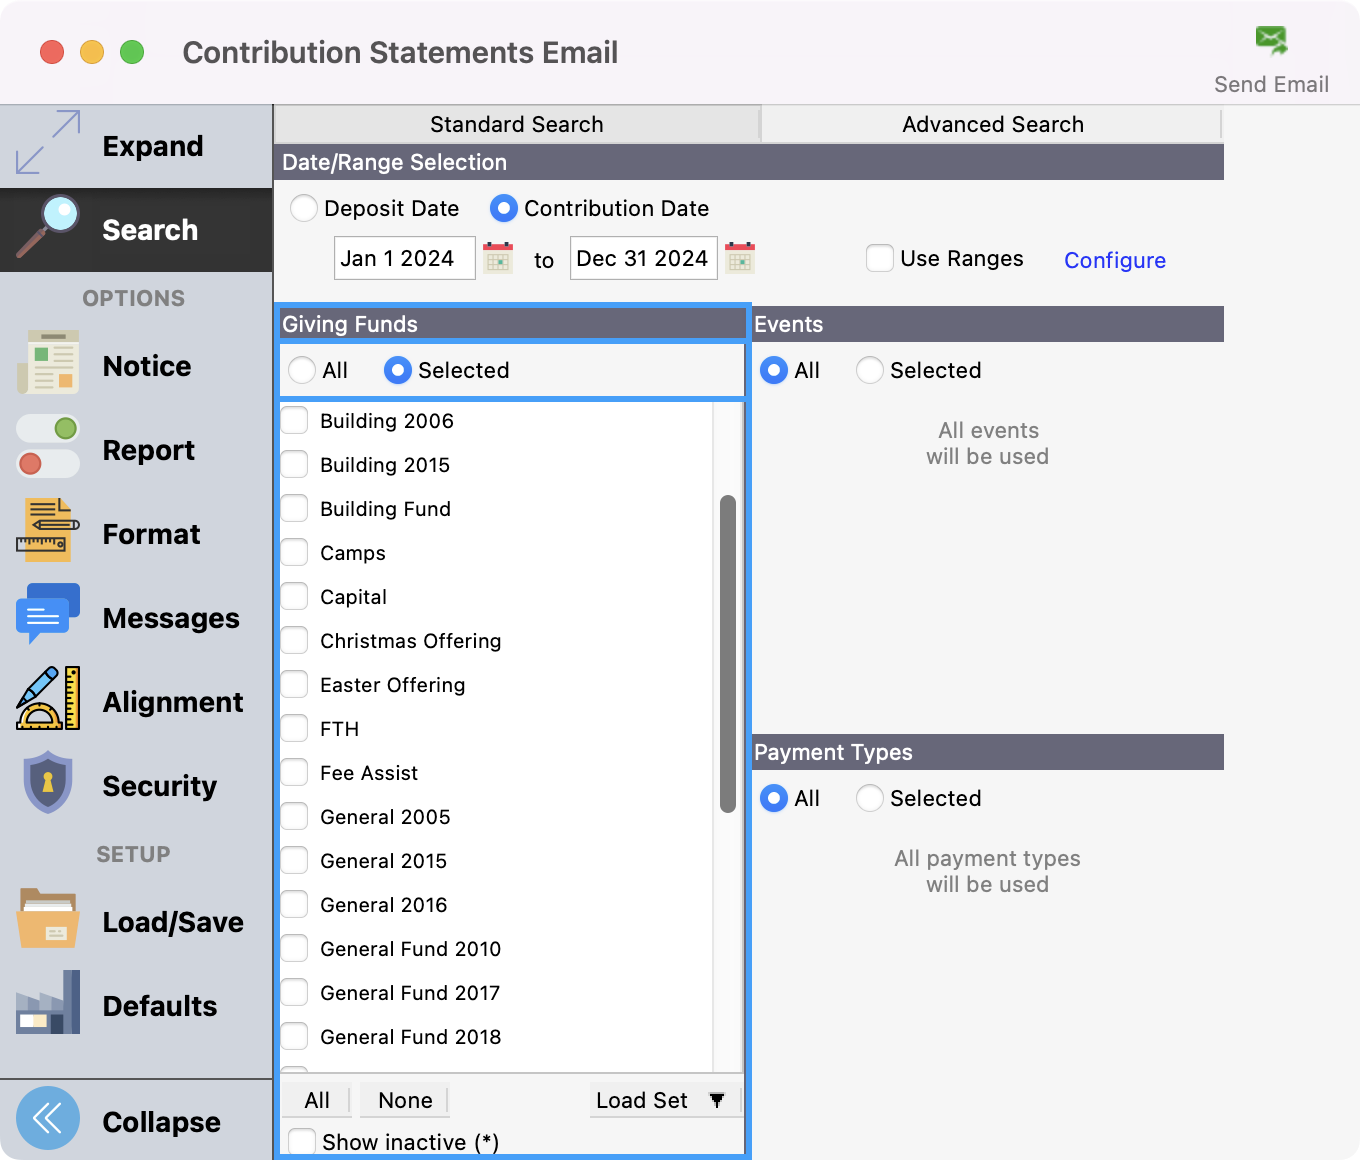
Next, under the Events section, you can select the individual events under the Selected radio button or choose all using the All radio button.
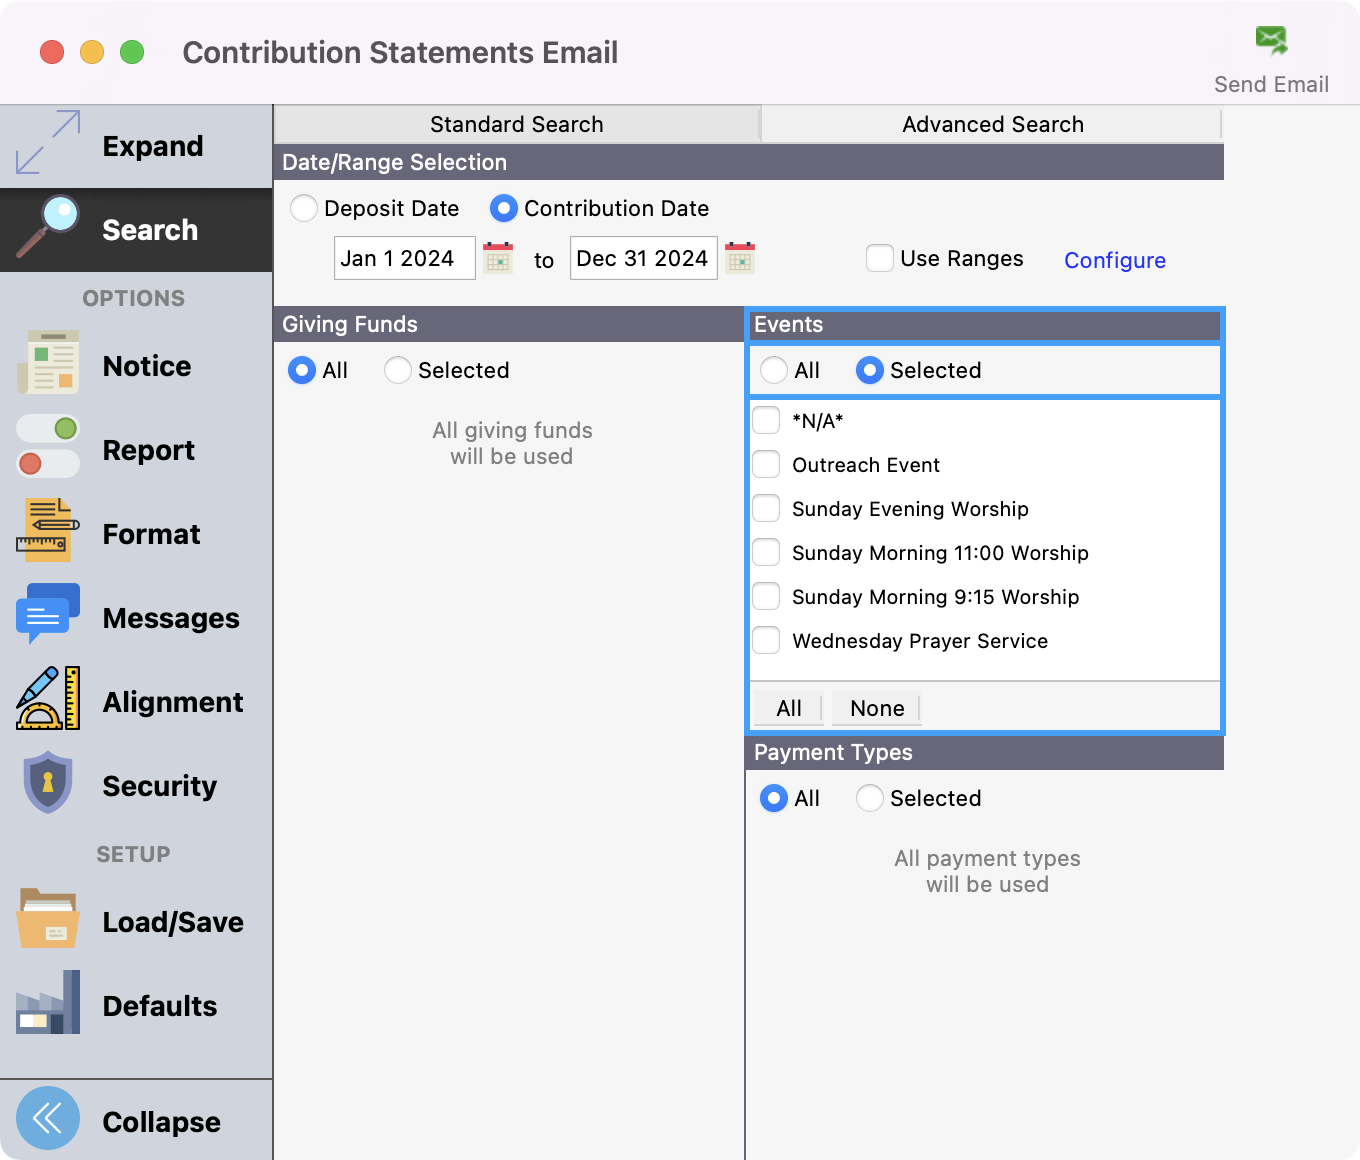
The final section to set up is Payment Types. You select individual payment types under the Selected radio button or choose all using the All radio button.
Email Notice
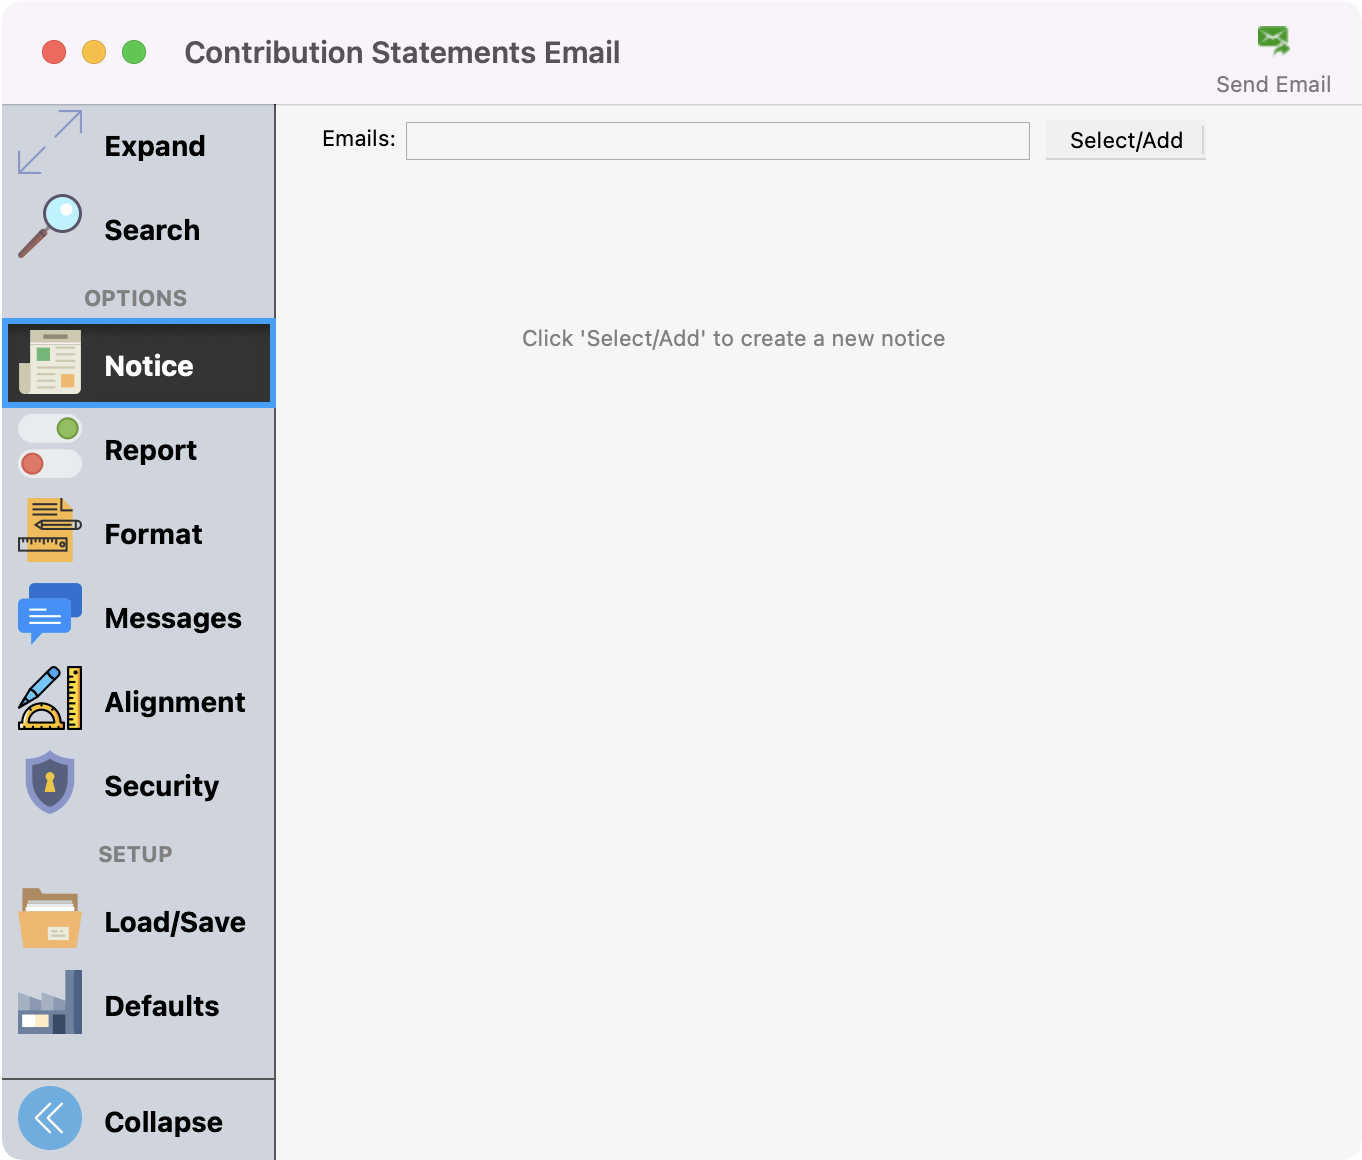
Next, you’ll want to configure your email notice by clicking Notice from the left sidebar. This process is the same as configuring any email notice in CDM+. You can see step-by-step instructions to create a notice at this link.
Setup Report Options
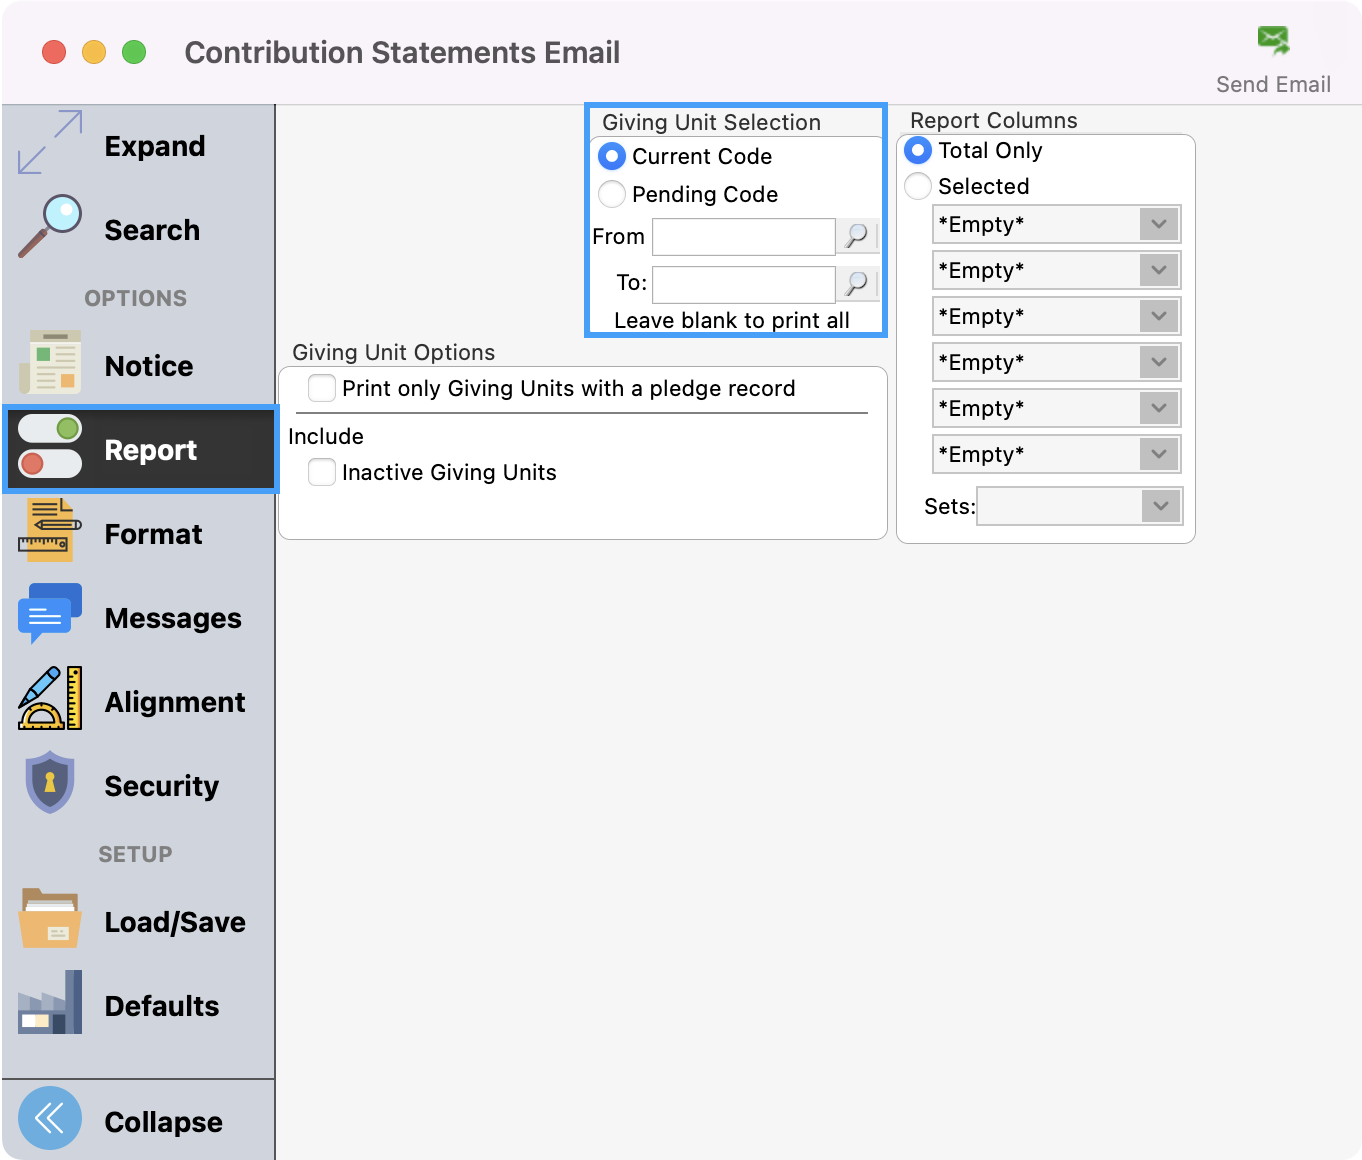
Under Report, you can select how you wish to generate the giving statement.
You can choose one giving unit, a range of giving units, or leave this section blank to send a statement to all contributors.
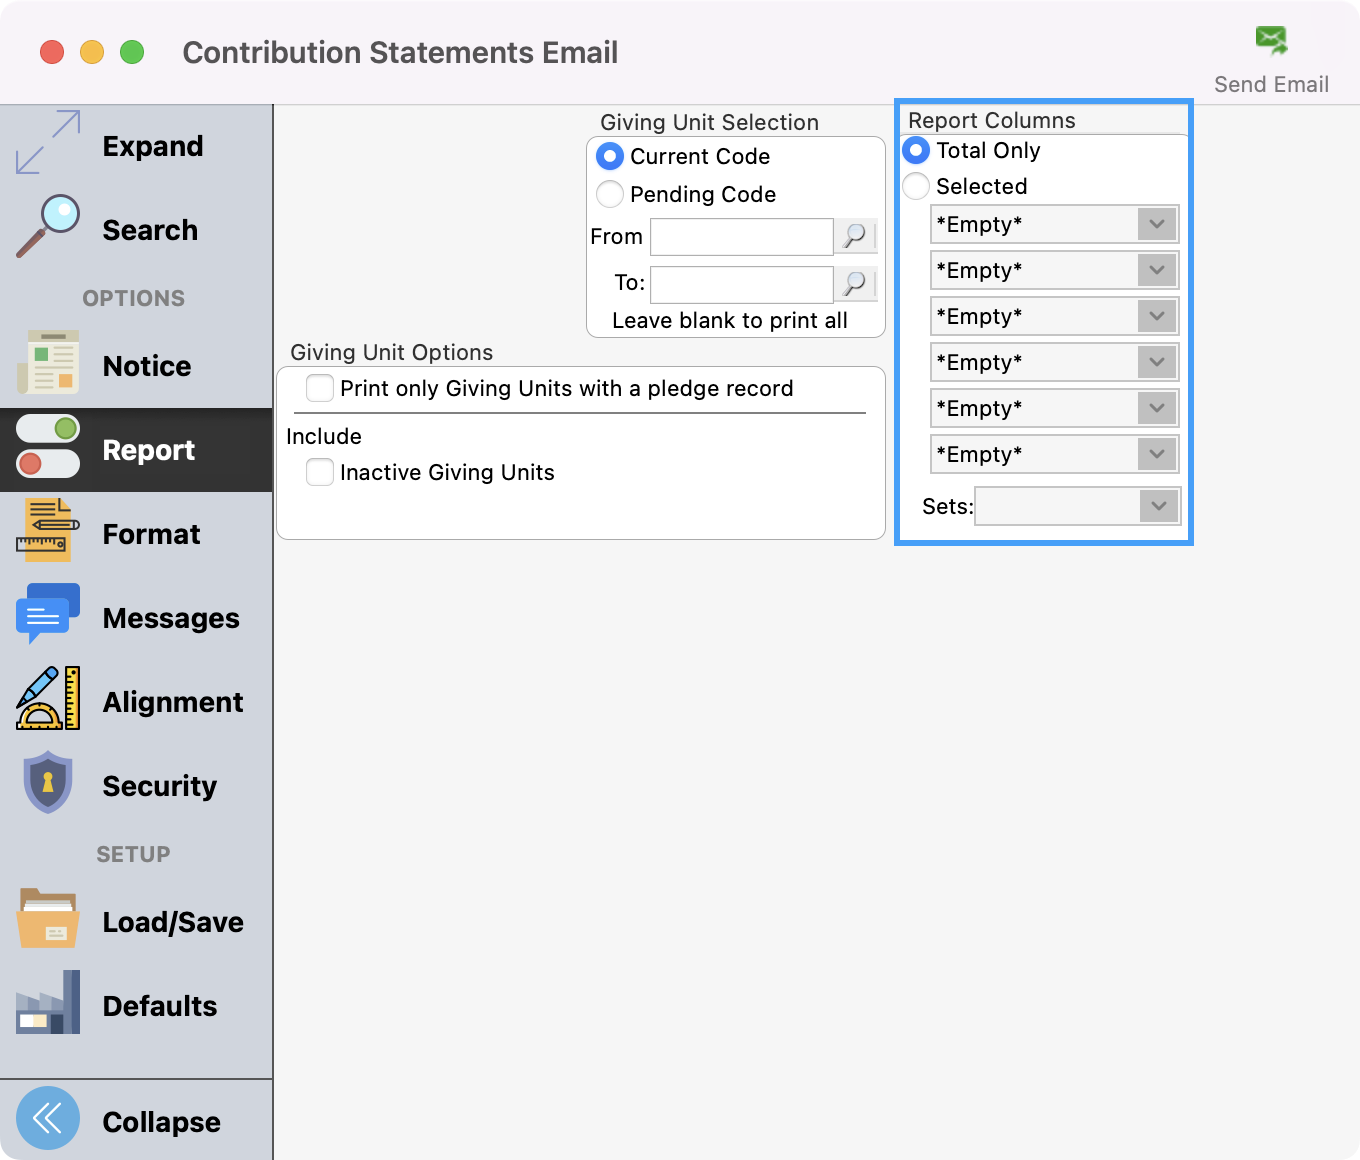
You can select to print total giving, Total Only, or select the giving funds to display in columns. You can select six giving funds with additional funds combined into an Other column on the report. For our example, we’re going to select Total Only.
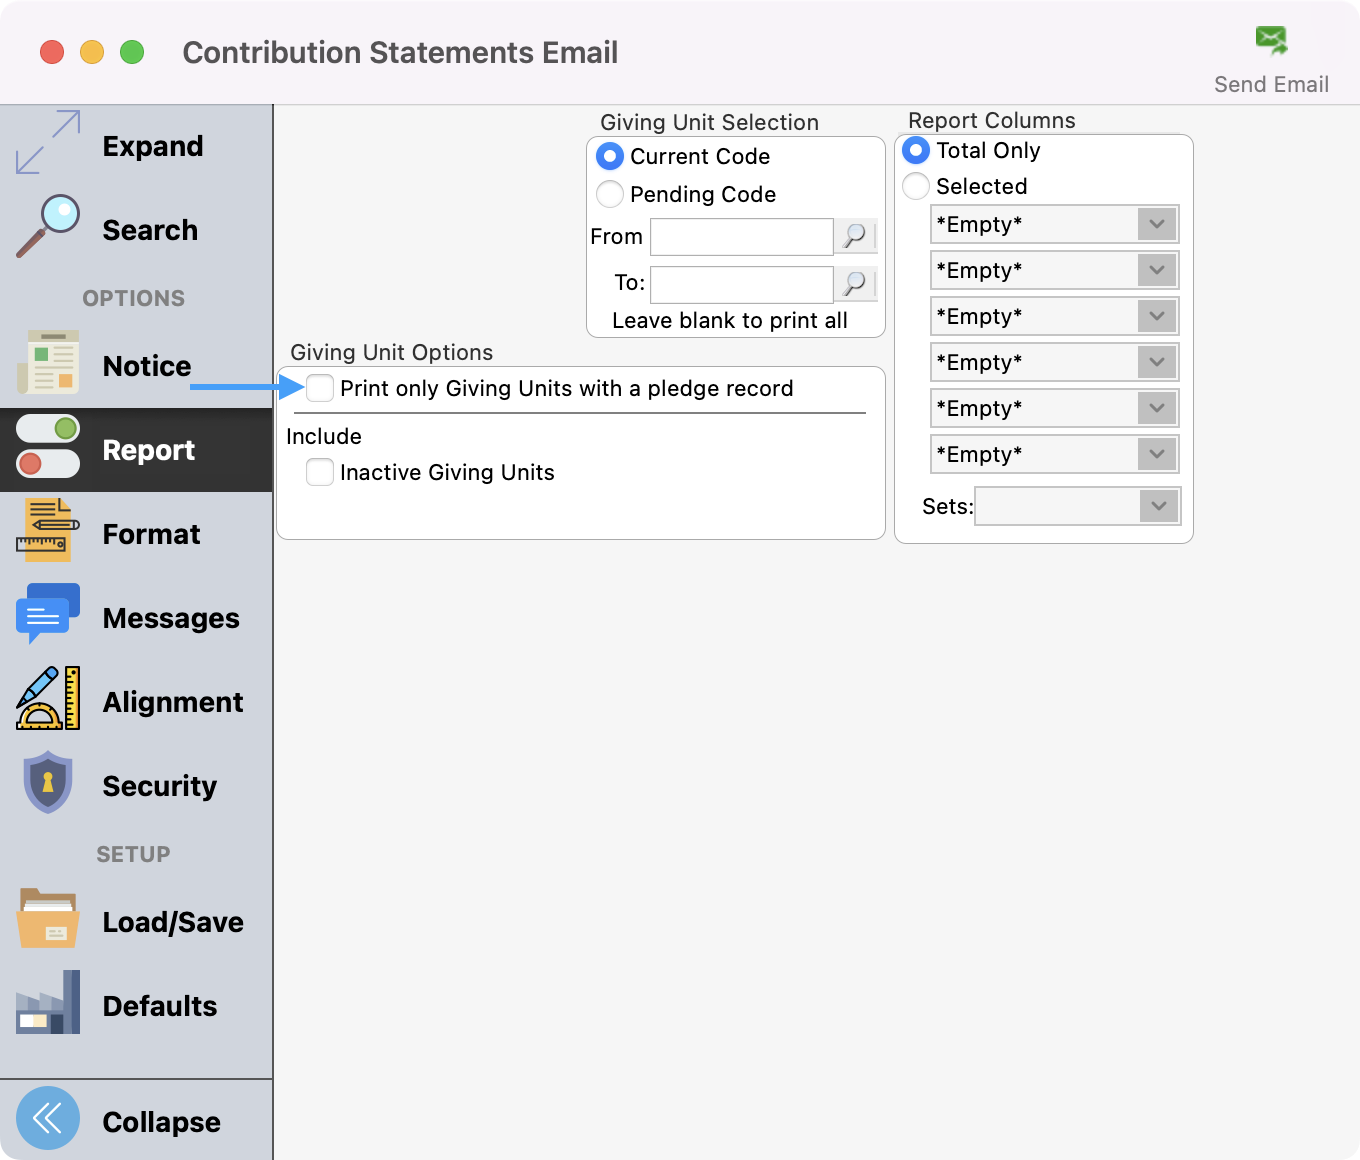
Under Giving Unit Options, you can choose to Print only giving units with a pledge or keep this box unchecked to generate all statements.
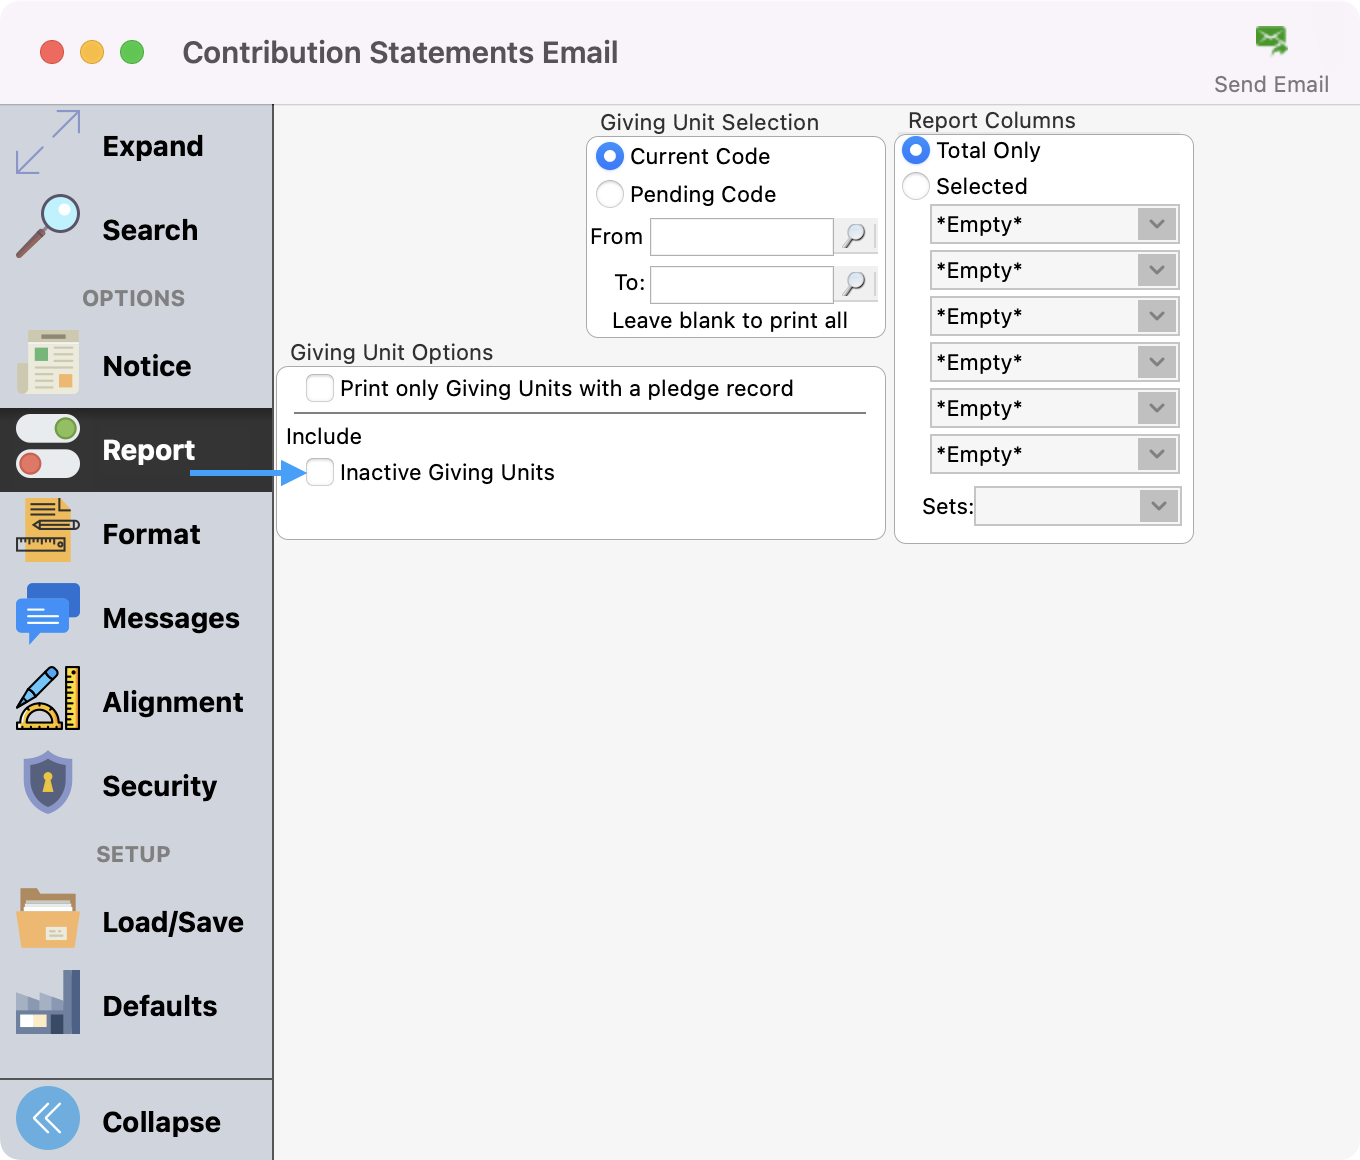
Then, decide if you want to include Inactive Giving Units by using the checkbox or not including them by keeping this checkbox unchecked.
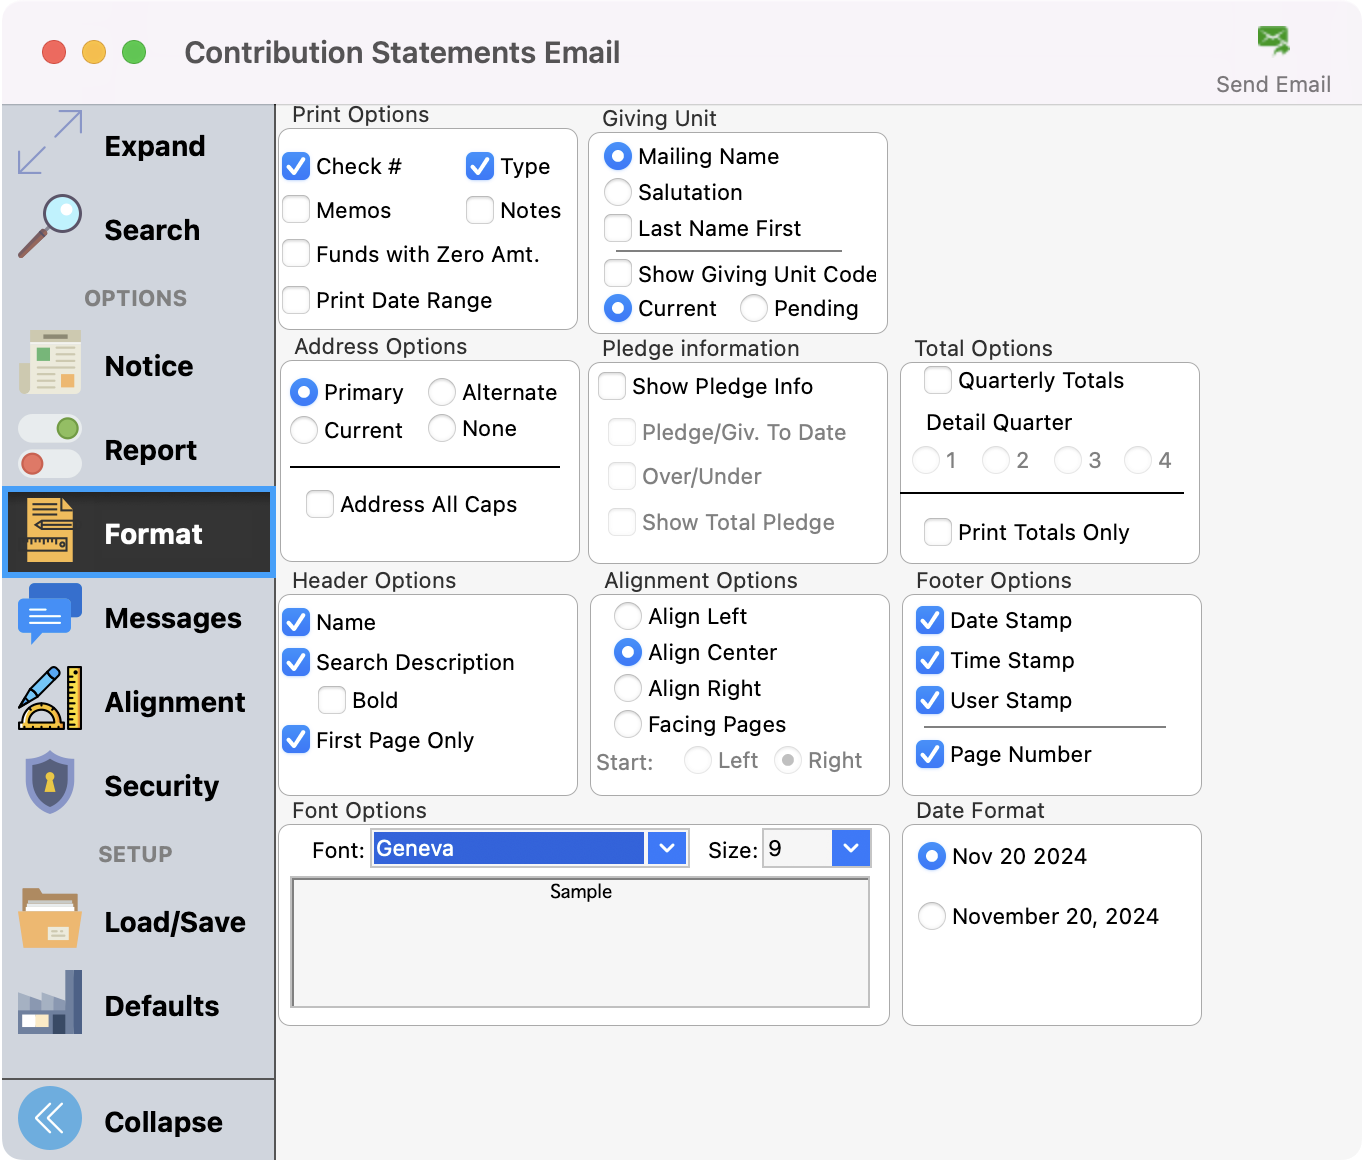
Review Format Options
The Format menu allows you to configure how statements will be generated. Review each section and put a check next to any options you wish to include.
Messages Option
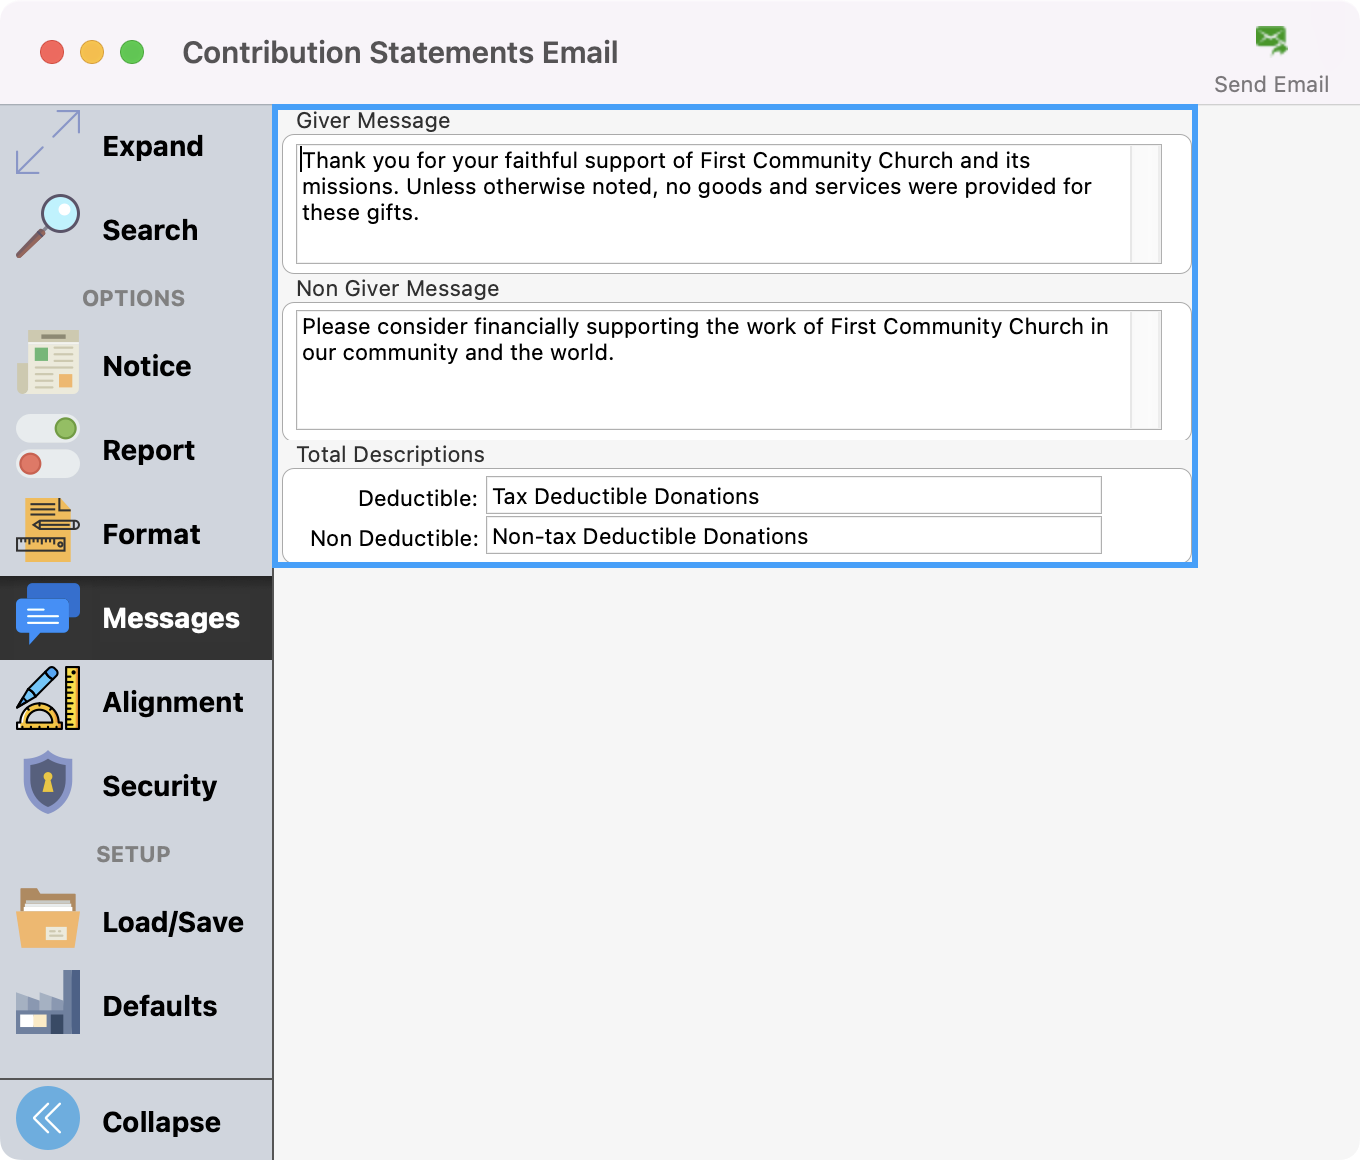
Next, click Messages. This is where you can customize a message you want to send to specific types of users.
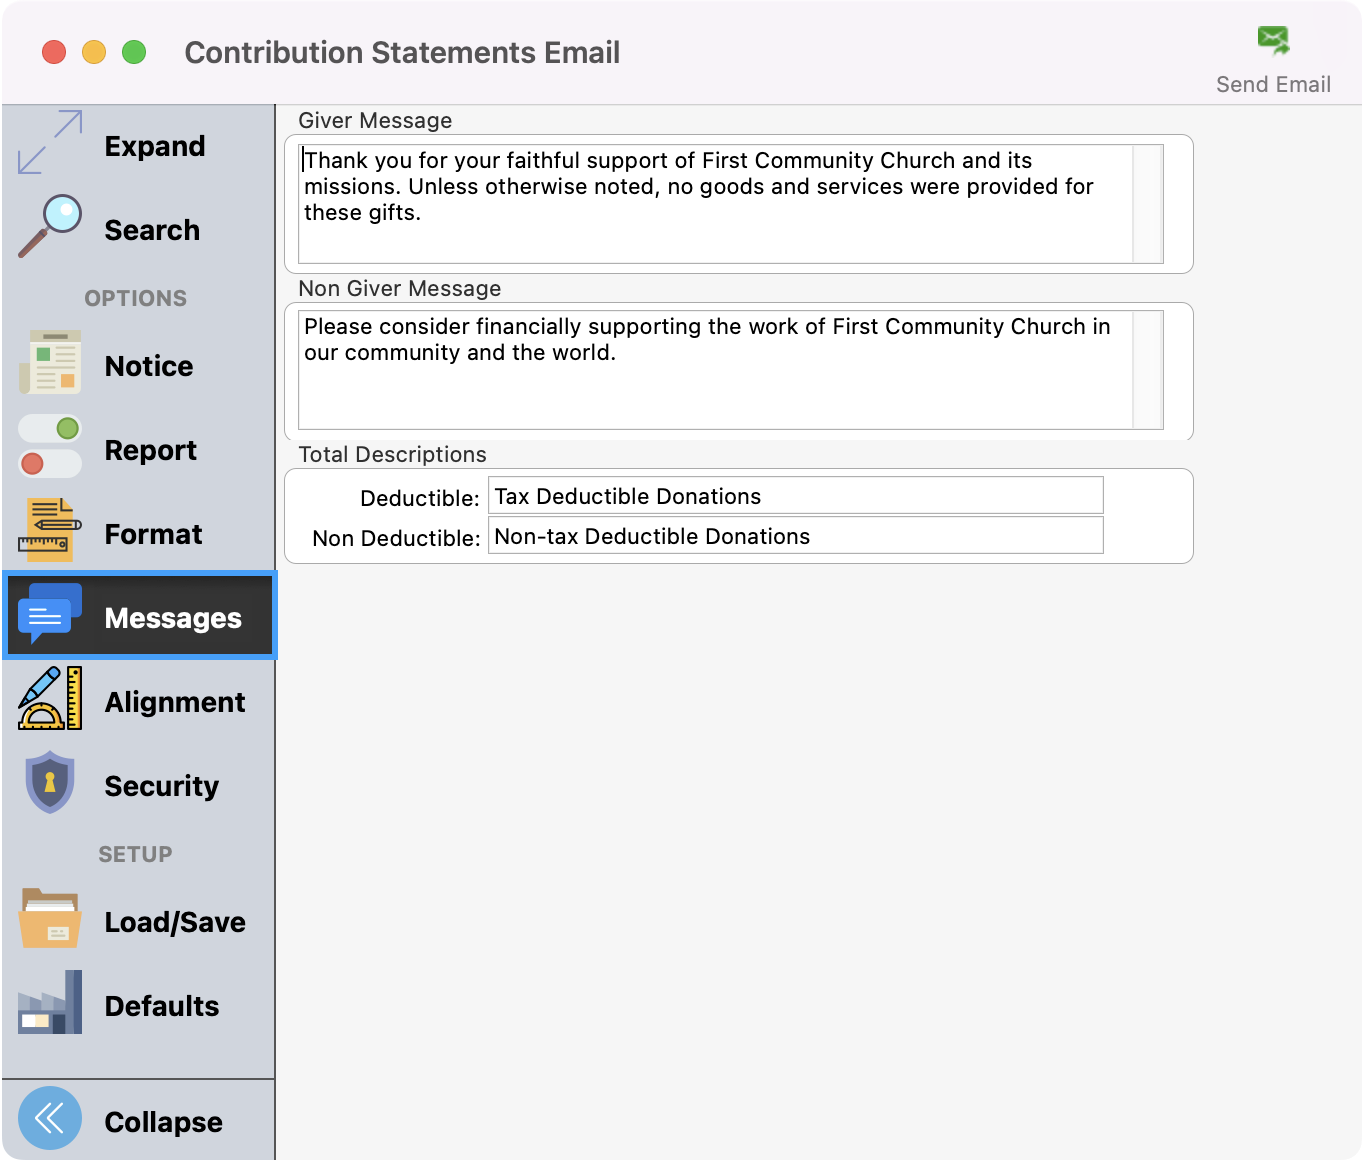
Enter Giver Message, Non-Giver Message, and the term descriptions for the Total Descriptions (deductible and non-deductible terms).
Security Options
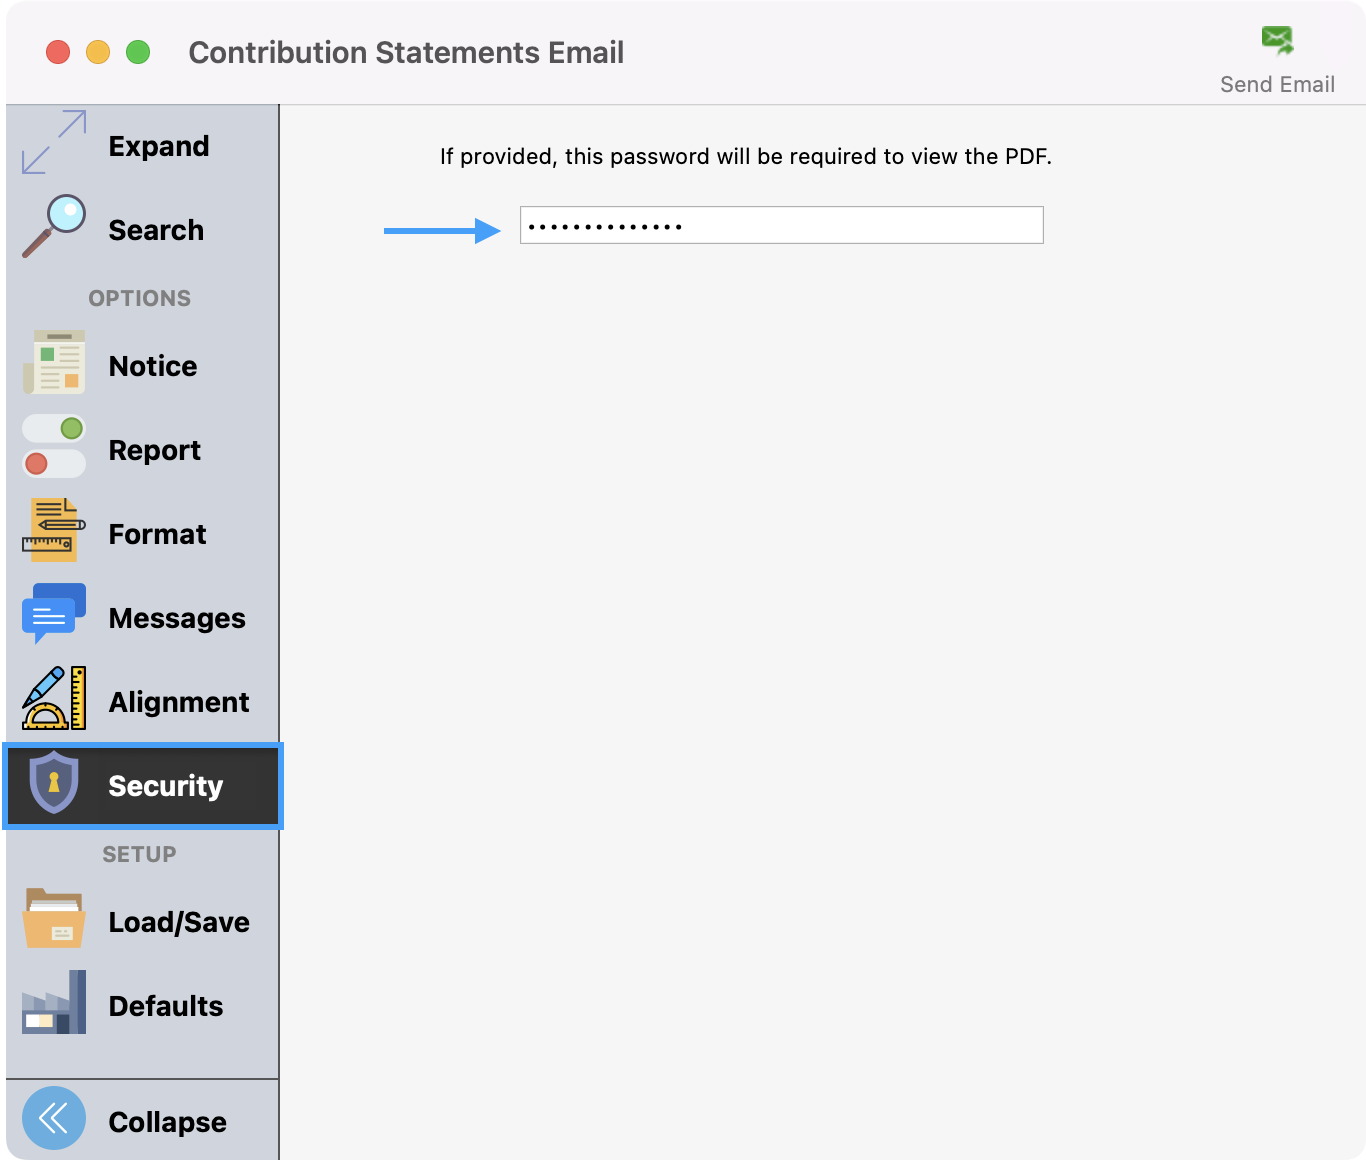
The Security tab allows you to create a password that will be required to open the generated PDF. This adds a layer of security to private information that is included in the contribution statement.
Emailing Your Statements
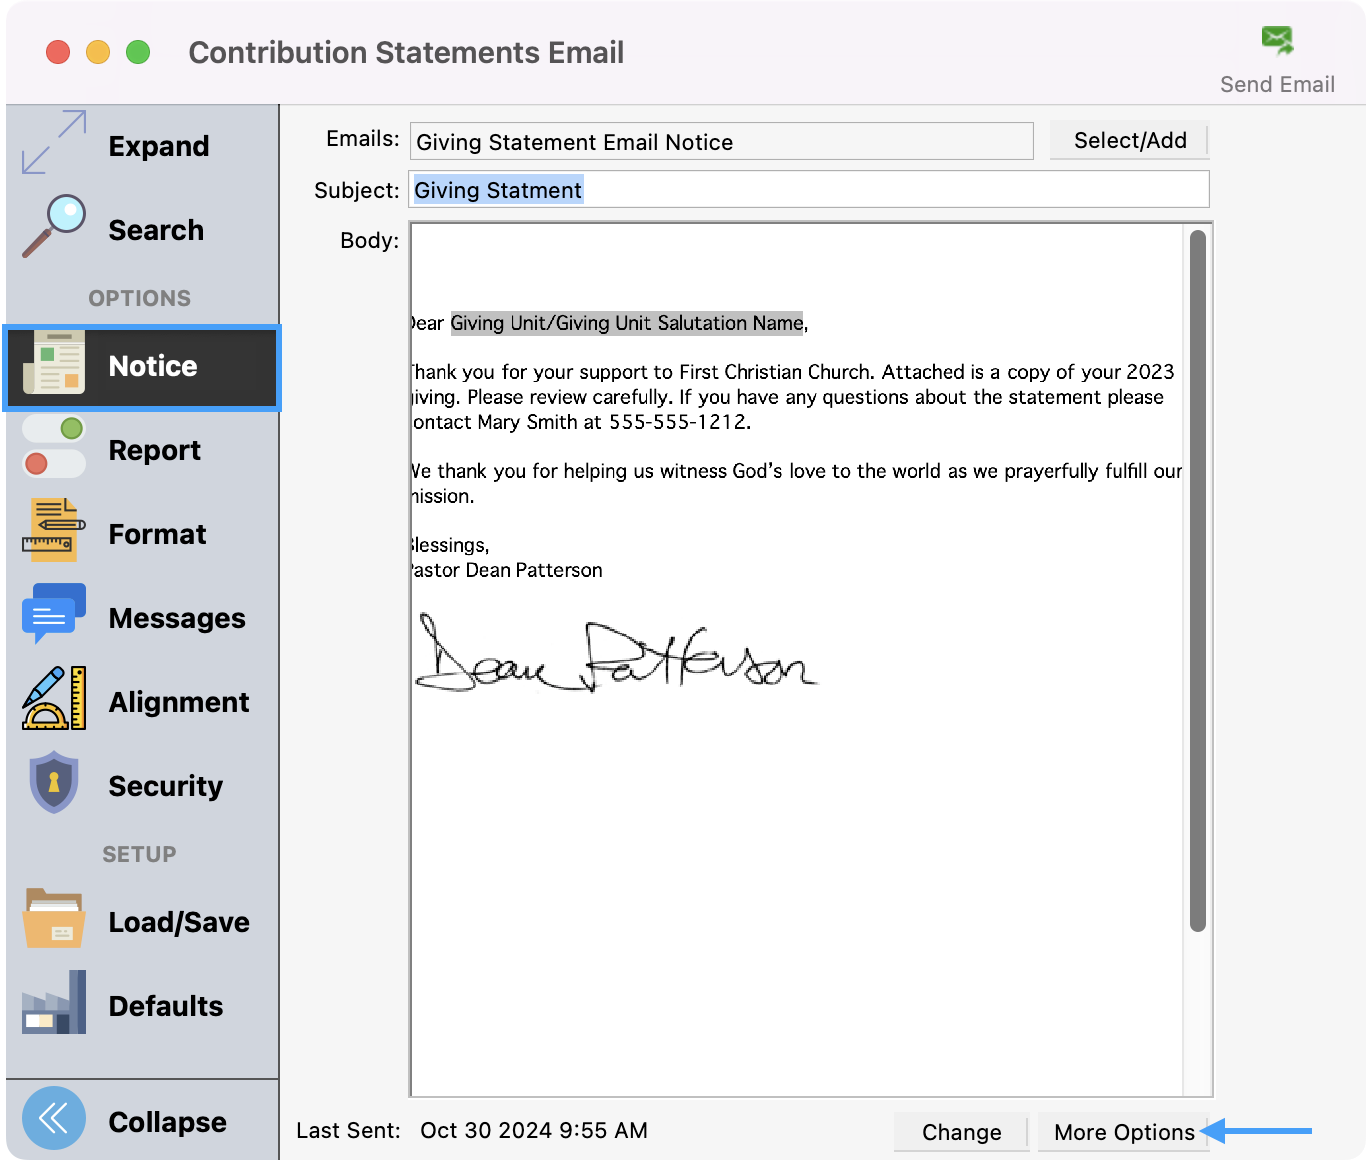
Before emailing your statements, click Notice again from the left sidebar and click More Options.
Review Sender's Name and Sender's Address and update if desired.
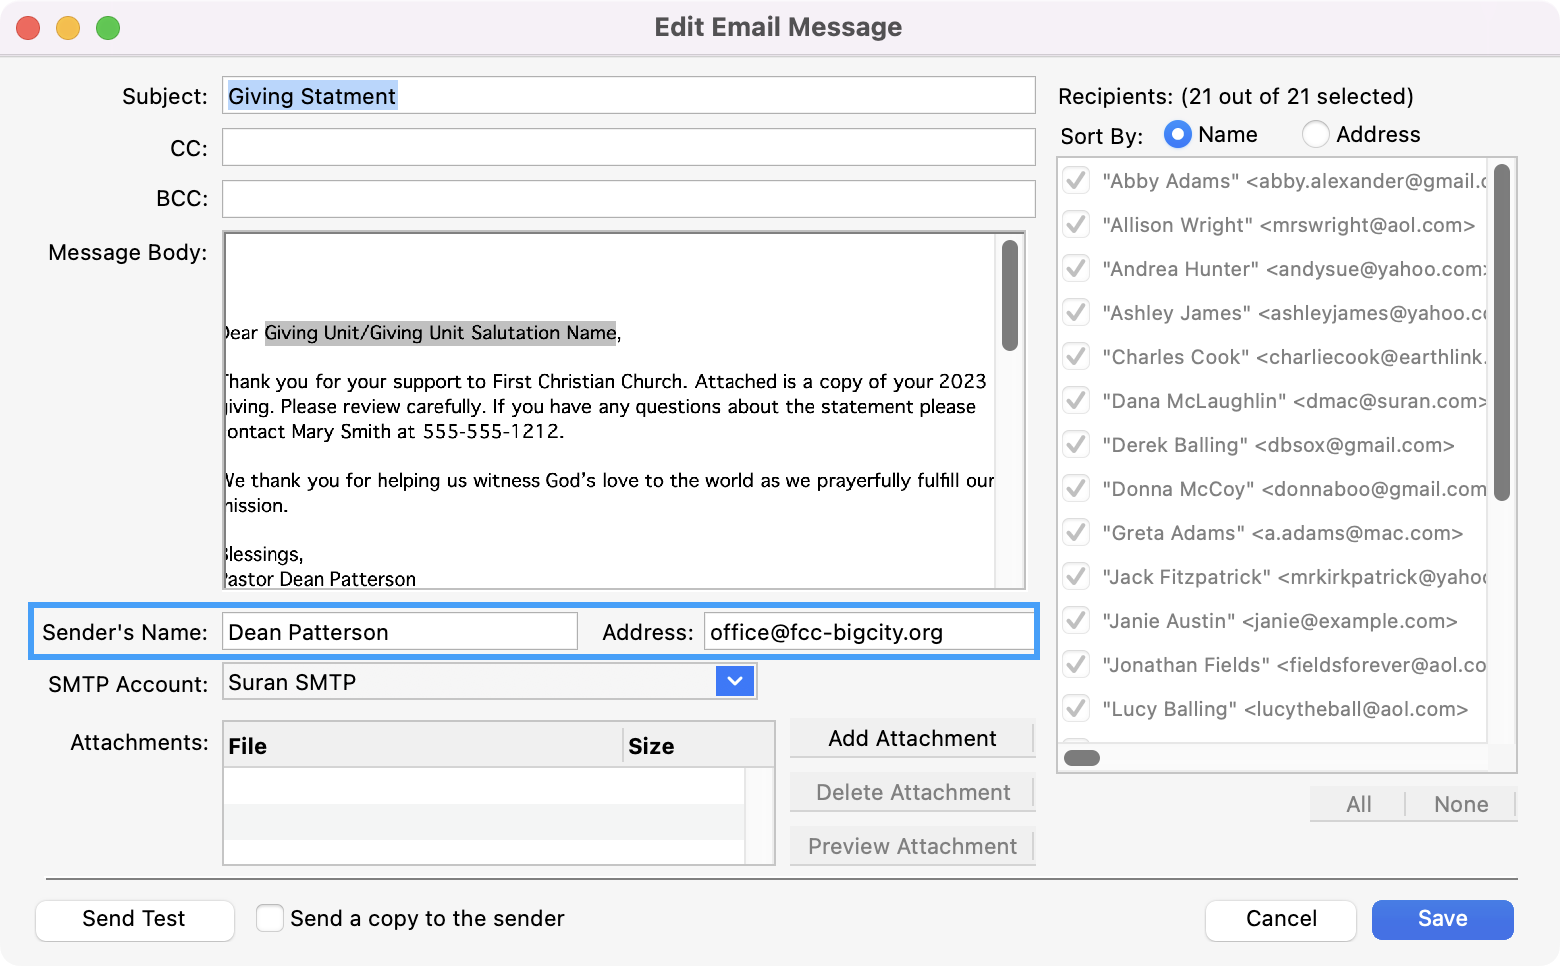
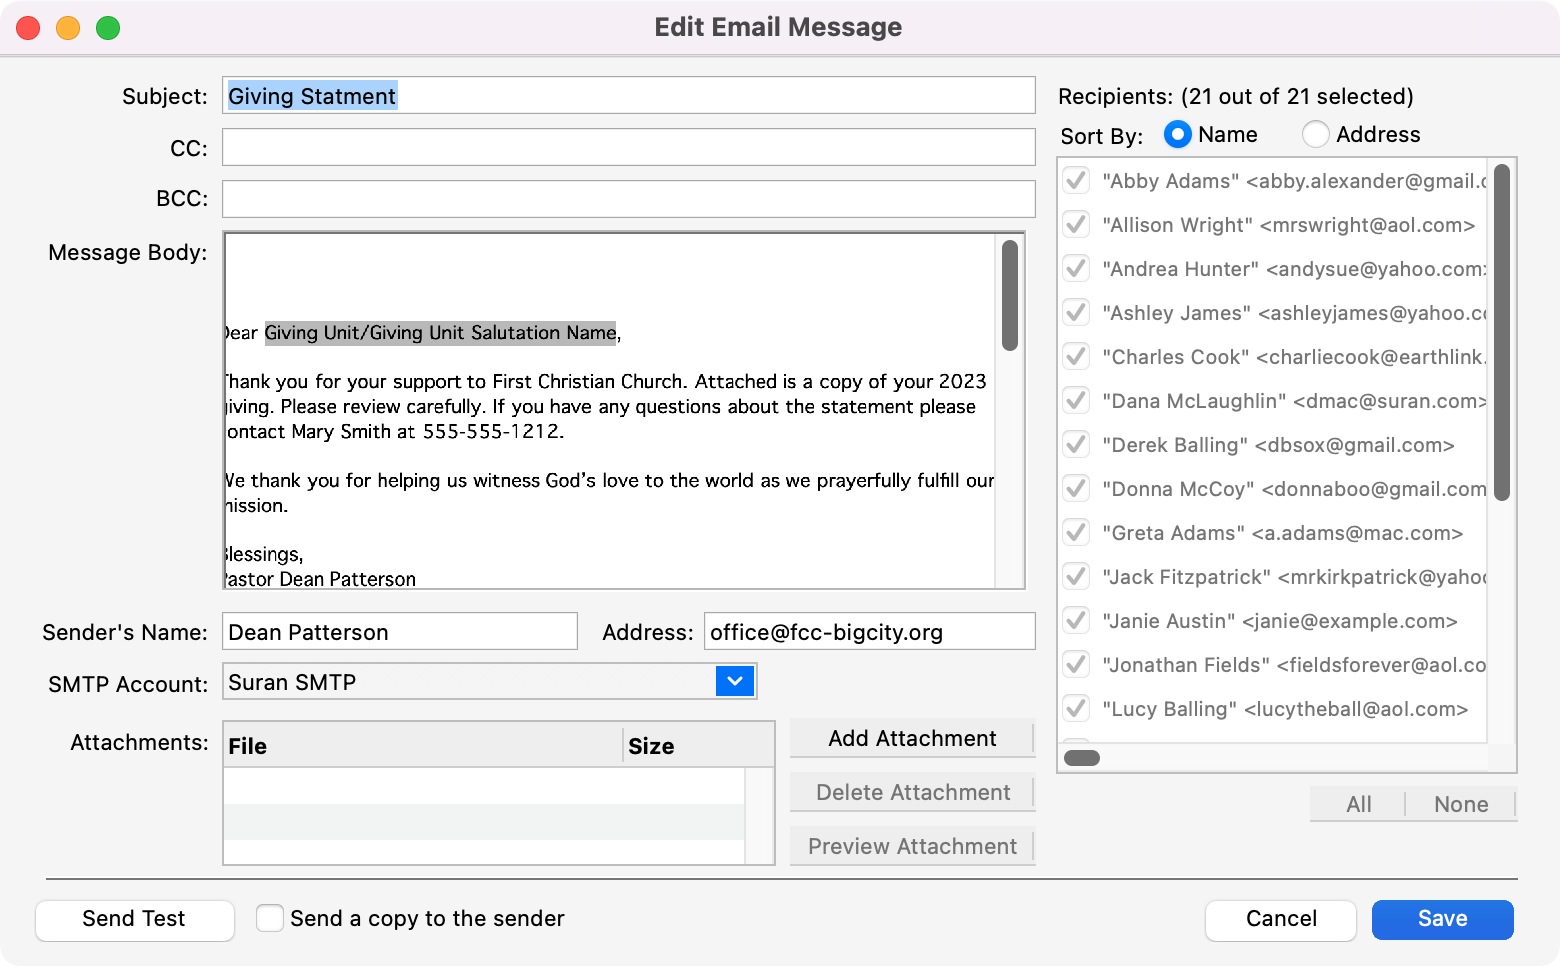
Under Recipients, you can review the list of emails that will be sent. You can uncheck any email address that you do not want to send.
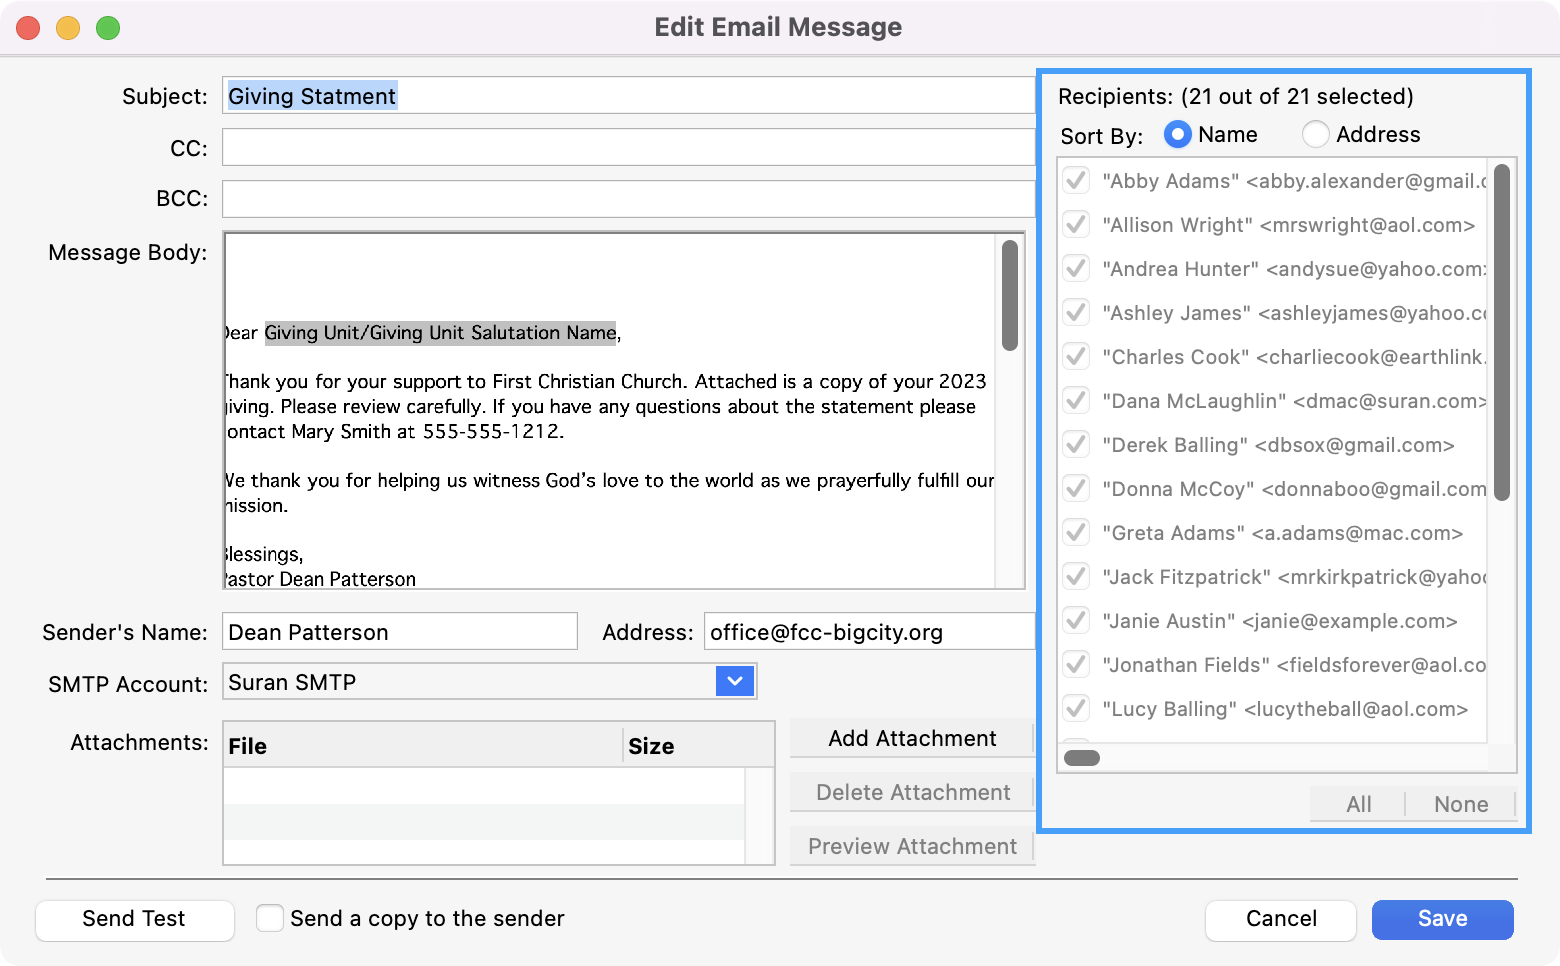
Staff email addresses and a Privacy Notice may be set up under System Preferences. For more information, see Setting up Staff Addresses and Privacy Notice.
When ready, click Save.
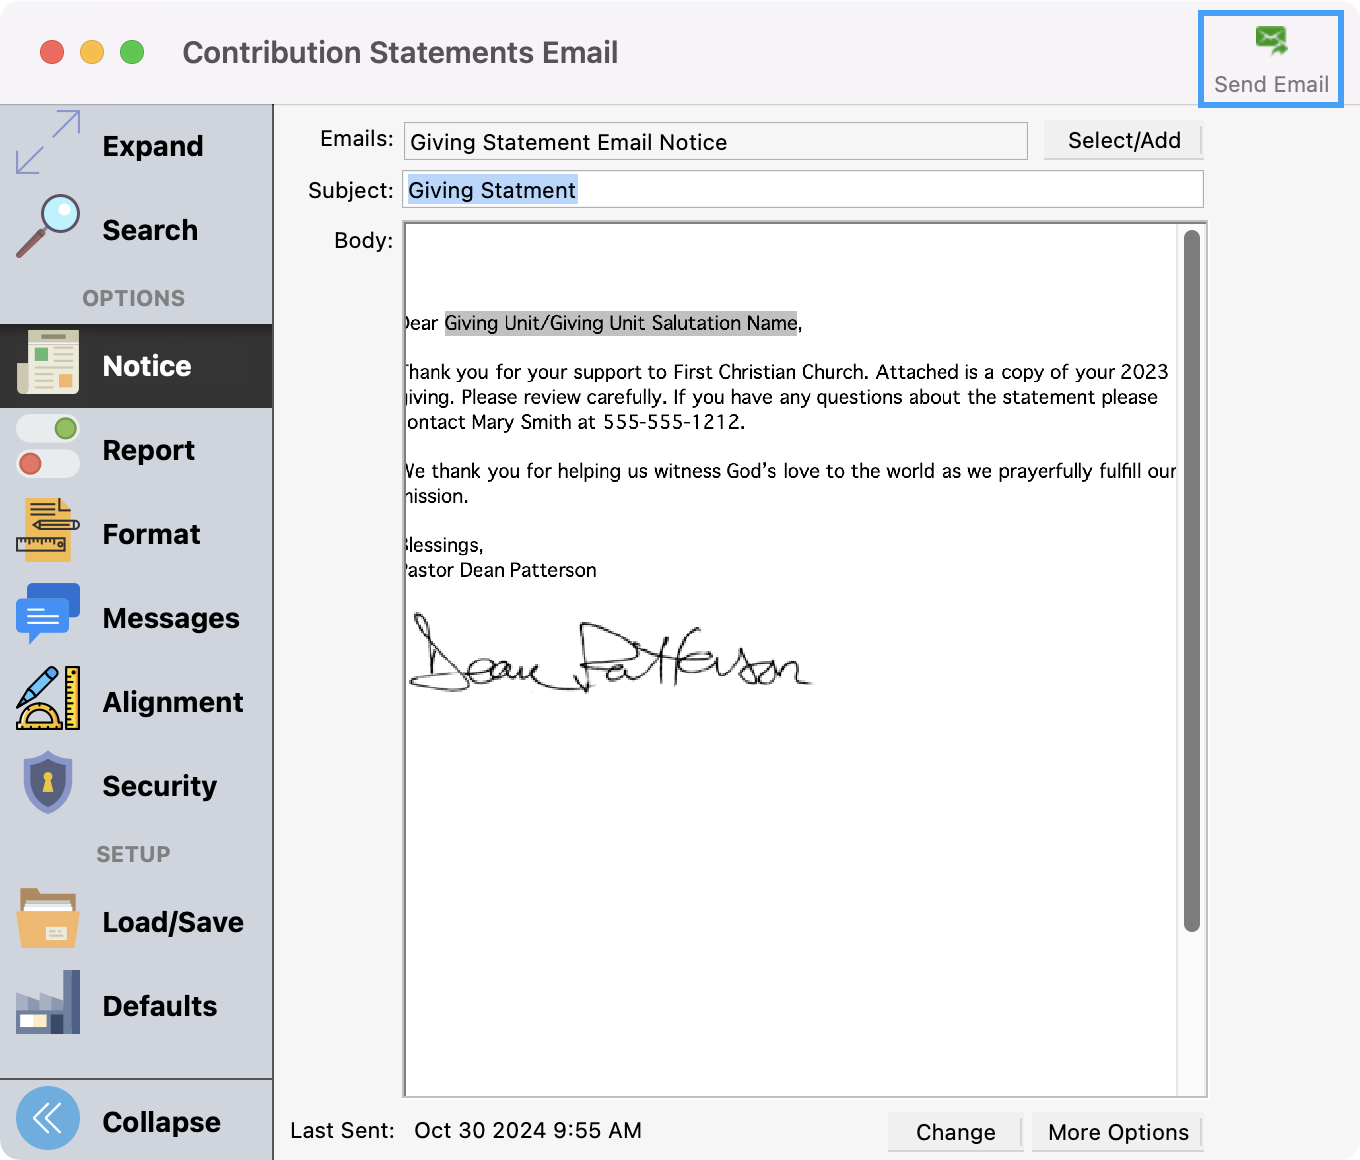
Back on the Notice menu, click Send Email.
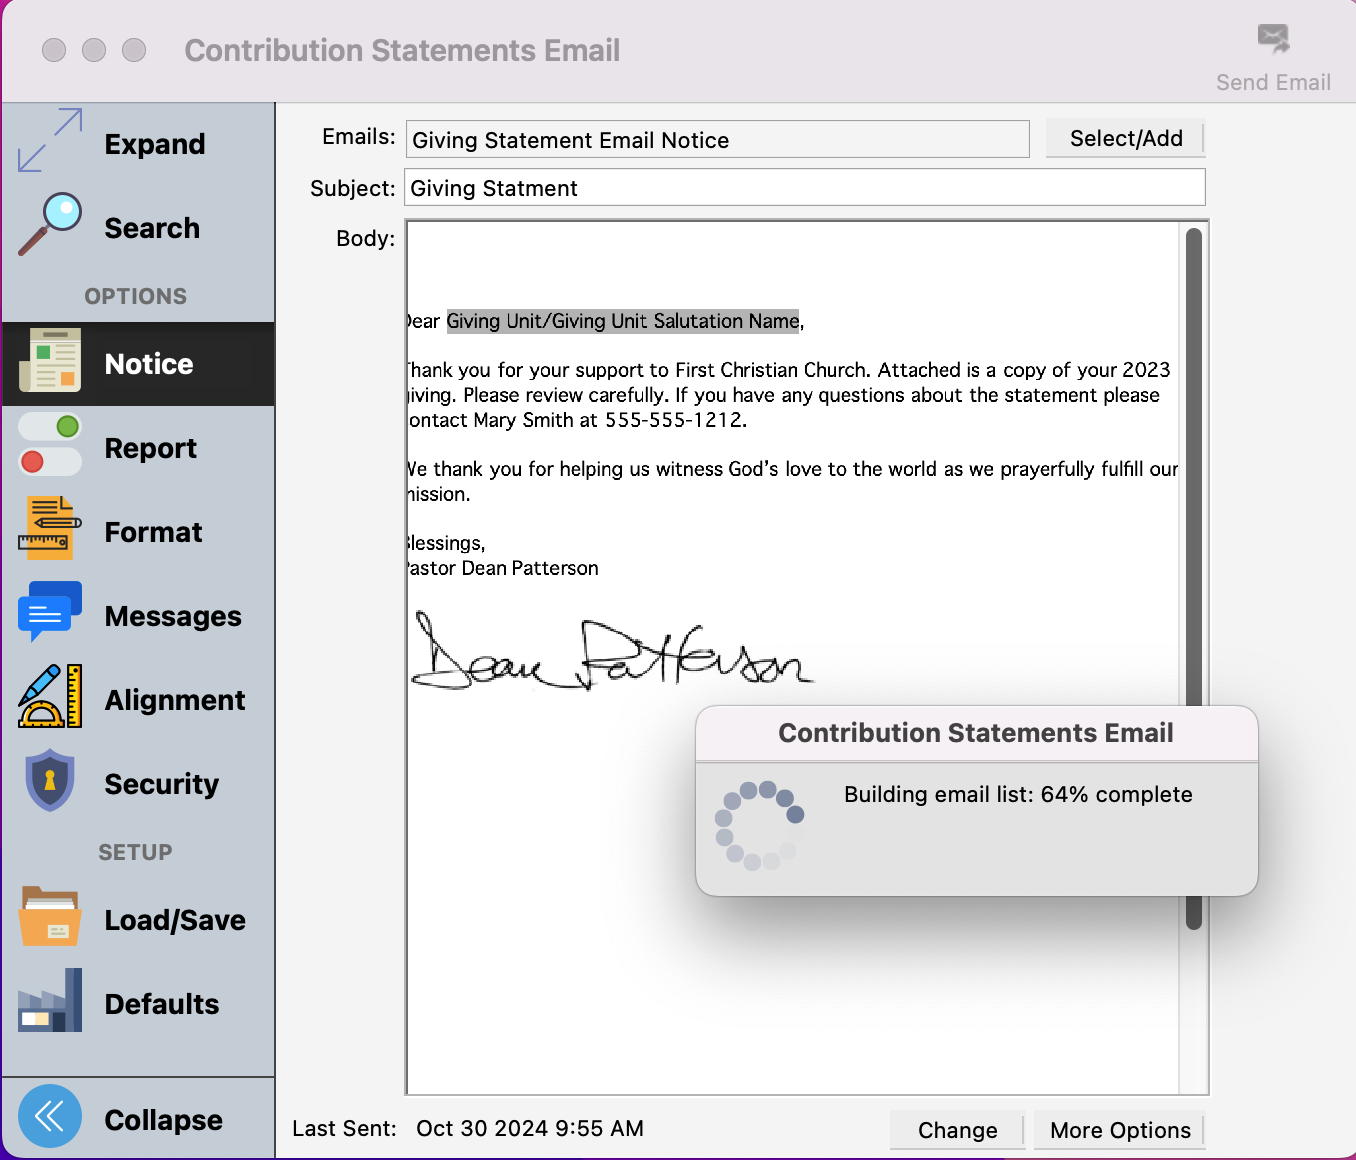
Watch the progress in this window.
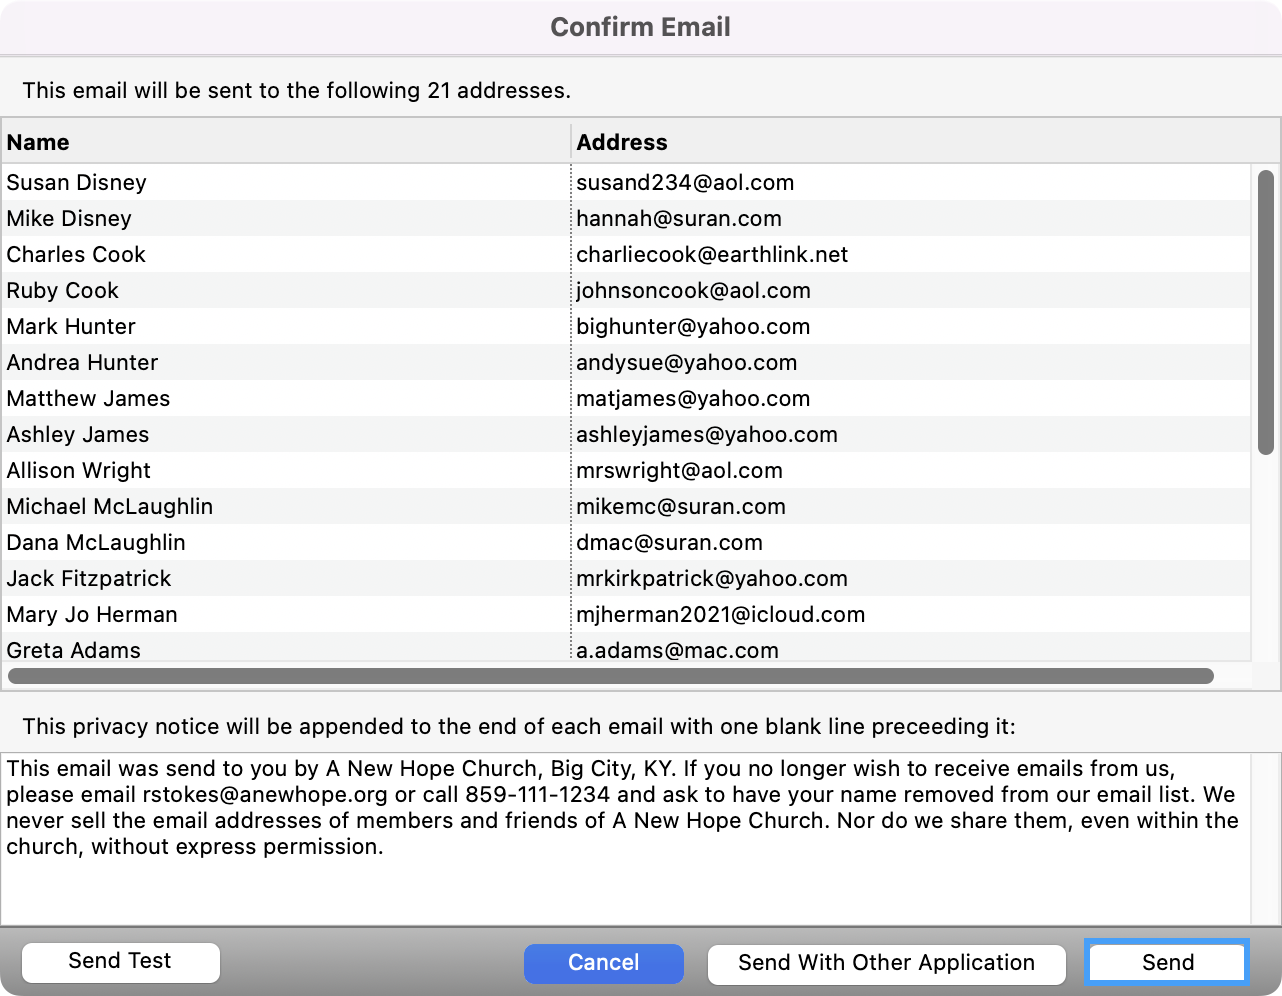
You’ll see a Confirm Email window pop-up with will show you all of the email addresses that will be sent an email. When ready, click Send.
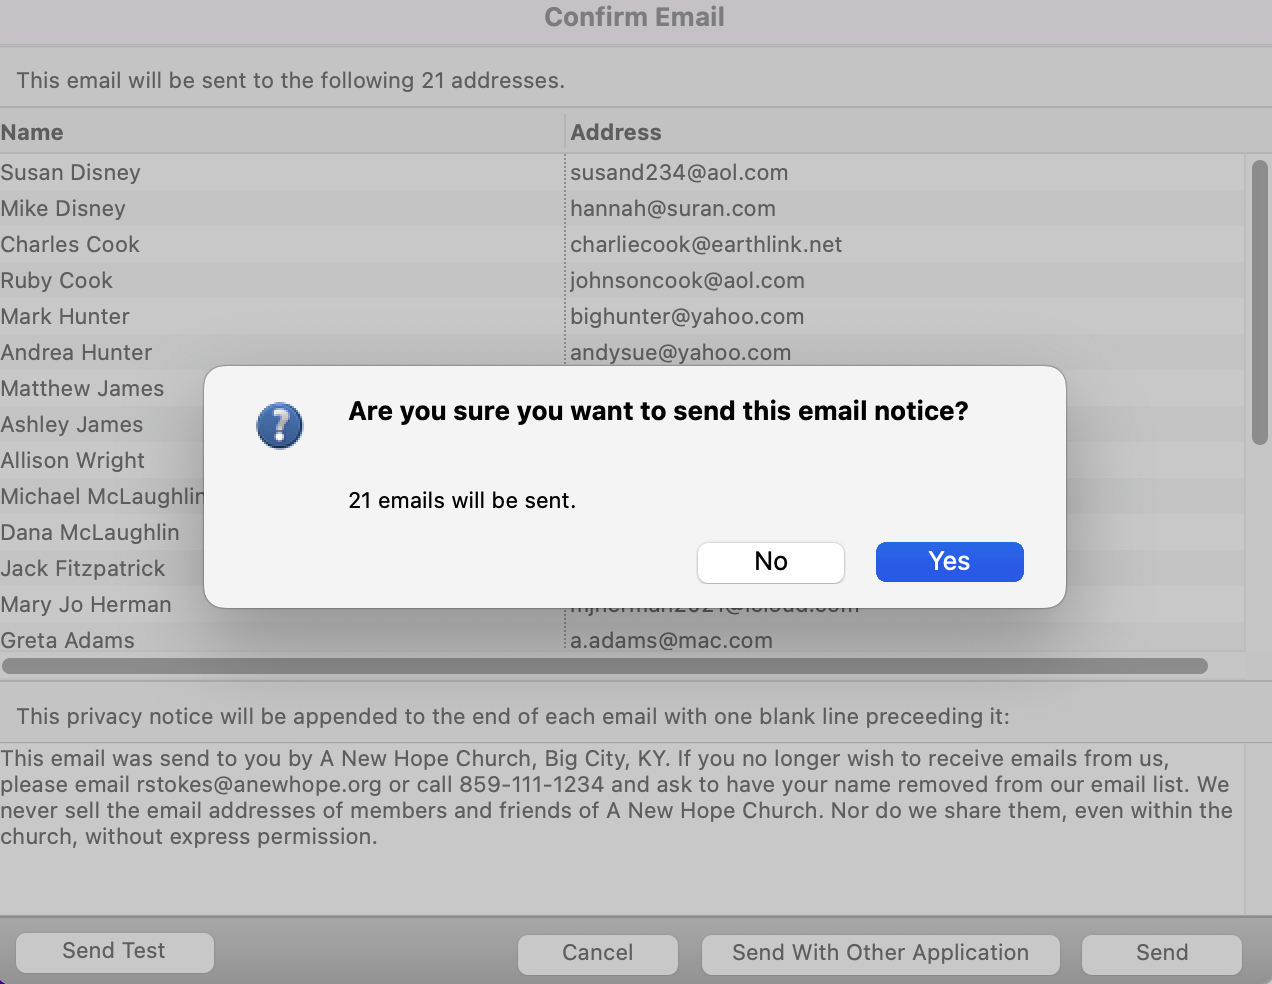
You’ll see a pop-up asking to confirm if you want to send this email notice. Click Yes.
You’ll see a status box showing you the progress of your emails being sent.
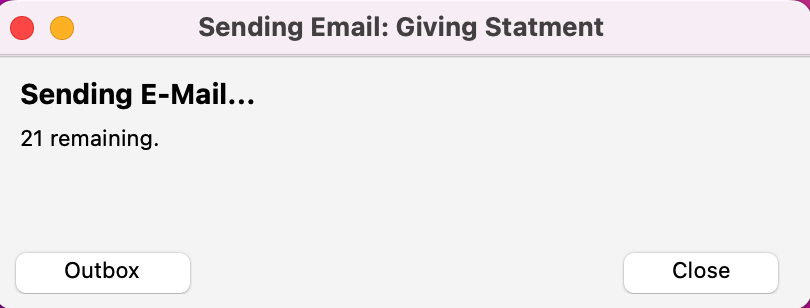
When complete, click Close. All of your statements have been emailed!
