Statements can be generated at any time. Usually, this is done on a monthly basis. A cut-off date is entered when statements are created. All invoices and payments from the last statement date up to this date will print. When the statements are finished printing, the user is asked if the statements are to be marked as printed.
Creating and Printing Statements
-
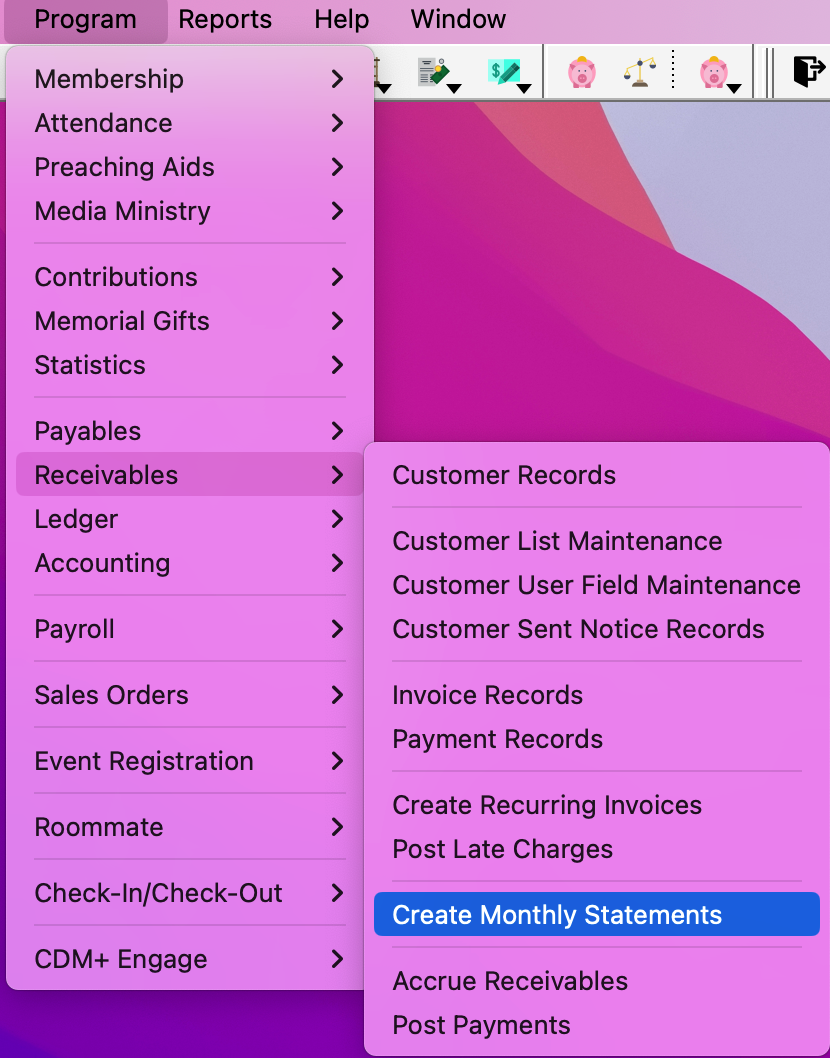
To generate and print a statement, go to Program → Receivables → Create Monthly Statements.
-
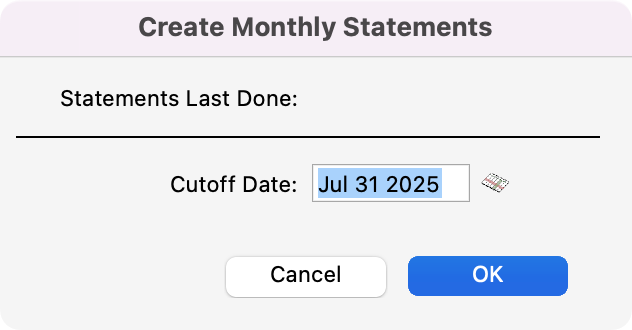
You’ll see a pop-up box asking you to enter a Cutoff Date. Enter a date and click OK.
-
You’ll then get a message letting you know the statement processing is complete, and be asked if you want to print the new statements. Click, Yes if you do.

-
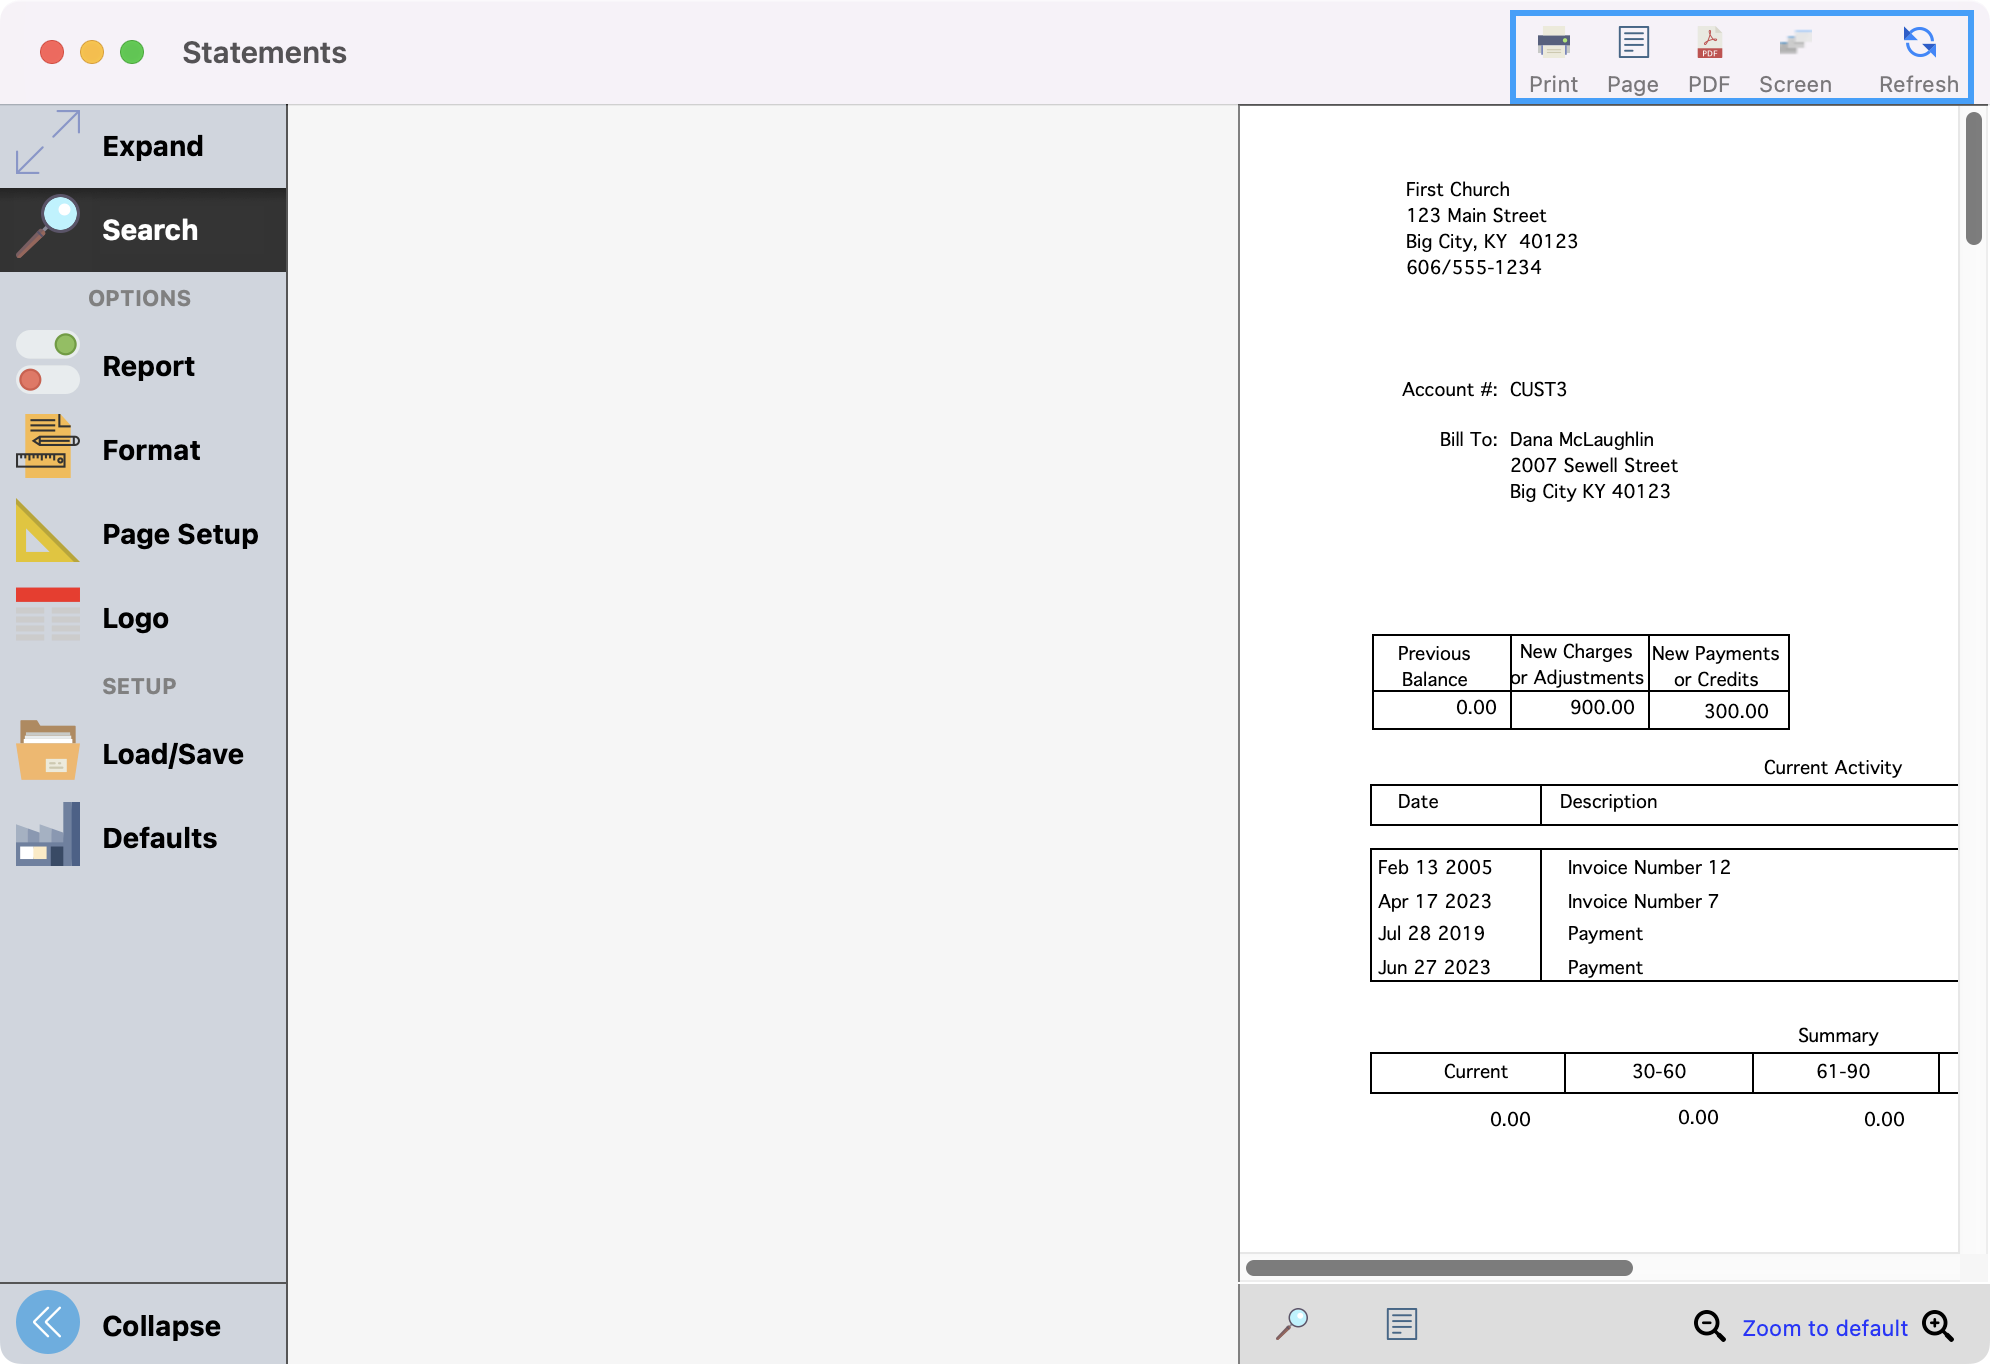
You will see the Statements window open. You can click Refresh to see a preview of the report or Print or export as desired.
-
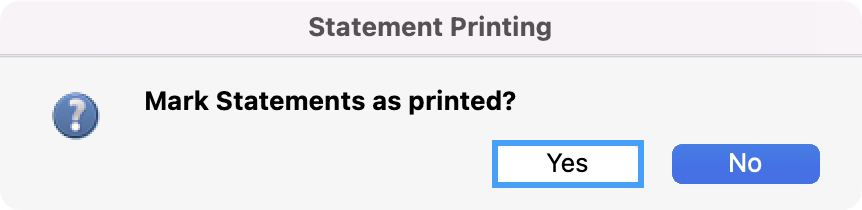
After printing the statement, you will see a pop-up asking if you want to mark the statements as printed. Click Yes.
Print Statements
If you don’t choose to print your generated statements right away, there are two ways to access these: Statements and Detailed Statements.
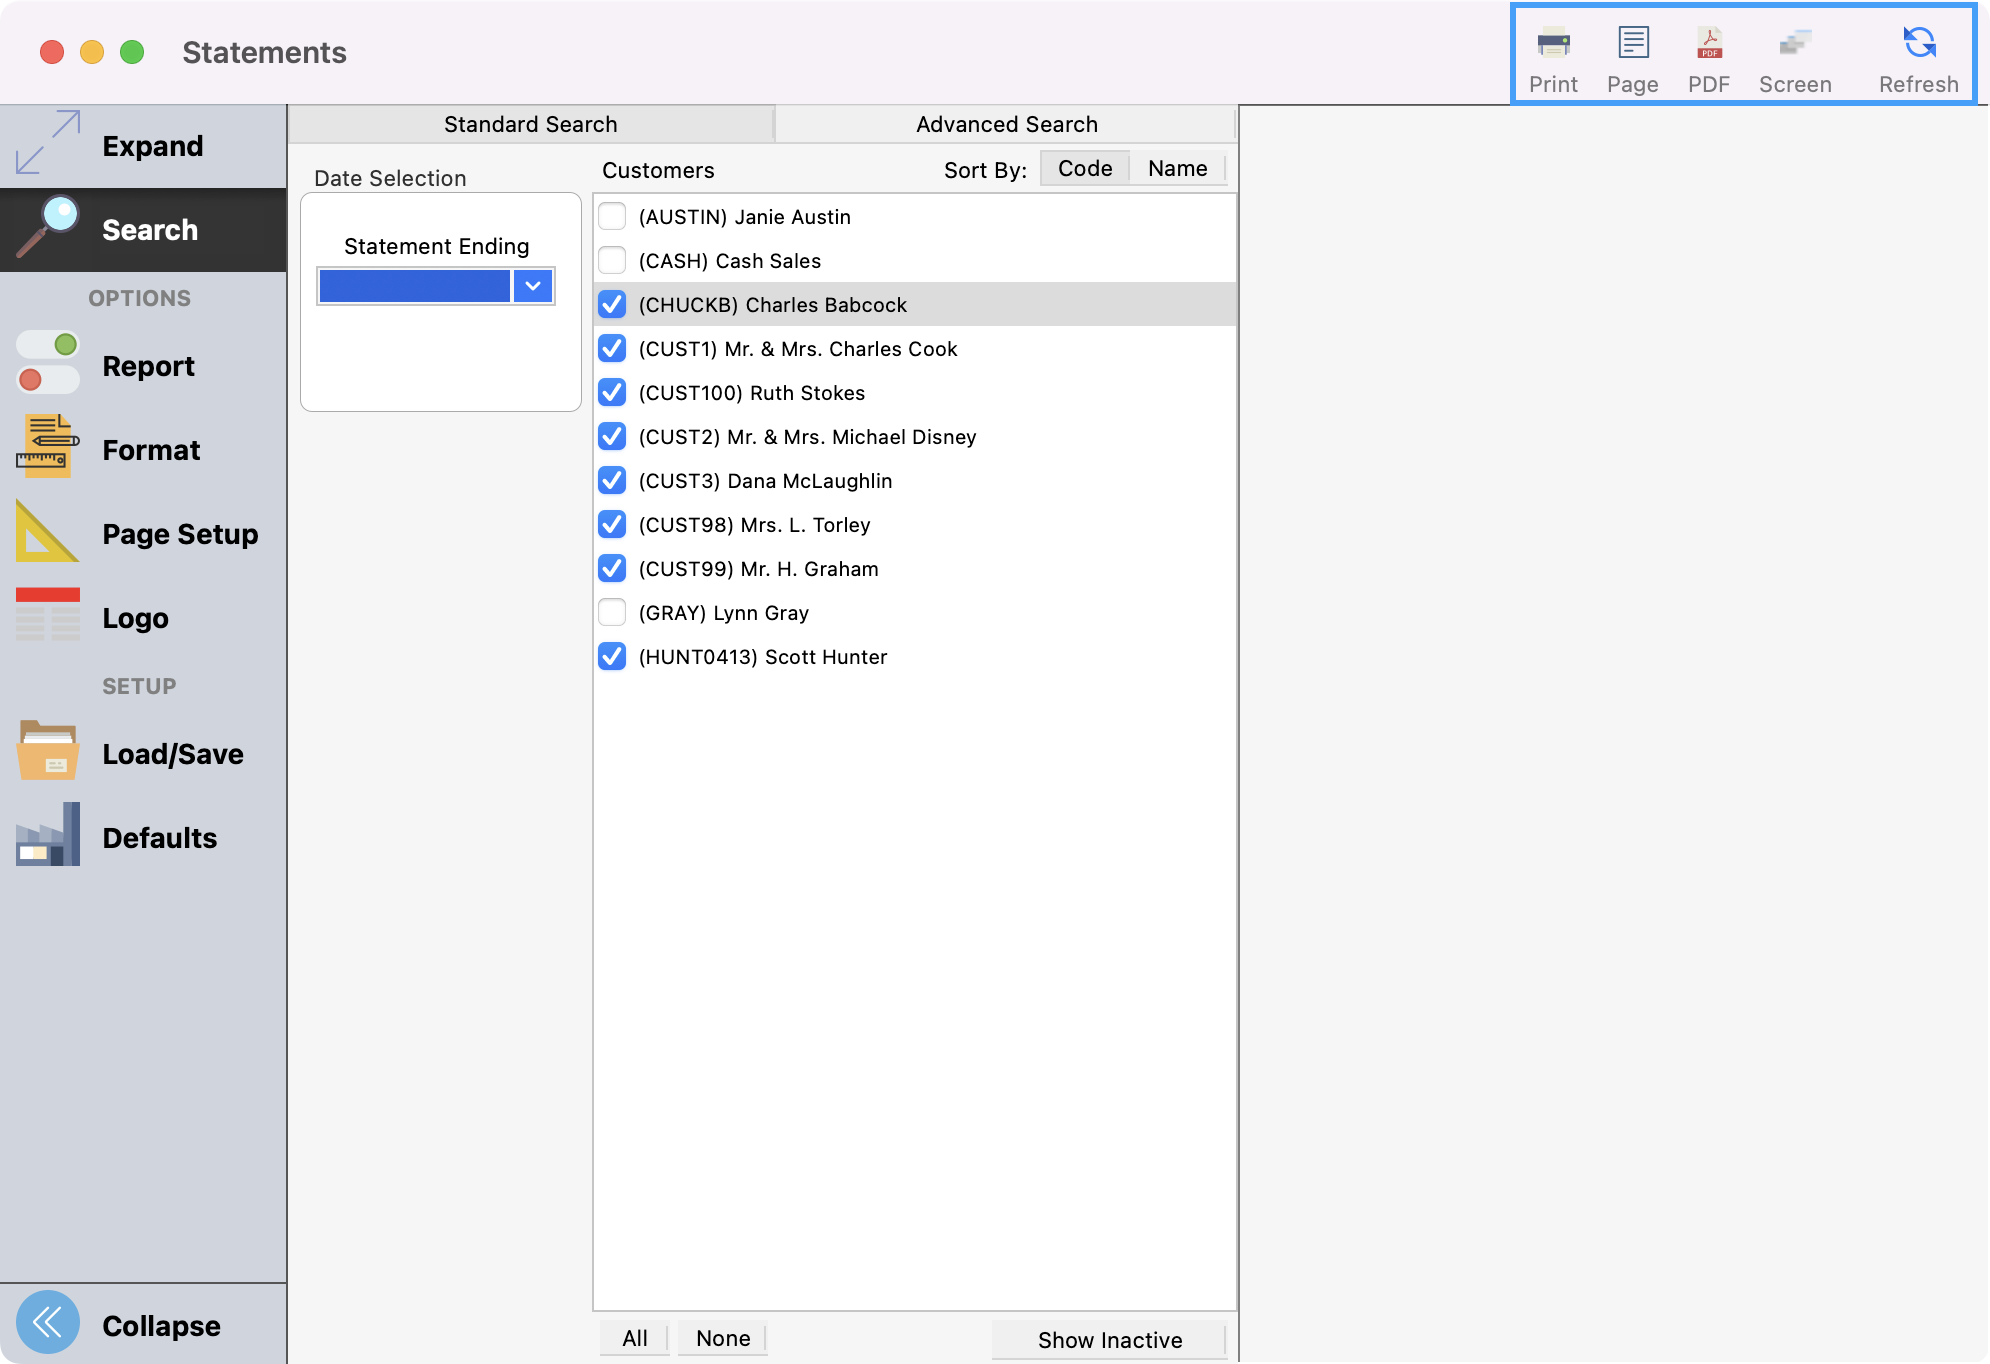
Statements
-
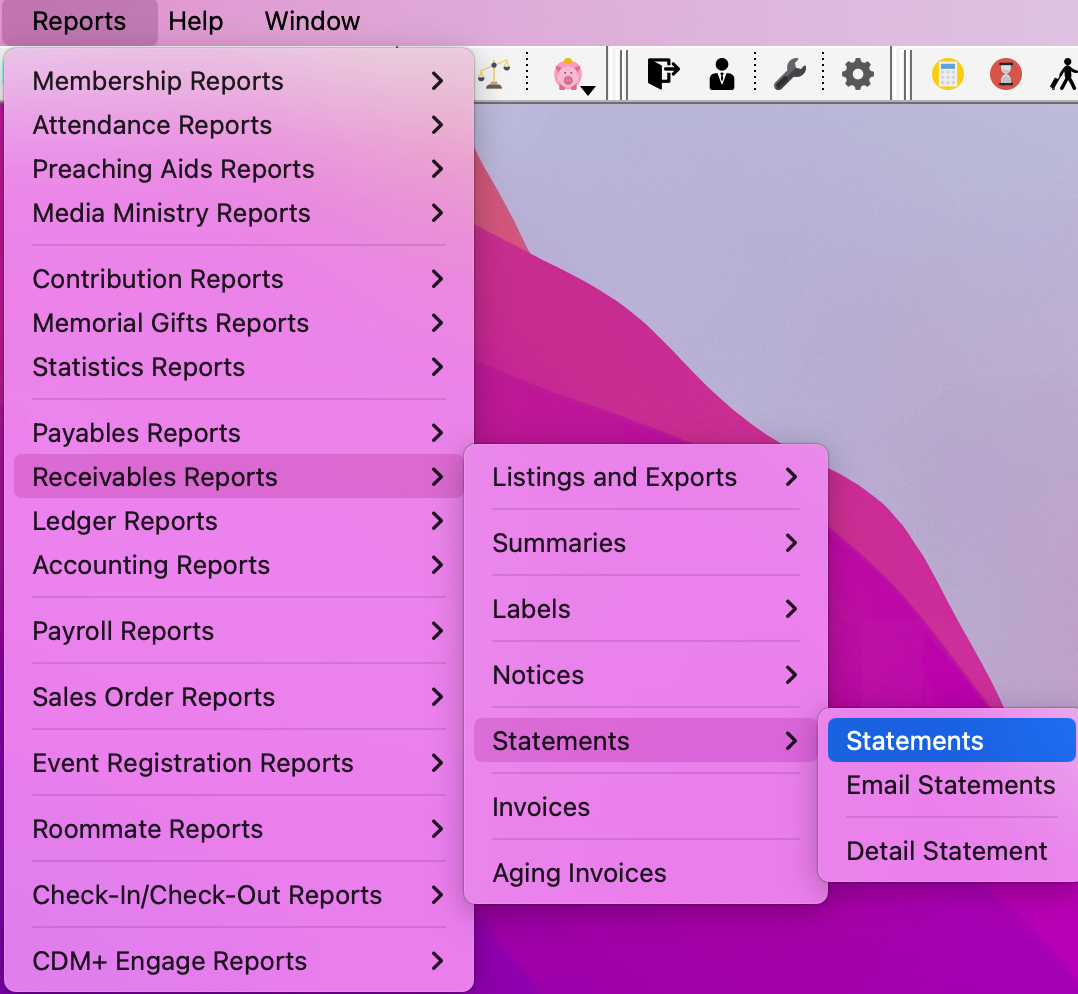
Go to Reports → Receivables Reports → Statements → Statements
-
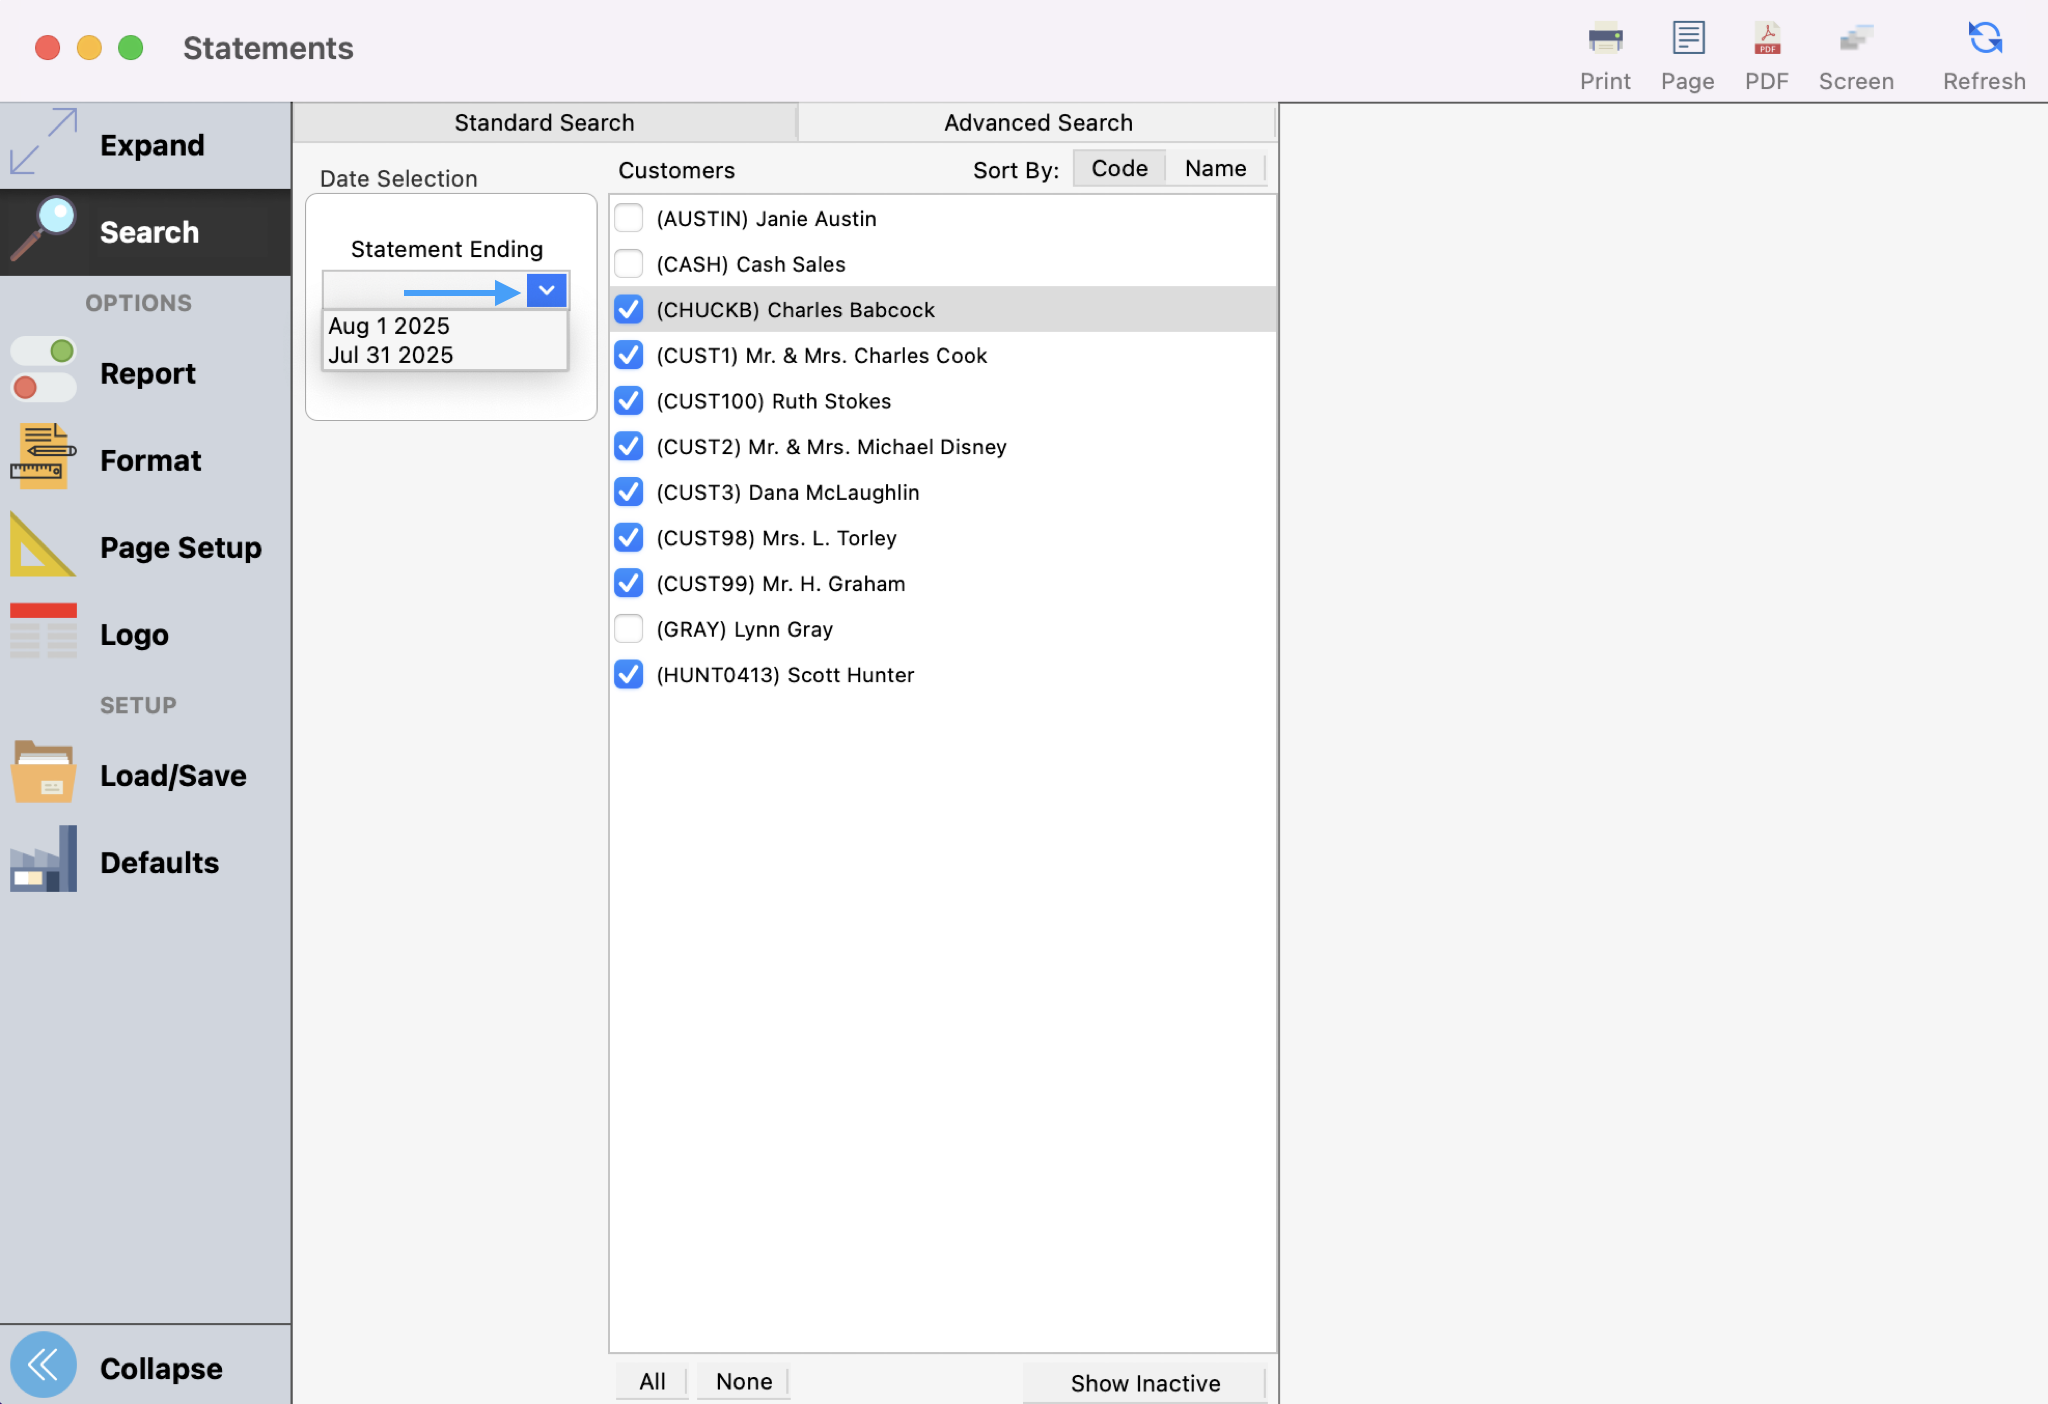
Select the statement to be printed using the Statement Ending drop-list.
-
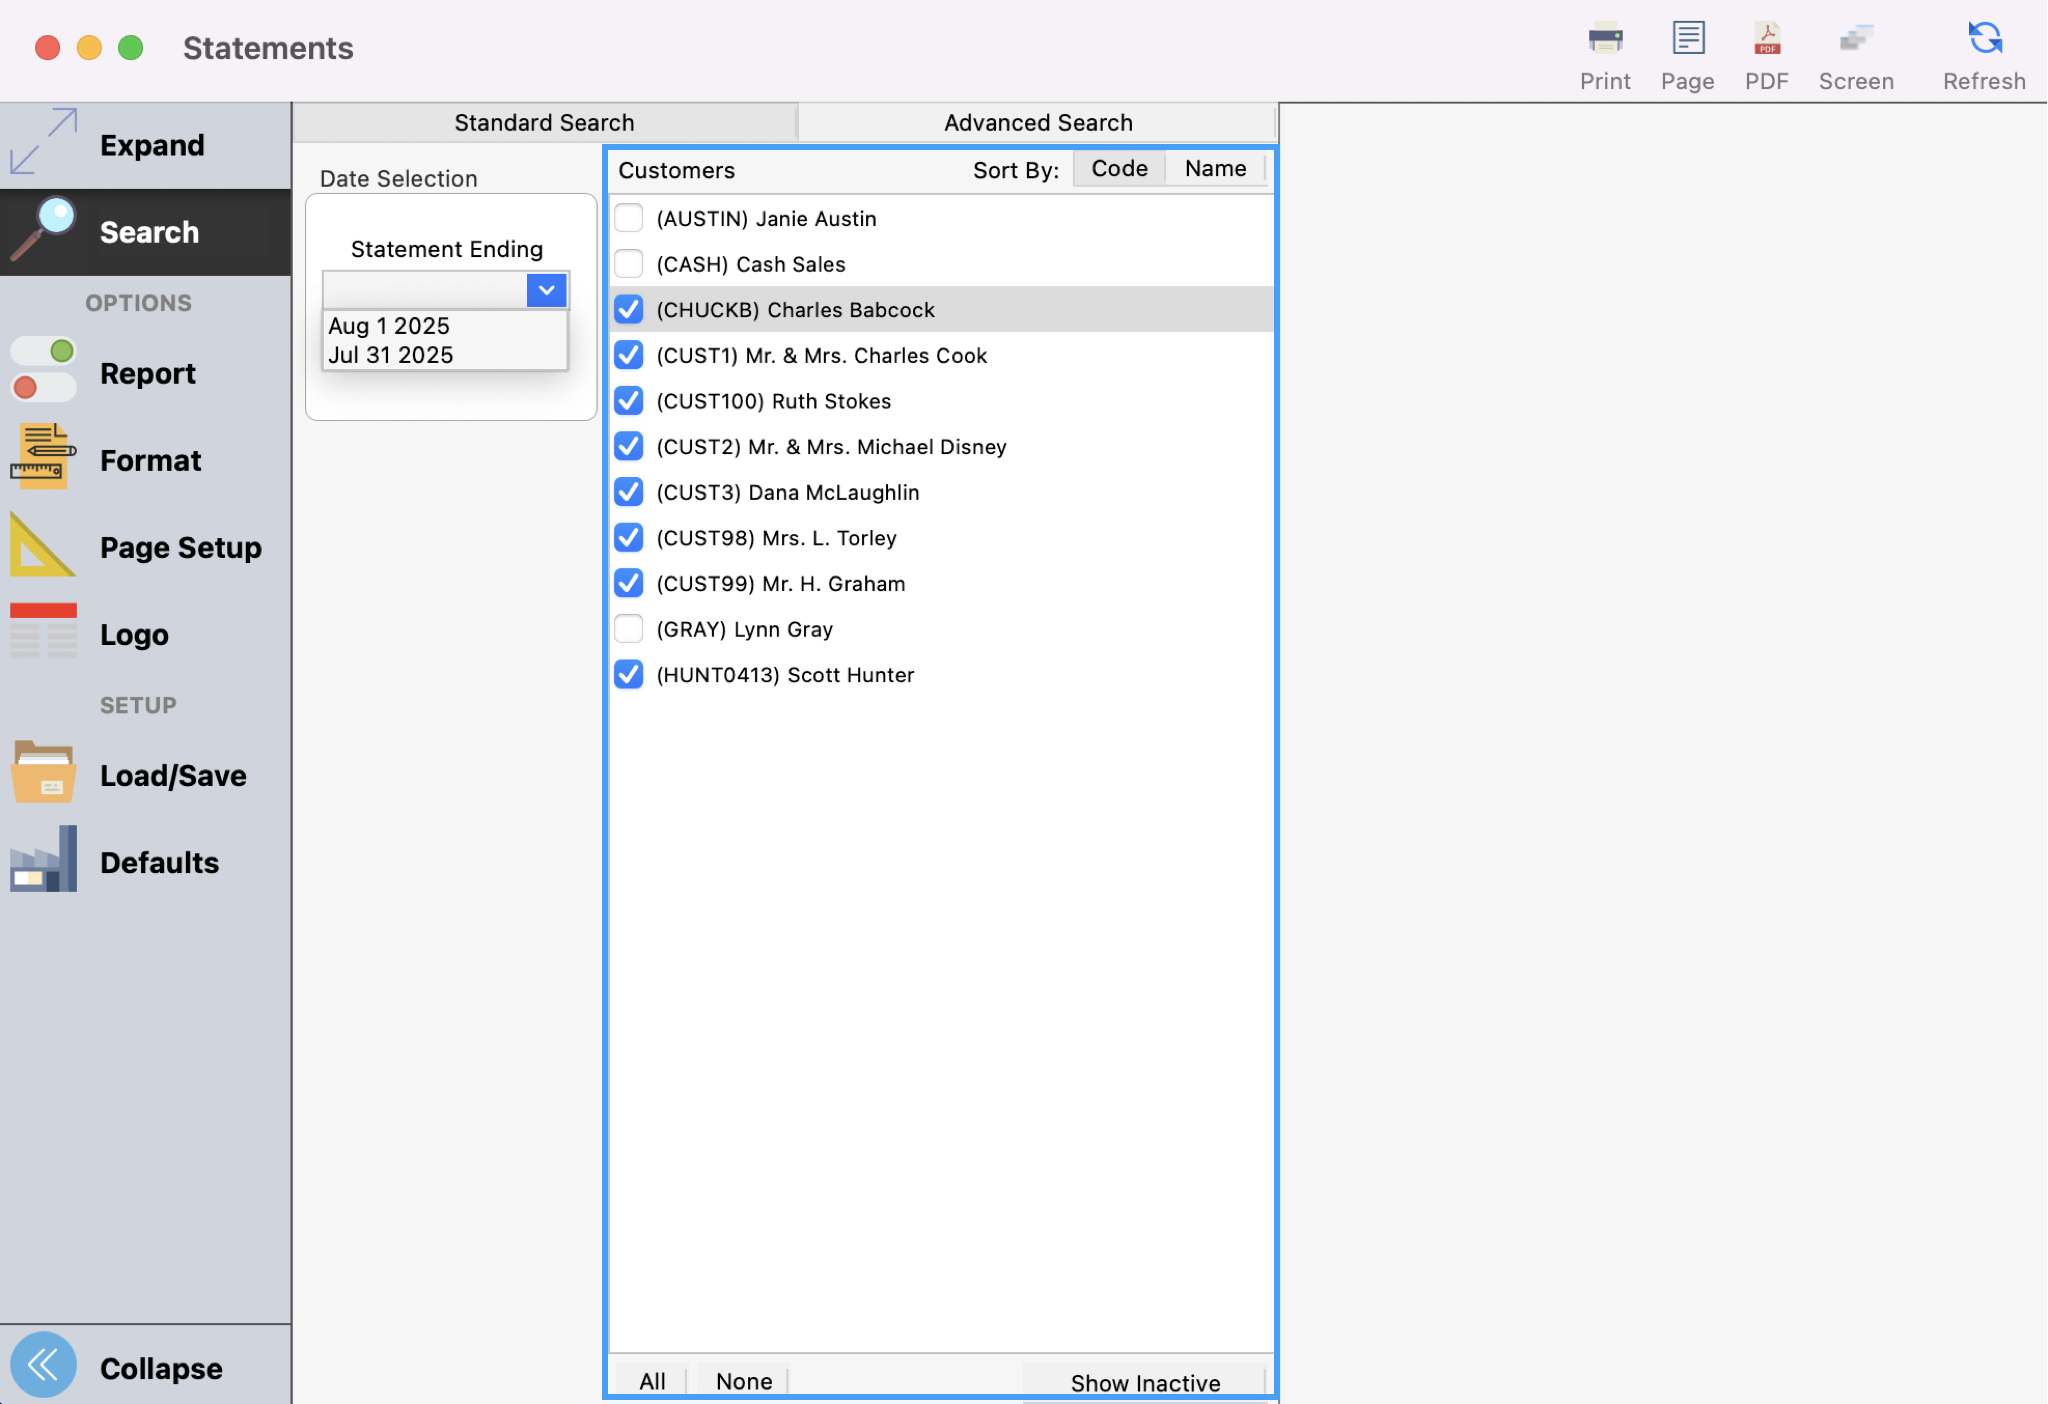
Then choose if you want to print statements for all customers or one customer.
-
You can click Refresh to see a preview of the report or Print or export as desired.
-
After printing the statement, you will see a pop-up asking if you want to mark the statements as printed. Click Yes.
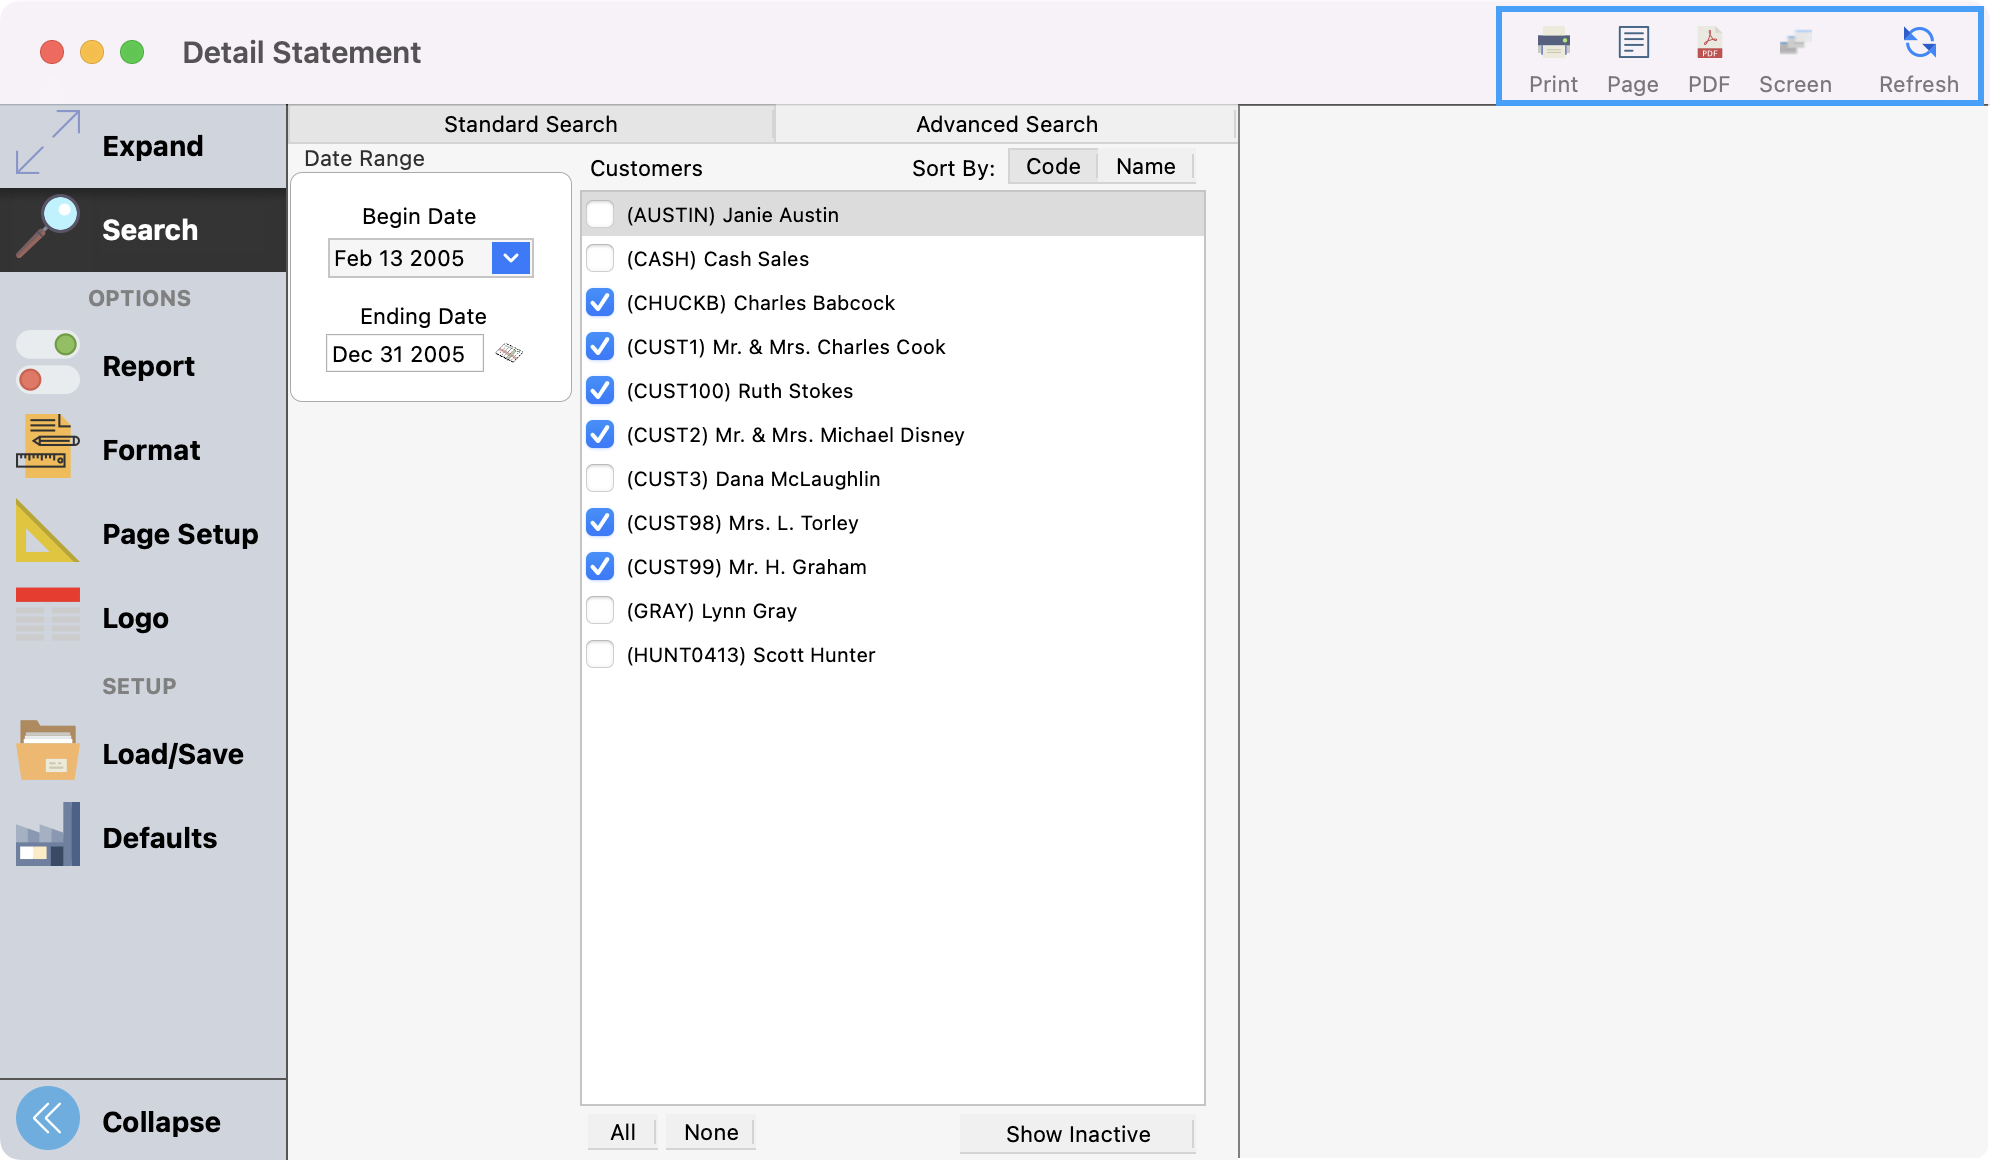
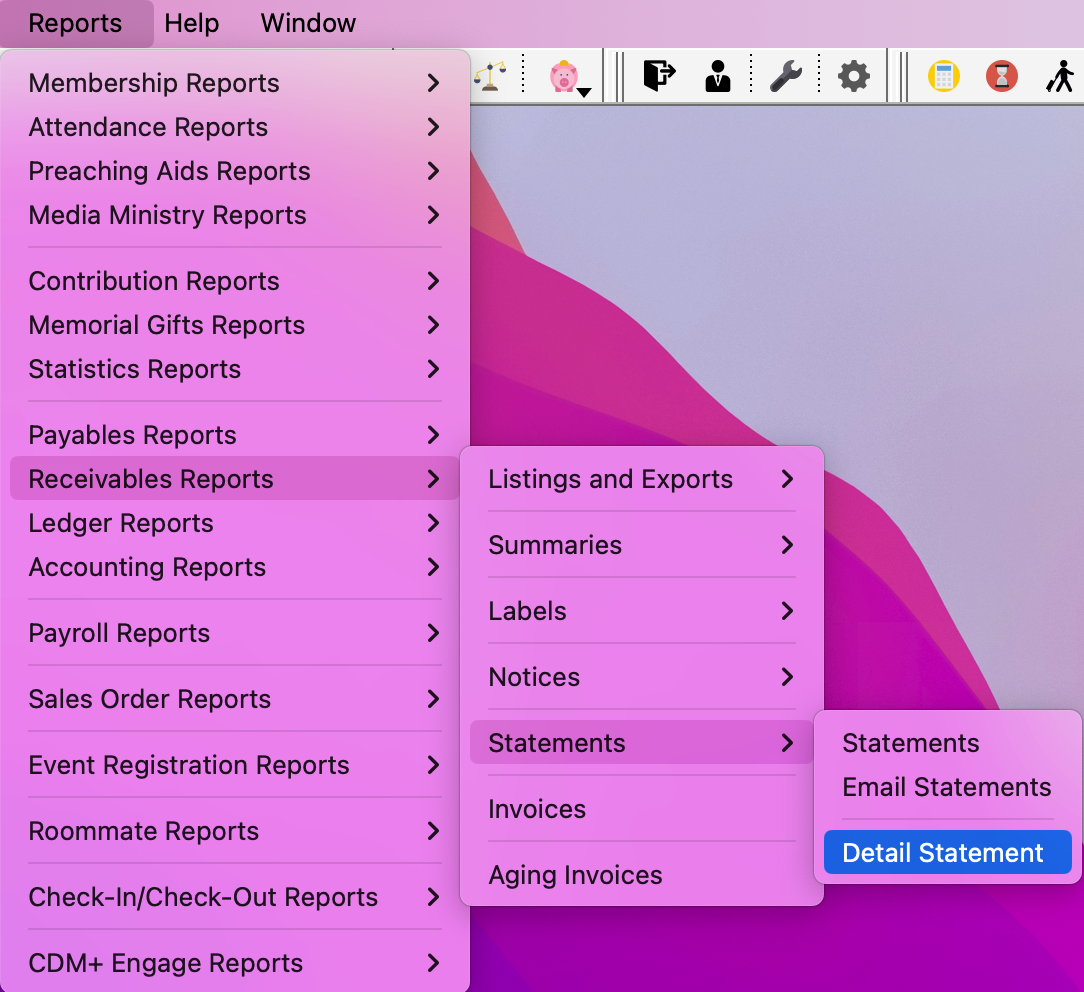
Detailed Statements
-
Go to Reports → Receivables Reports → Statements → Detail Statements.
-
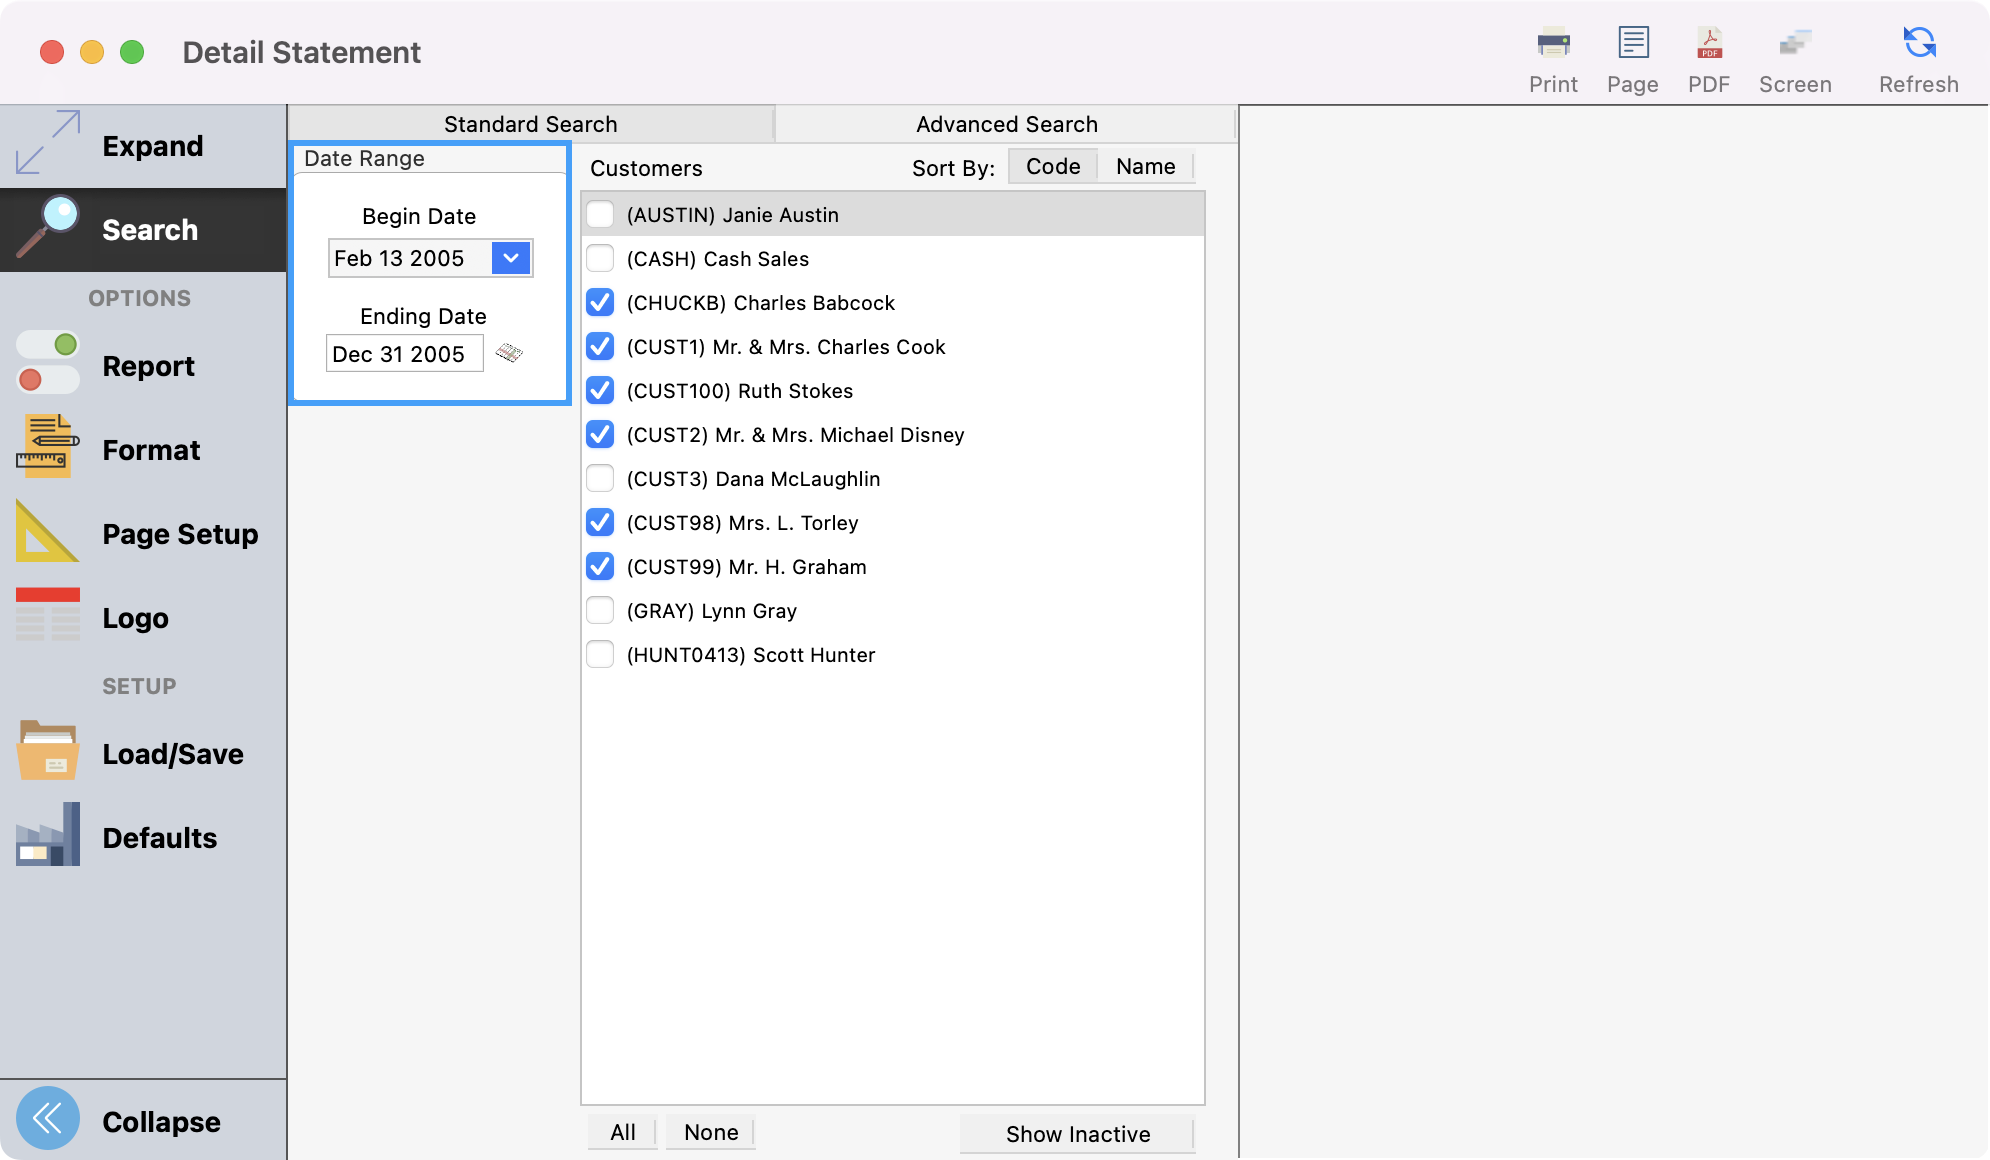
This report allows the printing of a list of Invoices and Payments that have appeared on several statements by selecting the Begin Date and the Ending Date.
-
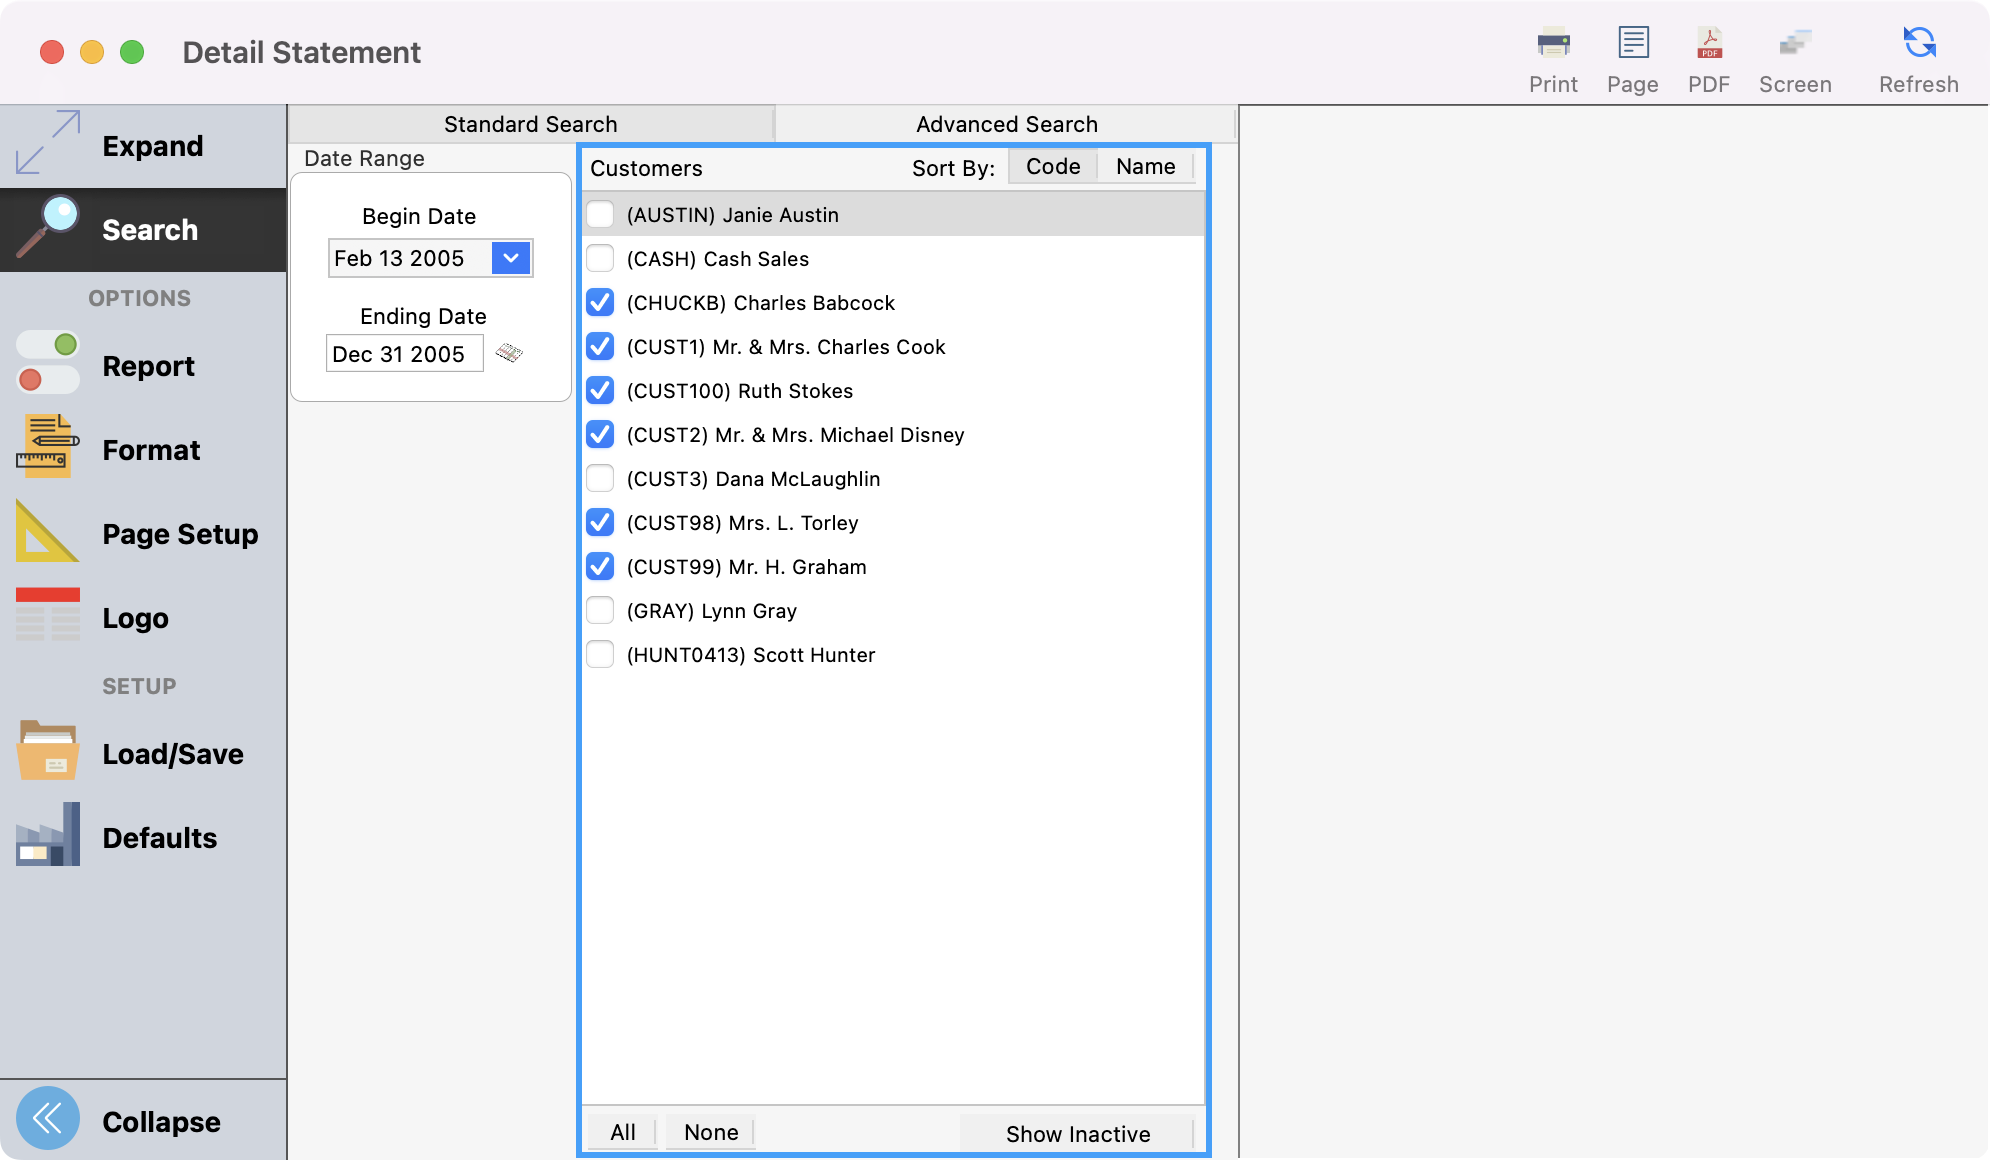
Then choose if you want to print statements for all customers or one customer.
-
You can click Refresh to see a preview of the report or Print or export as desired.