The Purchase Order functions can be disabled if you do not use purchase orders. This done under the AP section of the Accounting tab of the CDM+ System Preferences window by clicking the Don't show purchase orders checkbox.
-
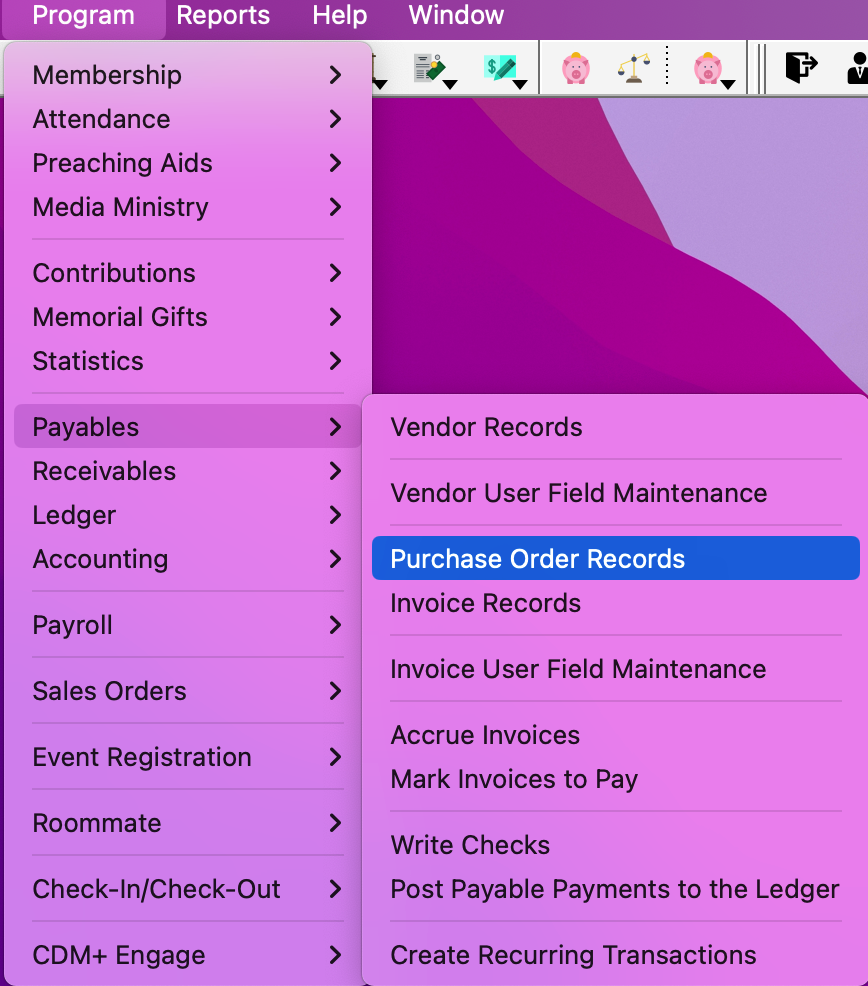
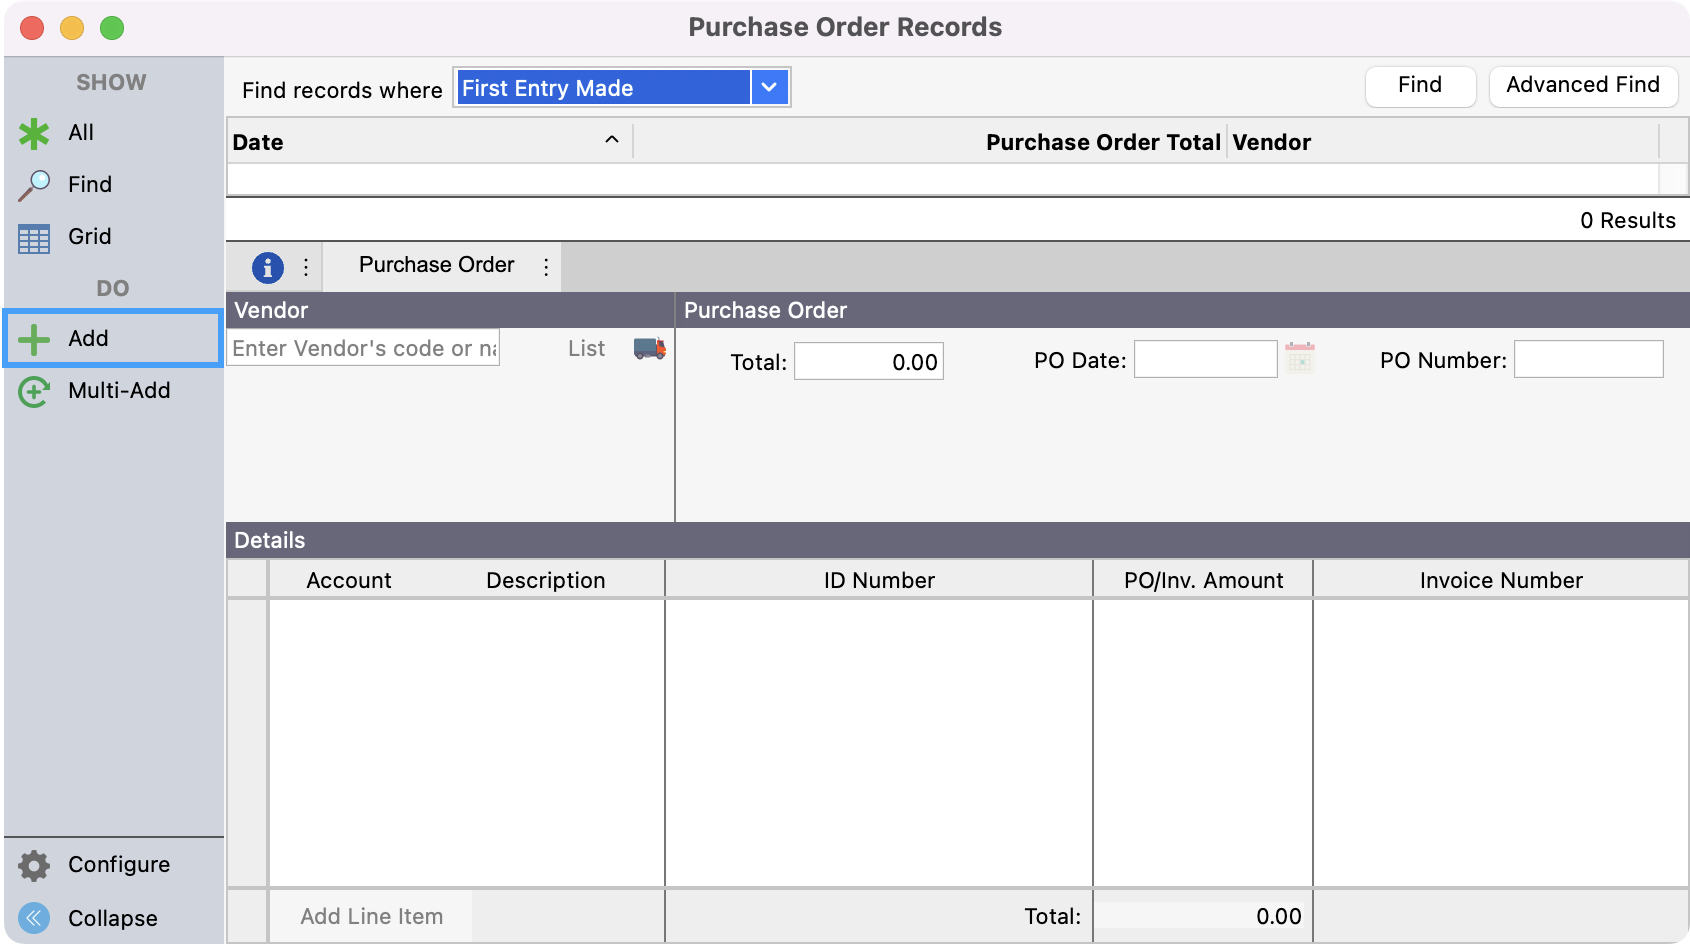
Go to Program → Payables → Purchase Order Records.
-
Click the Add button from the left sidebar.
-
Begin typing the vendor name or code and press Tab. CDM+ will autofill the information. Or click on the List icon to open the Vendor List and double-click a vendor to use it.
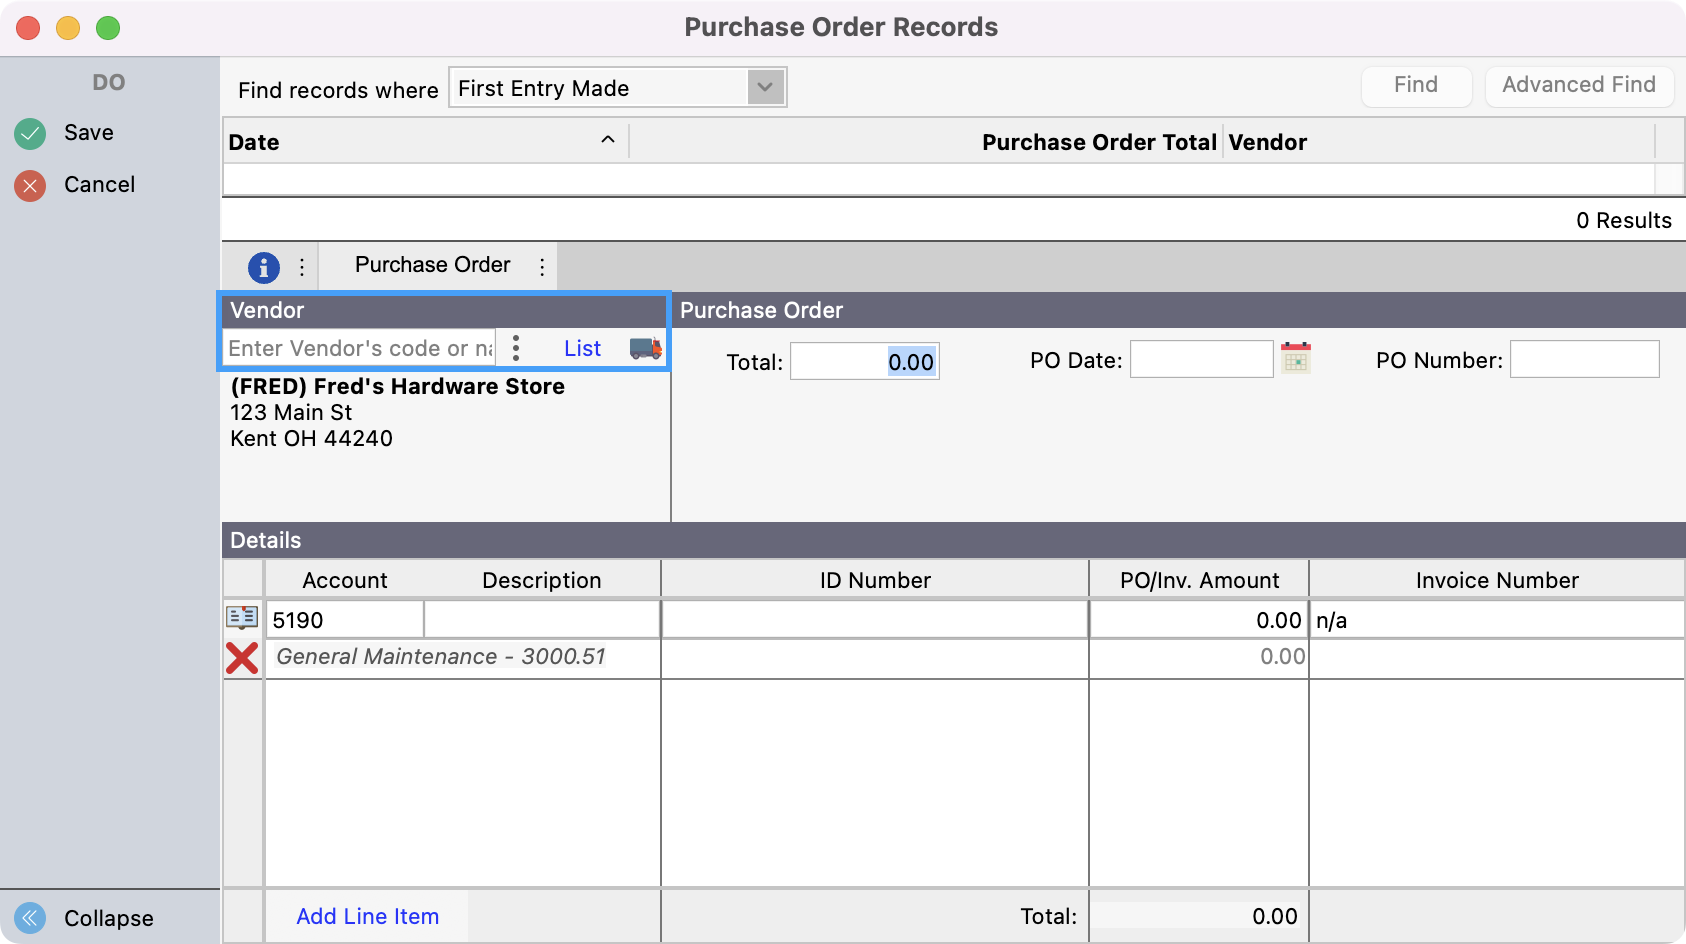
To create a purchase order using a Miscellaneous Vendor, first setup at least one miscellaneous vendor. Then select a miscellaneous vendor from the Vendor drop list or type “Miscellaneous” in the Vendor field on the purchase order and press Tab.
-
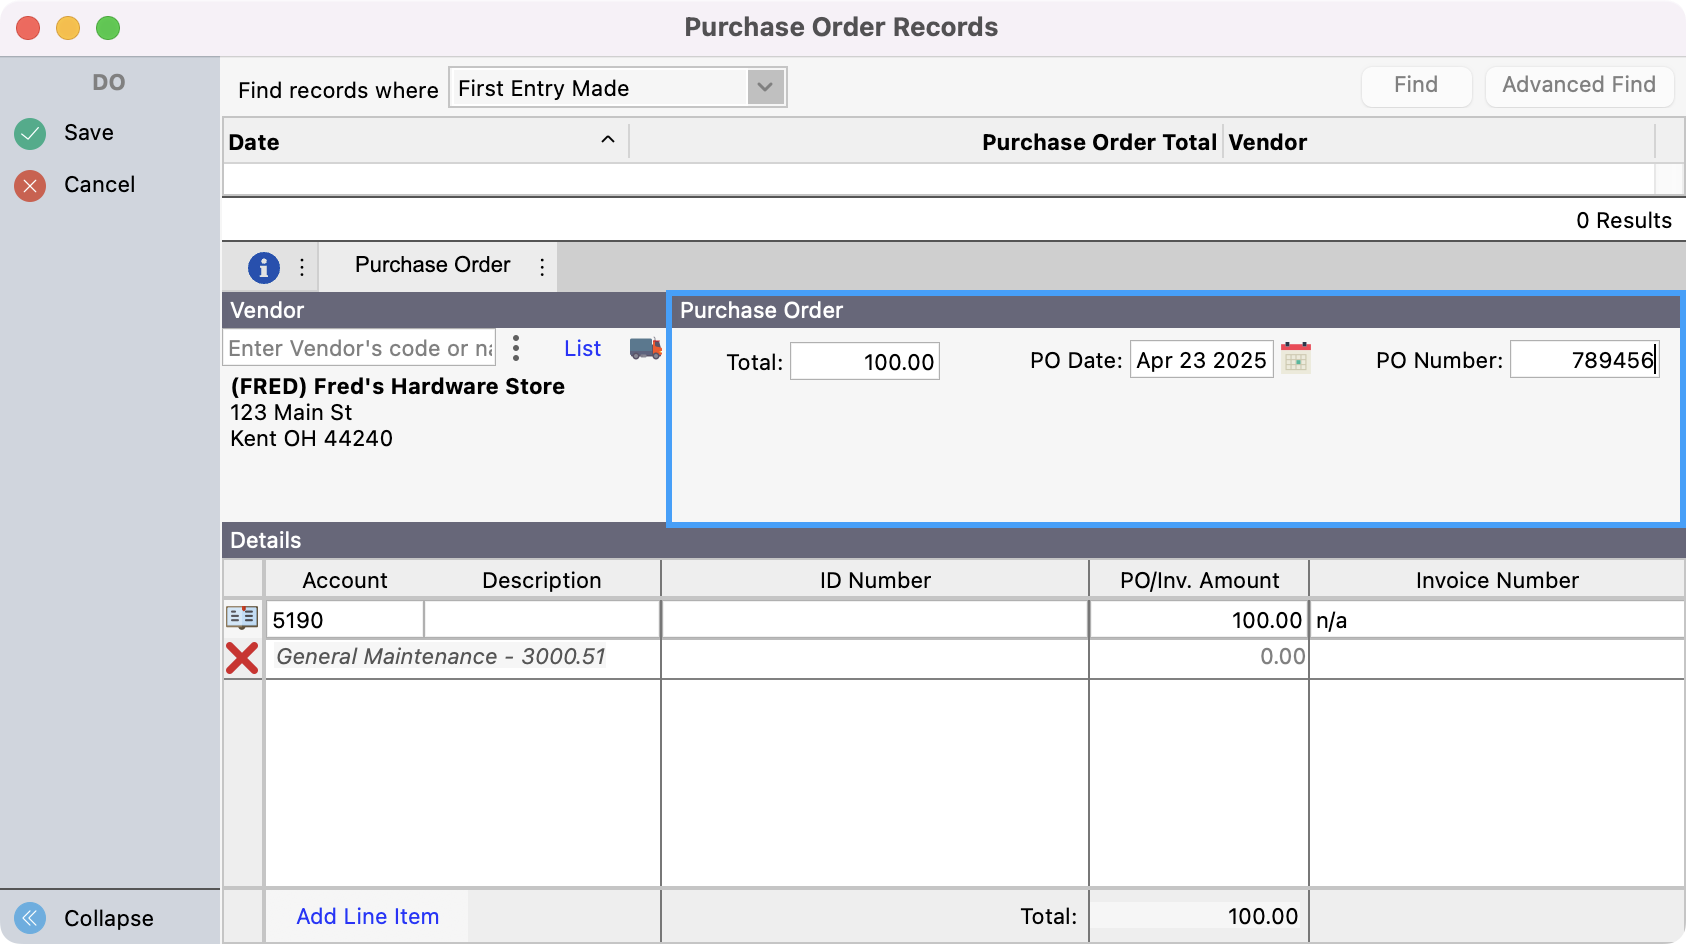
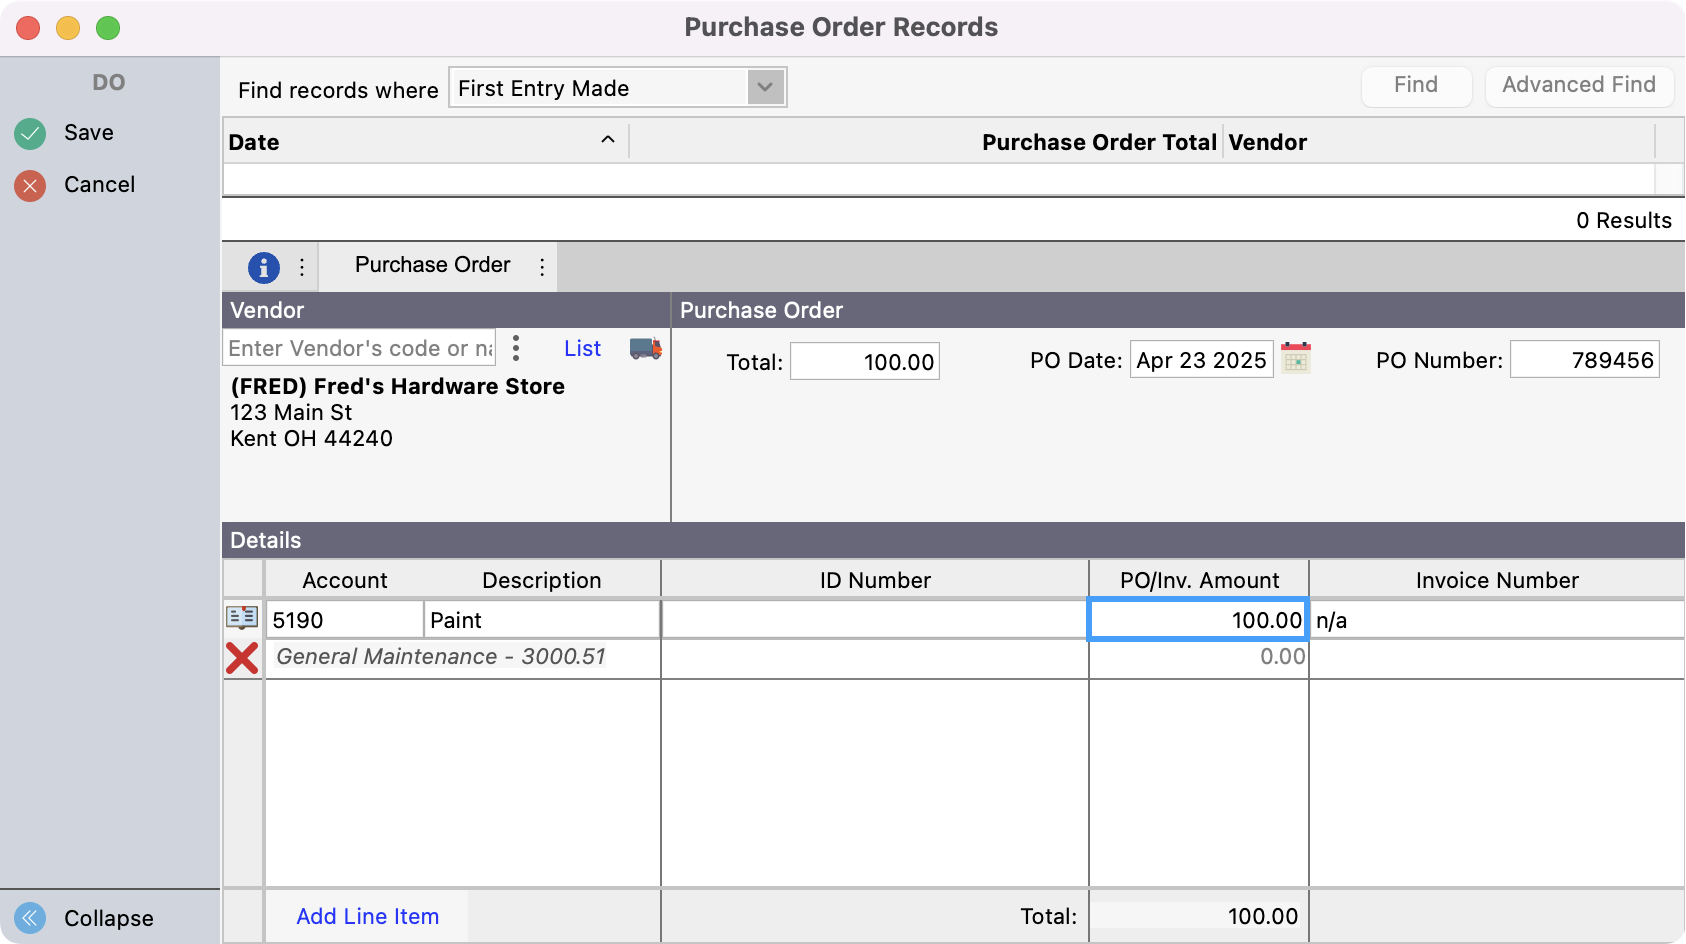
Tab through the next three fields, entering the Total, the PO Date, and the PO Number.
-
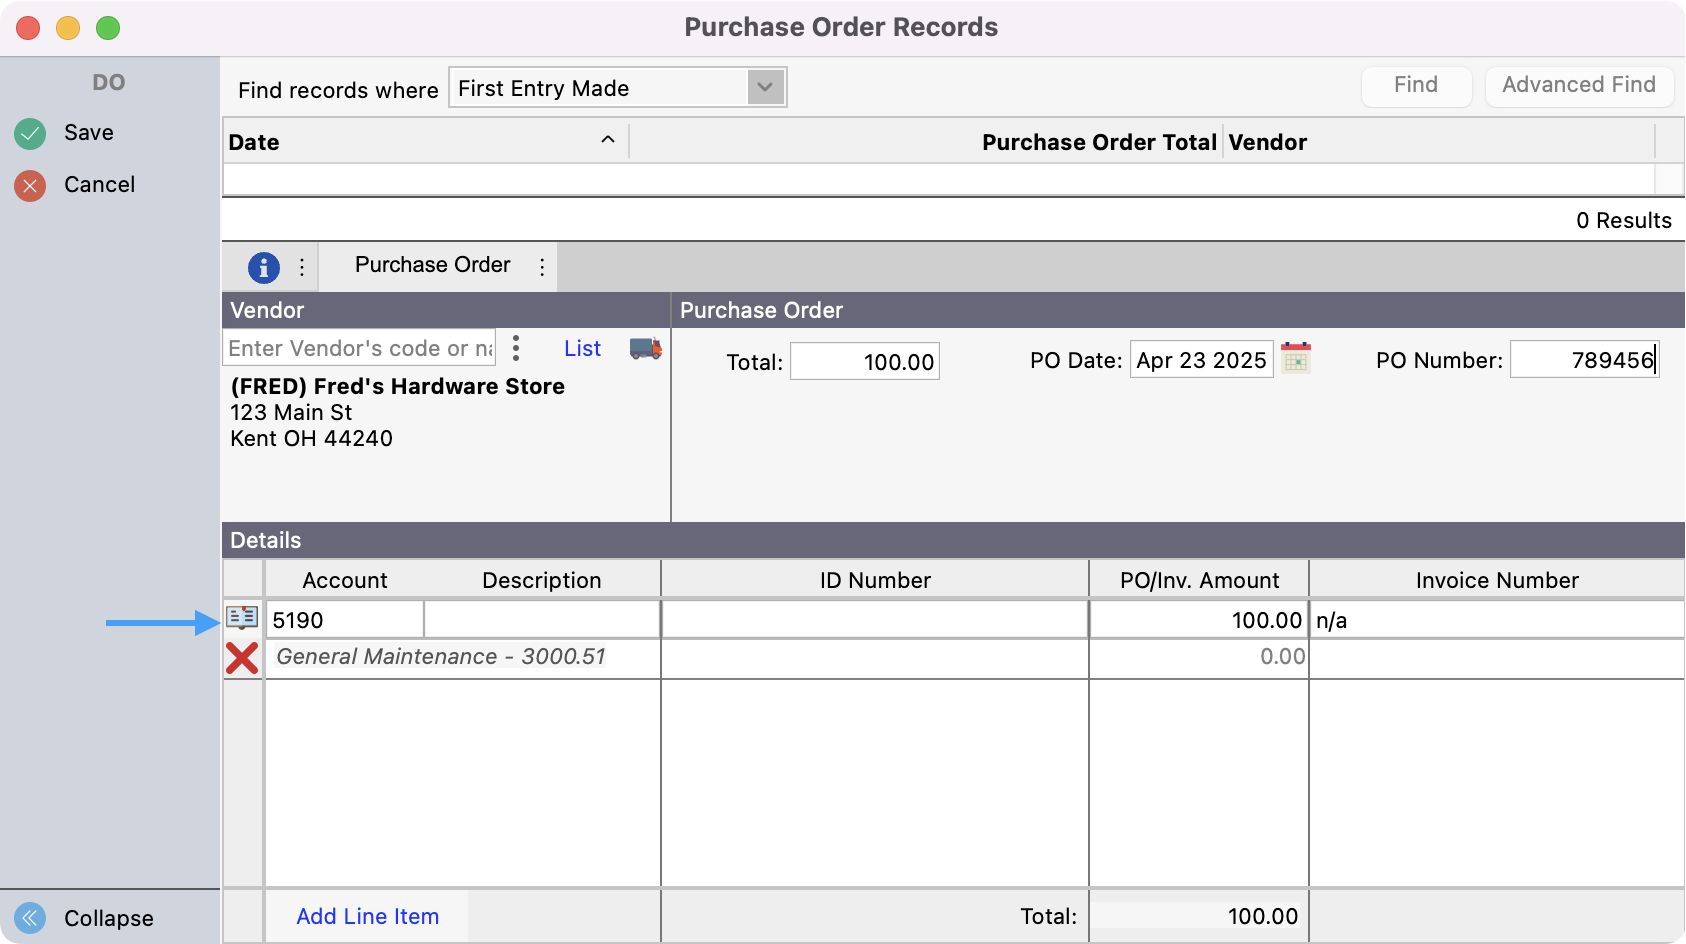
Press Tab again. If you have assigned a default expense Account number to this vendor, it will show in the Account field. If not, or if you need to change it from the default, click the book icon beside the Account field and double-click the Account number from which this invoice is to be paid.
-
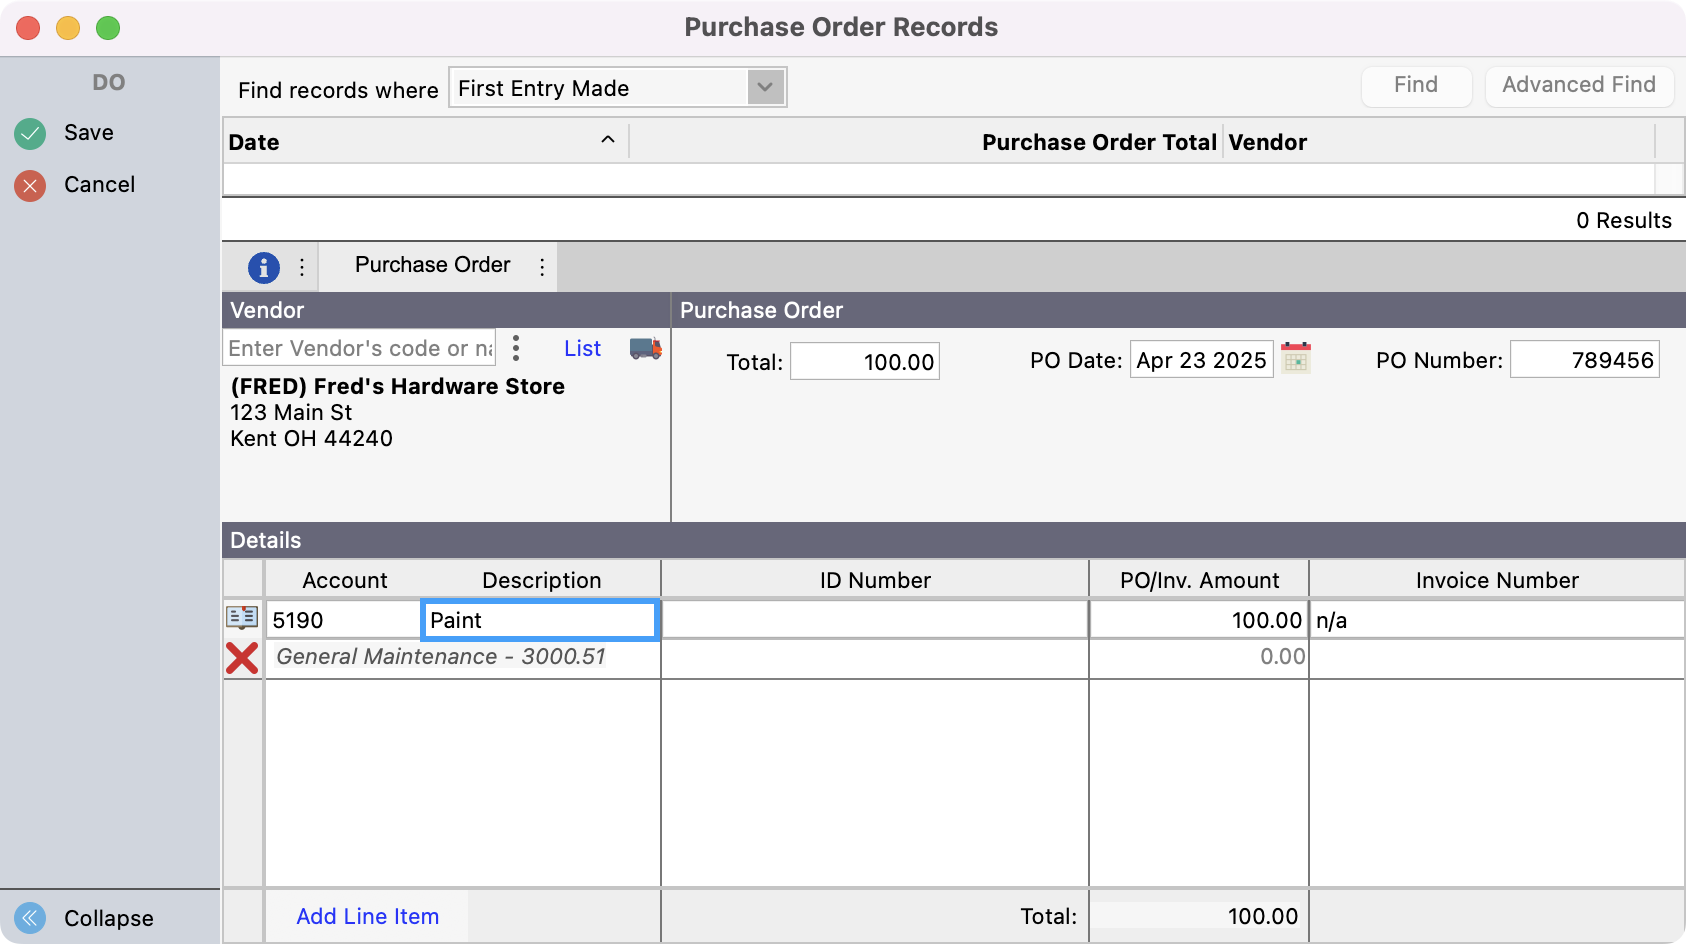
Press the Tab key and enter Description of purchase order.
-
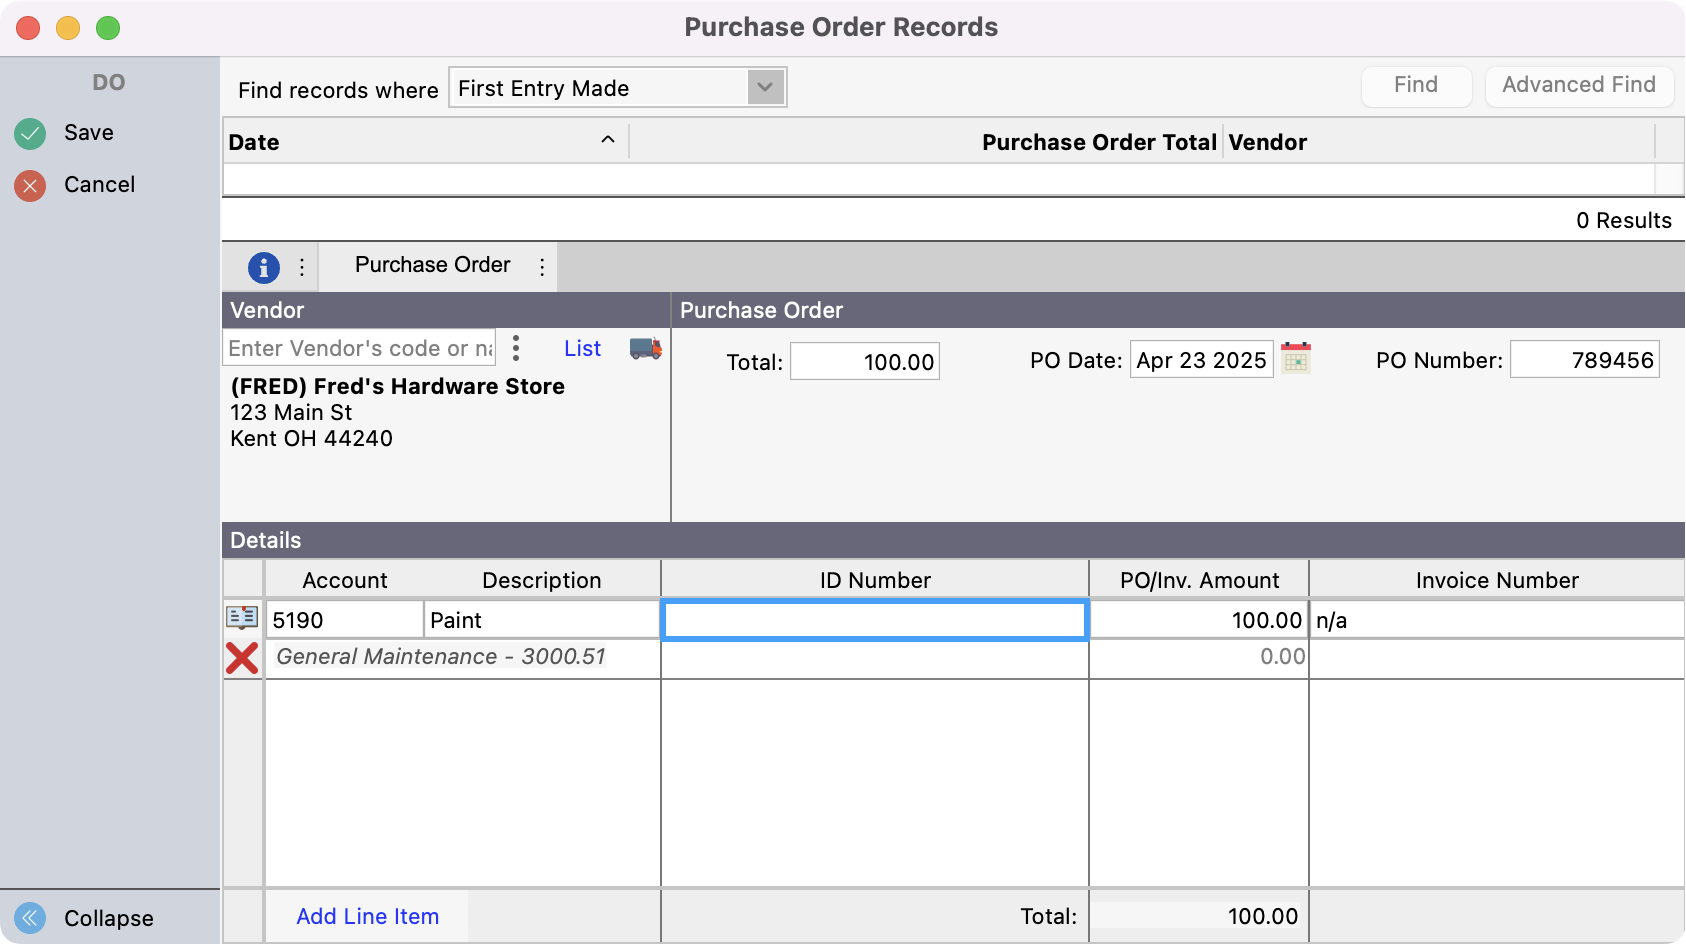
If you wish to identify this purchase order with a number or code, click into the ID Number field and enter your identifying number or code (e.g.—Each staff member could be assigned an ID#, and all their purchases could later be reported.)
-
Press the Tab key and enter Amount of the Purchase Order.
-
If you want, you may breakdown the purchase order to several line items. Line items may be assigned different expense account numbers within the same purchase order. To enter more line items, press Tab and repeat step 5-8 above.
-
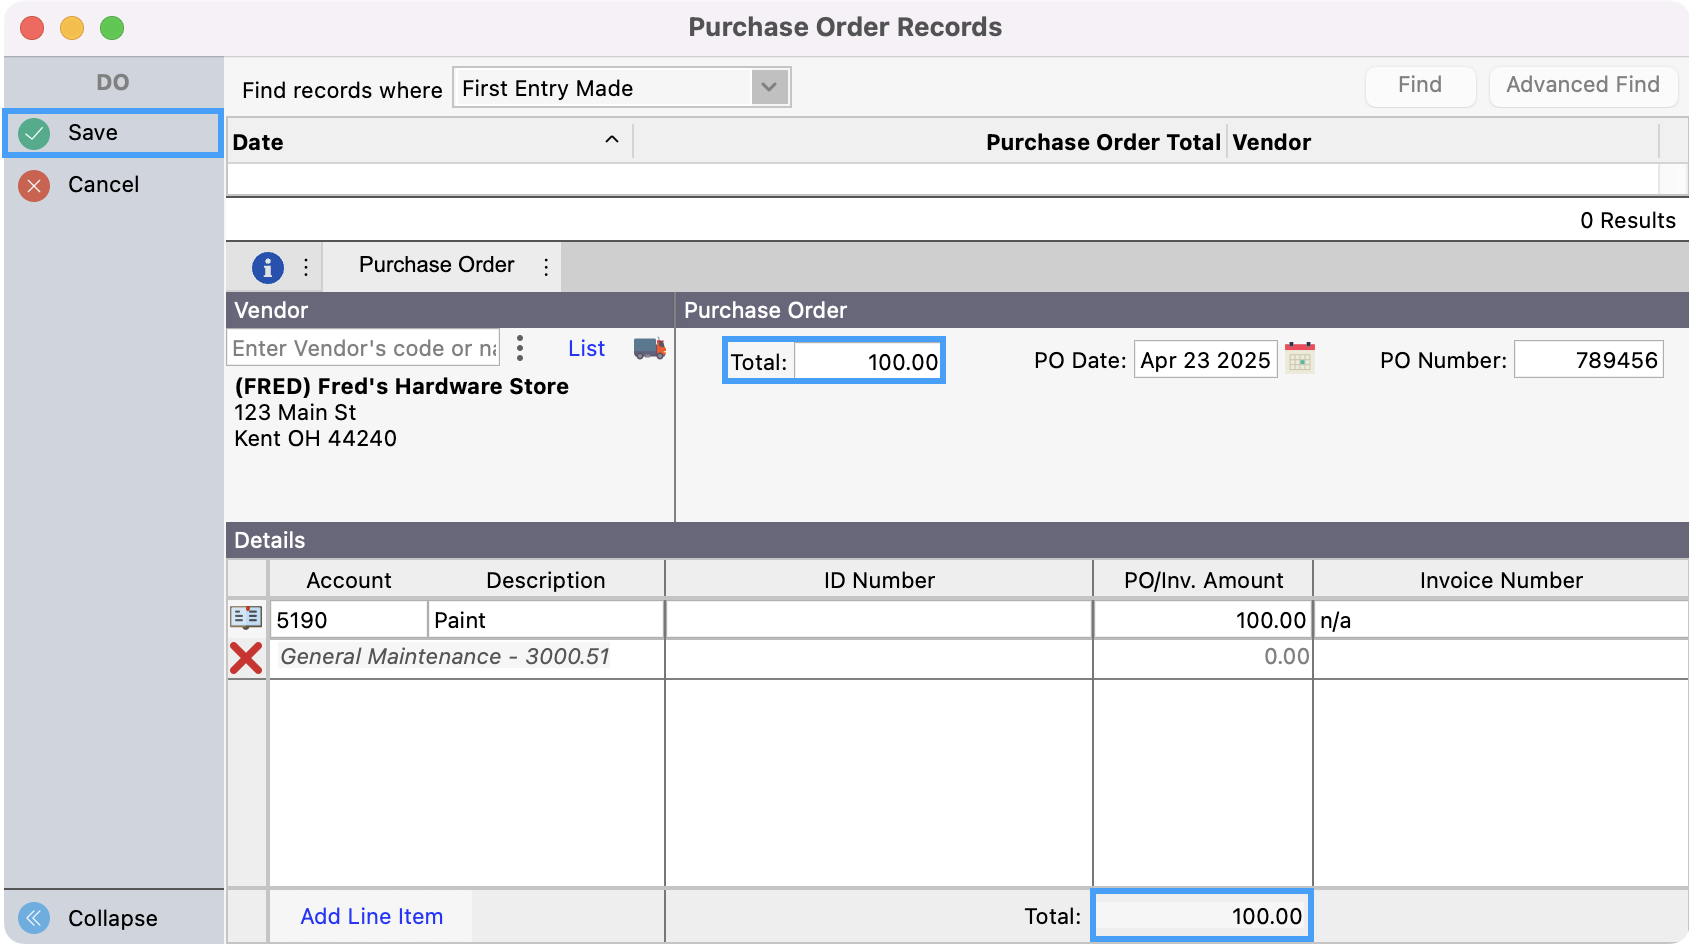
When you are finished with this purchase order, check that the Total field at the bottom agrees with the Total above. (If it doesn't it will display in red.) and press Return/Enter or click Save.