
The Bank Reconciliation function within CDM+ allows for a quick and easy way to mark which items have cleared the bank and which have not. After all the items that appear on the bank statement have been identified, then the program will provide a printout of all items that have not cleared the bank and indicate that the system is in balance with the bank statement.
-
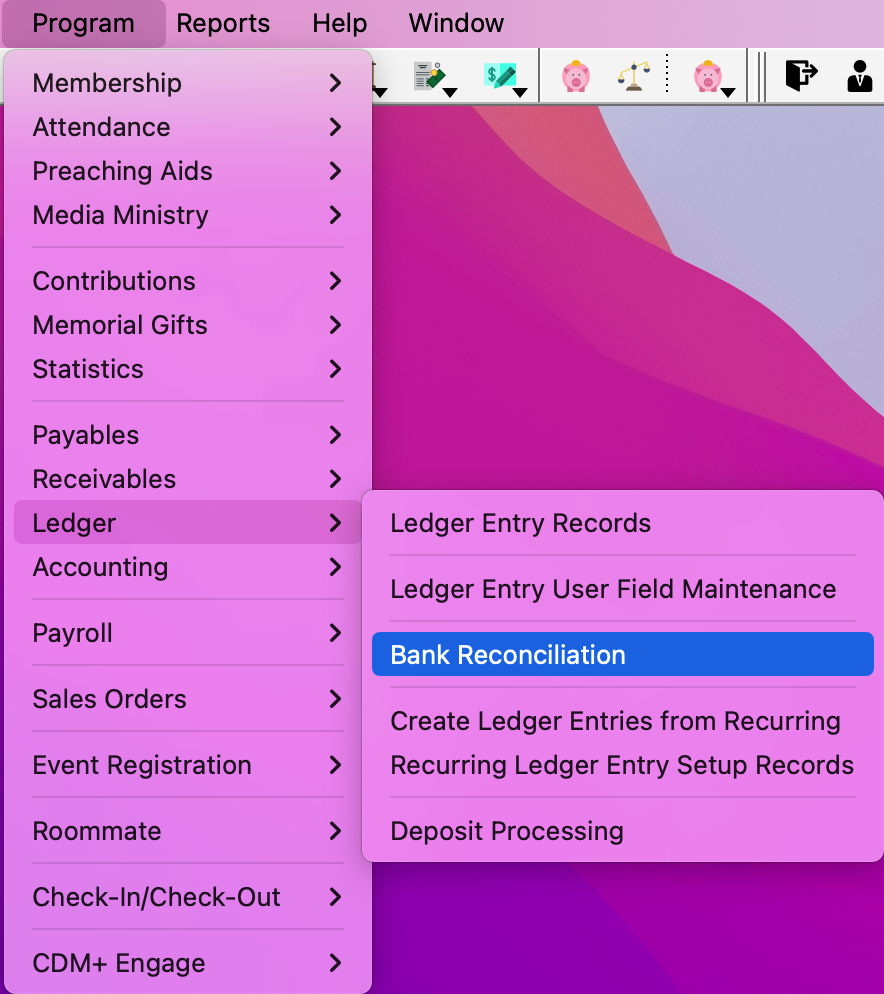
Go to Program → Ledger → Bank Reconciliation.
-
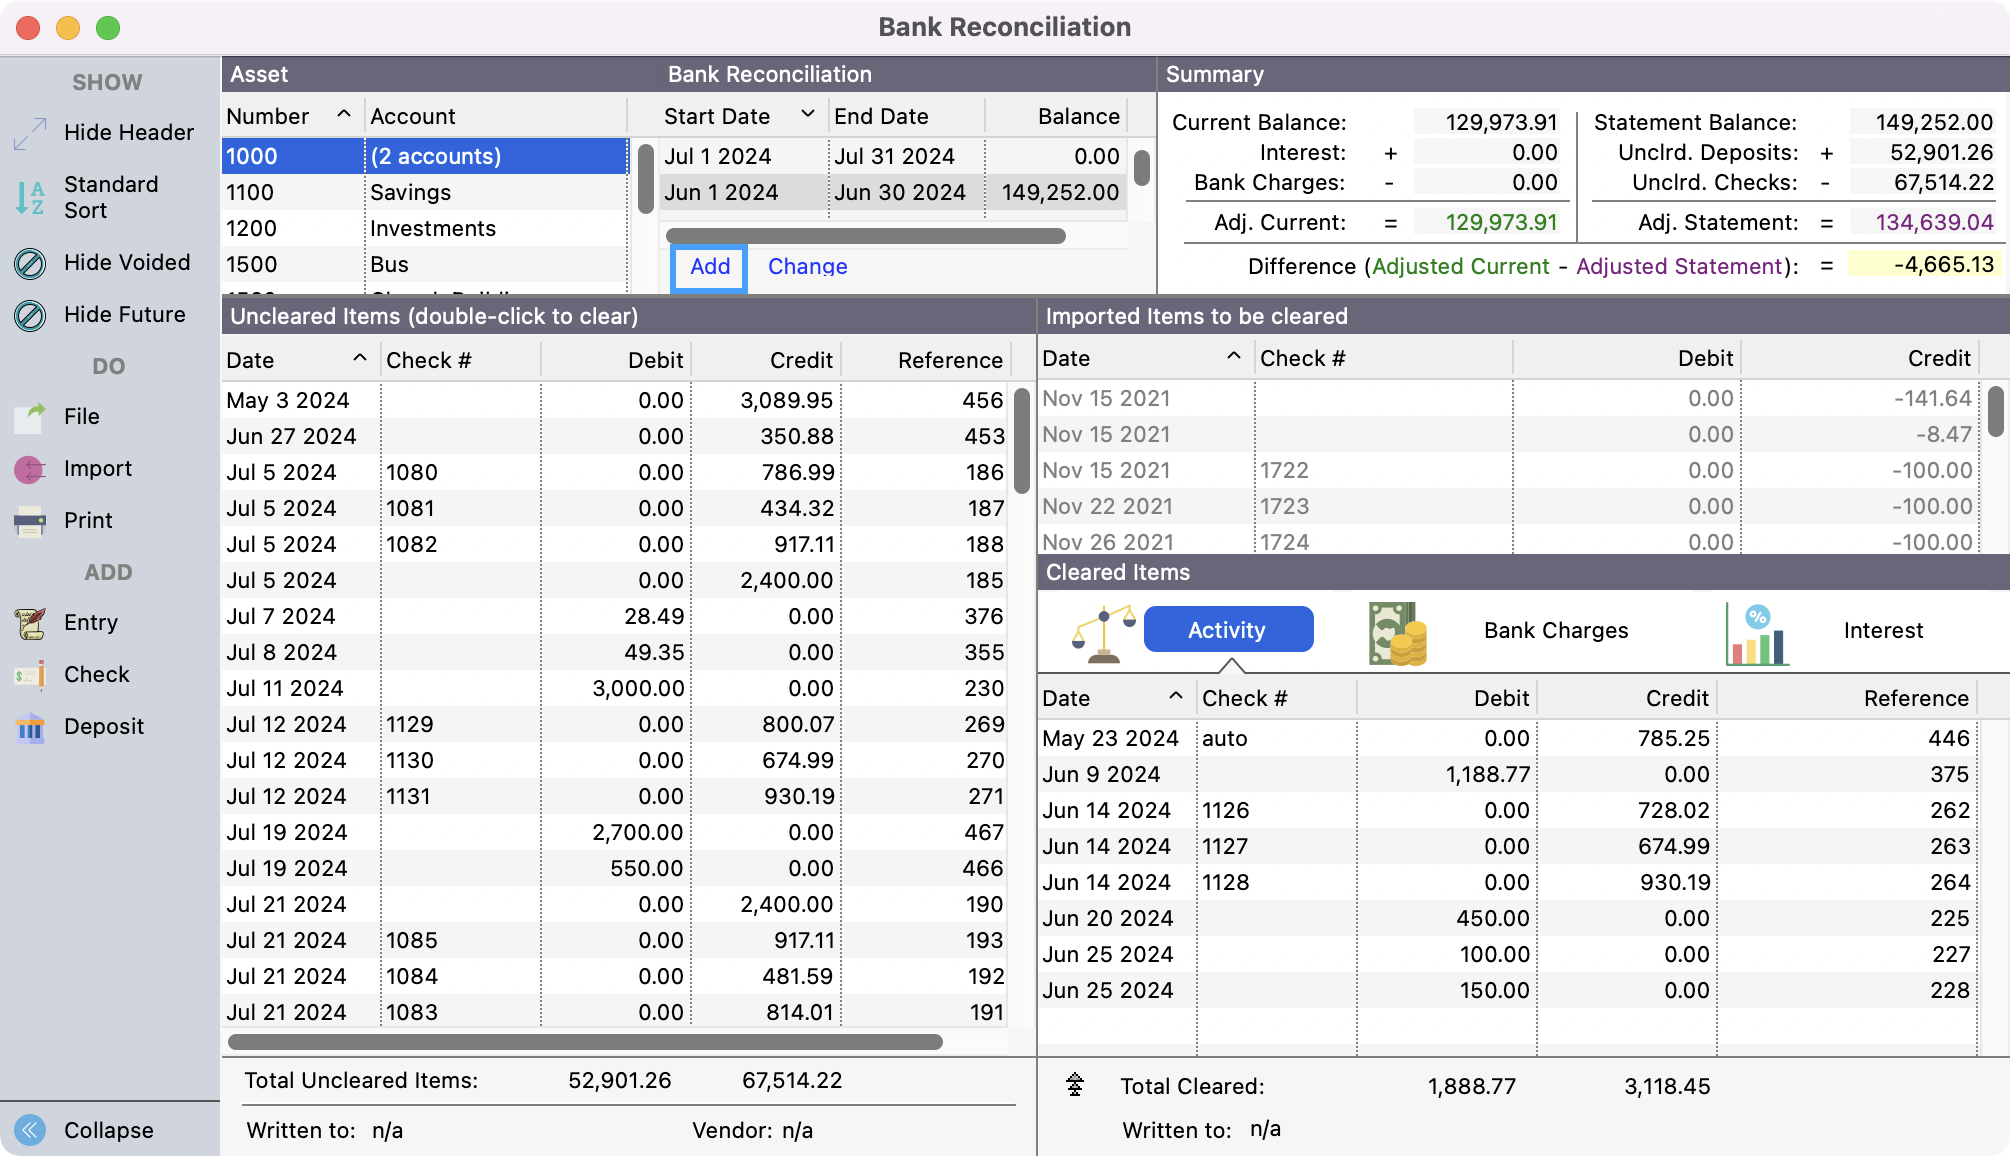
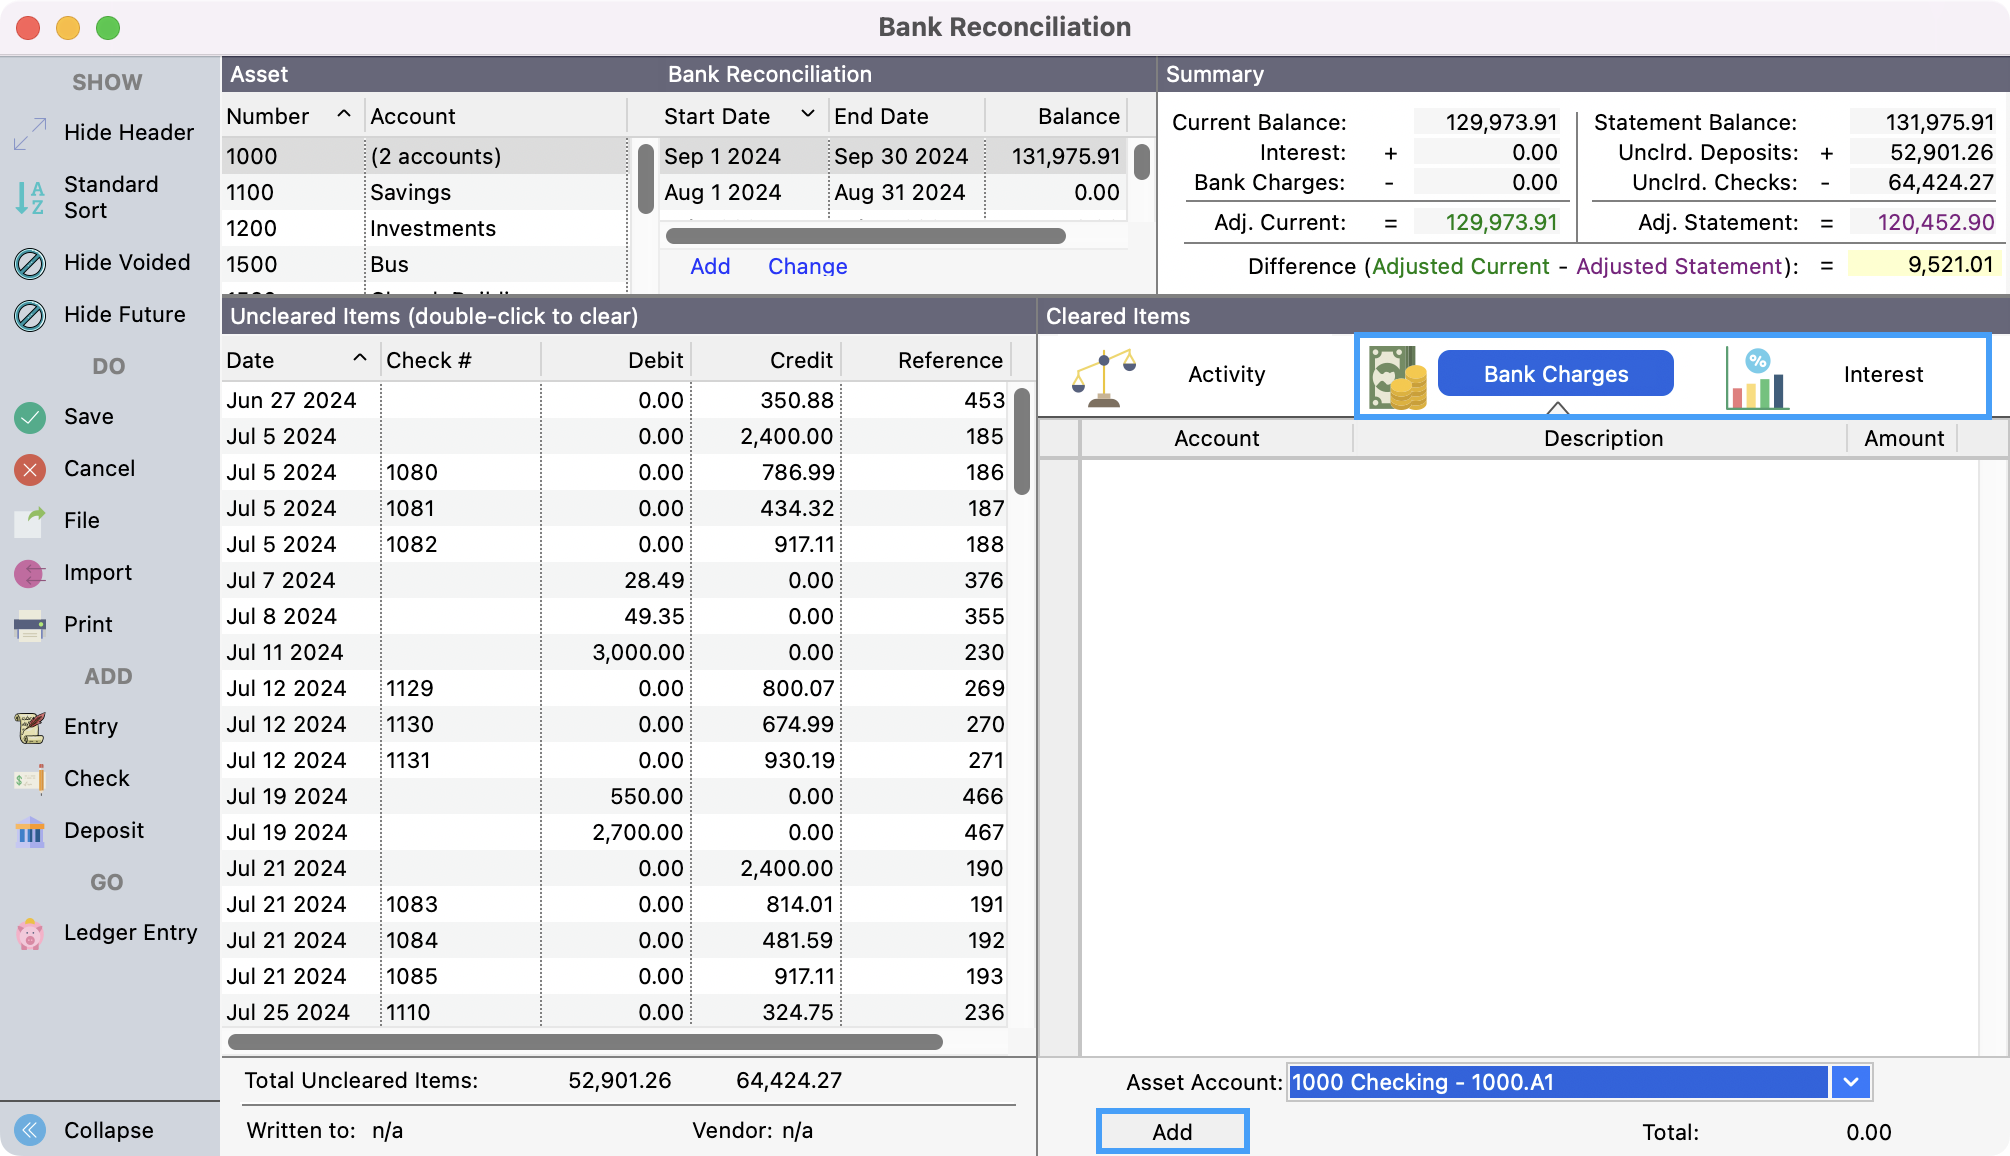
Click the small Add button to start a new Bank Reconciliation session.
-
Choose the asset to be reconciled from the drop list. CDM+ will automatically display the first day after the date of the last bank reconciliation and an ending date one month later. Enter the ending bank balance. Click OK.
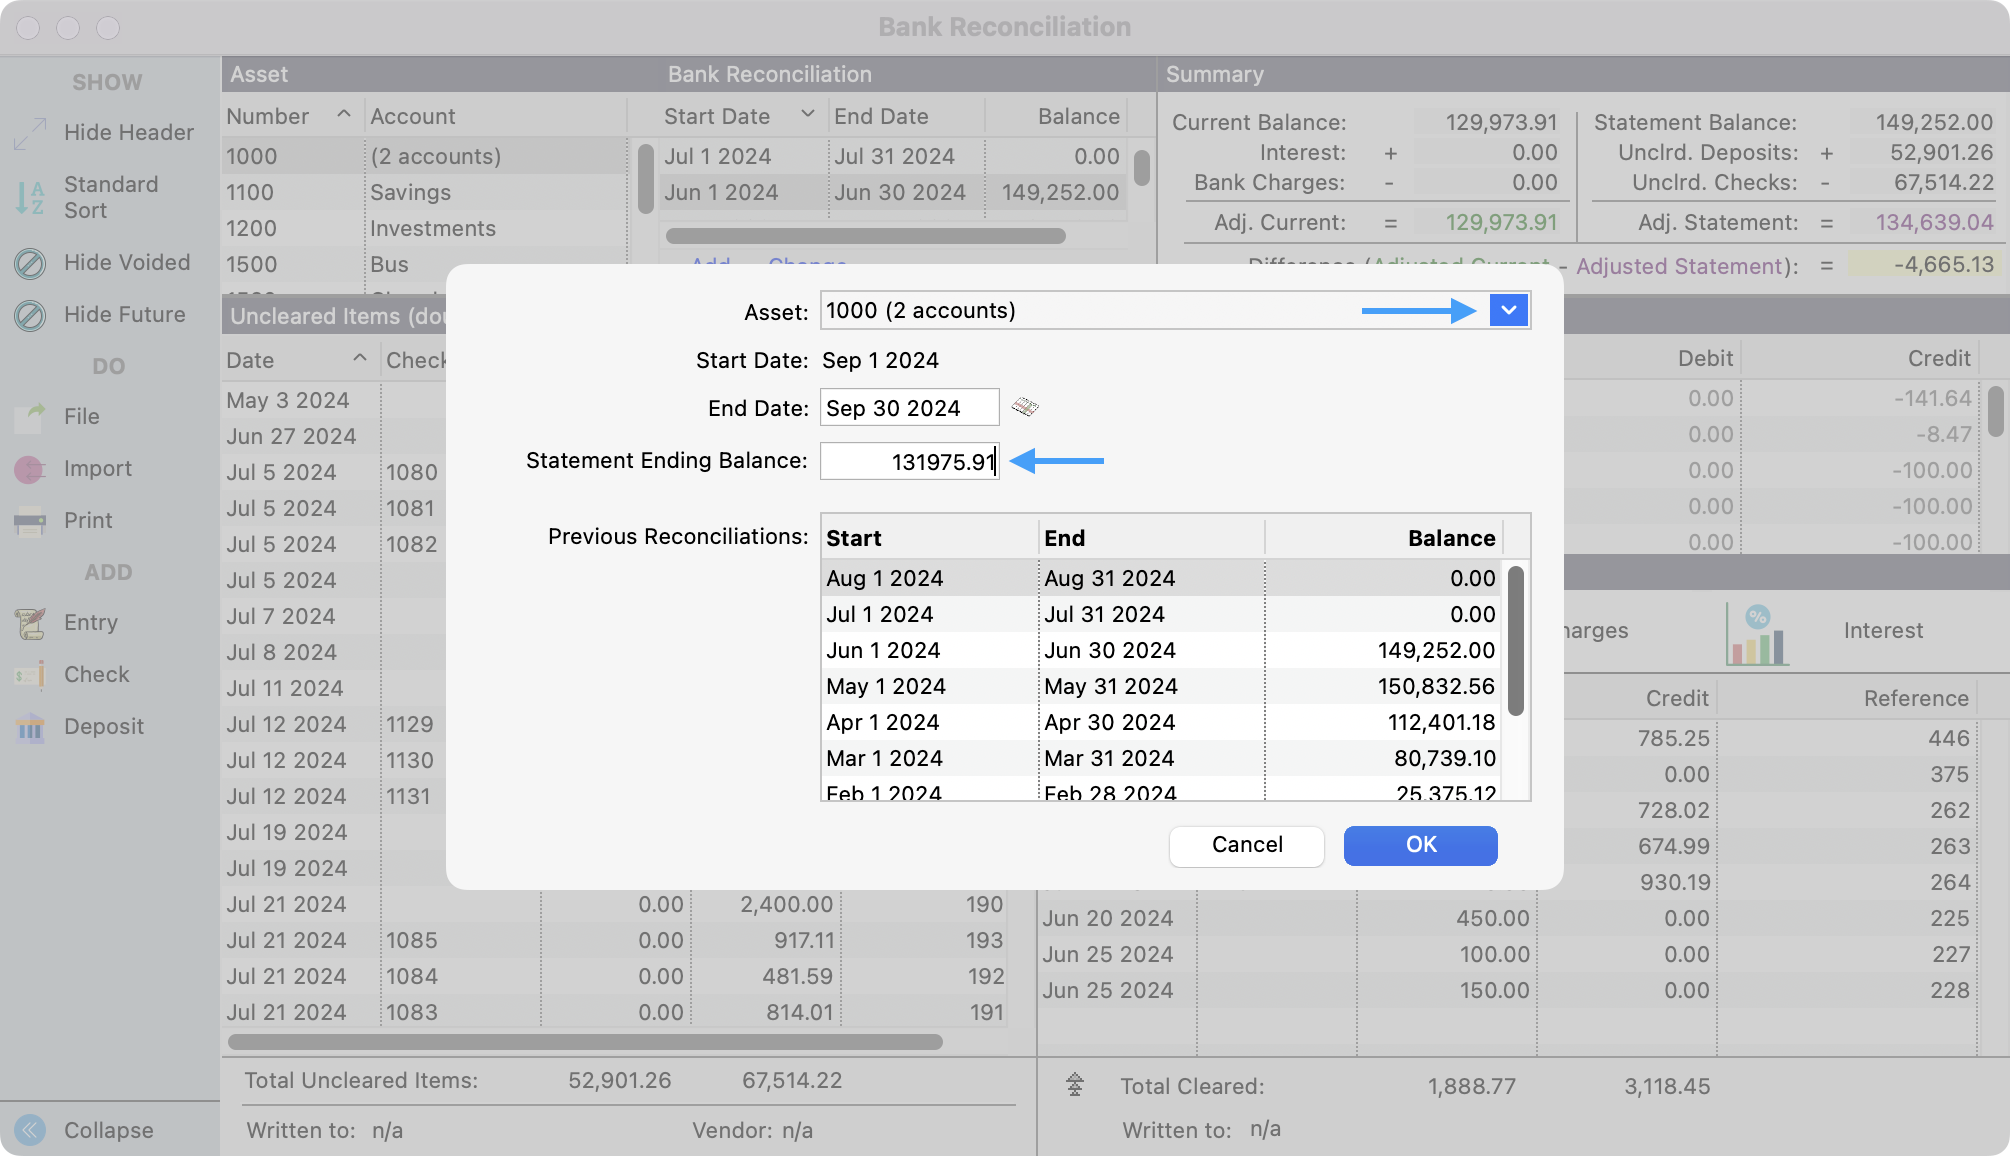
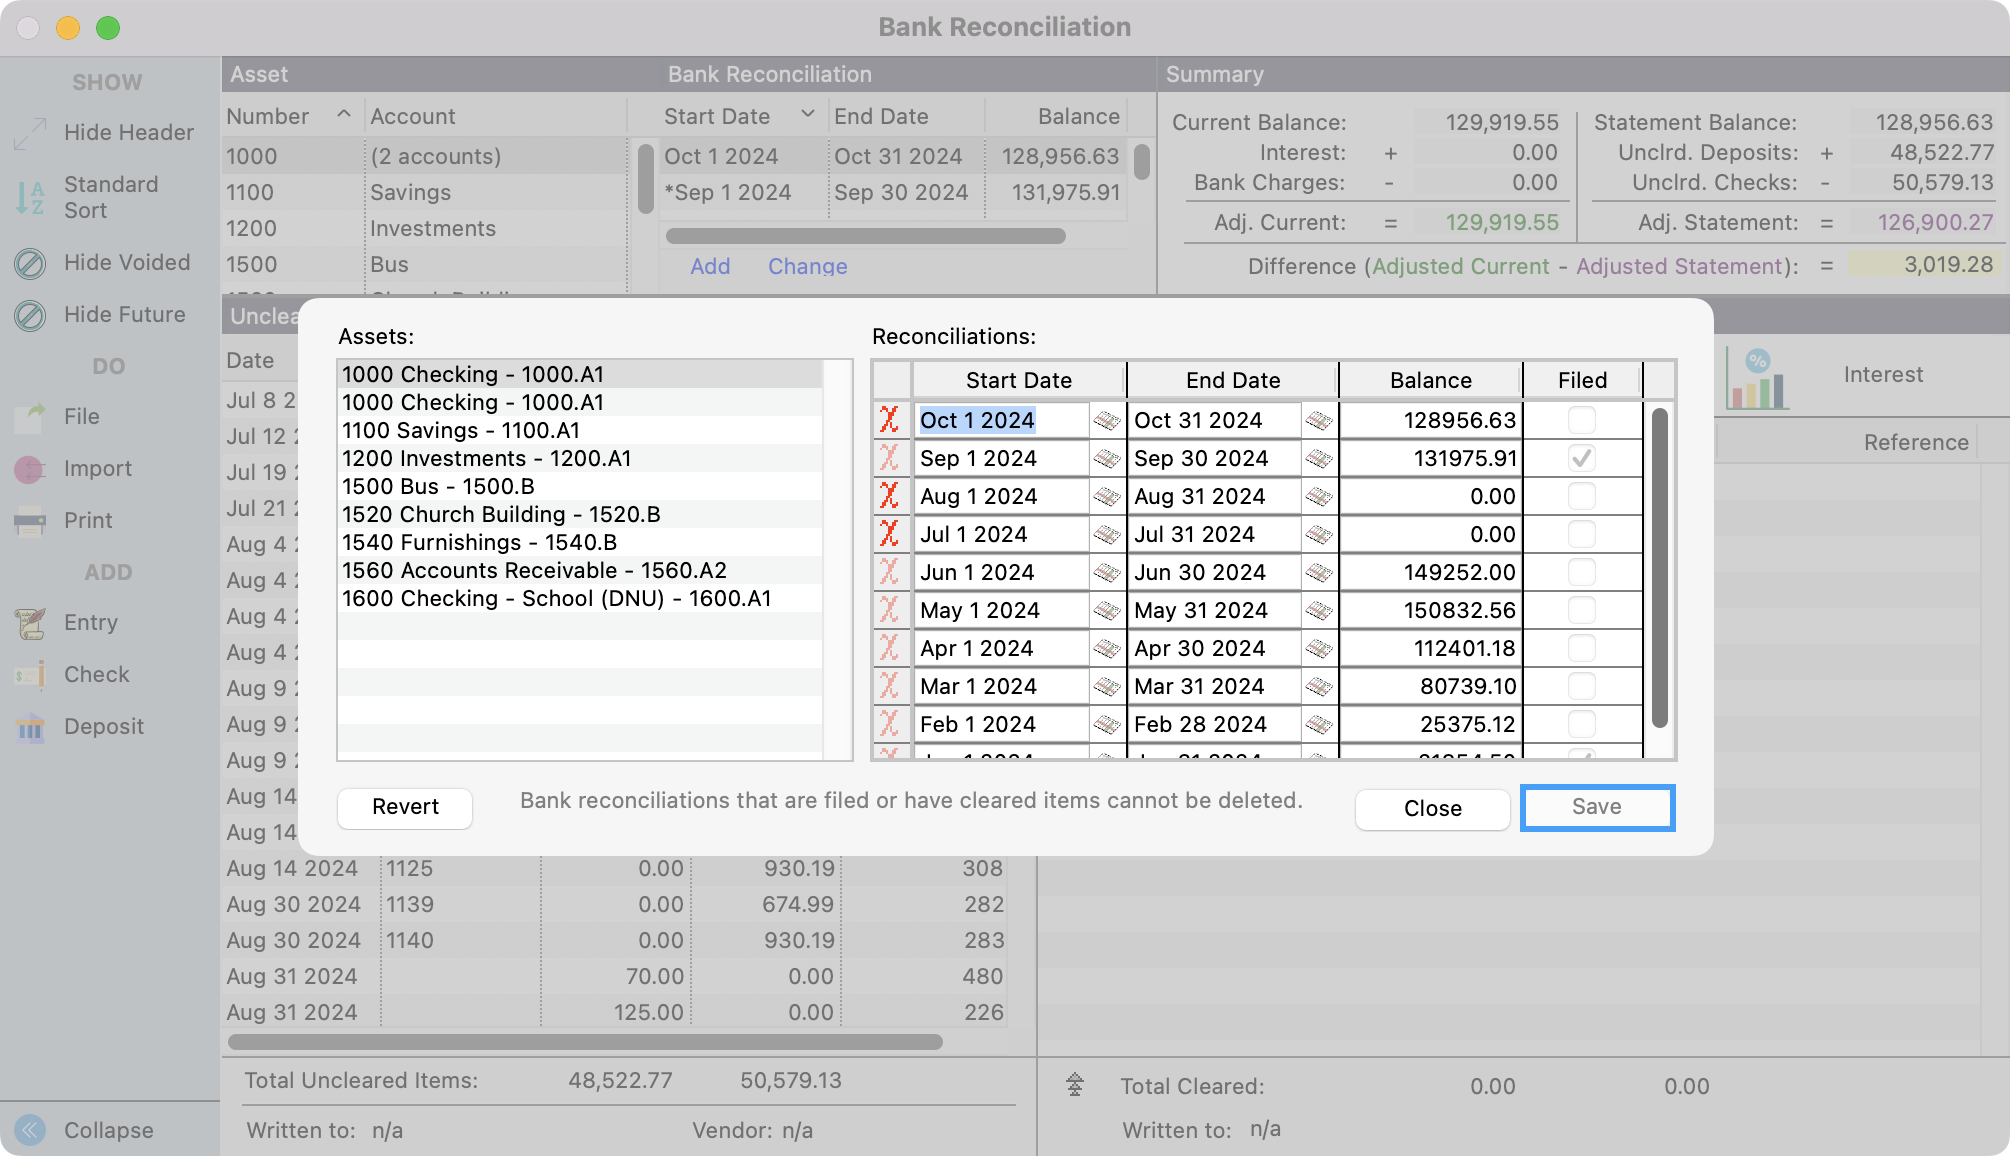
To over ride the start and end dates, select the Bank Reconciliation from the list and click Change.
From here you can make the changes that you need and click Save.
-
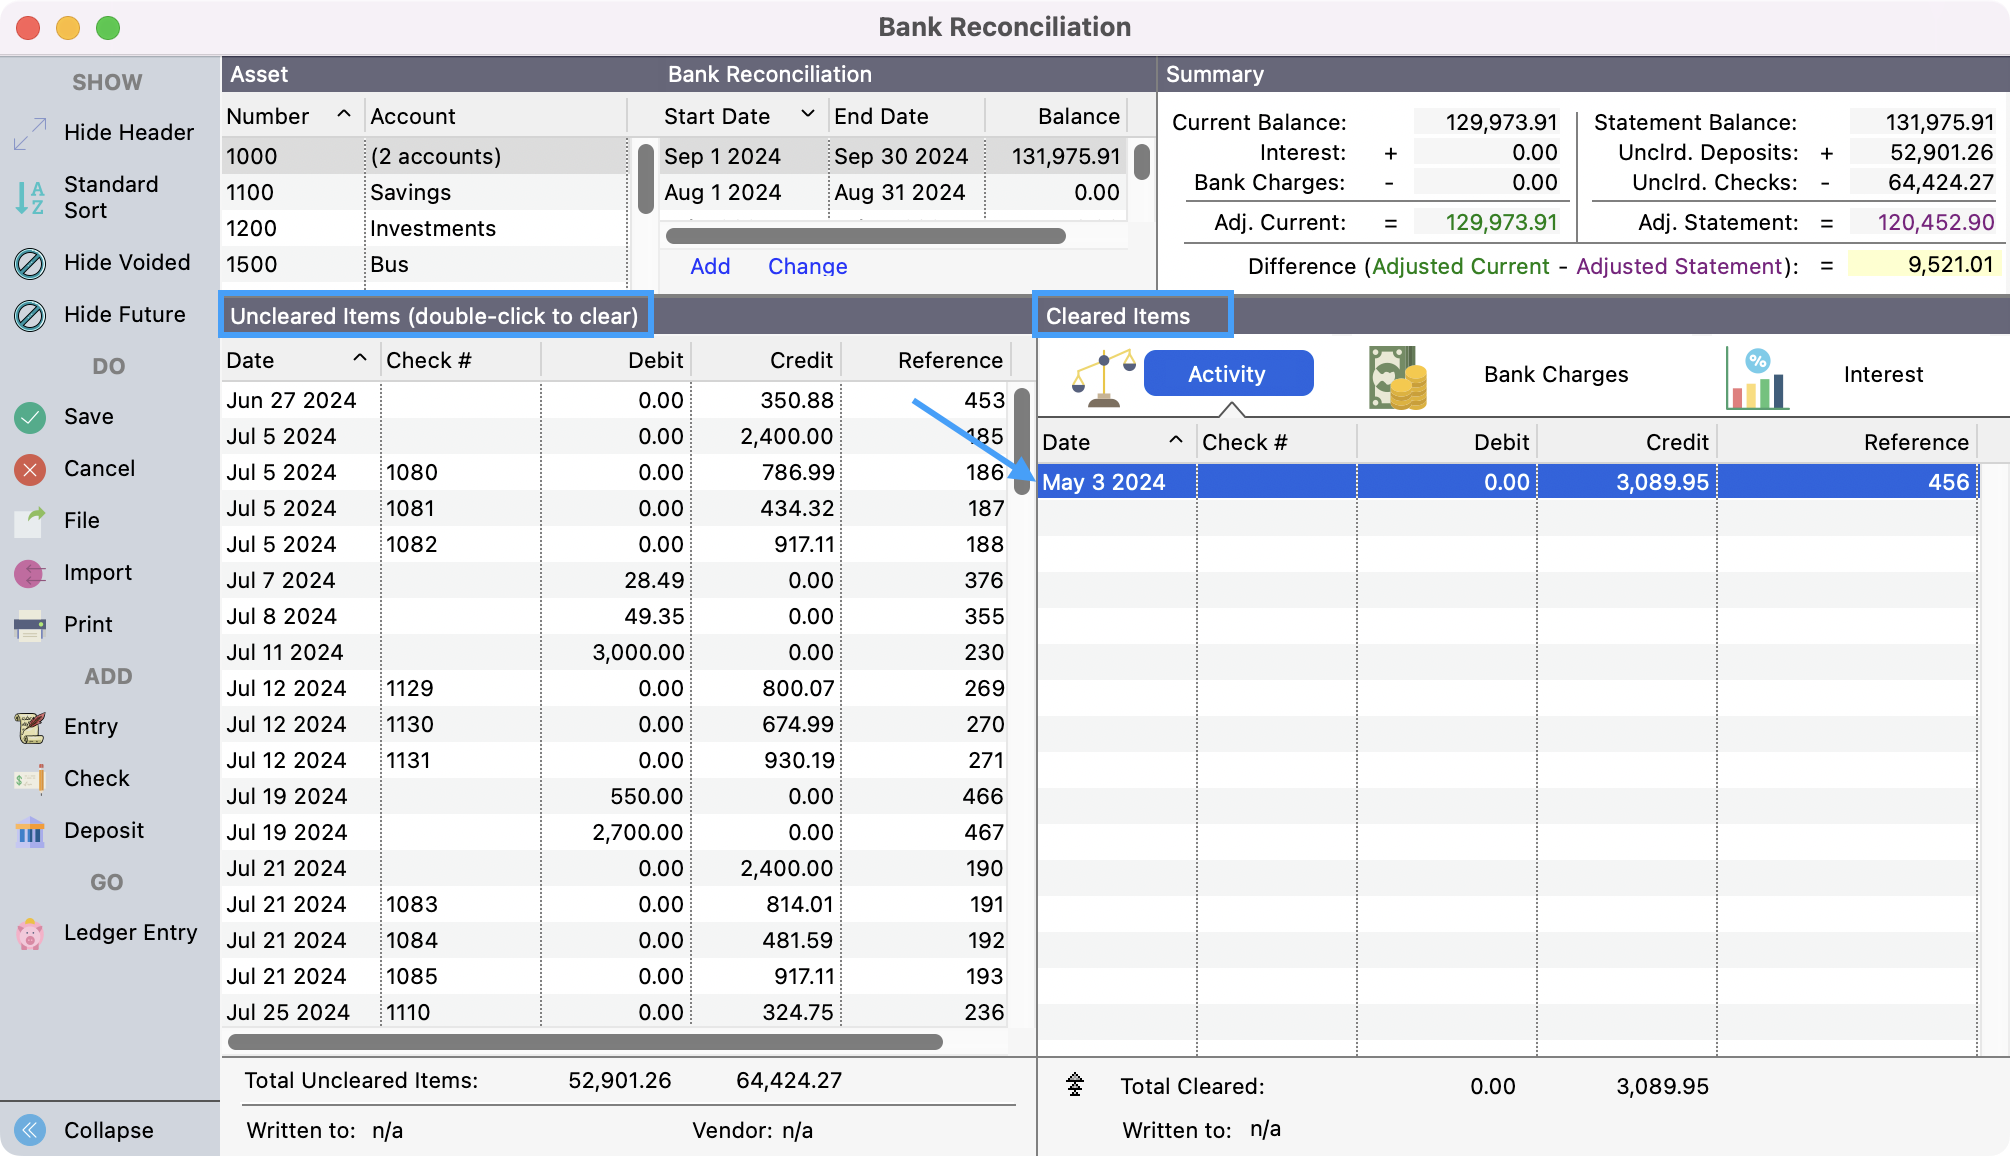
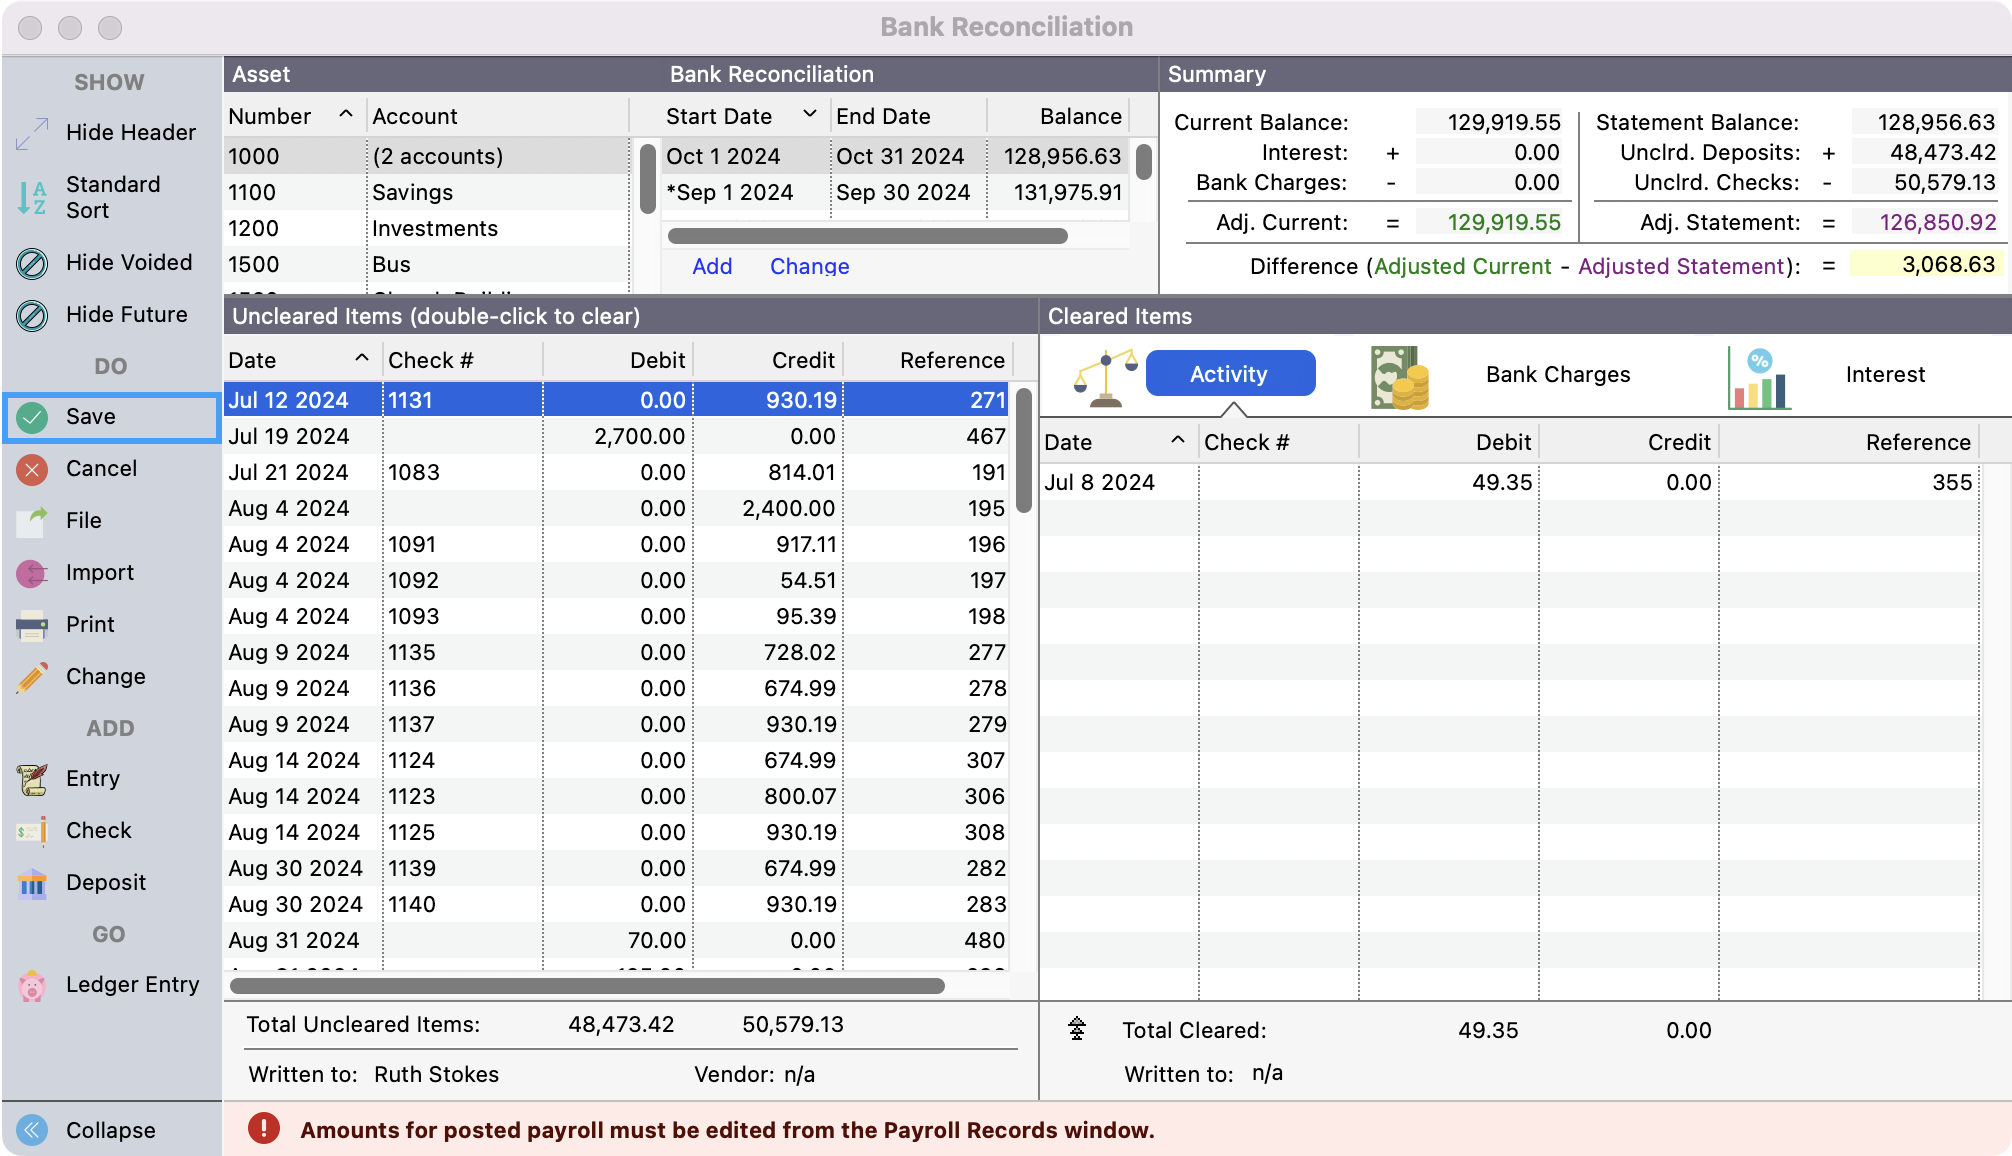
Double-click the Uncleared Items on the left-hand list to move them to the Cleared Items list on the right. If you select the wrong line, double-clicking it again will bring it back to the Uncleared Items' side.
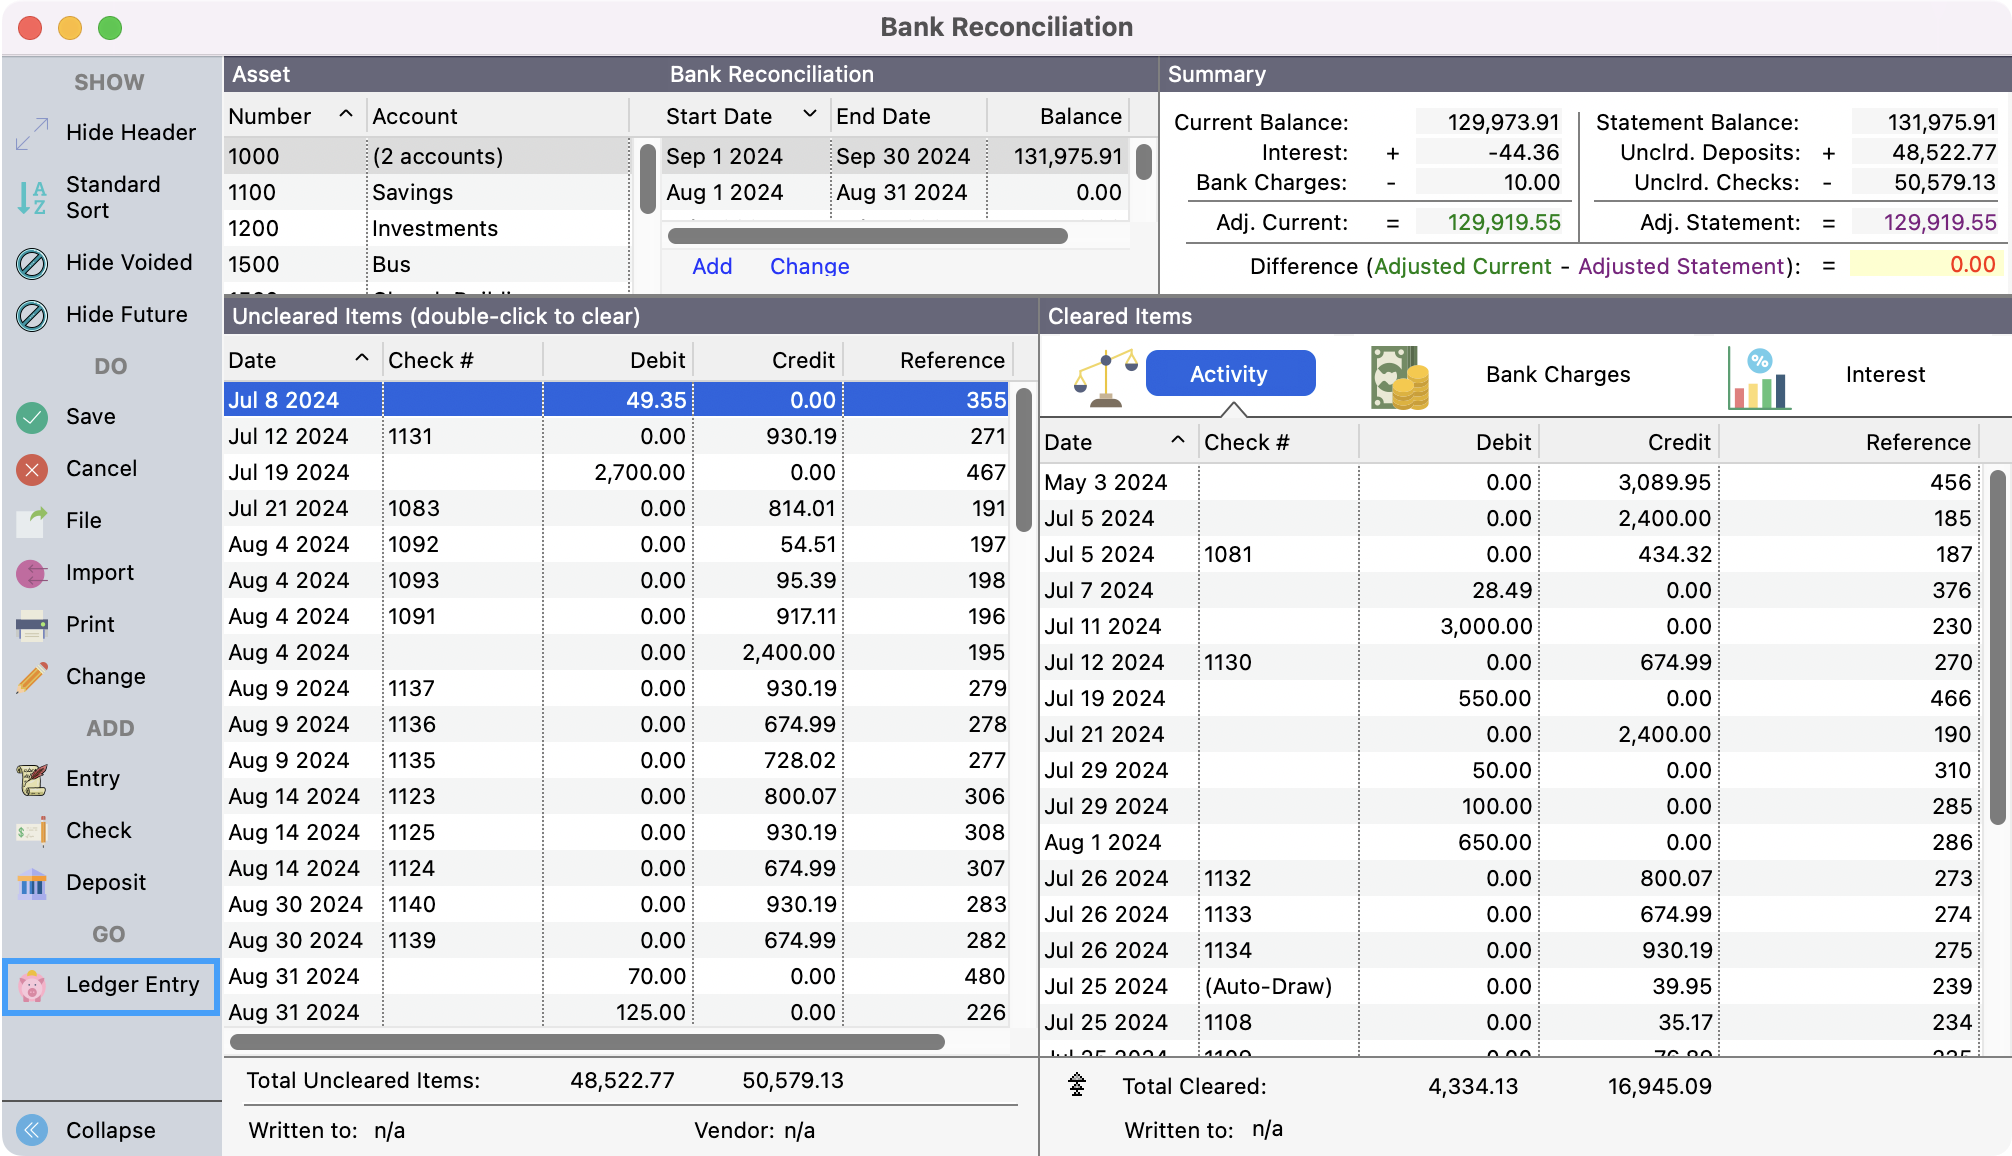
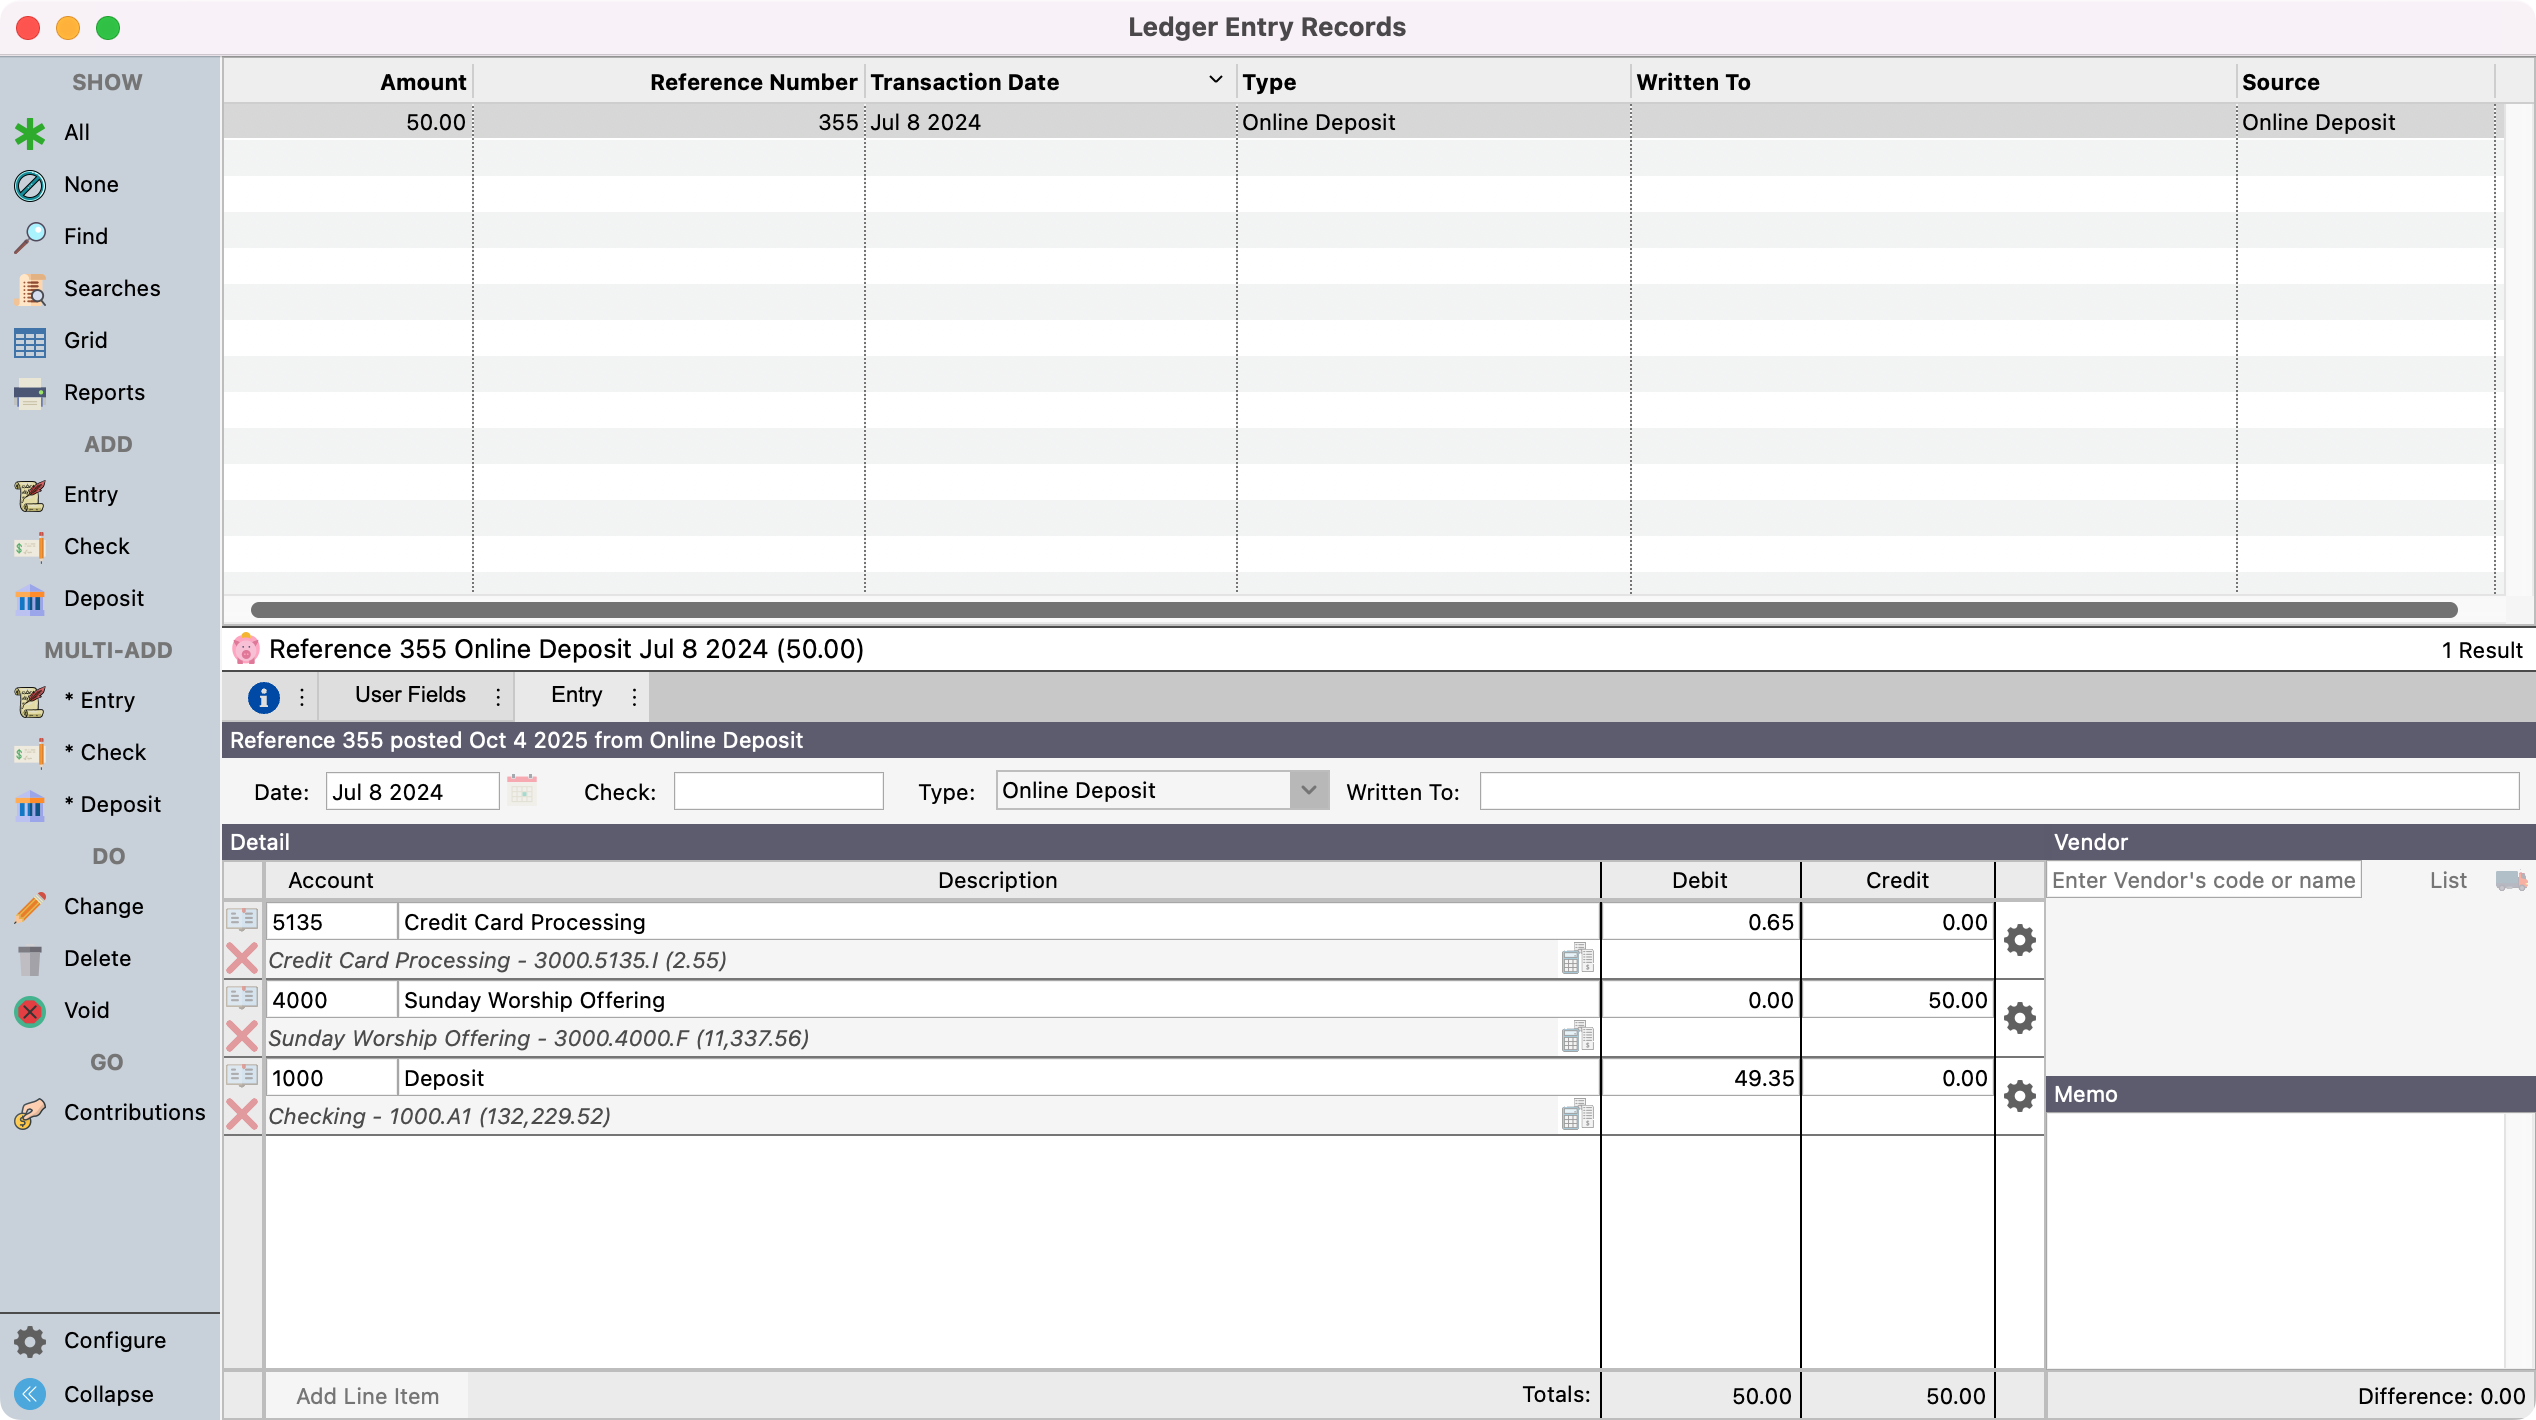
You can view the actual ledger transaction by highlighting a line and clicking Ledger Entry from the left sidebar.
-
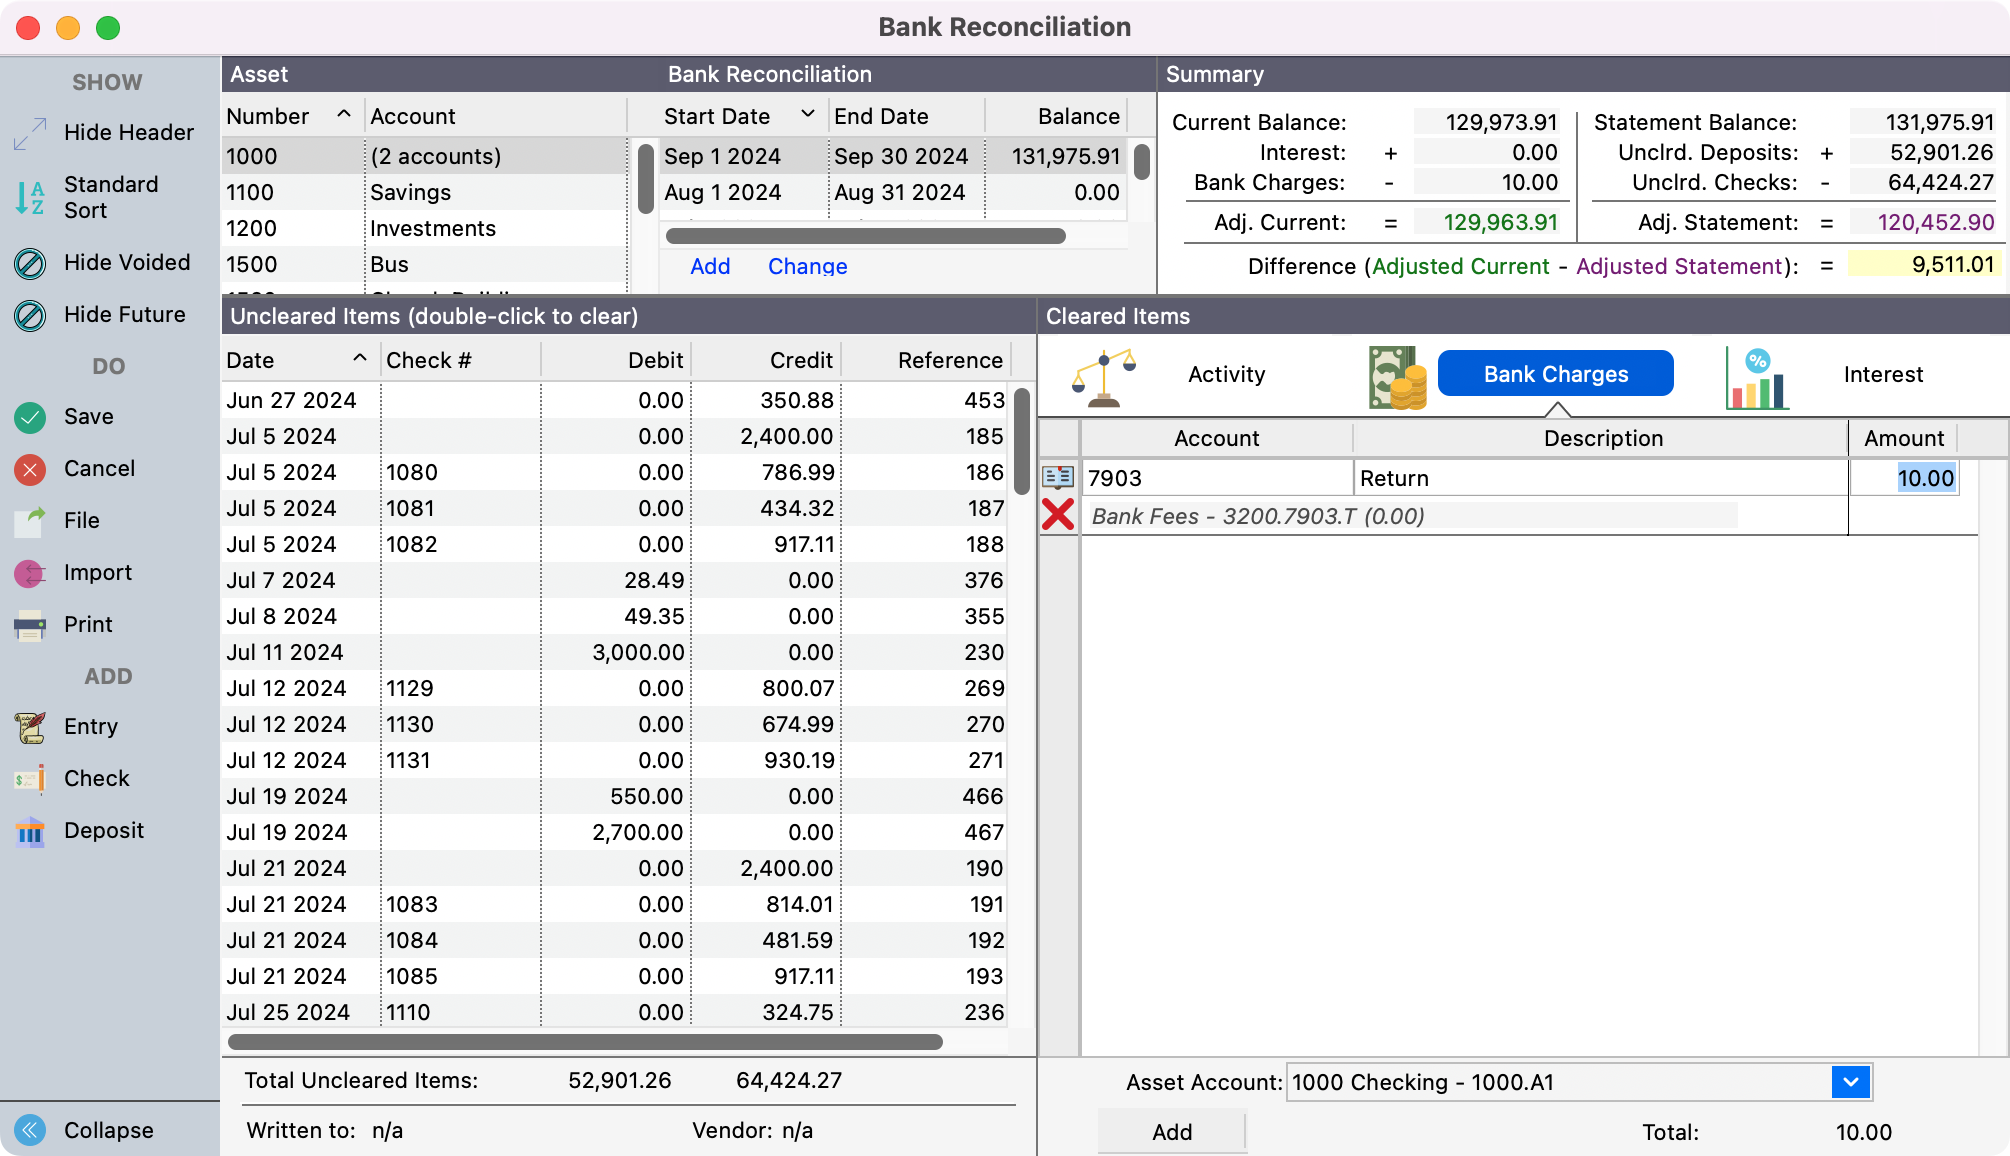
Enter any Bank Charges and Interest under the appropriate tabs on the right. Click Add to add a row to make the entry.
You can Save a session at any time.
-
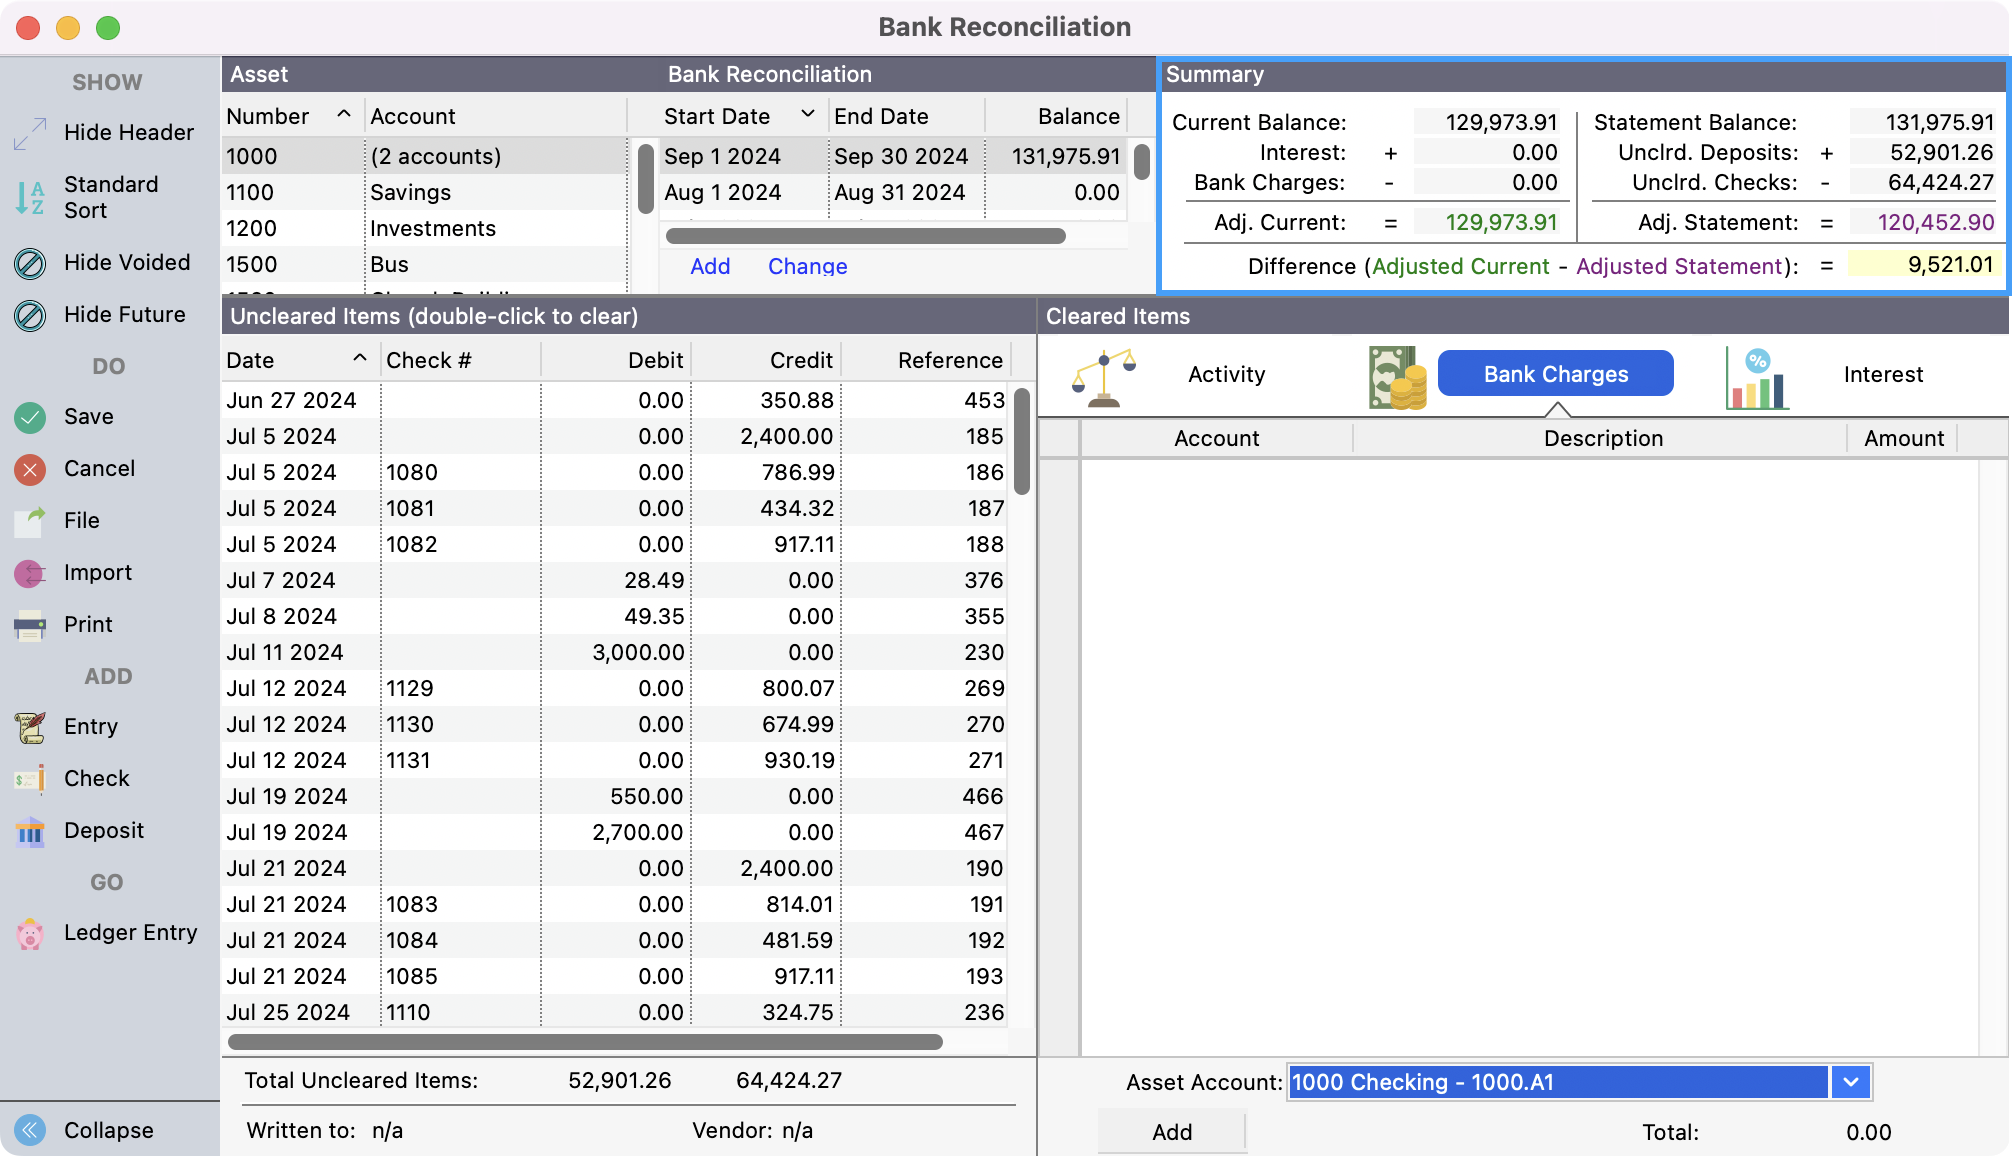
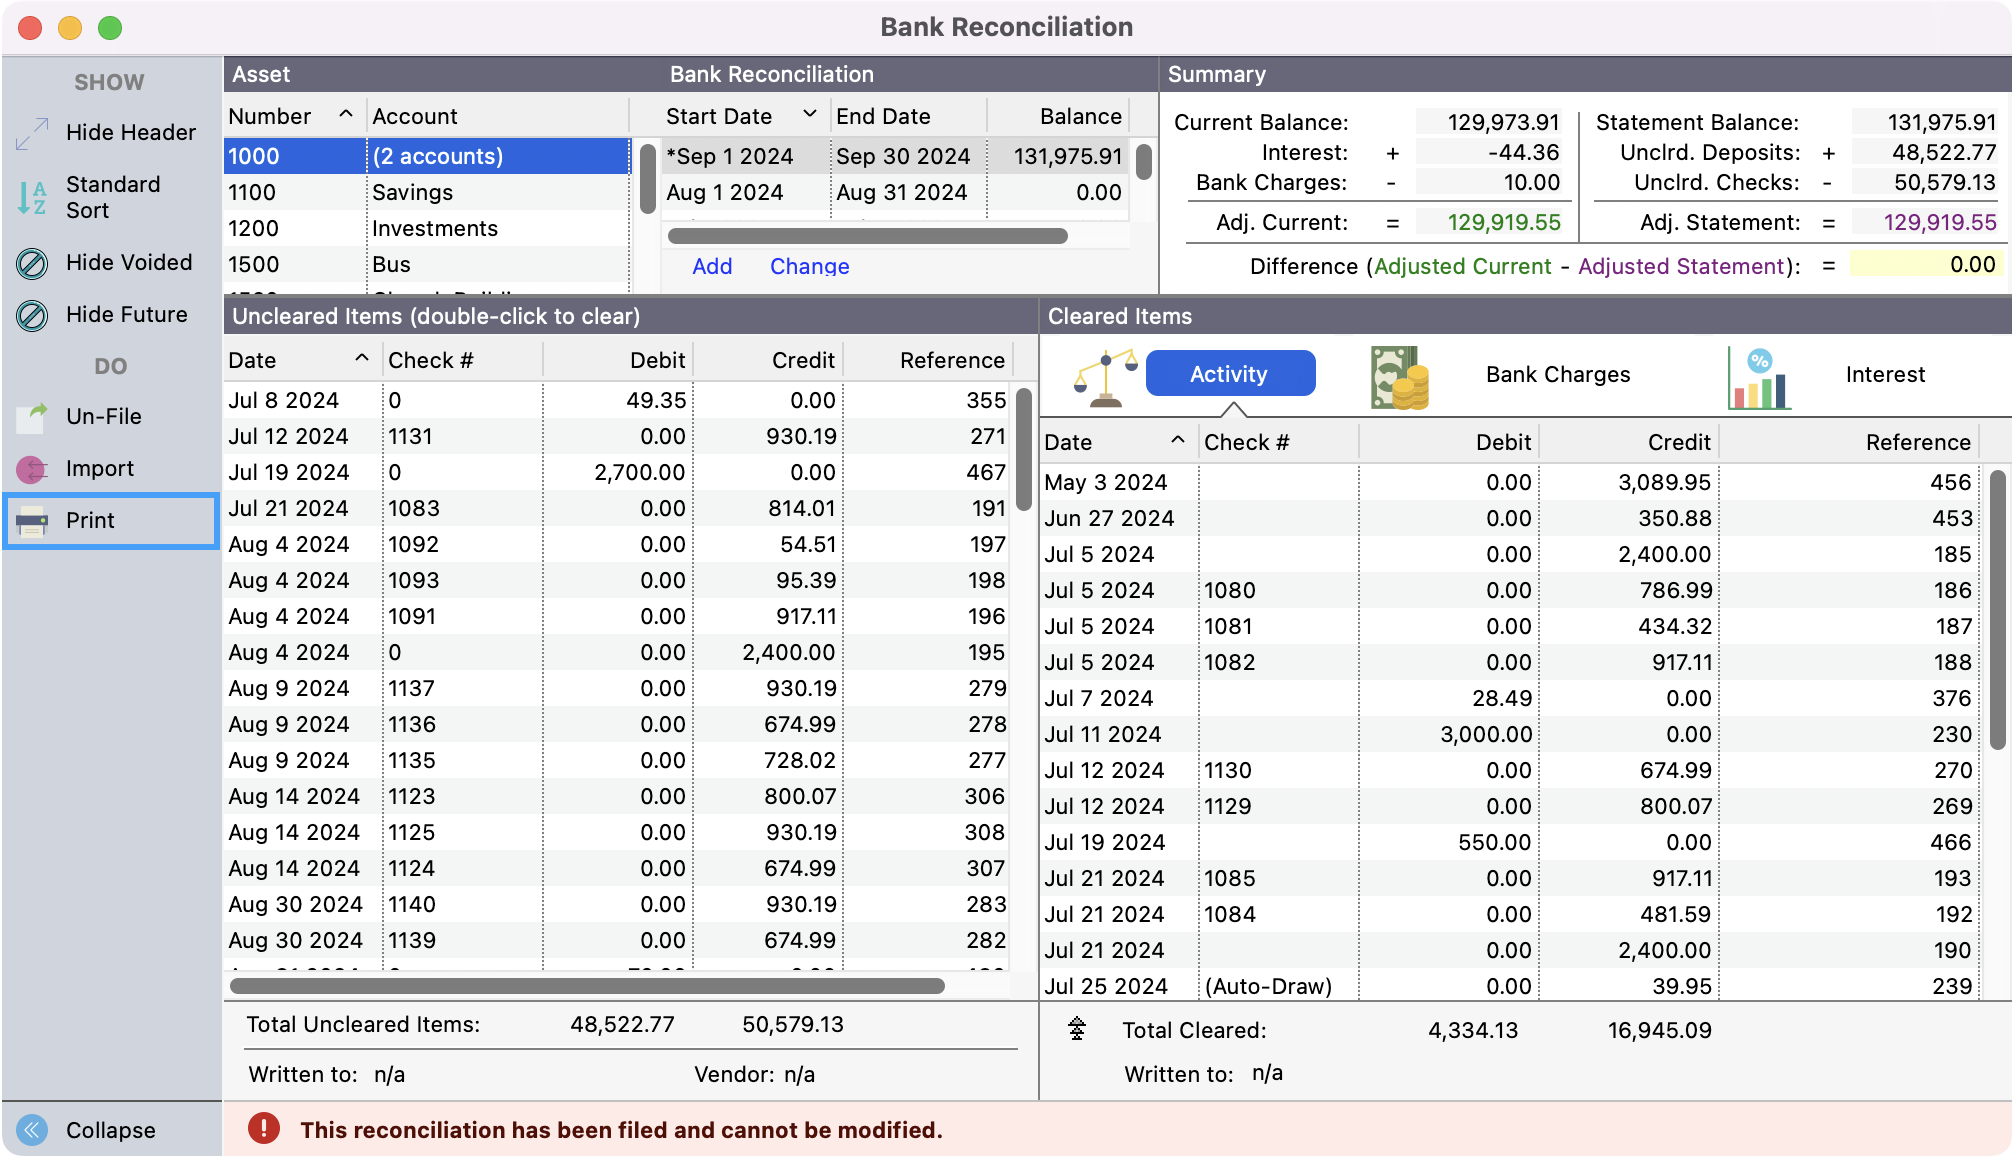
During the marking of transactions, CDM+ will display at the top right the status of your bank reconciliation session.
-
The Statement Balance is the amount the user entered in on the initial window.
-
The Current Balance is the balance CDM+ maintains from each transaction.
-
The Reconciliation Balance is the Statement Balance plus the total of non-cleared Debits less non-cleared Credits.
-
Total non-cleared Debits and Credits include all non-cleared items in CDM+. If you have the Hide Items After a Certain Date selected, the list does not show items past that date, but the total non-cleared line does.
-
As you click on items, the Reconciliation Balance will change and the Difference between the Statement Balance and the Current Balance will be updated. The goal of the reconciliation is for the difference to be zero.

If the Difference is a positive number, it means you show more money than the bank and there are probably cleared checks or bank charges missing or not marked as cleared in CDM+. If the Difference is a negative number, it means you show less money than the bank and there are probably cleared deposits or interest payments missing or not marked as cleared in CDM+. Clearing credits (checks) reduces the Difference and clearing debits (deposits) increases the Difference.
-
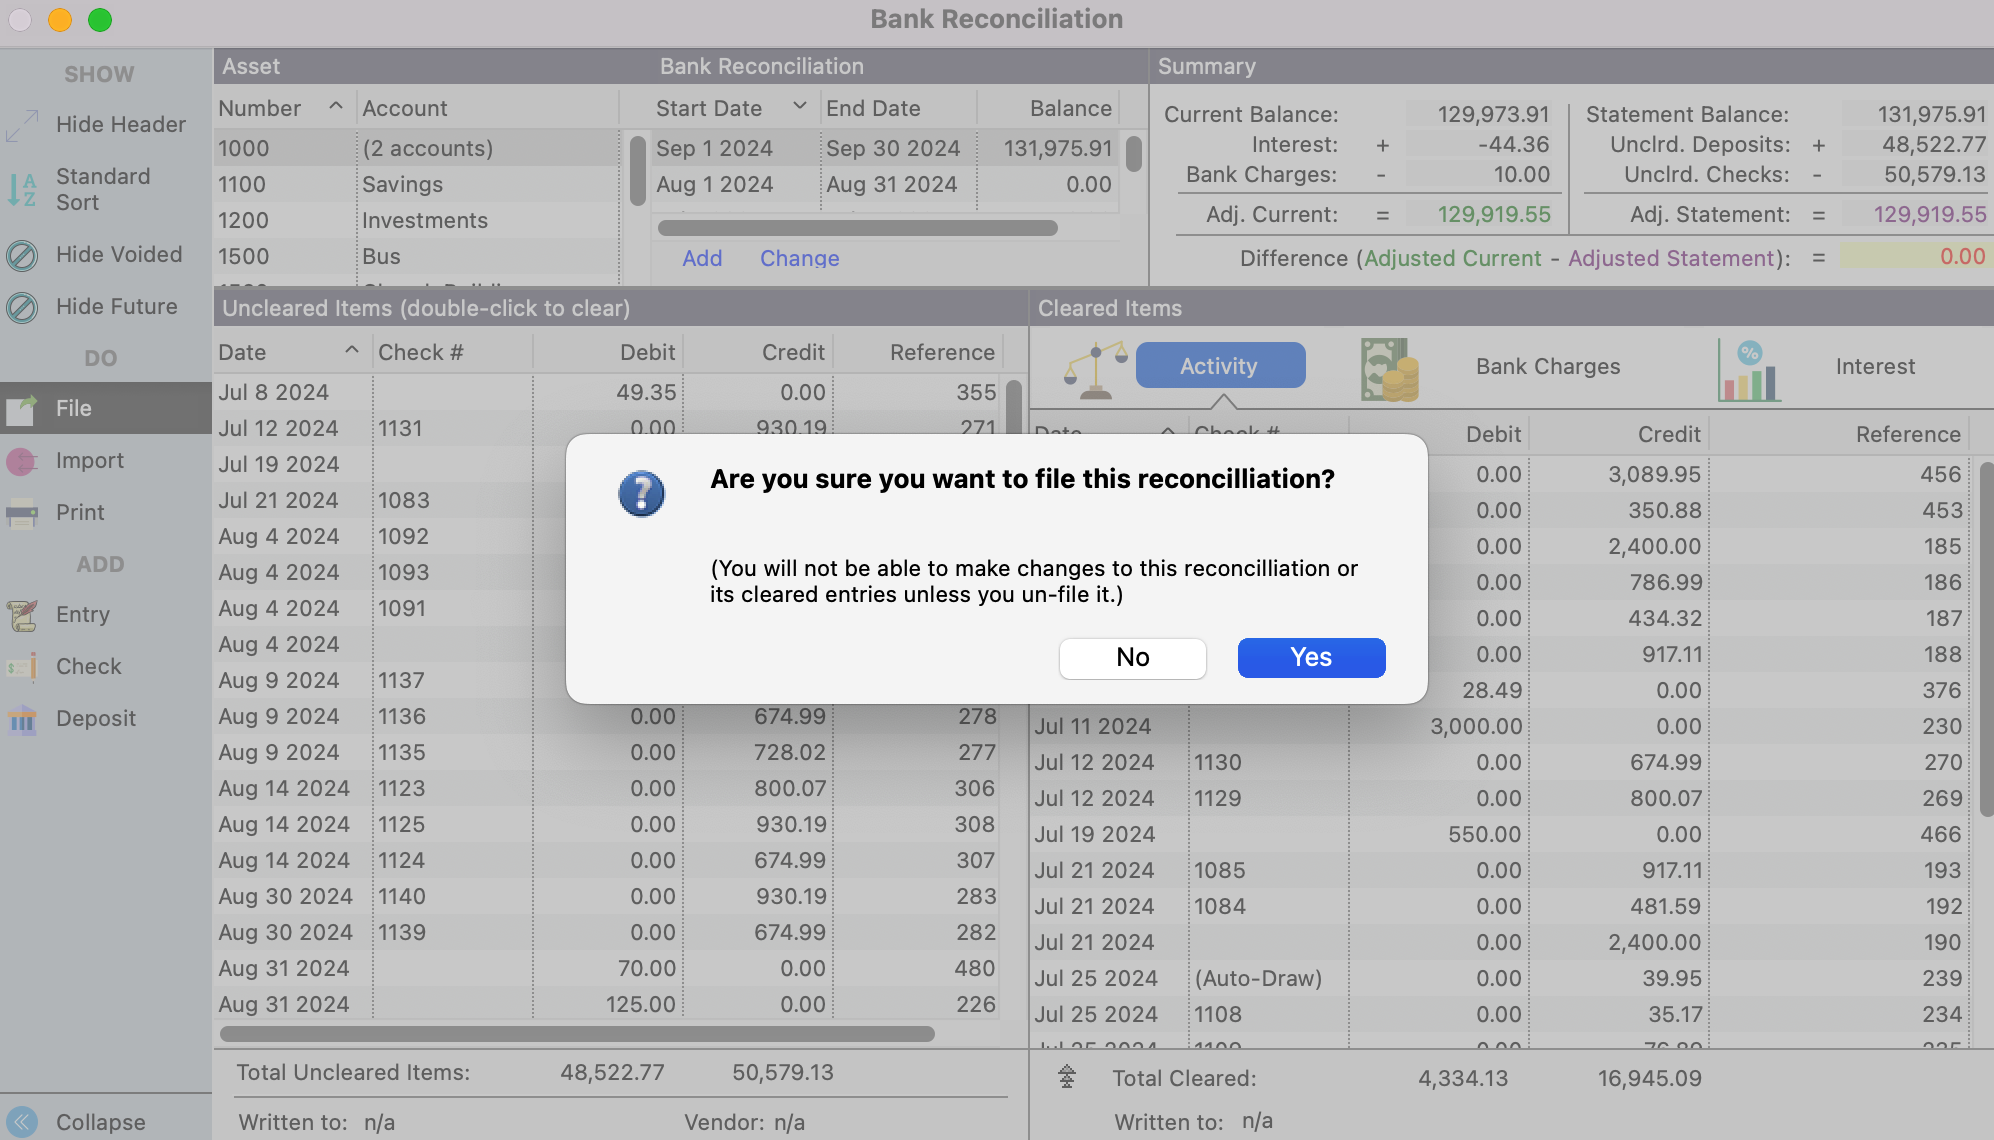
When the Bank Reconciliation session is in balance, click the File button.

Please note that after the reconciliation has been filed, it cannot be modified.
-
You’ll see a pop-up asking if you want to file this reconciliation. Click, Yes.
-
Click Print from the left sidebar to print this Bank Reconciliation session.
-
This will open up the report window where you can print or export your report as desired.
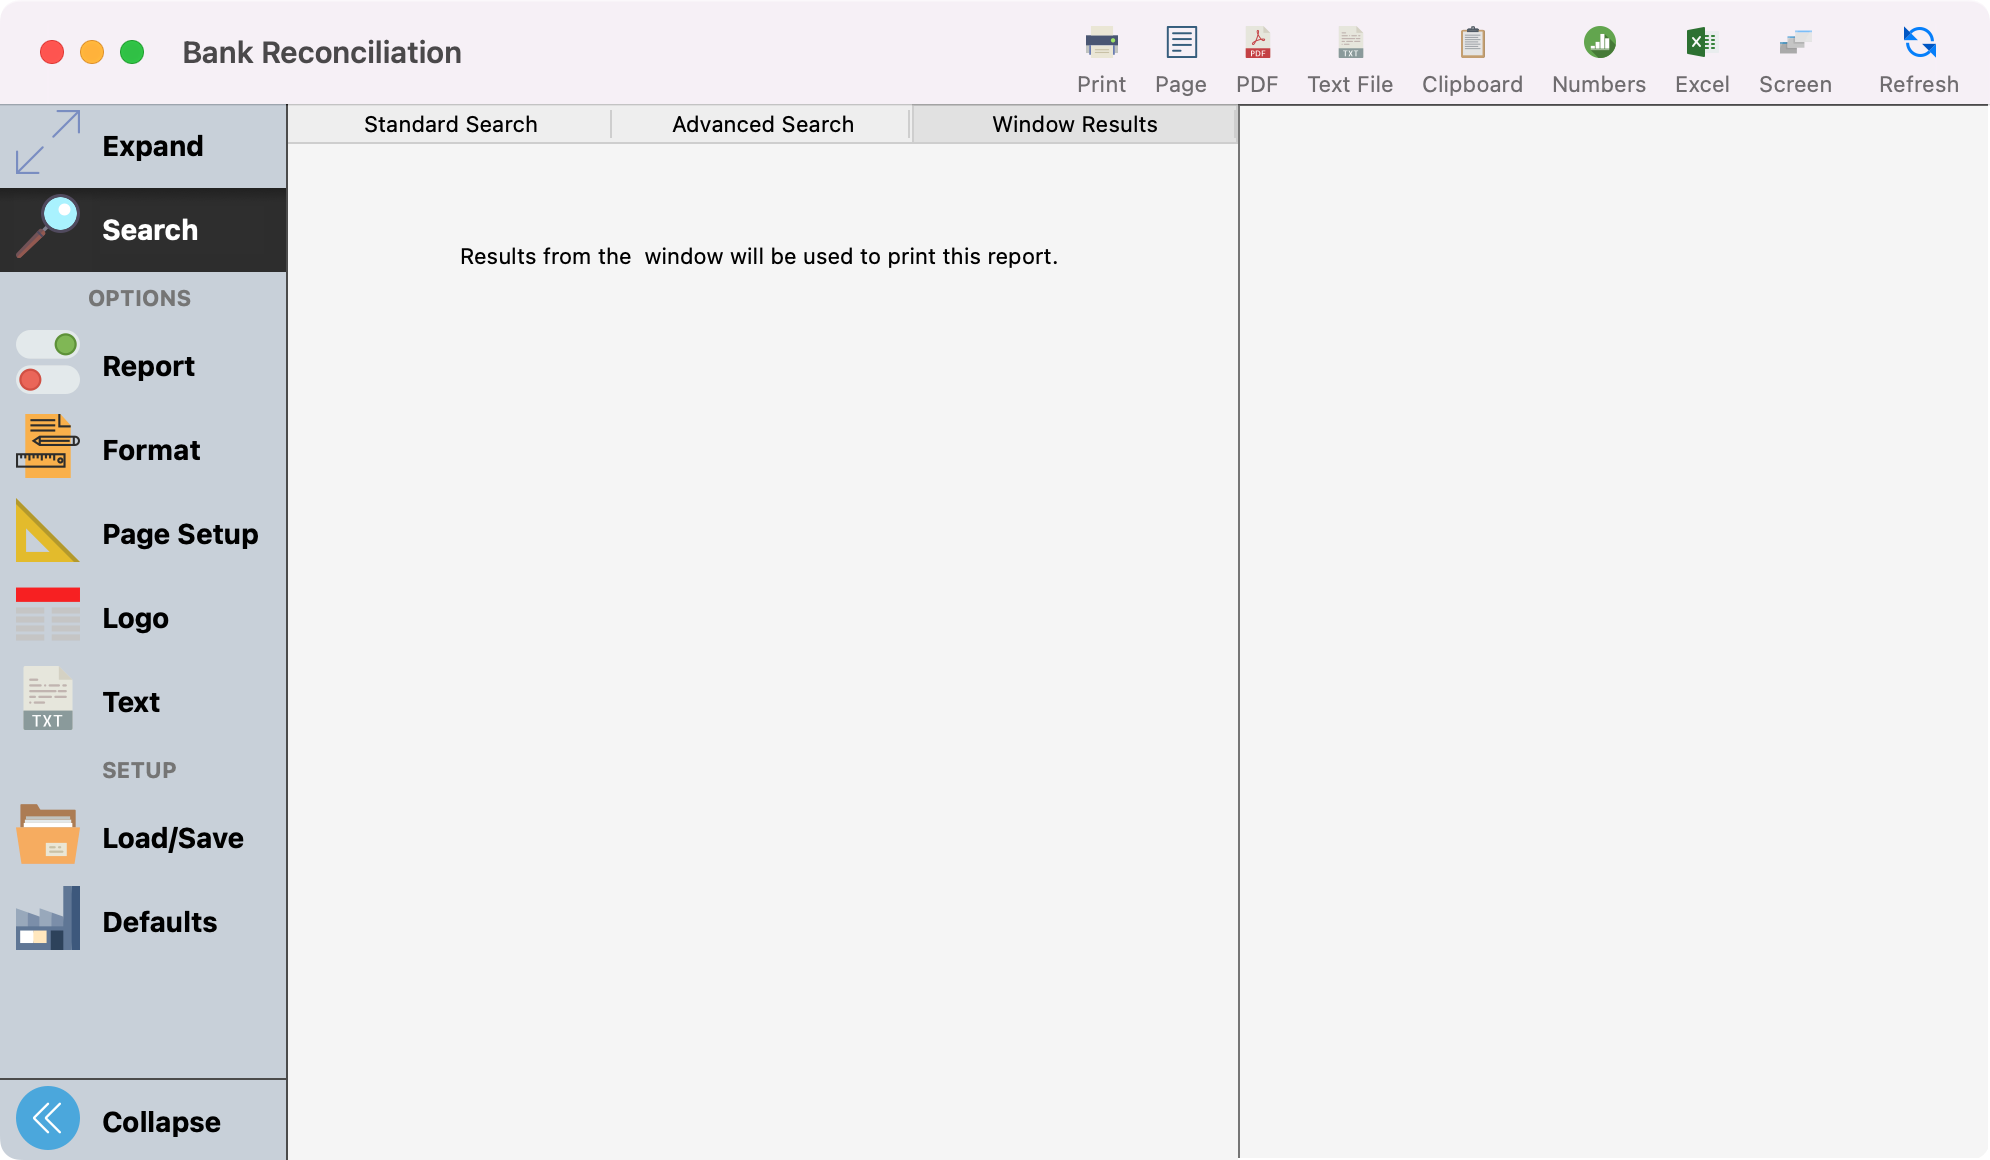
A filed Bank Reconciliation session may be reprinted at any time. Note: Asset line items on a filed Bank Reconciliation session cannot be changed from the ledger.