-
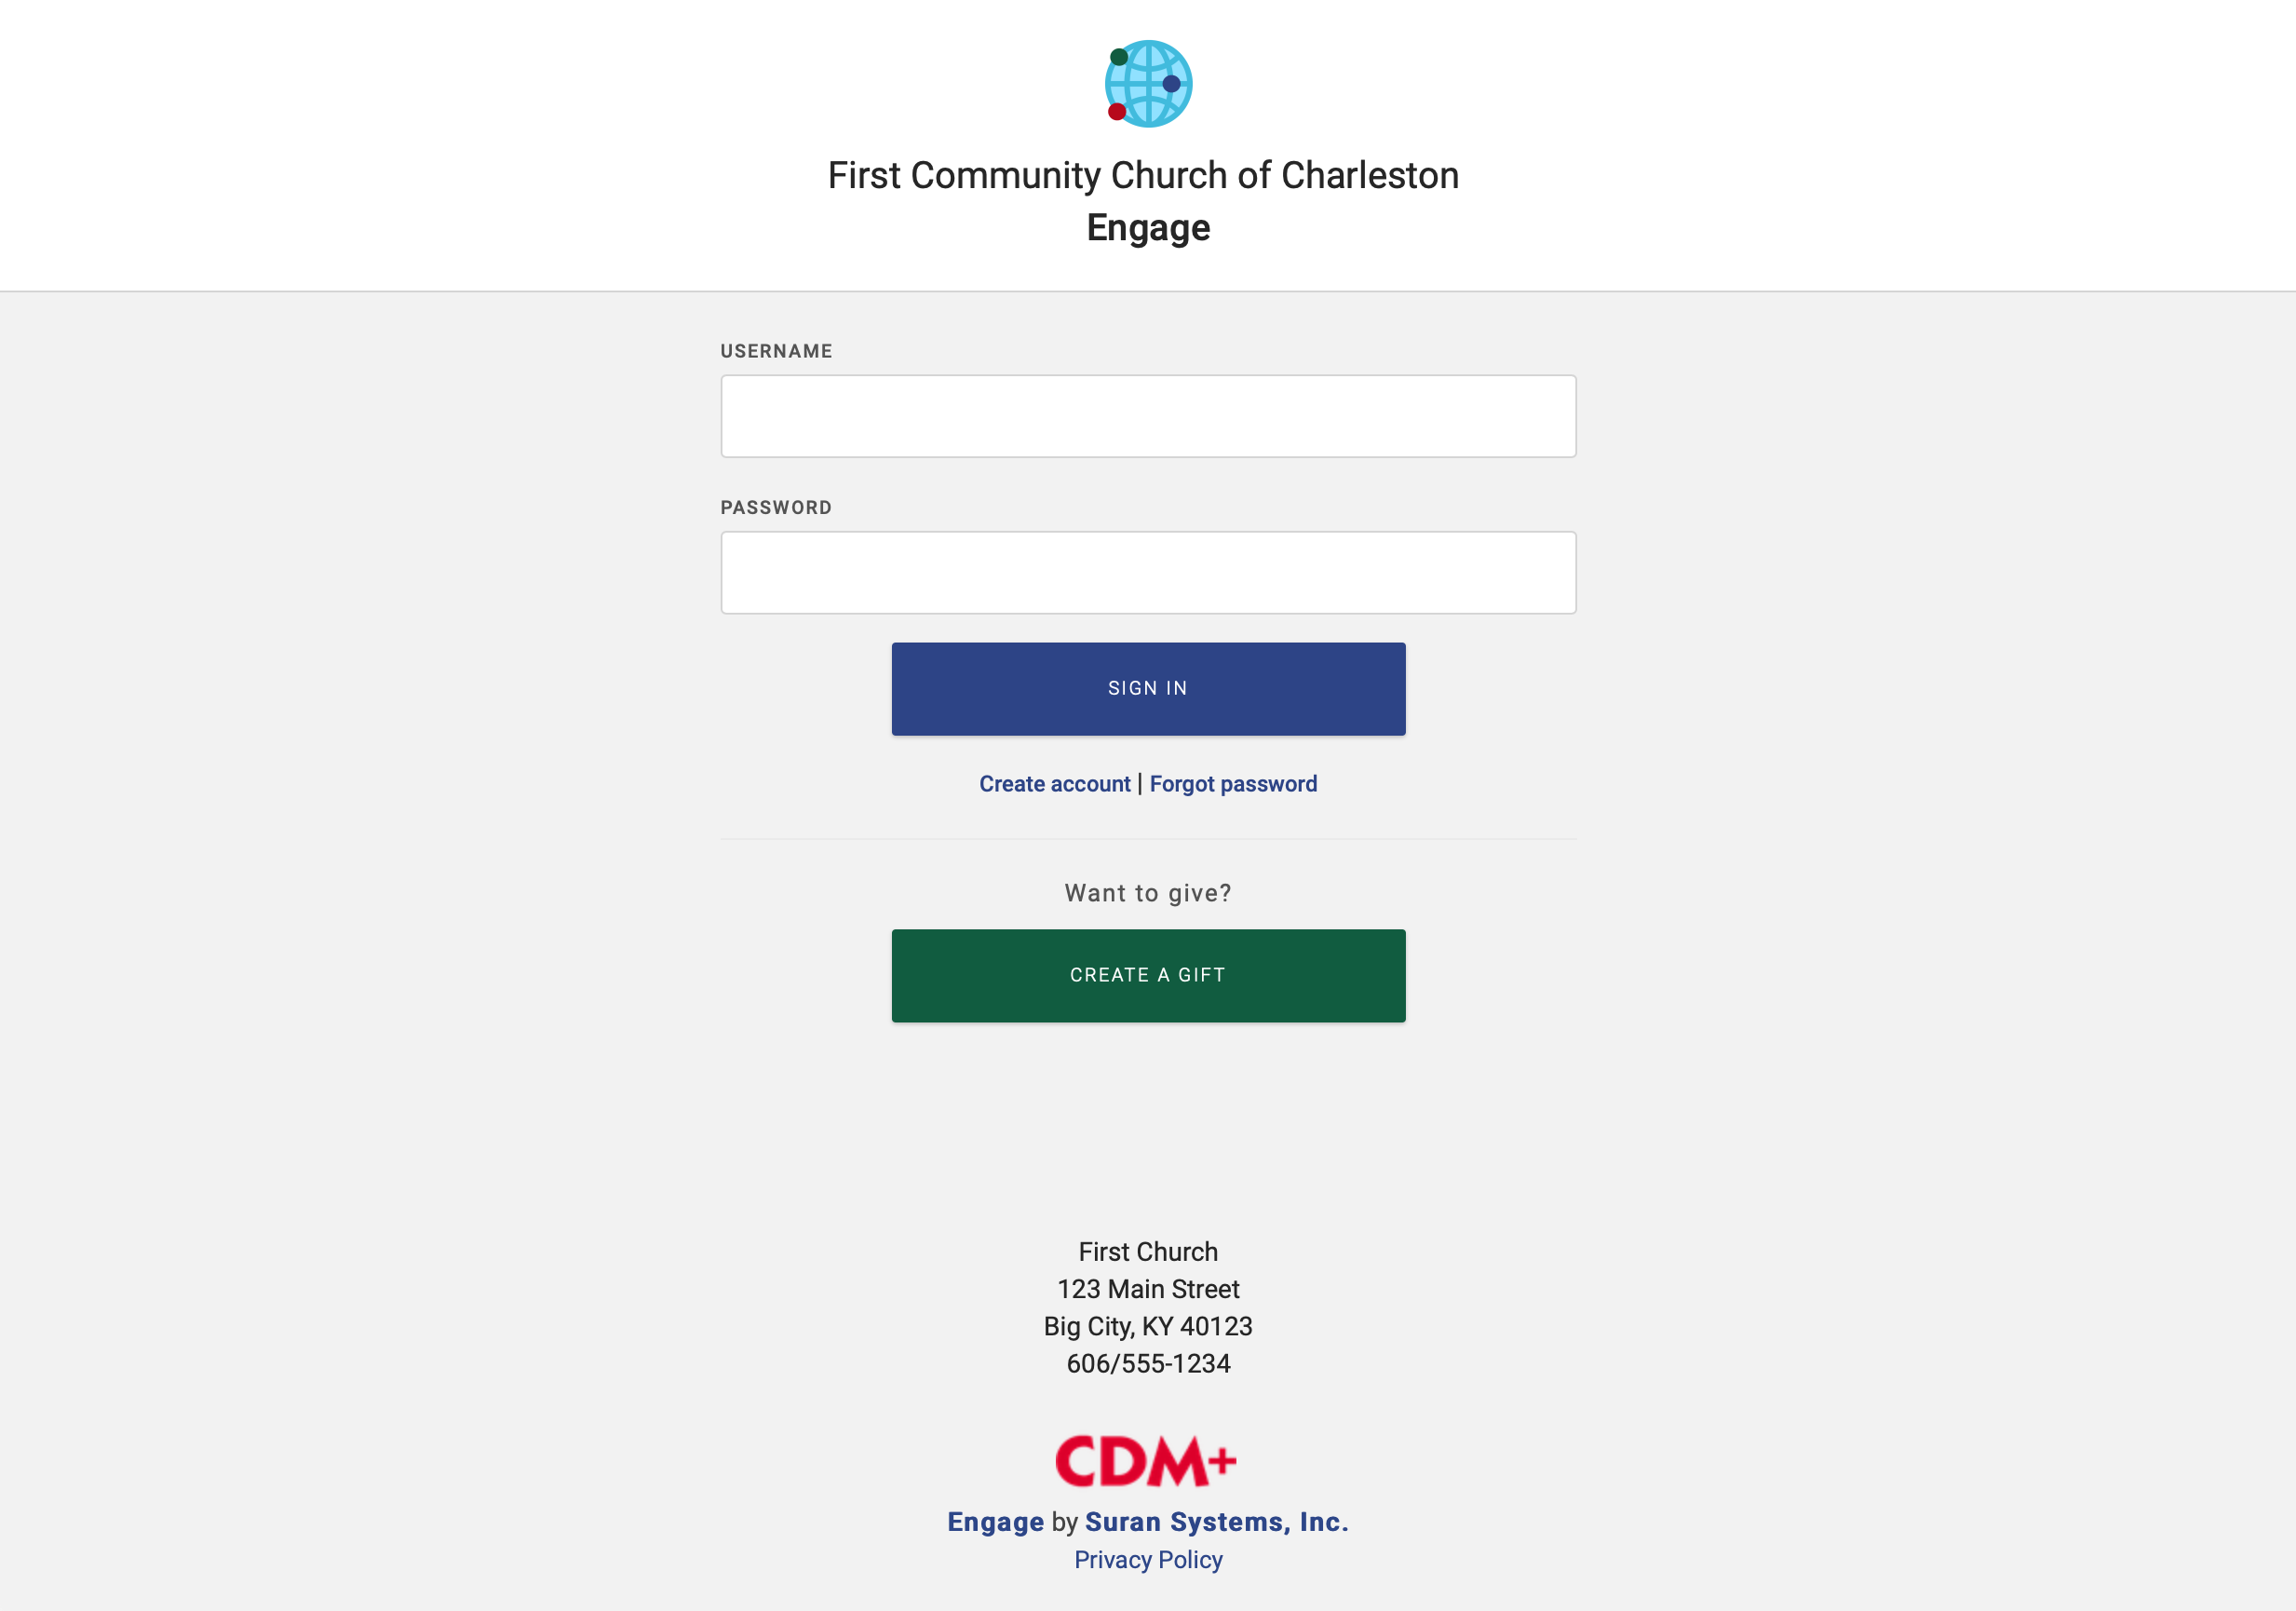
Enter the username and password you created when setting up your Engage Account.
-
Click SIGN IN
-
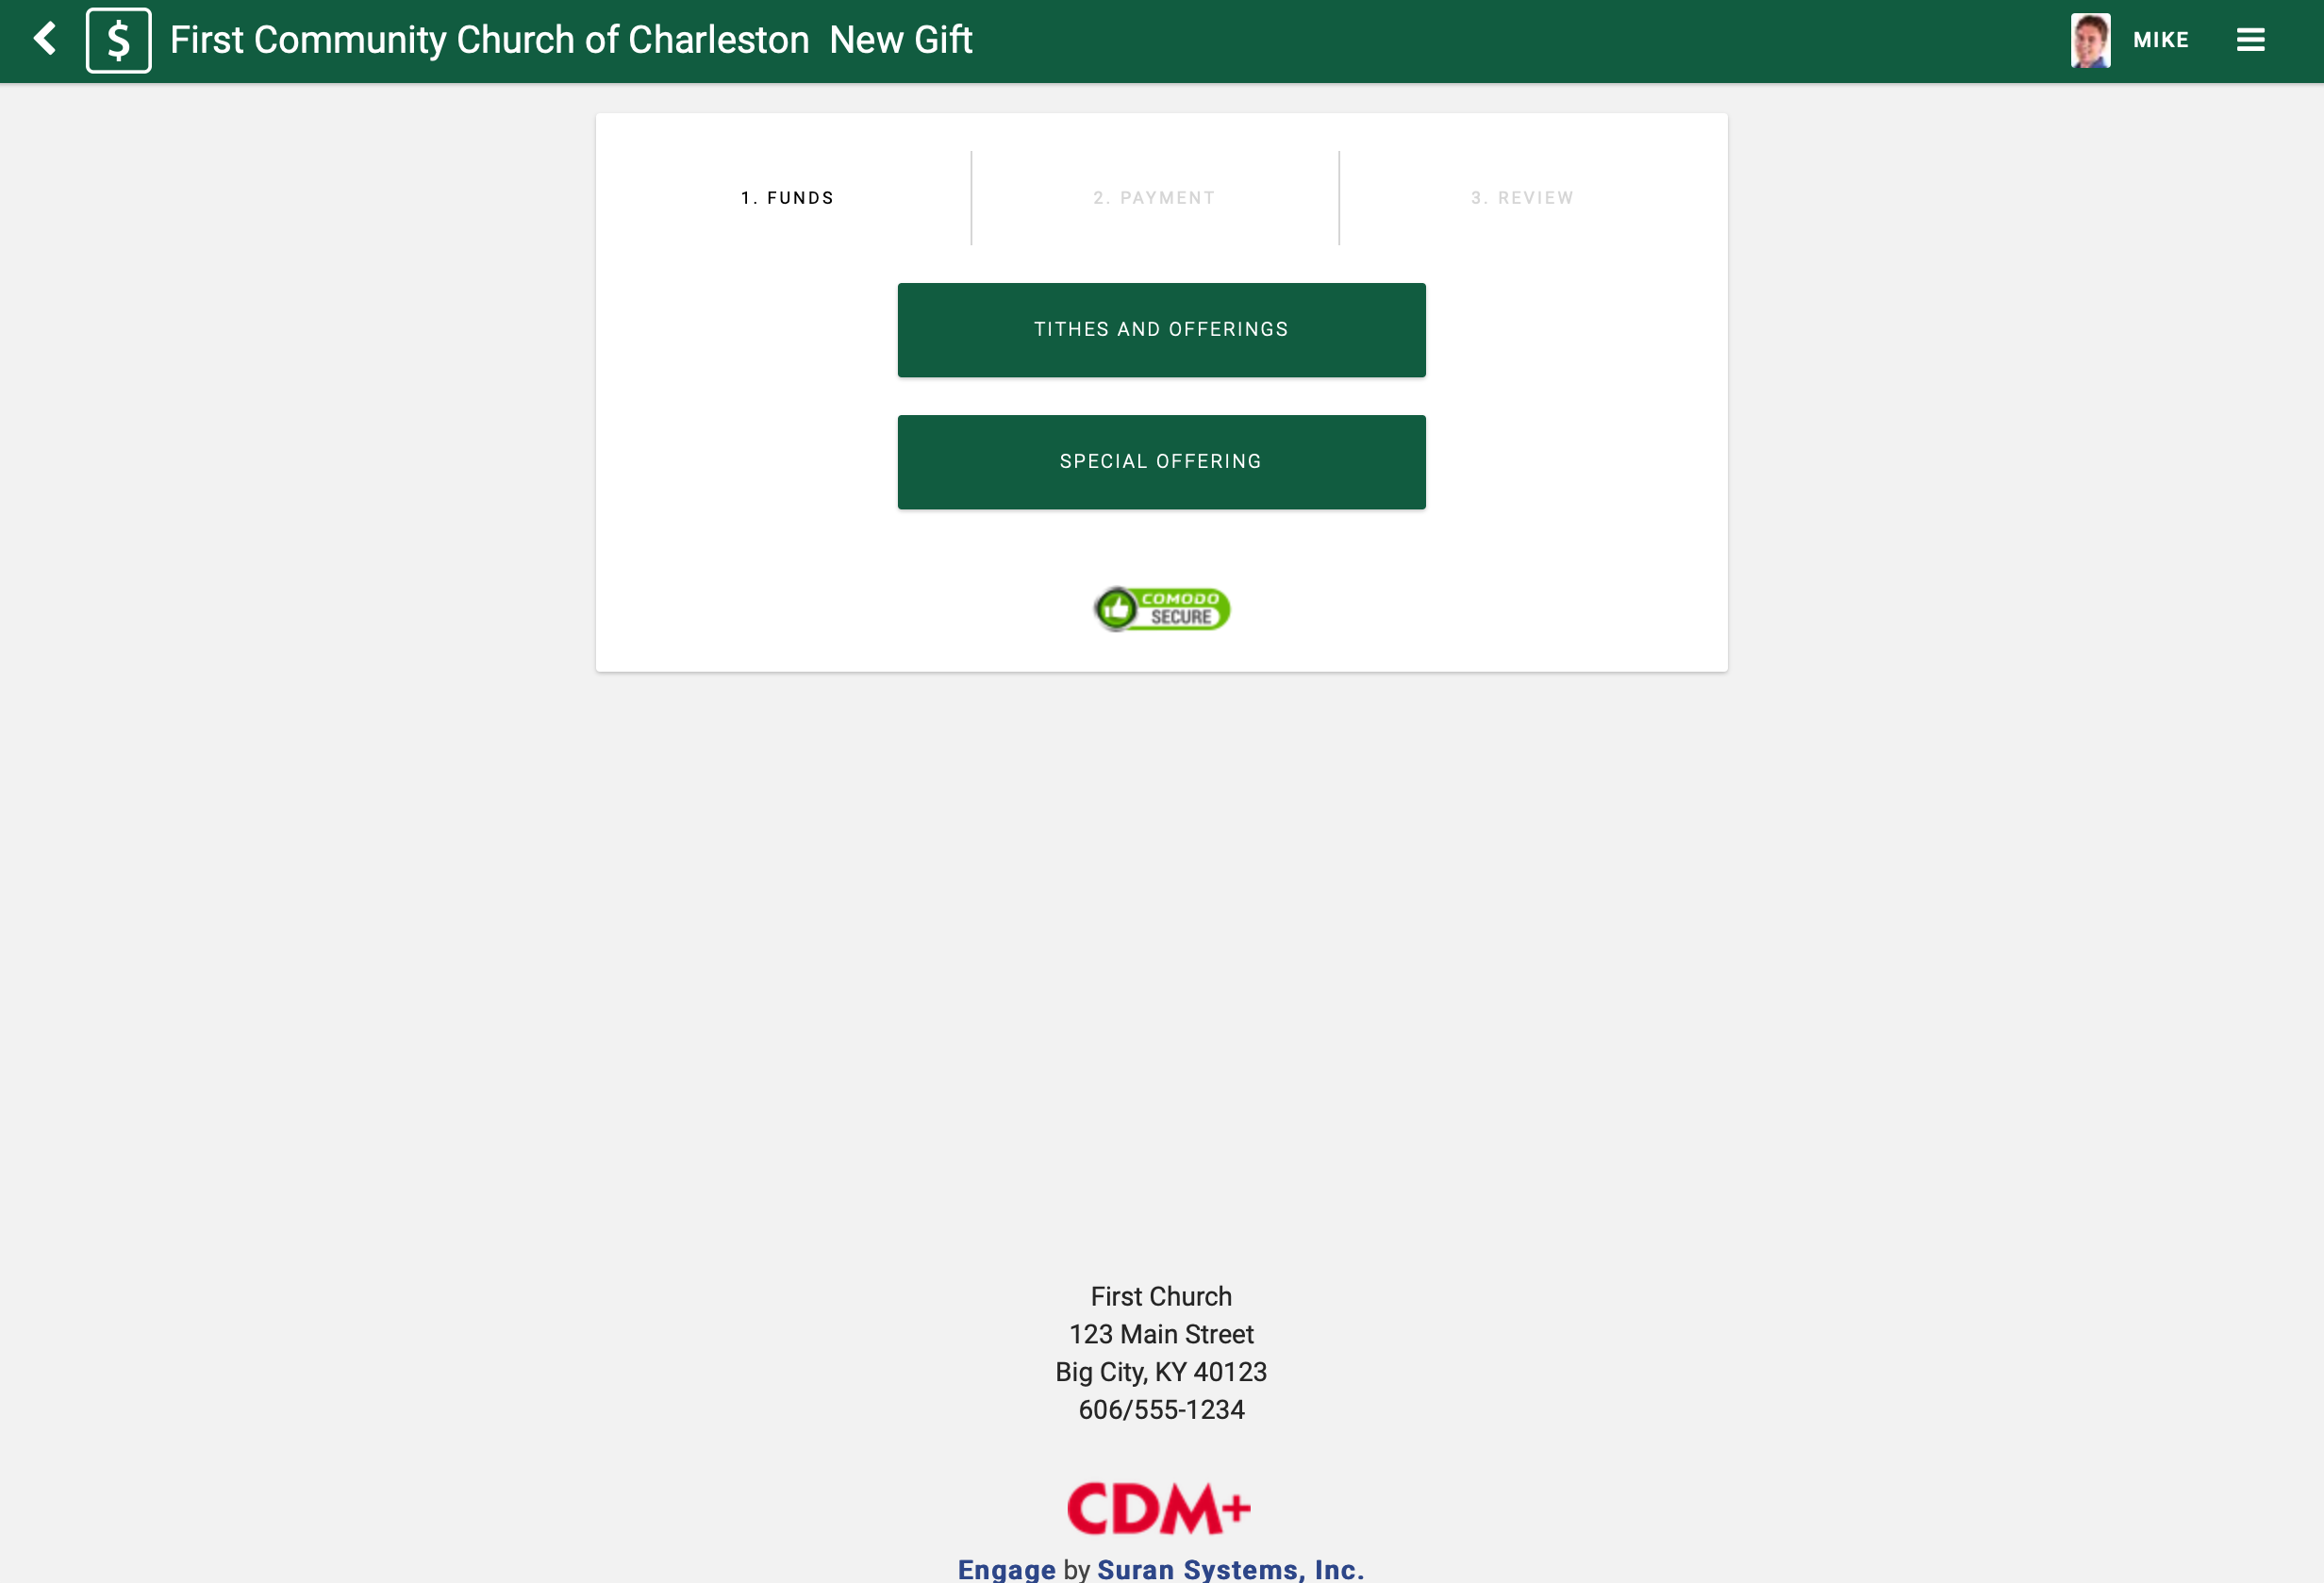
The New Gift entry screen appears. Select the appropriate giving option.
-
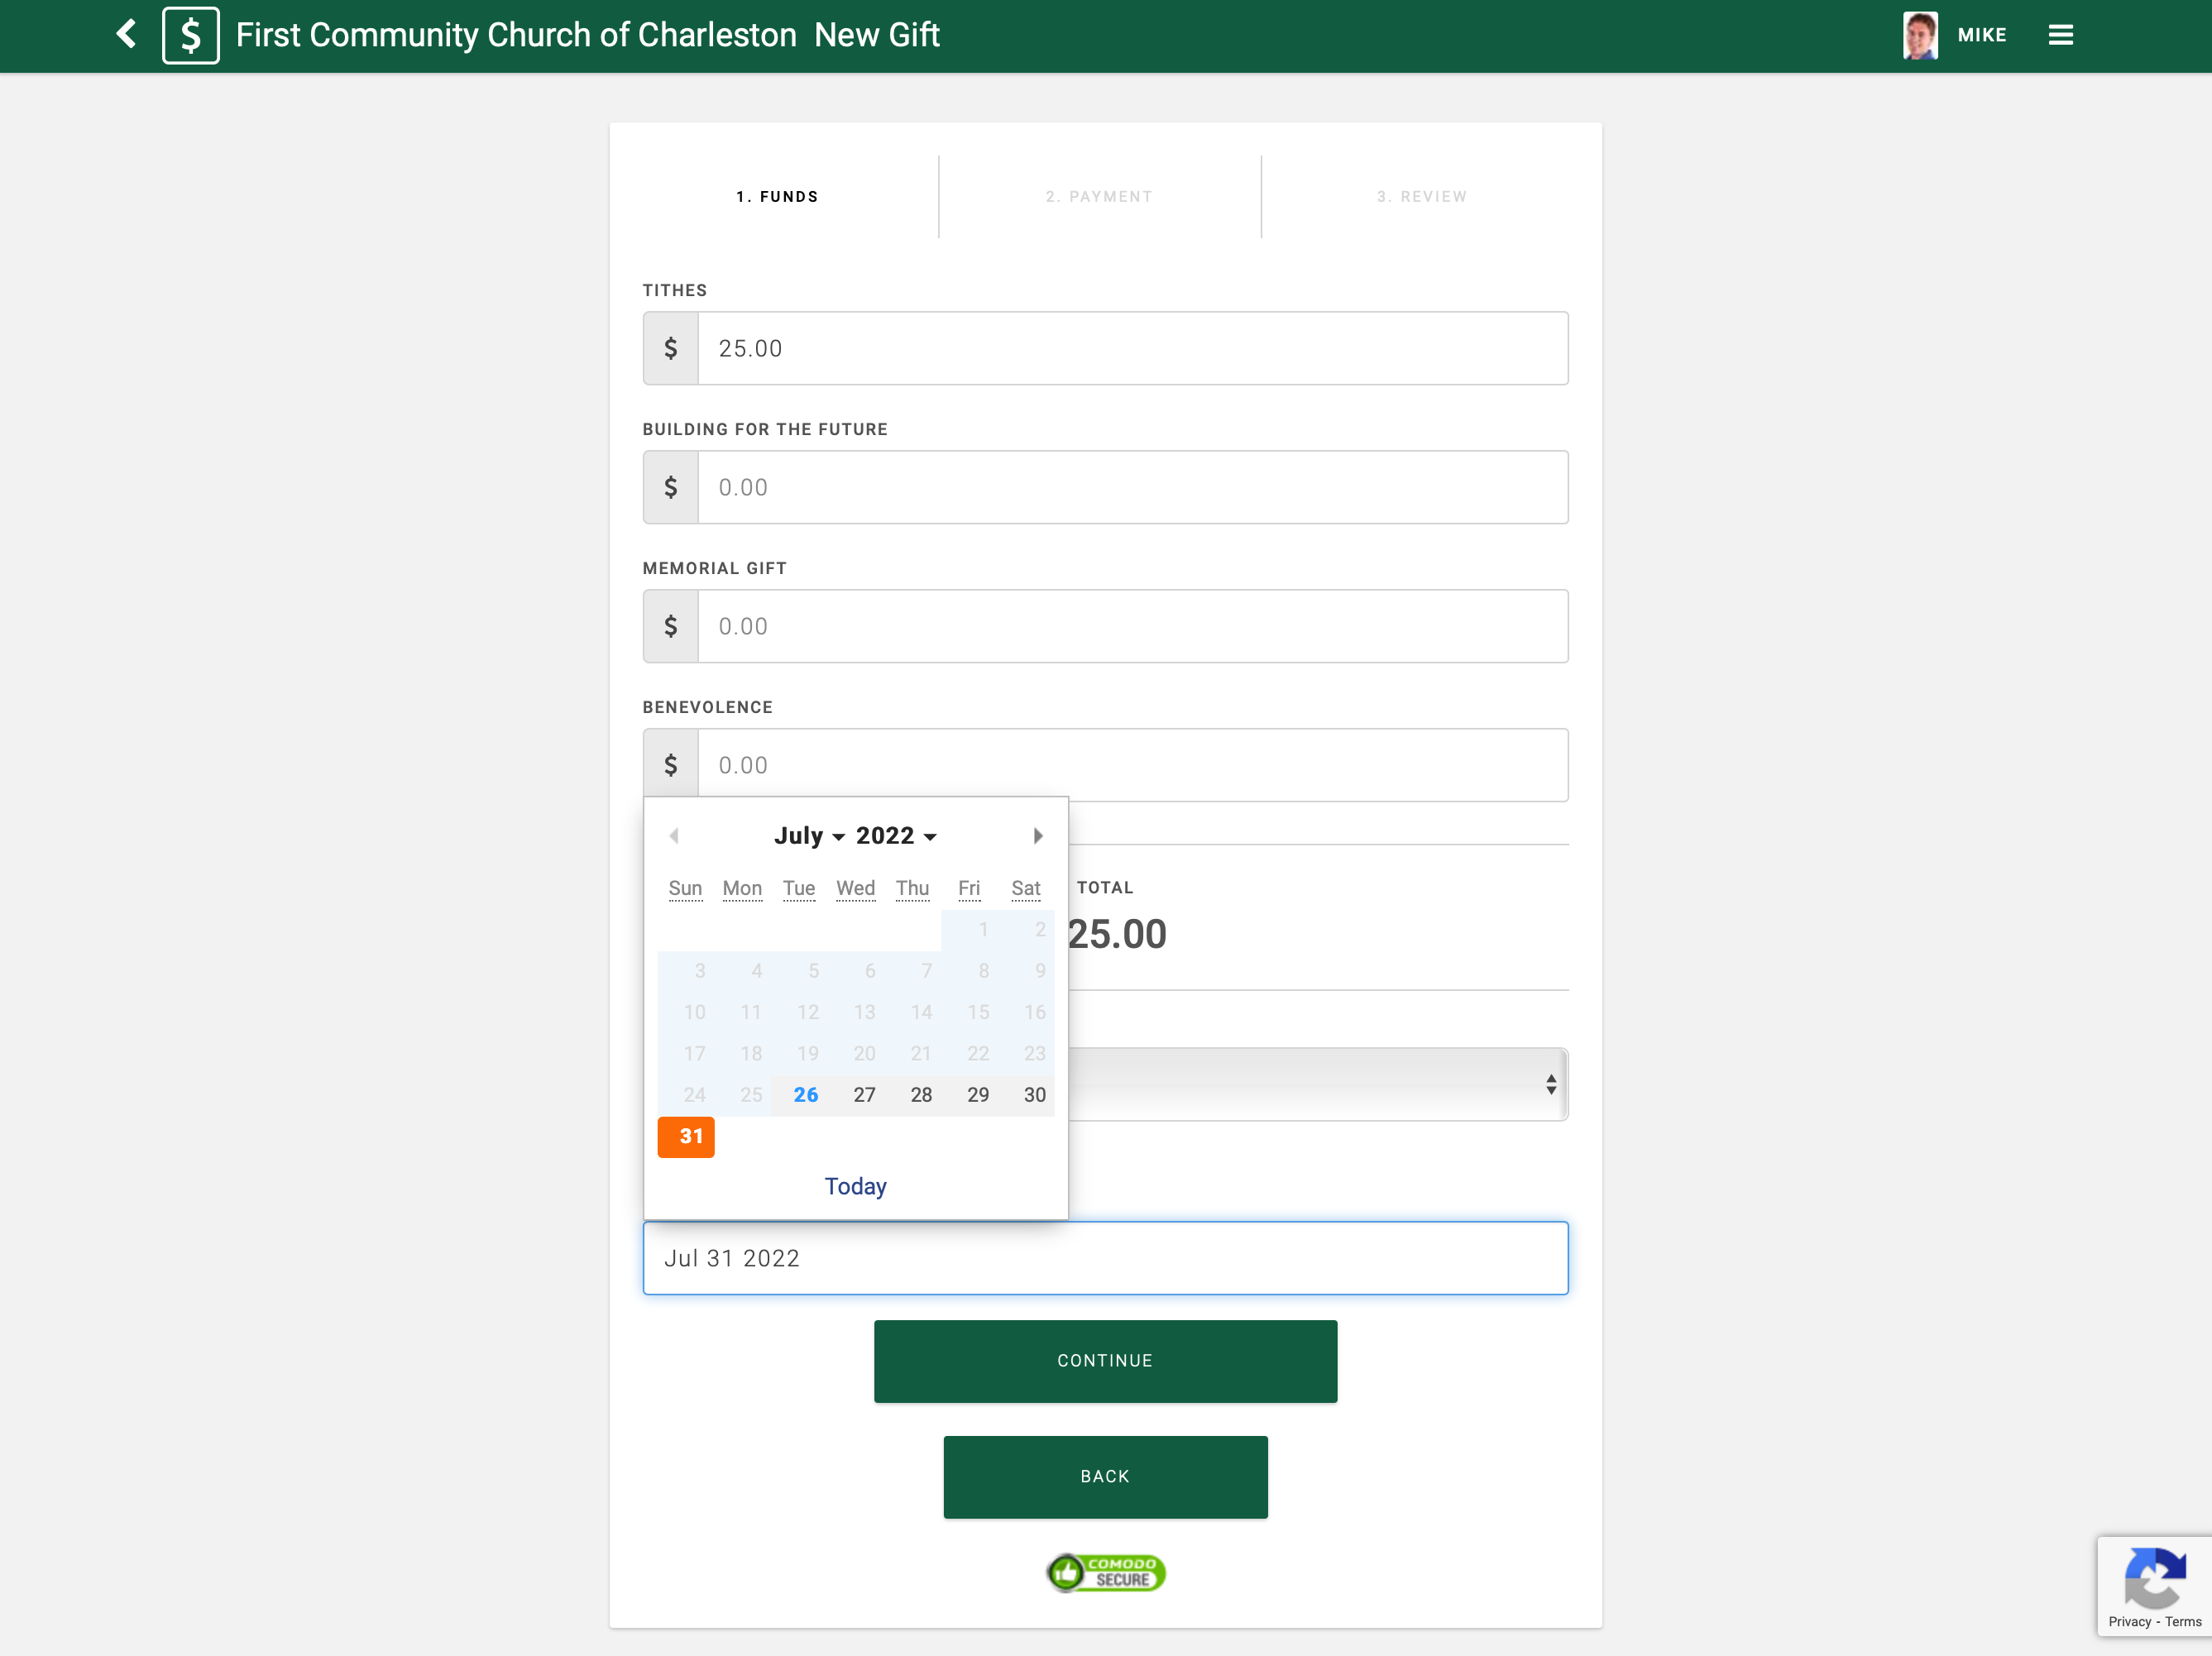
Enter amounts in the desired Giving Funds
-
Set the frequency of the gift. The default is once but may be set to several common frequencies. Open the dropdown to select a different frequency.
-
Set the date of the gift. This defaults to tomorrow’s date. Clicking on the date field will open a Calendar window, from which the Scheduled Date can be selected.
-
Click Continue
-
Enter Payment information
-
Click Continue

-
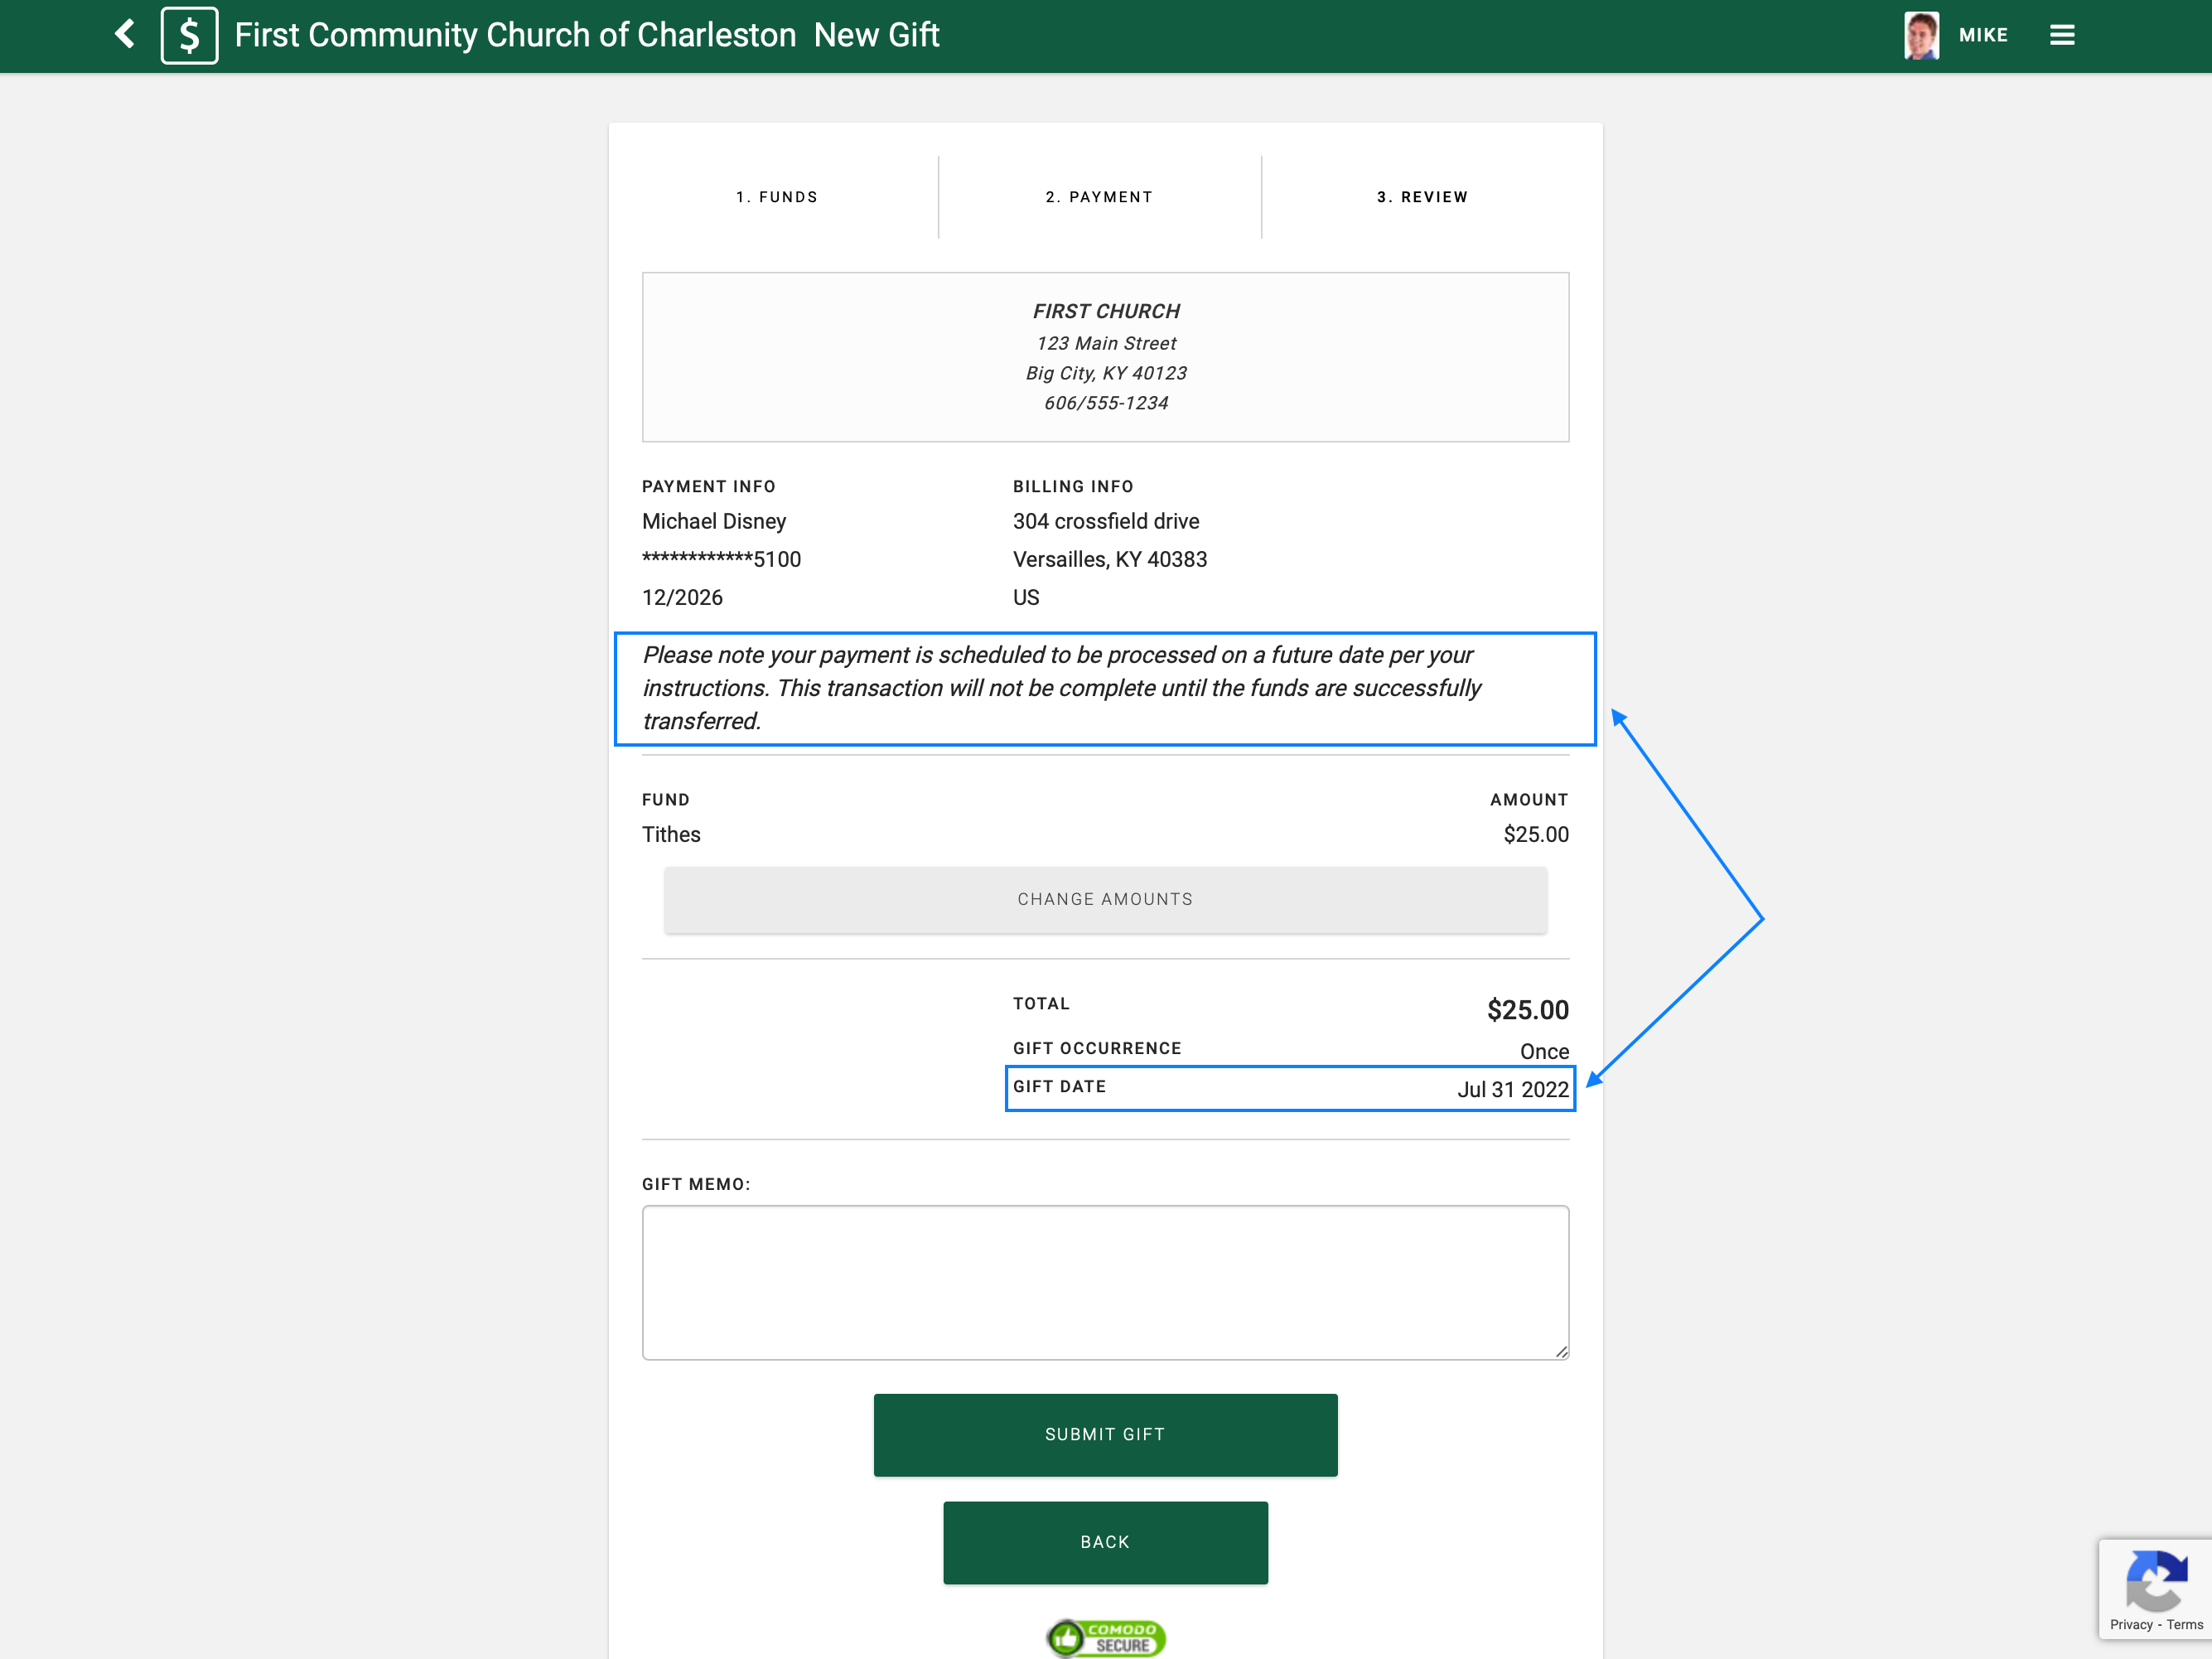
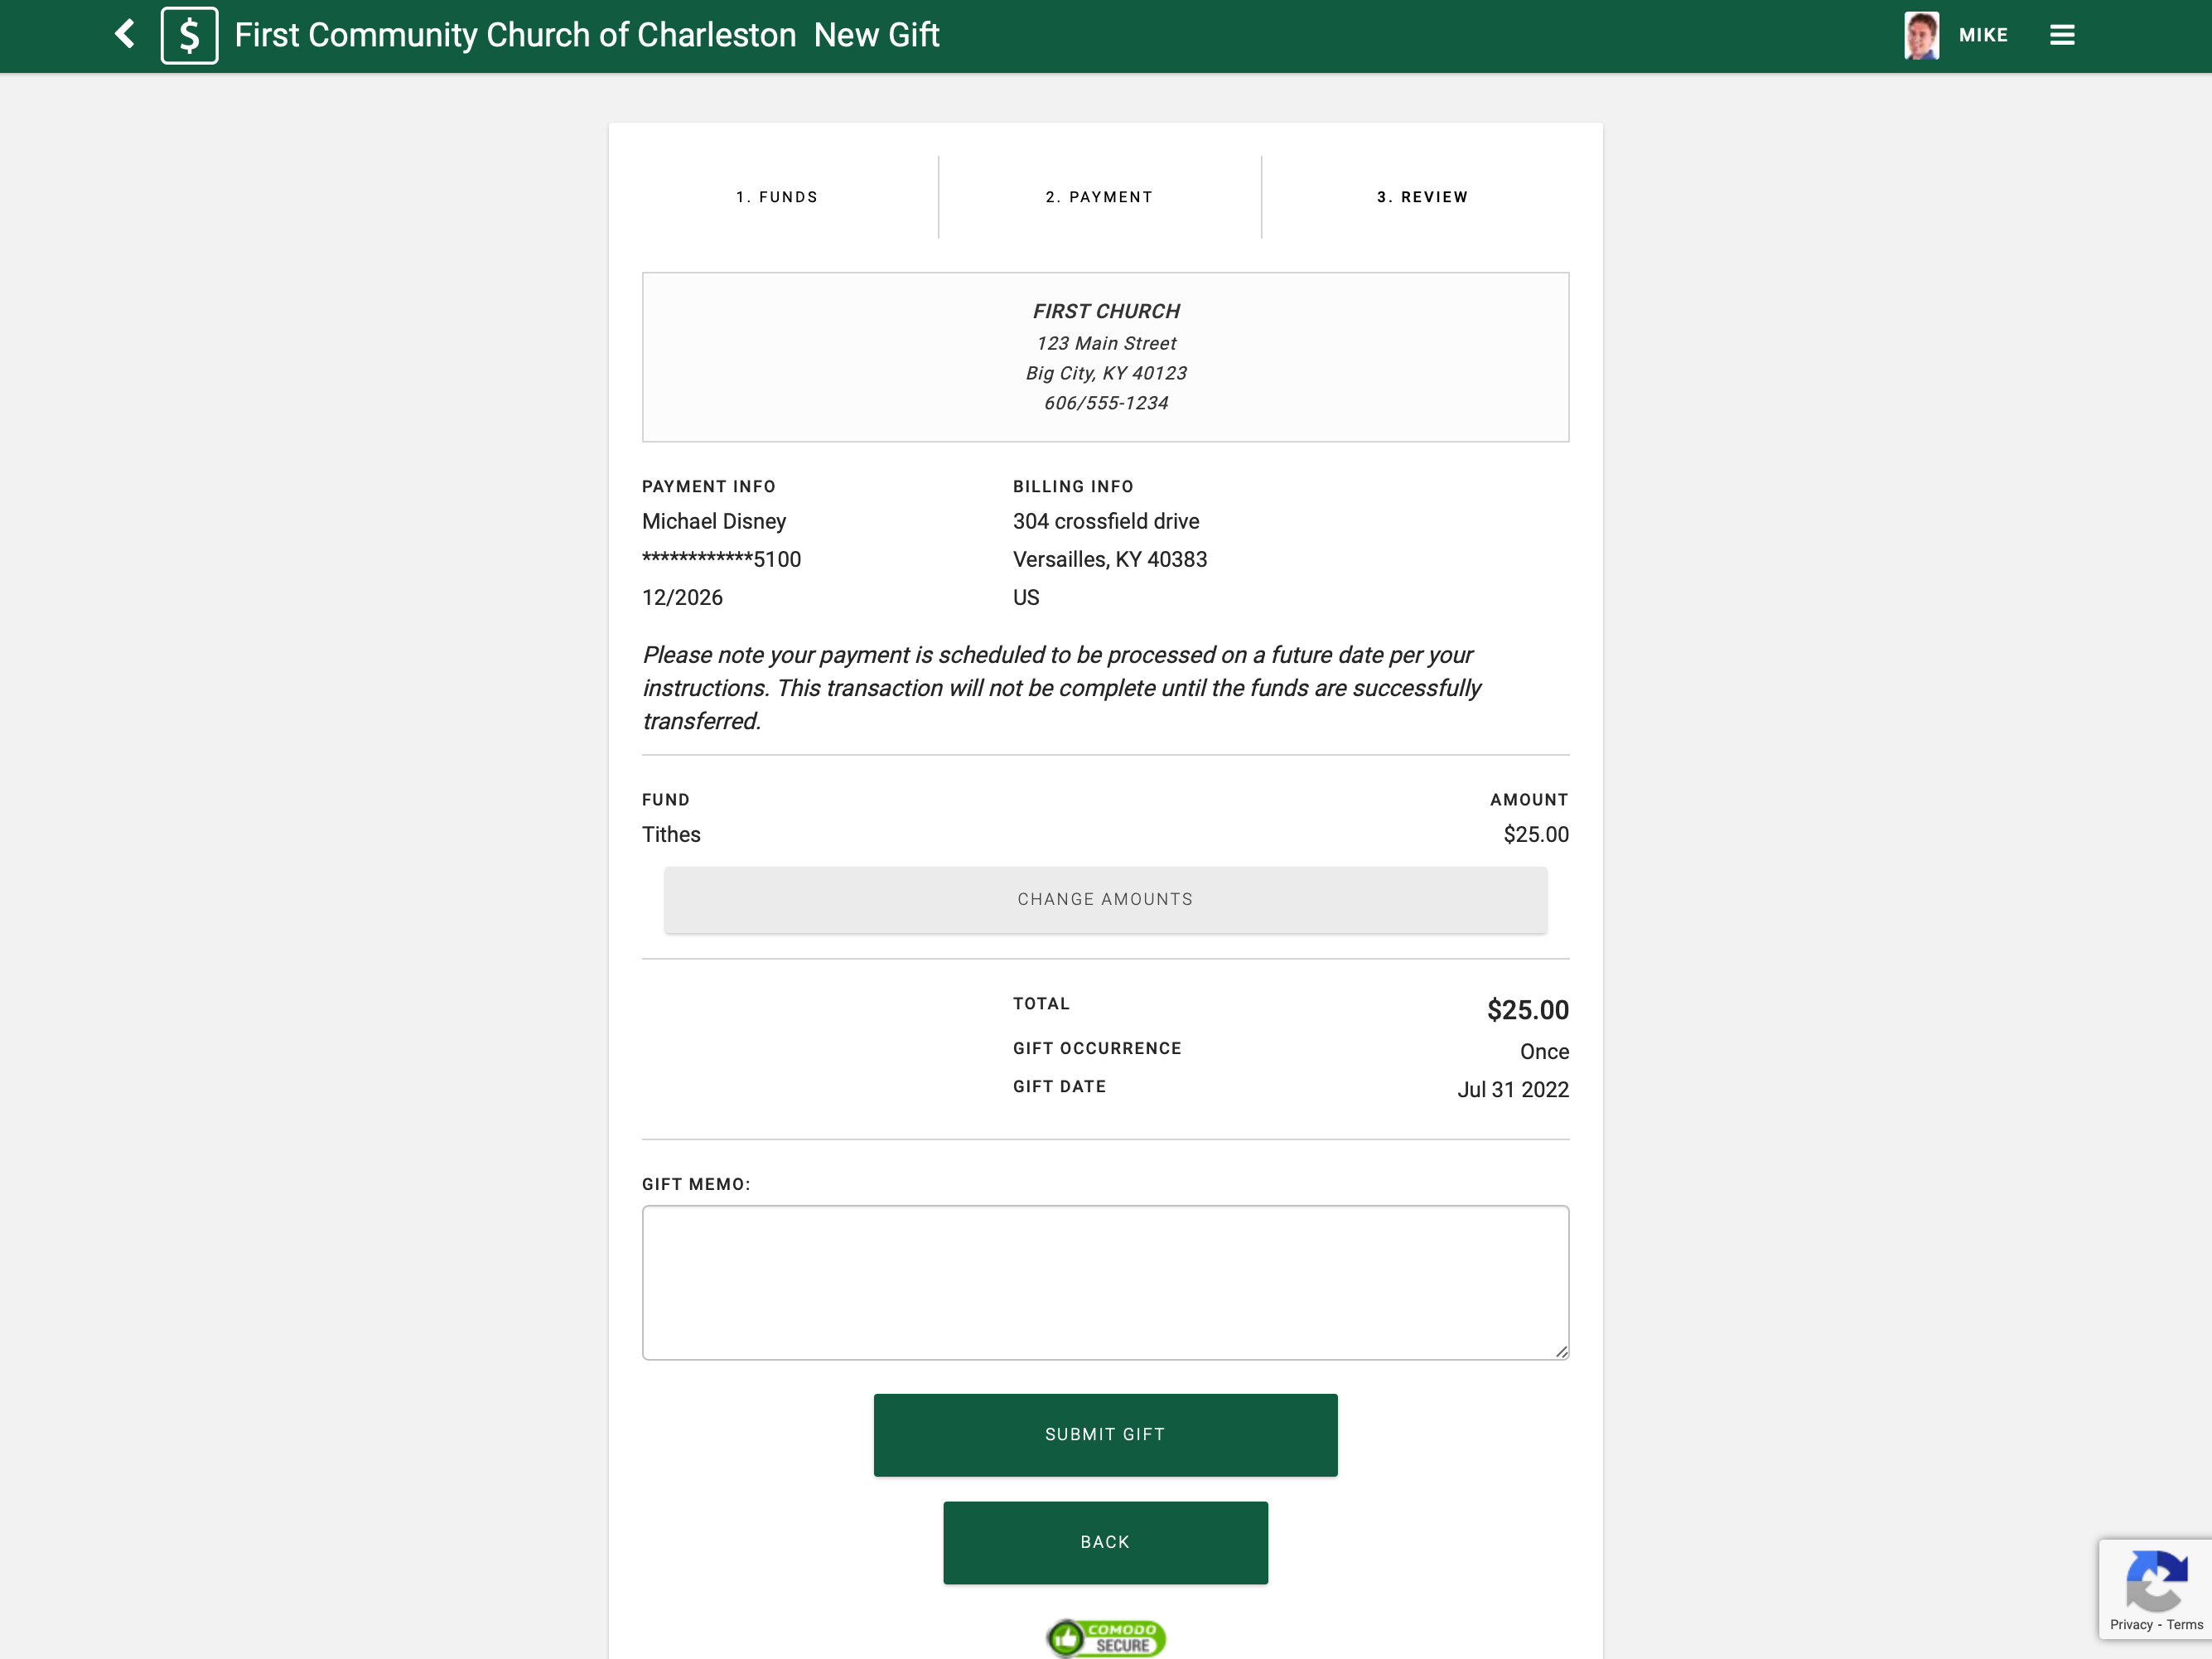
The member confirmation screen will appear. Enter any special notes regarding the gift in the Gift Memo box.
-
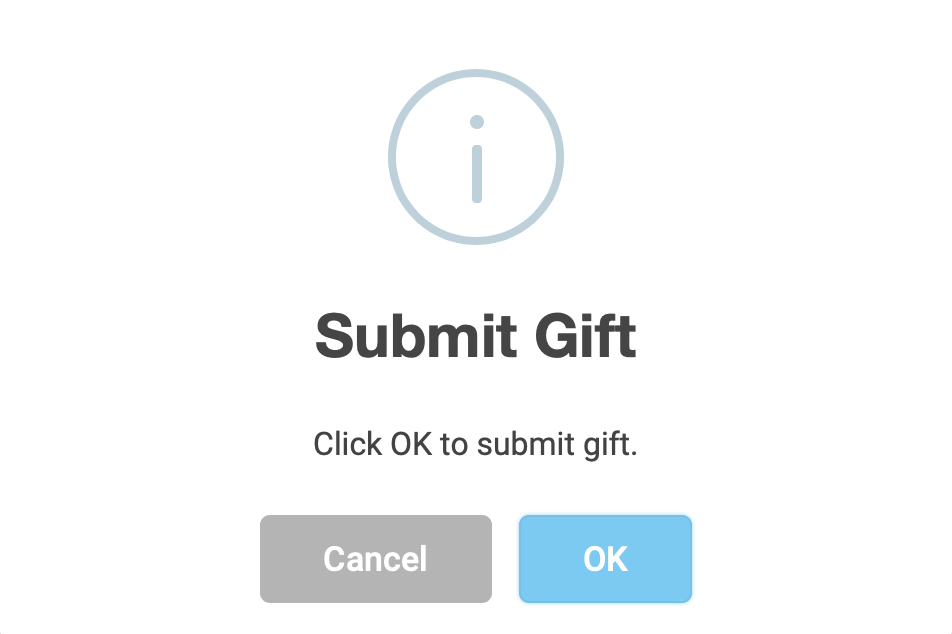
Click Submit Gift
-
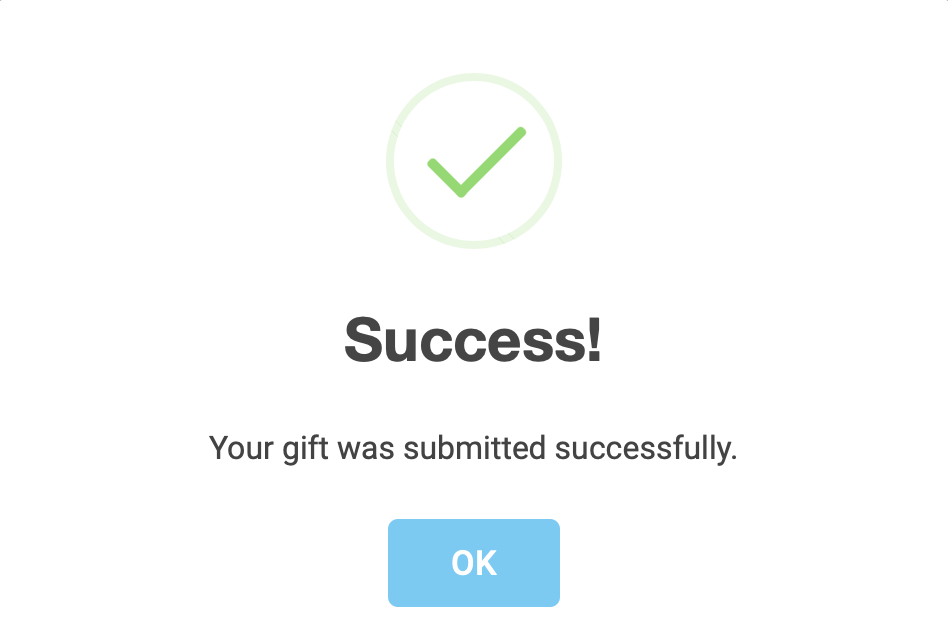
A final confirmation popup will appear. Click OK. Your gift will begin processing and three dots appearing over the OK button, indicating the process is working.
-
Once the gift has completed processing, the popup window will change. Click OK
-
The Gift Summary window will display, providing the details of the gift and offering a Print Receipt option. Since this is a Scheduled Gift, there will be a text box indicating such, and the Gift Date will reflect the Scheduled Date.