Using a Check Reader or Check Image Scanner
Suran Systems had a check reader programmed to interface with CDM+ Contributions entry. The check reader reads the checking account number found at the bottom of a check and relates the checking account number to the appropriate Giving Unit. You simply need to enter the amount and breakdown among Giving Funds.
The check MICR reader (only reads the account number) that was sold by Suran Systems simply needs to be plugged into a USB port on your computer (and the power cord connected and plugged in).
A check image scanner was at one time available for purchase from Suran Systems, Inc., but this device is no longer manufactured and available for purchase. The CDM+ software can still interface with this device, but replacement and new devices are not available.
Setup for Check Reader/Image Scanner
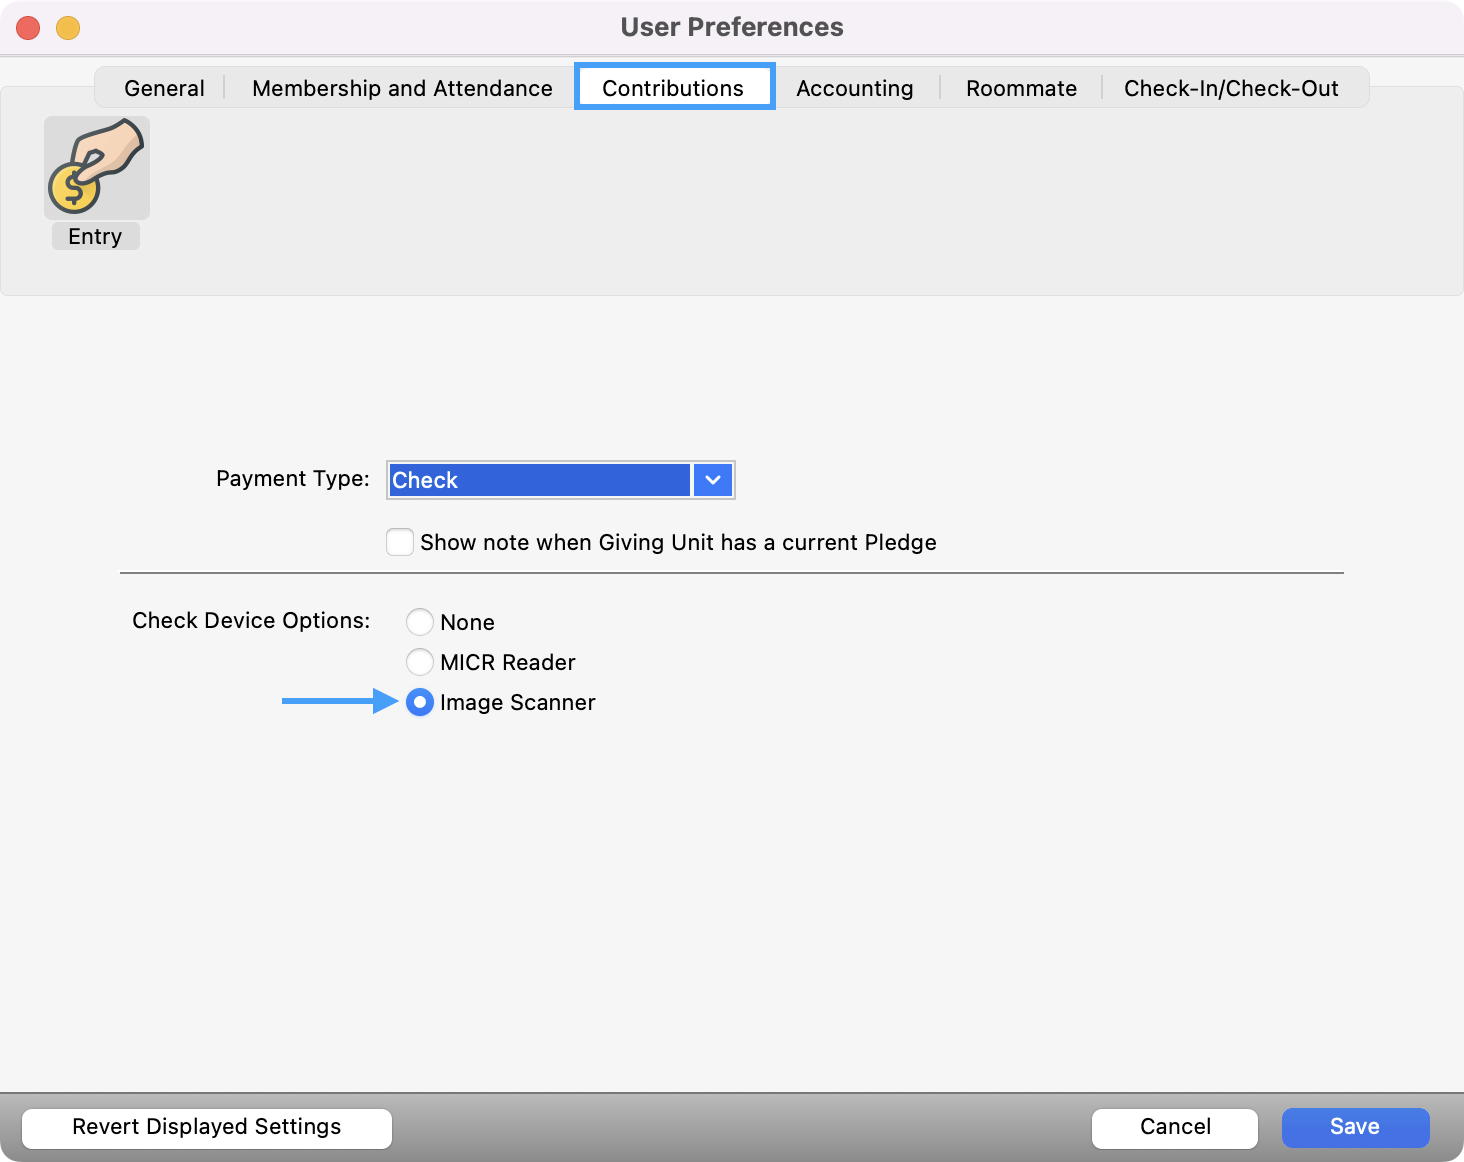
Go to CDM+ (on a Mac)/File (on Windows) → Preferences → CDM+ User and click the Contributions tab.
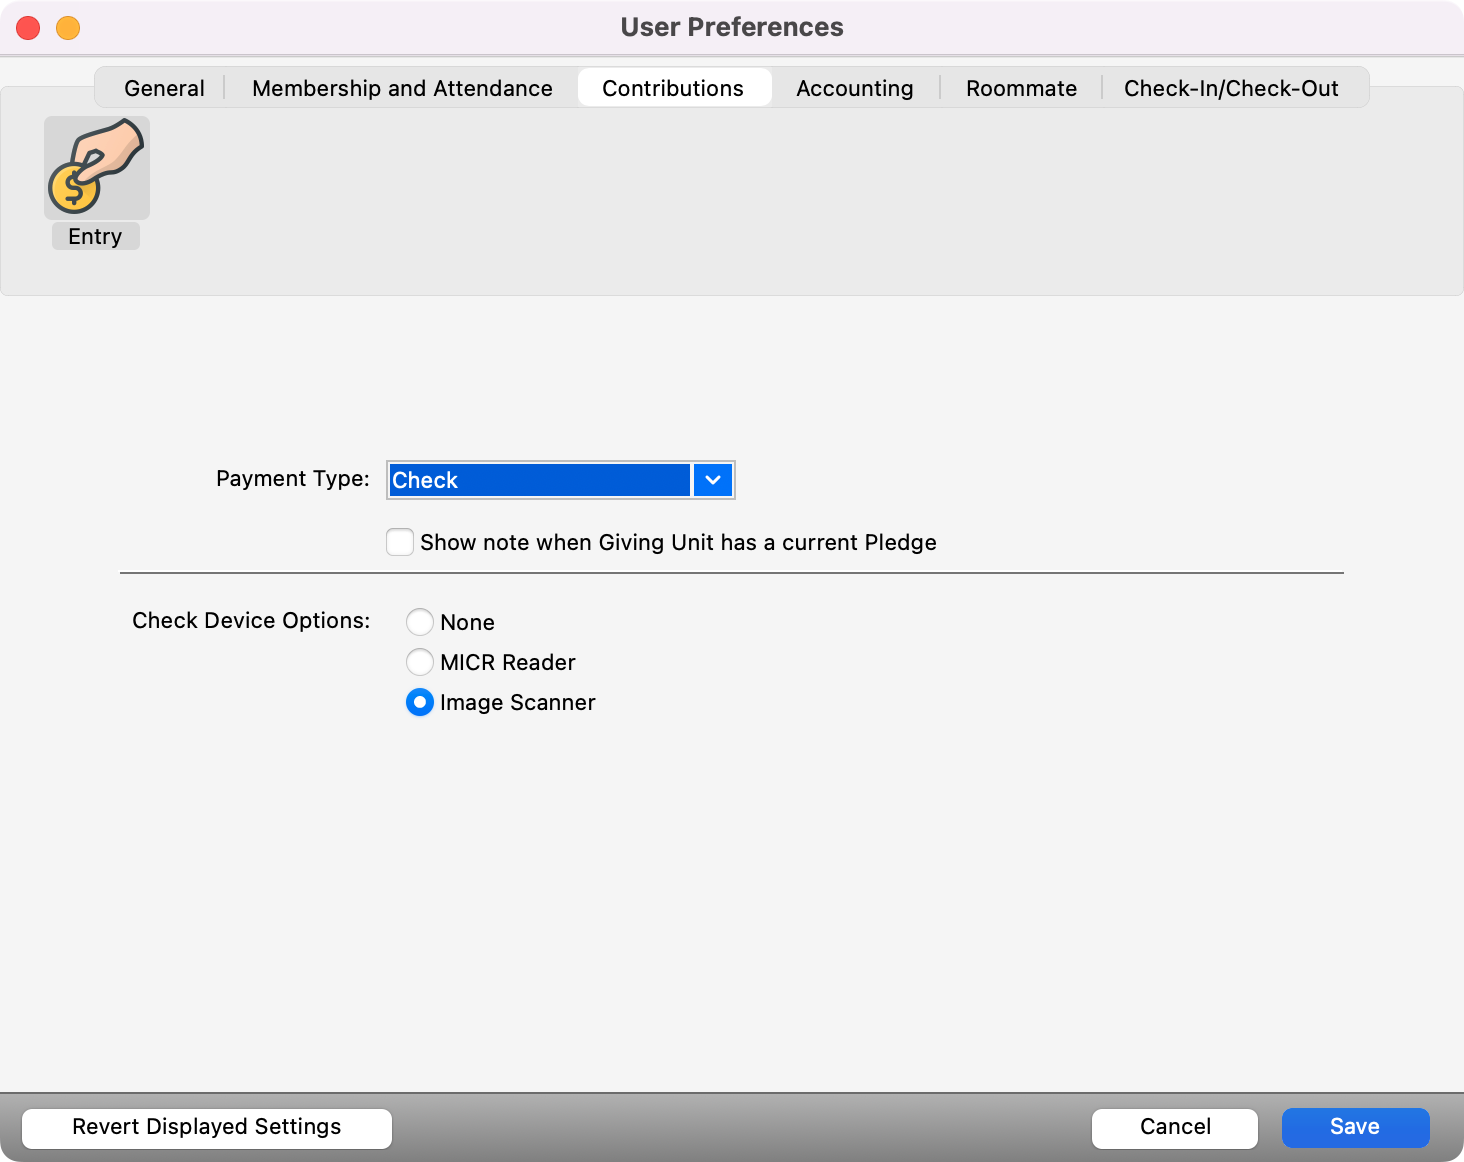
Under Check Device Options, choose Image Scanner.

Click Save.

Using a Check Reader/Scanner during Batch Contributions Entry
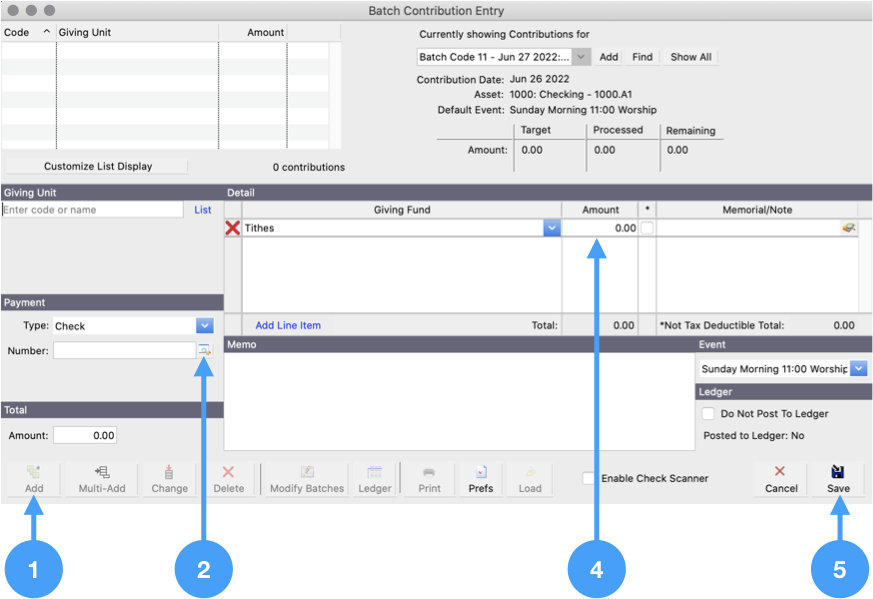
Go to Program → Contributions → Batch Contribution Entry.
Select or Add a batch
Click the box next to Number

Scan a check. (Feed checks facing the middle of the scanner.)
If a Giving Unit is found with this checking account number, the giver’s information and the check number will be automatically loaded on the contribution entry window.
If the giver is not found, you will get a message. Click No to the message. Select the Giving Unit as you normally would (either by typing the code or part of the giver’s name or by clicking the List button and choosing it). Once you have chosen the correct Giving Unit, it will be remembered the next time you scan a check written on this account.

Enter the Total Amount and gift breakdown by Giving Fund
Click Save
Viewing Images of Scanned Checks in Contribution Records
If you purchased a check image scanner, in addition to reading the checking account and check number during contributions entry, the device will scan the face only of the check. CDM+ saves these scans as image files attached to the Giving Unit Record.
After scanning checks, you can view a scan by clicking the icon next to the check number on the Contribution Records window. From this window, you can save the scan to a file by clicking Retrieve.
If you’re in Add or Change mode and open the scanned check window, you can import an image of the check using the Import From File and Import From Clipboard buttons. You can also scan a new check using the Scan button or clear the check image using the Clear button.
You can search for contributions with scans using the Has Scanned Check field in Contribution Records.
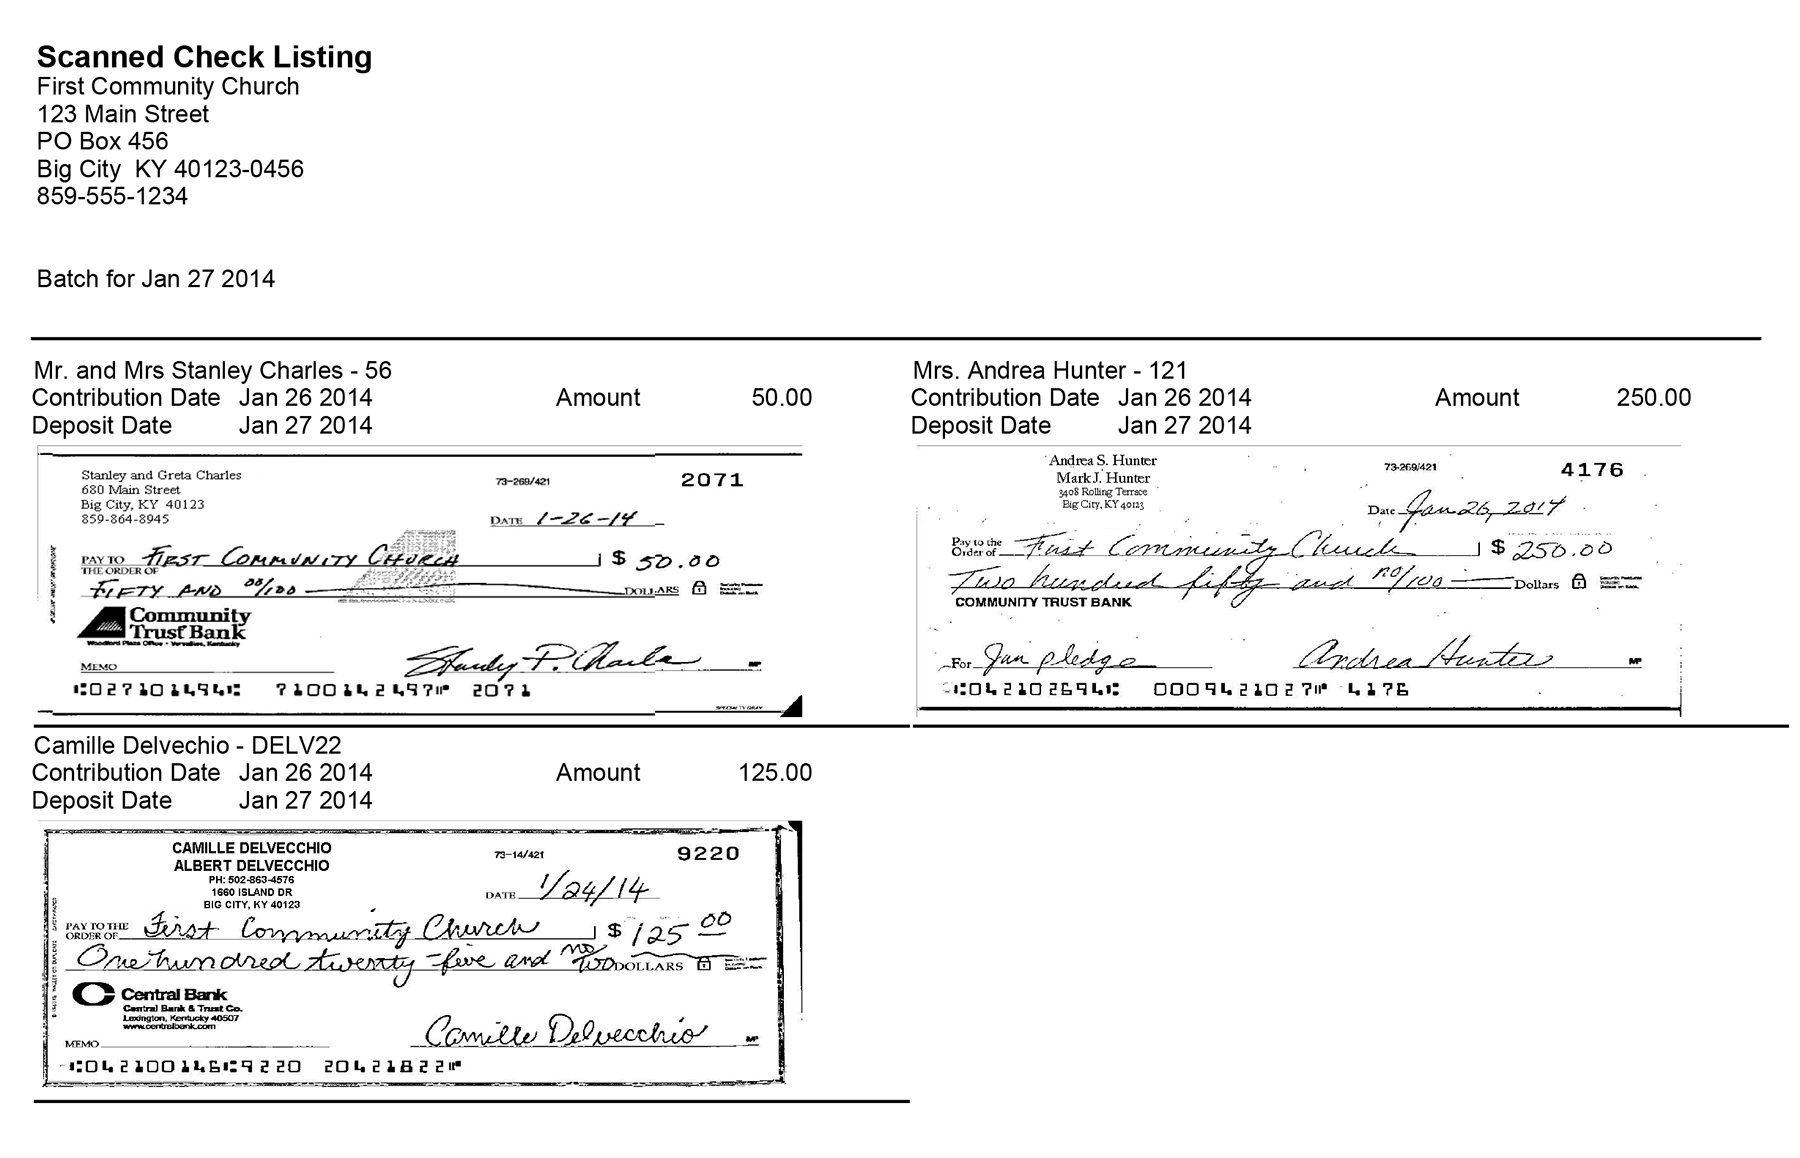
You can also print the Scanned Check Listing.
Open Scanned Check Listing report
Reports > Contributions > Daily Reports > Scanned Check Listing

