Self Check-In is a simple, easy-to-use interface designed to be used by individuals and visitors to check themselves into CDM+. It was designed to be used with various hardware devices. Touchscreen displays and barcode scanners are not required to use Self Check-In, but the options are available.
Because Self Check-In is a simple and stream-lined interface, it is more limited in features than Staffed Check-In and does not provide a mechanism to check individuals out, re-print check-in reports or validate fields during check-in. Self Check-In does not allow for adding individuals (members or visitors) or changing any information.
Setting Up Self Check-In
-
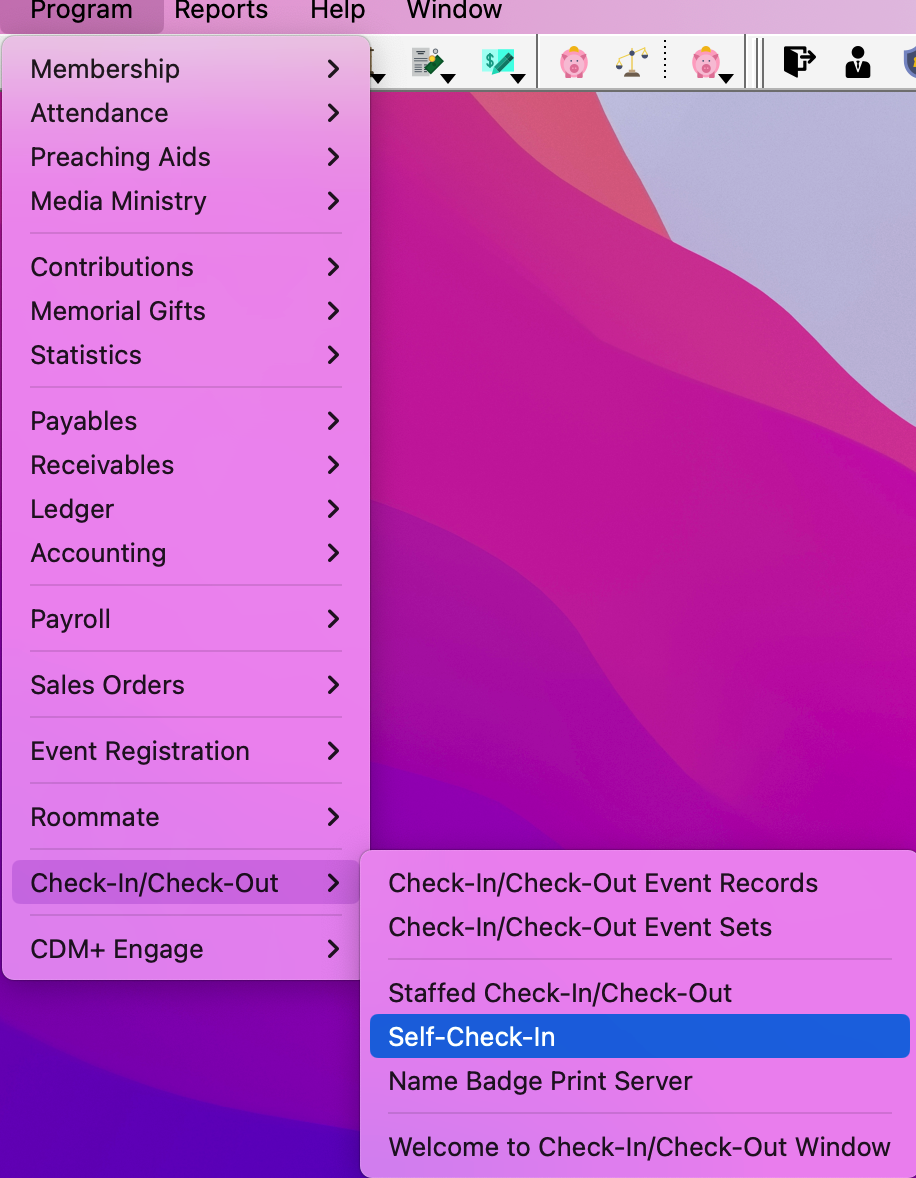
To open a Self Check-In window, click the Self button on the sidebar of the Check-In/Check-Out Event Records window, or go to Program → Check-In/Check-Out → Self-Check-In.
-
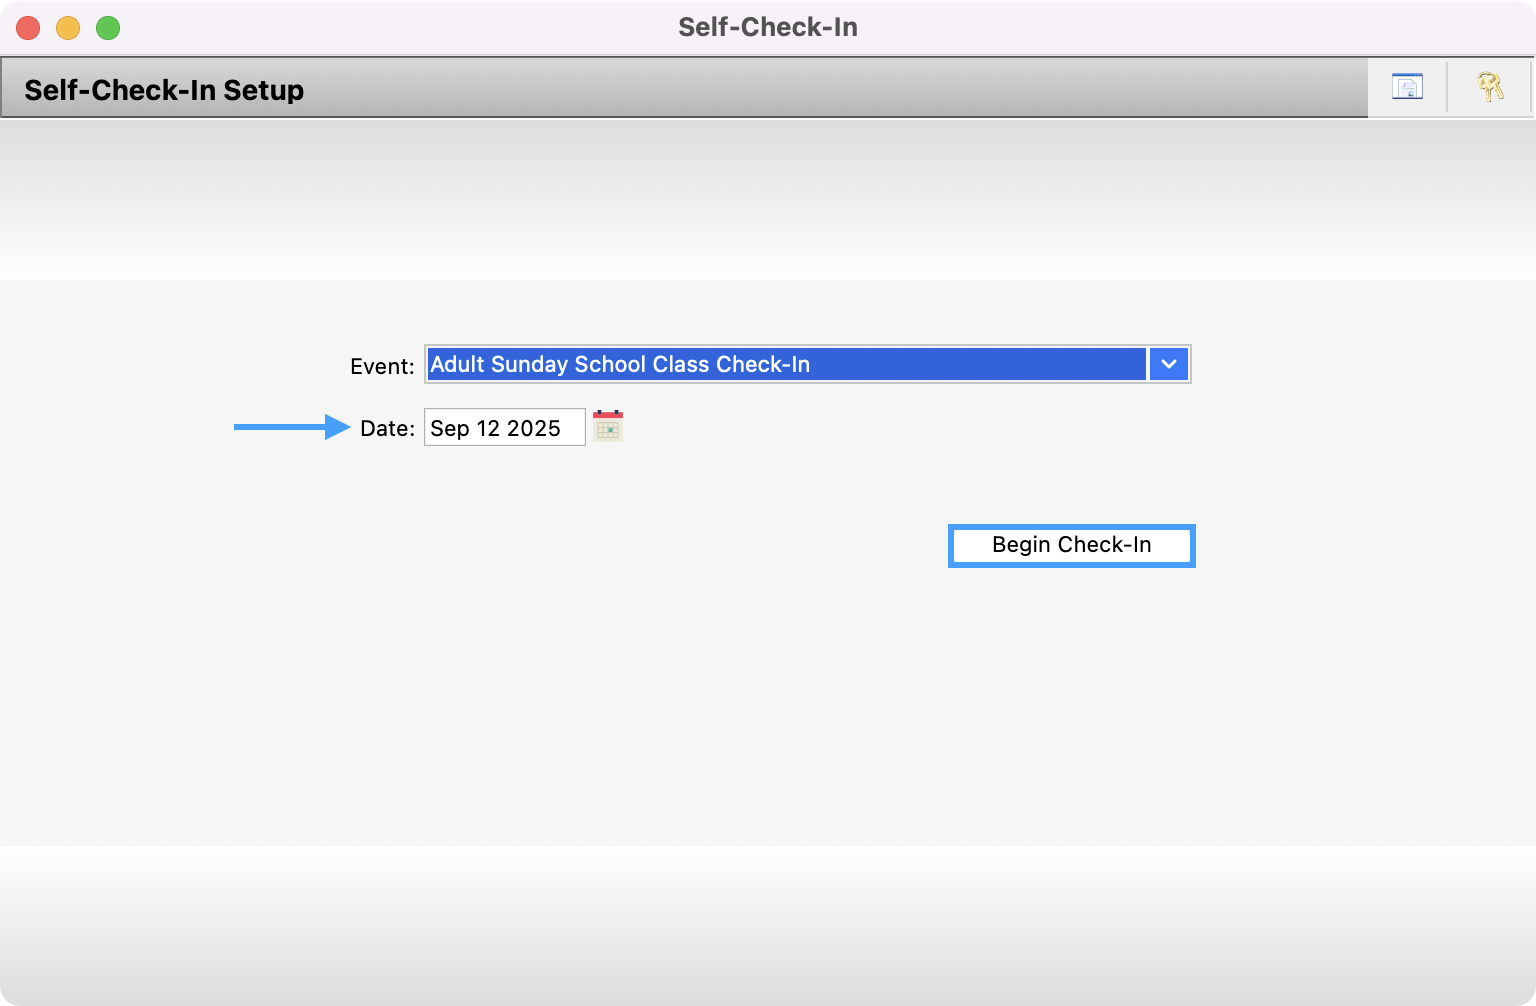
Select the Event from the drop list. This list will include both Events and Event Sets. If you provided a Description for the Event, you will see that description here. Otherwise, you will see the group type and codes for the event.

-
Enter a Date and click Begin Check-In.
-
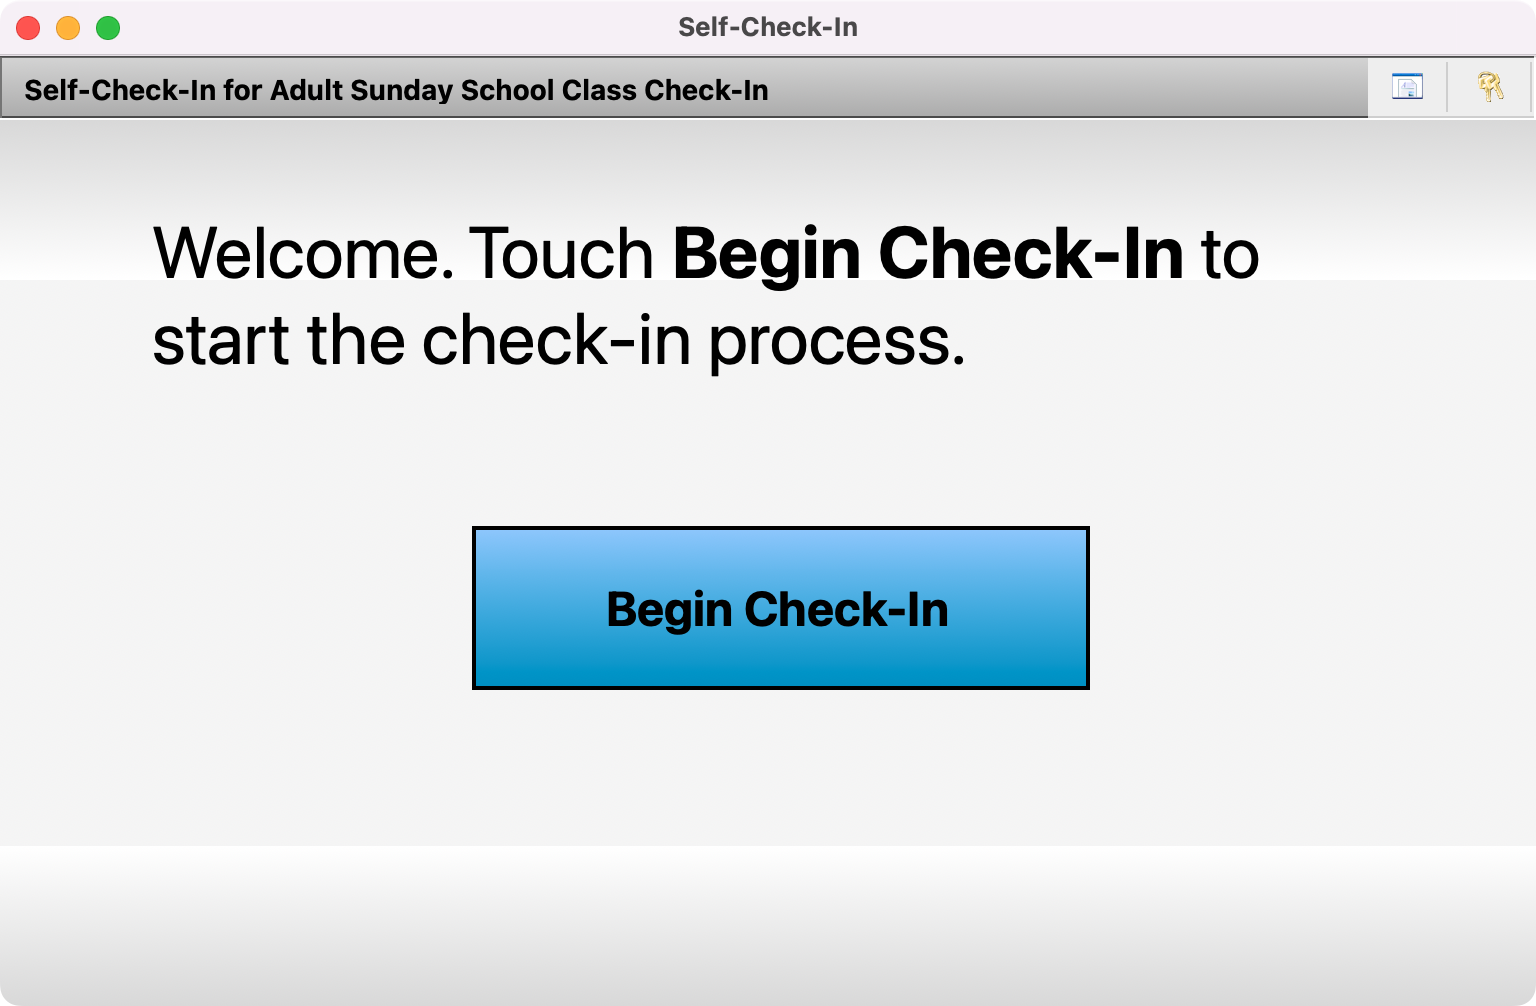
The window will change to the opening screen for Self Check-In.
Full Screen View and Locked Screen
-
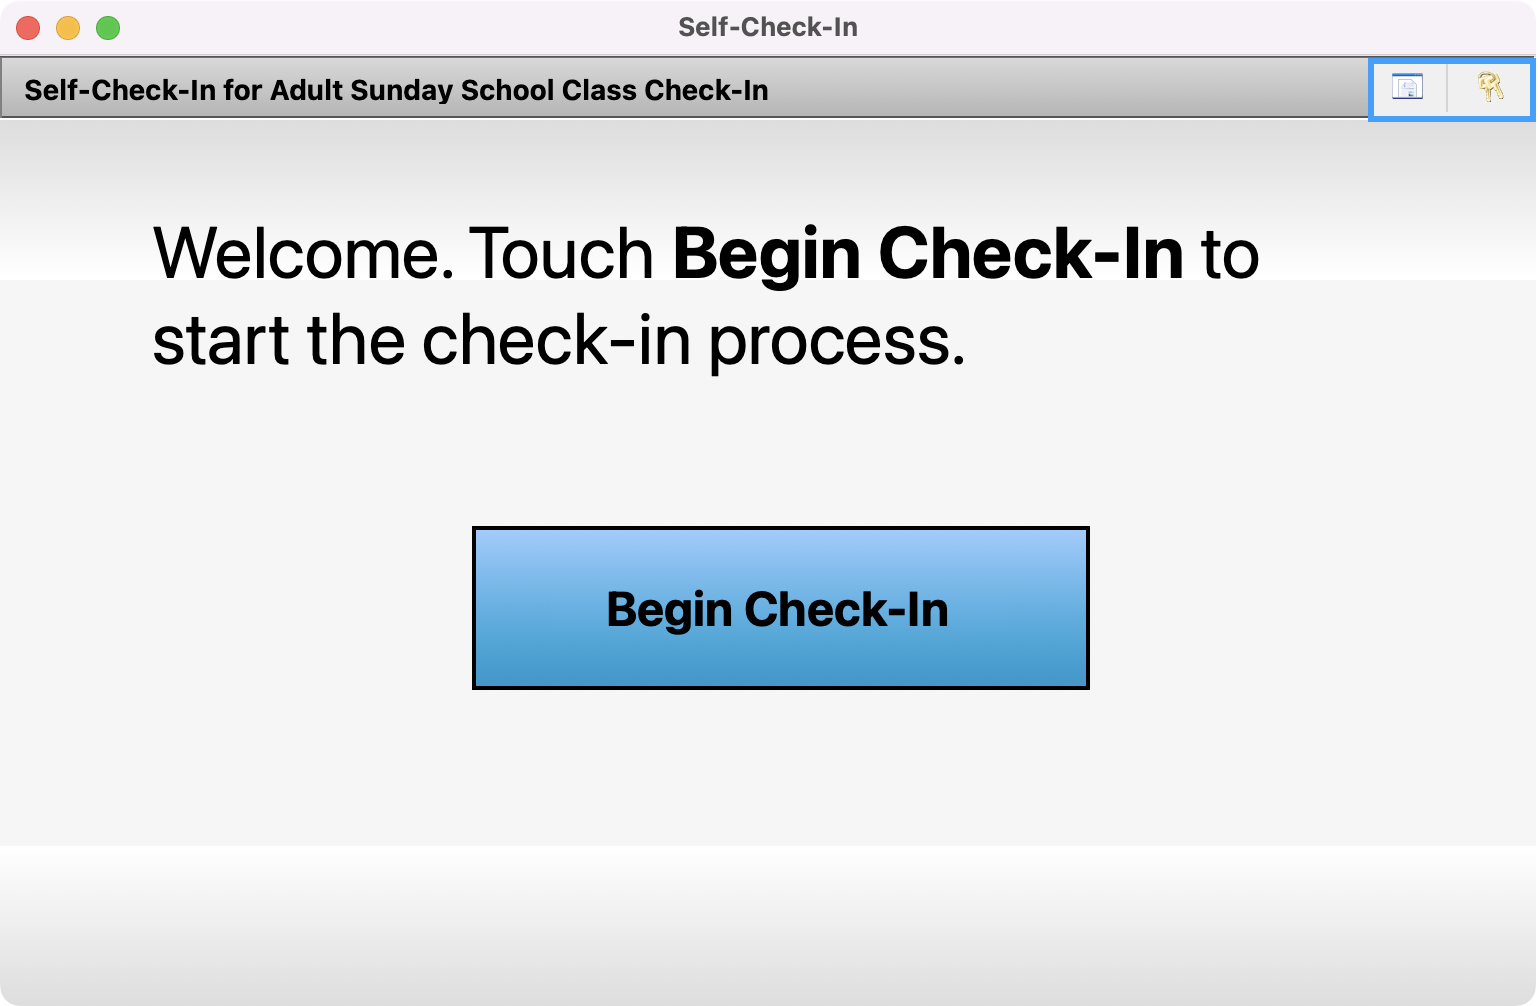
In the upper right corner of the Self Check-In window, there are two icons. One is a computer monitor, the other is a key. The monitor button will put this window into full-screen mode. To exit full-screen mode, click the monitor button again and enter the user password for the user currently logged in to CDM+ on this computer.
-
The key button will lock the Self Check-In window and will require the user’s password for the user currently logged in to this computer to unlock it.

Self-Check In
-
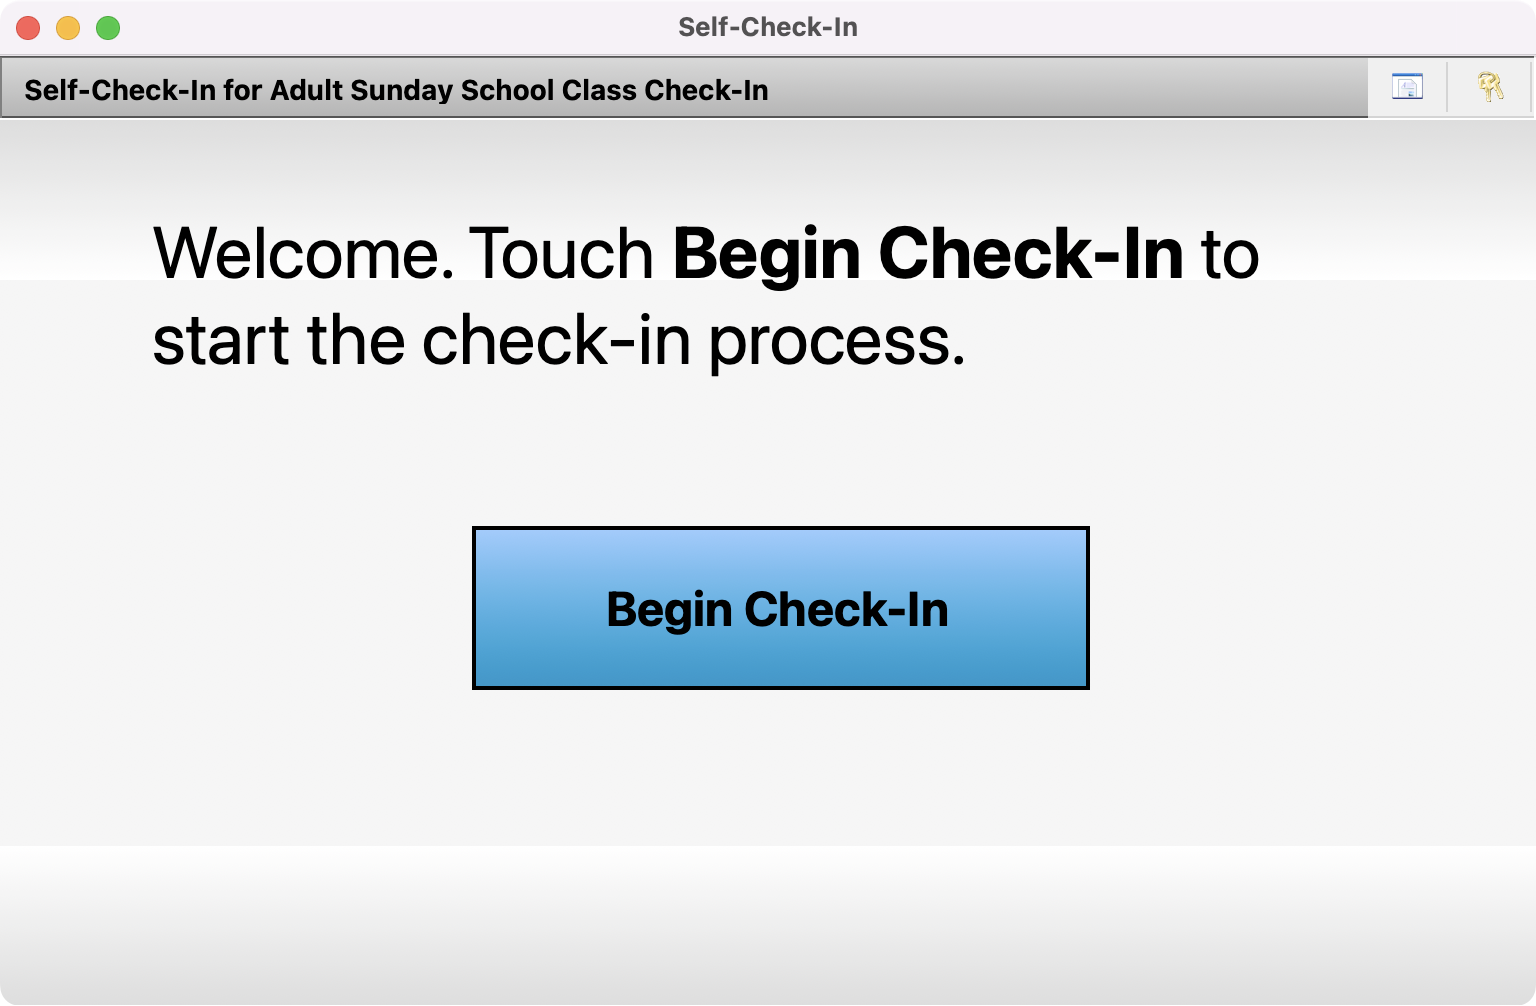
To initiate self check-in, do one of the following on the Welcome Screen.
-
Select Begin Check-In
-
Scan an individual or address barcode if you’re using a barcode scanner.
-
-
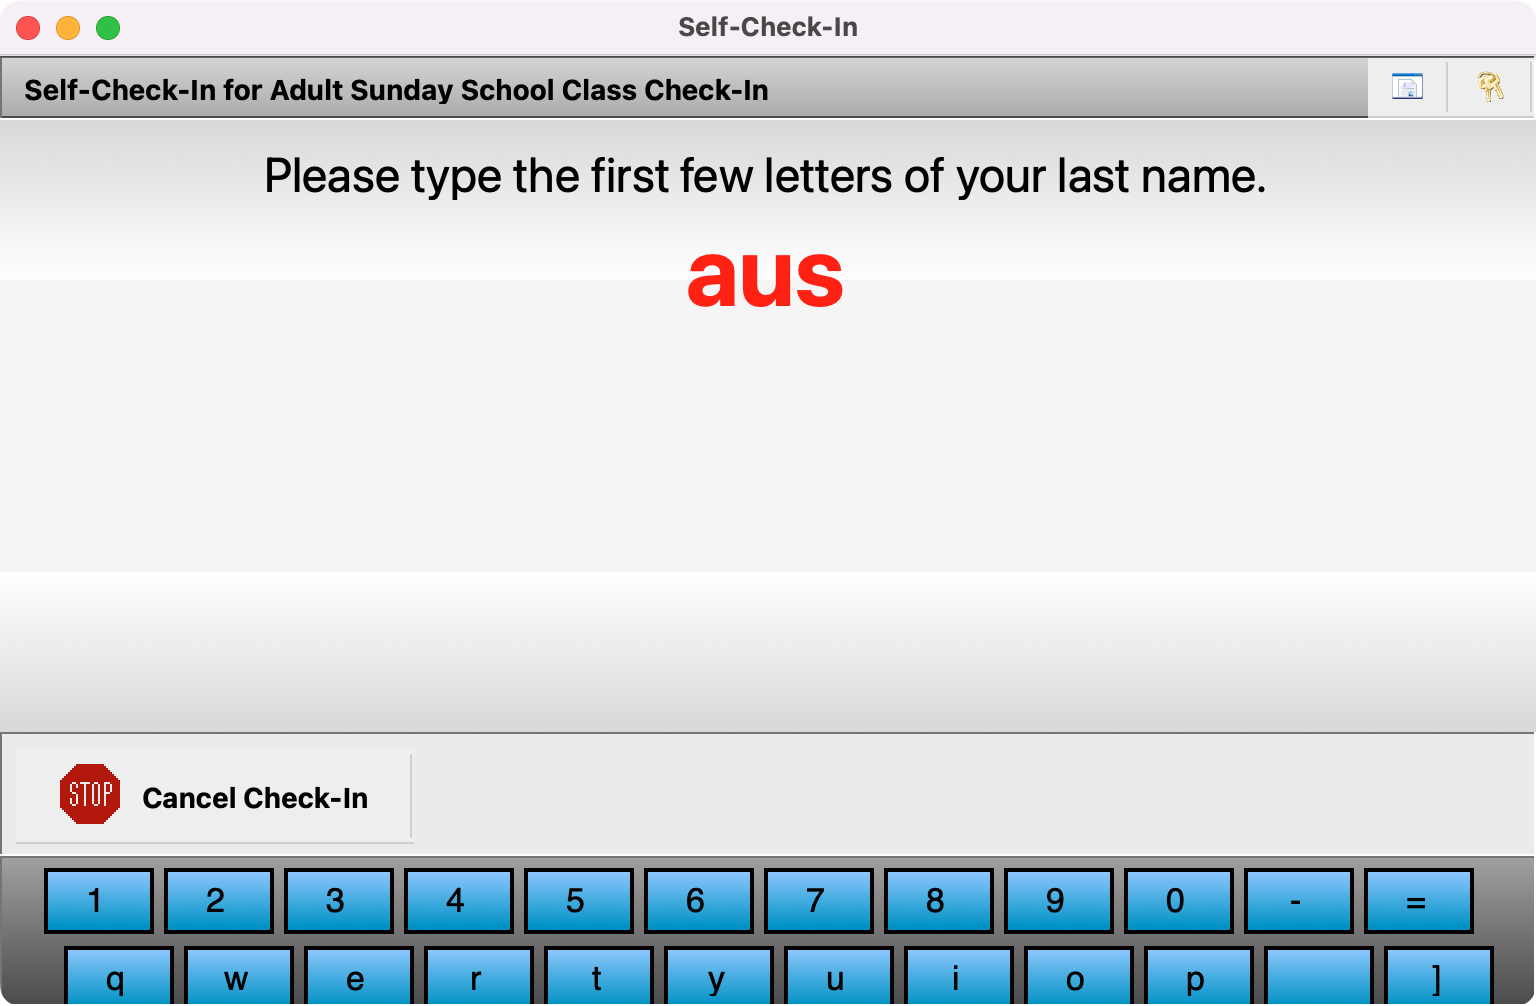
Next, enter the first few letters of your last name. If you used a barcode scanner, skip this step.
-
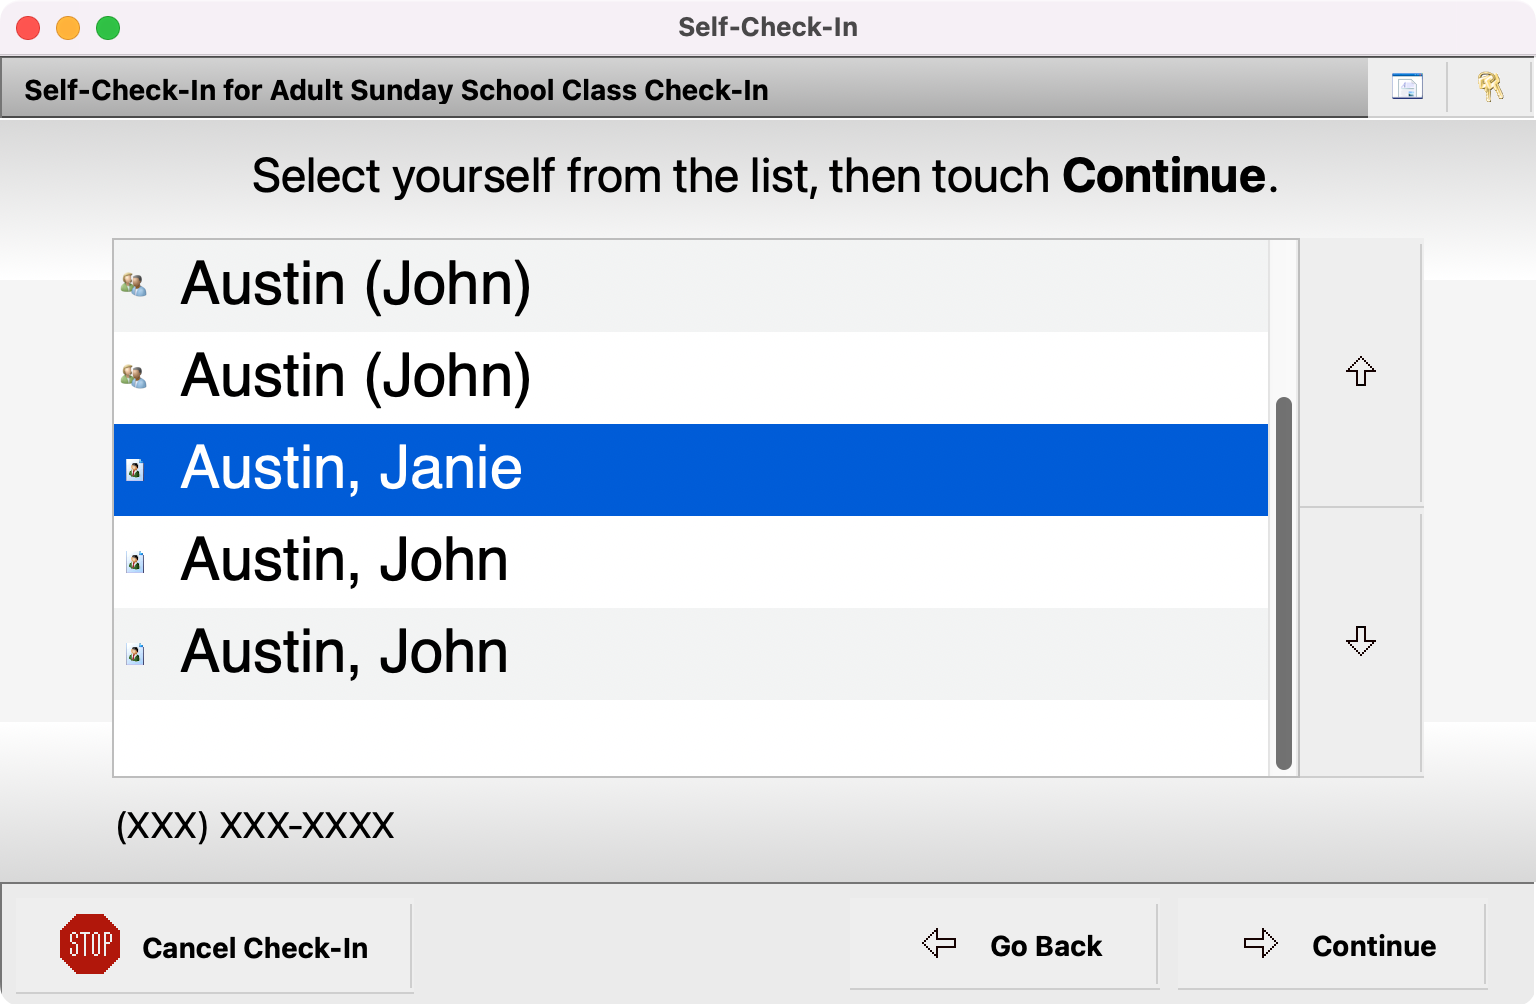
After you have entered a few letters, the screen will bring up a list of possible matches. Select your name and click Continue.
-
Select the group you are checking into. If you are enrolled in one of the groups at the event, it will automatically be selected for you. Click Continue.
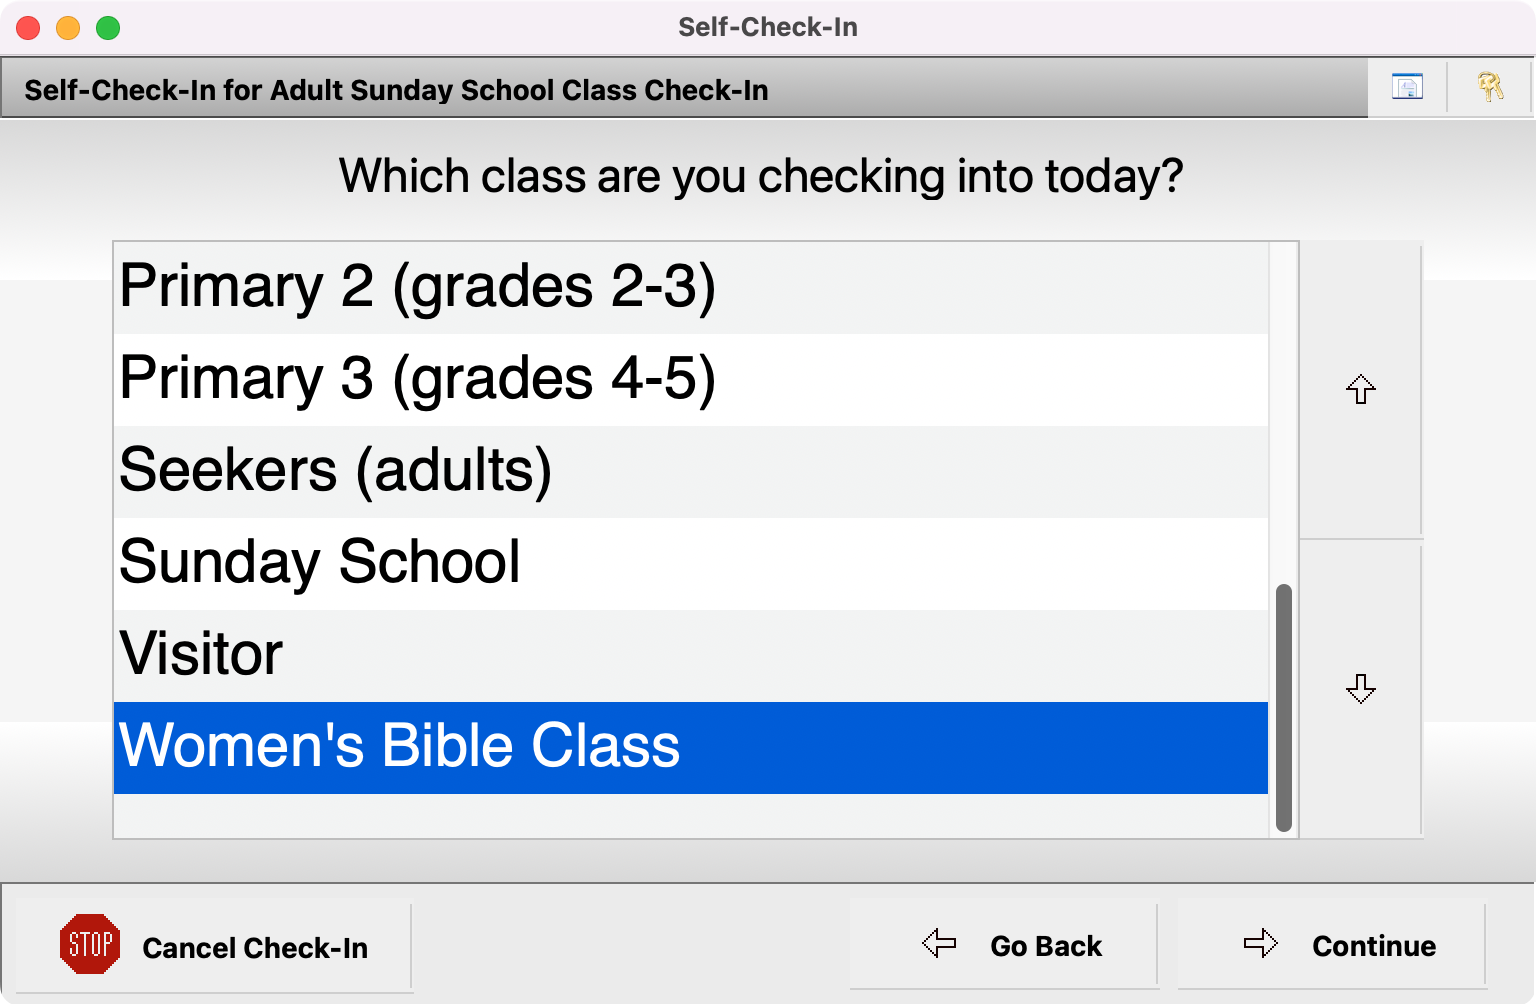
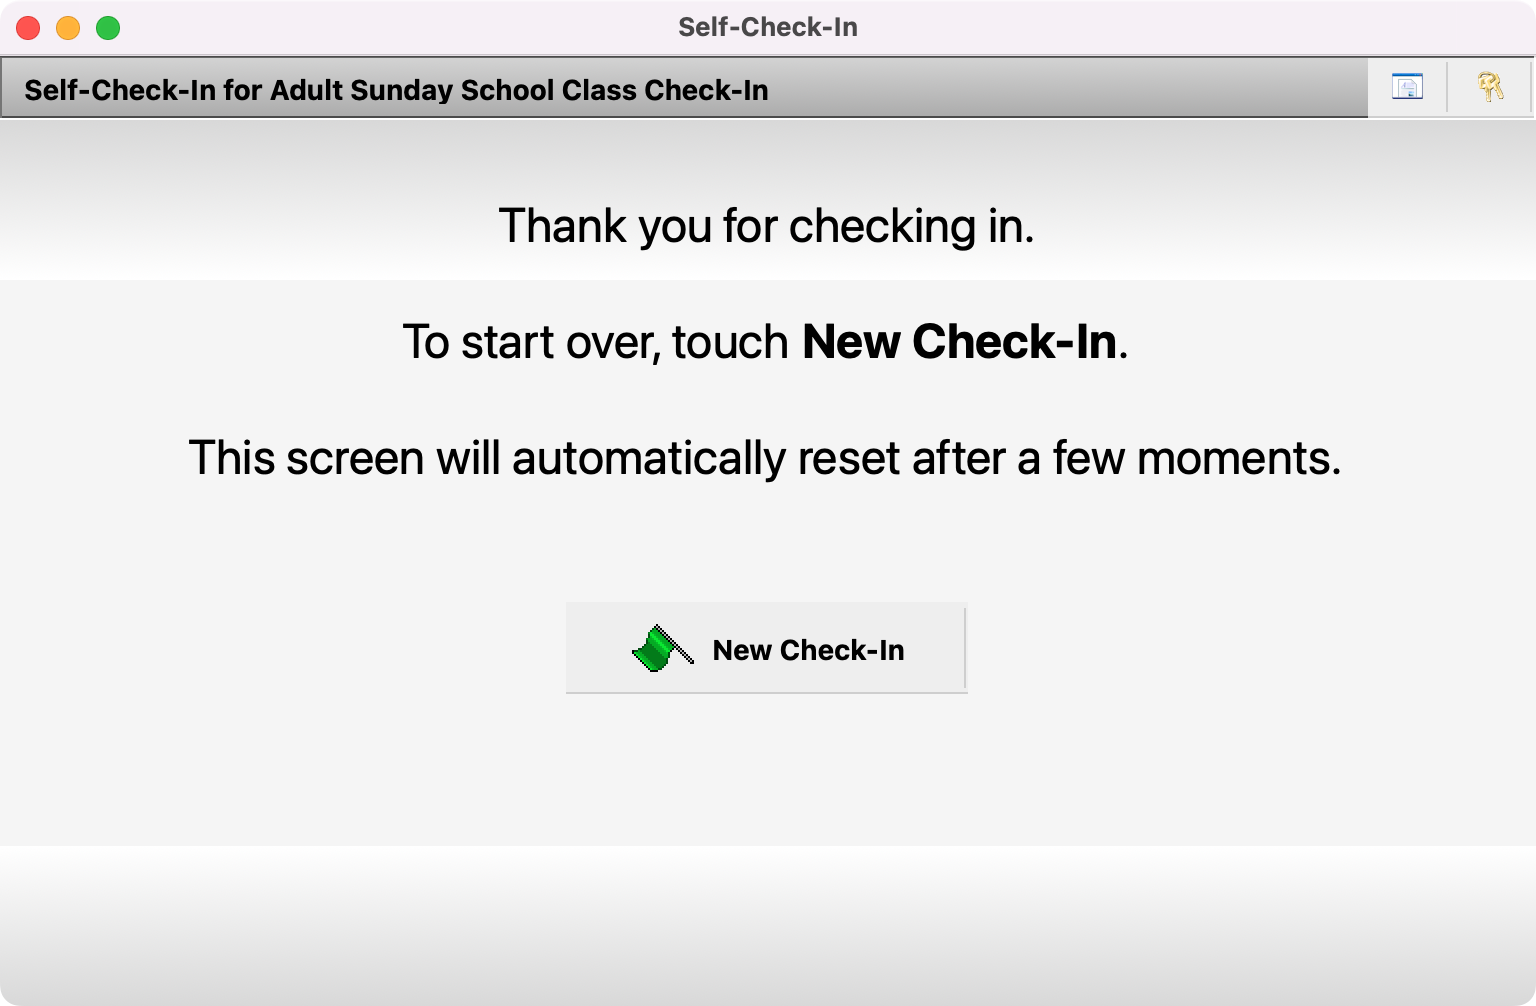
-
Your check-in is now complete. The window will automatically reload the Welcome Screen after a few seconds. If check-in reports, such as name badges, are set to be printed during check-in, they will automatically print at the end of each Check-In.