-
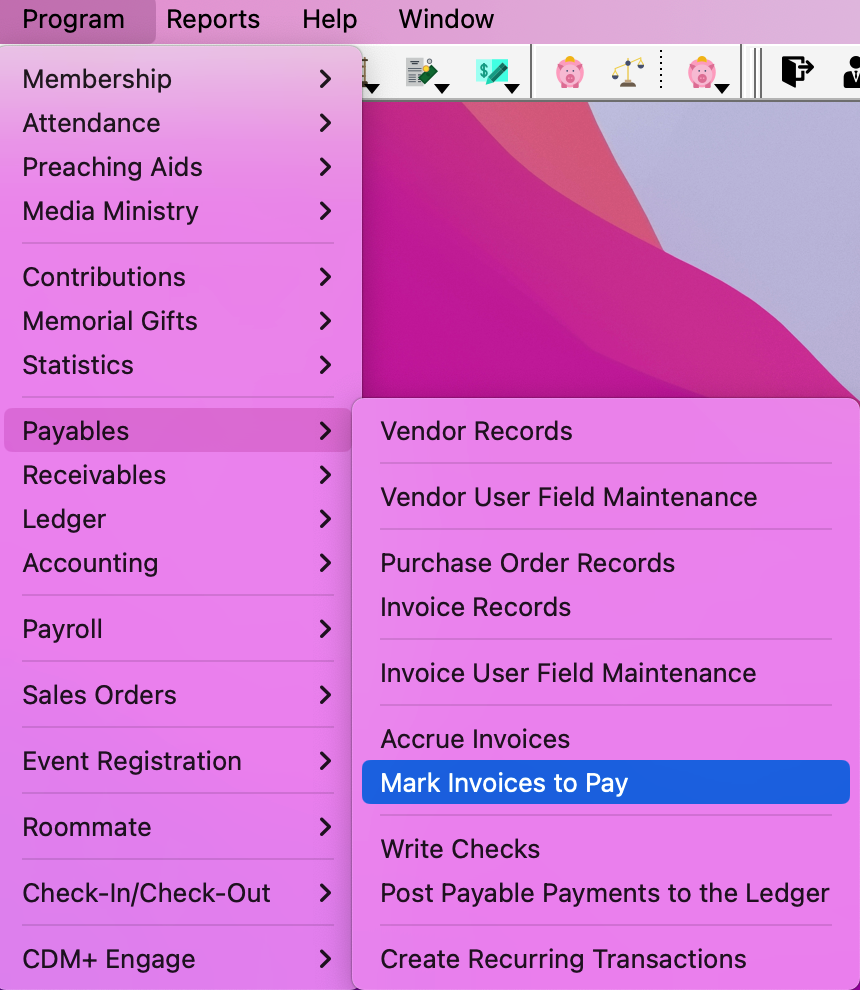
To Mark an invoice to be paid, go to Program → Payables → Mark Invoices to Pay.
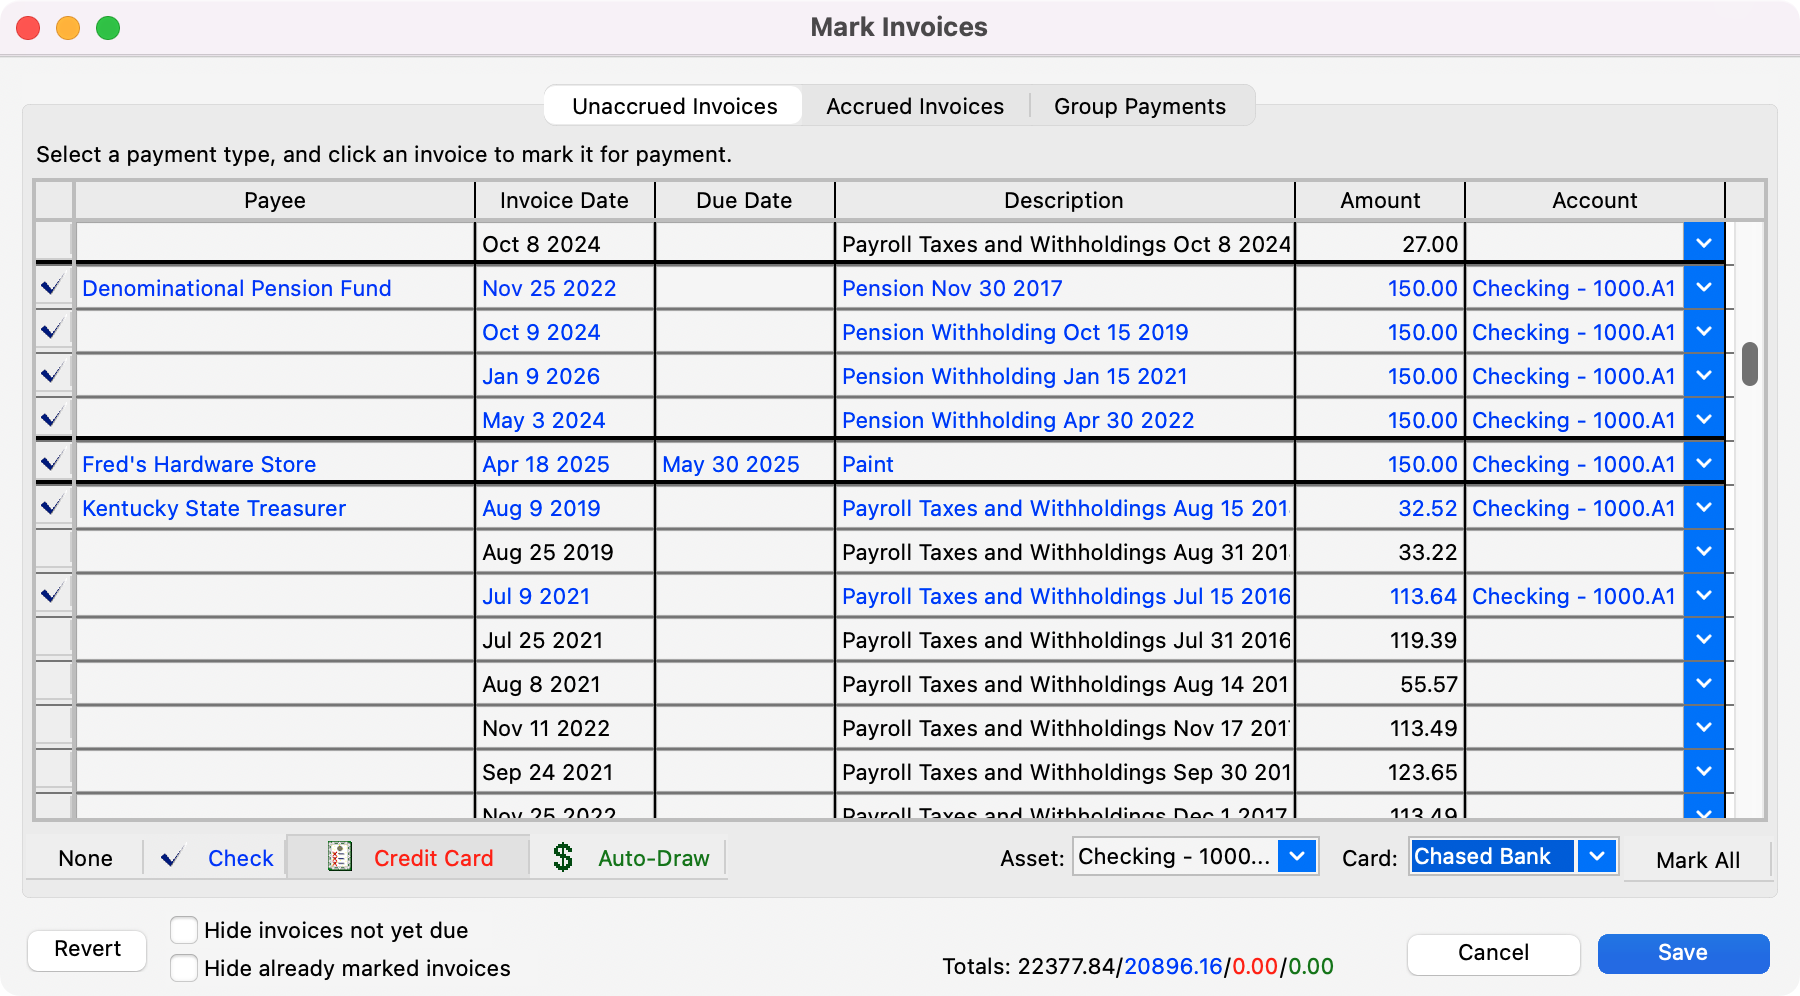
Un-Accrued Invoices
-
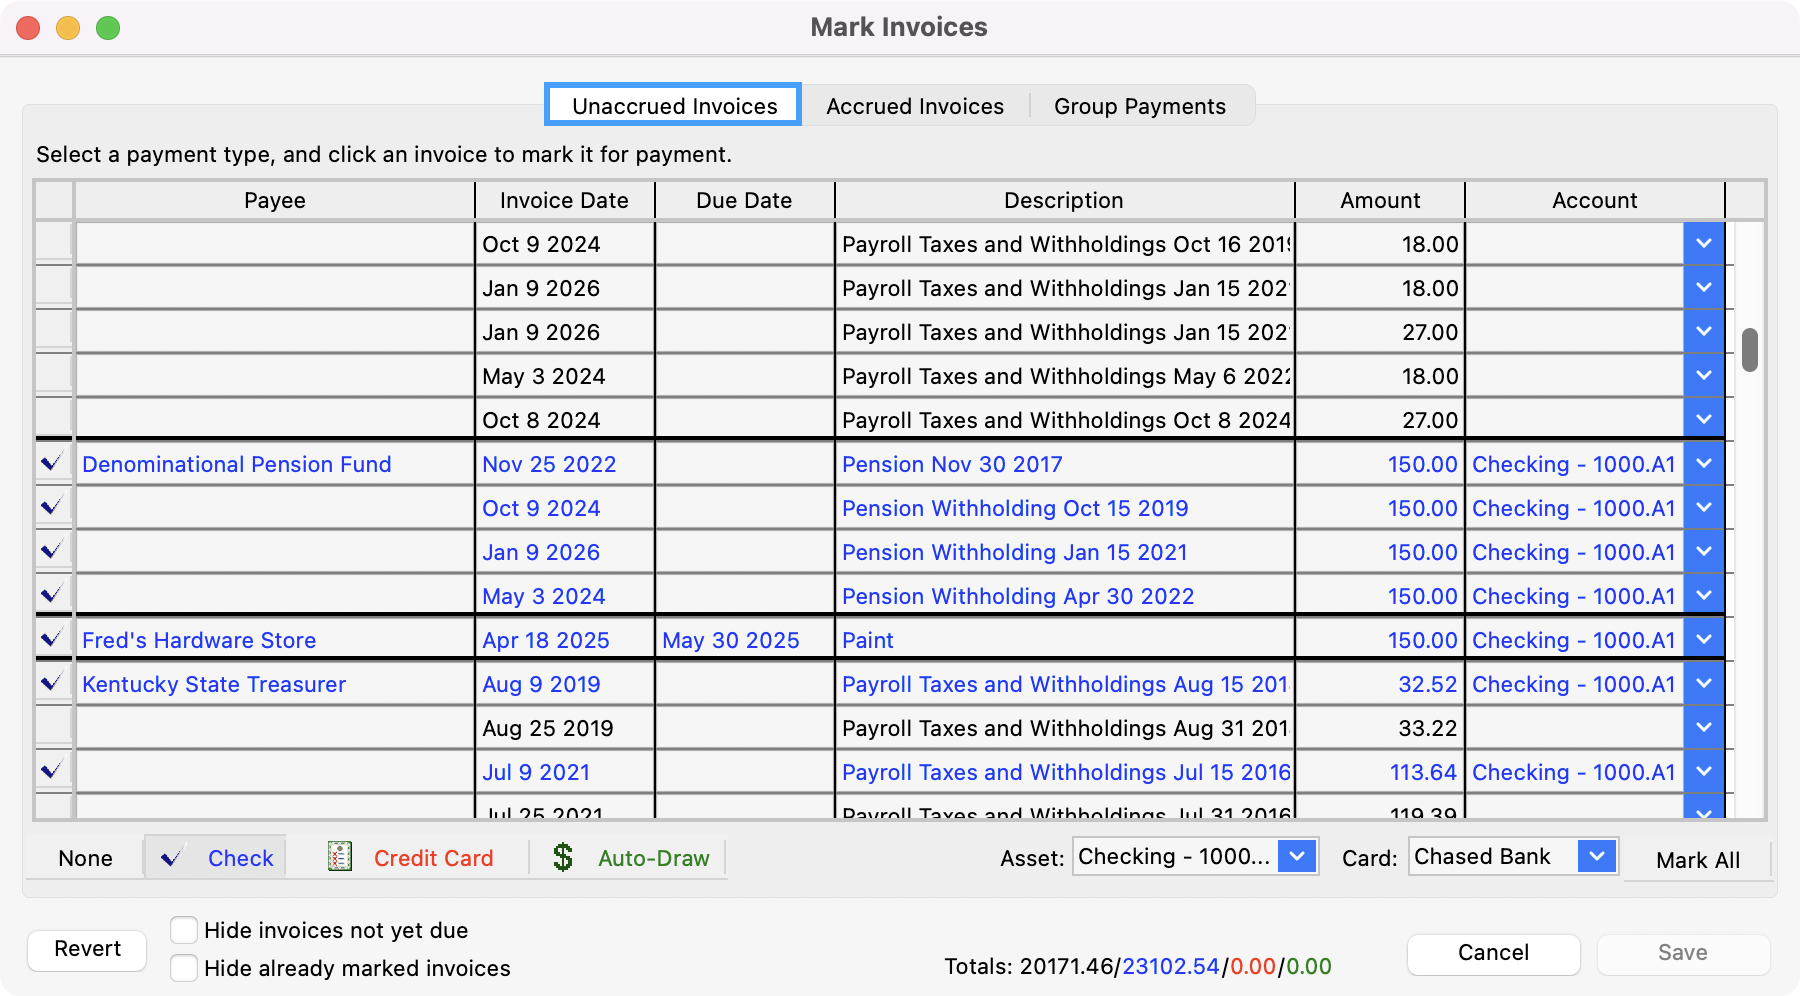
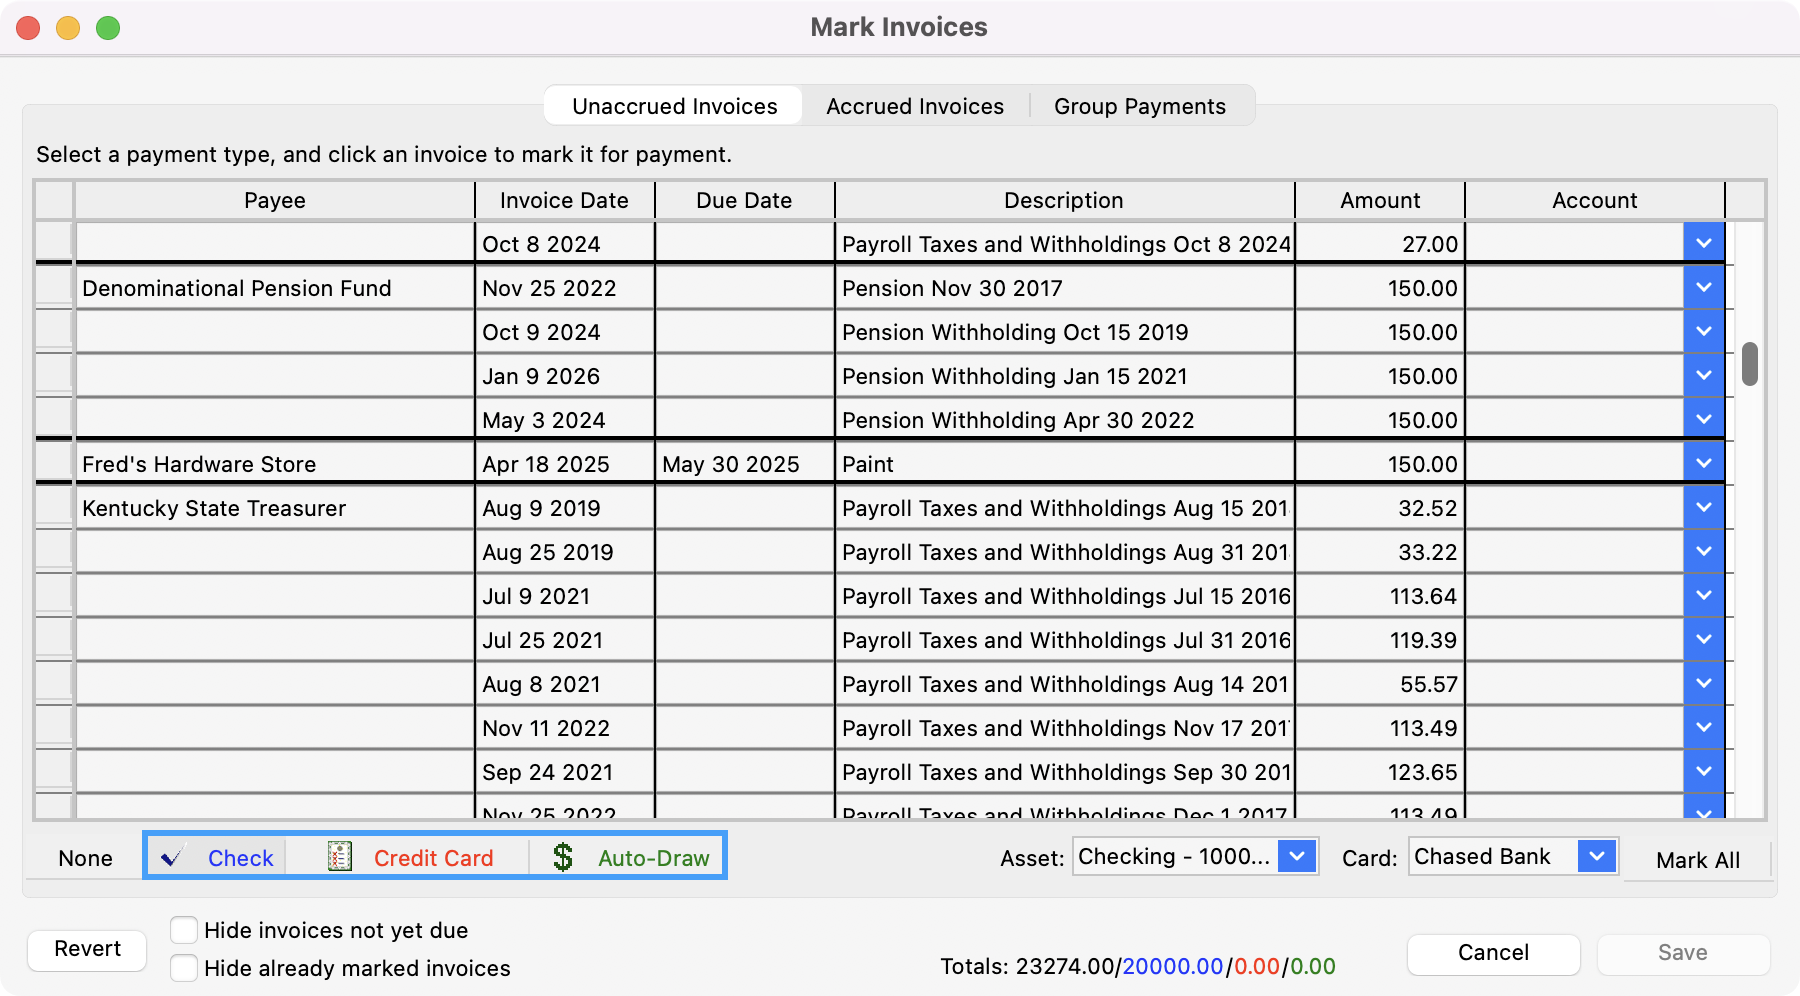
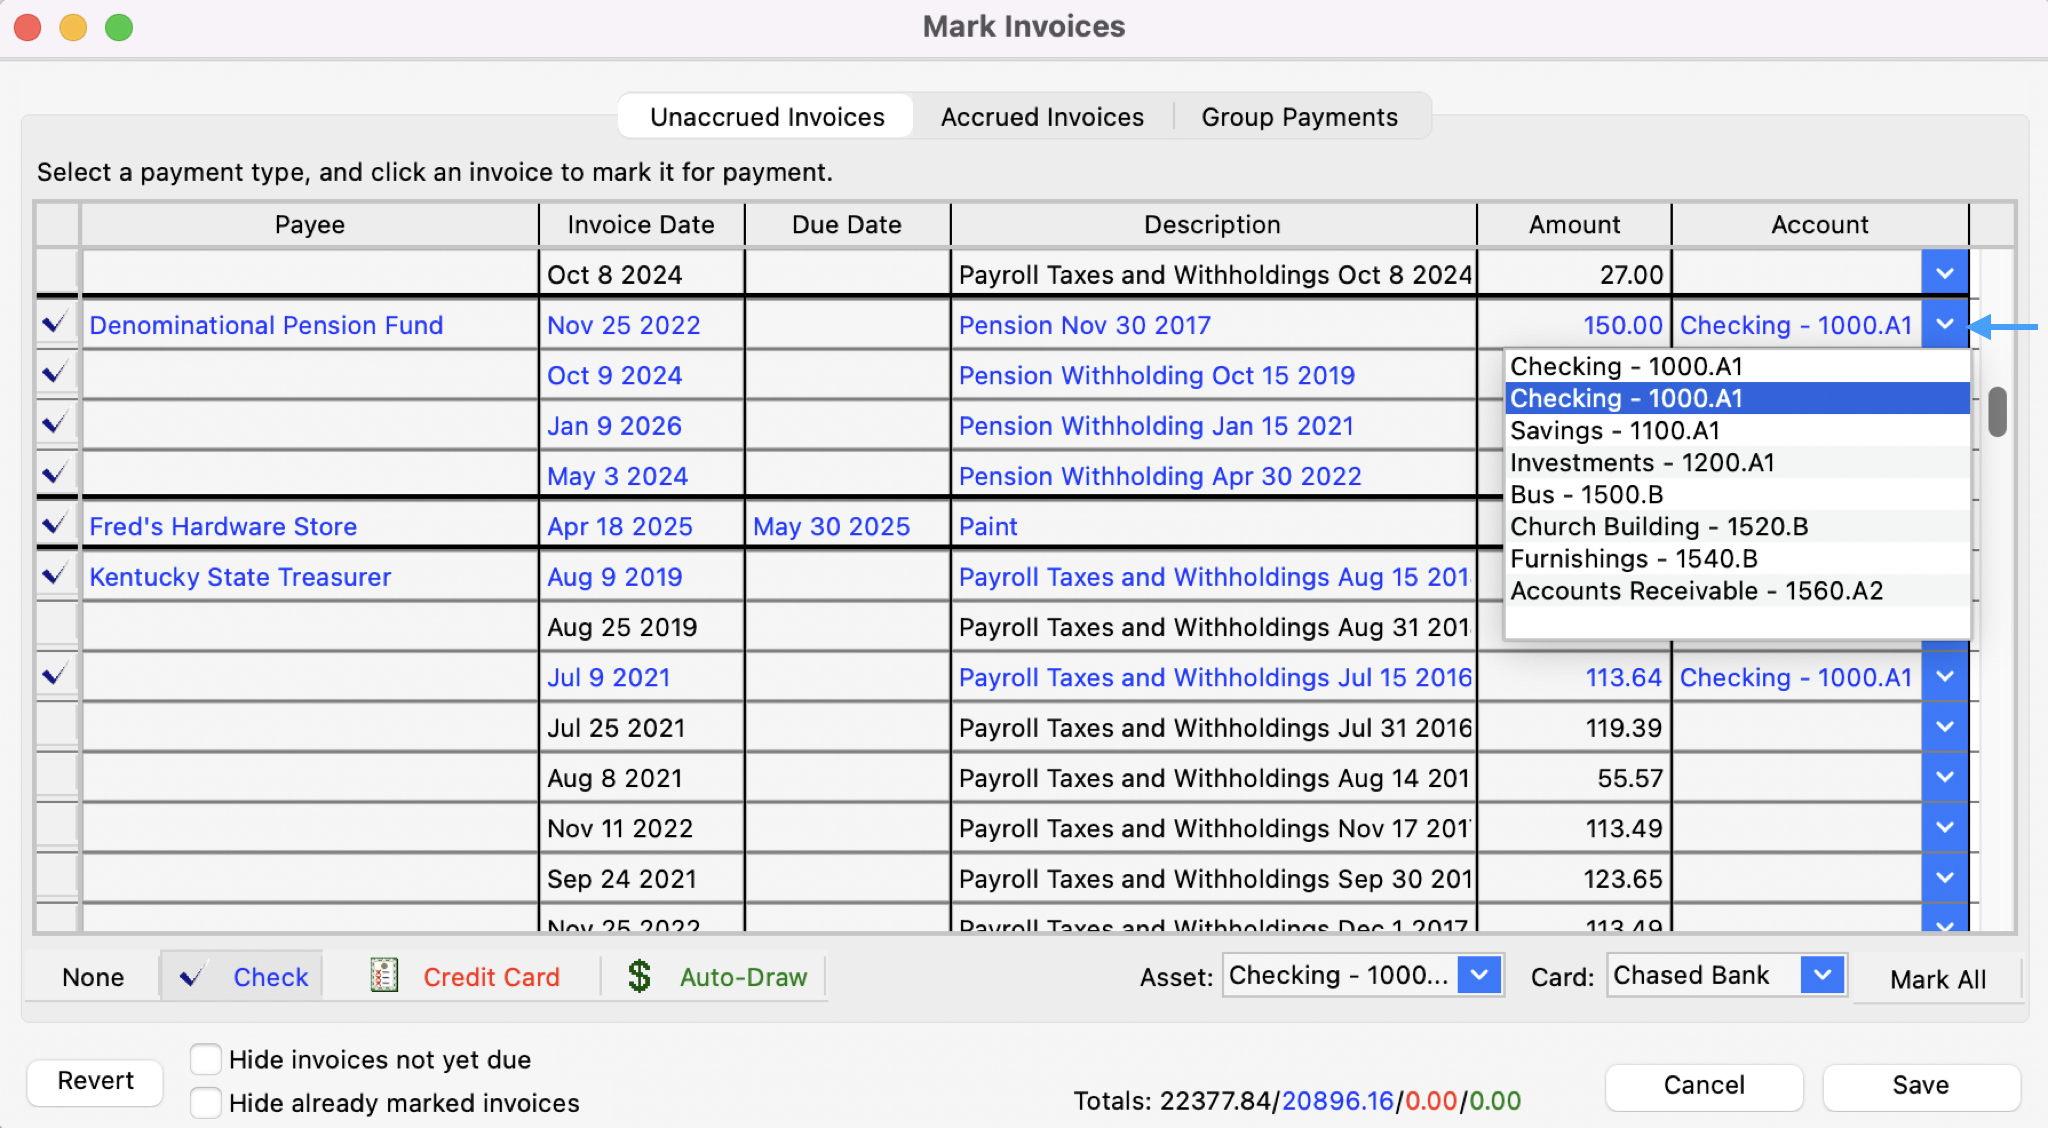
The Mark Invoices window will open with the Un-Accrued Invoices tab active. Multiple invoices per payee are automatically grouped together between bold lines on this window.
-
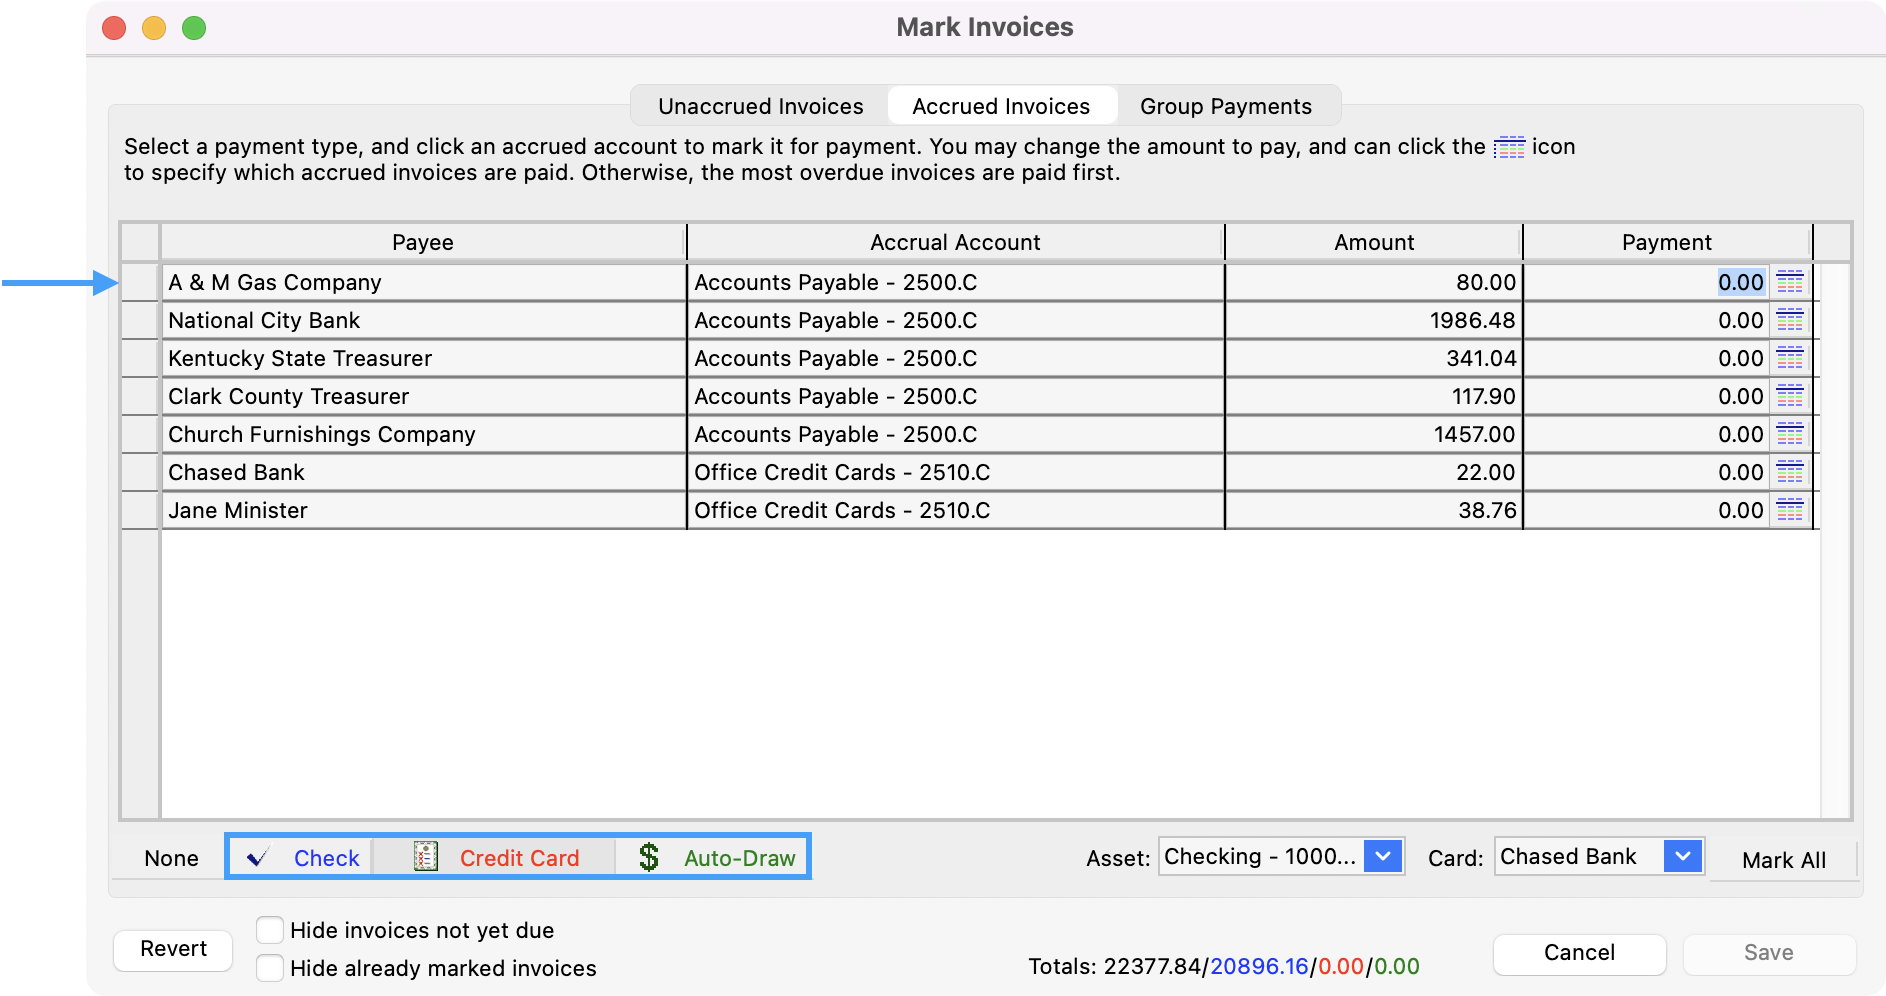
The payment method defaults to Check. Click the Credit Card or Auto-Draw button at the bottom of the window before marking items to be paid by either one of those methods.
-
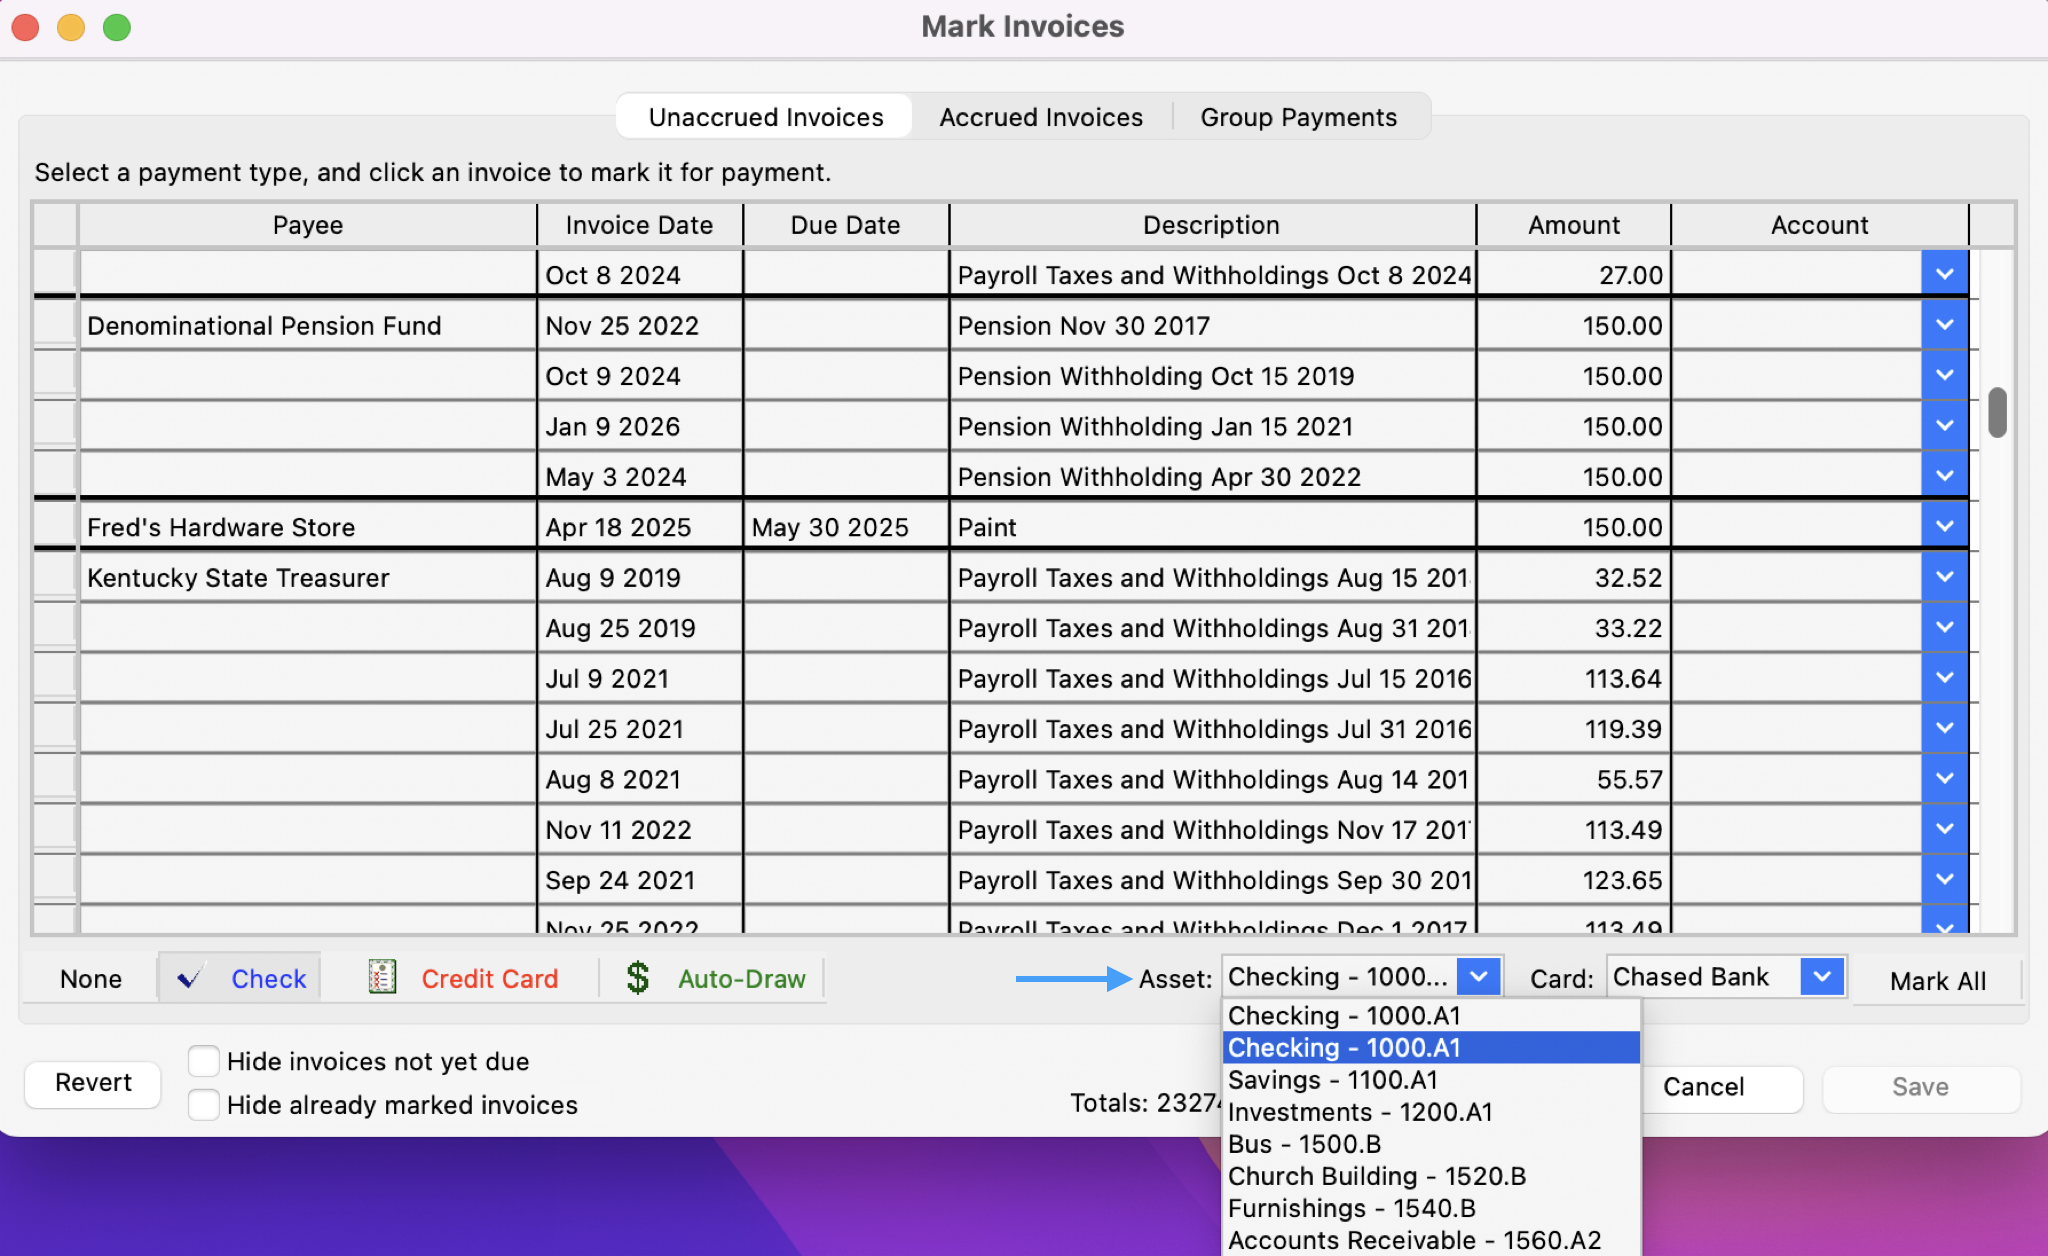
If you have more than one checking account, be certain to select the proper Asset account before selecting the invoice line to be paid.
-
There are several ways to mark an invoice.
-
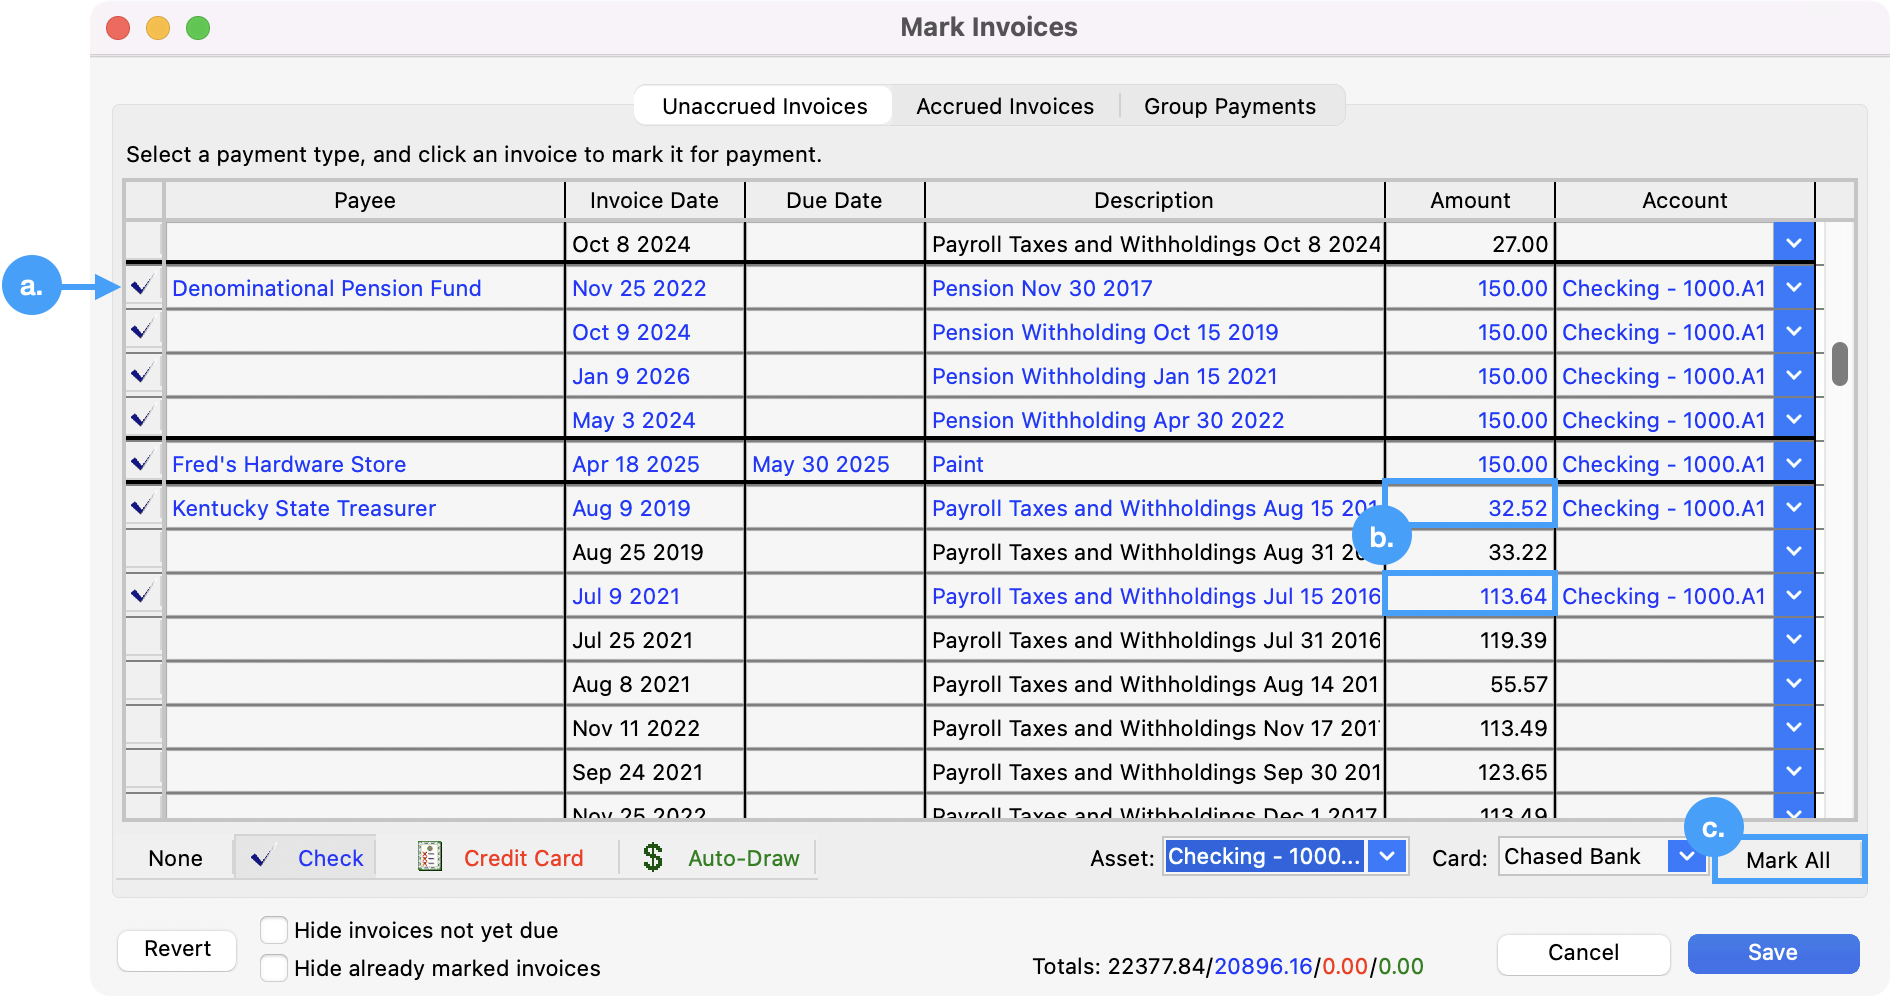
Click the Payee's name to mark all items under the Payee to be paid.
-
Click the Amount box of each item under a Payee you wish to mark.
-
Click the Mark All button in the bottom right-hand corner of the window to mark all invoices and then click to uncheck those you do not want to pay at this time.
-
-
Press Tab and select the Asset from which you want to pay these invoices from the drop-down list.
-
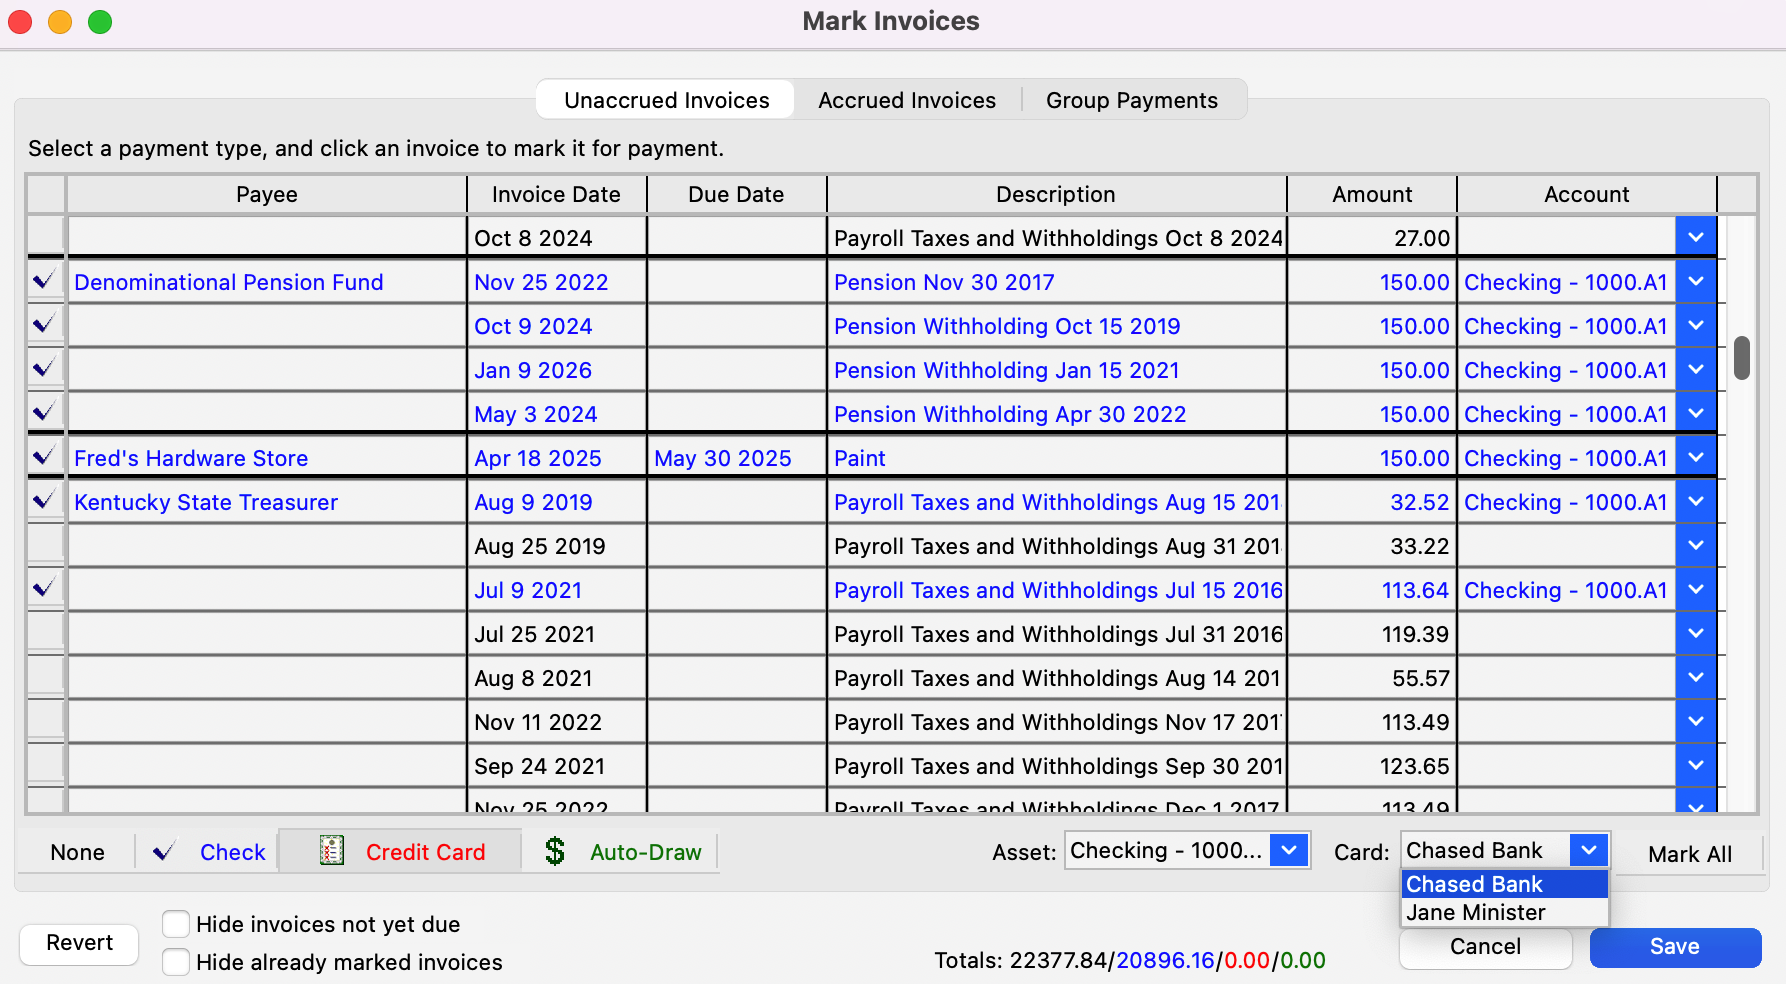
Press Tab and, if any of the invoices are marked to be paid by a credit card, select the card you want to use from the dropdown list. Only those vendors with the Credit Card Company box on the Vendor Records window checked will be available on this list.
-
After all the invoices to be paid have been marked, you will see at the bottom of the window the color-coded Totals for the three methods of payment. The first number, in black, is the total of invoices that you have not marked for payment.
These totals reflect both Un-Accrued and Accrued Invoices.

-
If everything is correct, press Return/Enter or click Save.
-
A dialog box appears, asking, Would you like to go to the Write Checks window? Press Return/Enter or click Yes if you are ready to print checks now. Otherwise, click No; you can write checks at a later time.

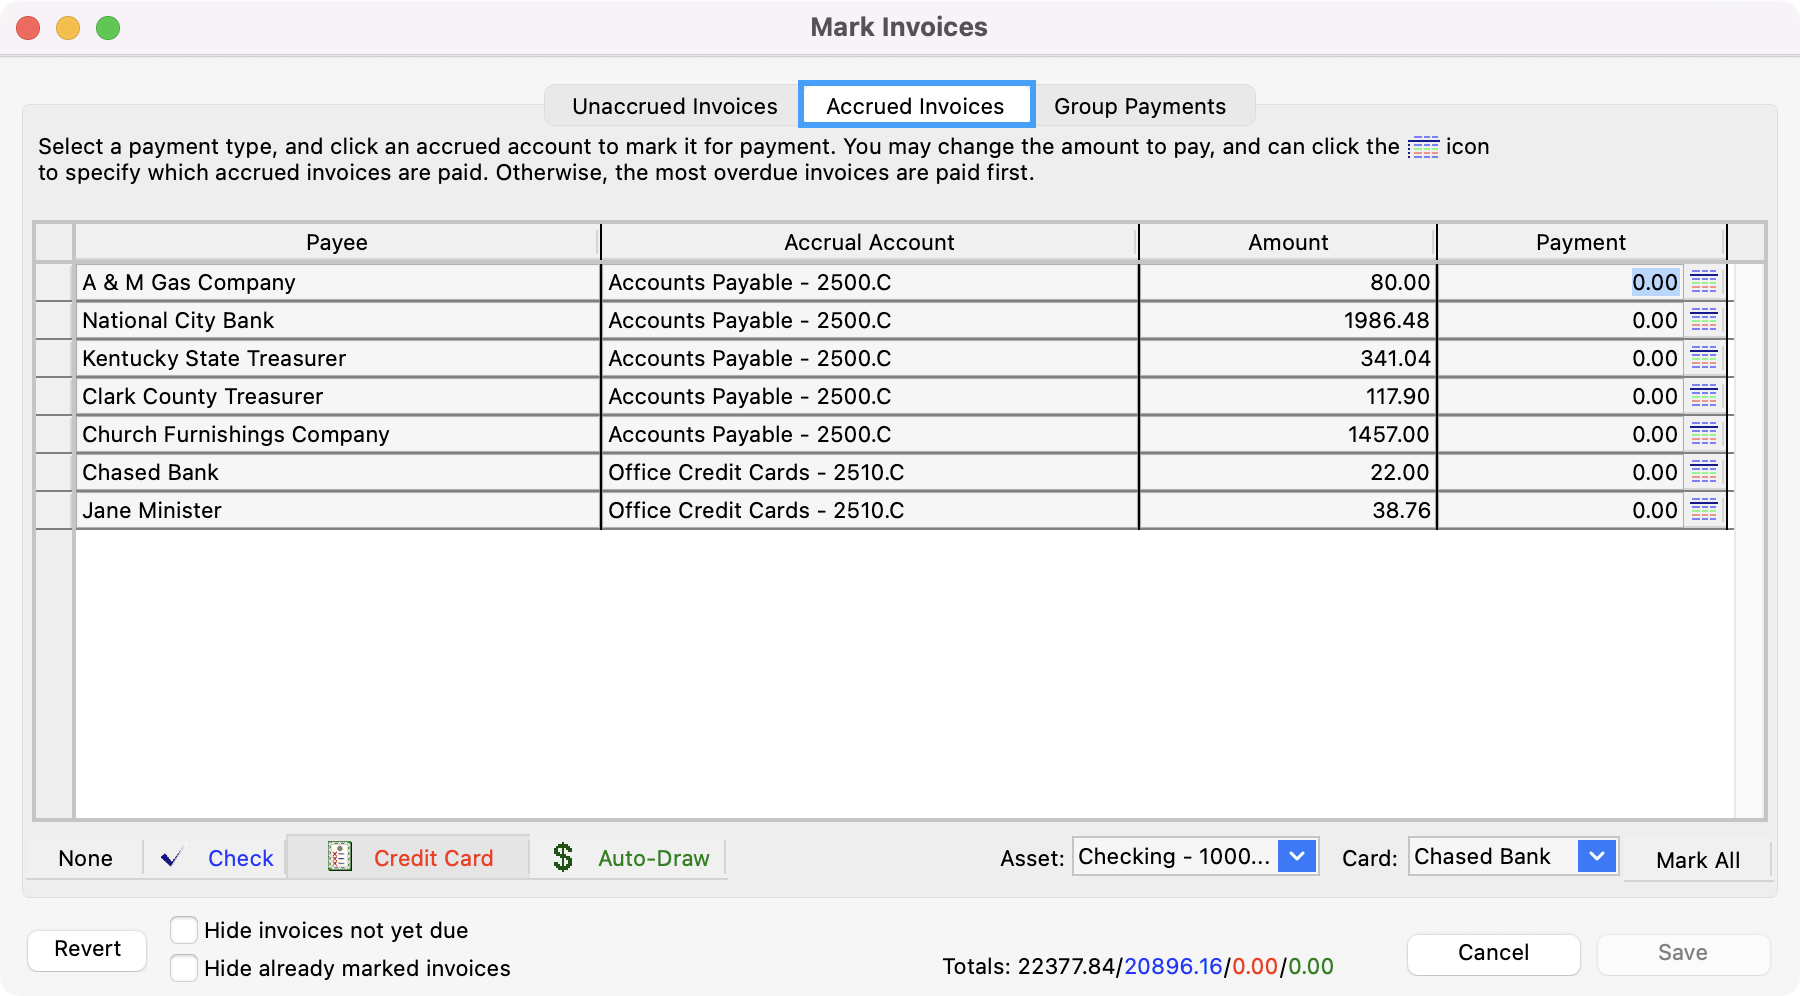
Accrued Invoices
-
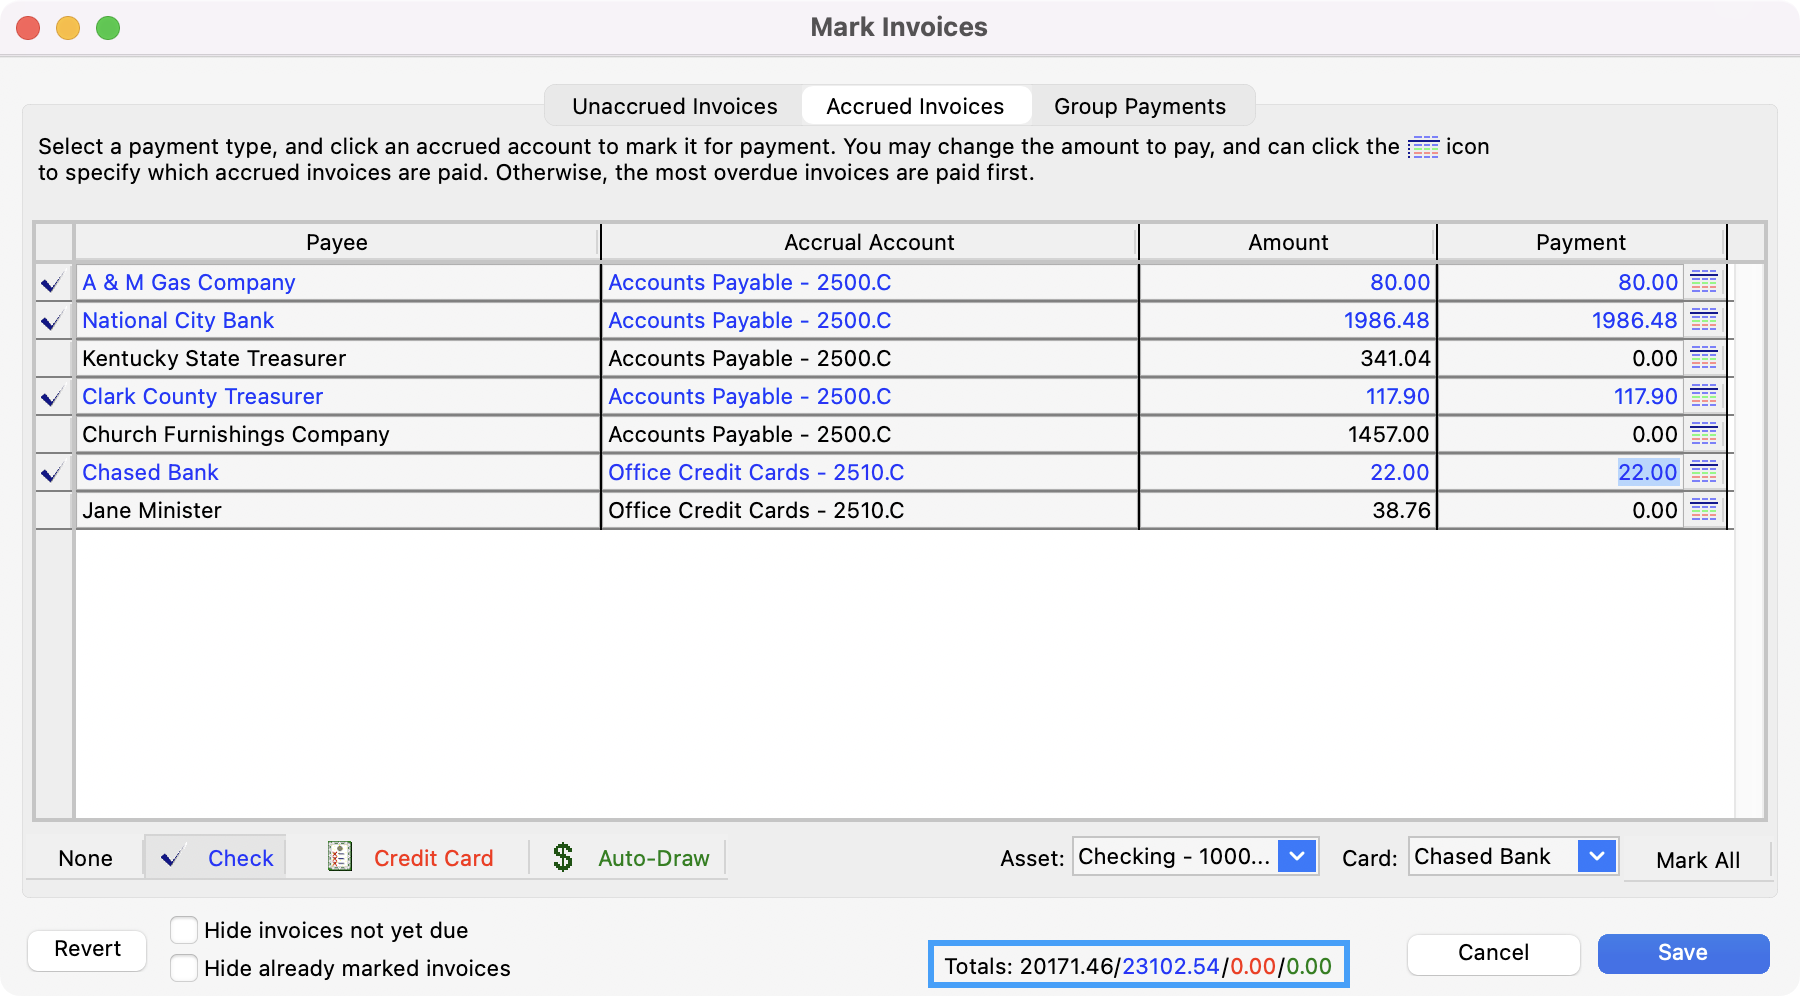
Next, click the Accrued Invoices tab to view and mark accrued items for payment.
-
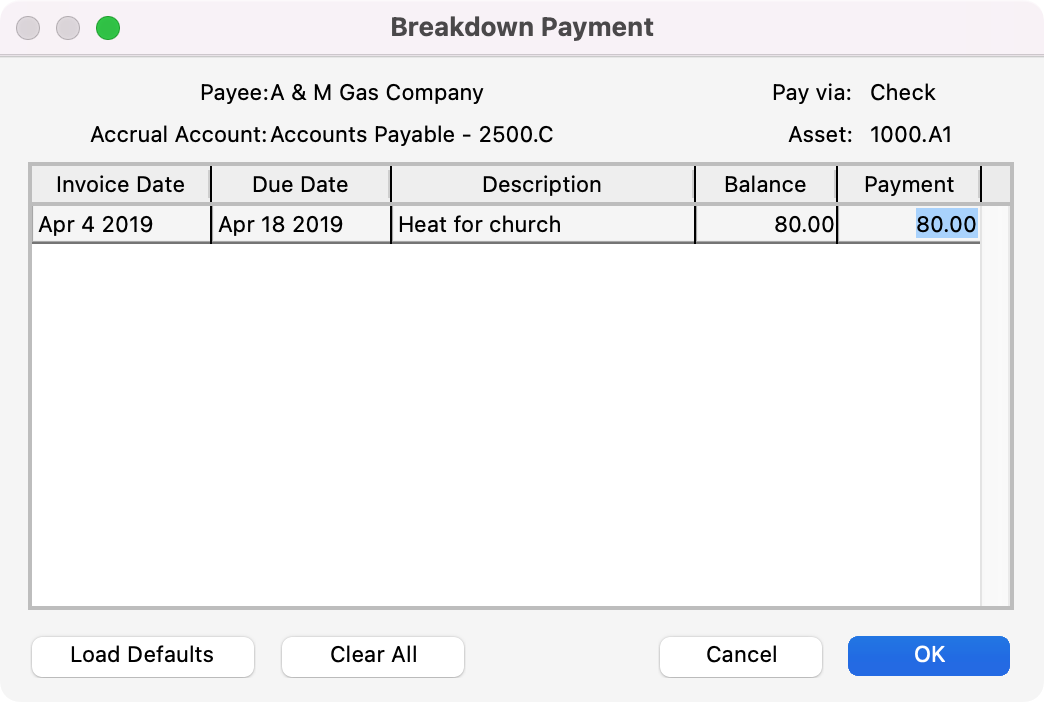
Select a payment method and click an accrued account to mark it for payment.
-
You may change the amount to pay by clicking the small list icon next to the Payment field. This opens the Breakdown Payment window.
-
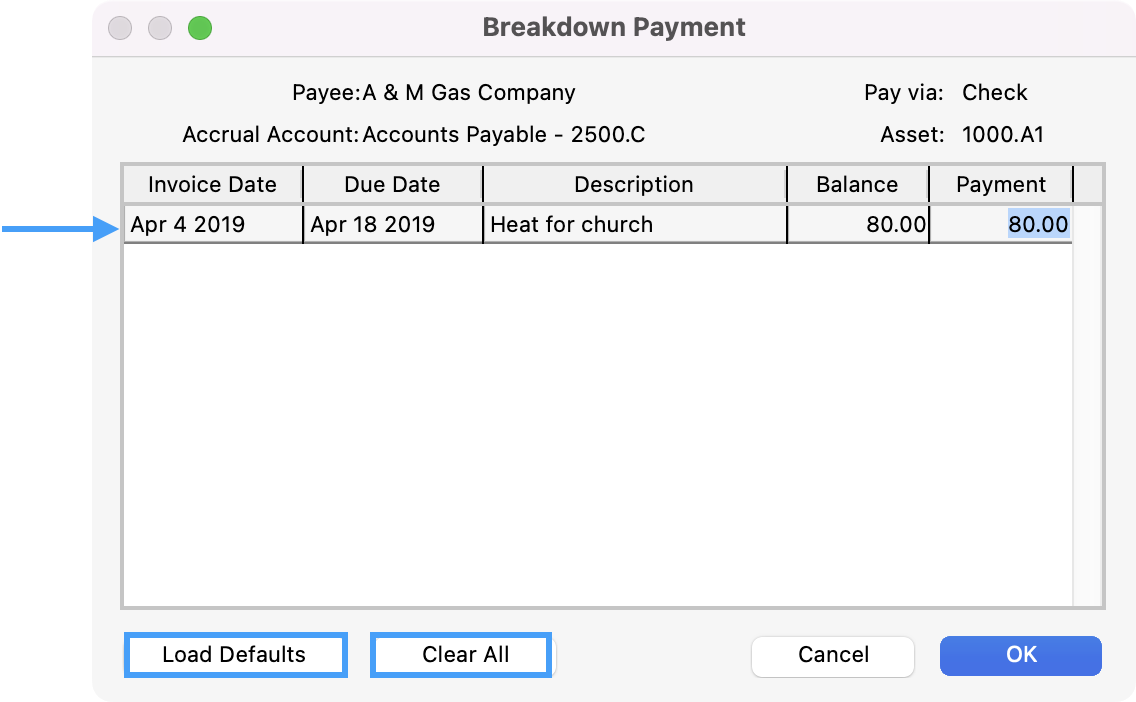
Click the line items that you do not want to mark for payment. Or type the amount you are paying in the Payment field. The Clear All button will zero out the payment on all items. Click on Load Defaults to return the Payment amounts to what is owed. Click OK.
-
After all the invoices to be paid have been marked, you will see at the bottom of the window the color-coded Totals for the three methods of payment. The fourth number, in black, is the total of invoices that you have not marked for payment. NOTE: These totals reflect both Un-Accrued and Accrued Invoices.
-
If everything is correct, press Return/Enter or click Save.
-
A dialog box appears, asking, Would you like to go to the Write Checks window? Press Return/Enter or click Yes if you are ready to print checks now. Otherwise, click No; you can write checks at a later time.

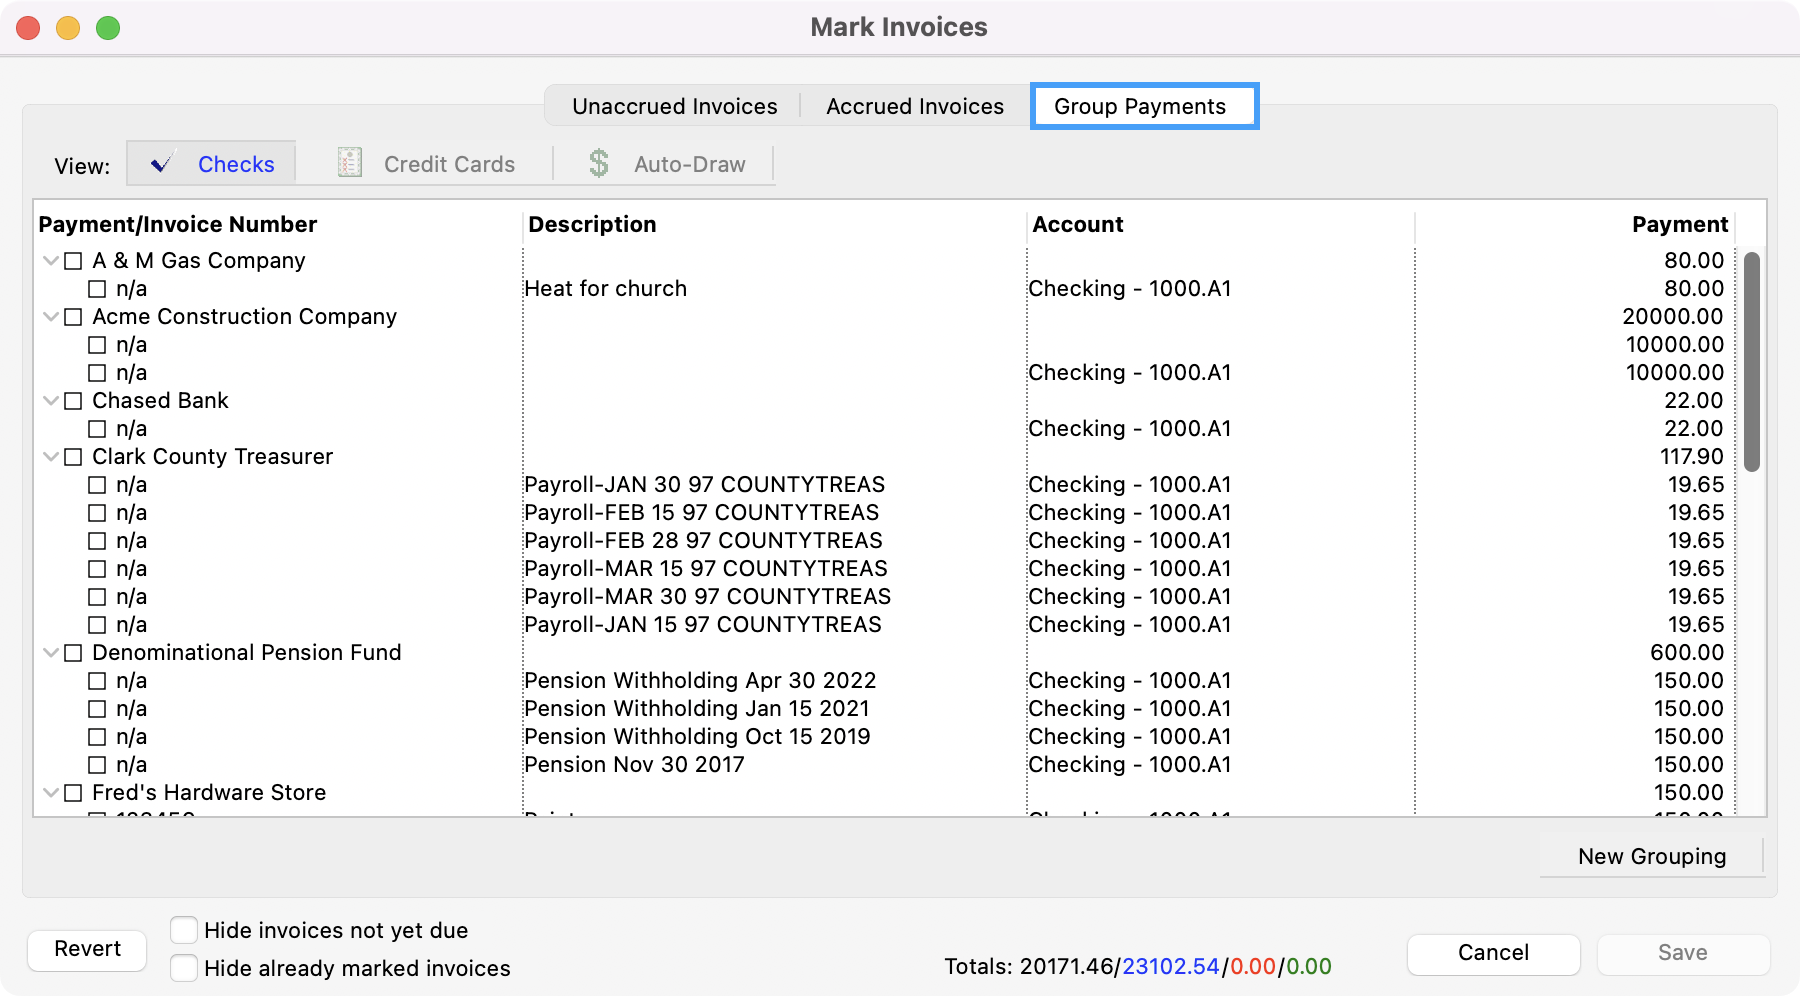
Grouping Payments
-
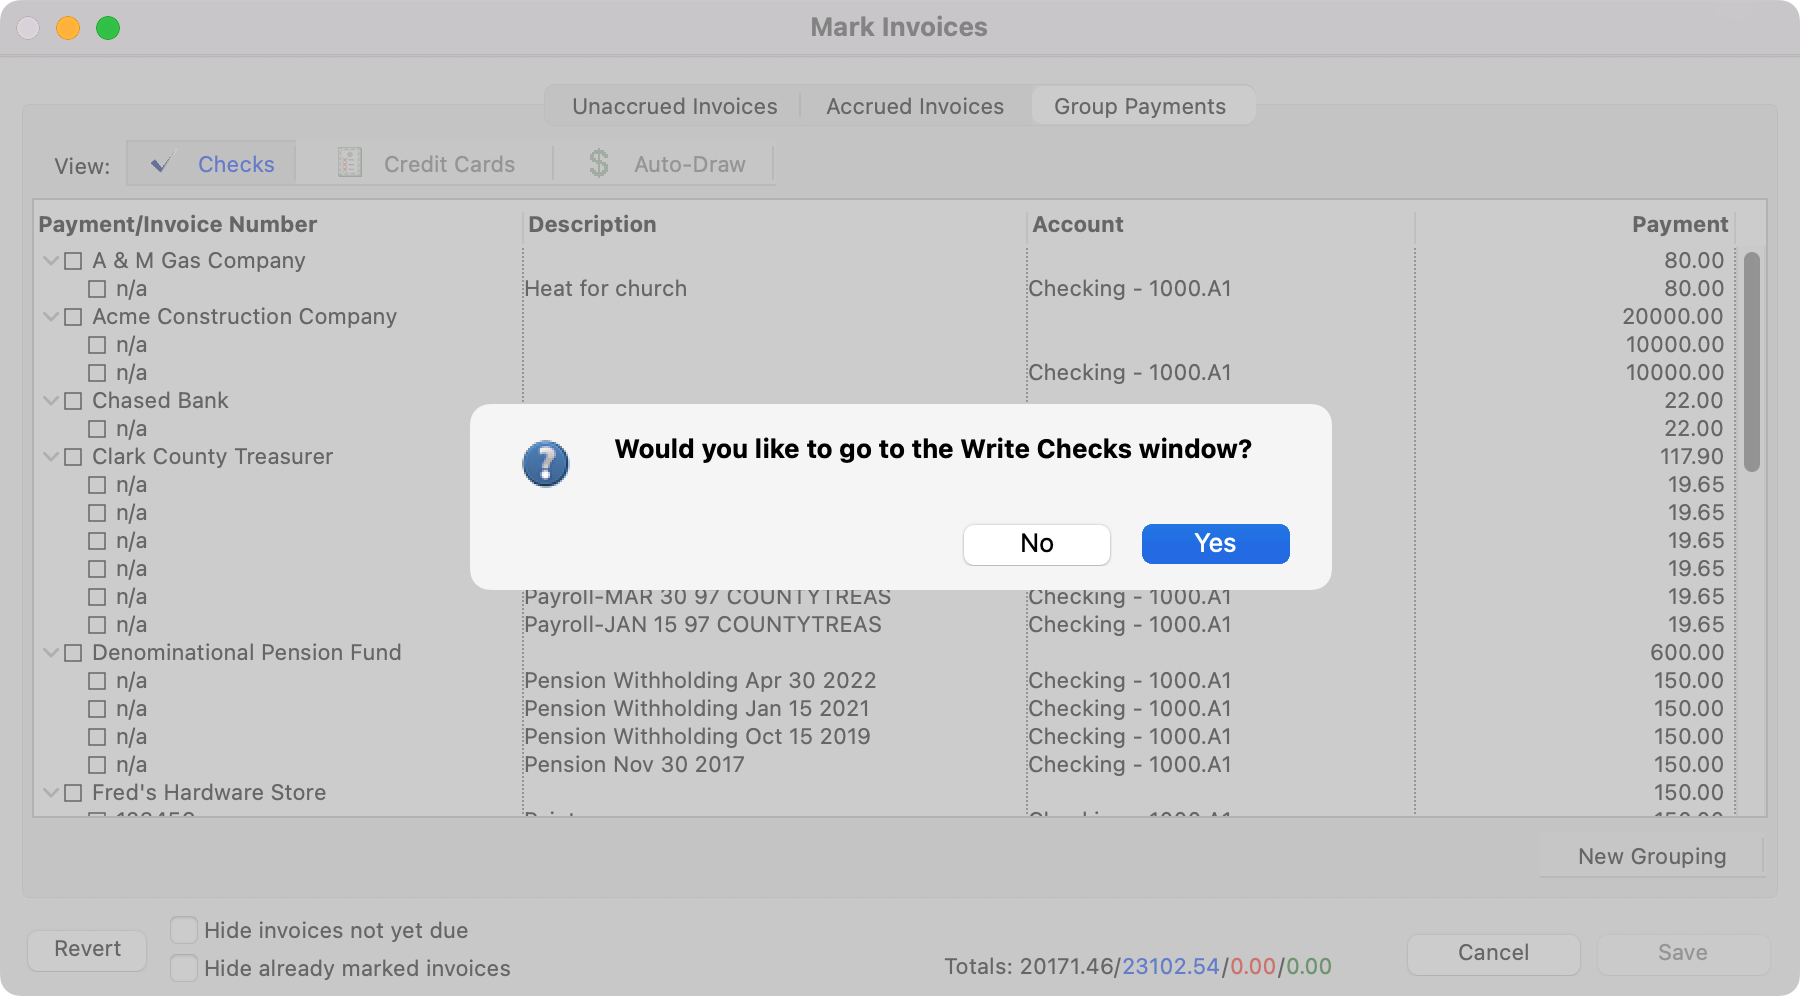
The final pane of the Mark Invoices window is Group Payments where you specify multiple checks to the same payee. Here are listed all the items that have been marked to be paid. The tree list arrows (Mac)/plus and minus symbols (Windows) on the left can be used to expand or collapse detail line items per check.
-
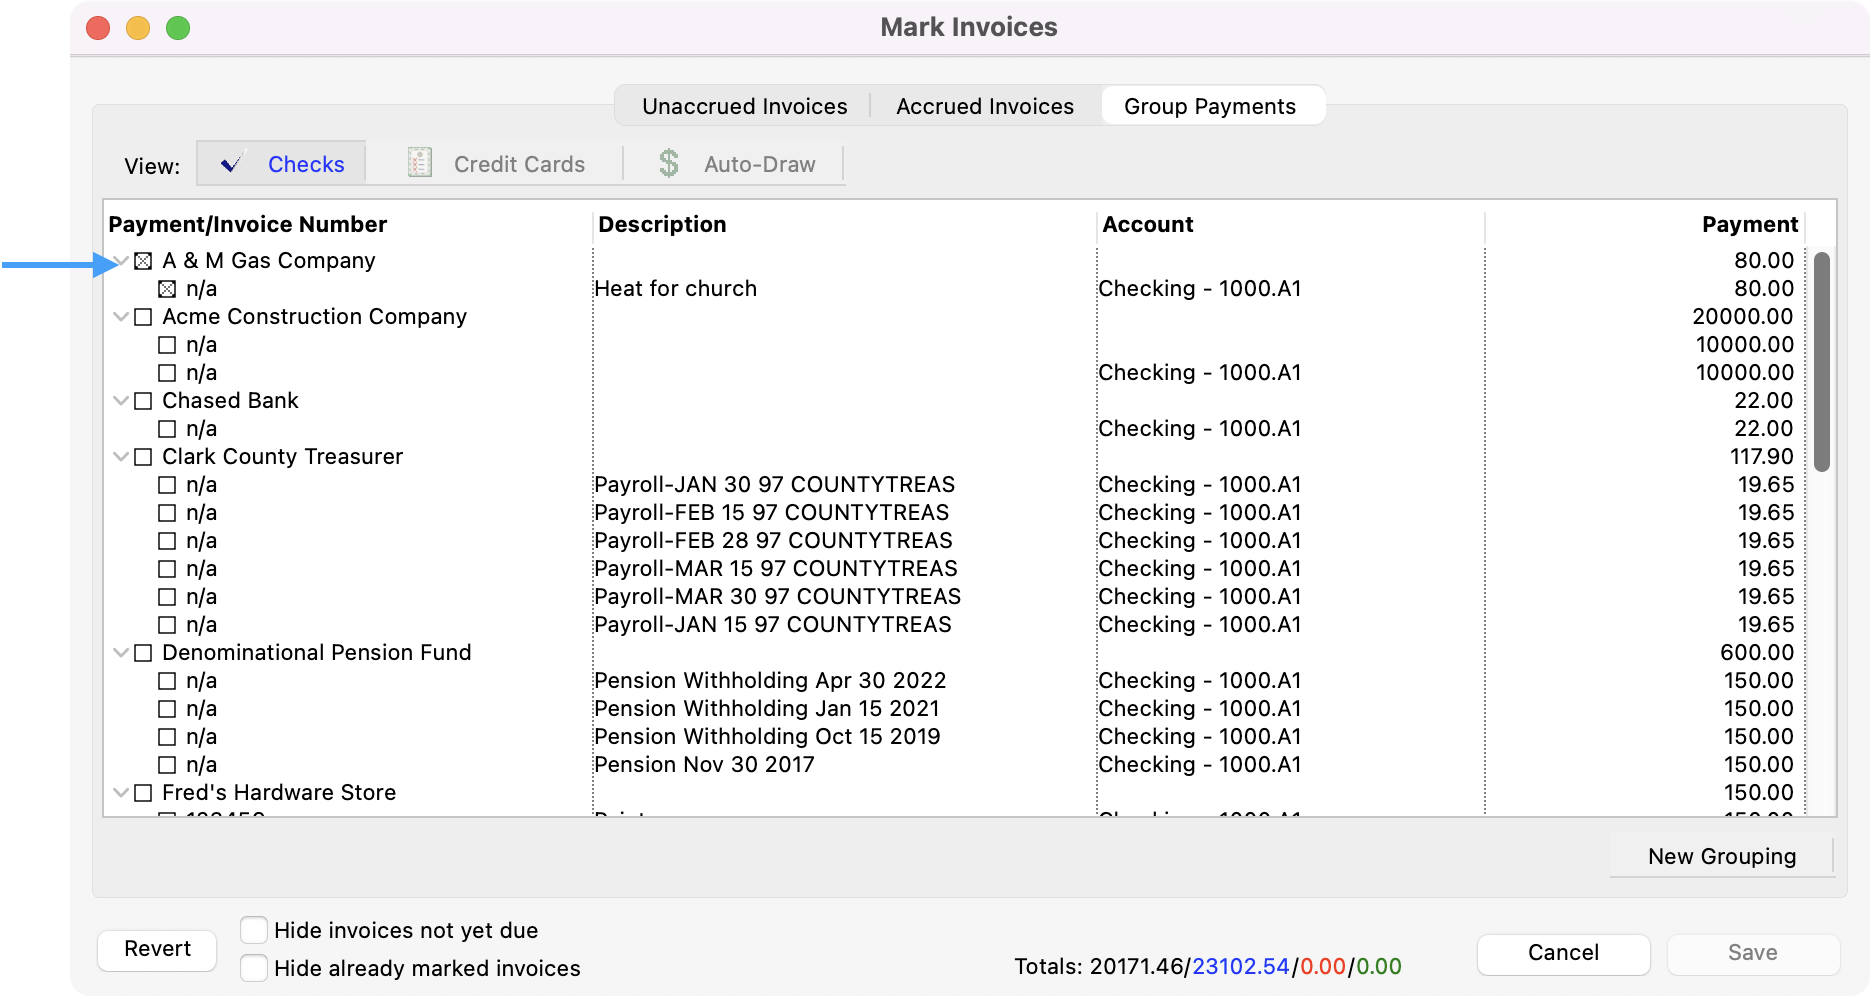
Click each line item that you want to be included on a separate check (checking the small box at the left).
-
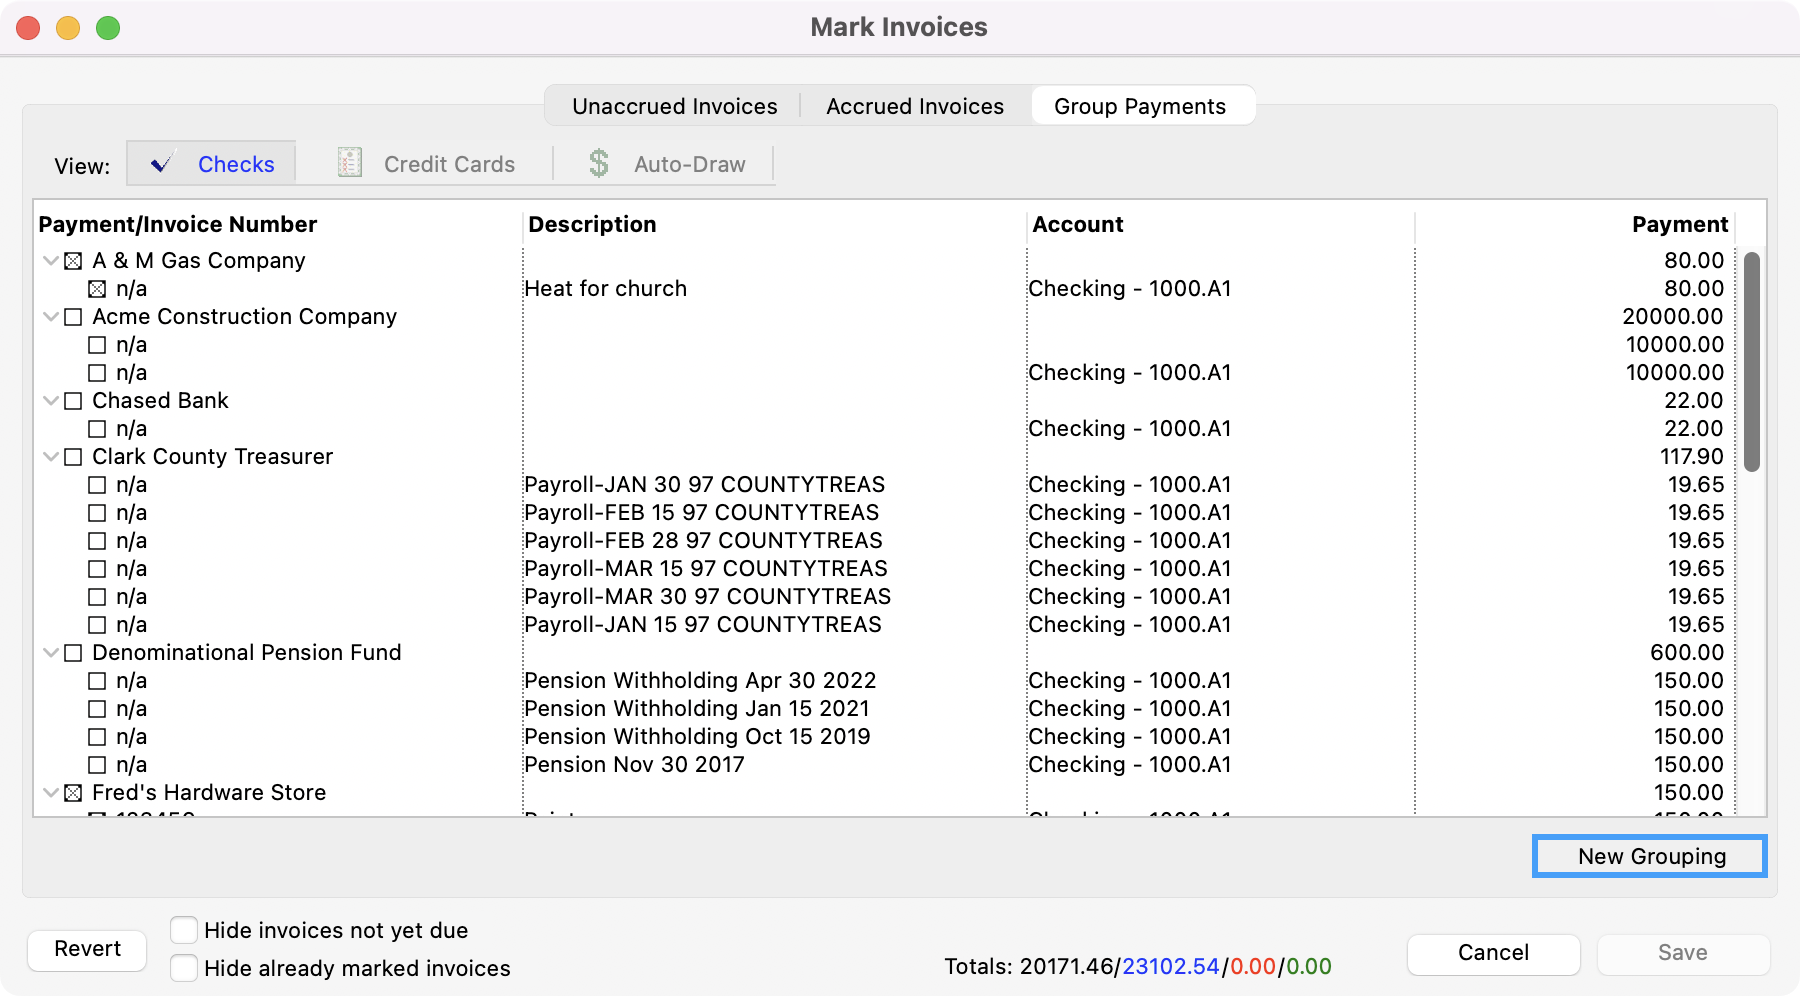
Click the New Grouping button.
-
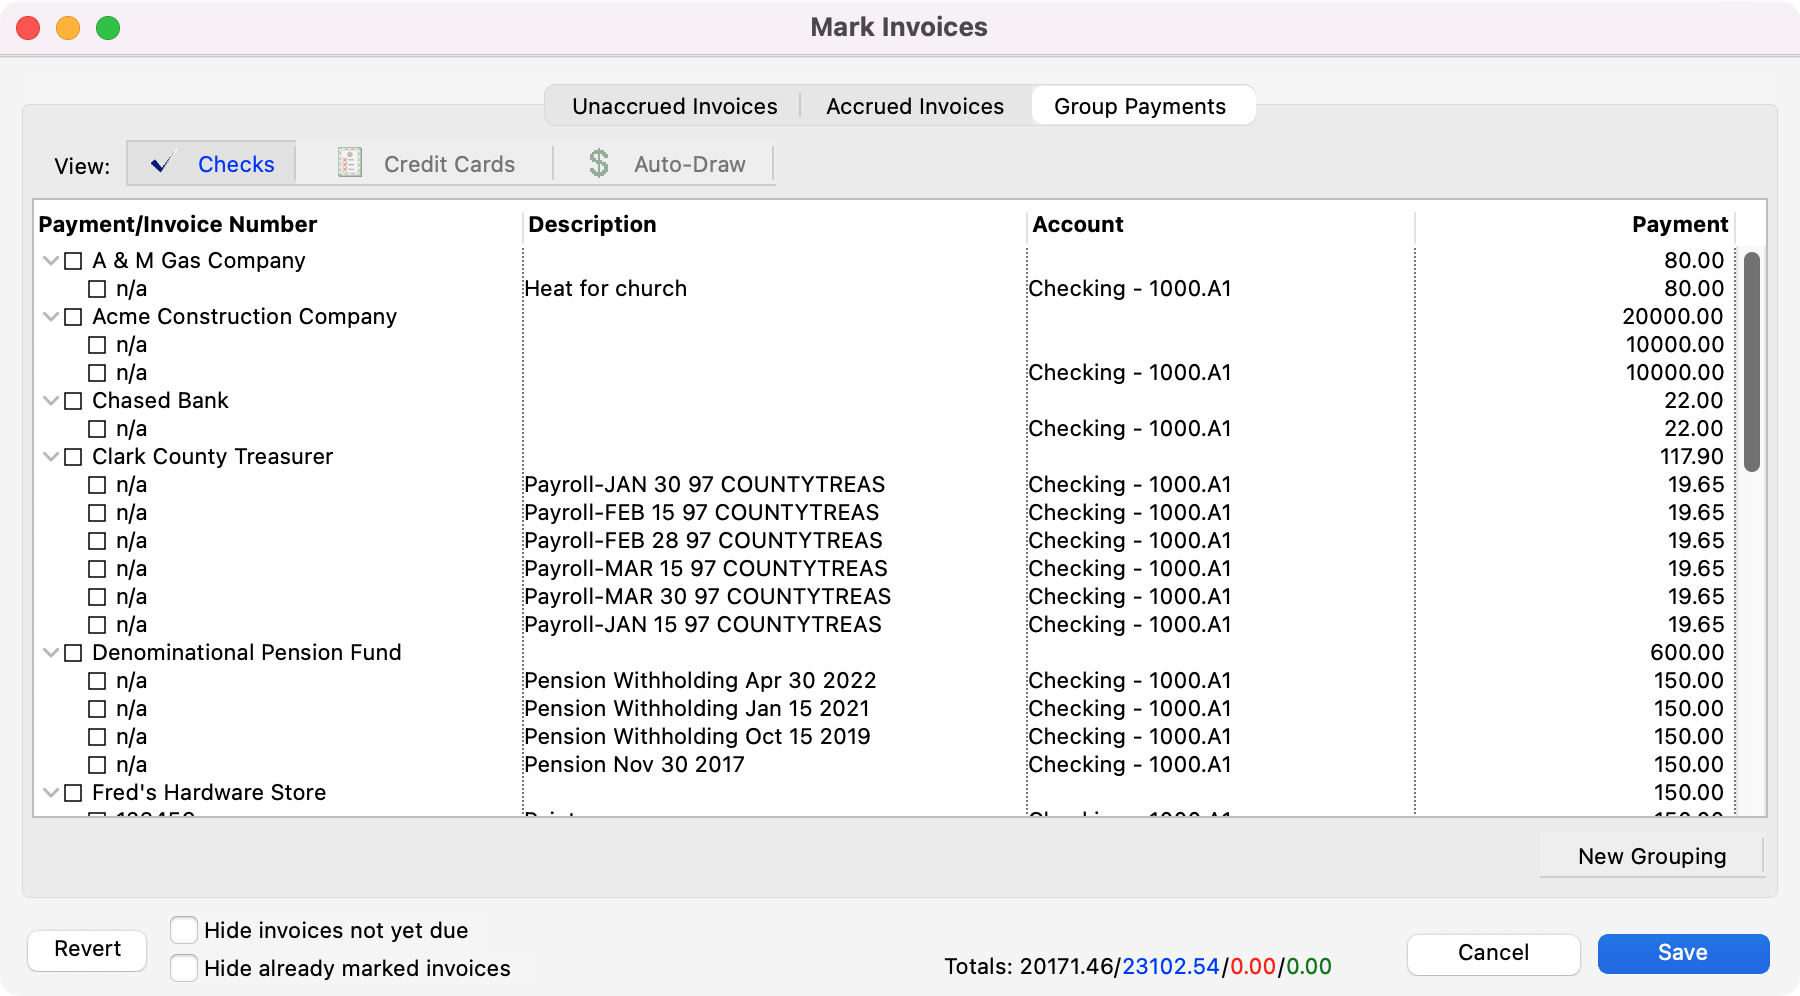
If everything is correct, press Return/Enter or click Save.
-
A dialog box appears, asking, Would you like to go to the Write Checks window? Press Return/Enter or click Yes if you are ready to print checks now. Otherwise, click No; you can write checks at a later time.