In CDM+ Accounting, you can format check stubs and position information on checks. You can save multiple formats like 'Stub, Check, Stub' or 'Stub, Stub, Check'. The Accounting Setup window is where you create new check formats or make adjustments to existing check formats.
For your convenience, CDM+ has partnered with Dynamic Systems Inc., a highly reliable document solutions provider, to create the CDM+ Store on the Dynamic Systems website. To order high-security checks and other forms guaranteed to be 100% compatible with CDM+, visit the CDM+ store at Dynamic Systems.
Adding a Check Format
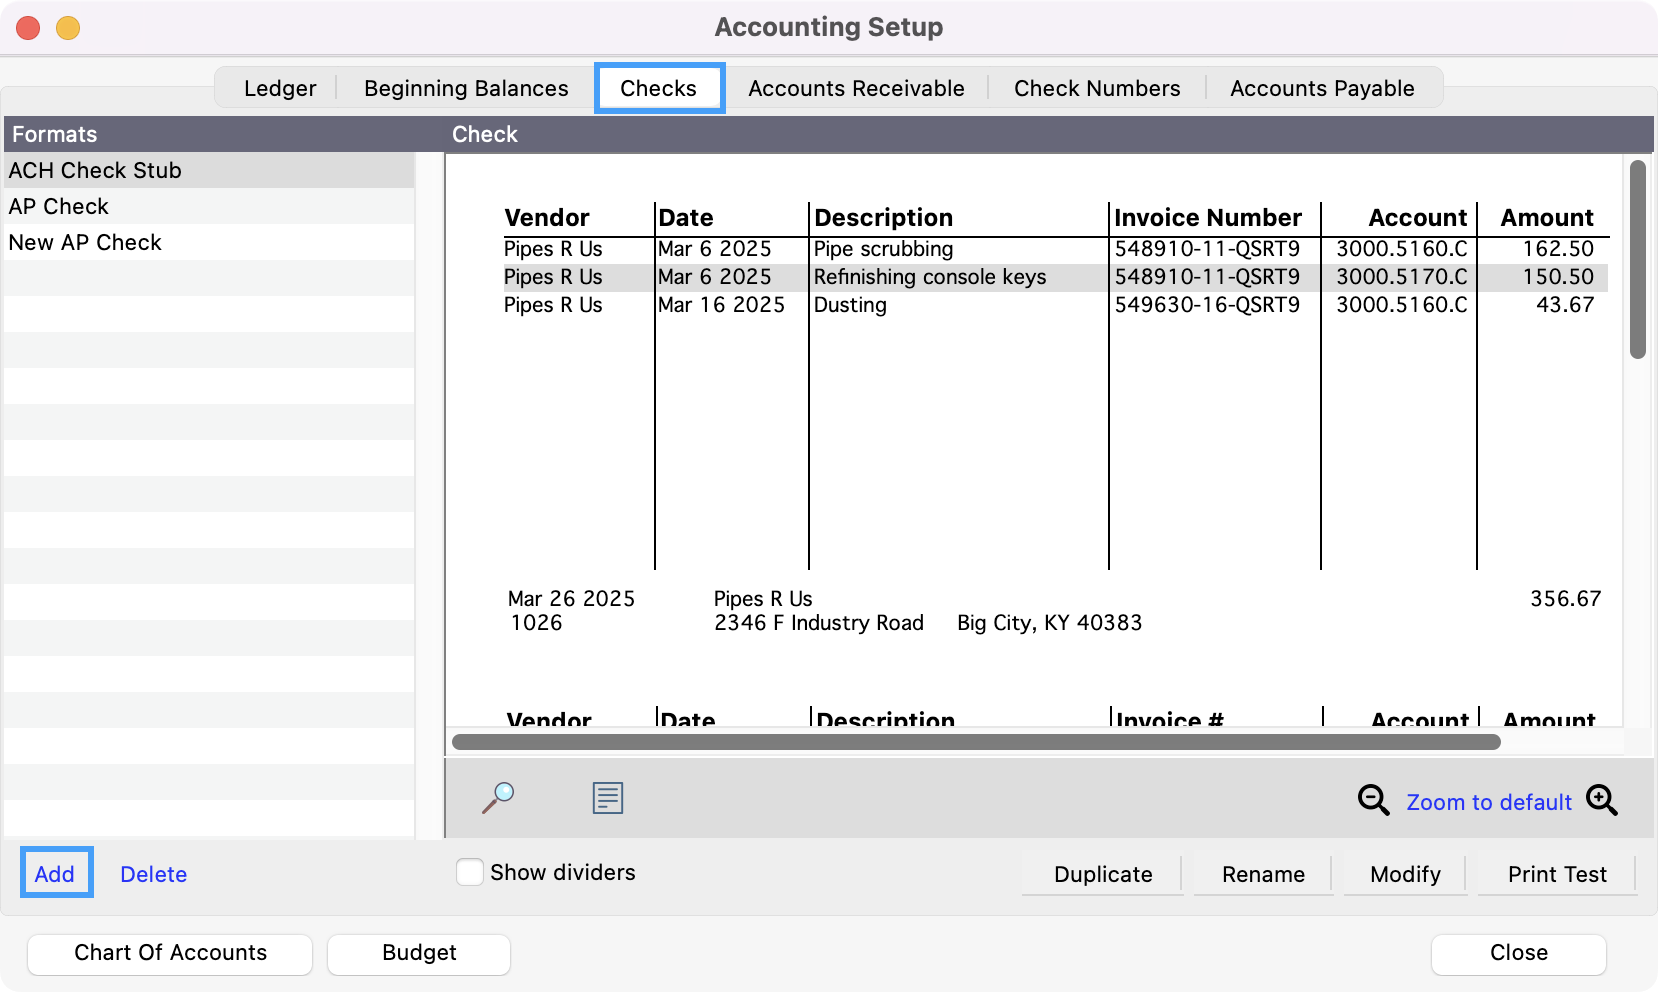
1. To add a check format, go to Program → Accounting → Accounting Setup.

-
Select the Checks tab and click the Add button at the bottom of the Formats column.
-
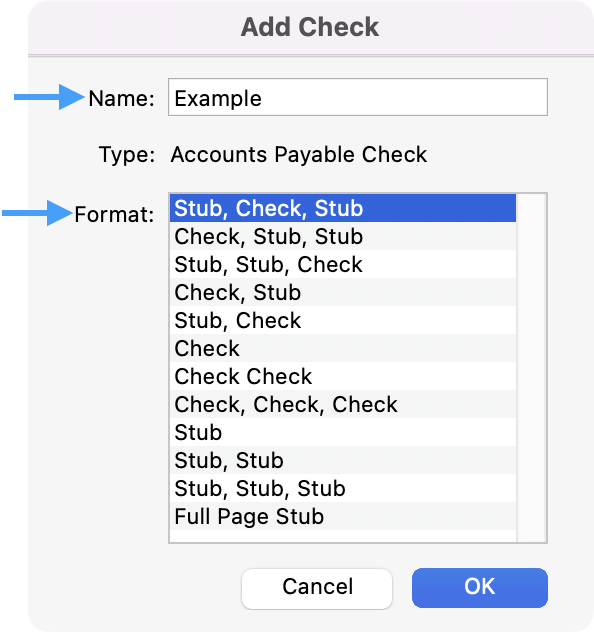
In the new window, type a Name for the check and choose a Format. Click OK.
-
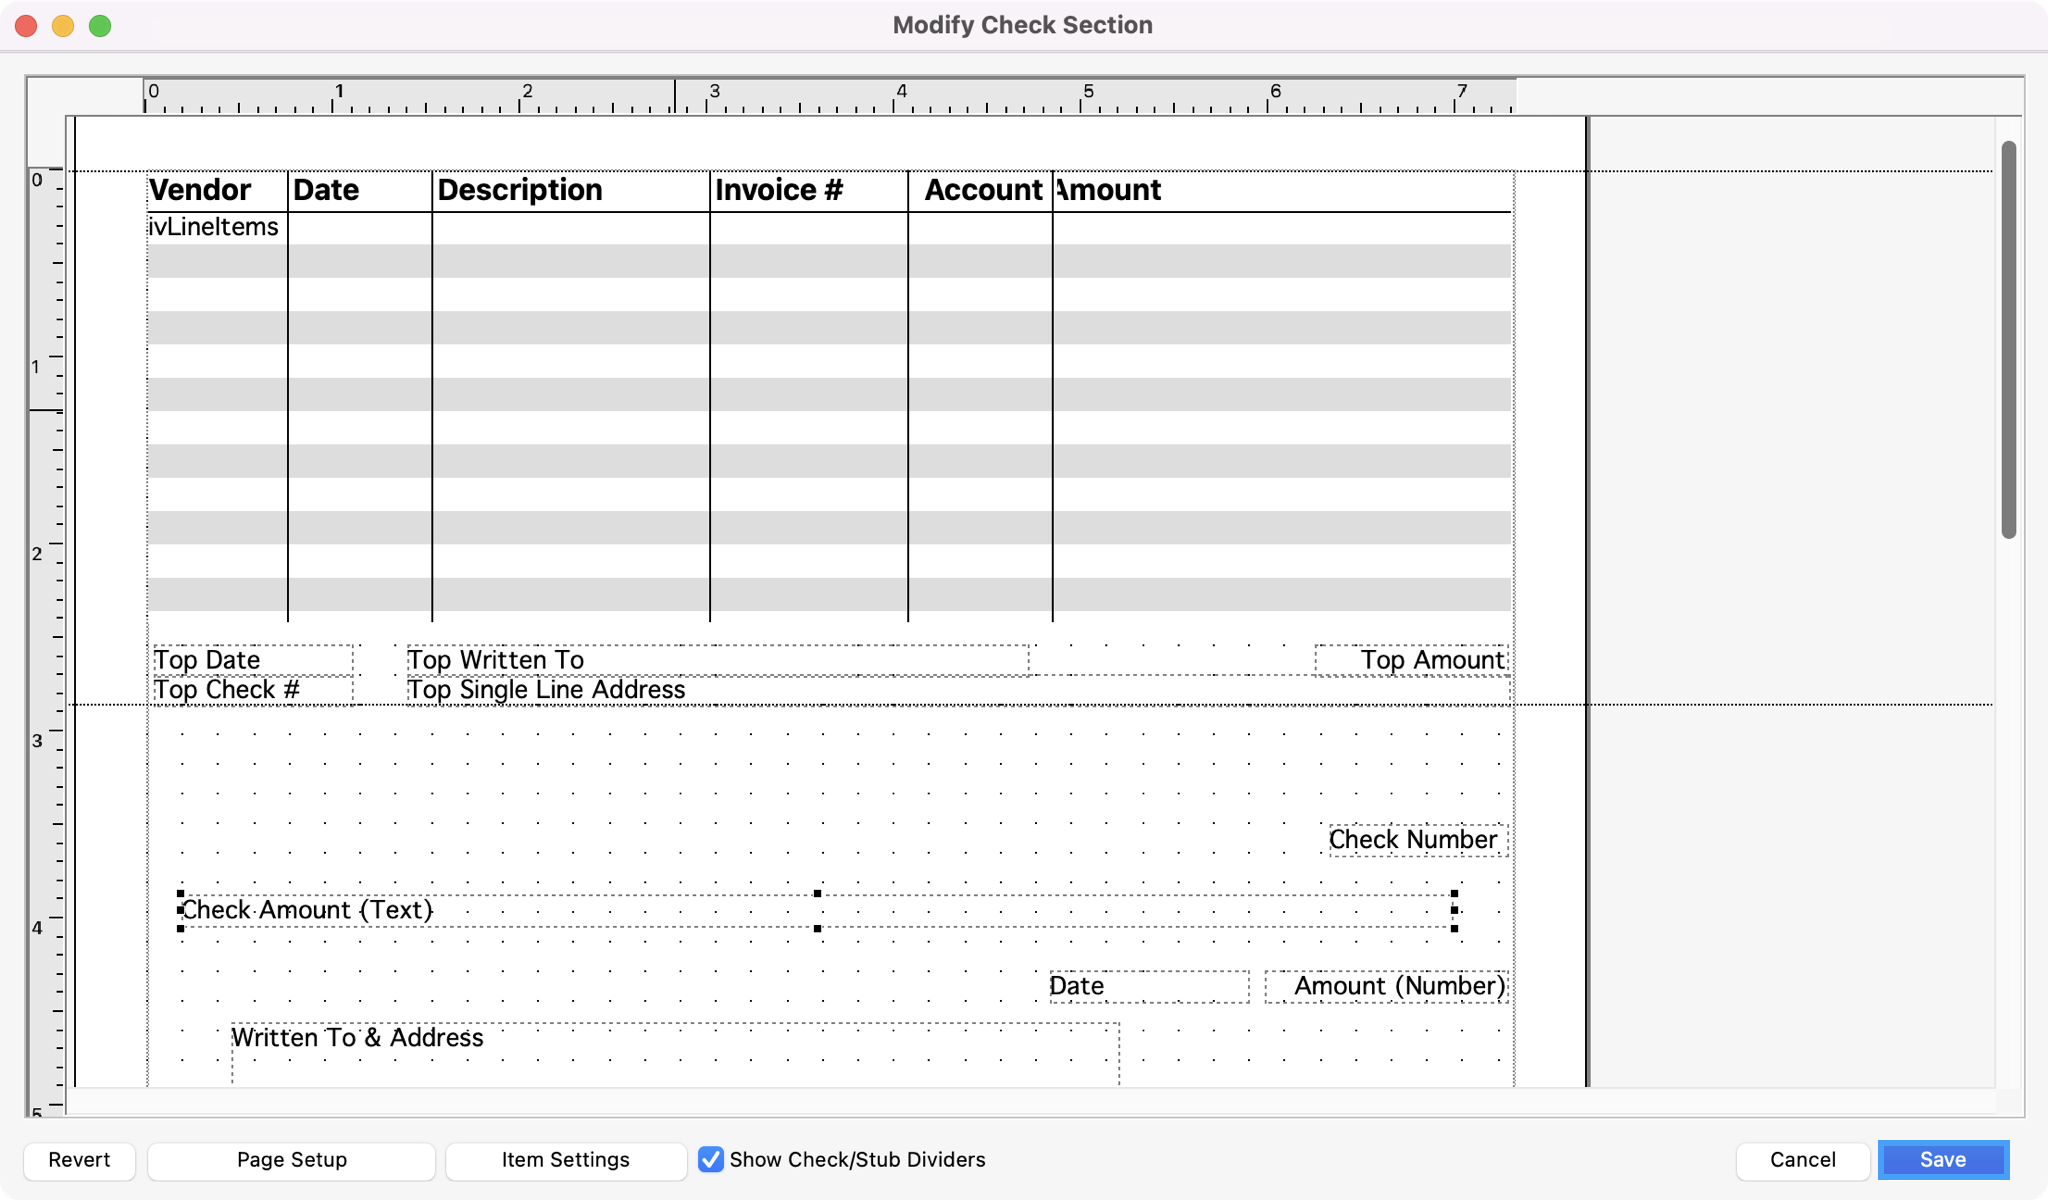
To create a dotted line for a perforated check, click Modify.
-
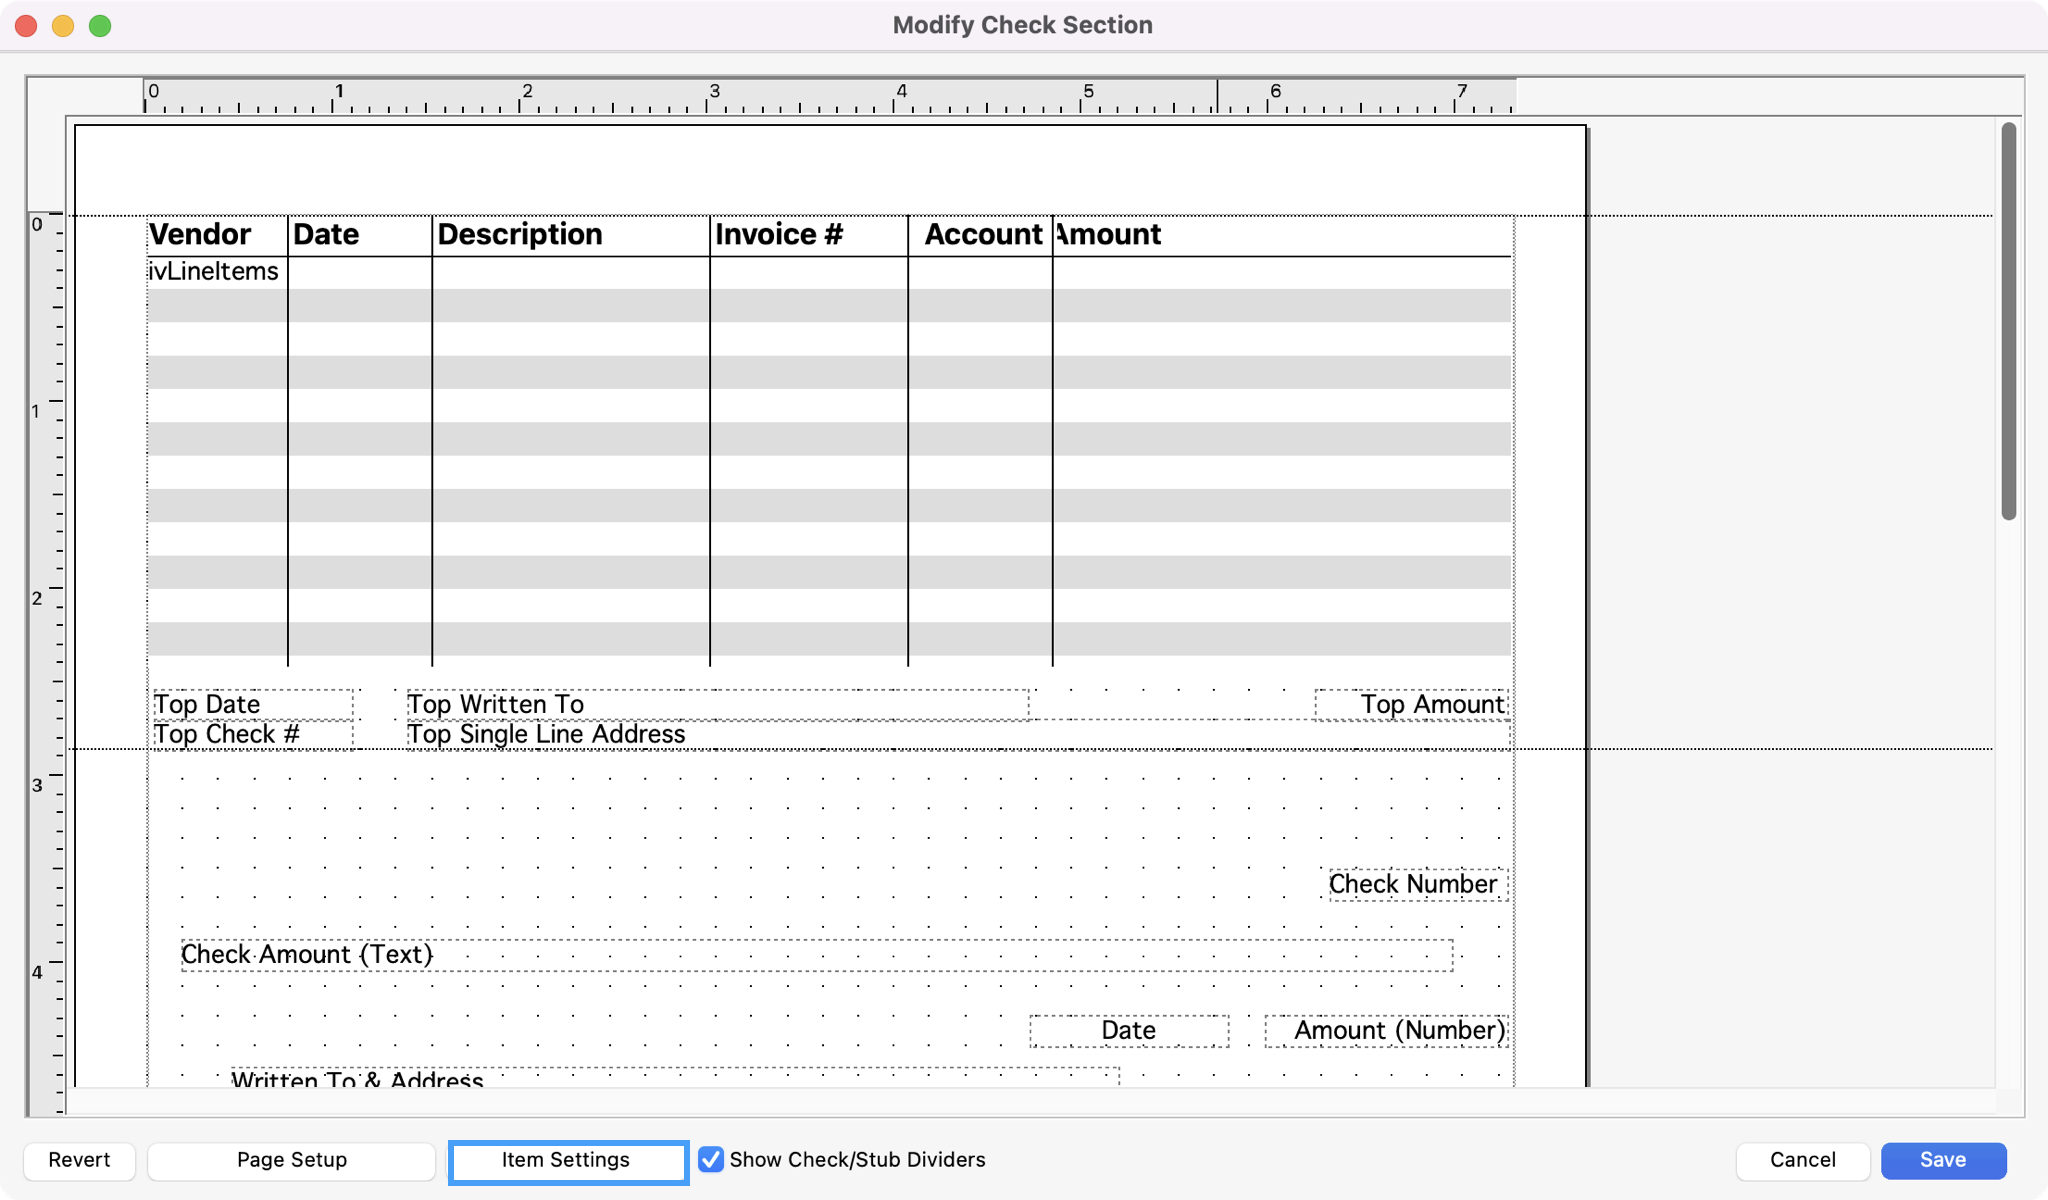
In the new window, check the box next to Show Check/Stub Dividers. Click Save.
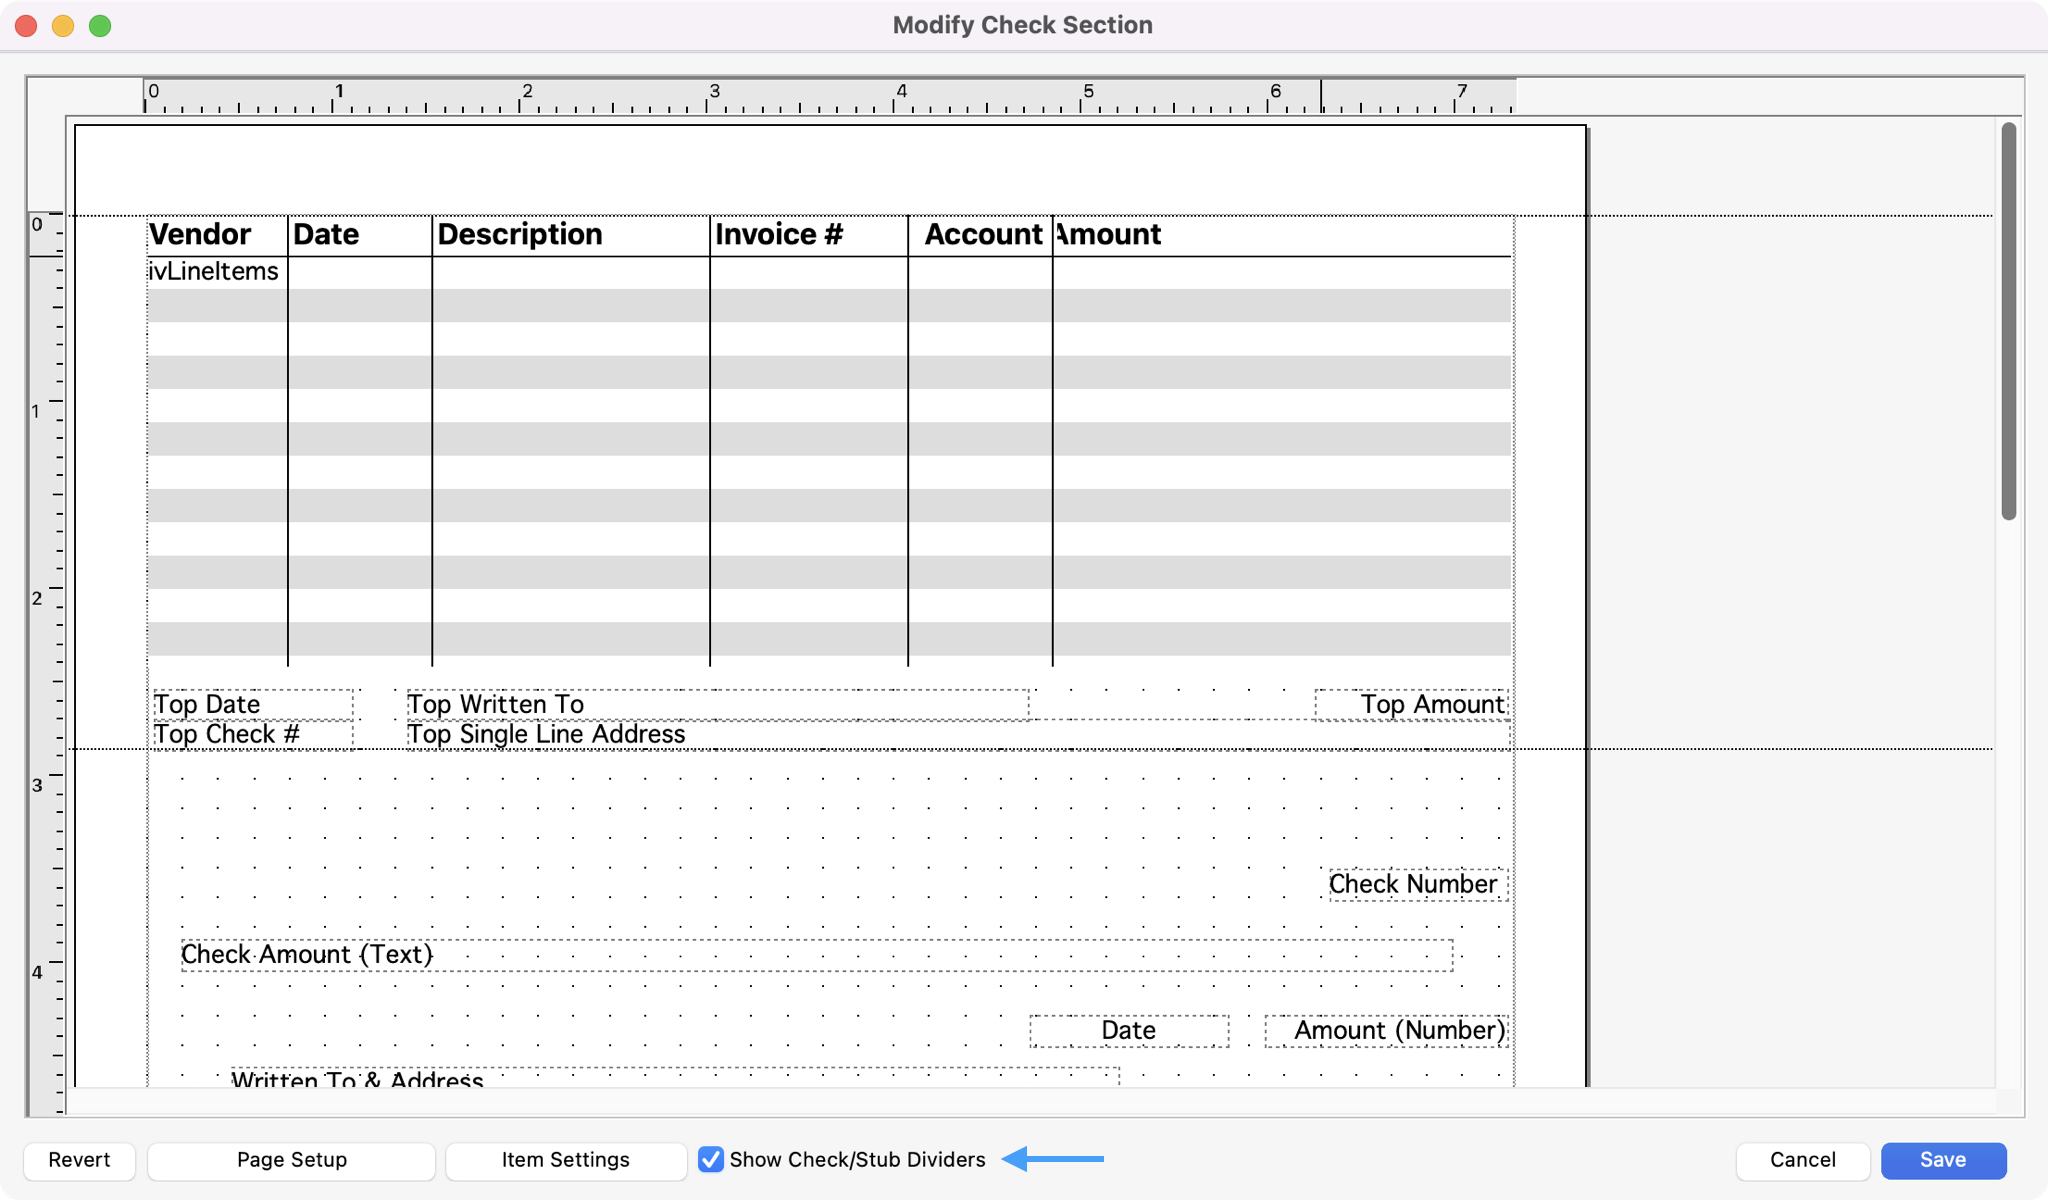
This line will not appear on printed checks. It is for layout purposes only on this window.
-
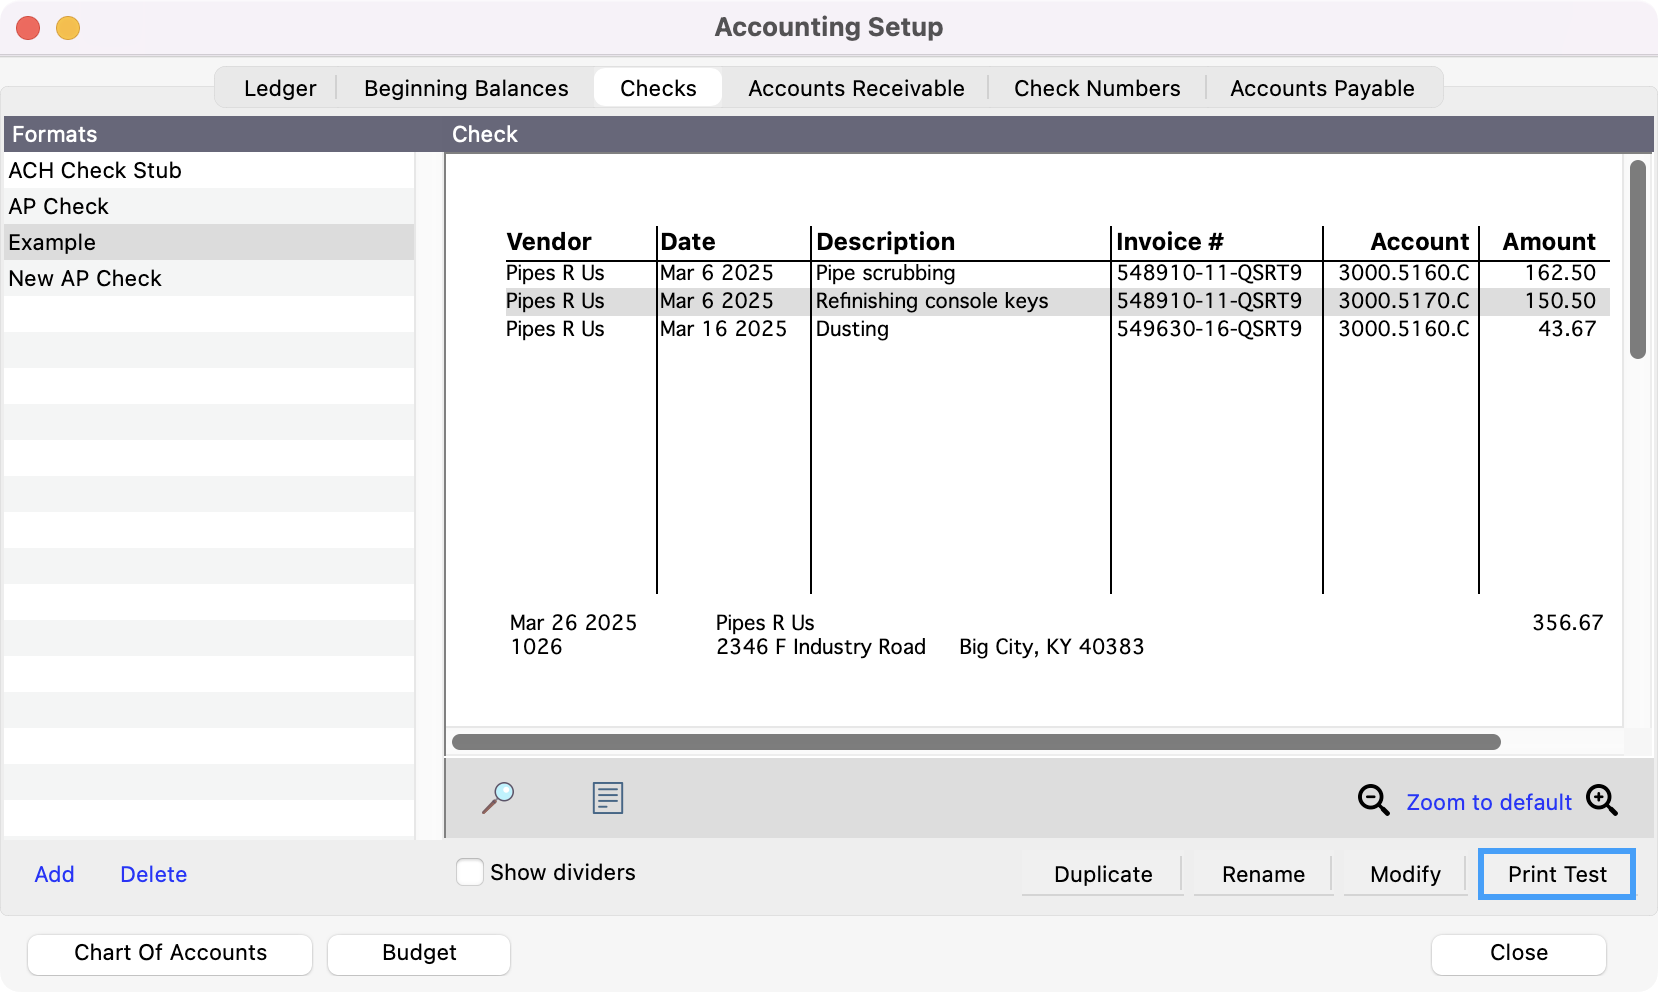
To test a check, click Print Test.
To delete a check format, click on the name of the Check Description in the Formats column. Click Delete at the bottom of the column. Click Yes to confirm.
Modifying a Check Format
Although the default check format will likely meet your needs, you have the ability to fully customize the check formats. You may change the font used, the arrangement of the information and even add a graphic to your checks.
When creating a custom check layout, consider working on a copy of your existing check layout. Follow the steps above to Add a new format. Choose the same Format as your current checks, but name it something different. Now you can experiment without the danger of messing up the original format and potentially being unable to print checks for invoices that are due.
-
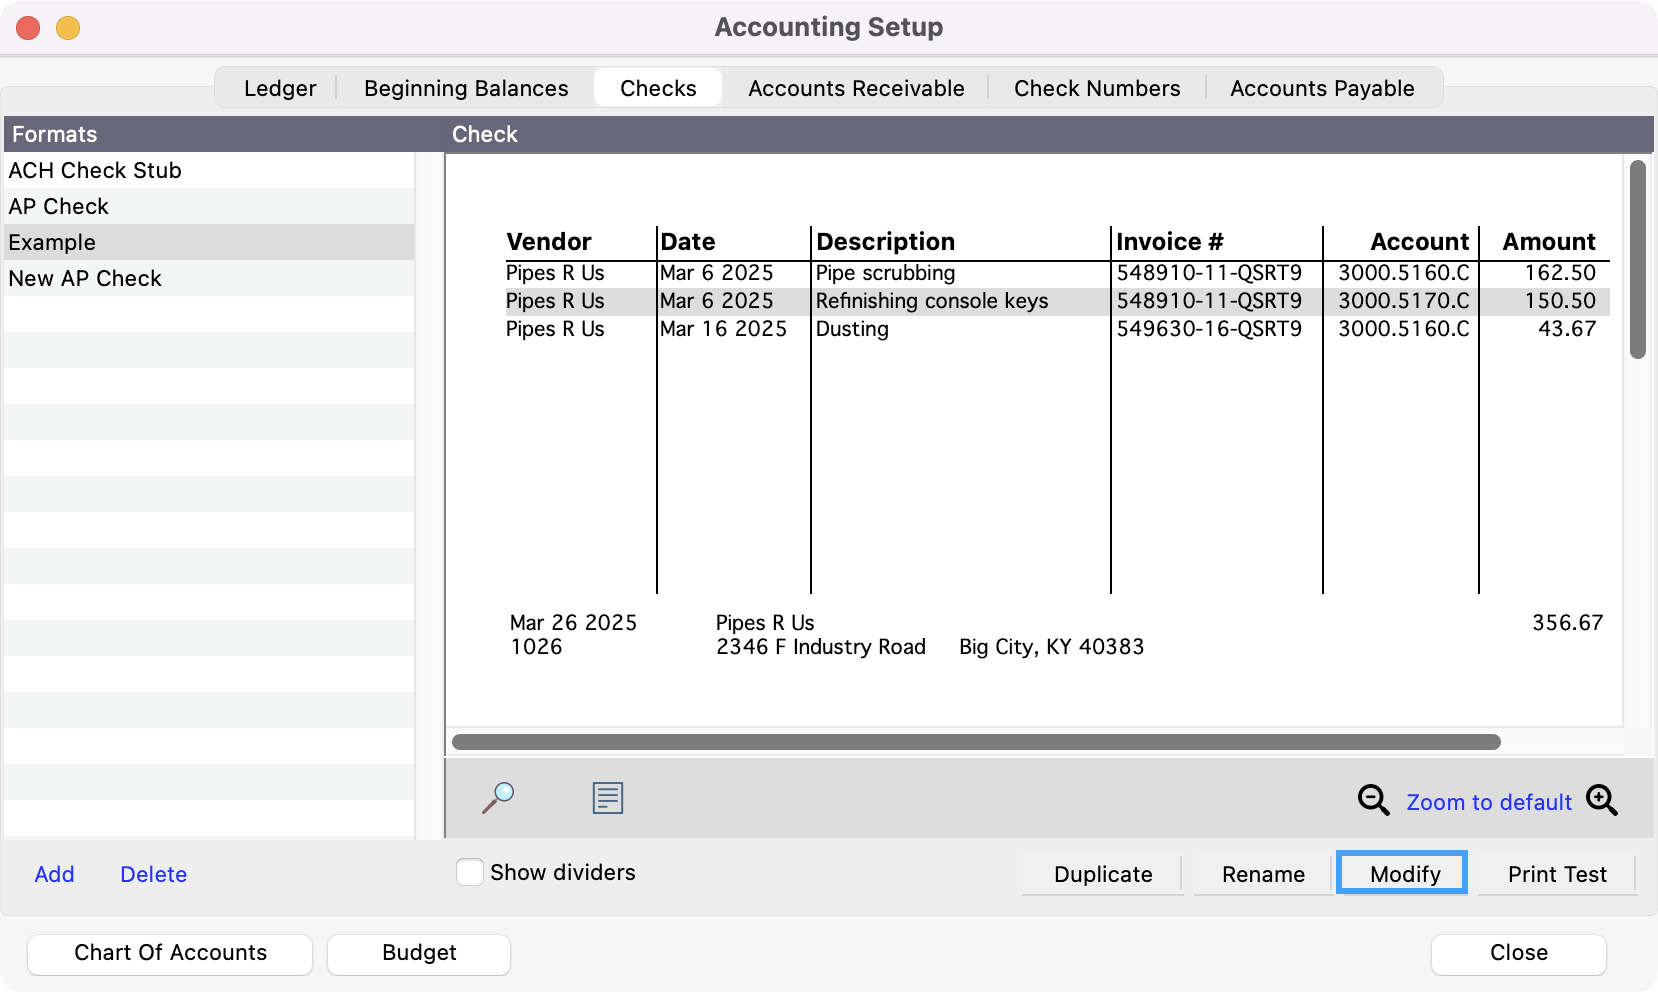
To change a check setup, click on a check name, then click on the Modify button.

-
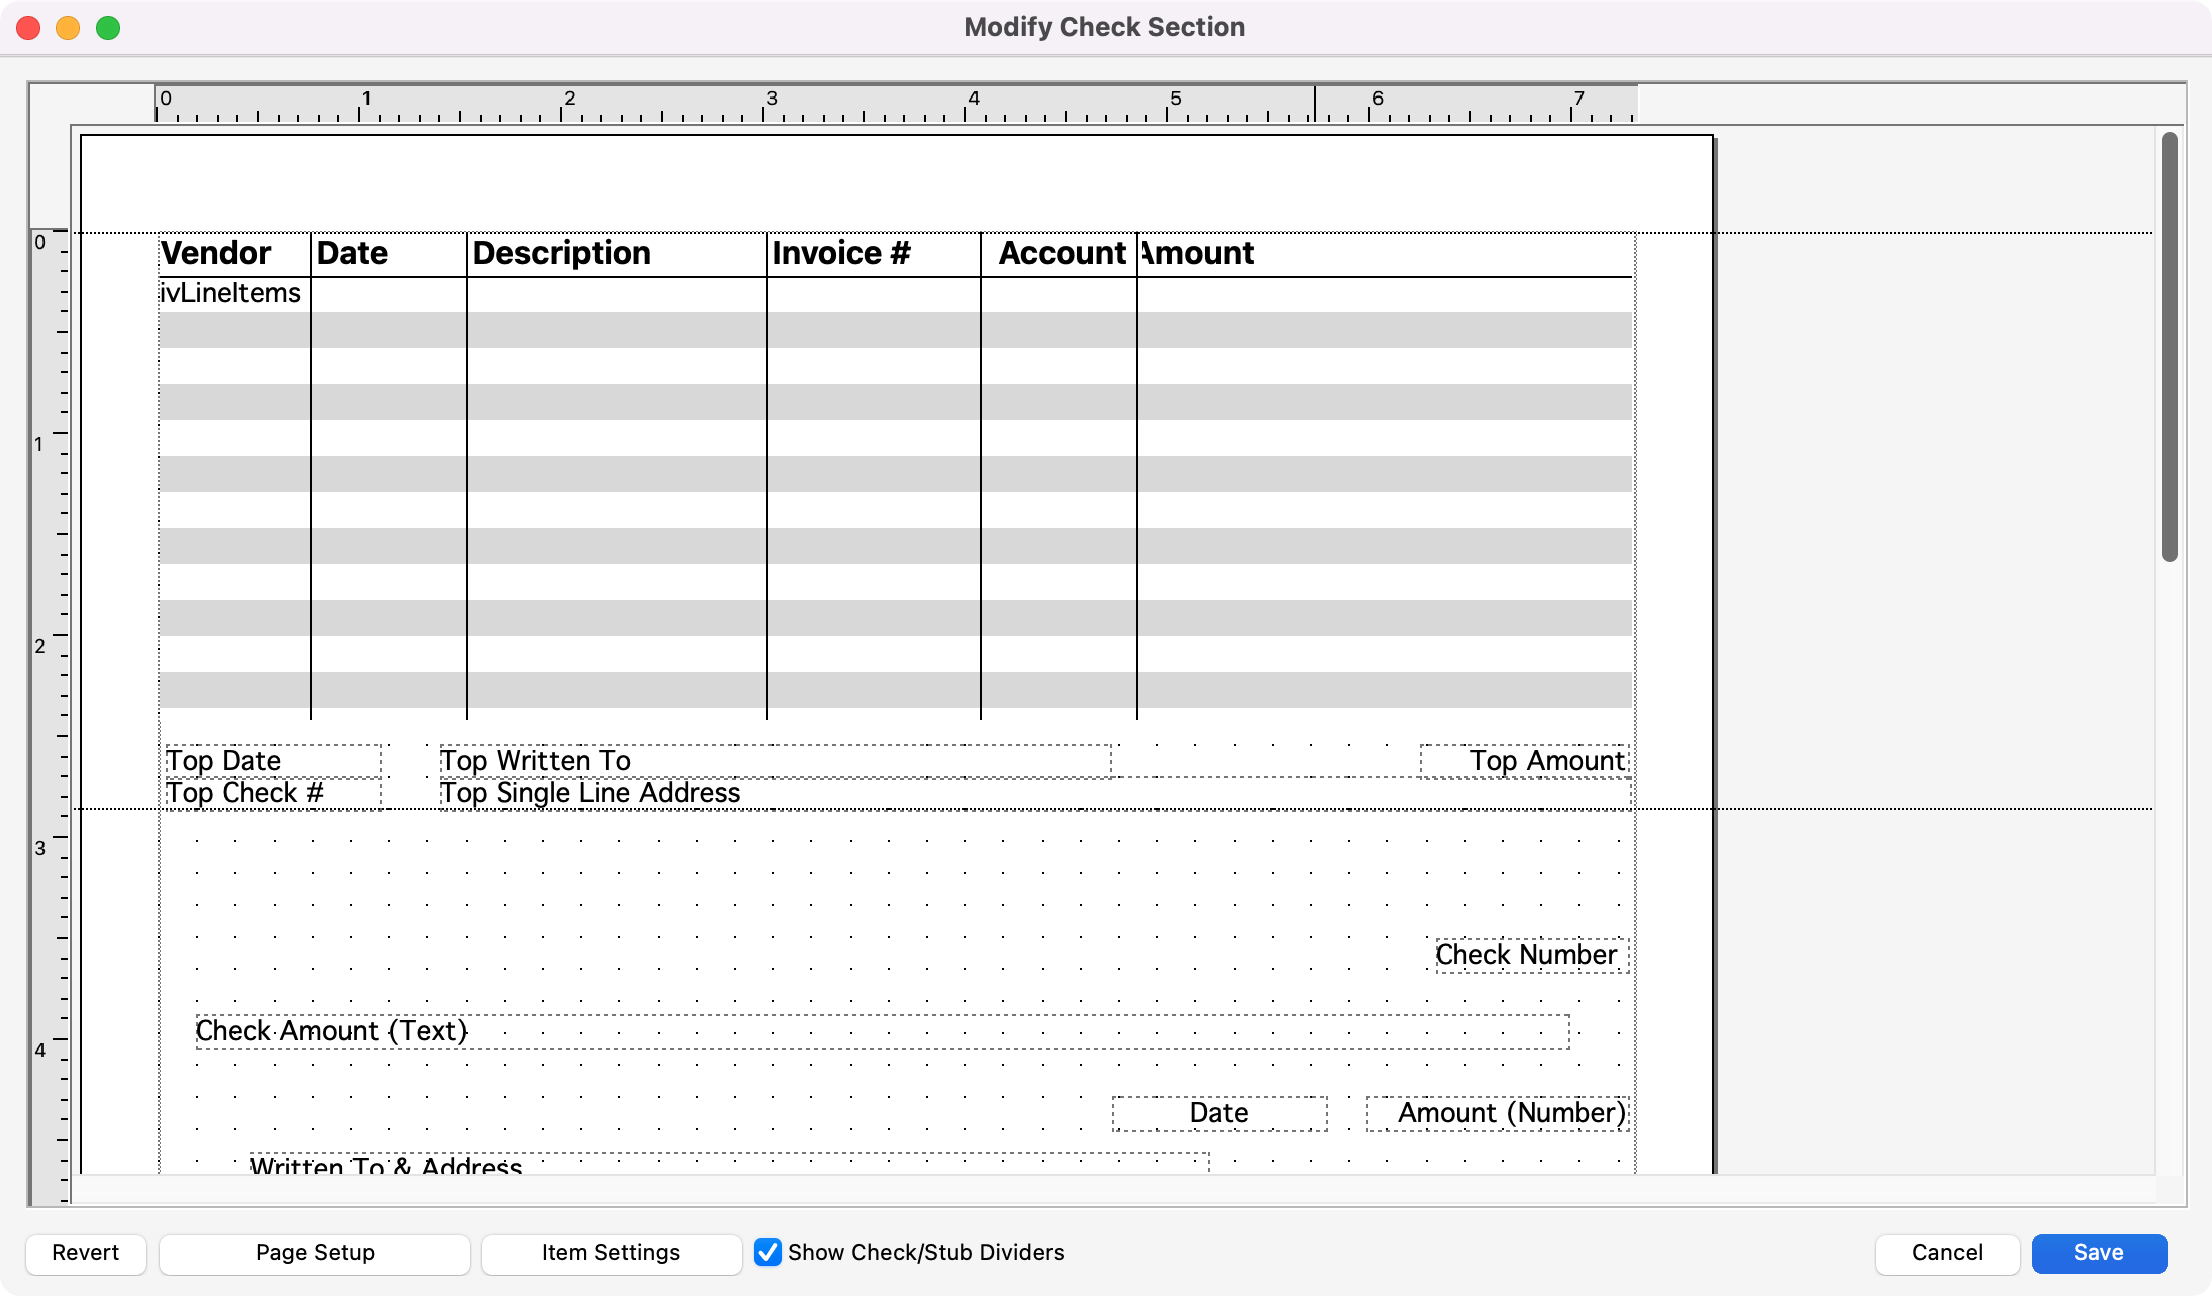
The Modify Check Section window will open.
-
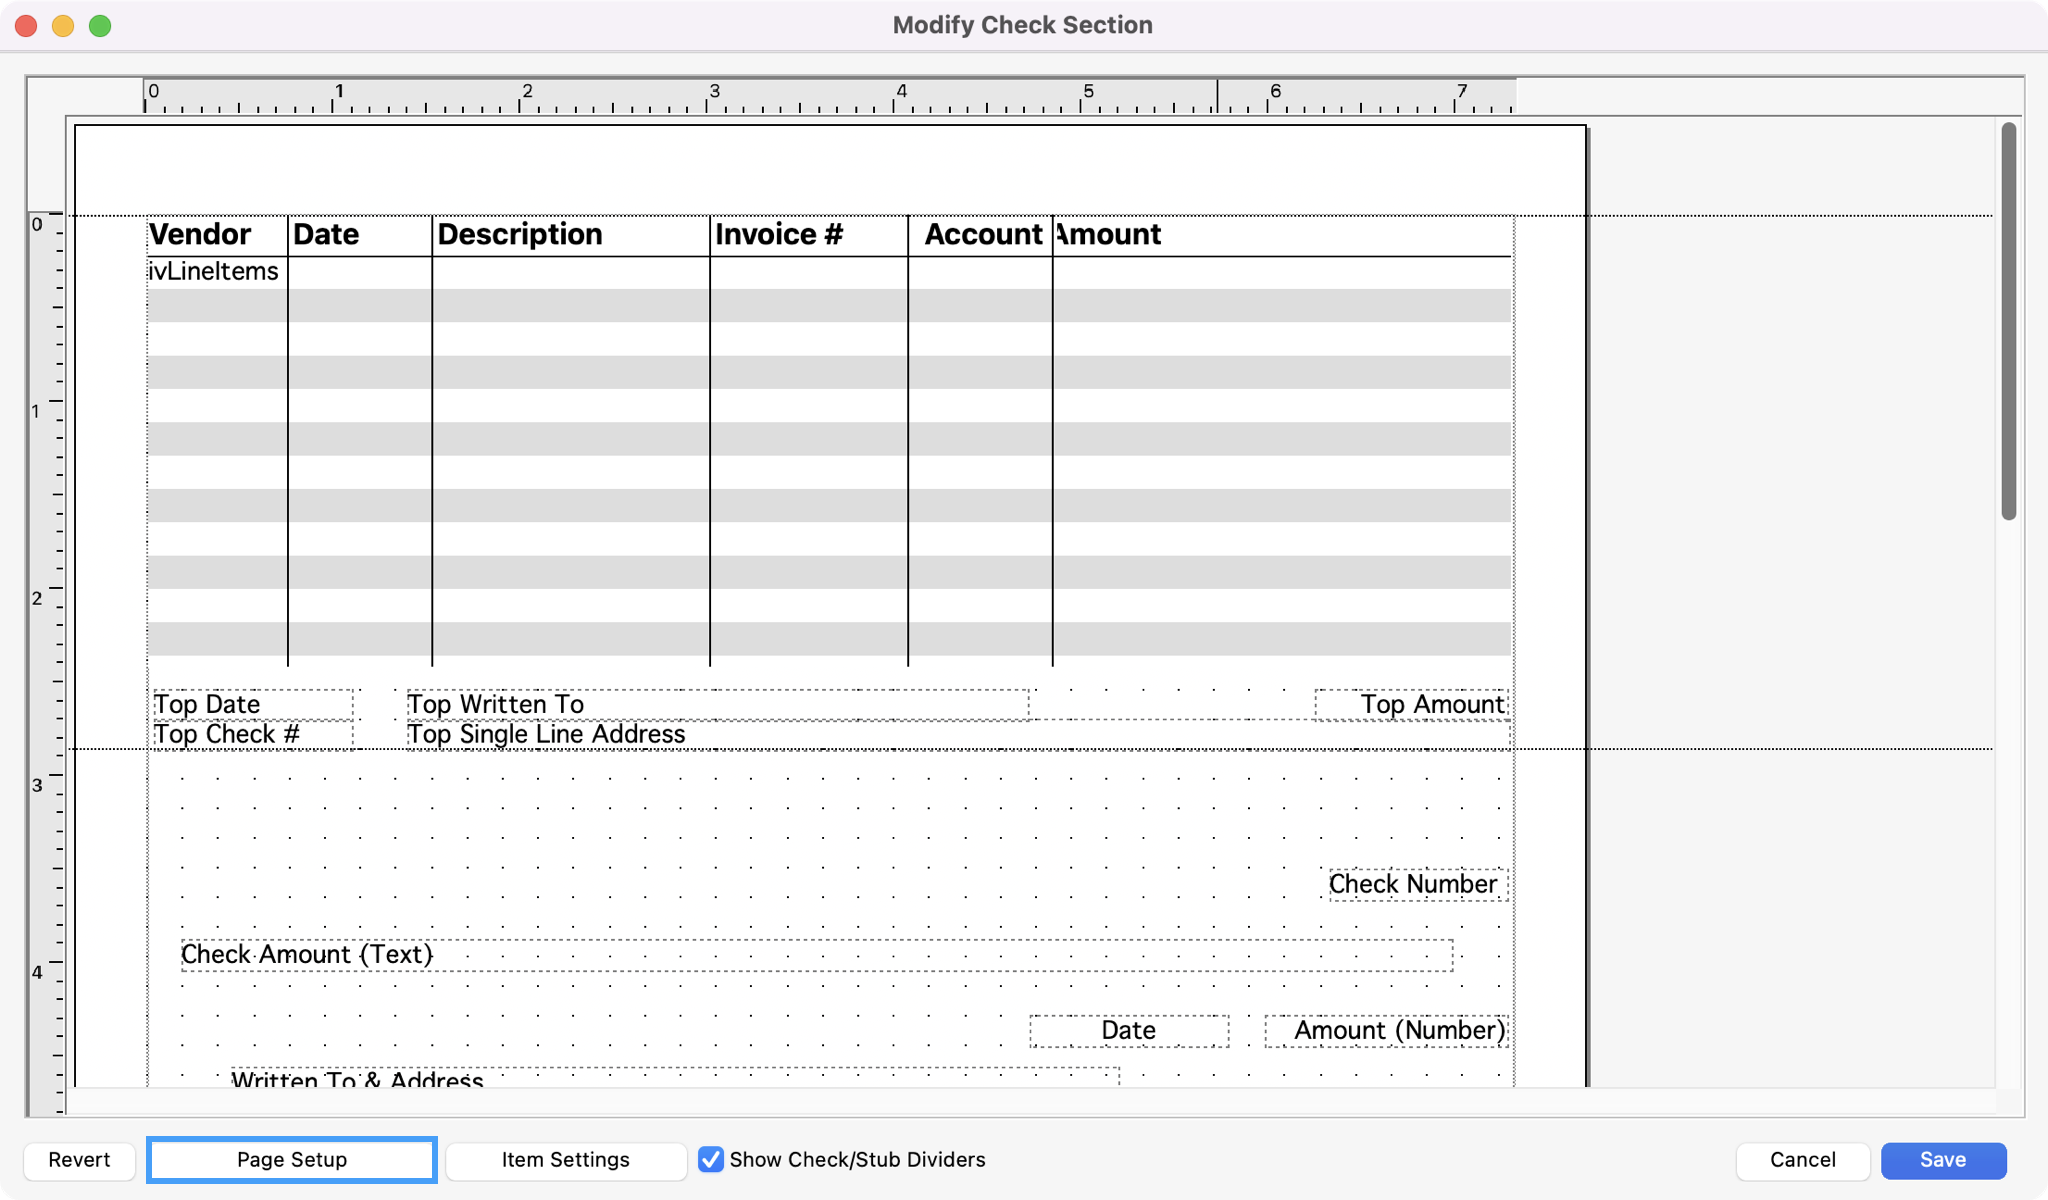
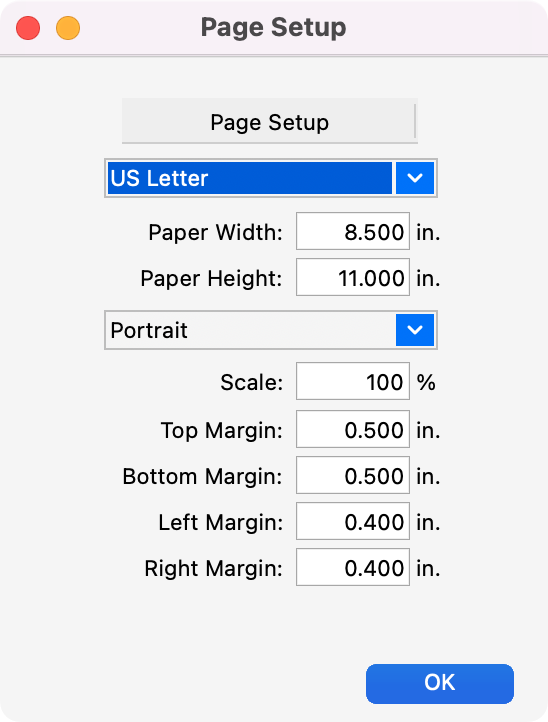
To change page size, orientation, and margins, click Page Setup.
-
The Page Setup window will open. Here you can make any neccesarily changes and click OK.
-
To change the appearance of individual elements on the check, click Item Settings.
-
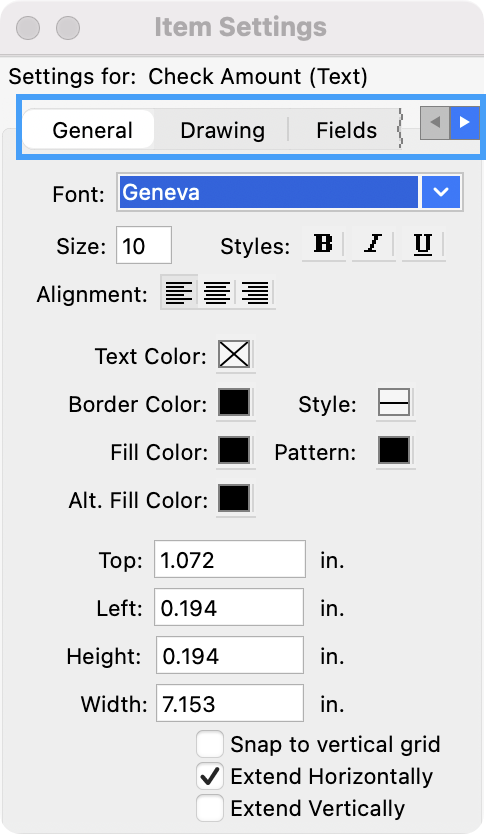
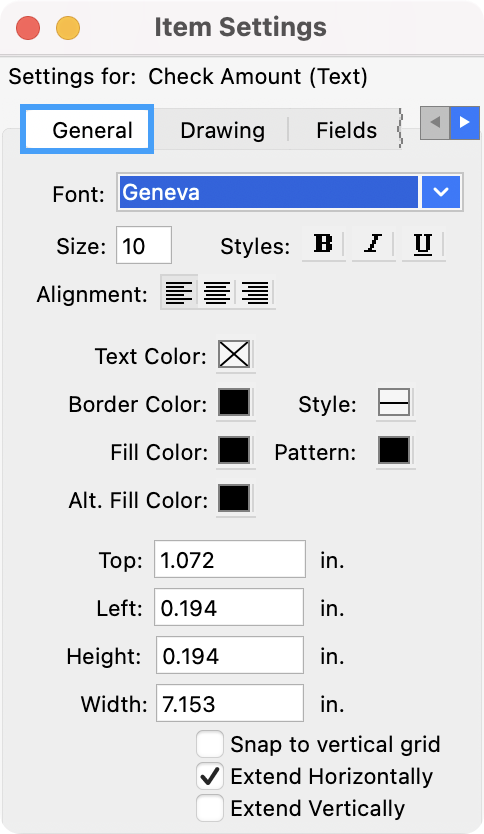
The Item Settings window has three tabs: General, Drawing, Fields, and Options. Use the arrow buttons on the right of the tabs to see them all.
General
-
The General tab lets you change font, color, and border settings.
Drawing
-
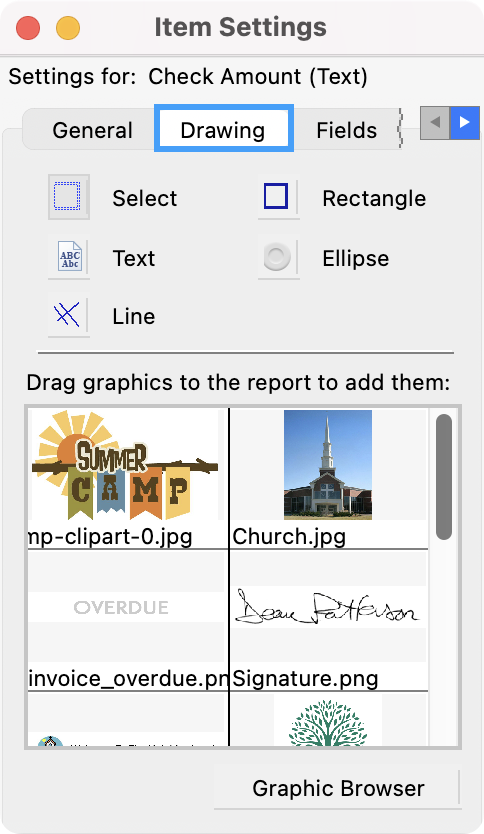
The Drawing tab lets you add text, geometric shapes, or graphics. To place a graphic on the check, drag it from the Item Settings window to the Modify Check window. To adjust the graphic on the check, select it and drag it, or use the arrow keys on your keyboard.
-
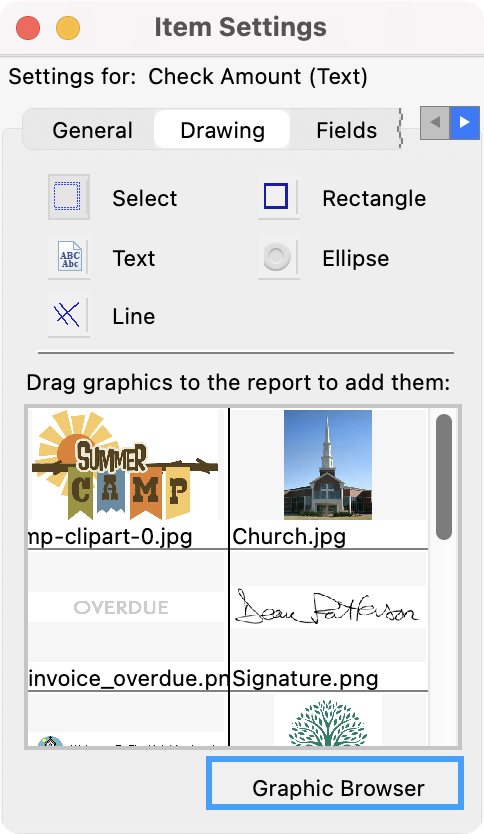
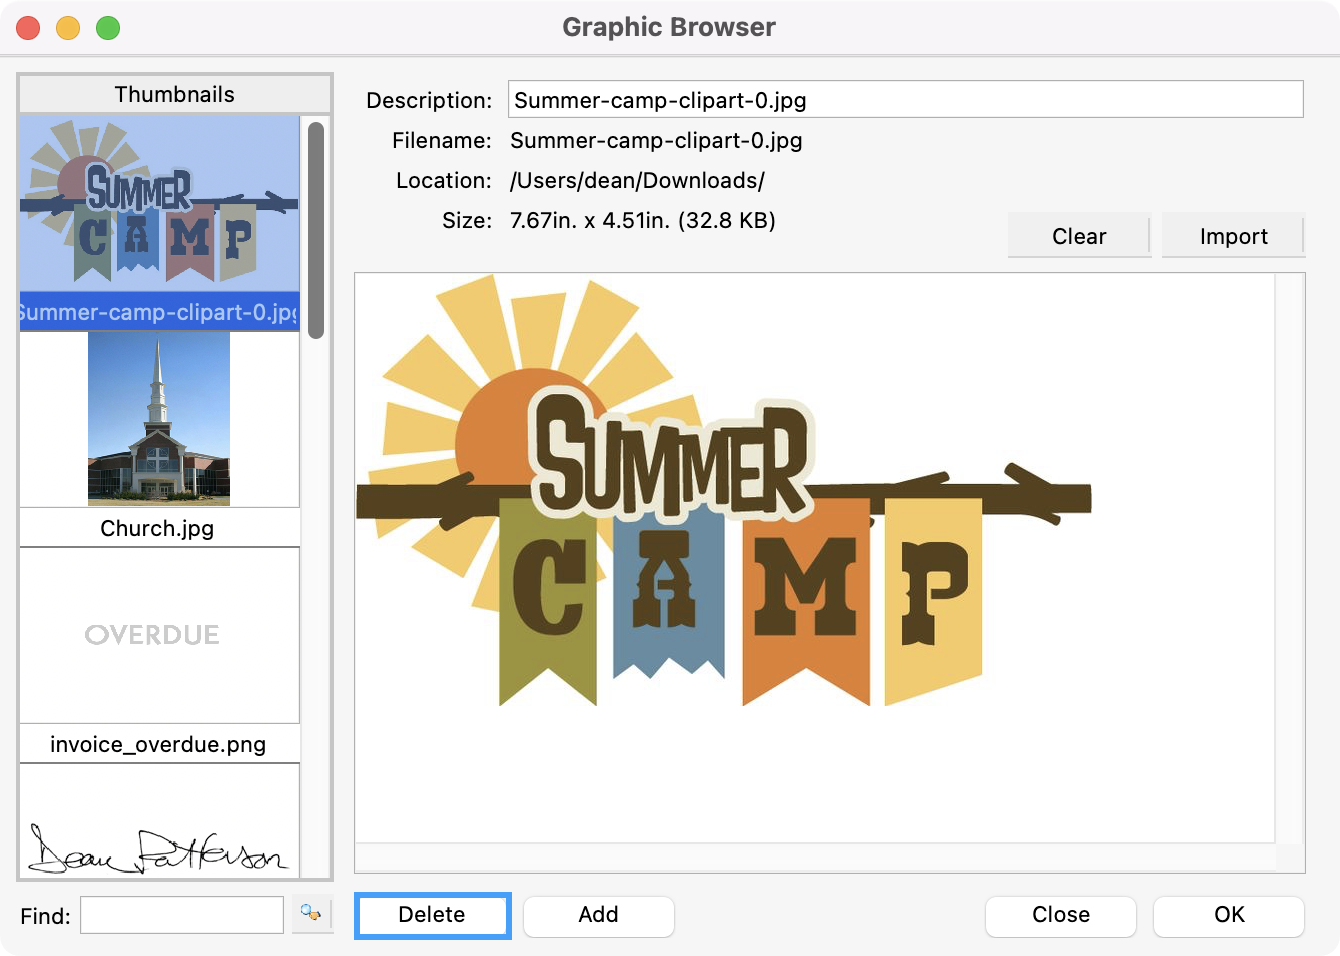
If you don't see the graphic you want, click the Graphic Browser button.
-
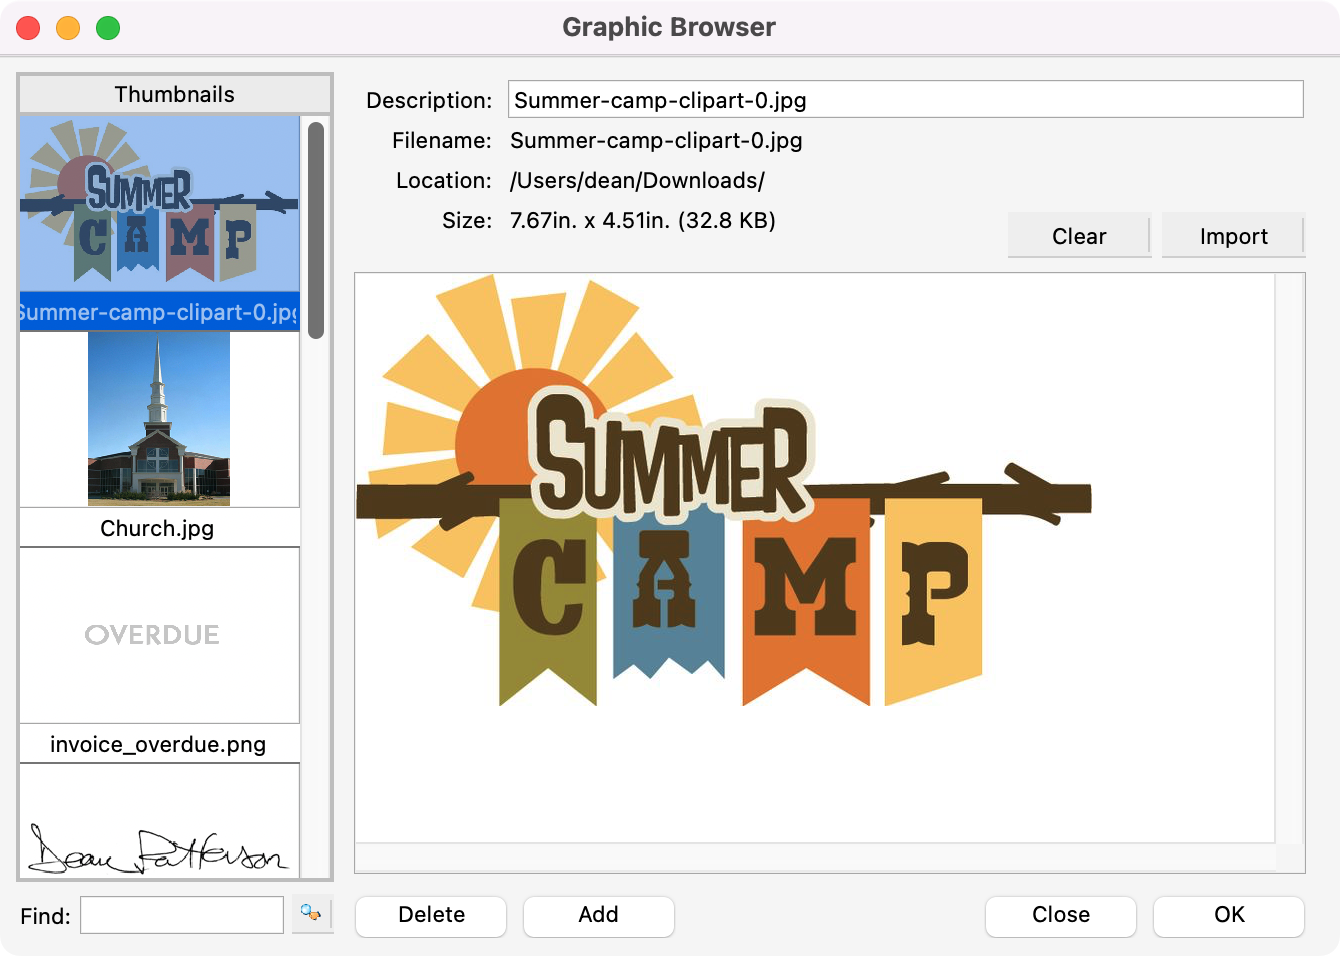
A new window will open. To select a saved graphic, scroll through the list, click on the one you want, and click OK and the graphic will appear on the Item Settings window.
-
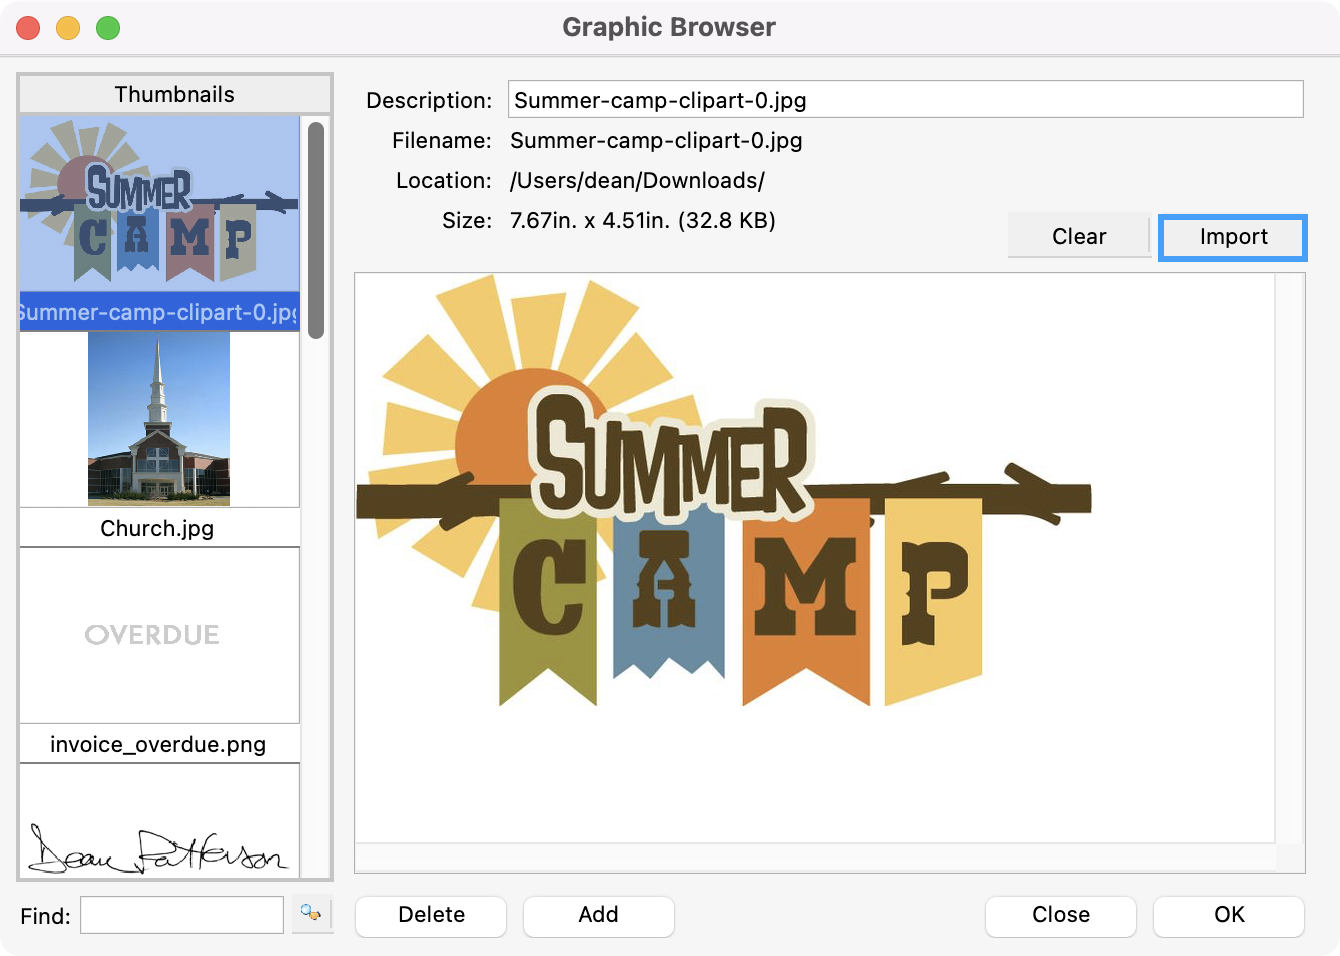
To add a new graphic and save it to your graphics database at the same time, click Import. Find and click on the desired image from your computer files. Click Open. The new graphic will appear on the Graphic Browser screen. Click OK and the graphic will appear on the Item Settings window.
-
To add a new graphic without saving it to your graphics database, click Add. Find and click on the desired image from your computer files. Click Open. The new graphic will appear on the Graphic Browser screen. Click OK and the graphic will appear on the Item Settings window.

CDM+ will import all graphics at 96 dpi. If your original graphic was at a higher resolution, such as 300 dpi, you will notice the Size indicated on the Graphic Browser window after importing will be larger than the original. Re-sizing the graphic back to the original size once you have placed it on the check will return it to the original higher resolution.
-
To remove a graphic from the Graphic Browser, scroll through the list, click on the one you want, and click Delete. Click Yes to confirm.
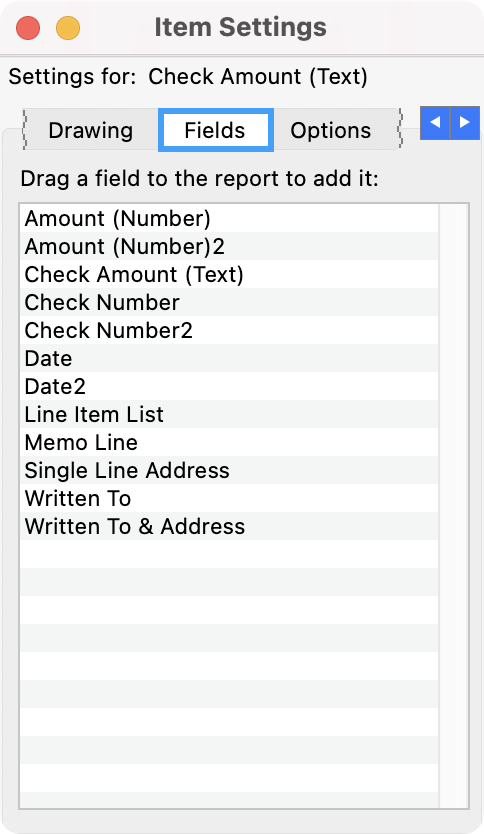
Fields
-
The Fields tab lists all the possible fields of data you can put on a check.
-
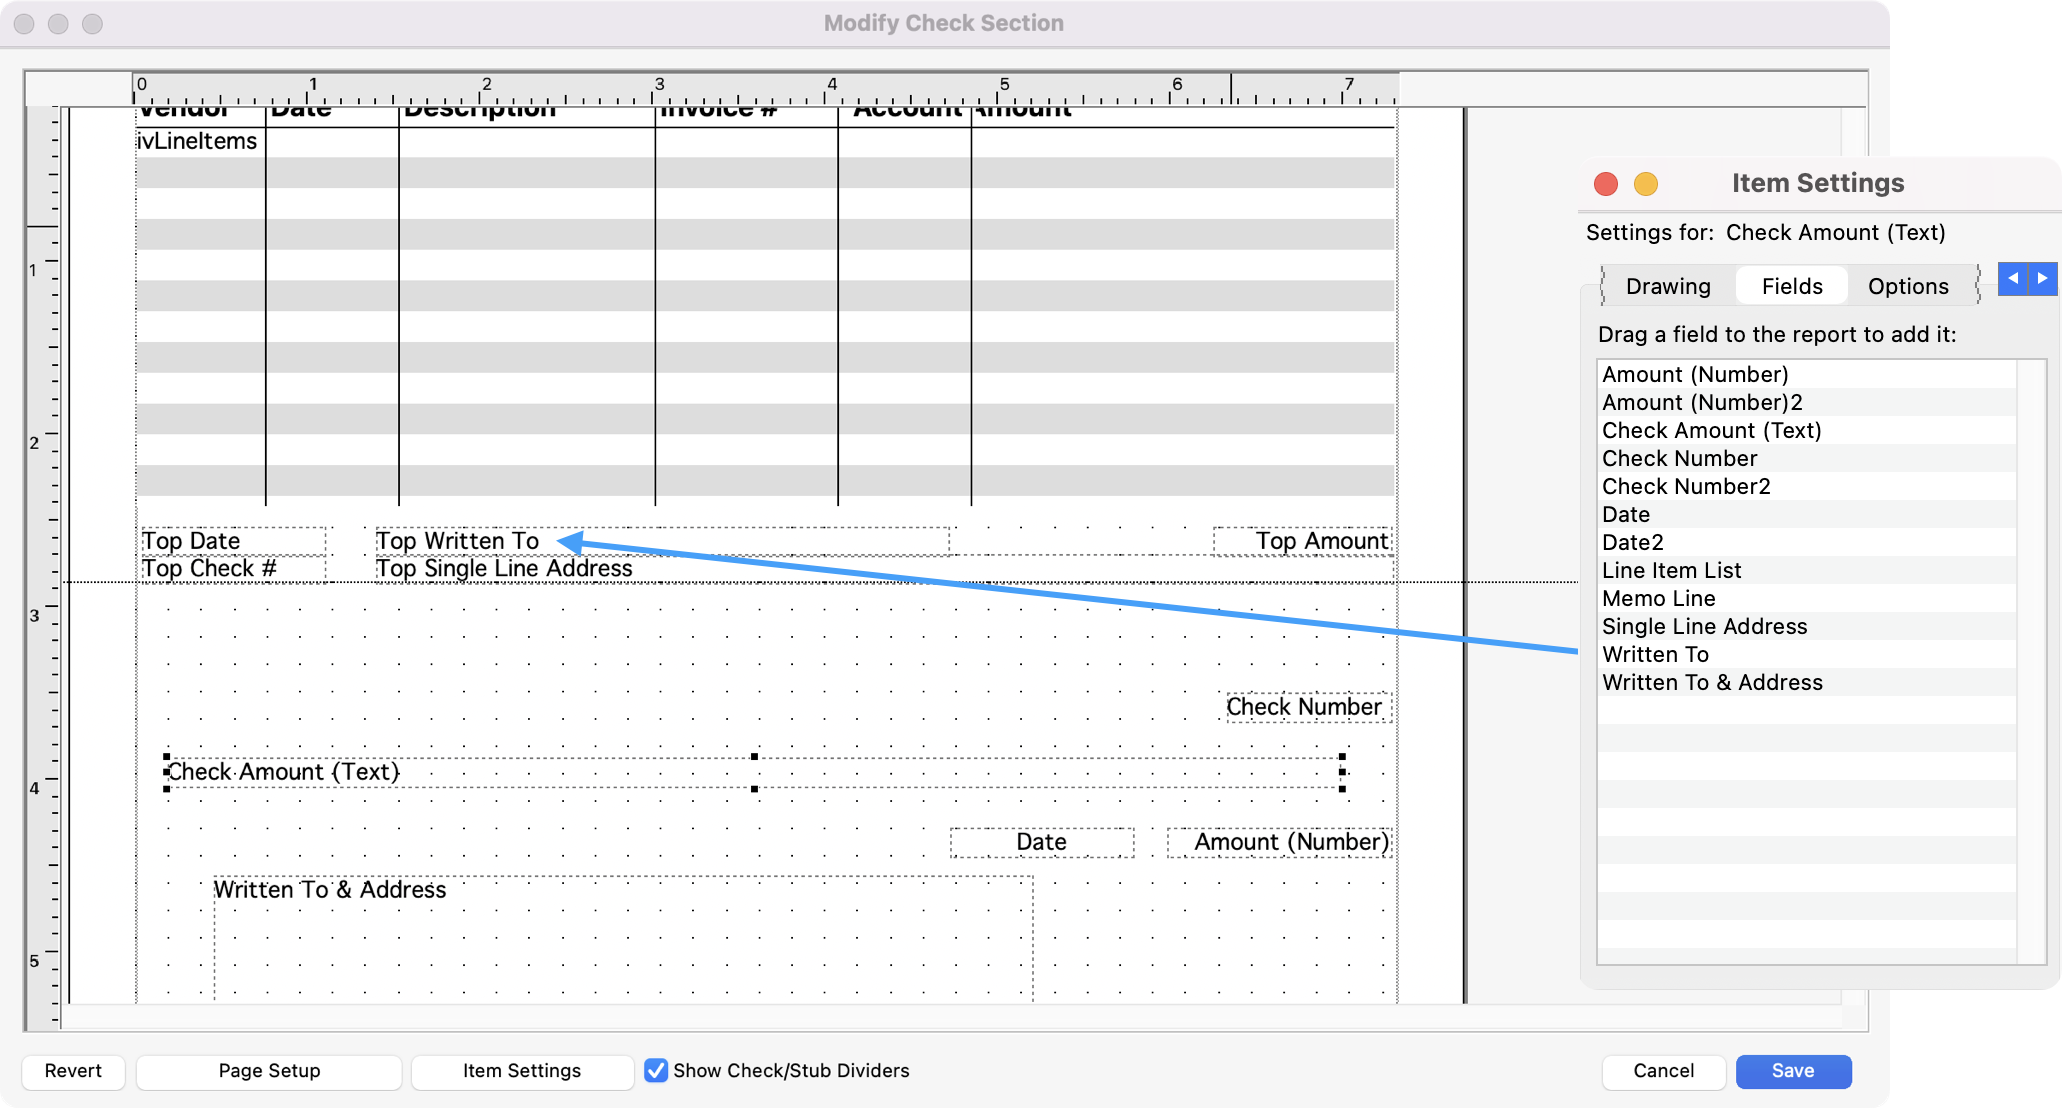
Drag a field to the Modify Check Section window to add it to the check. Select the field to open another pane on the Item Settings window, Custom, where you can customized the display of the field.
Options/Custom
-
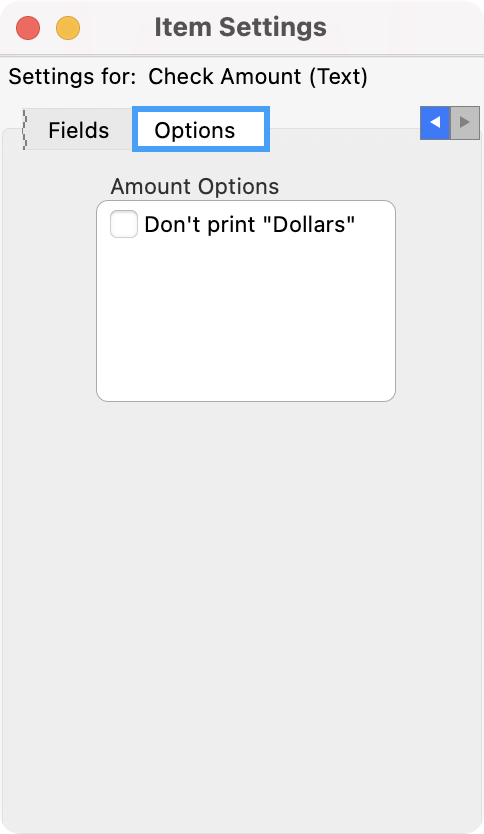
The Options tab is visible only when a field is selected that can have optional views. For instance, if the Check Amount (Text) field is selected, you will see an option to exclude printing the word 'Dollars' on the line. Another tab that you may see is the Custom tab. This tab will become visible when you select a table field in the stub and it allows you to select the columns you wish to see, the column widths, and justifications.
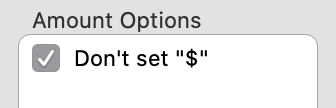
By default, the Account (Number) field has the dollar sign showing. But you can turn hide the dollar sign by following the steps below.
Click to expand...
-
On the Modify Check Section window, scroll down until you see the field labeled Account (Number).
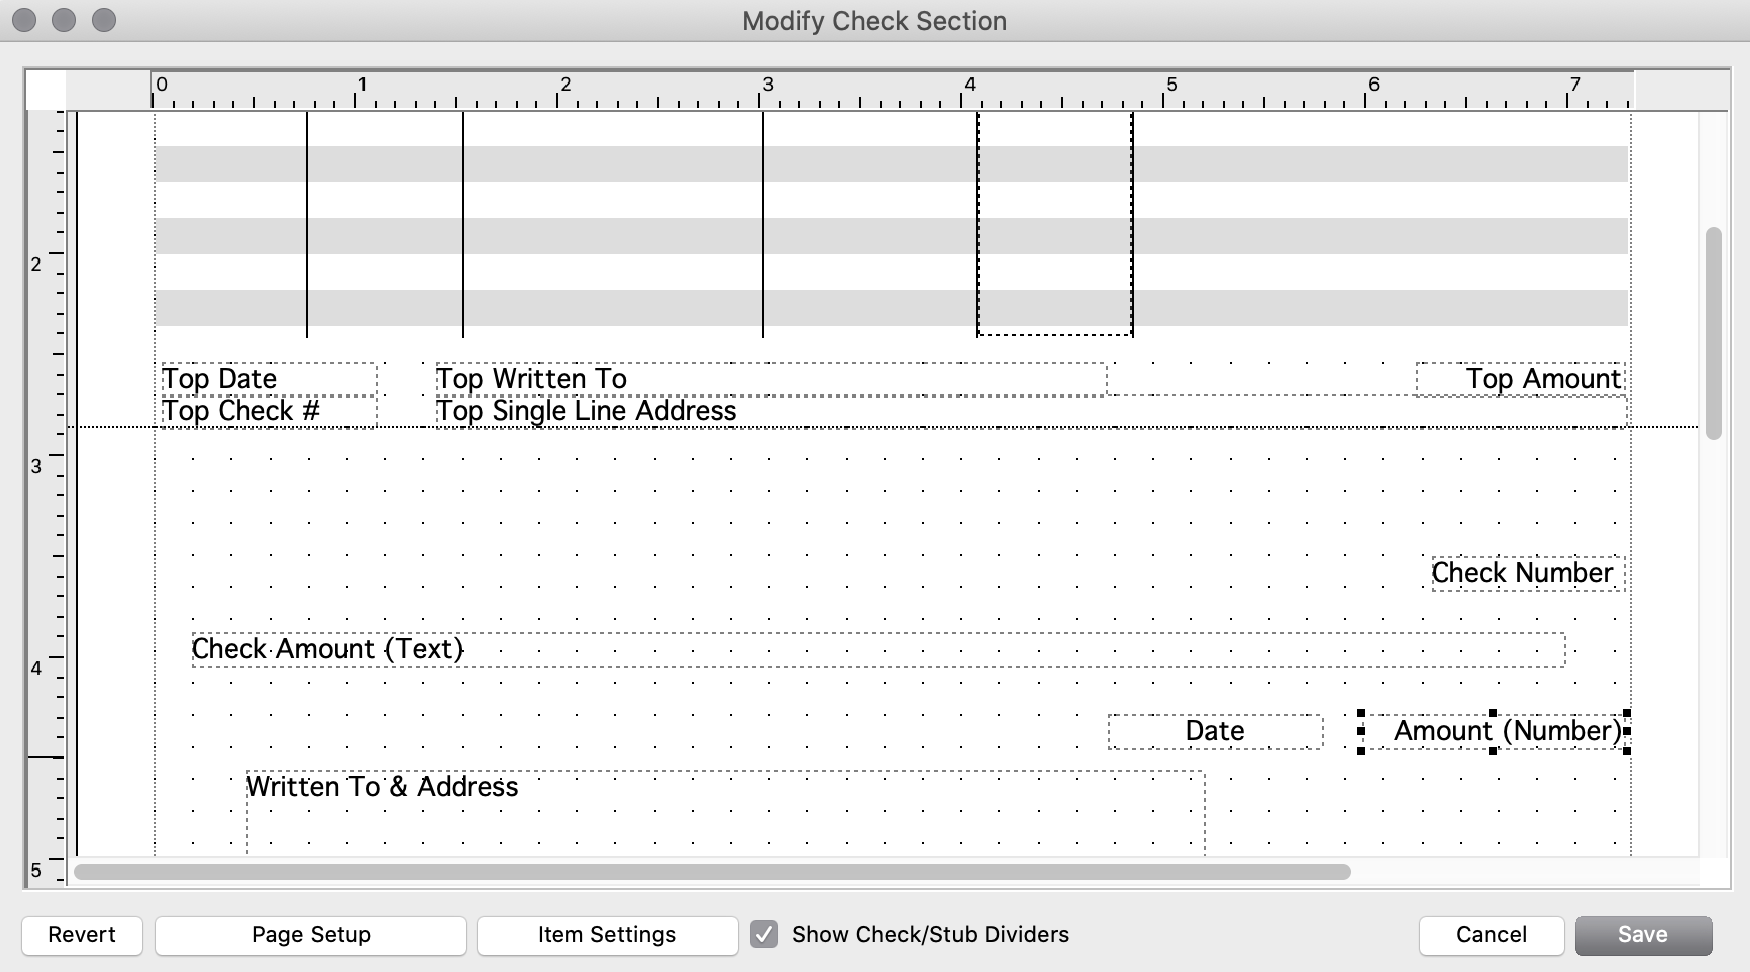
-
Click on it, then click Item Settings. A new window will open.
-
Click on the Options tab.
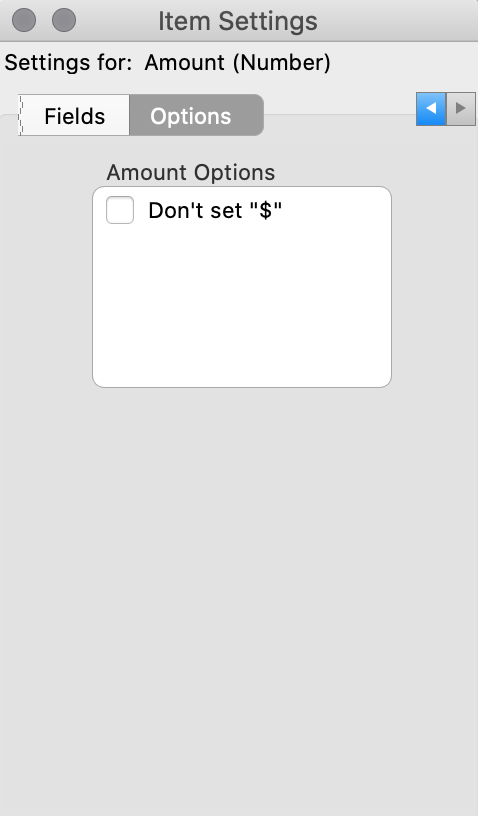
-
Click Don't set "$", then close the window out. Be sure to click Save on the Modify Check window.
Click on the Revert button to return the check layout to the last saved version.
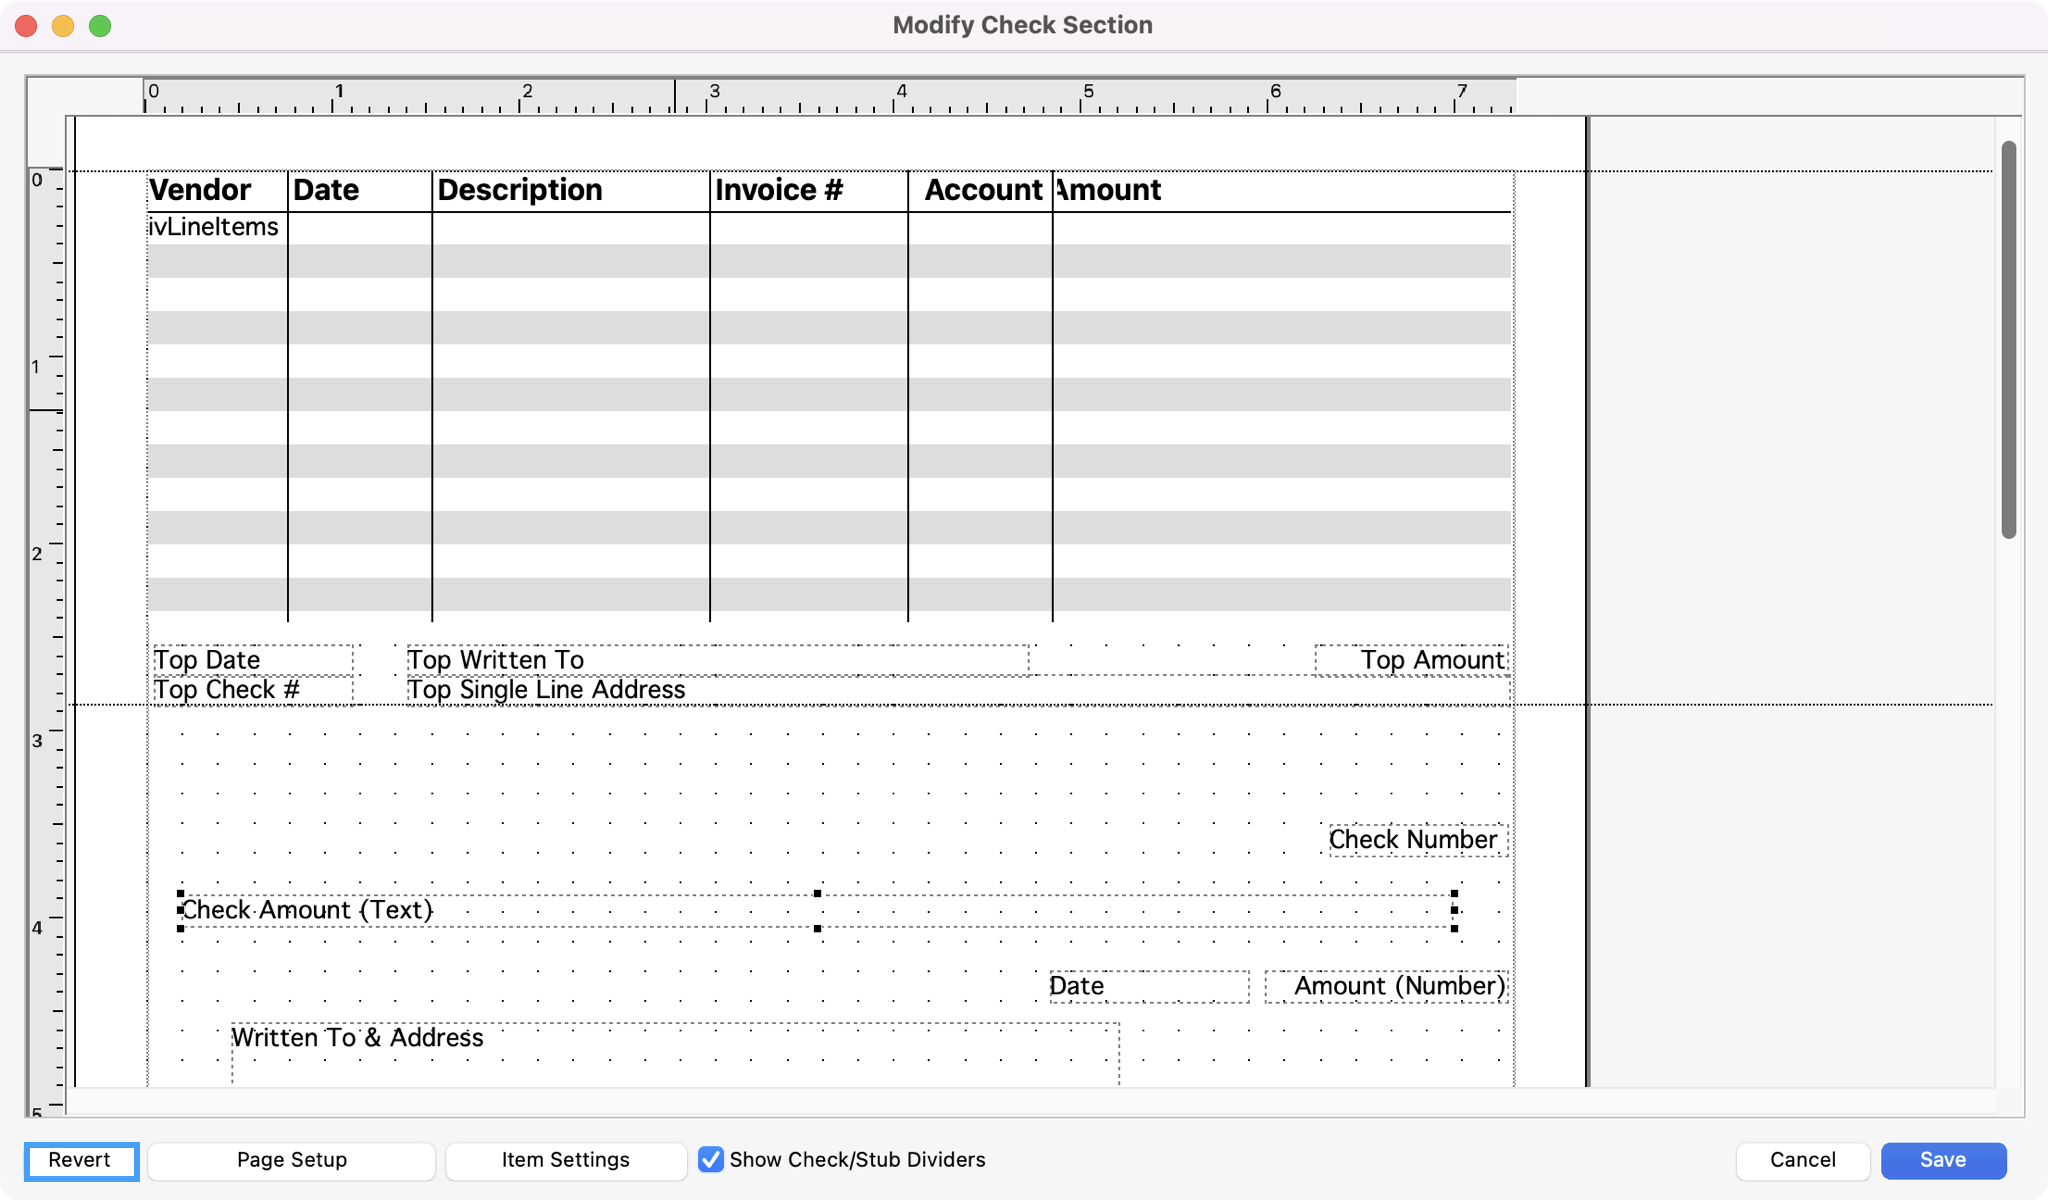
Click Save button when you are finished modifying the check.