-
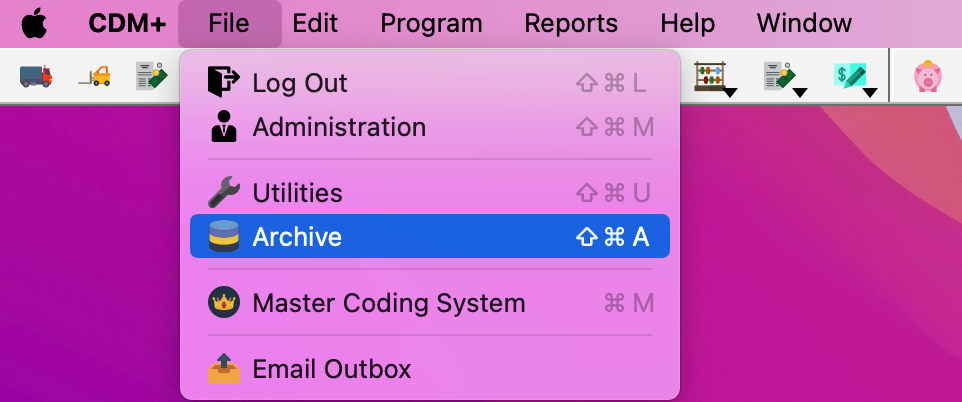
Go to File → Archive.
-
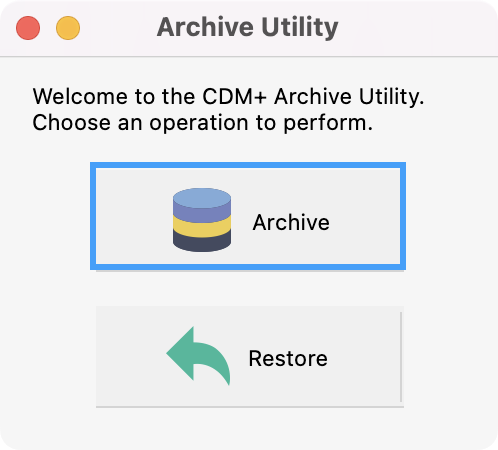
Choose the Archive button.
-
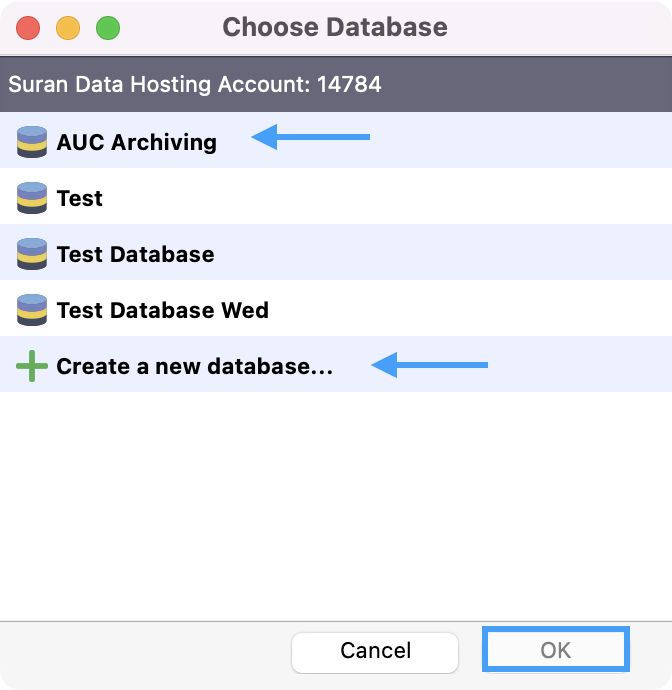
Click to select either an existing archived database or create a new database. Click OK.
-
If creating a new database, enter the name and click OK.

-
Next, you will see the Archive Utility window. On the left side, check a record type to archive (e.g., Address Records).
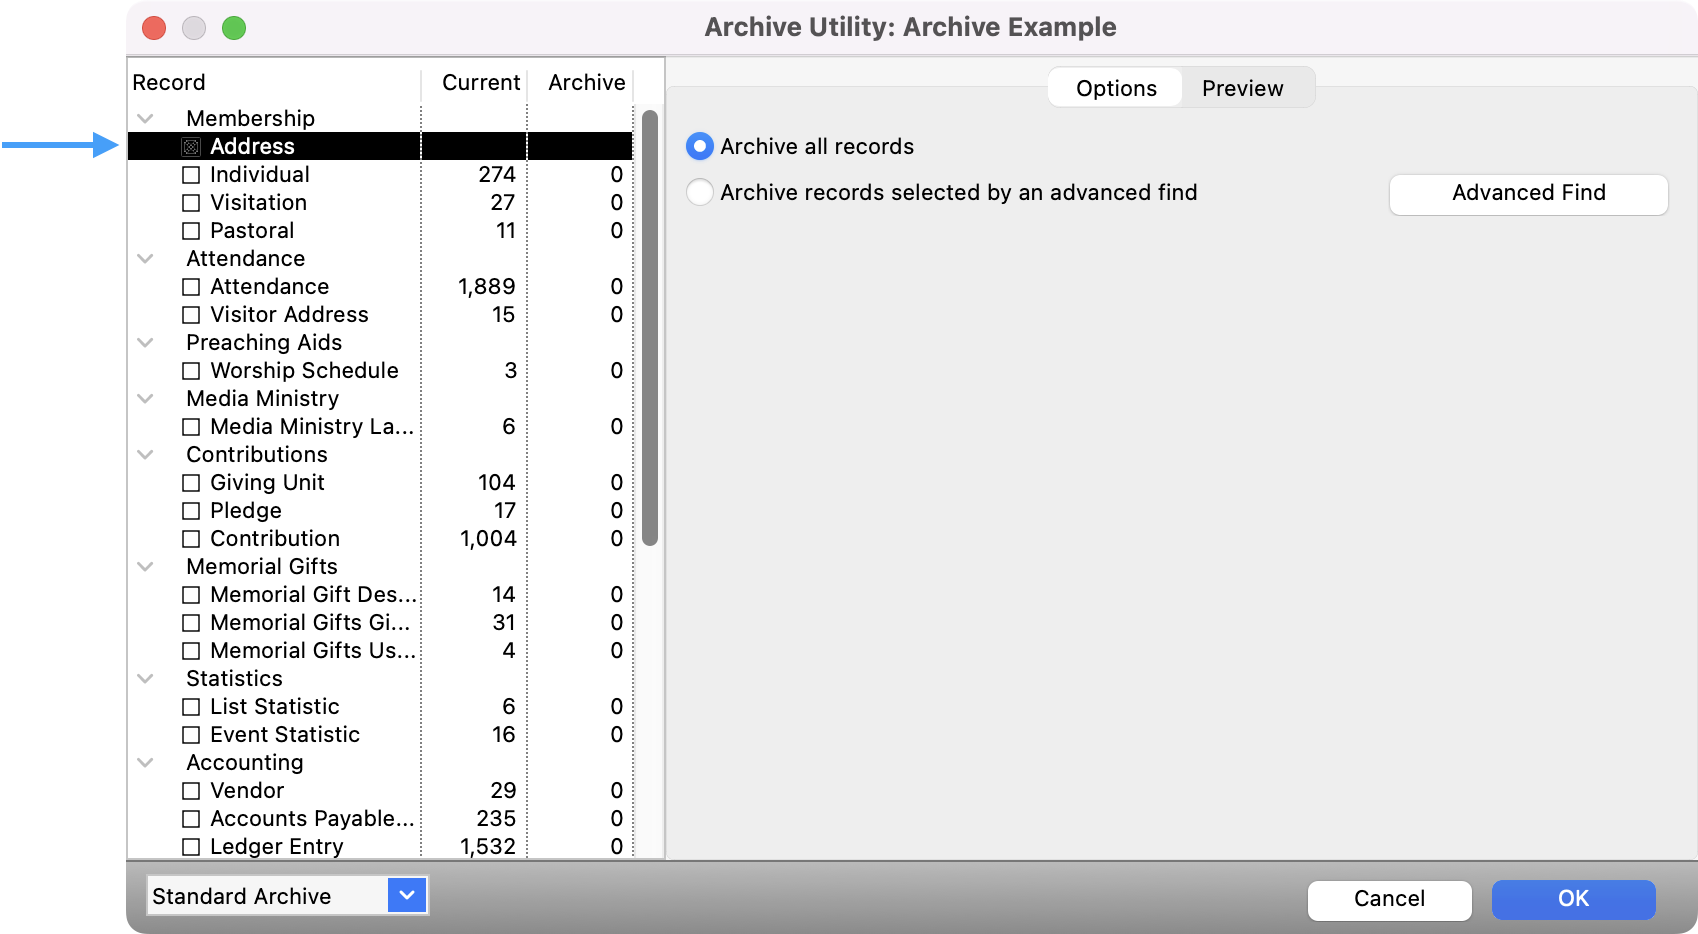
You will only see record types for which you have data in CDM+.
-
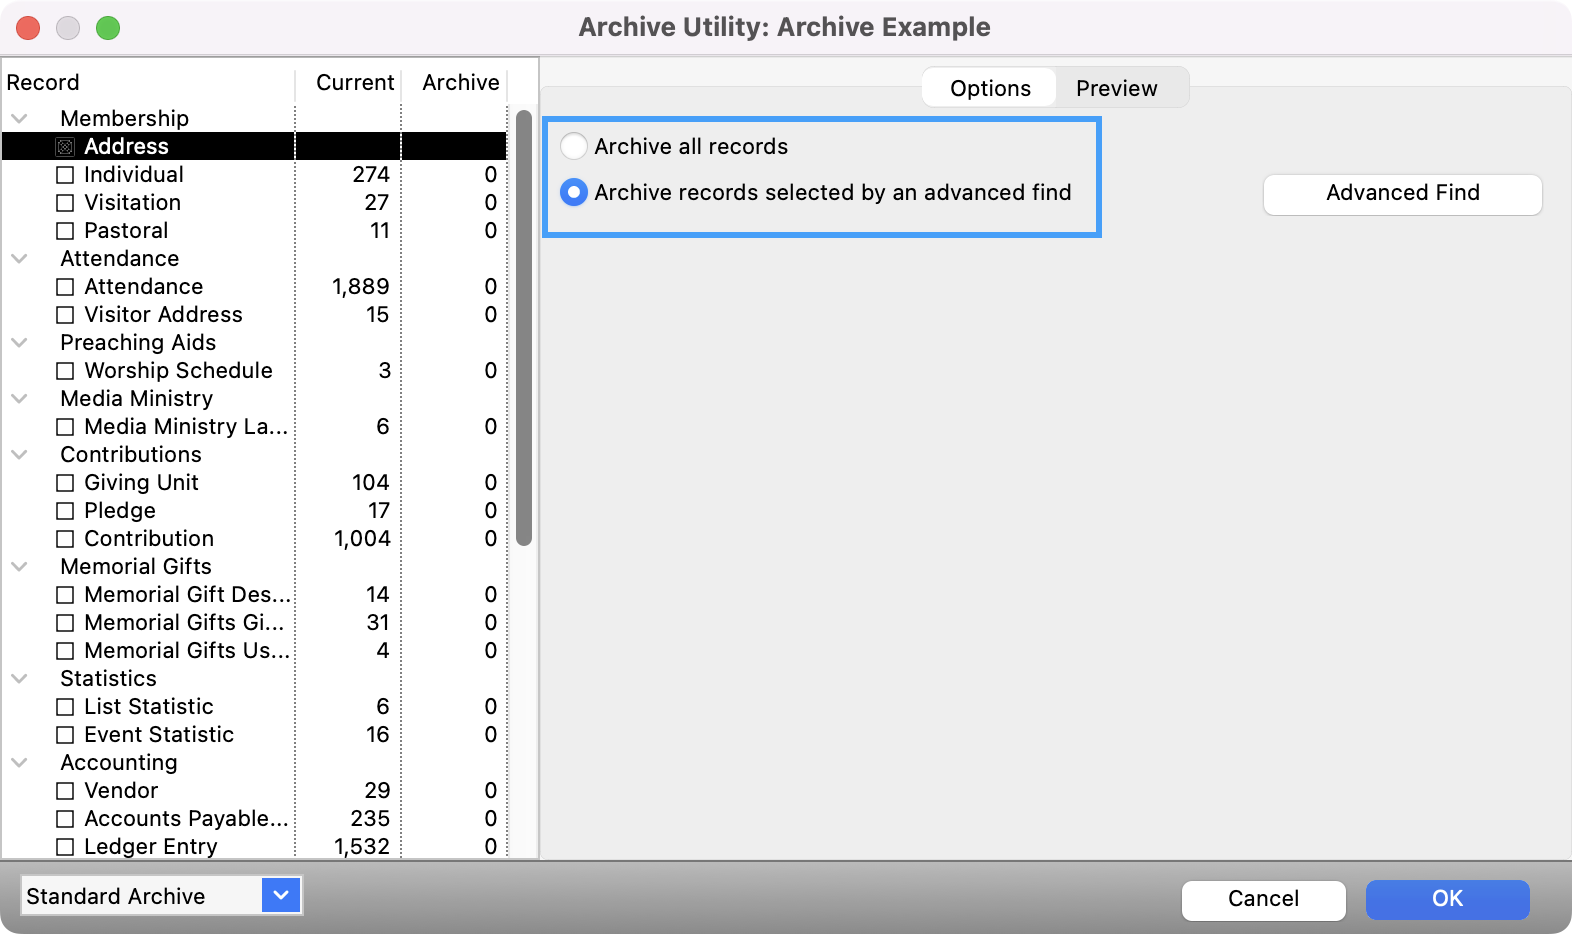
Next, choose Archive all records or Archive records selected by an advanced find.
-
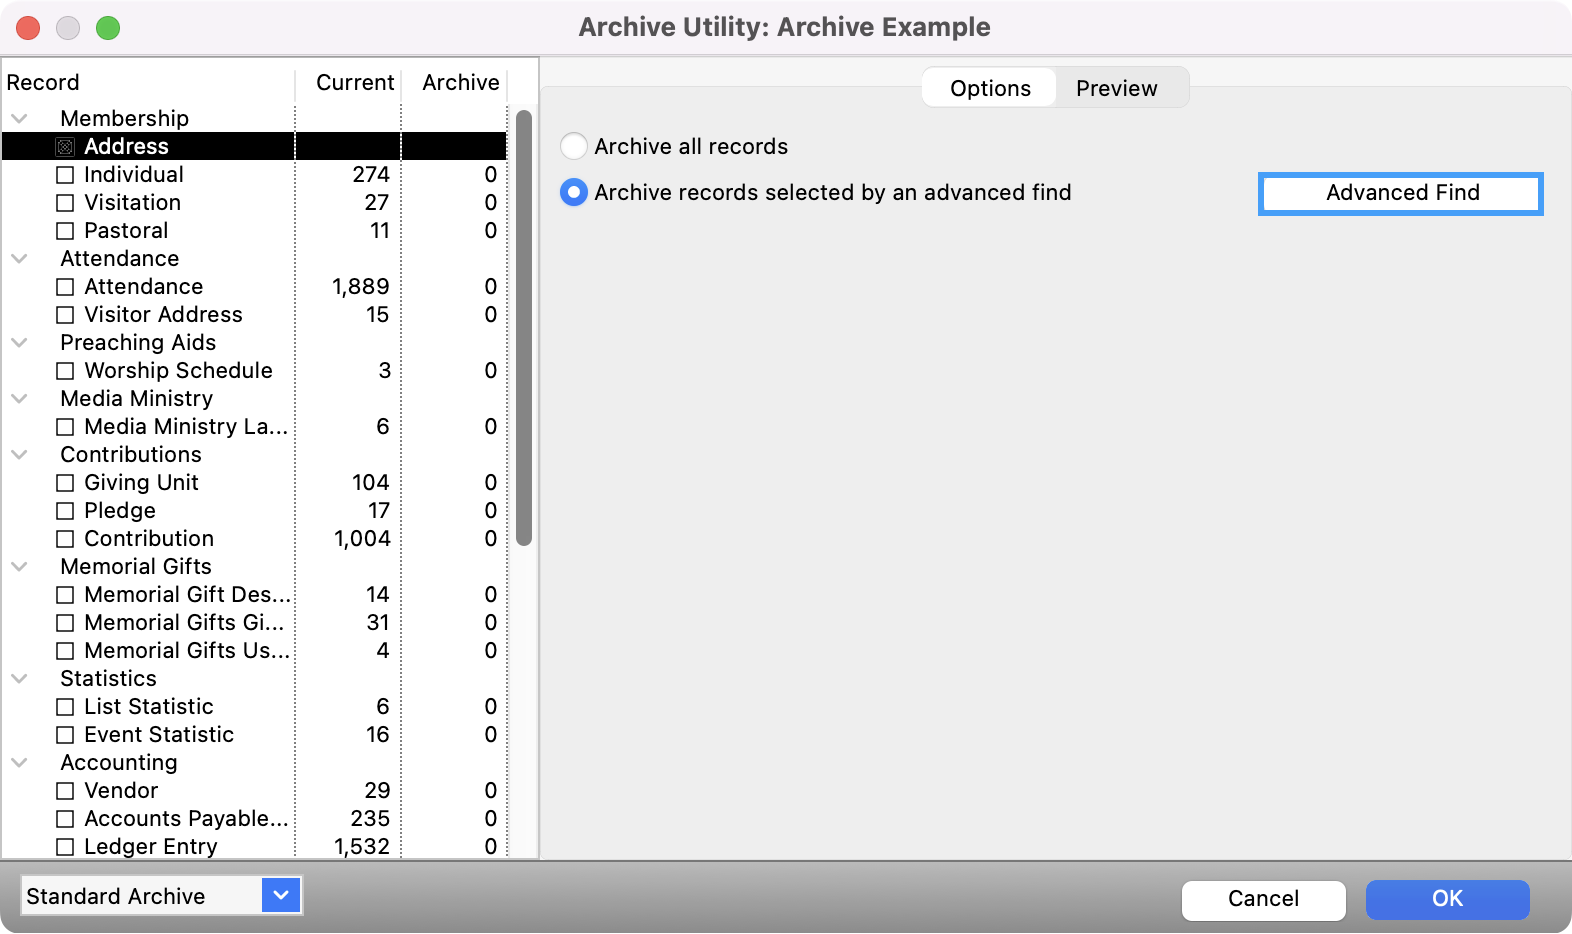
If you choose to Archive records selected by an advanced find, click the Advanced Find button.
-
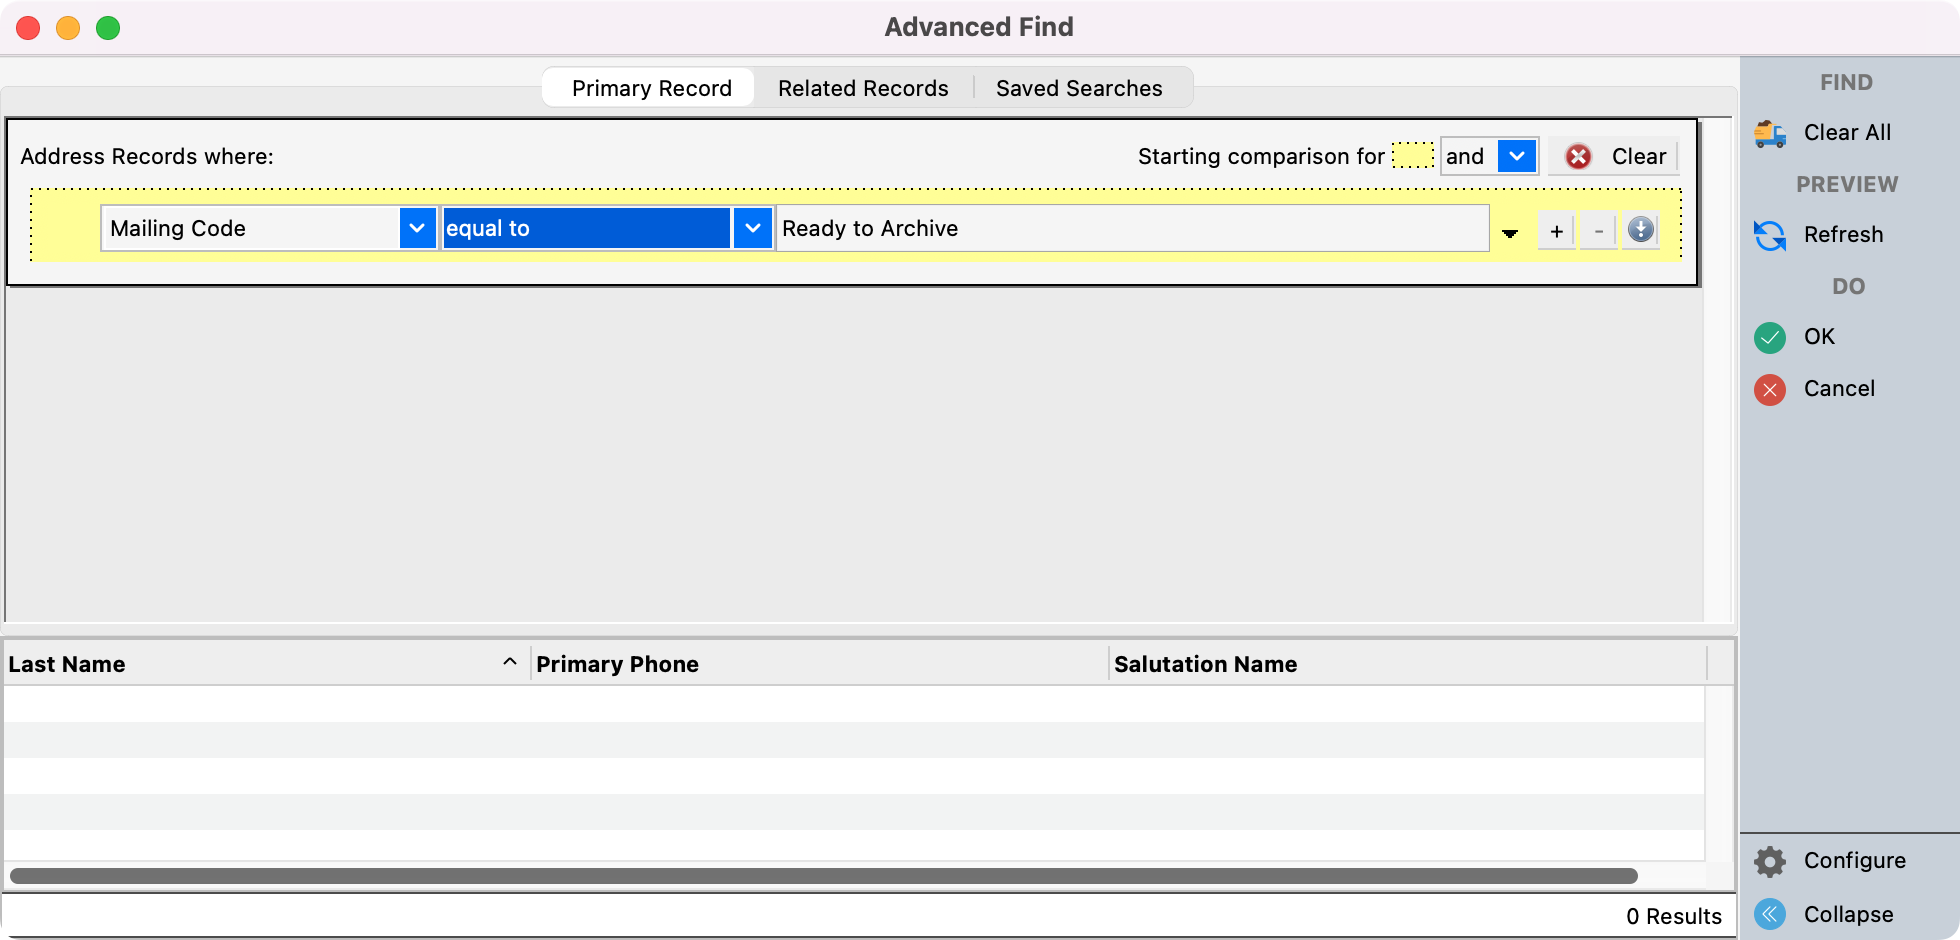
From here, you can set up an Advanced Find.
-
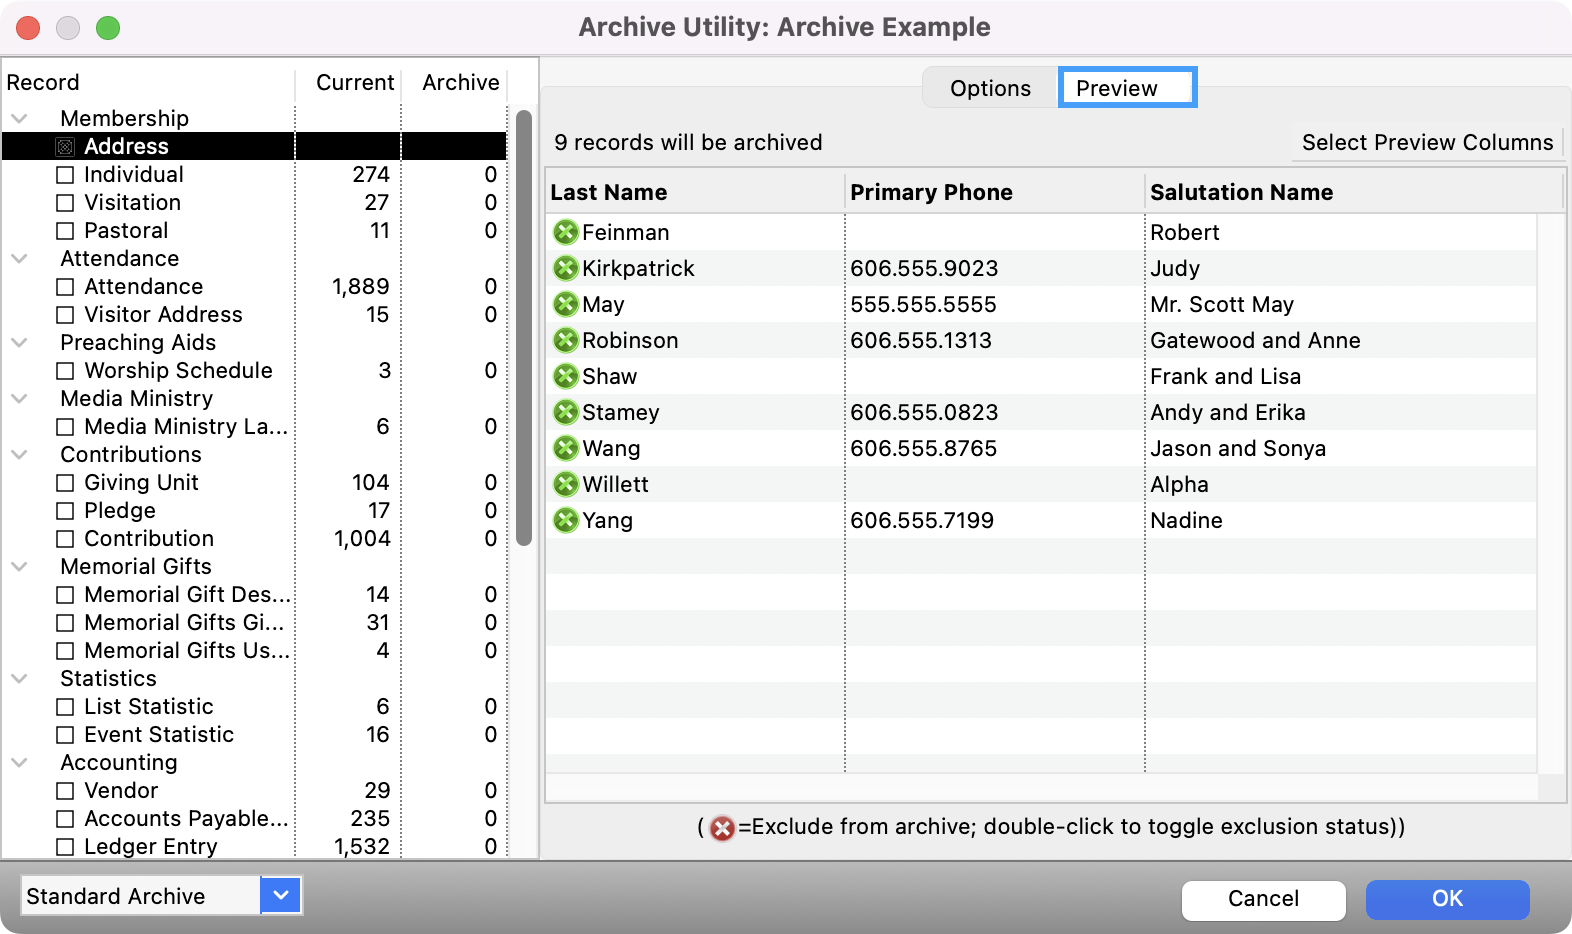
Back on the Archive Utility window, click Preview to see a list of records that will be archived.
-
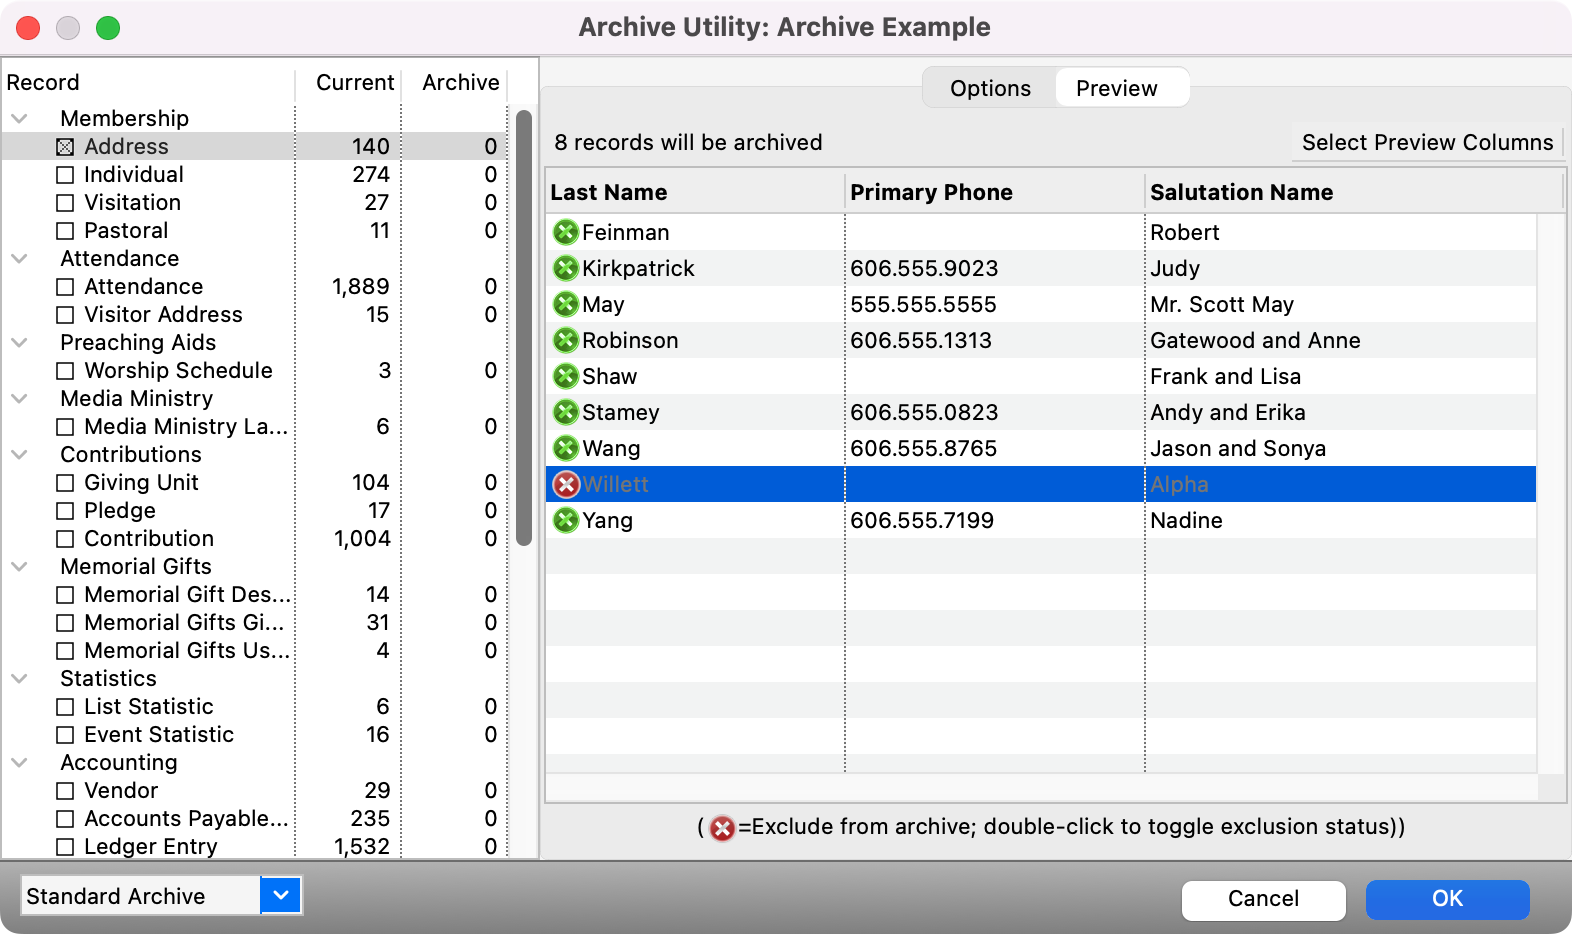
Double-click a record to exclude it from the archive.
-
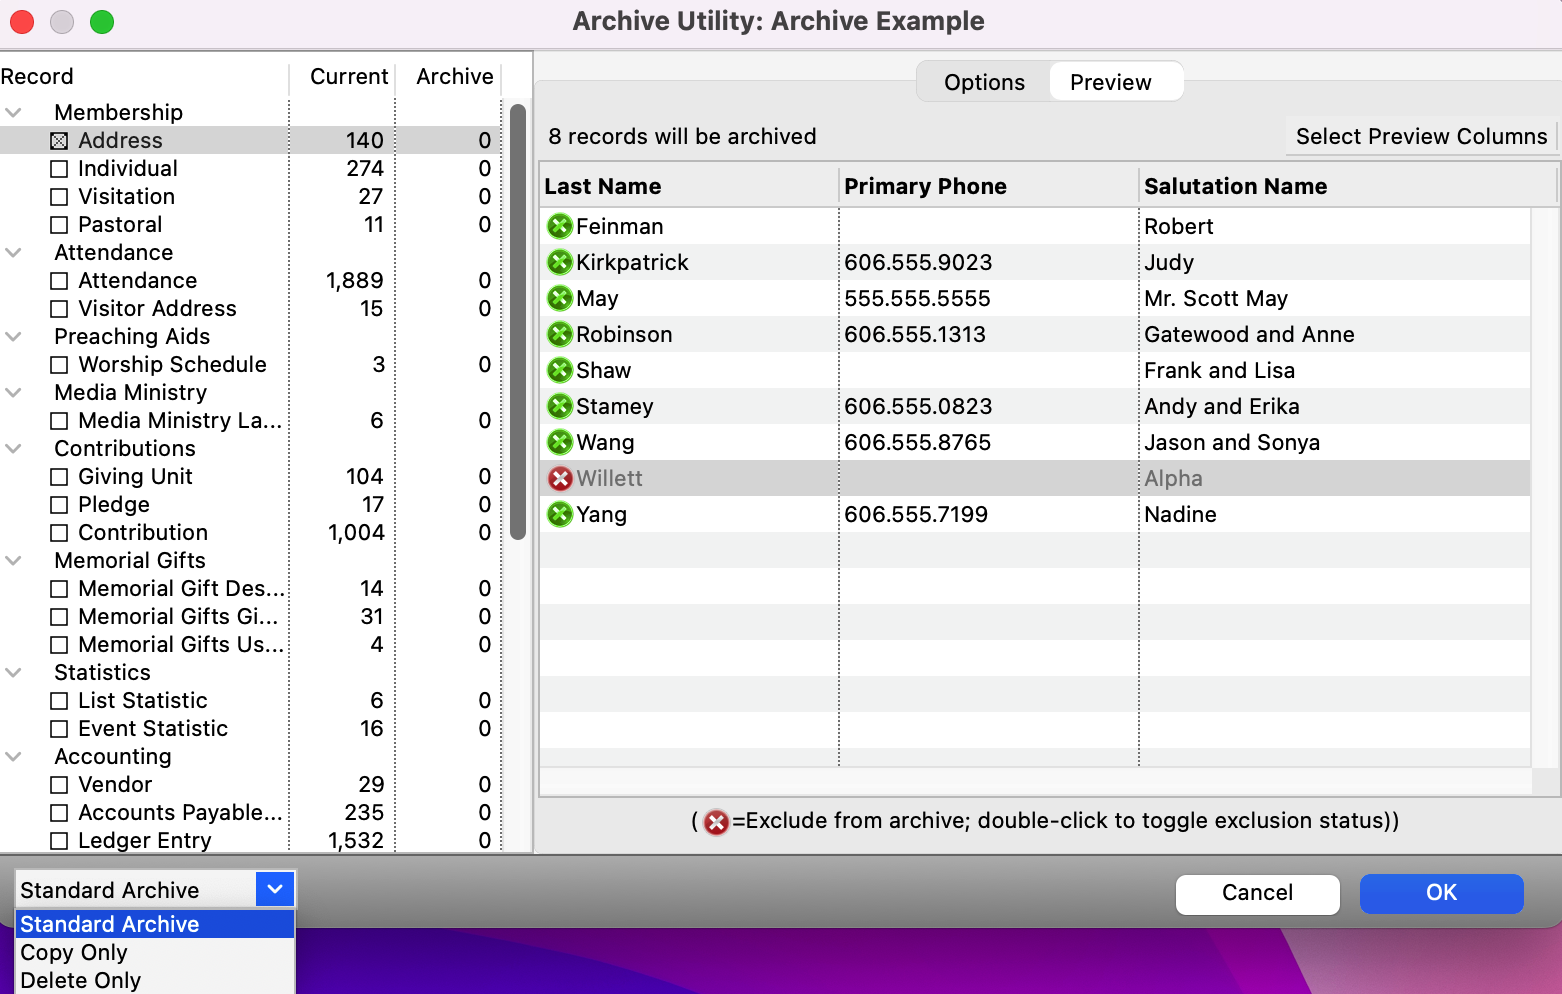
Choose Archive Mode from the drop-down field in the bottom left-hand corner; be intentional.
-
Standard Archive to move data to the archive database and remove it from the main database.
-
Copy Only to move data to the archive database and leave it in the main database.
-
Delete Only to remove data from the main database. THIS WILL PERMANENTLY DELETE YOUR DATA!
-
-
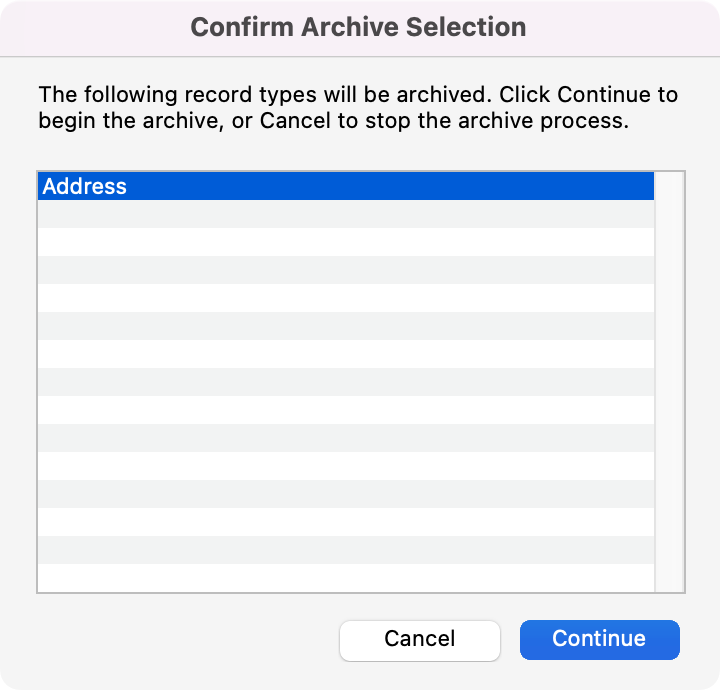
Click OK and verify that you've selected the right records by clicking Continue.
-
You will see a communication box letting you know the progress of the archive.

-
You will then see a message letting you know your archive is complete.