Backup
Backup Your Data
Choose Backup from the File Menu or click the Backup icon 
CDM+ includes a built-in Backup Utility. It is strongly recommended that you frequently backup your database, and periodically store backups elsewhere in your office or offsite.
Sample Backup Schedule
- Every Day: Backup the database to another computer in the office
- Every Day: Copy the latest backup to a USB drive (thumb drive/memory stick/keychain drive/flash drive/etc.) that you take home with you
- Every Tuesday: Backup the database to a CD and place in a fireproof safe (we chose Tuesday because lots of work is done on Monday)
- Every Month: Backup the database to a CD and keep in the church’s safe deposit box
TEST YOUR BACKUP!
Keep at least two copies—one off-site
Three Ways to Back Up Your CDM+ Data
Commit to a regular backup schedule. Then, choose one of the following options for backing up your CDM+ data:
- Manual Backup from the File Menu
- Manual backup from the Database Browser
- Automatic Backup from the Database Browser
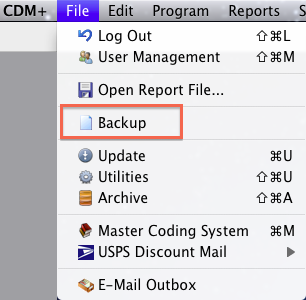
Manual Backup from the File Menu
Make sure all other users are logged out of CDM+. Then, choose Backup from the File menu.
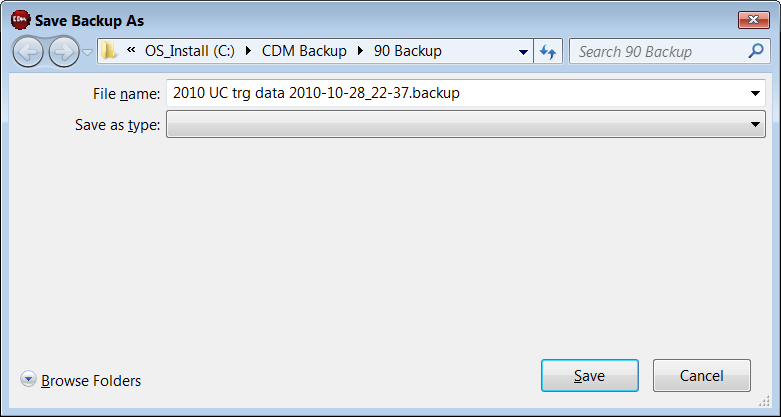
The next screen that appears lets you choose what to name your backup and where to save it.
The resulting backup files look like this:
Windows 
Mac 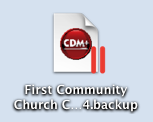
Take note of where you save the backup!
Manual Backup from the Database Browser
Make sure all other users are logged out of CDM+. Launch CDM+ but DO NOT log in. At the CDM+ Login screen BEFORE login, choose:
File > Database Browser
On the Databases tab, choose the database you want to back up. Note that information about the database you just selected appears in a pane at the right of the window.
Click Backup in the row of icons at the top of the window.
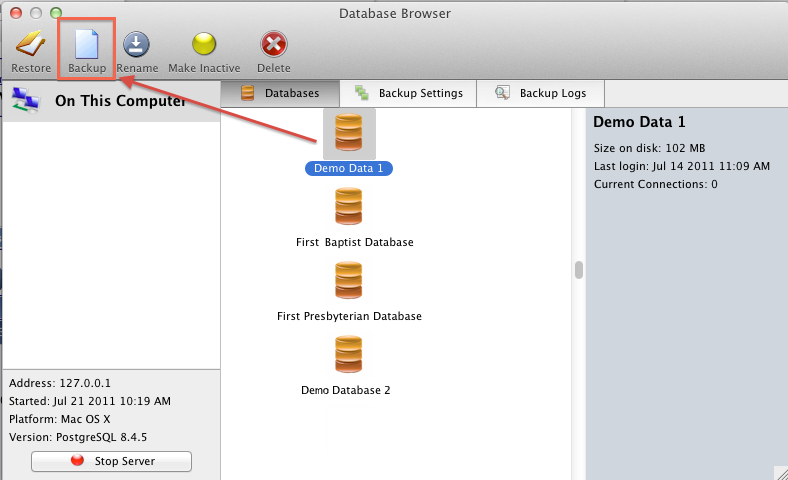
Choose a name for the backup and where you want to save it.

Take note of where you save the backup!
Automatic Backup from the Database Browser
Make sure all other users are logged out of CDM+. Launch CDM+ but DO NOT log in. At the CDM+ Login screen BEFORE login, choose:
File > Database Browser
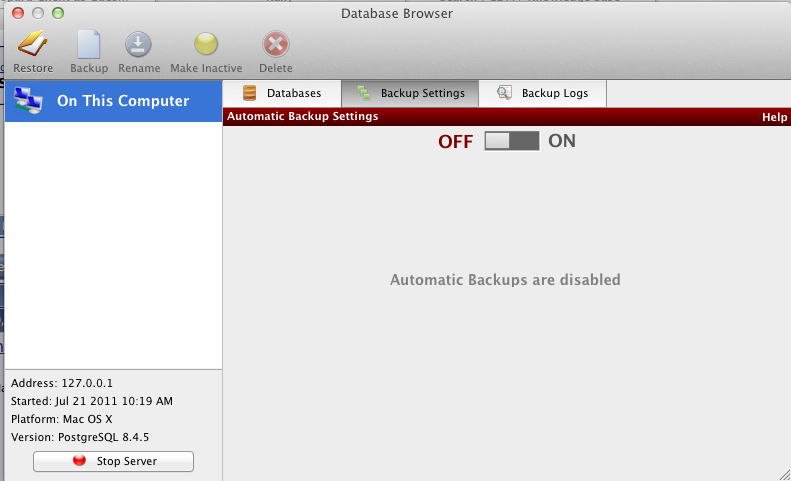

Click the Backup Settings tab. If Automatic Backup Settings are turned off, turn them on. Choose:
- The time of day you want backups to occur
- How many days of backups to keep
- How long to keep backups of databases you have deleted
- Where to store backups
- Which email addresses should receive messages of backup failures
You also have the option to "Backup Now" and to choose whether or not to Sync backups over FTP.
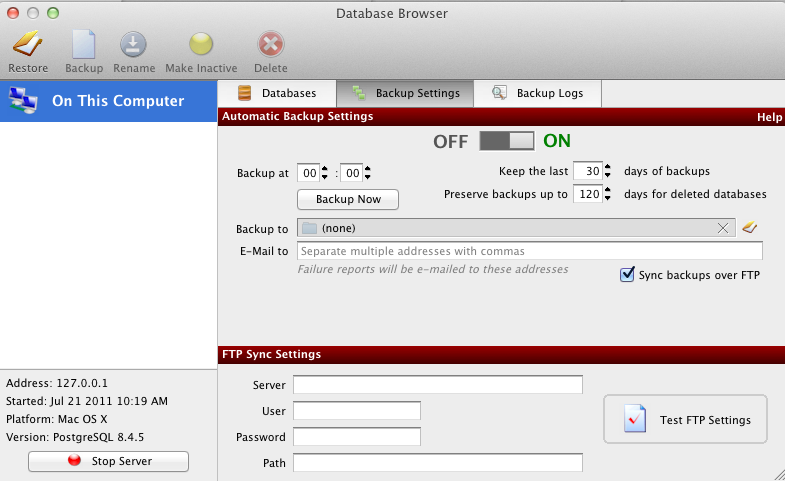
There is a Help link at the top right of the window, just inside the red Automatic Backup Settings area. Clicking Help brings up additional information about automatic backups in CDM+.
If you choose to Sync backups over FTP, will need to enter settings in the Server, User, Password and Path fields. Syncing backups over FTP uploads completed backups to a remote FTP server and adds protection to your backup system. Just be sure to Test FTP Settings right away.
Restoring a Backed Up CDM+ Database
Restoring CDM+ data from a backup database can be done in two ways:
- From the Database Browser
- Through the Setup Assistant
Restoring from the Database Browser
Launch CDM+ but DO NOT log in. At the CDM+ Login screen BEFORE login, choose:
File > Database Browser
Select a database to restore.
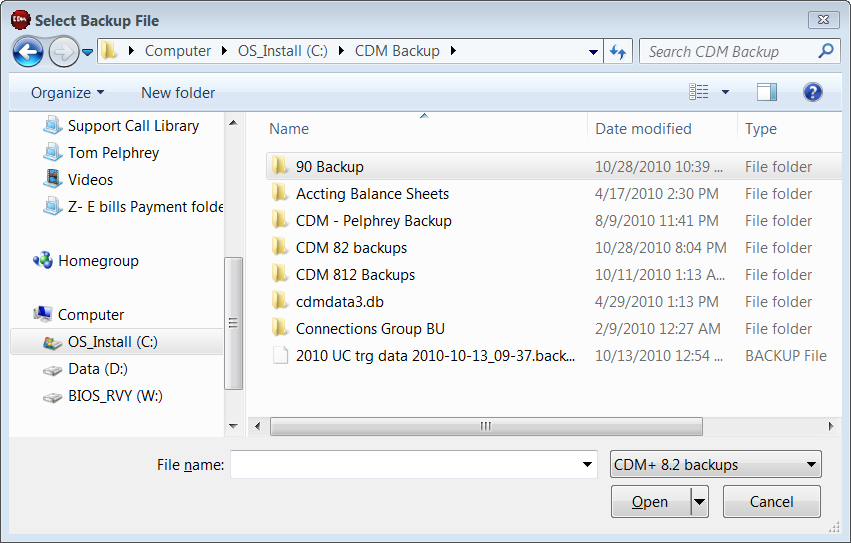
Click the Restore button and the screen below appears. Browse to the location of the database to be restored; click Open.
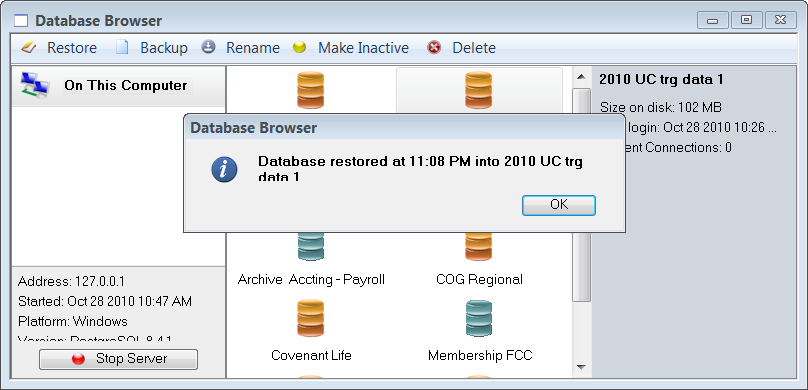
When the Restore is complete, this screen appears:
Restoring Through the Setup Assistant
Launch CDM+ but DO NOT log in. At the CDM+ Login screen BEFORE login, choose:
File > Setup Assistant
The Welcome to CDM+ screen appears.
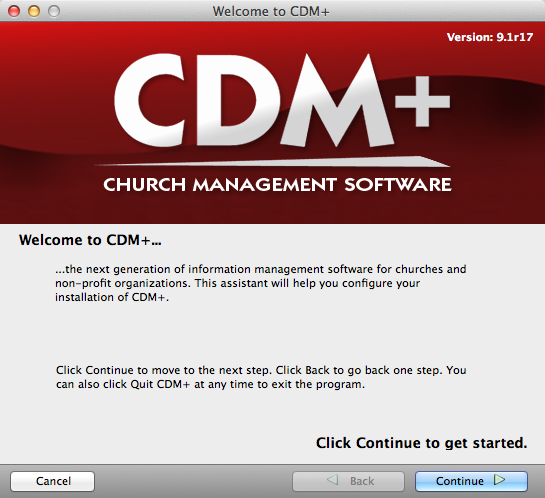
Click the Continue button and the screen below appears.
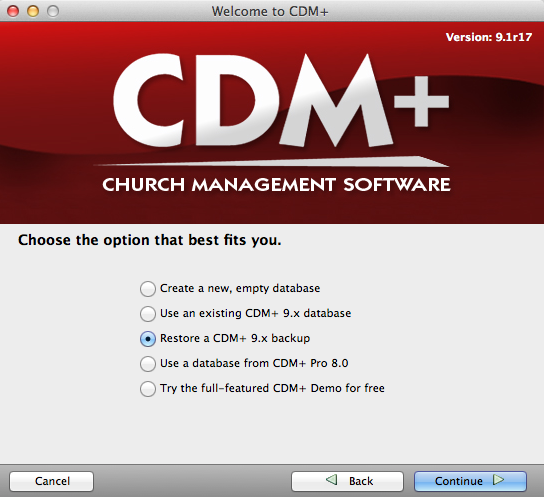
Choose the third option, "Restore a CDM+ 9.x backup"; click Continue.
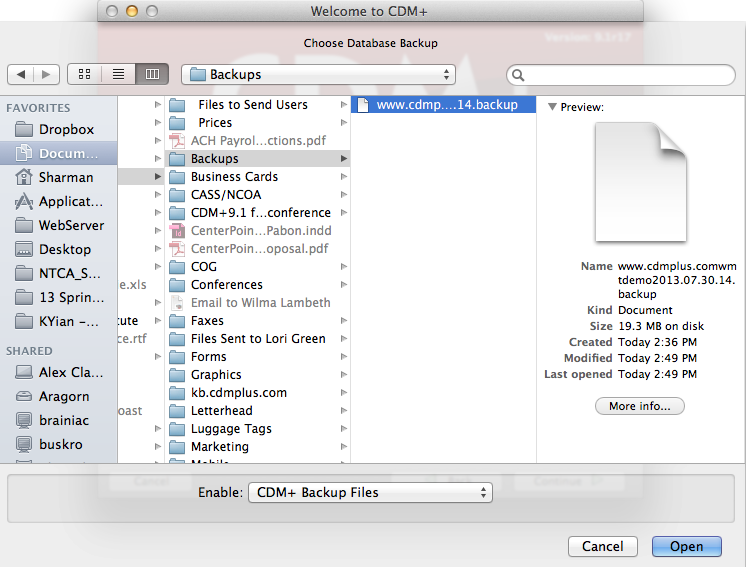
Browse to the location of the database to be restored; click Open.
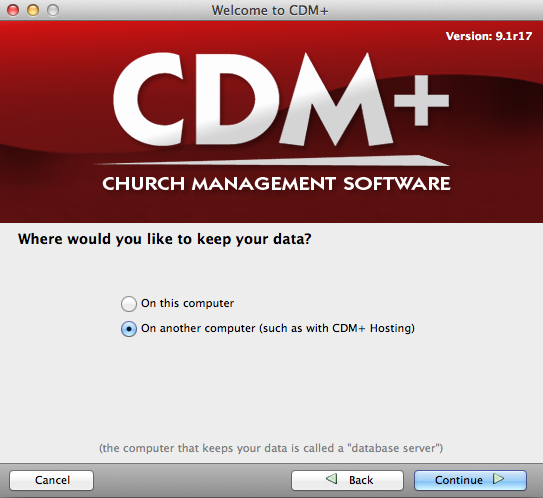
Choose whether to keep your restored data "On this computer" or "On another computer"; click Continue. If you have chosen "On another computer," this screen will appear:
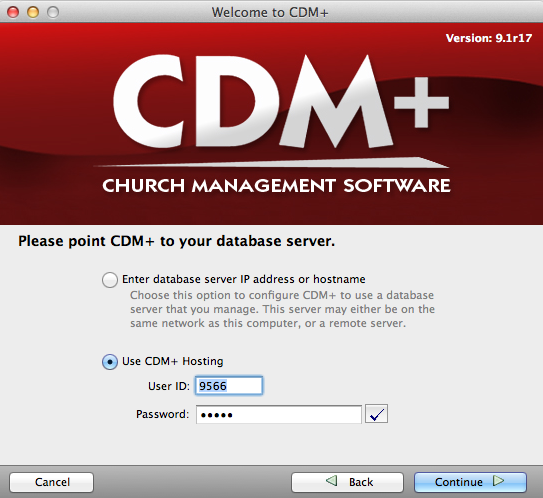
Choose to "Enter database server IP address or hostname" or "Use CDM+ Hosting"; click Continue.
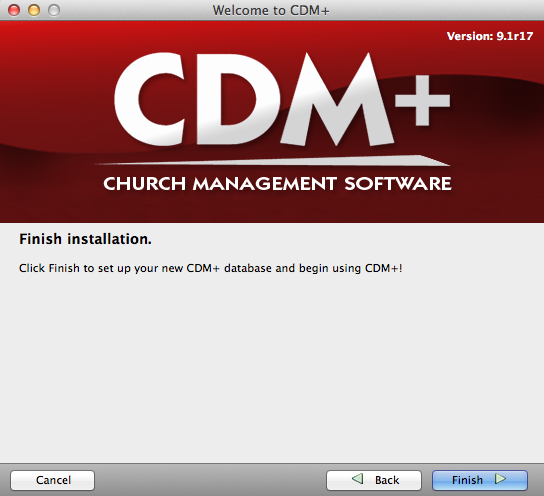
Click Finish to restore your CDM+ database and begin using it.
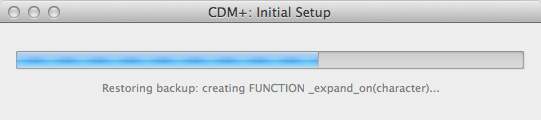
A bar keeps you informed of the progress. The time required to restore a backup will depend on the size of your backup file, whether you opted to store your data on the computer you are using or on a different computer, and if you opted for the latter, your connection speed.