We highly recommend that you do not go through these steps without assistance from Support. Please reach out to support@cdmplus.com and a member of our team will walk you through these steps.
-
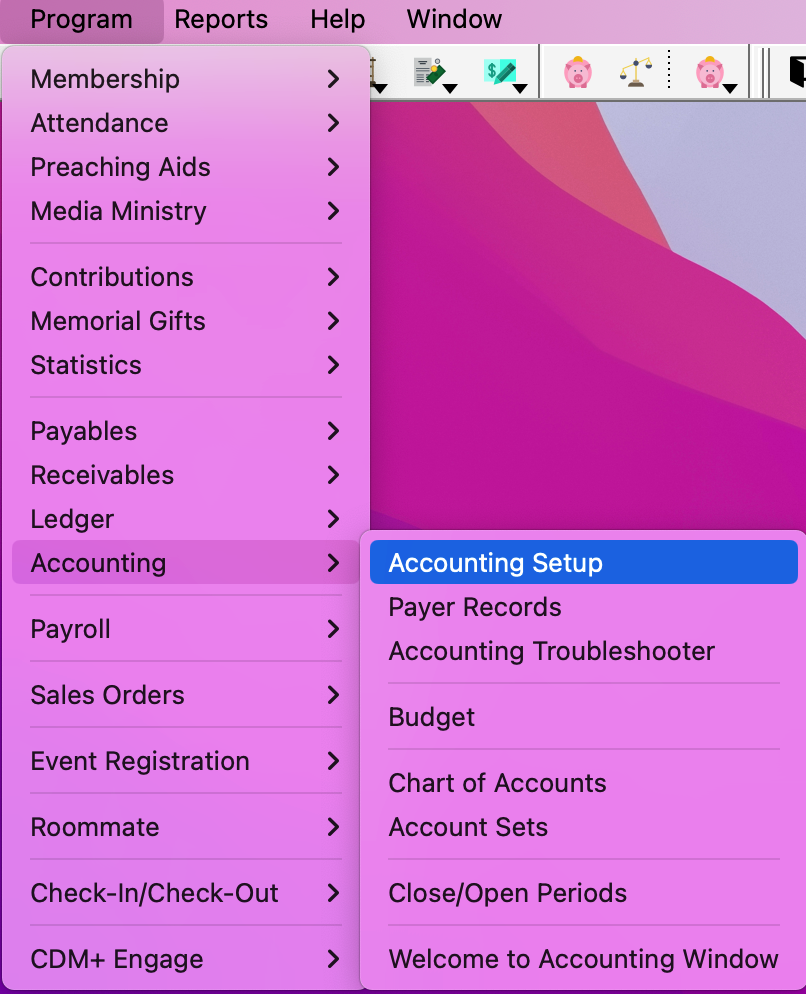
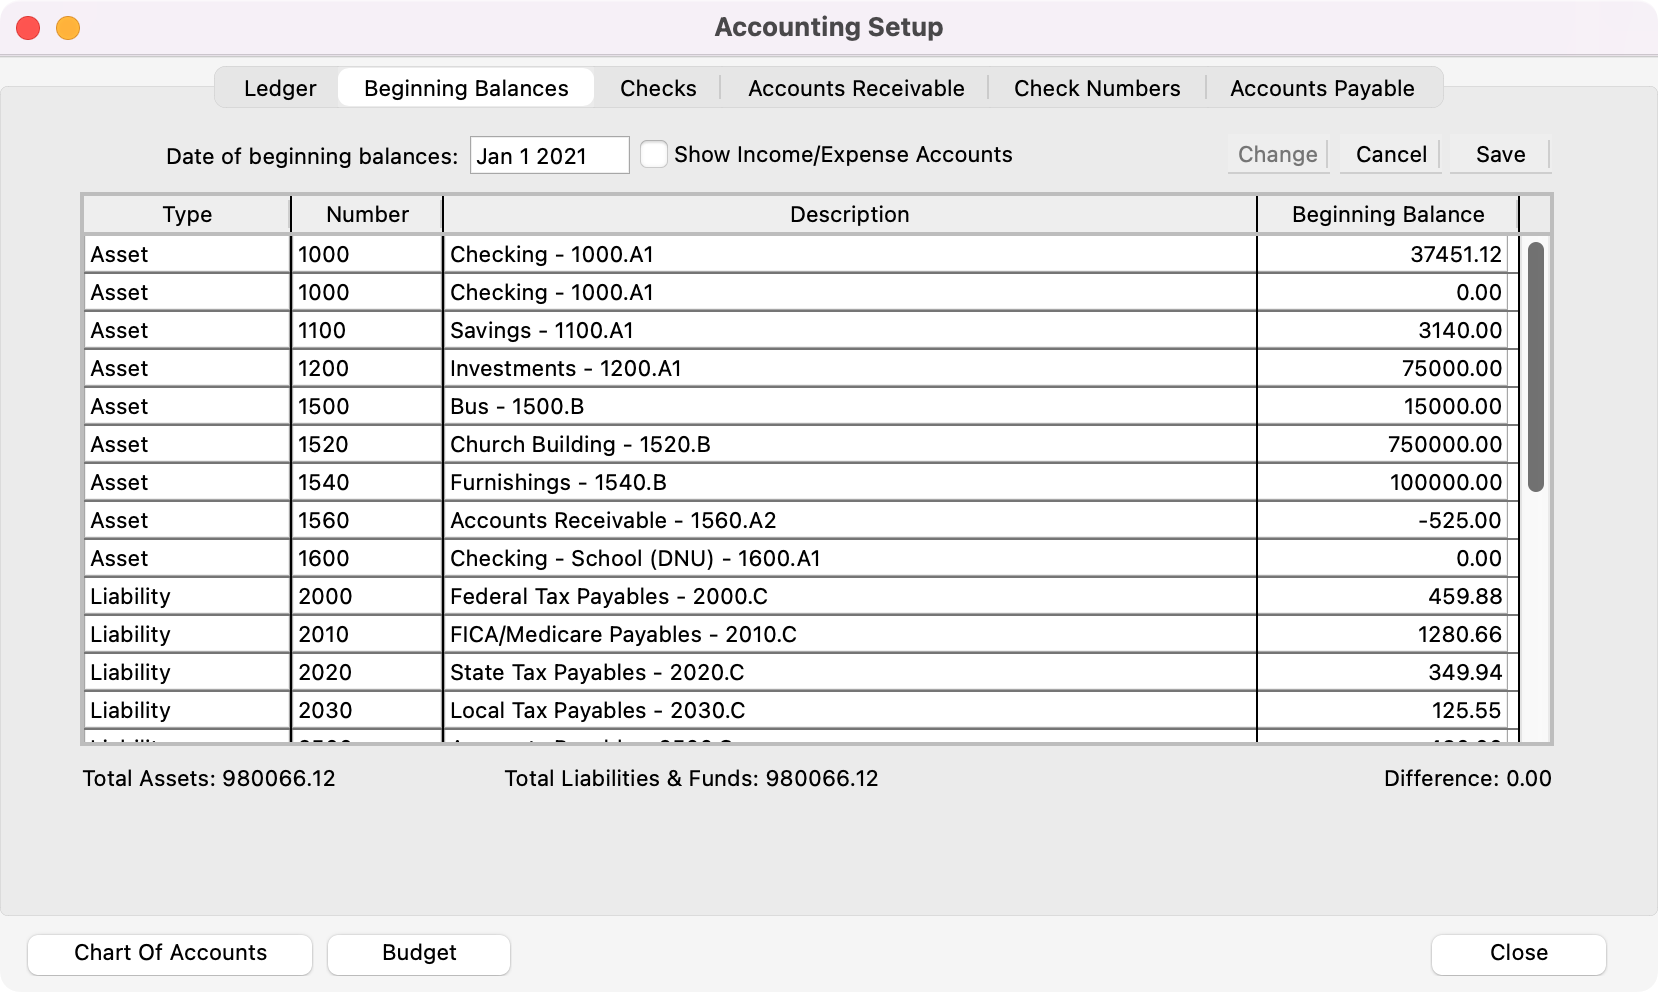
To get started, go to Program → Accounting → Accounting Setup.
-
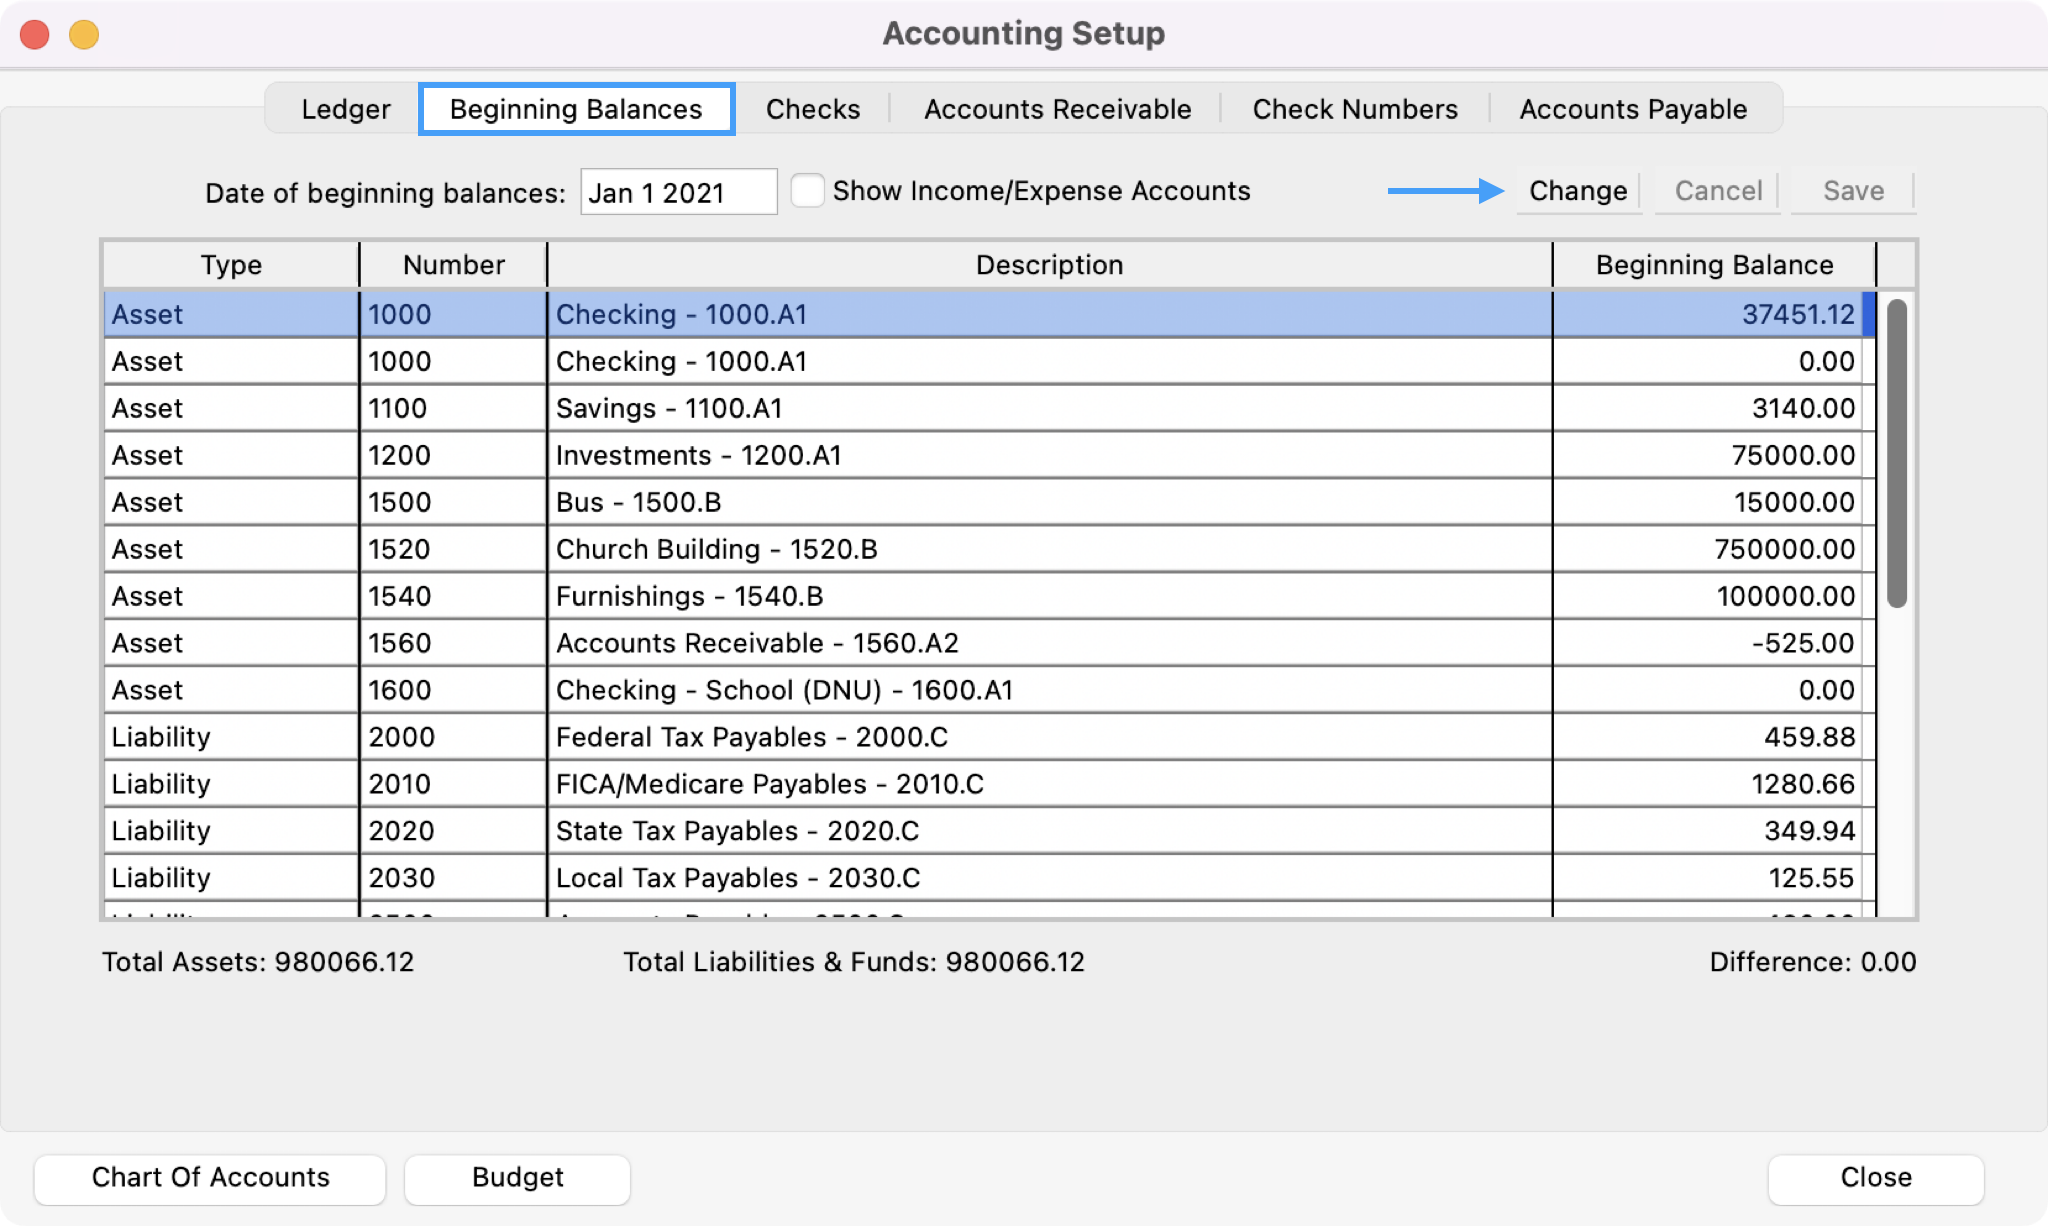
Select the Beginning Balances tab and click on the small Change button at the top right.
-
Enter the Date of beginning balances (e.g.—January 1, 2025, if the church is on a calendar year).
-
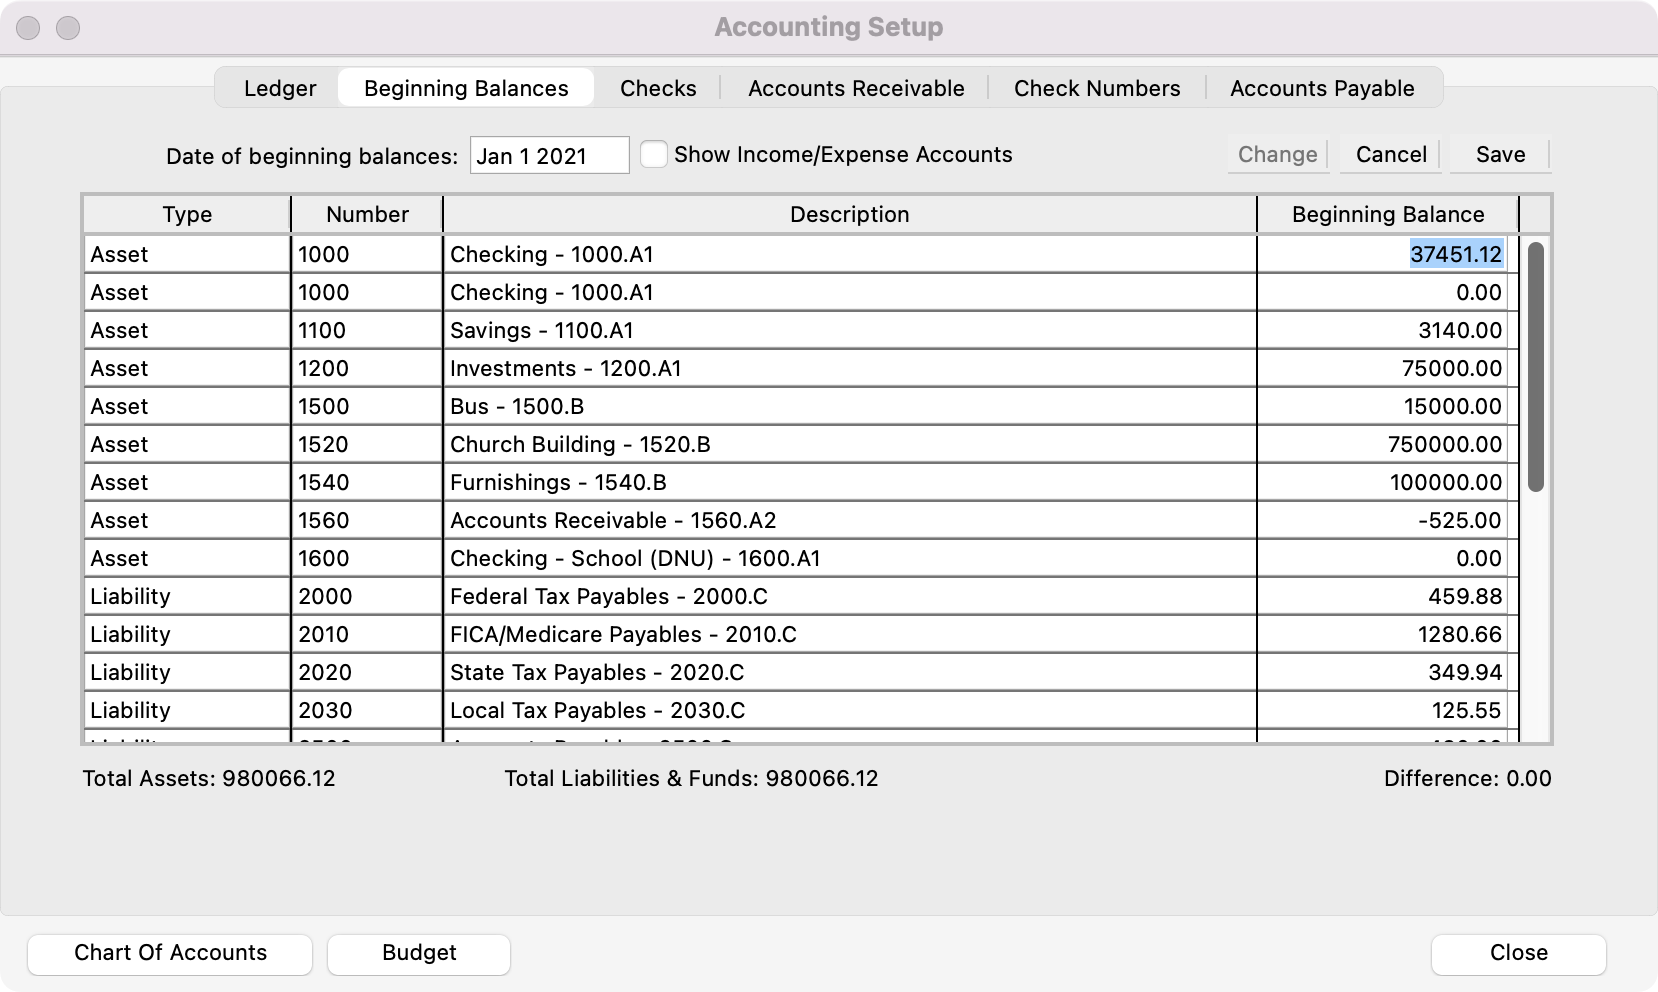
Press the Tab key and enter the beginning balance for the first highlighted item (e.g.—Asset 1000, Checking).
-
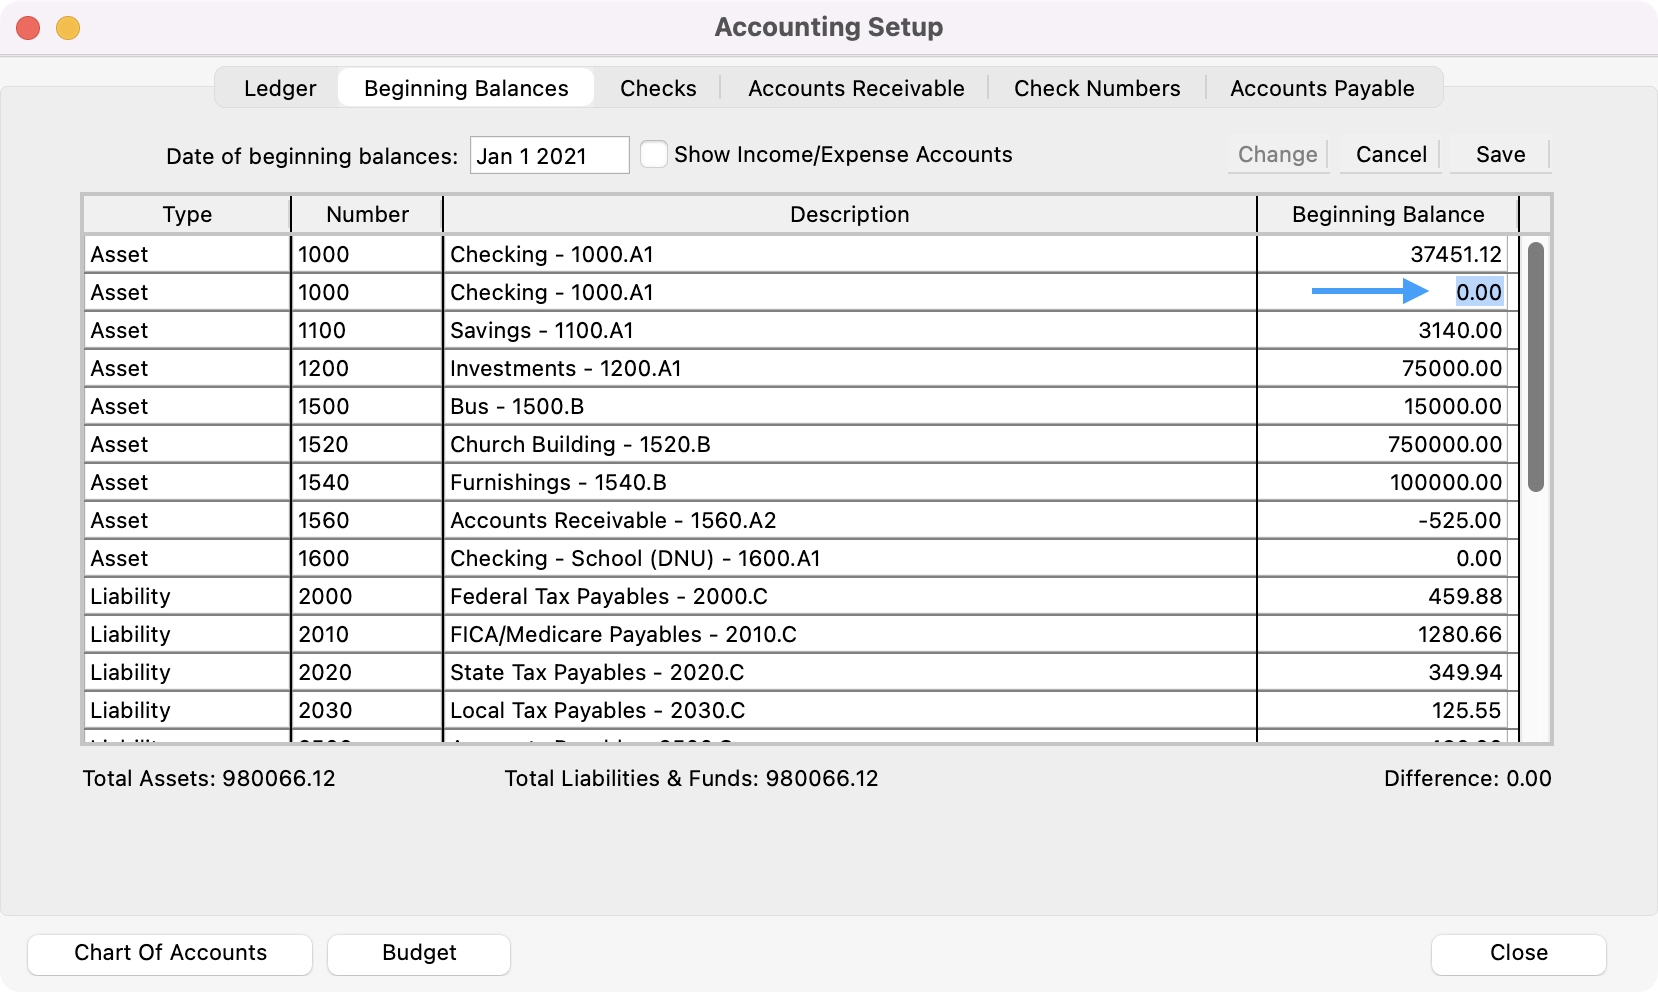
Press the Tab key and enter the beginning balance for the next highlighted item.
-
Continue this process until all beginning balances for Assets, Liabilities, and Funds have been entered.
-
After entering all necessary balances, click the small Save button at the top right.
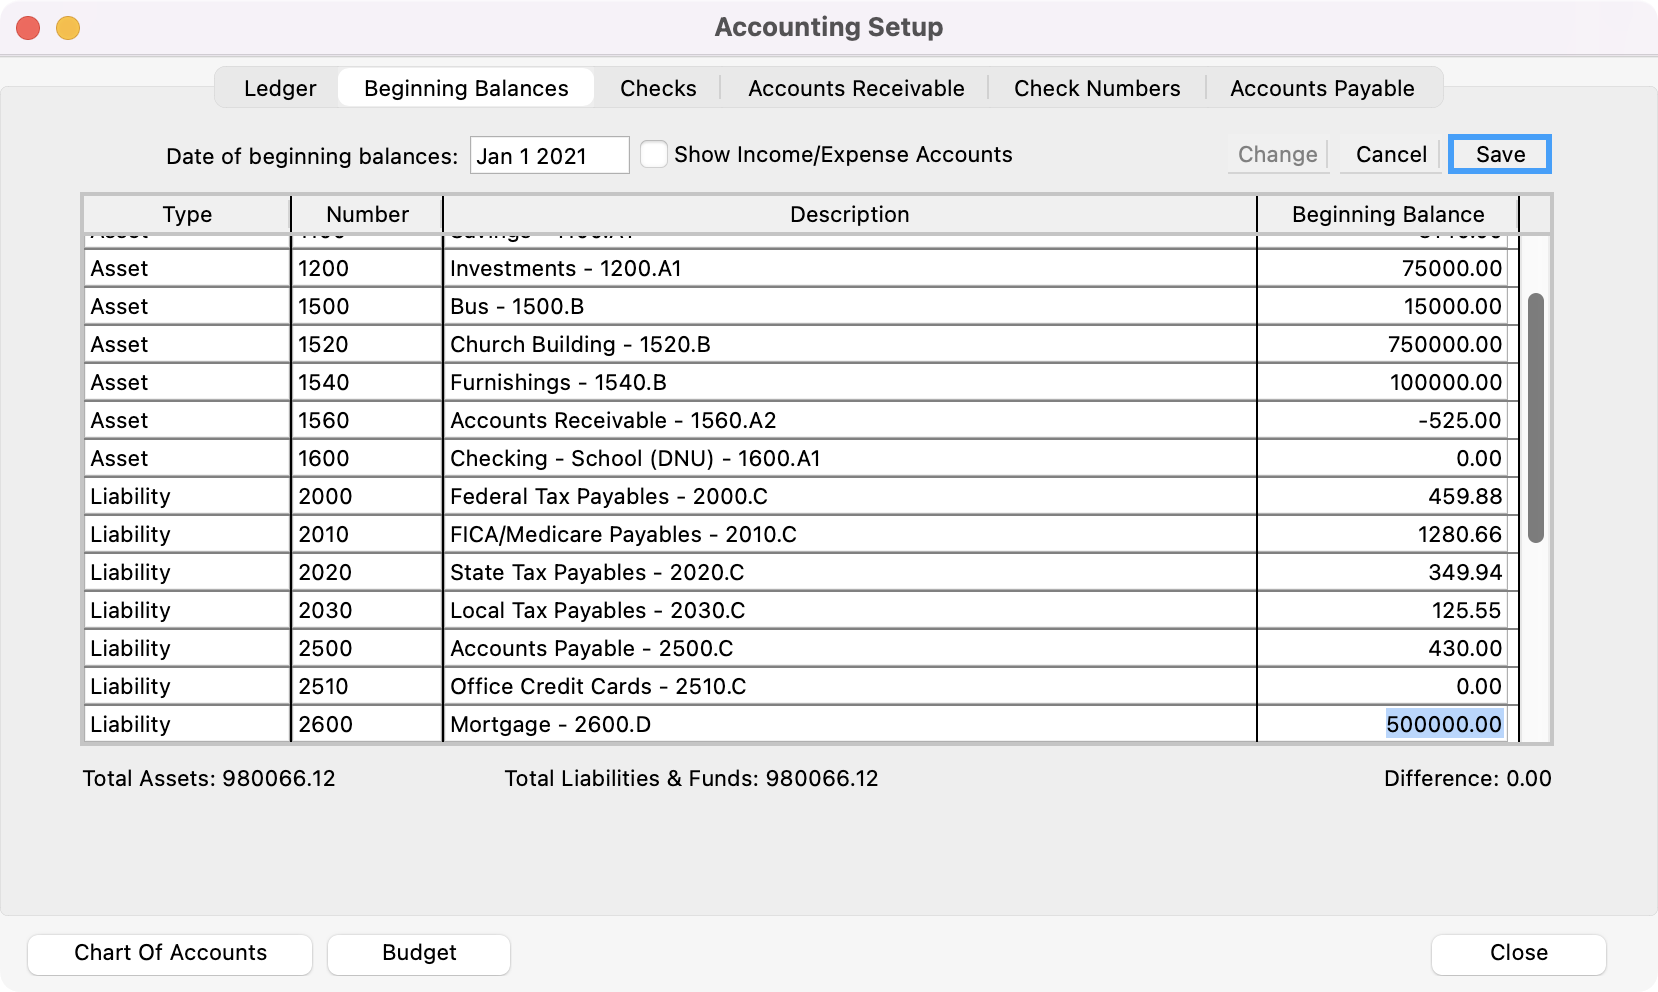
NOTE: You may save your work in this window at any point. When you return to finish it, click on Change and resume entering balances.
-
Click the Close button at the bottom of the window.
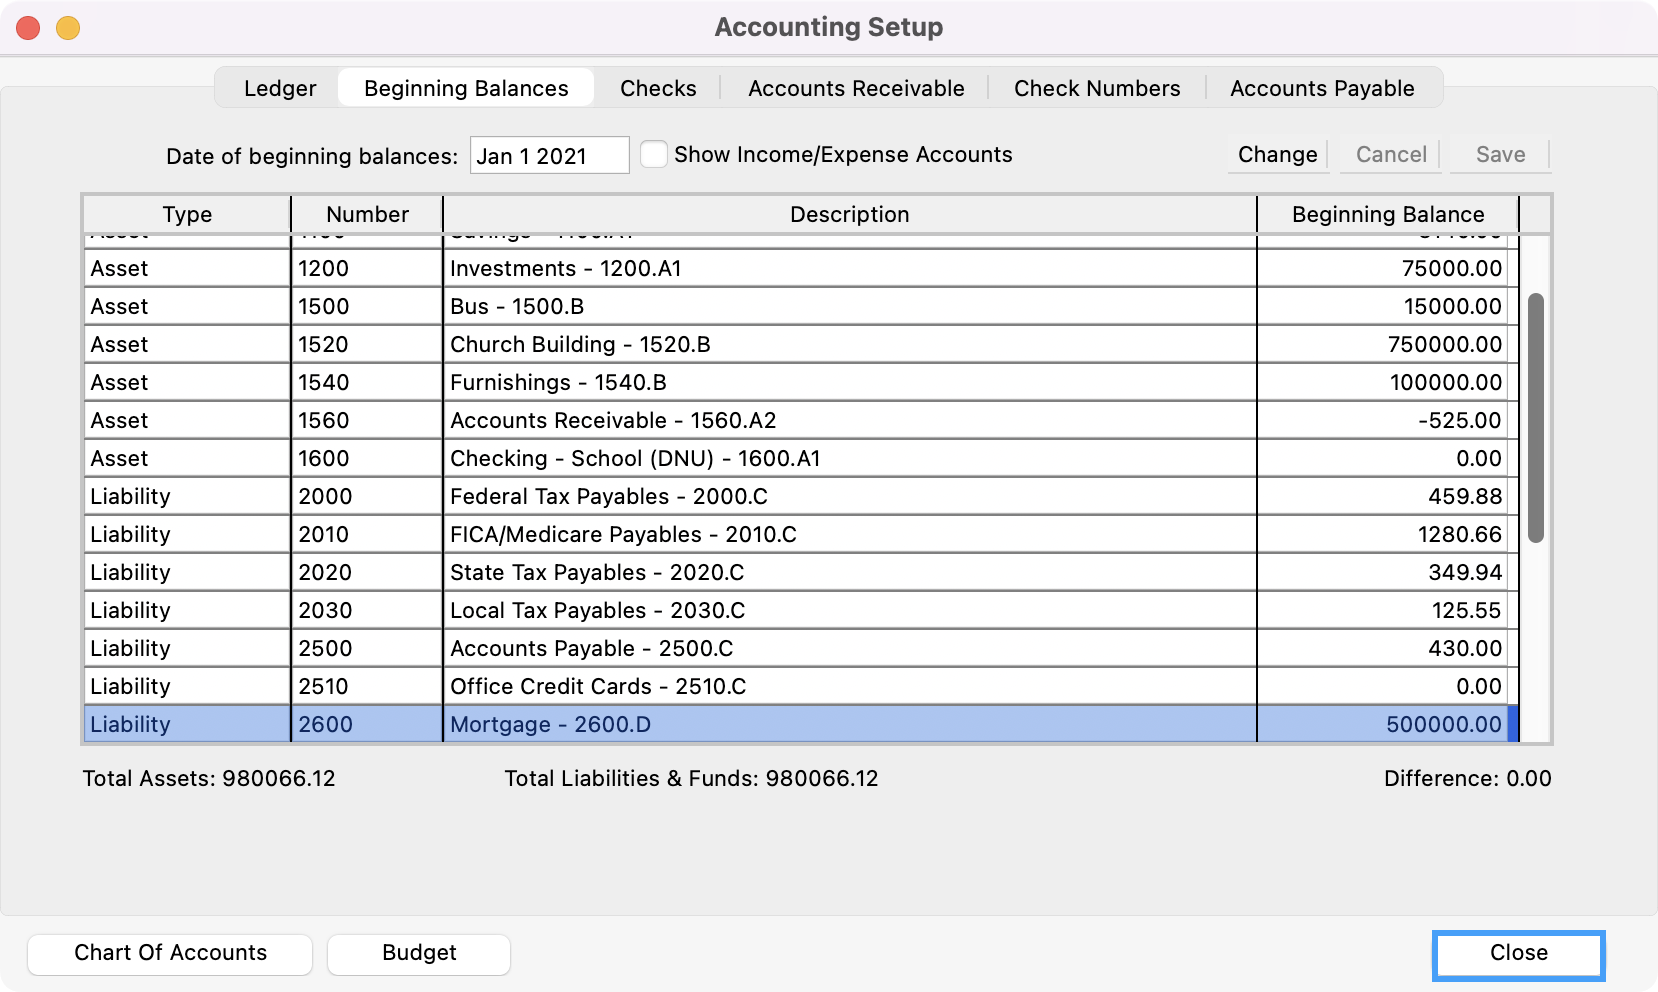
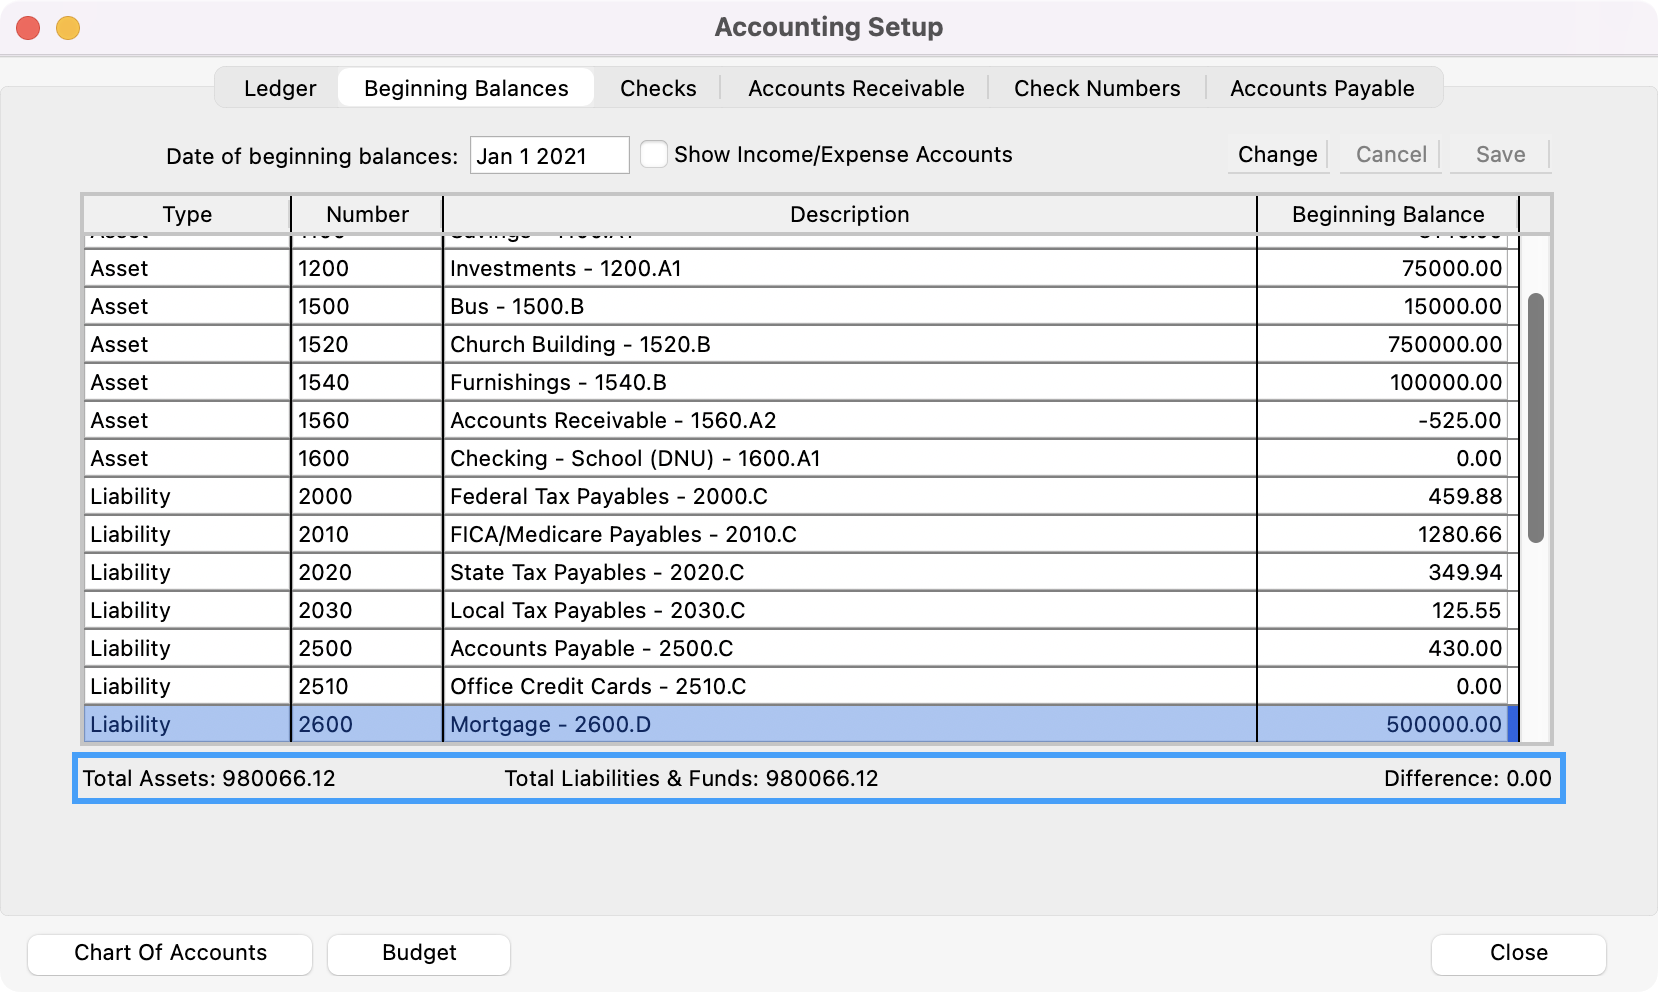
When you are finished entering beginning balances, the amount of the Total Assets and the Total Liabilities & Funds should be equal. If you do not see a Difference of 0.00, check your beginning balances. Click Change, make the necessary changes to account balances in order for Assets = Liabilities + Funds. Click Save when you are finished.